
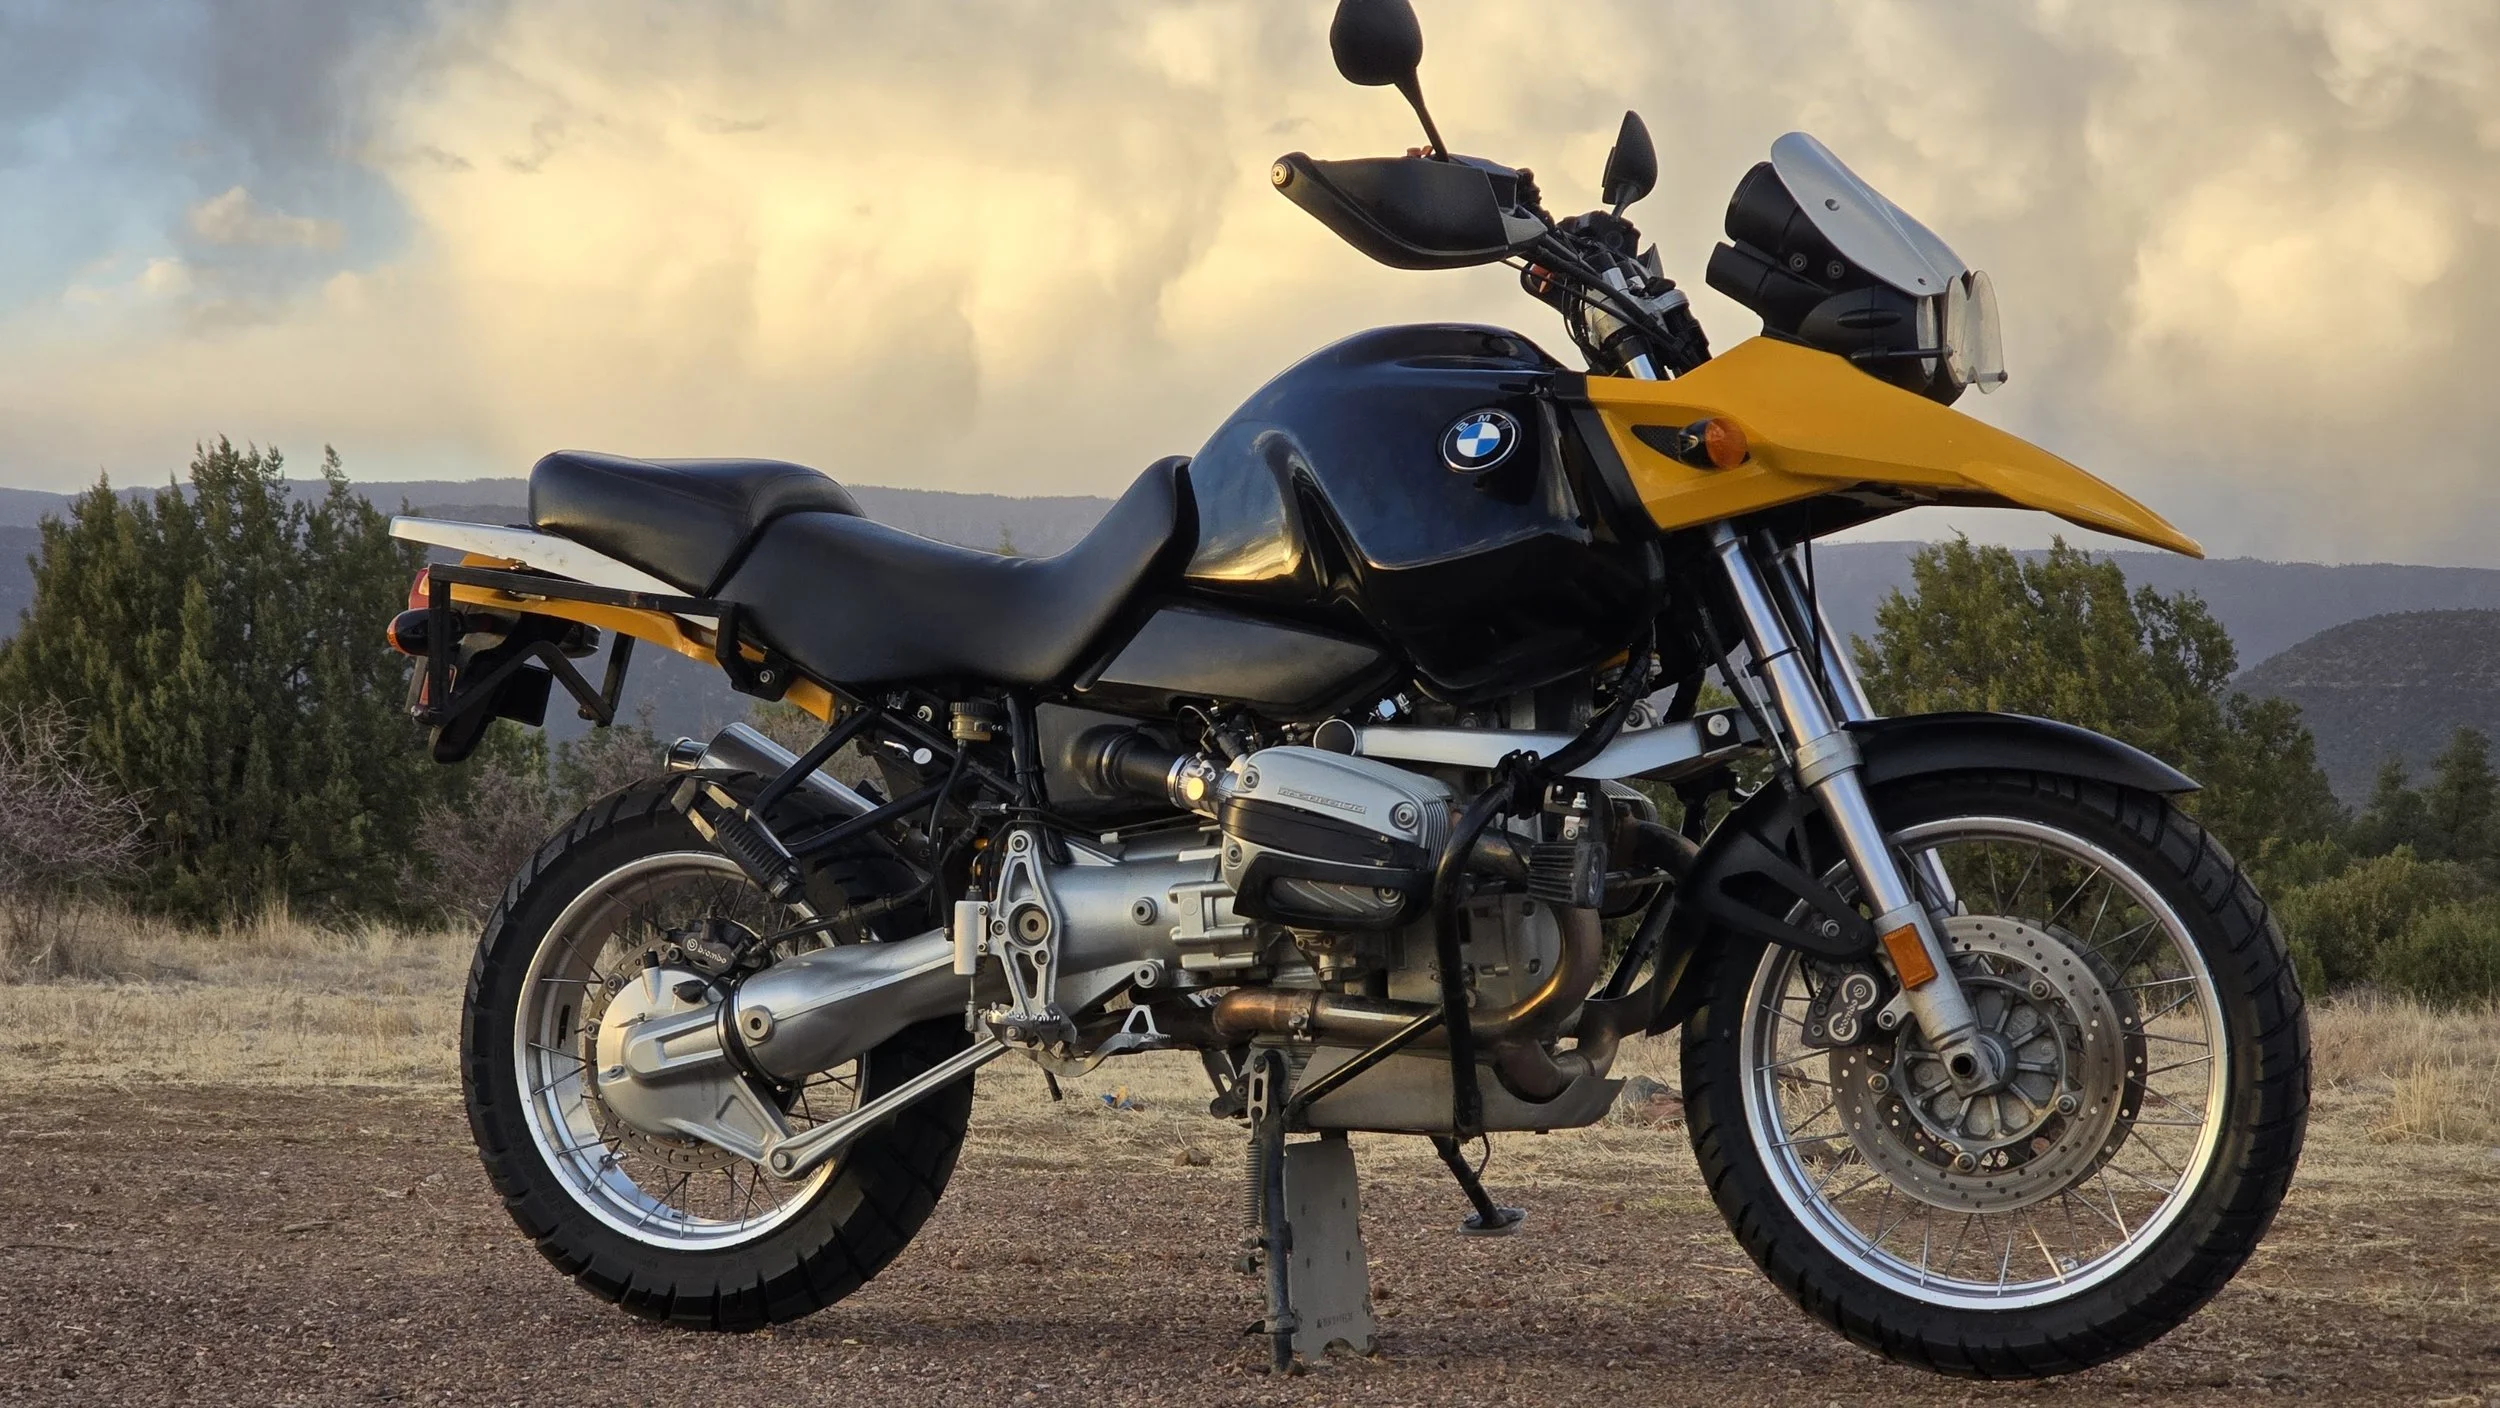
2001 BMW R1150 GS
We purchased this bike with 80,000 miles for $2,700 cash. It started, but it was rough and needed a lot of work. It came with a ton of upgrades, cool handmade luggage, and good bones! So we got to work. The finished product has been a great success! It just finished a 30+ moto road trip, has more than 90,000 miles, and keeps performing. A fun restoration and a quality machine that is still on the road and soon will be at 100,000 miles!
July 2026 Update: The bike is now at 92k+ miles, and we are performing a pretty standard maintenance on it. The past 12k miles has been exceptional, reliable, and continues to perform well!
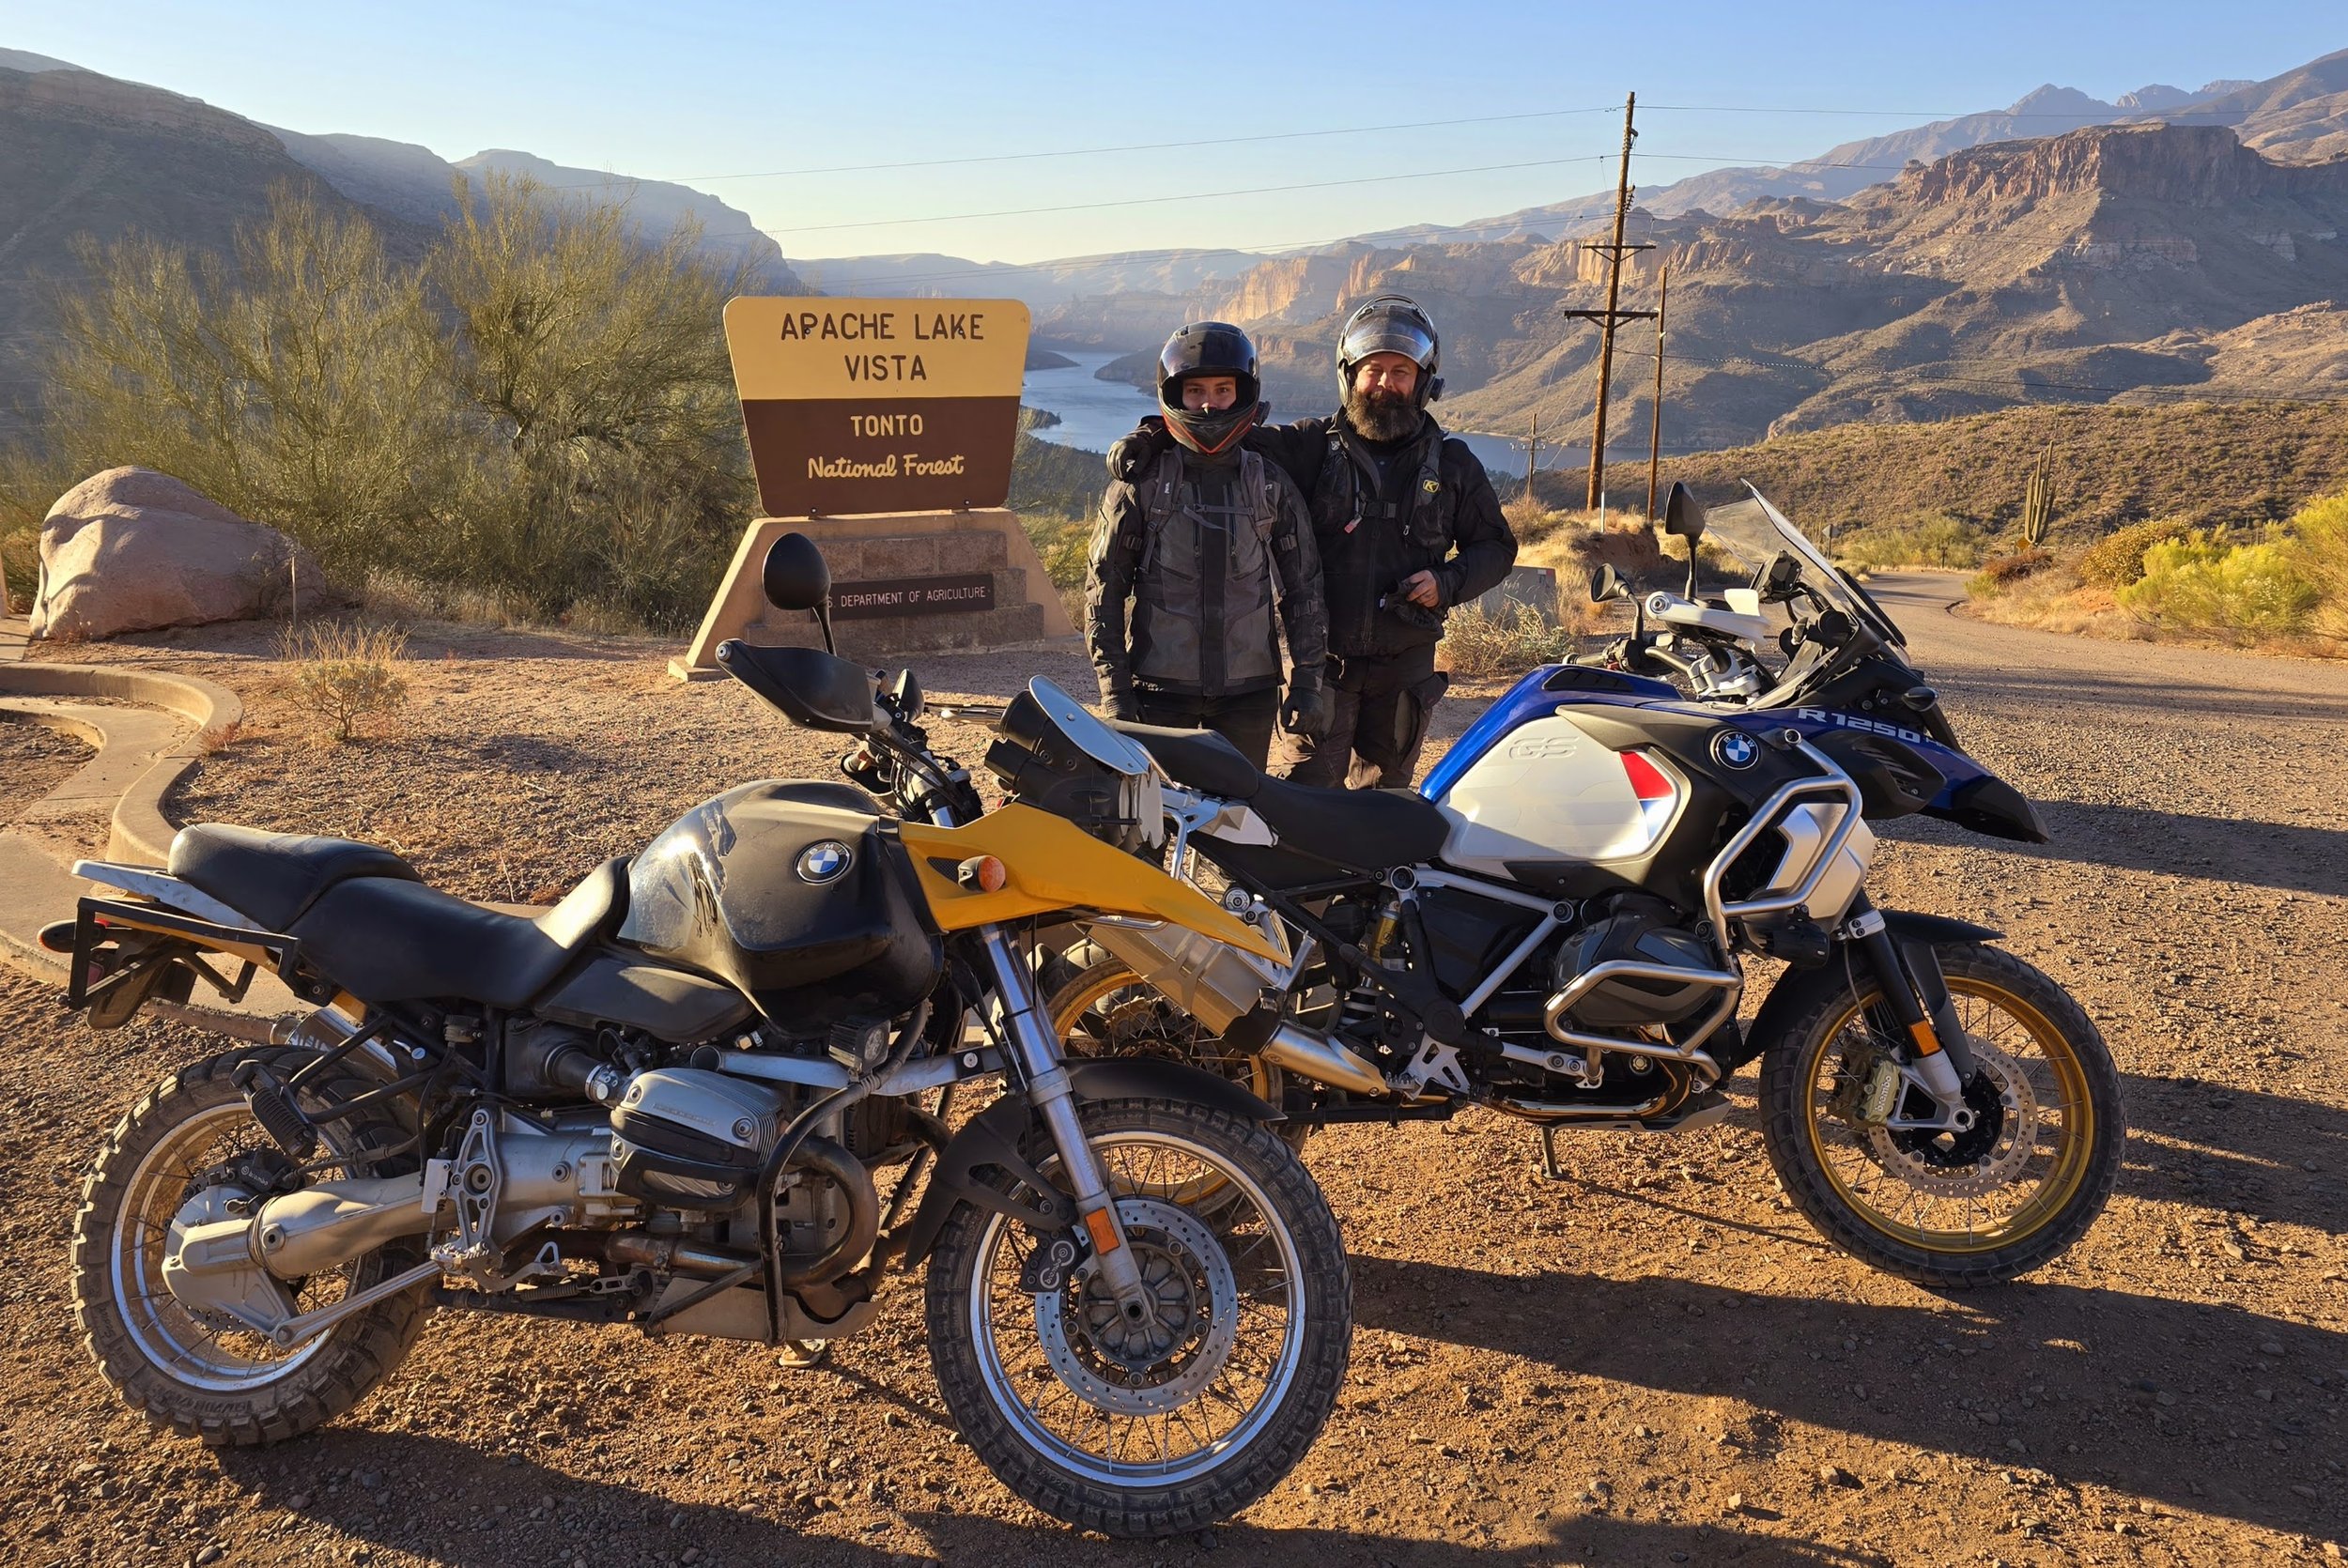
This was a sketchy, shouldn't have done it, shake down ride with the bike on very bad tires. We survived, and we knew precisely what we needed to do on this bike immediately.

Lots of checklists, lots of cardboard bolt holders, and a lot of work ahead of us!

Very thankful to have the service manuals in hand - saved my butt on several occassions.
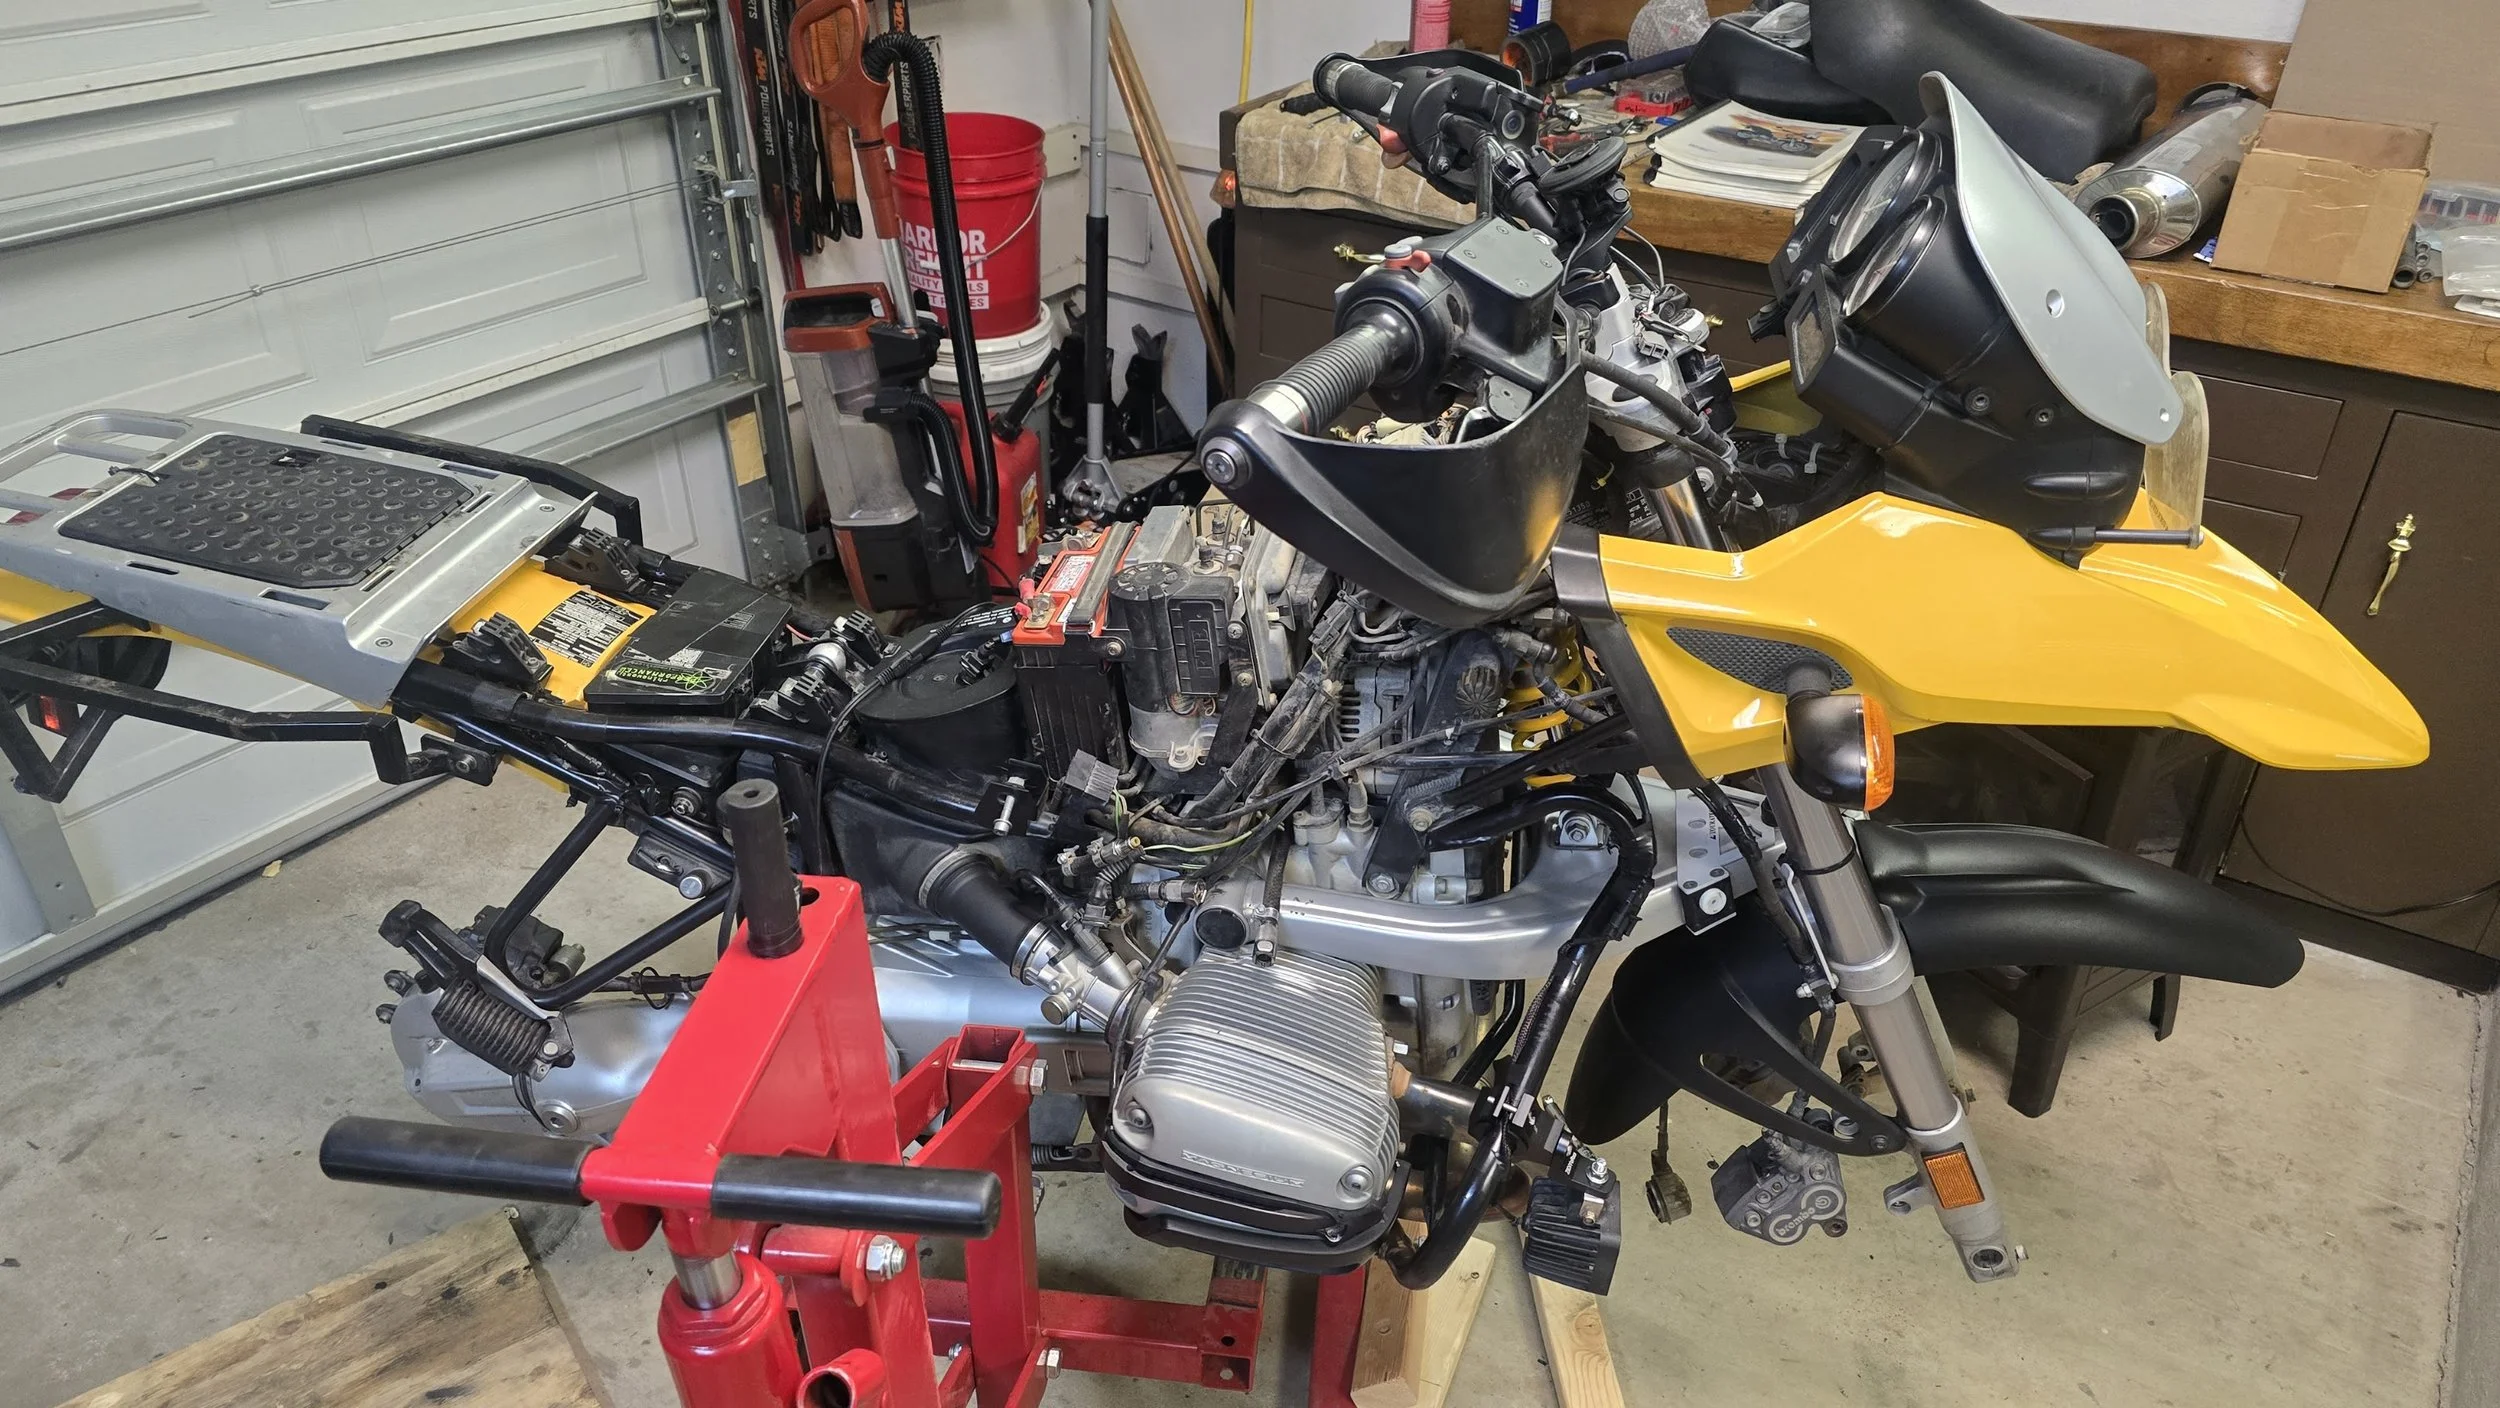
On three separate occasions the bike went from "build to Houston we have problems." Each time the bike was better for it.

Midway through the journey, she got her first proper wash to begin working on secondary tasks.
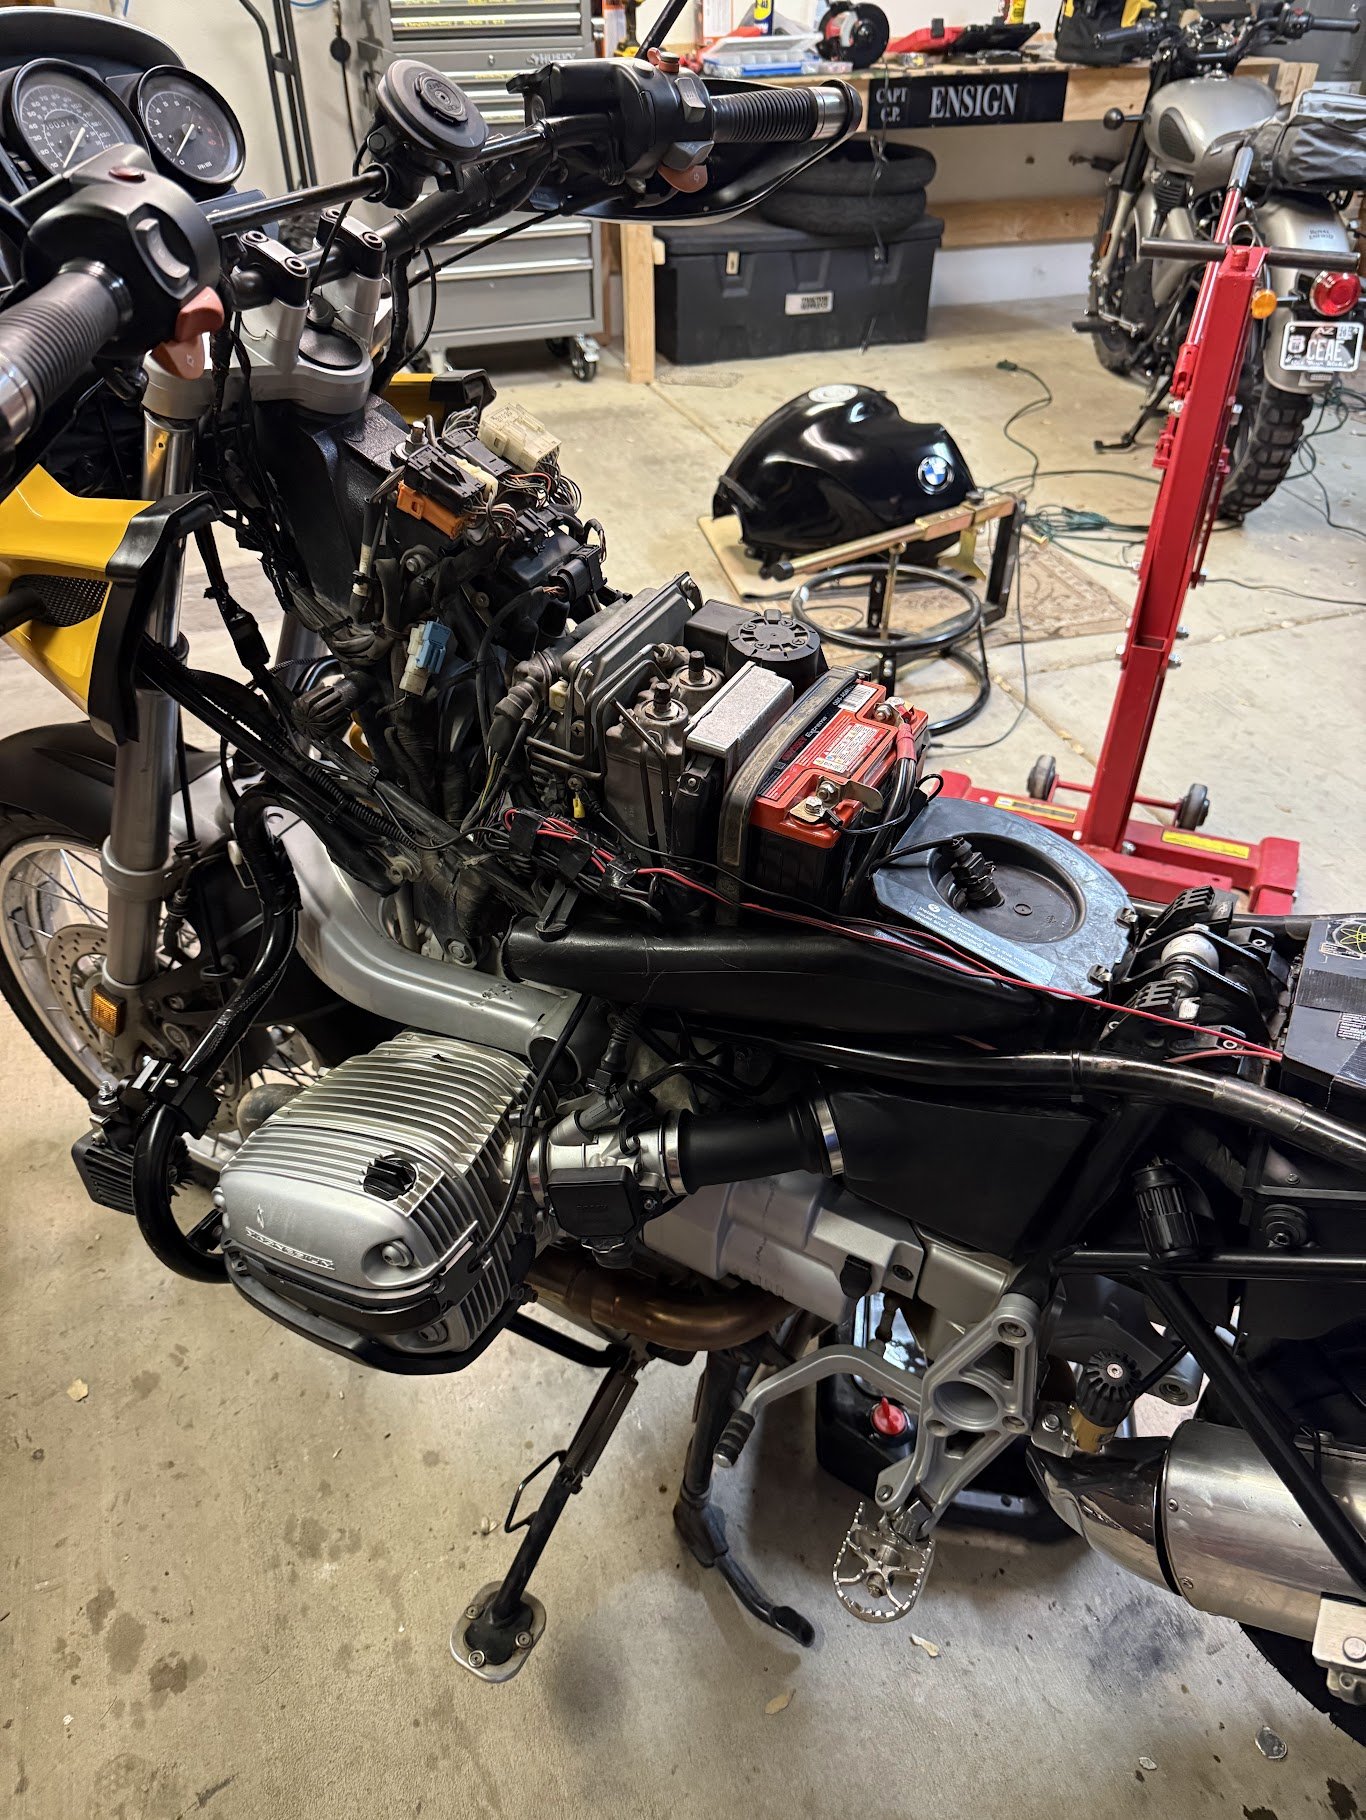
Second tear down as we moved the needle closer to being rebuilt.

Getting really excited at this point. The major work was done, and we were now on to cosmetics, throttle body work, and some electrical stuff.

The finished product. A fully restored 2001 BMW R1150 GS!
92k Mile
Bike Update
92k Mile Bike Update
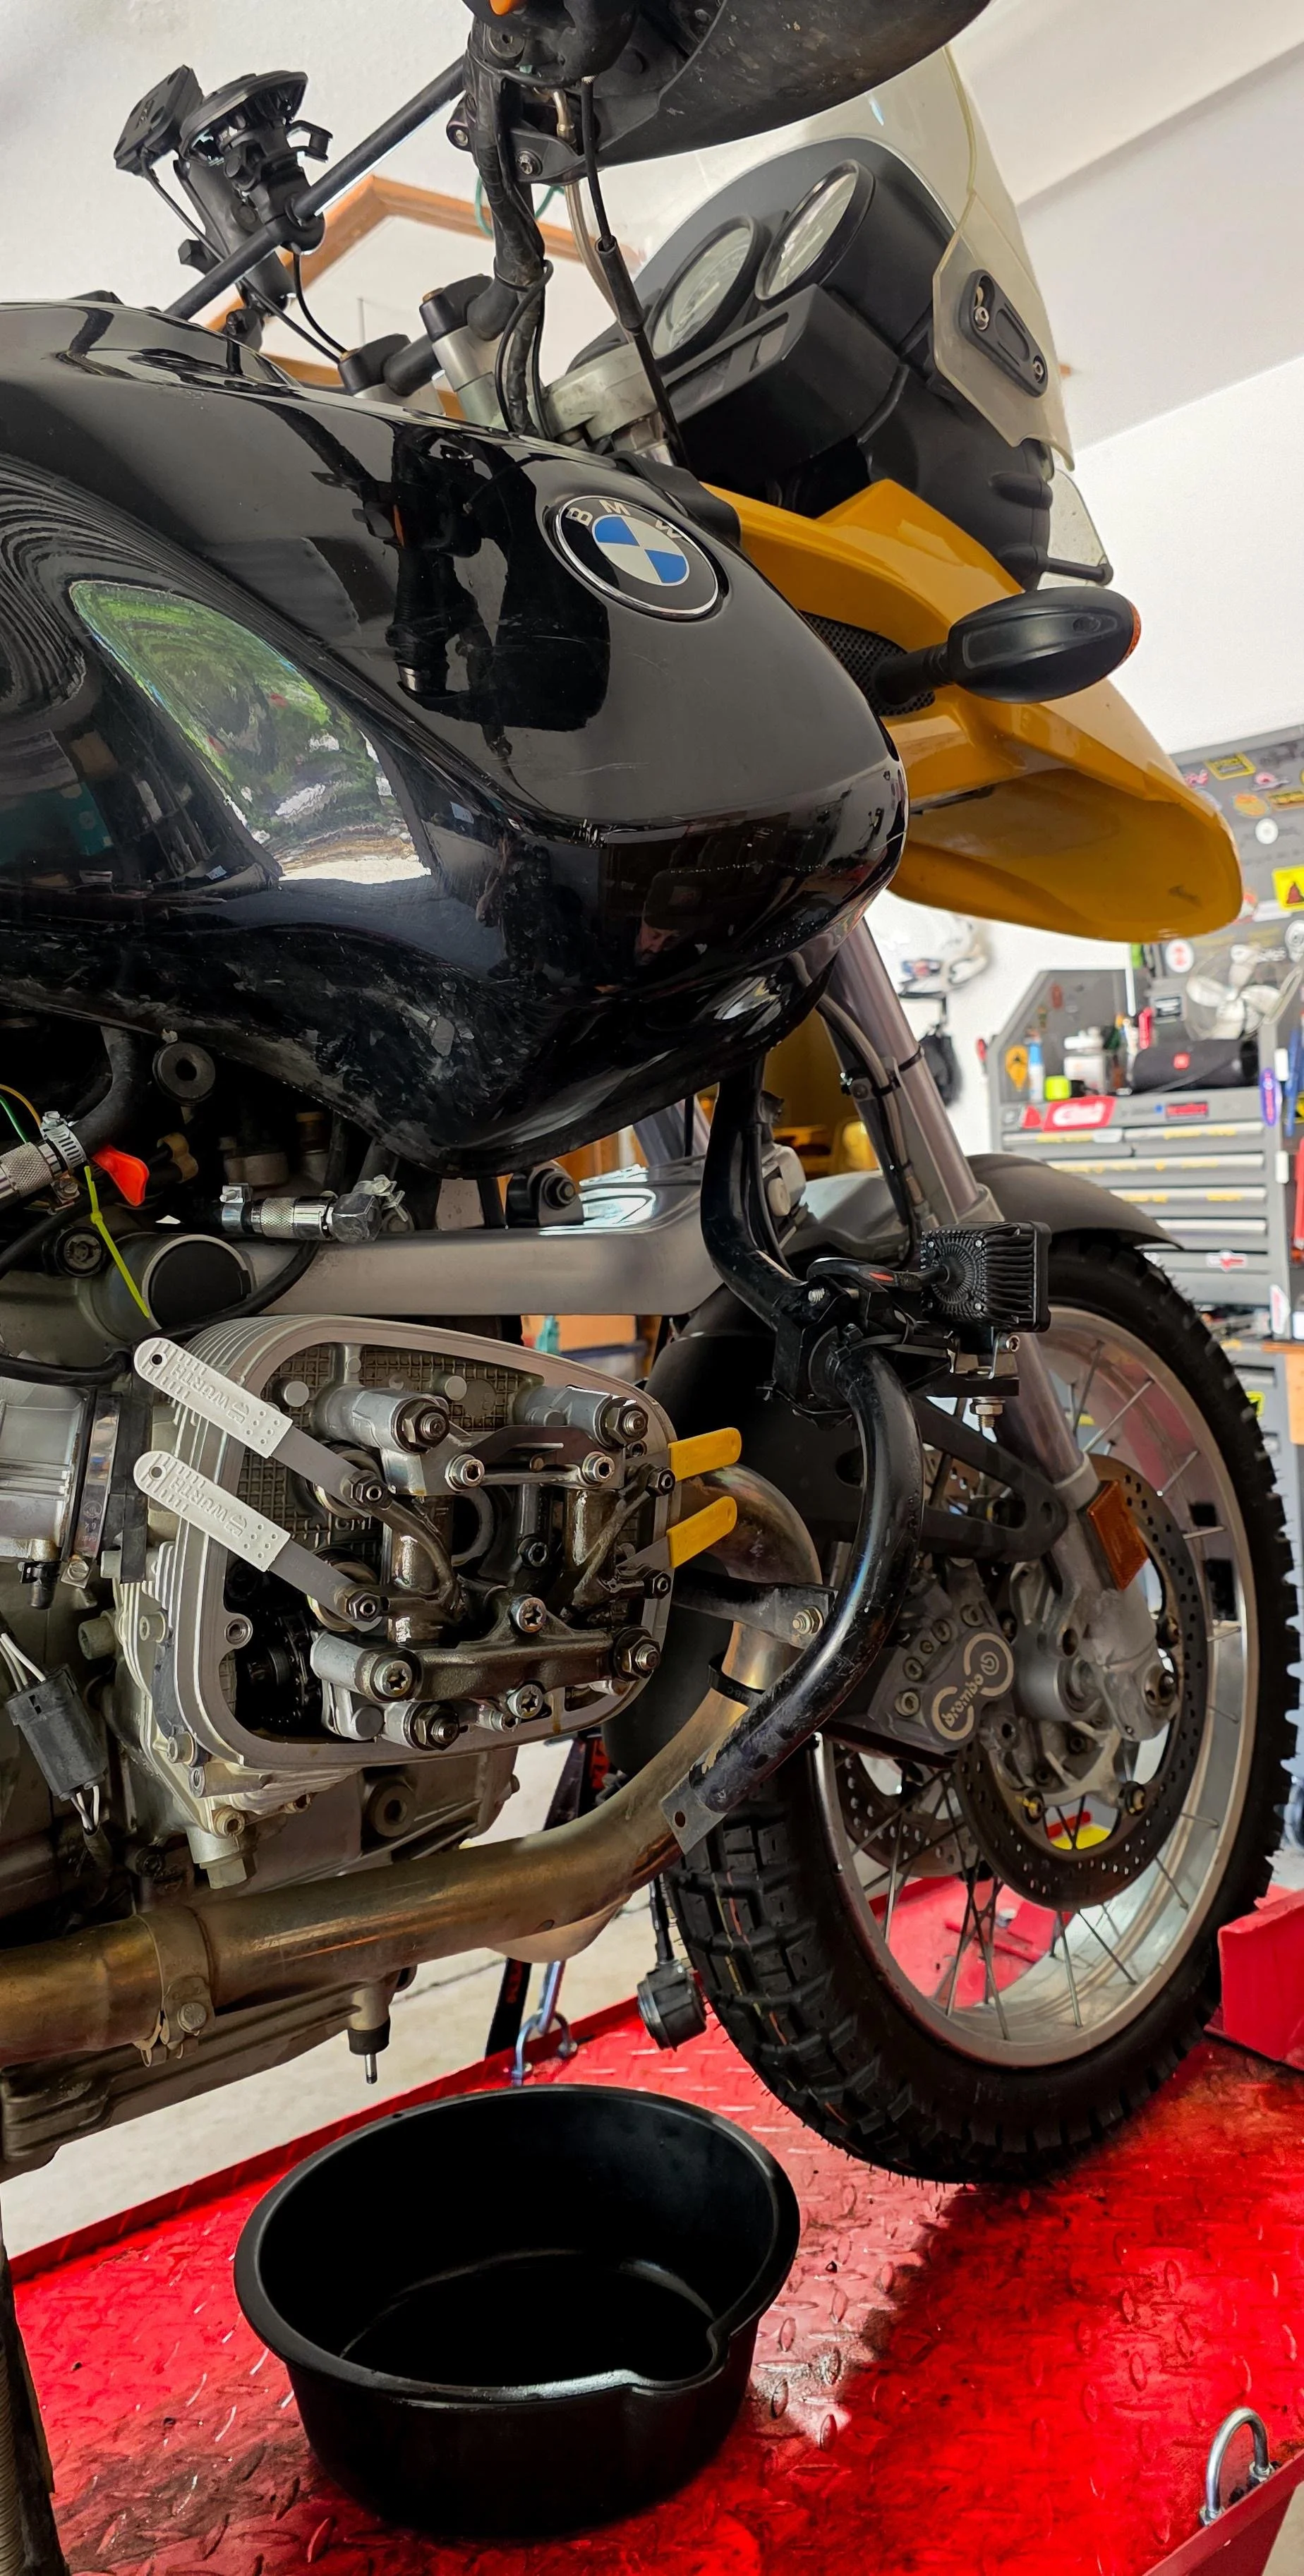
Let's begin with an overnight cold sit and the valves being done. Both left and right cylinder required minor adjustments, and I feel good about them being in spec now!
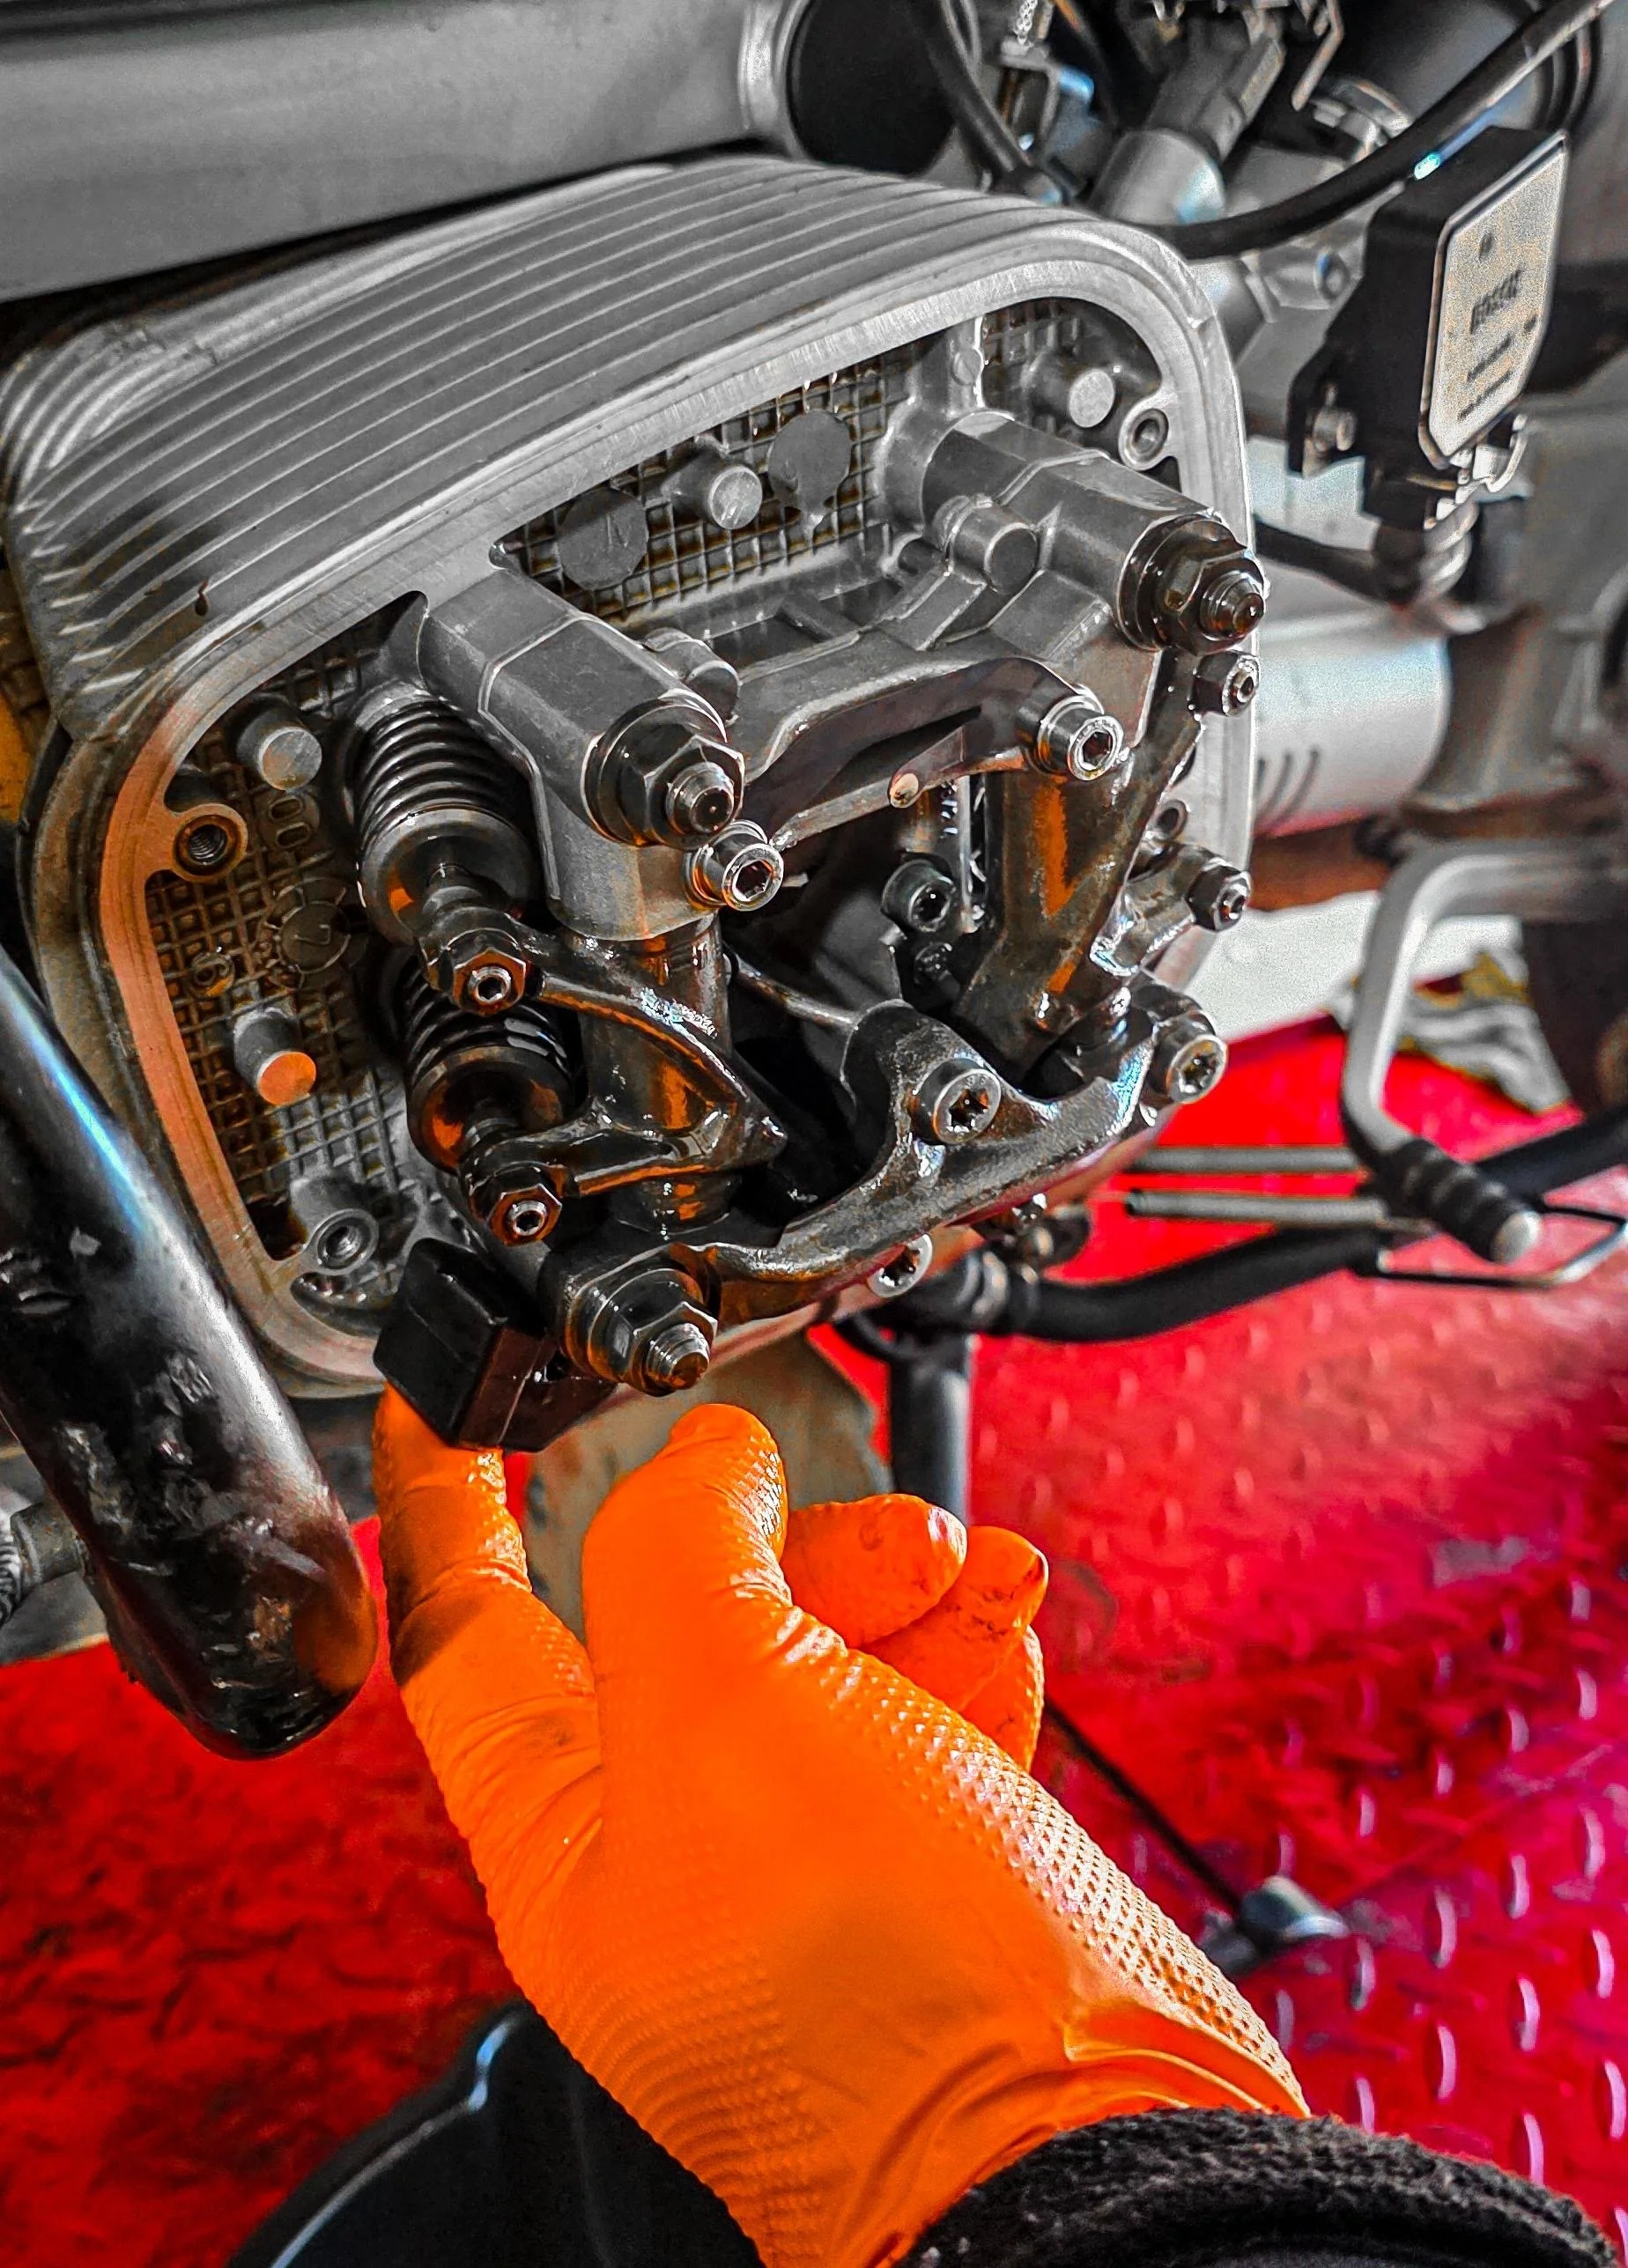
My "Ice Princess" GS doesn't have these vibration dampeners. So getting to know them a little bit before doing the left cylinder.
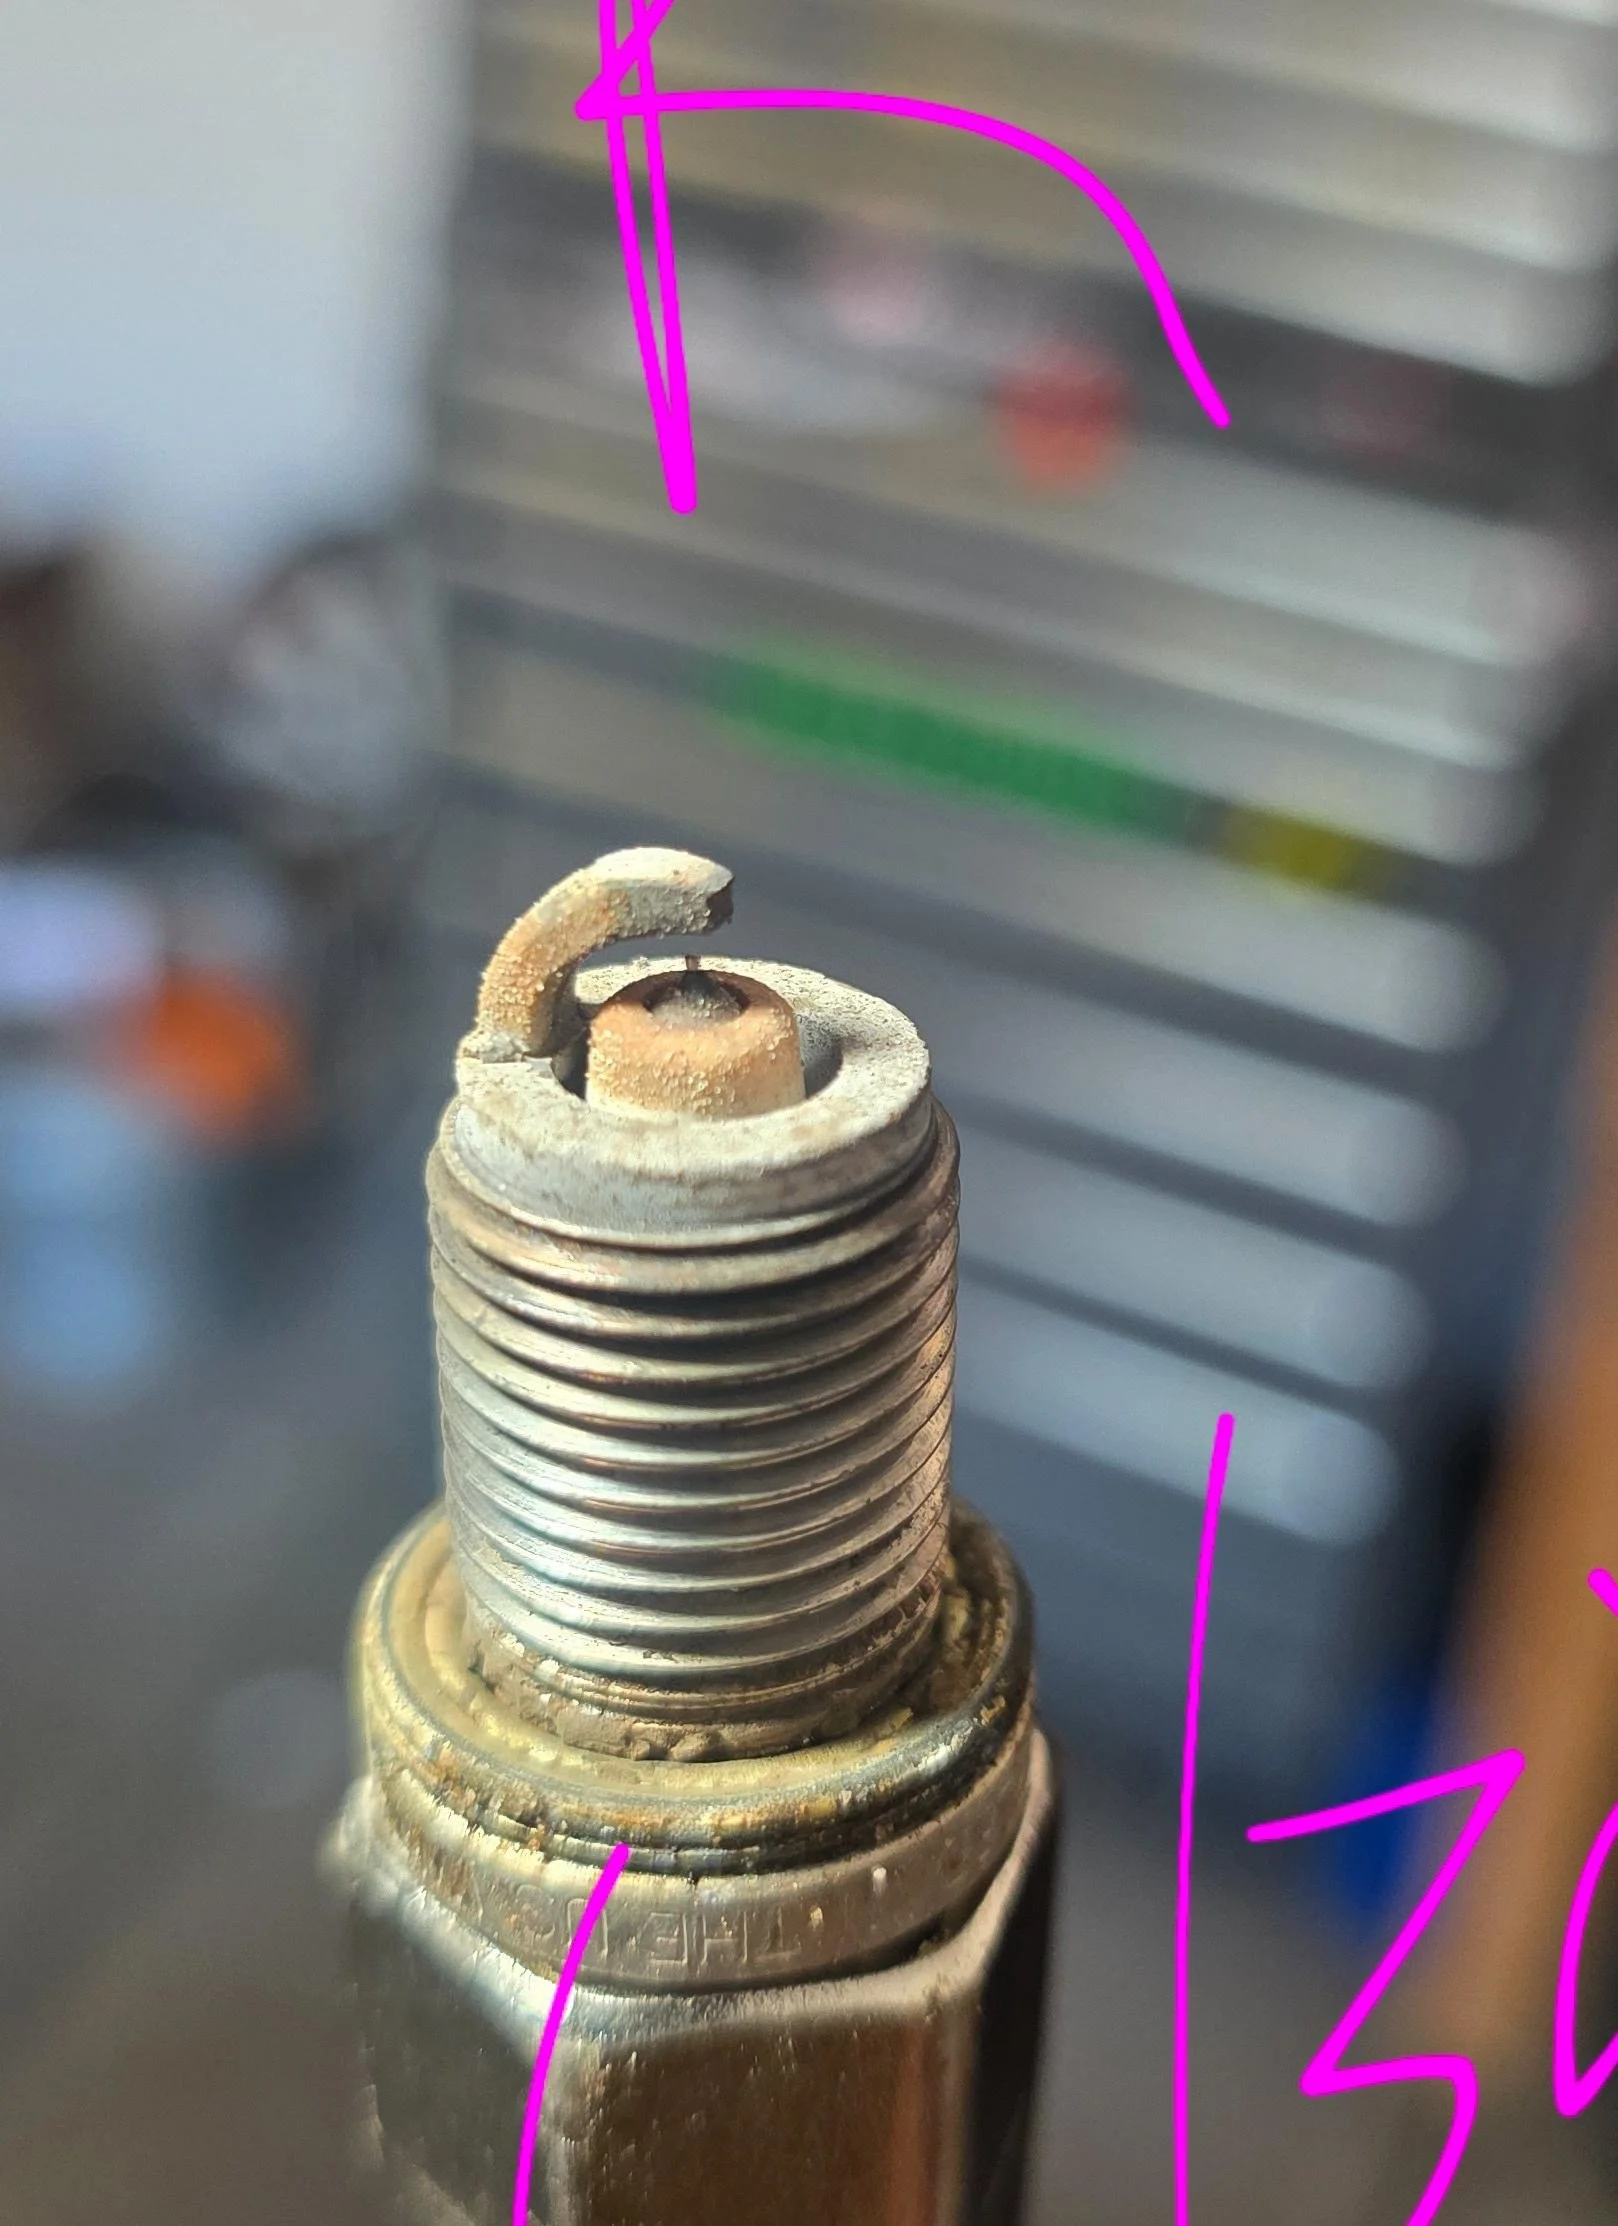
Spark plug with 12k miles on it. Not bad. One cylinder was running a little lean. The other cylinder running very perfect. The valve adjustment and throttle body synch should really help with this.
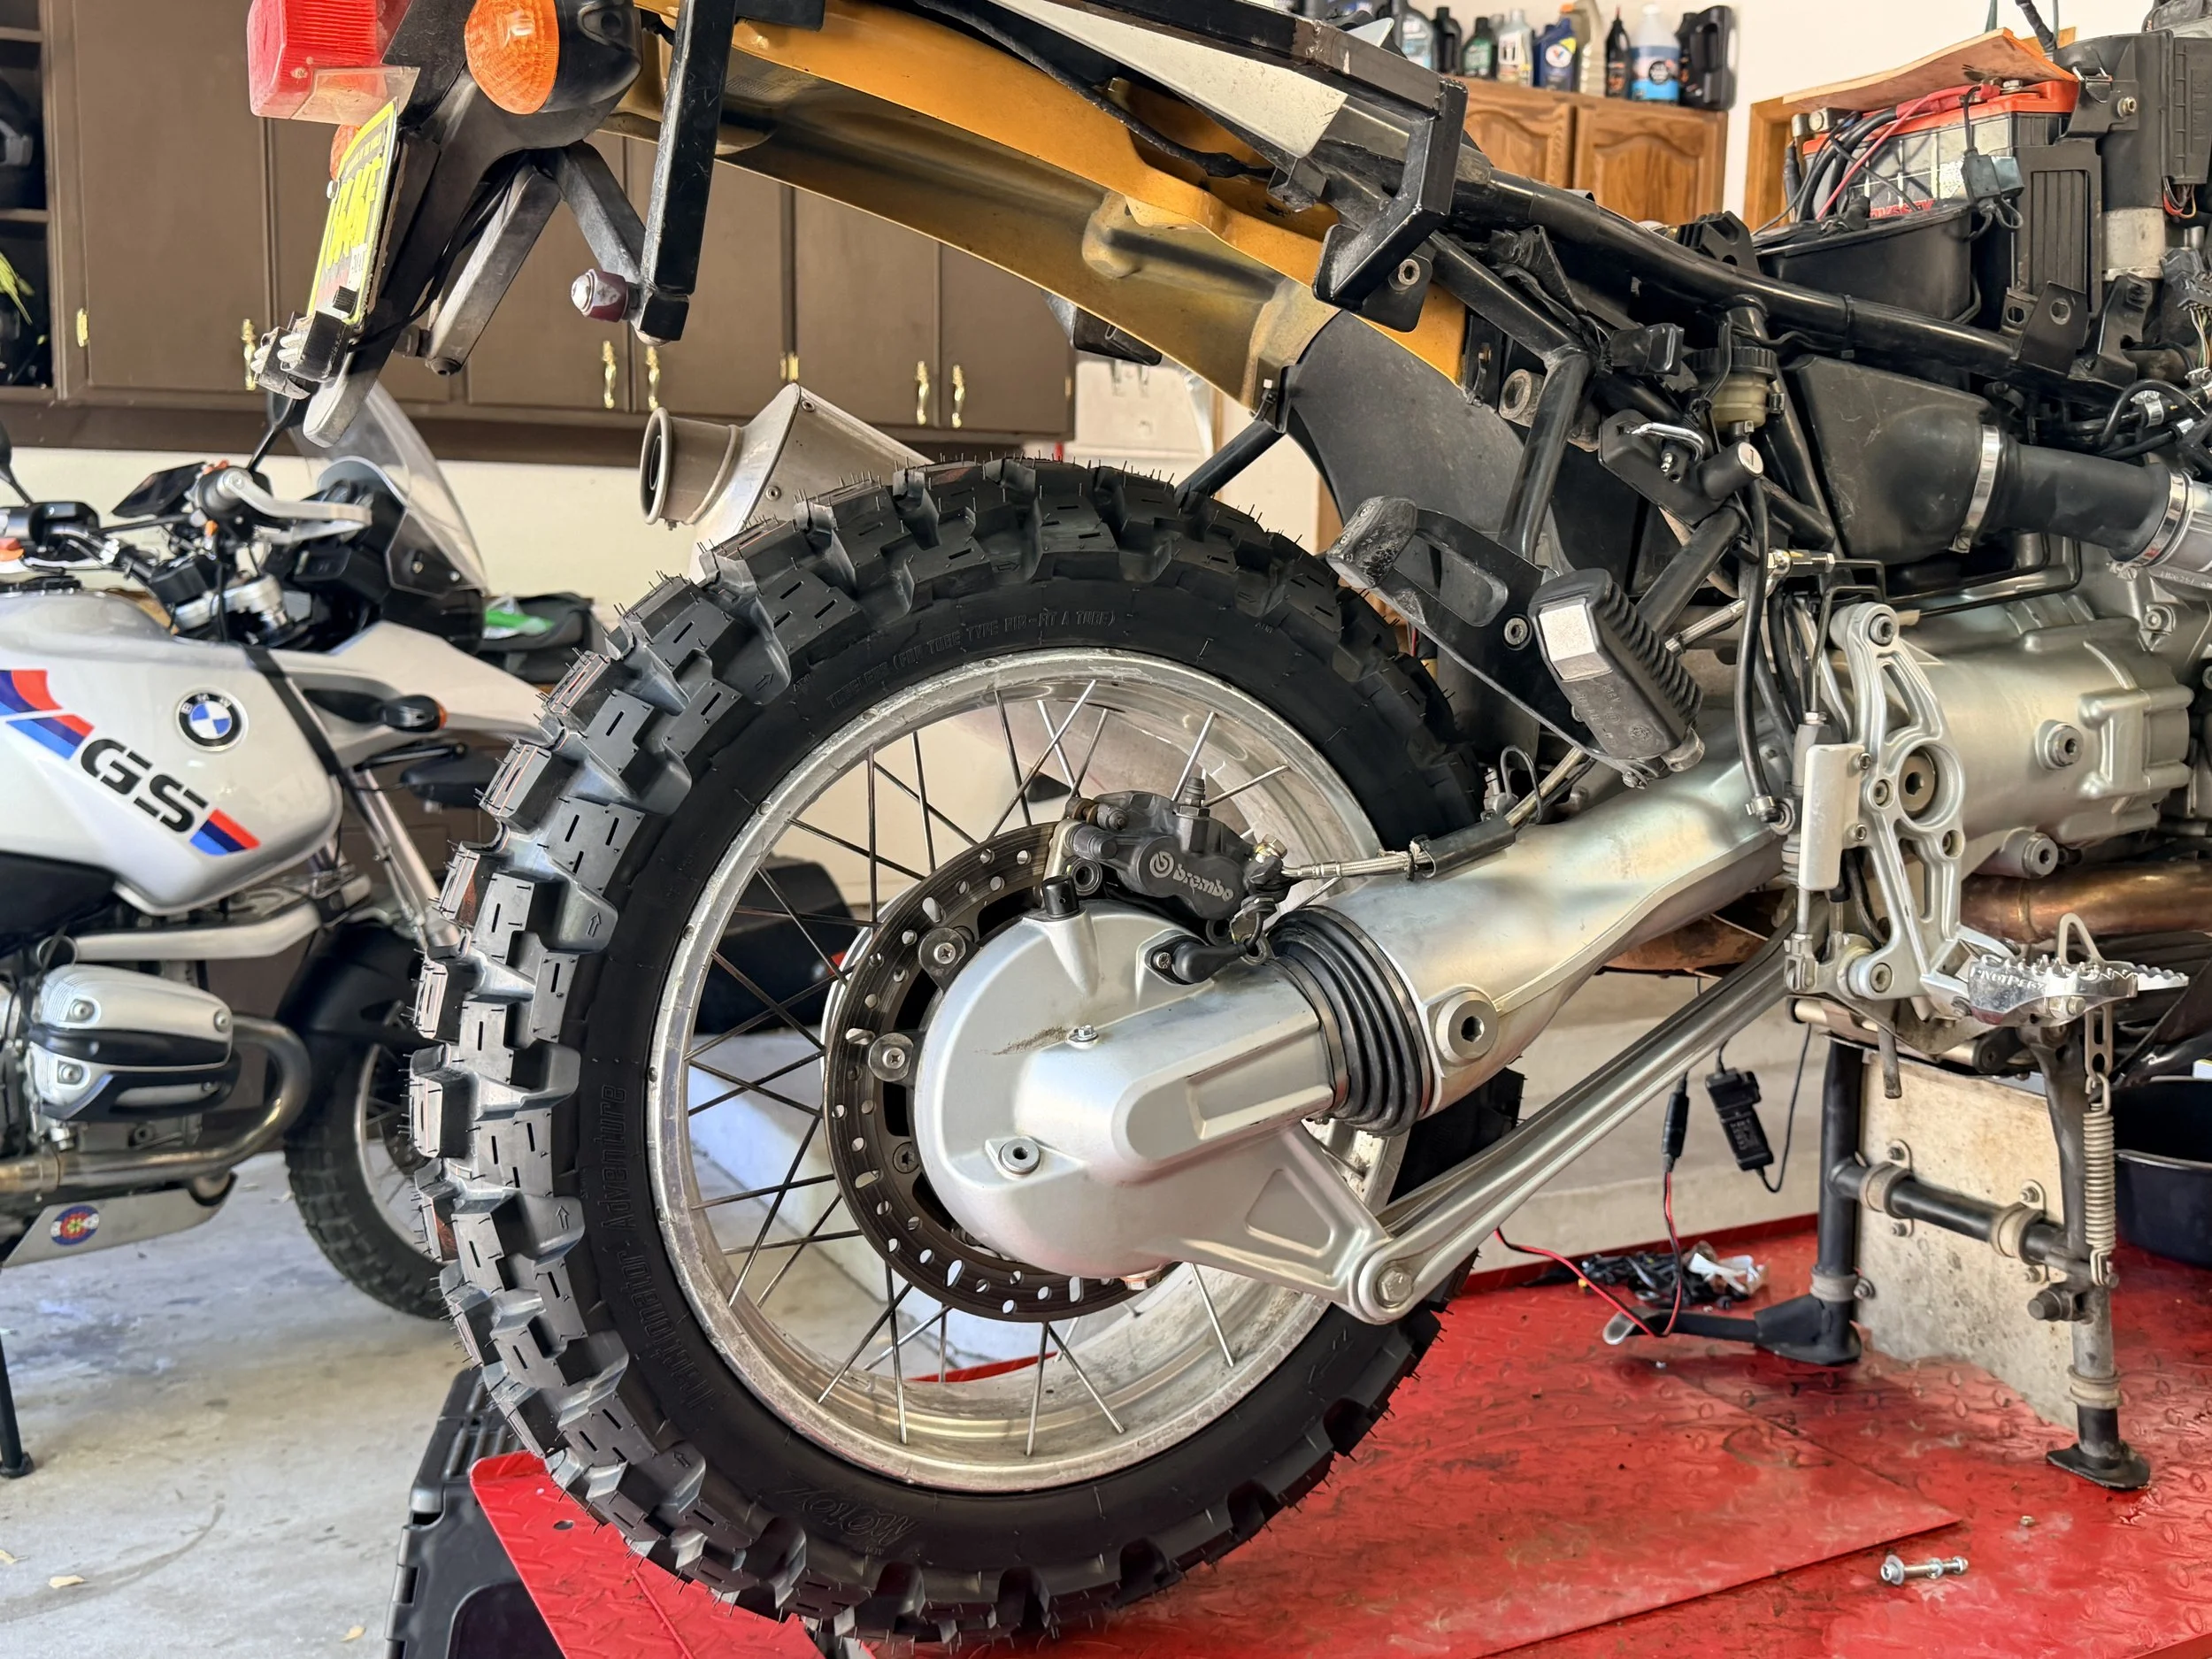
A planned offroad trip - new rear tire installed.
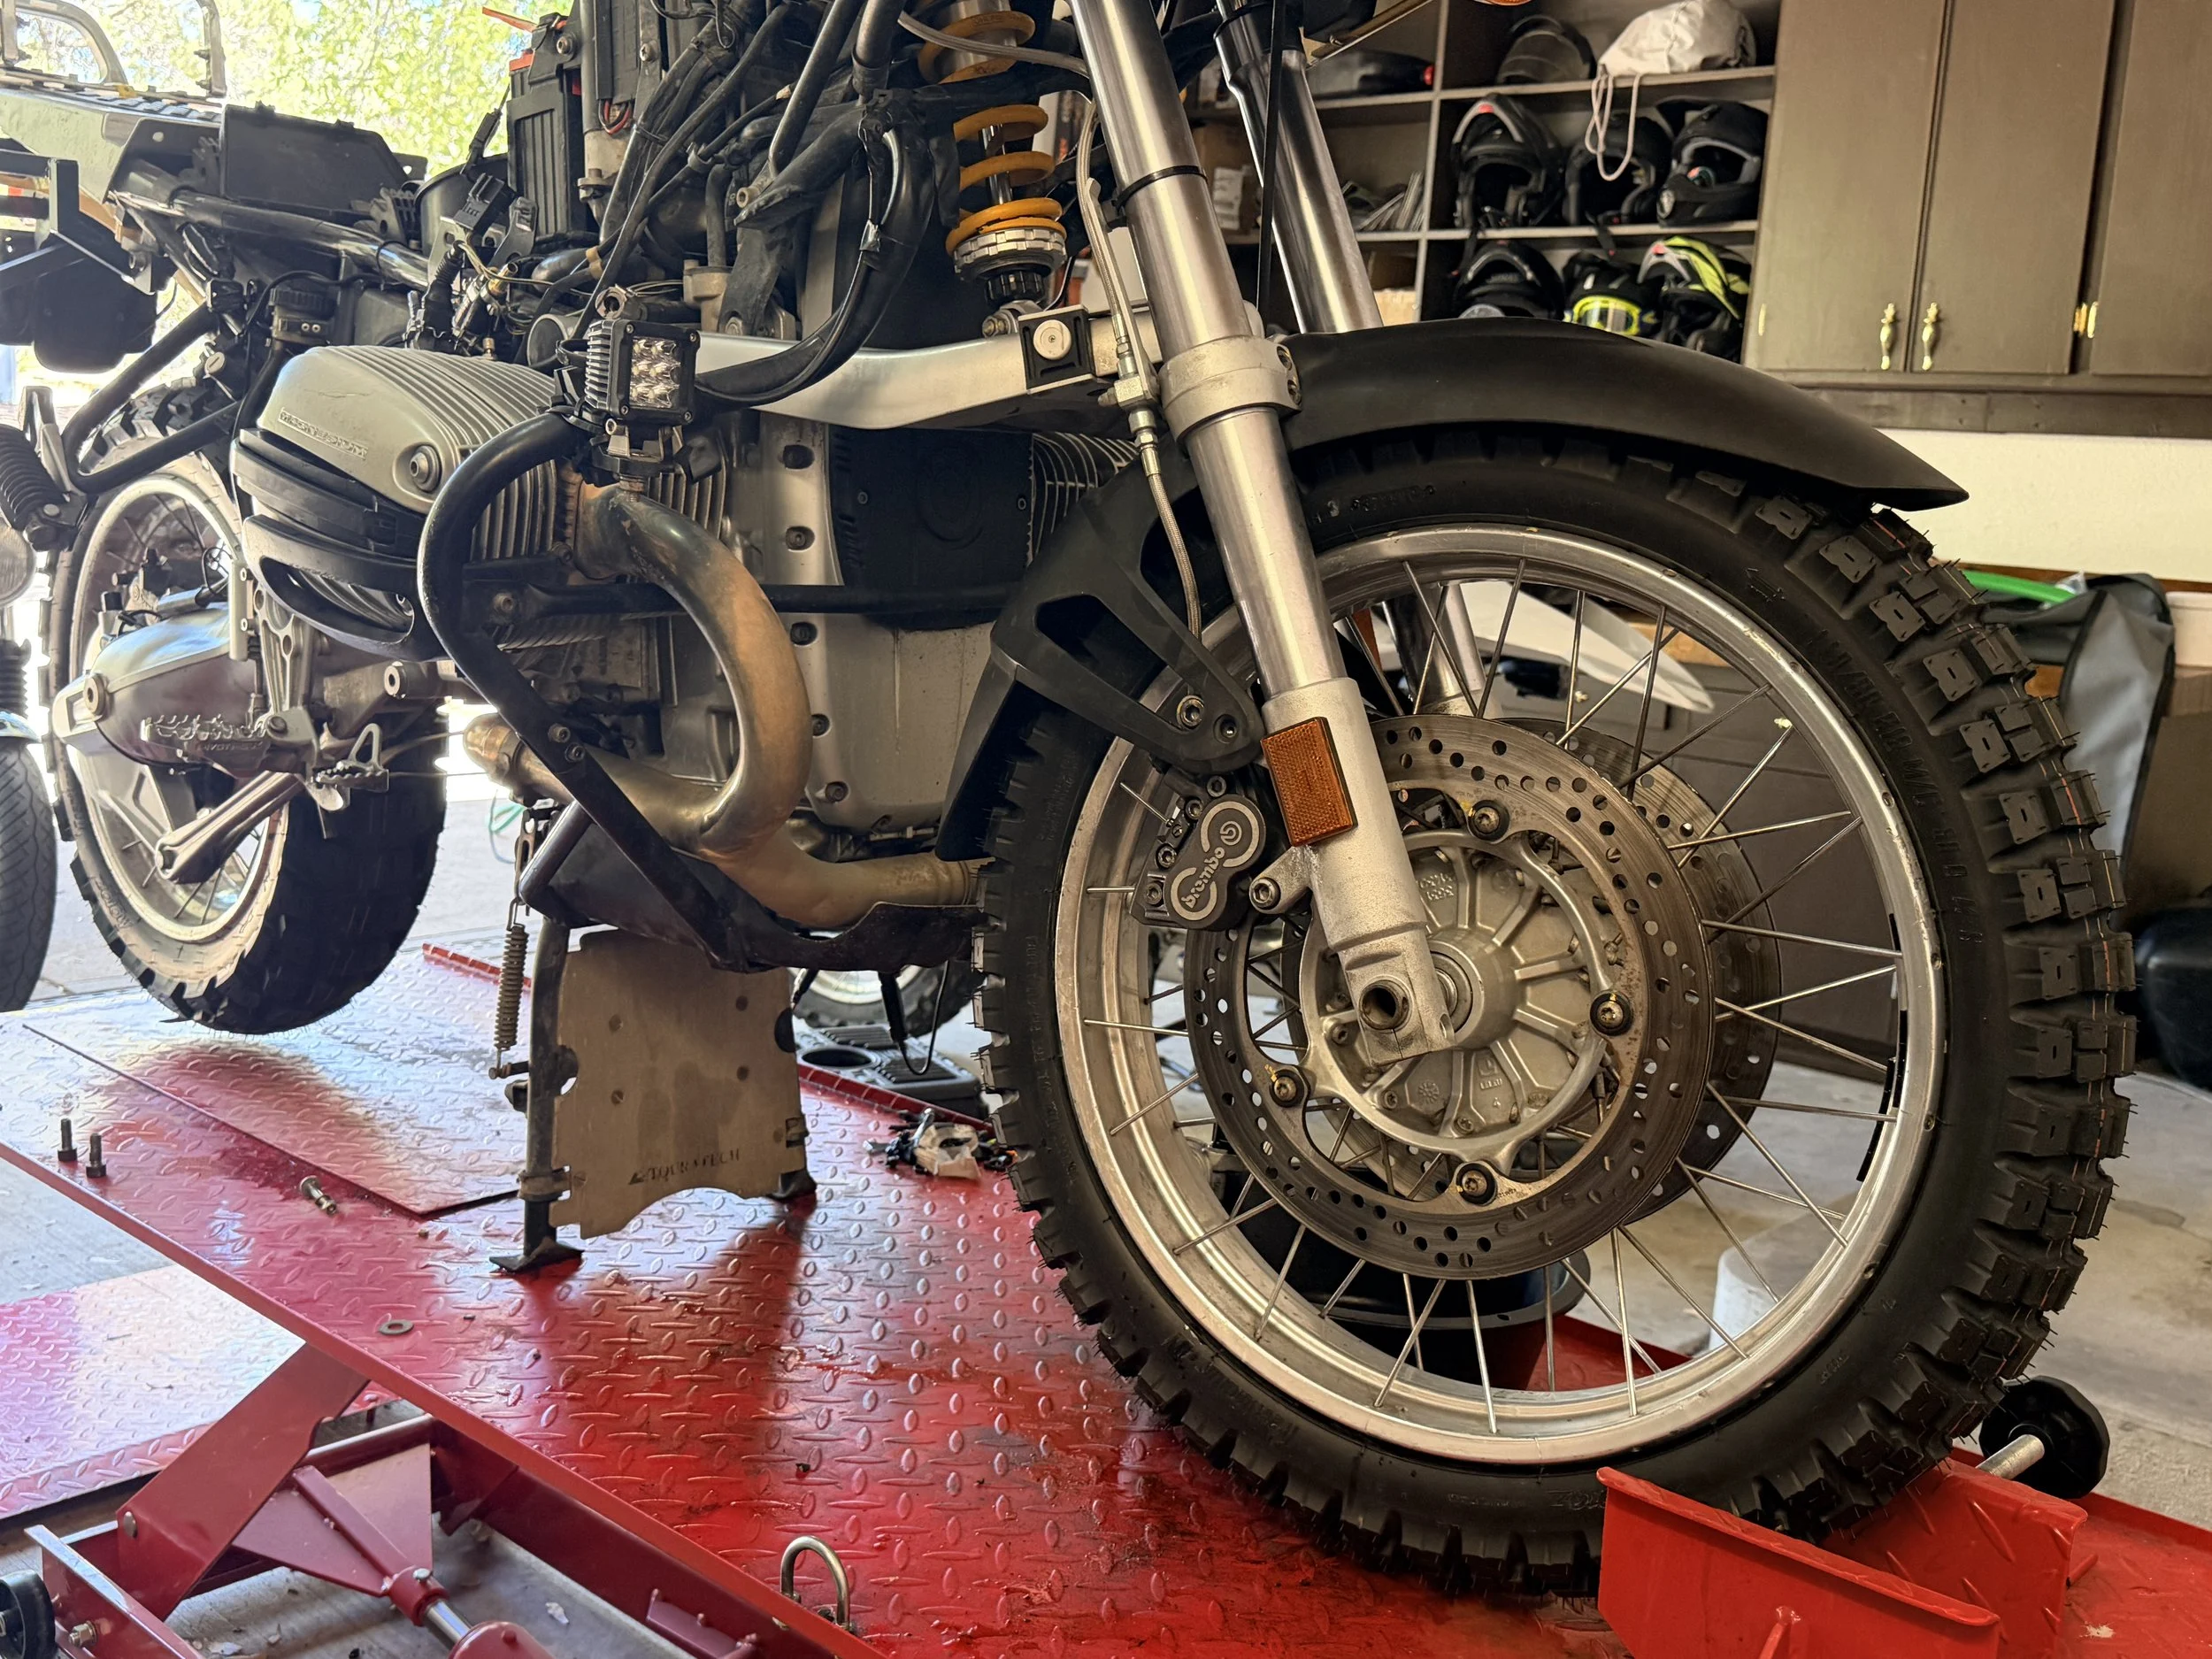
Front tire installed.
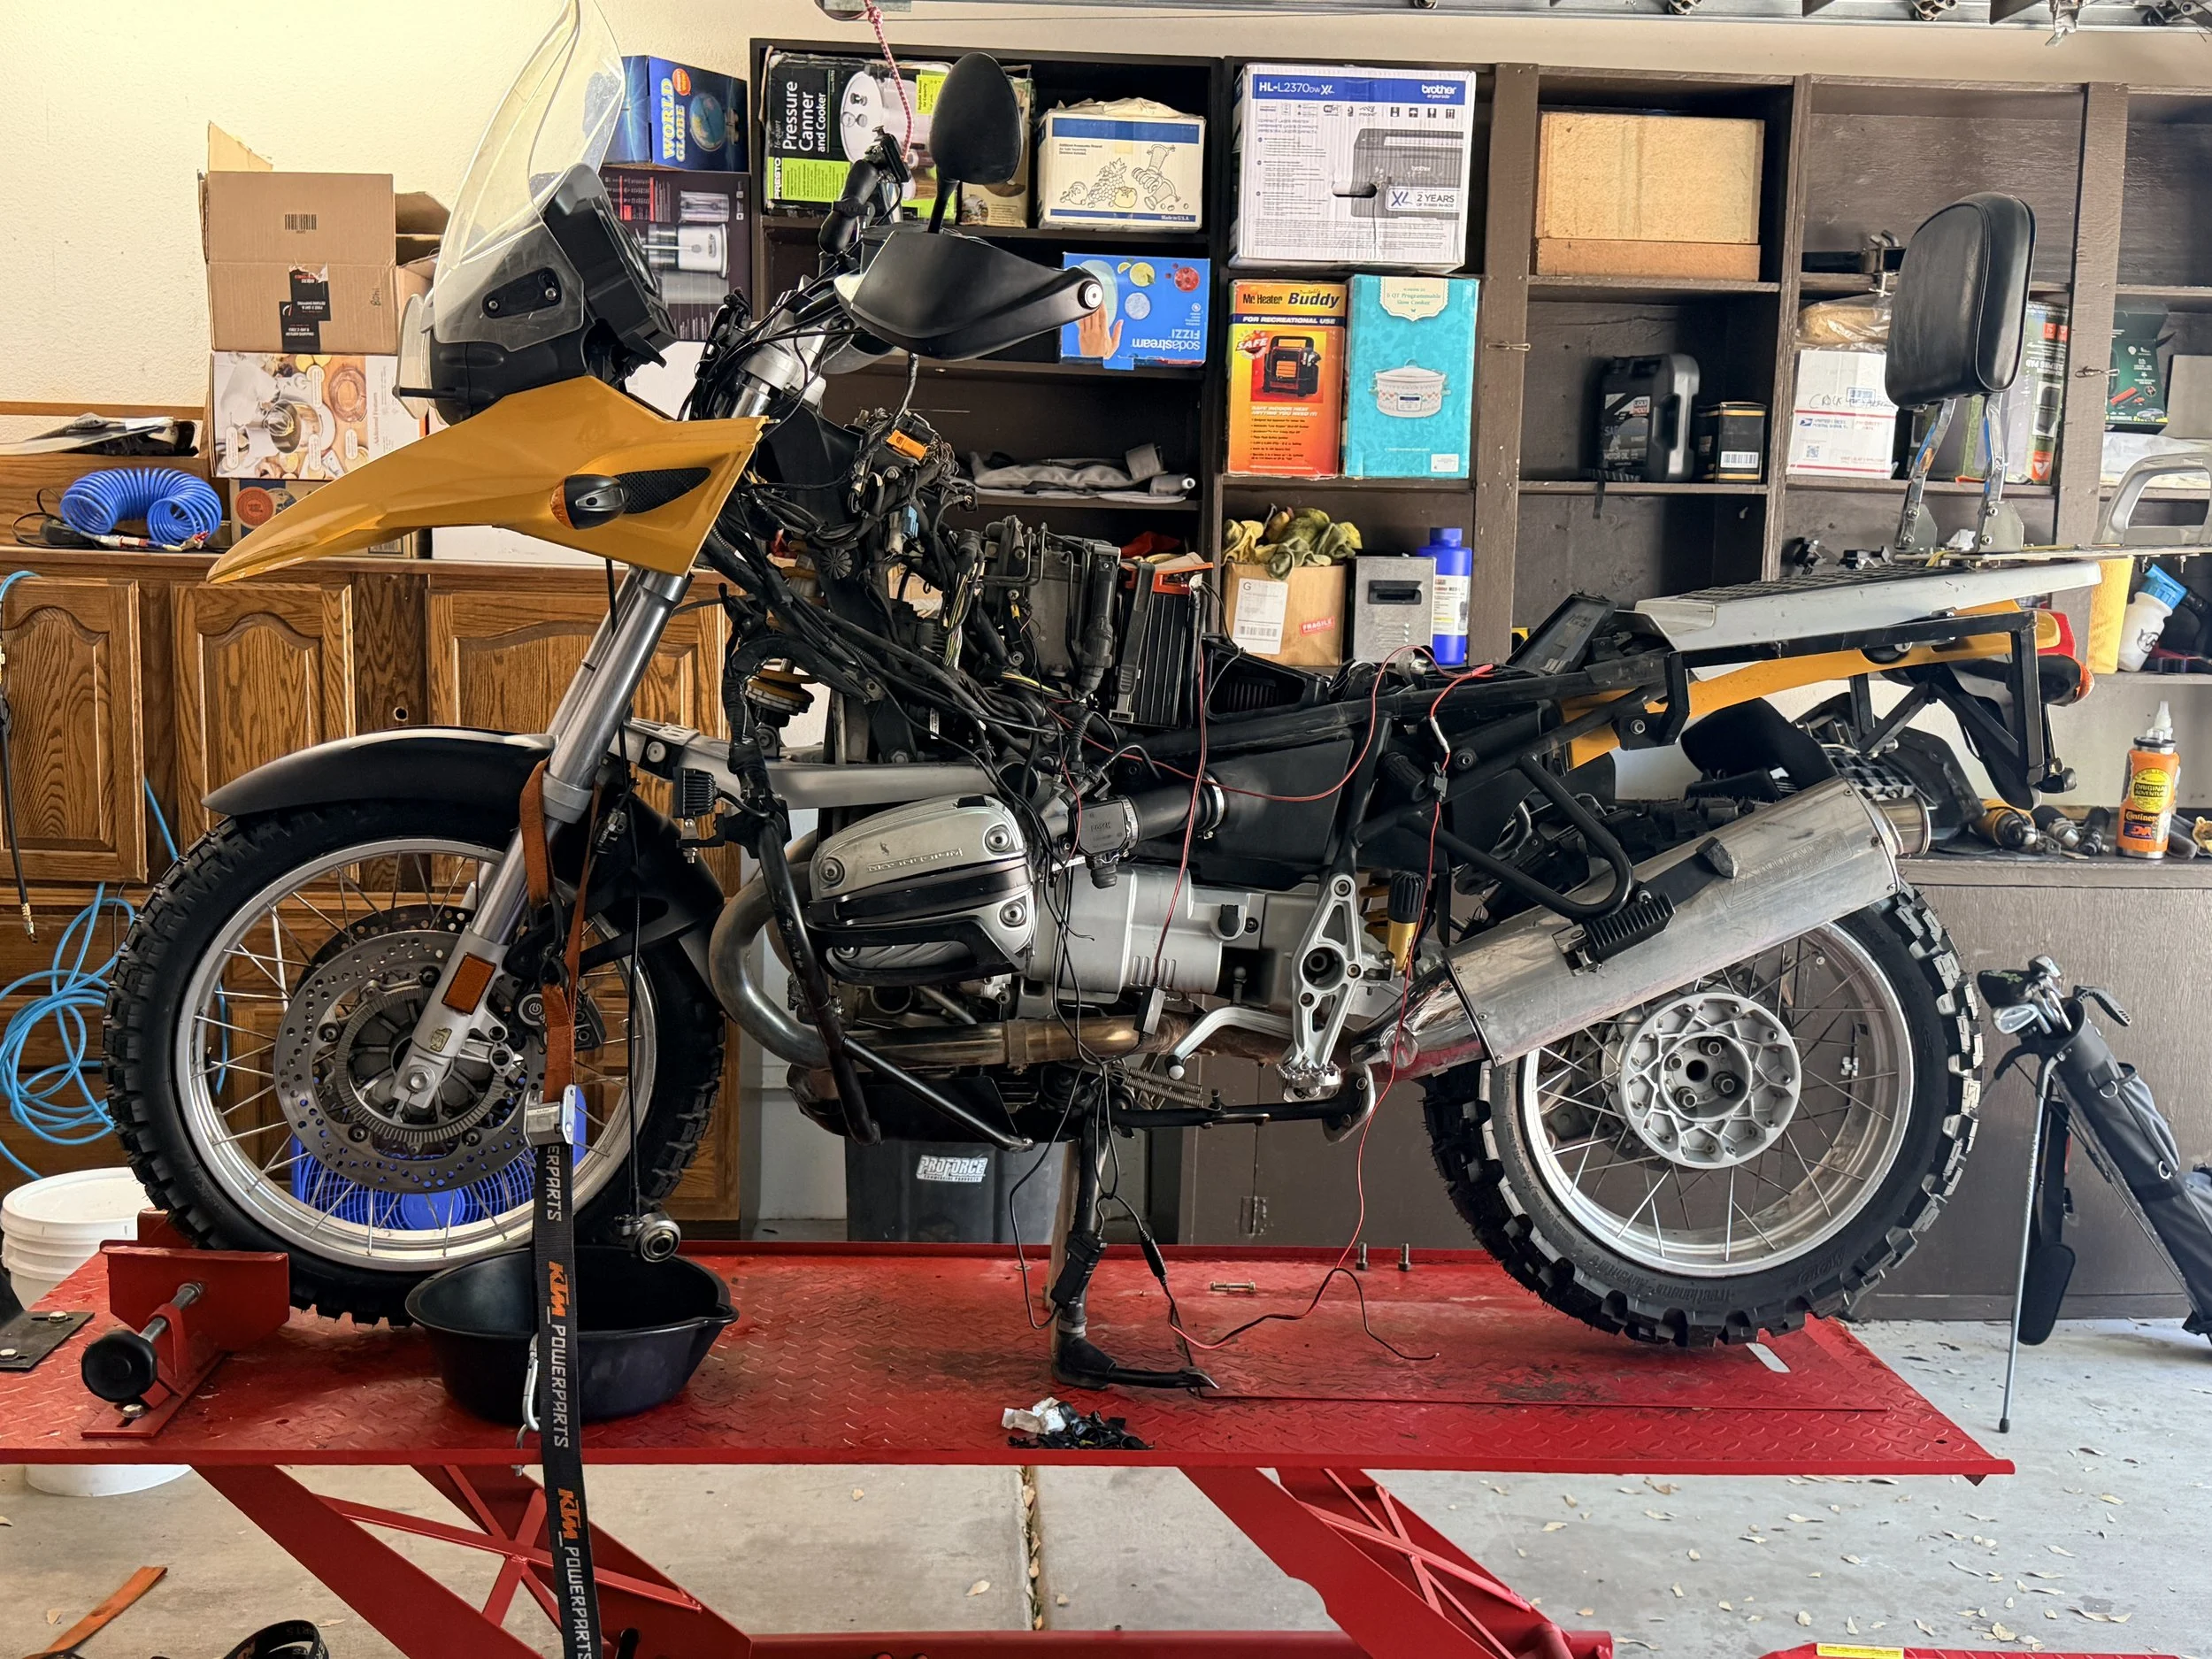
It's crazy how more aggressive rubber transforms the look of these machines.
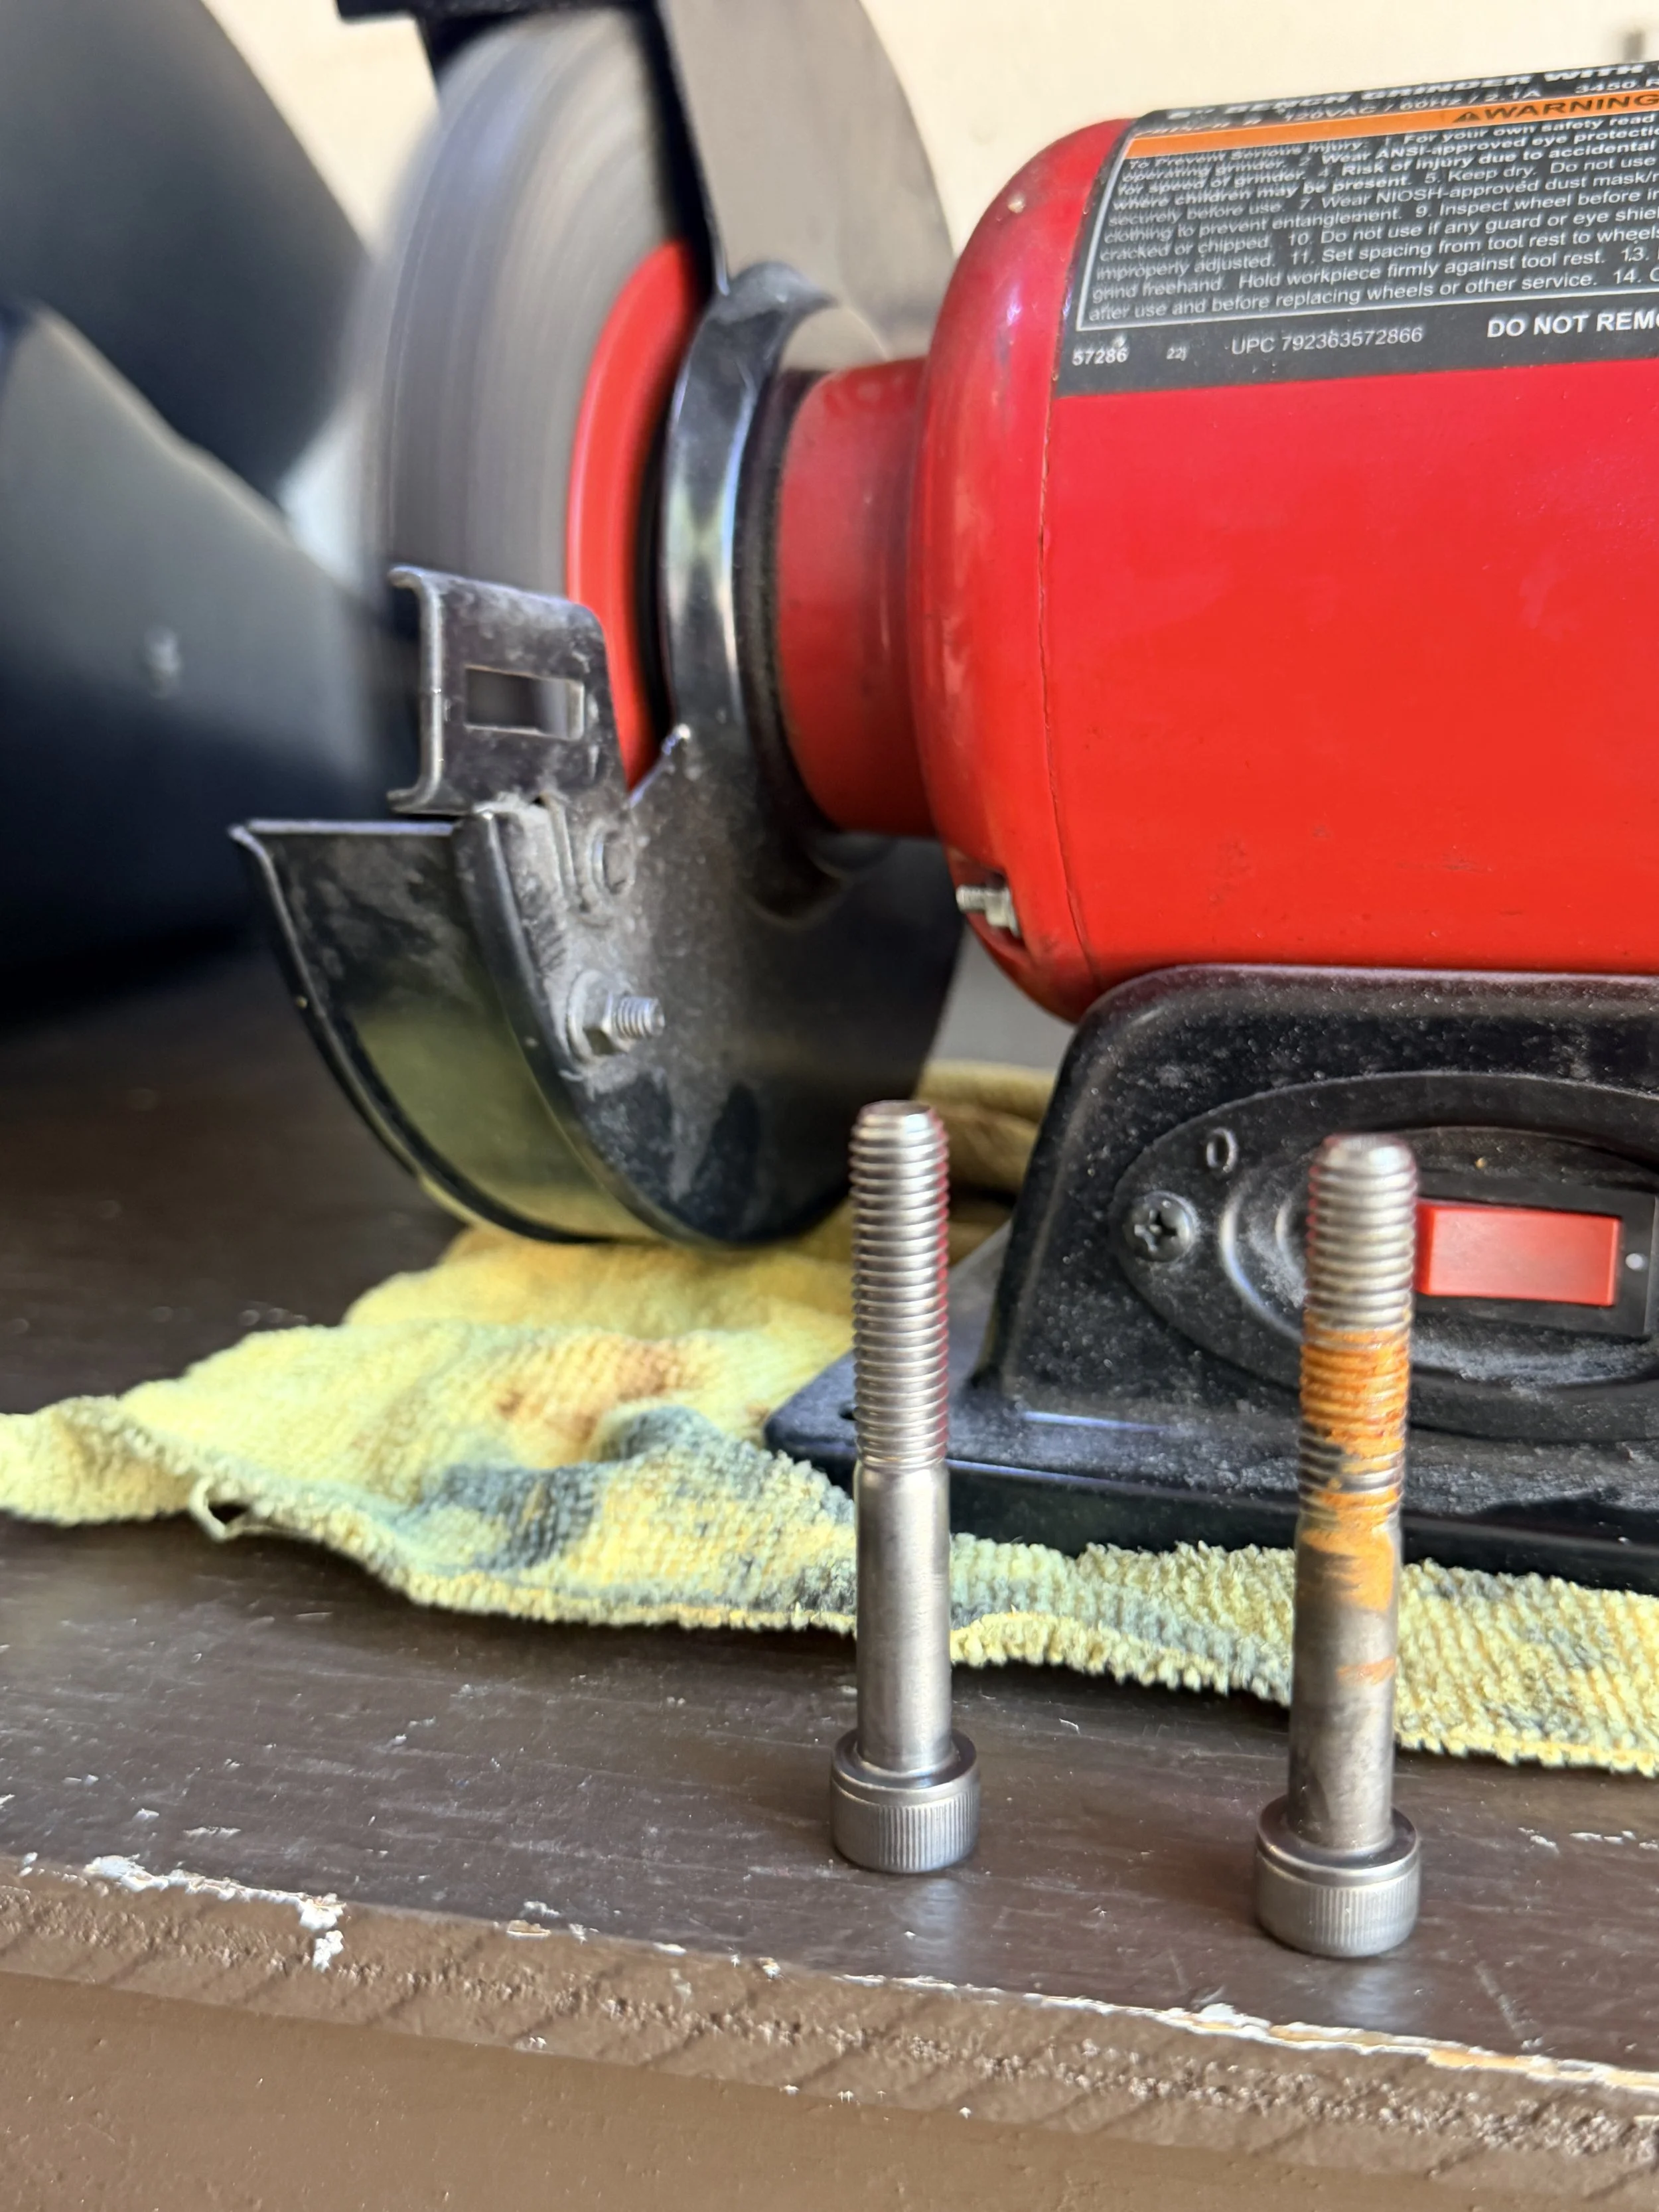
The bike is garage kept, but somehow New Mexico eats on the bolts. Freshened up lots of bolts.
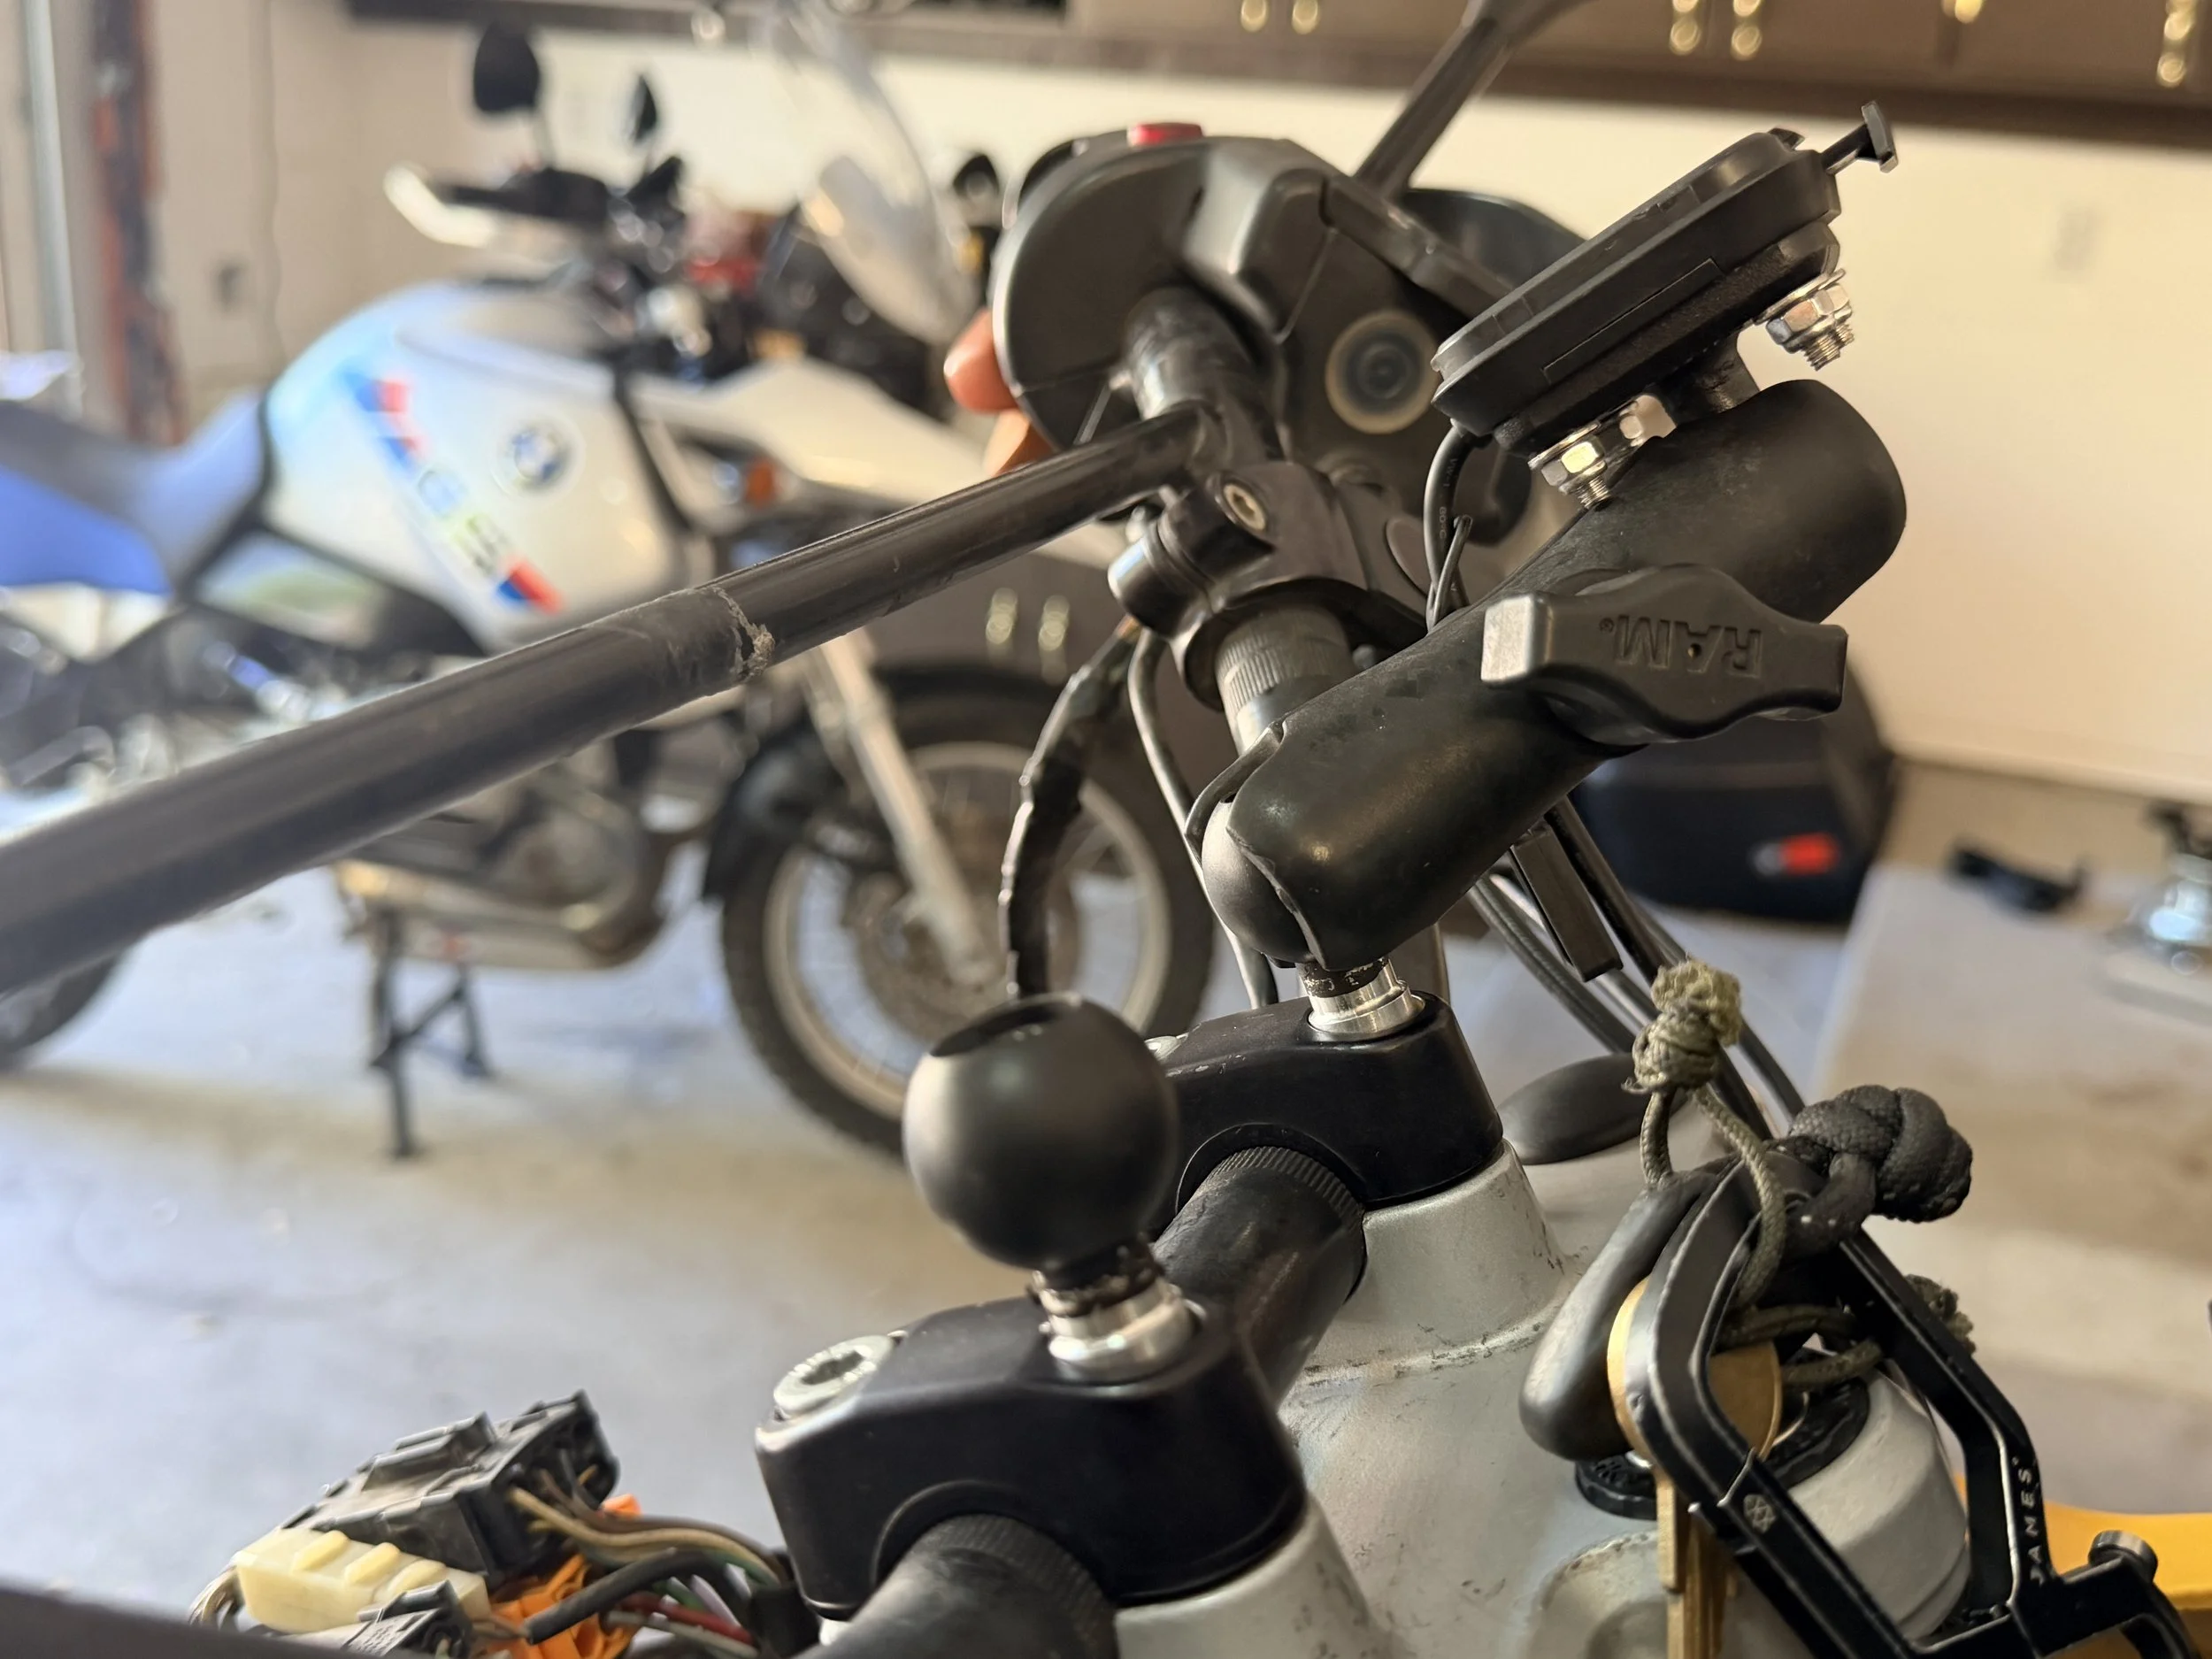
Removing everything from the handlebars to give the cockpit a cleaner look.
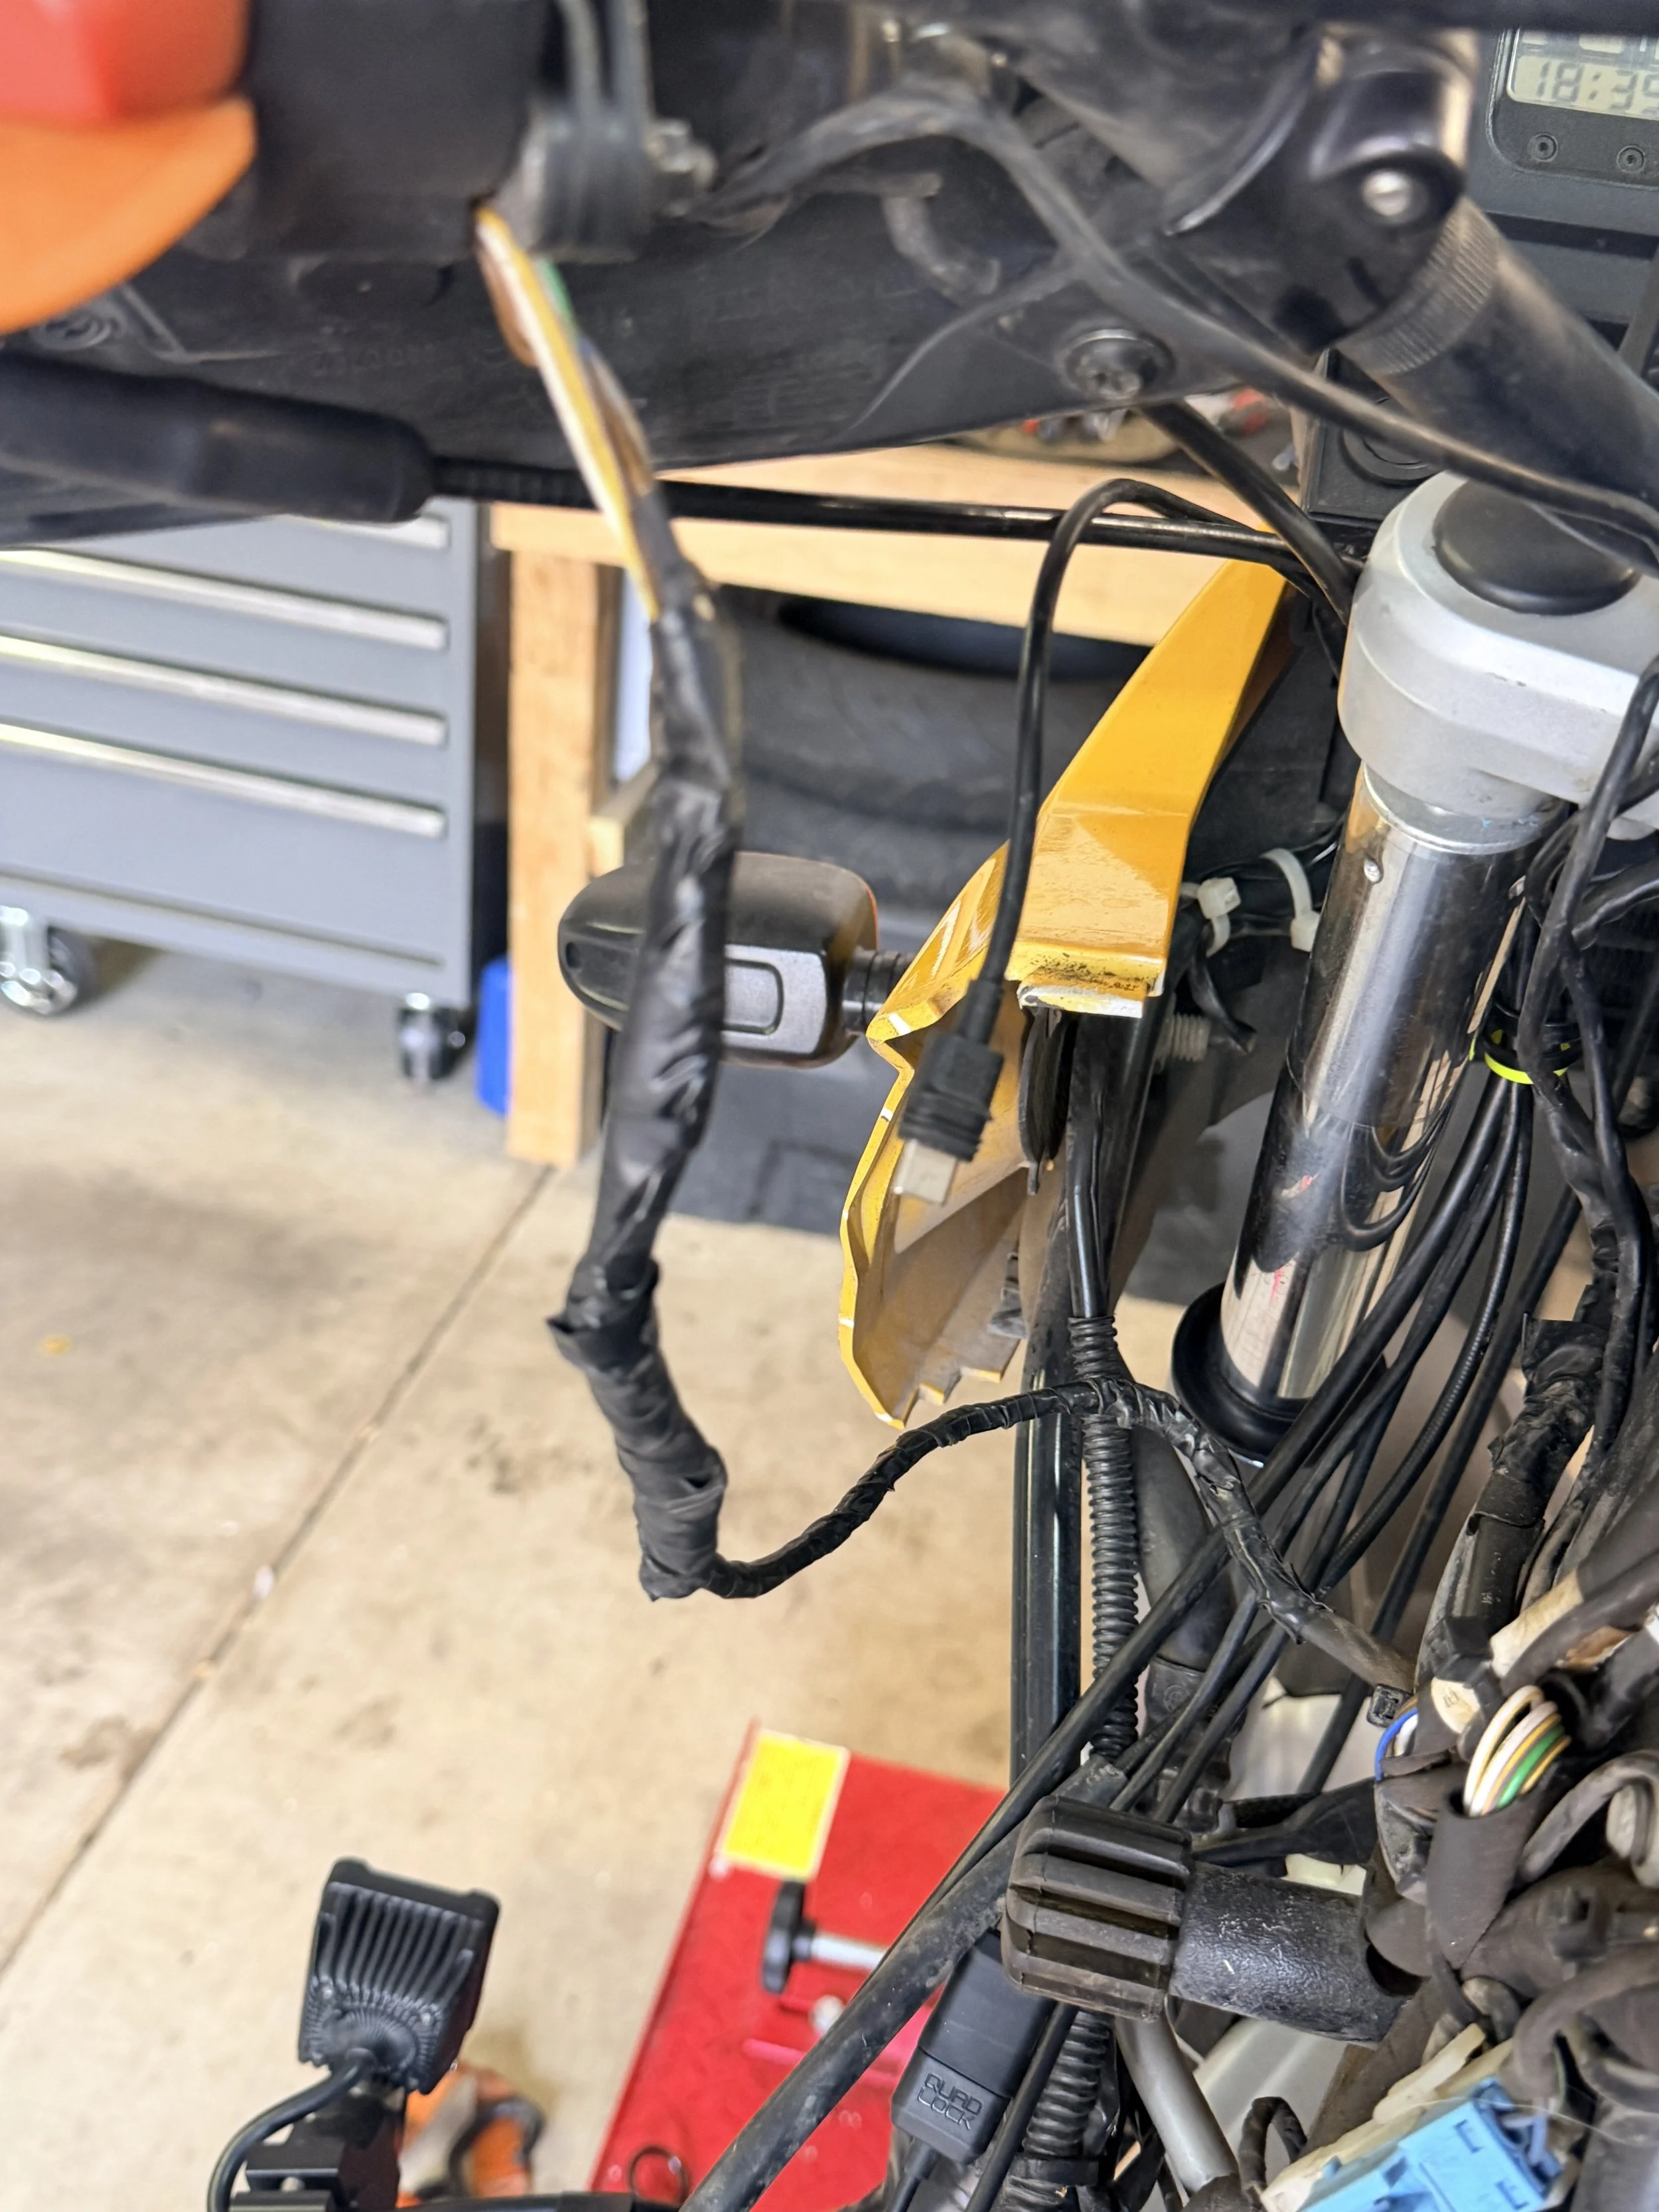
A lot of exposed wiring, electrical tape hammered by the heat, and opportunities for serious problems long-term.
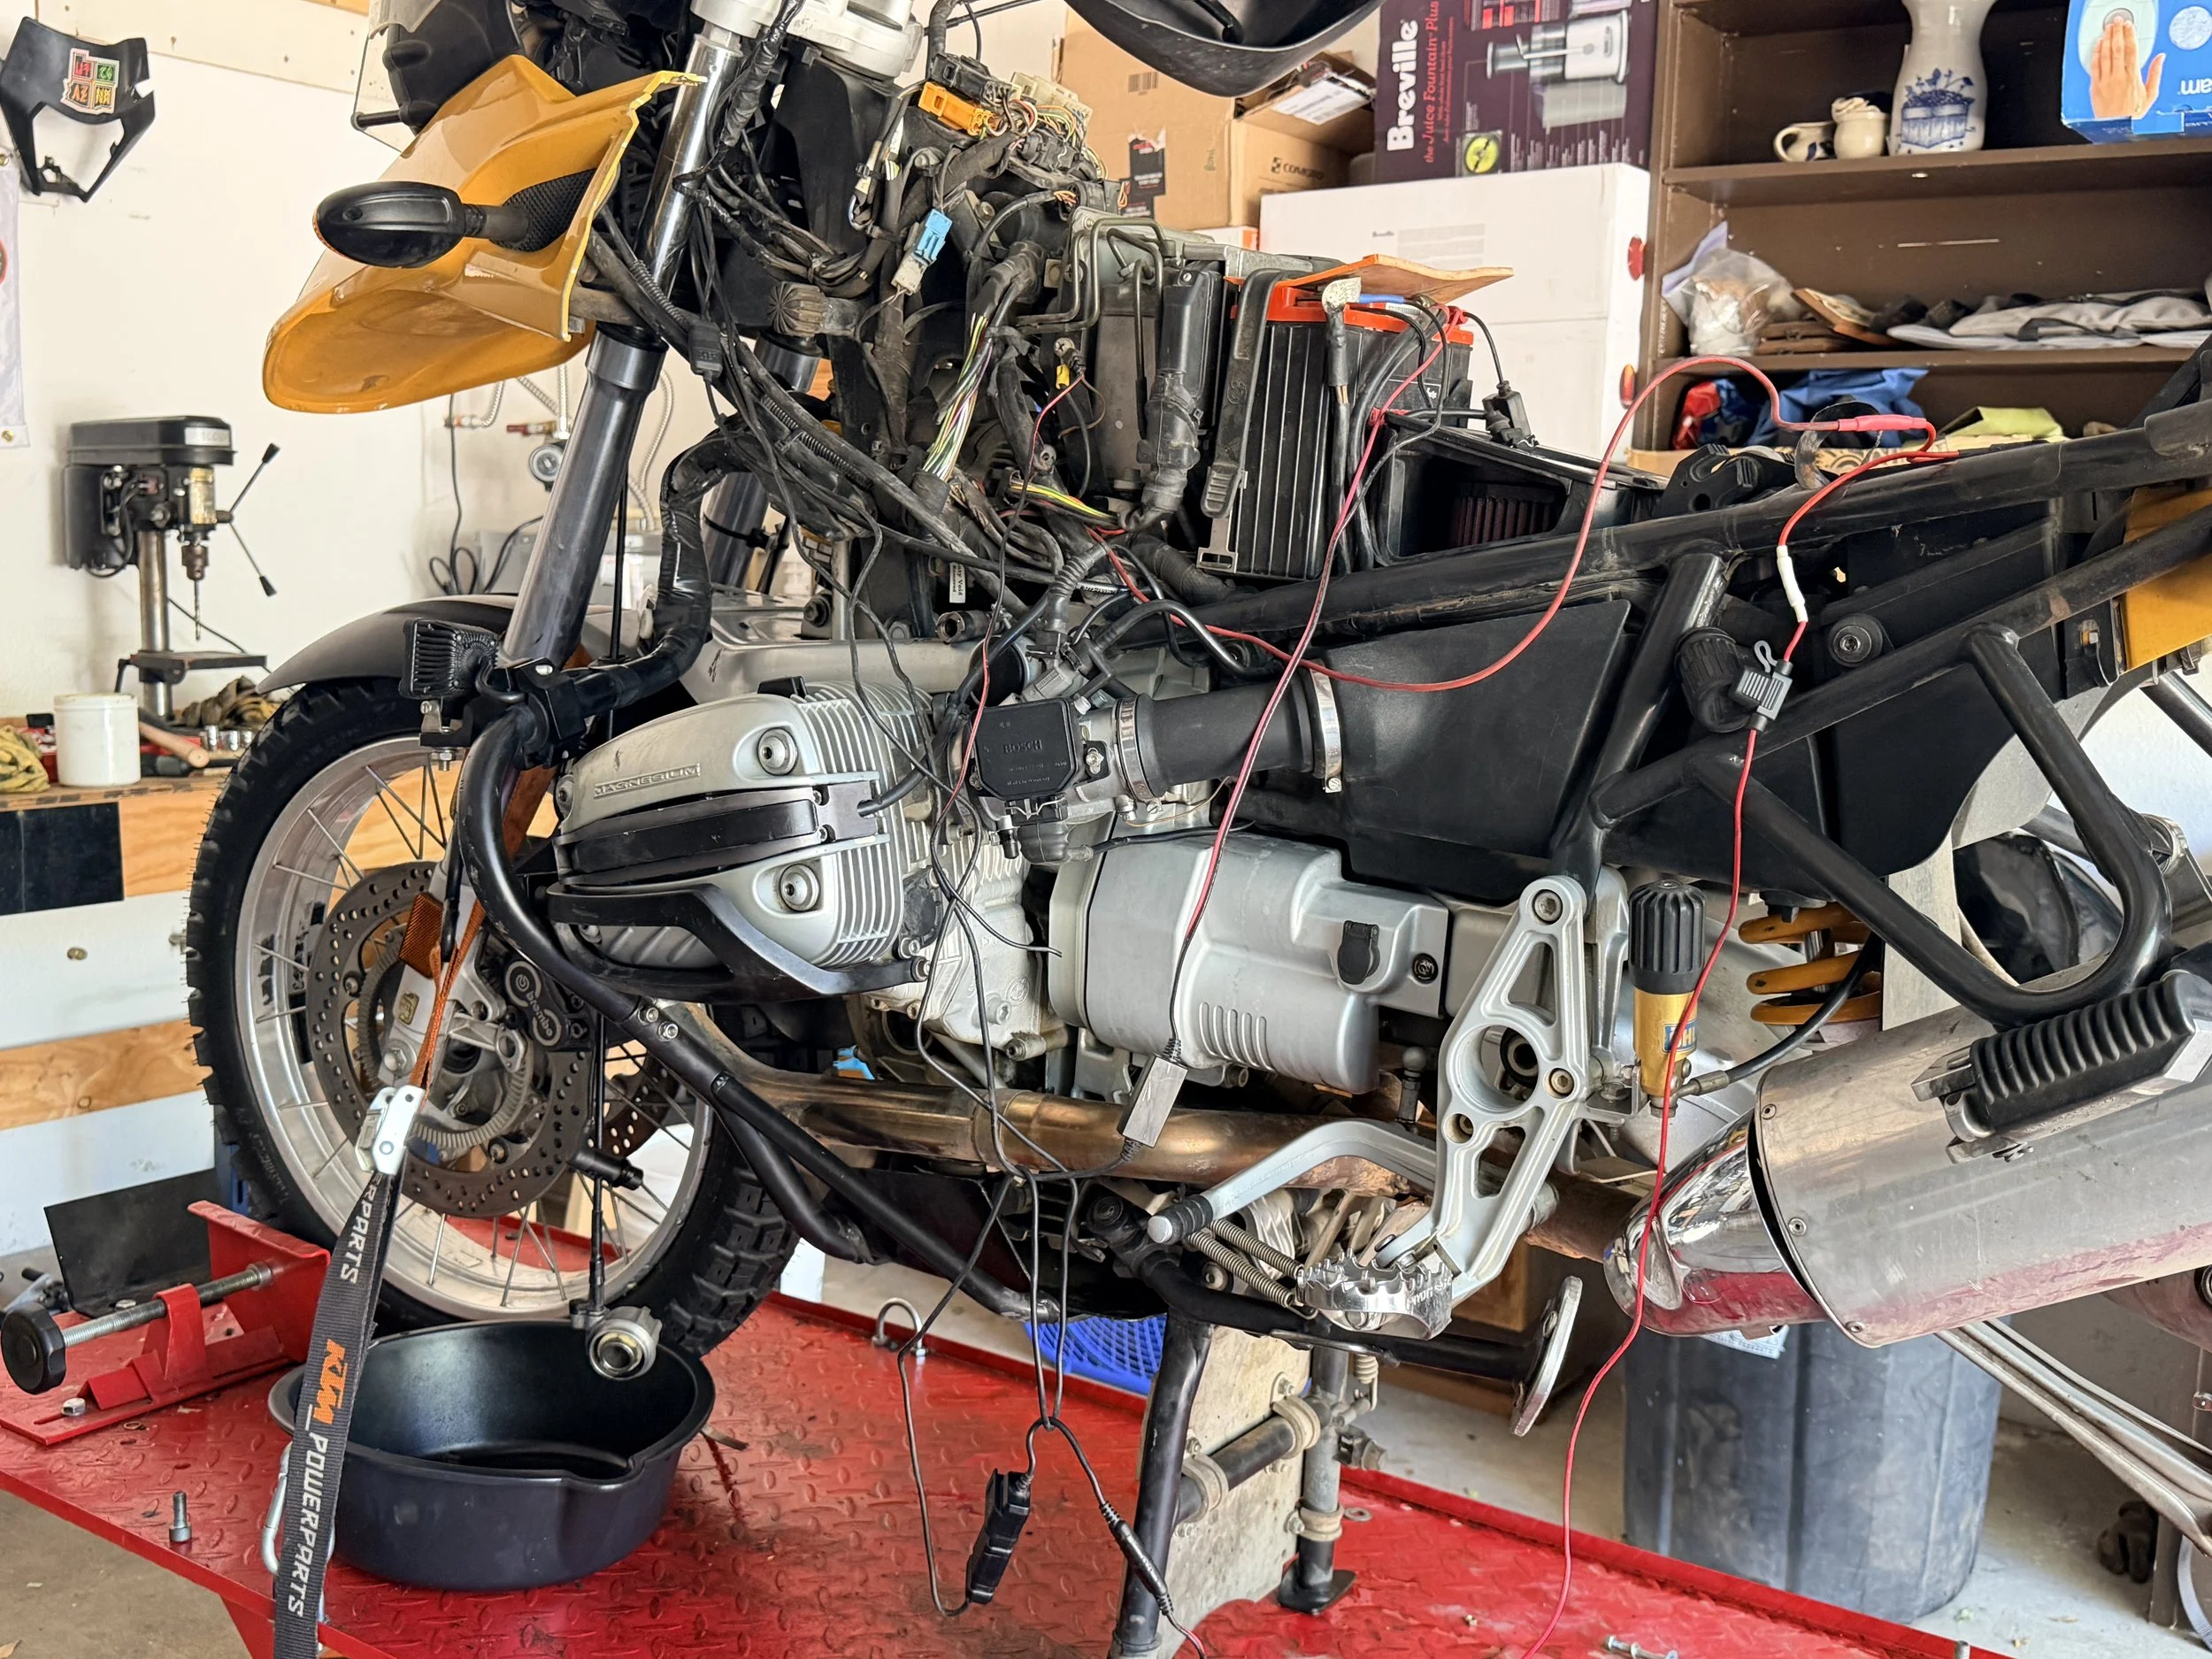
I think it's safe to say that I have learned a lot from wiring, and am better than I was then. A few cut wires shorting out, and generally a mess. Let's dig in!
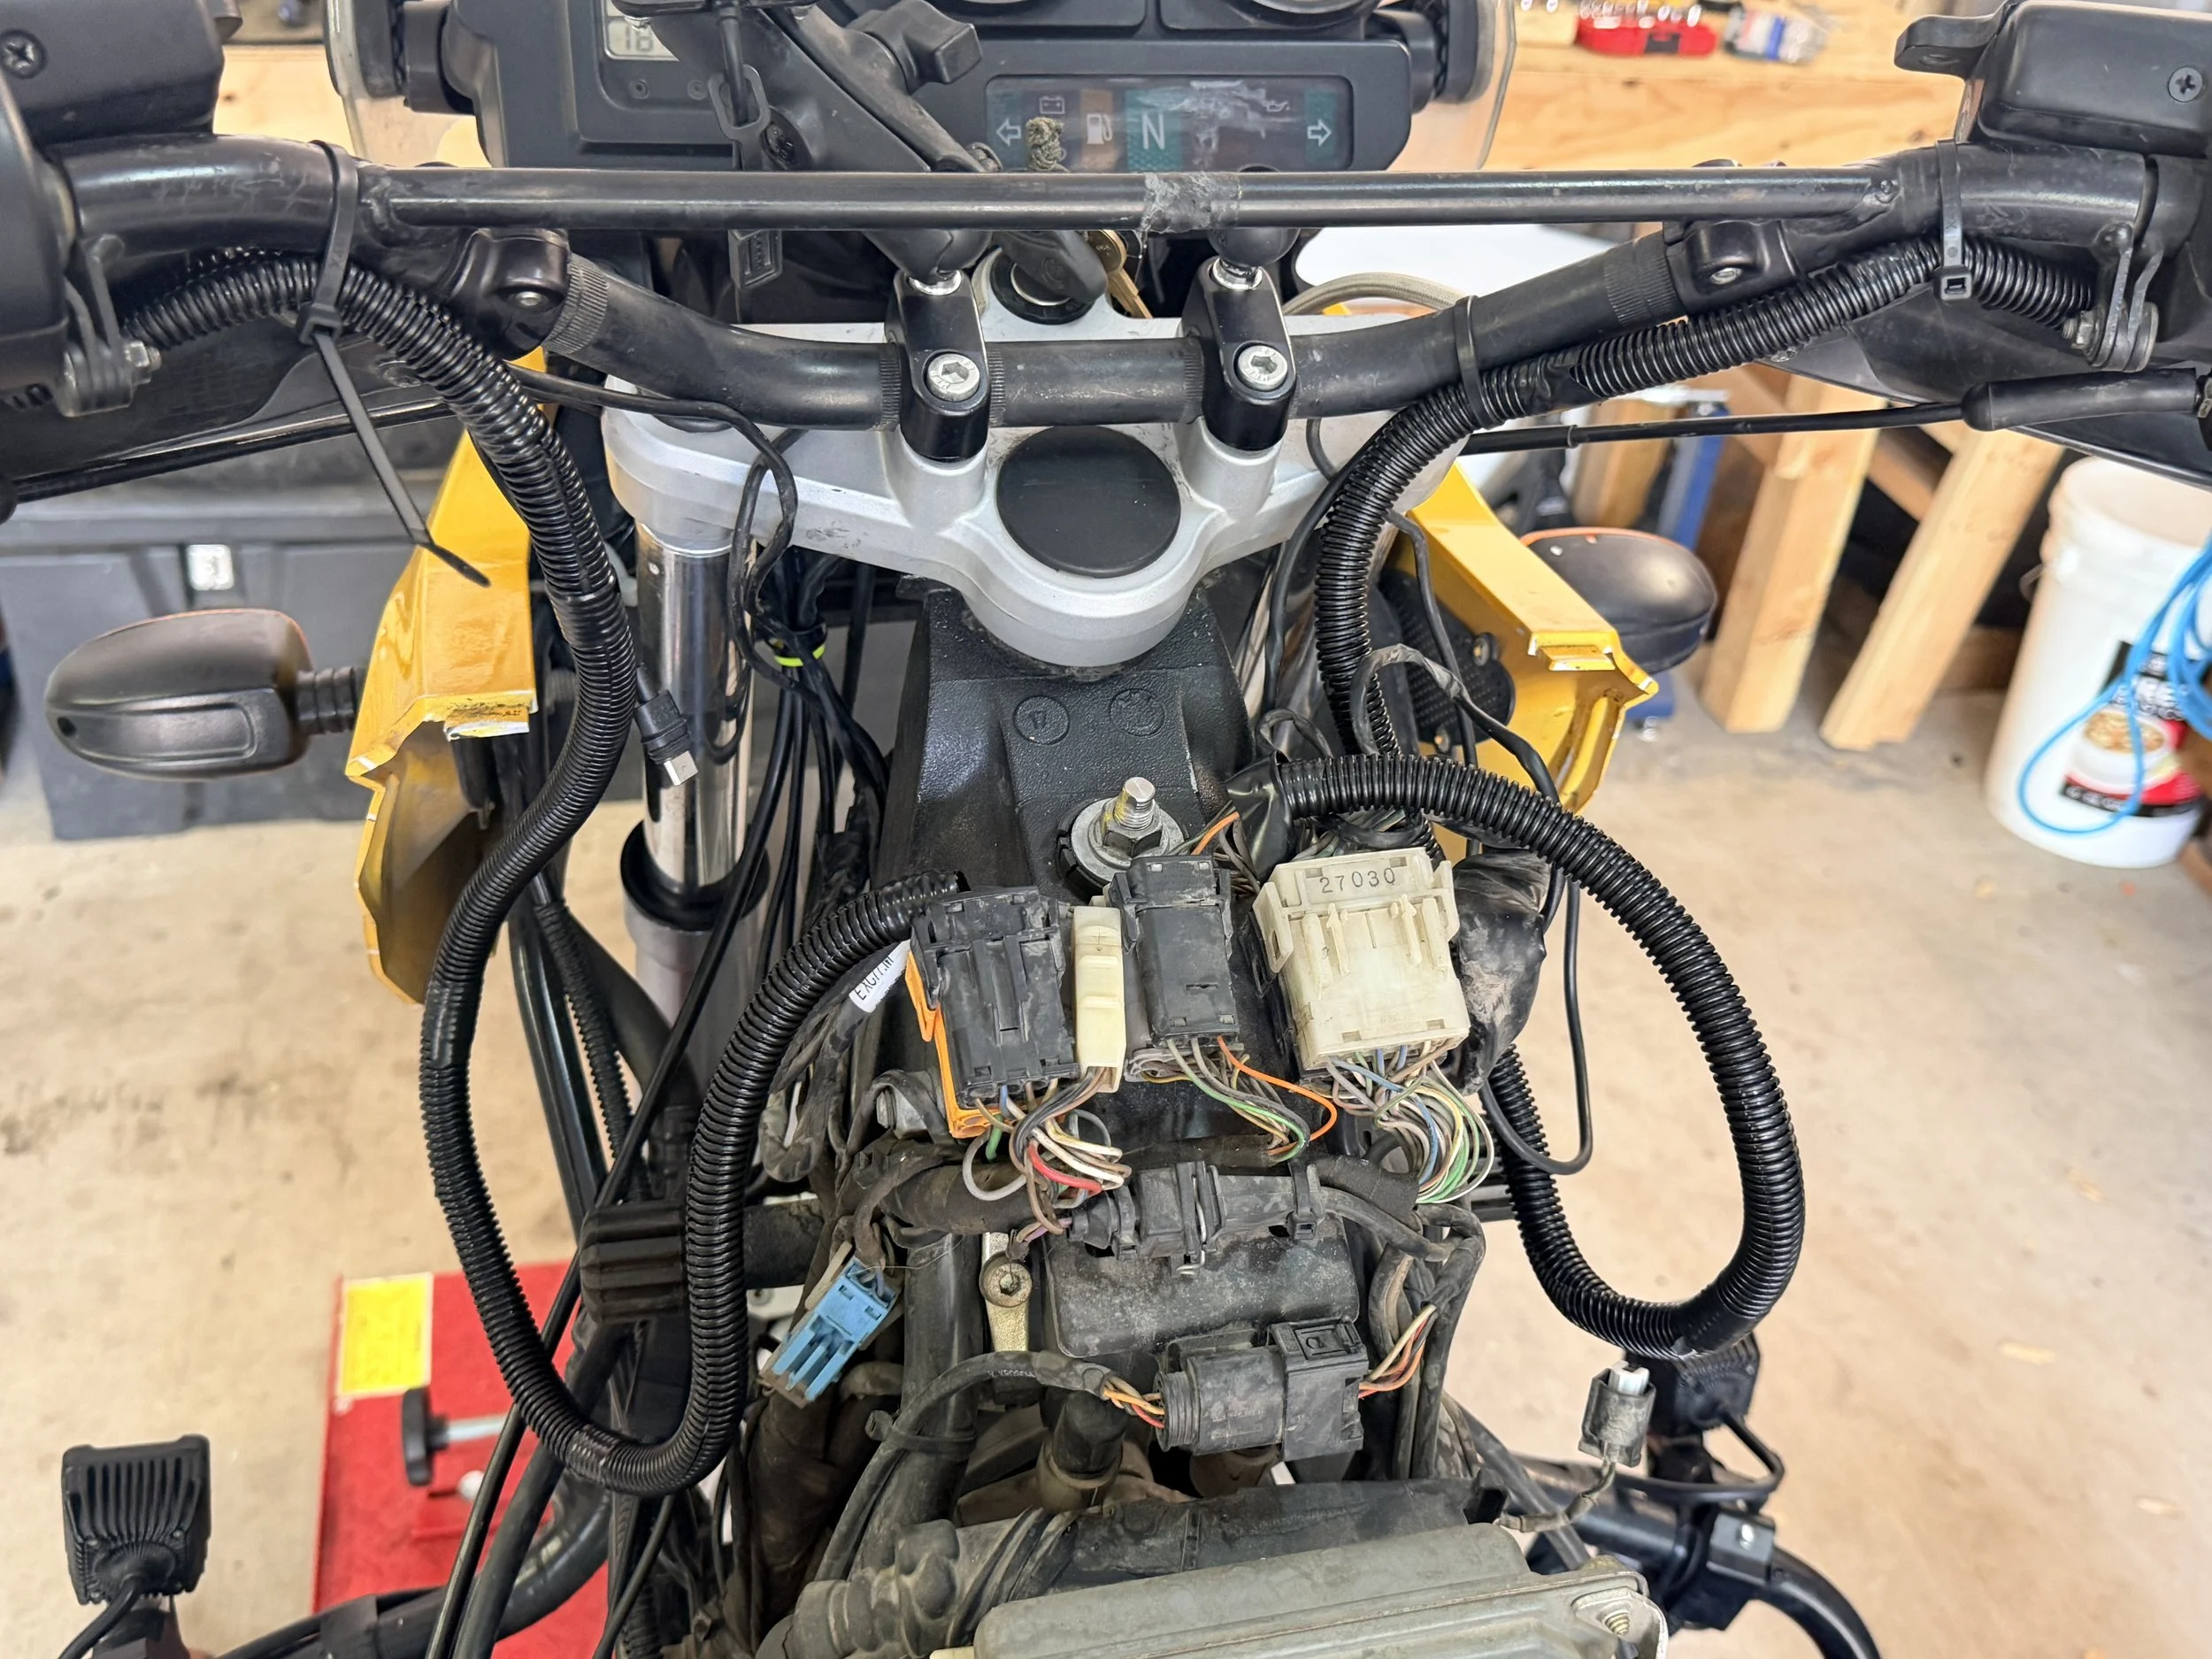
Beginning to clean it up. There are a lot of ways to do this, many much more professional & longer lasting. This approach works well, and safeguards them.
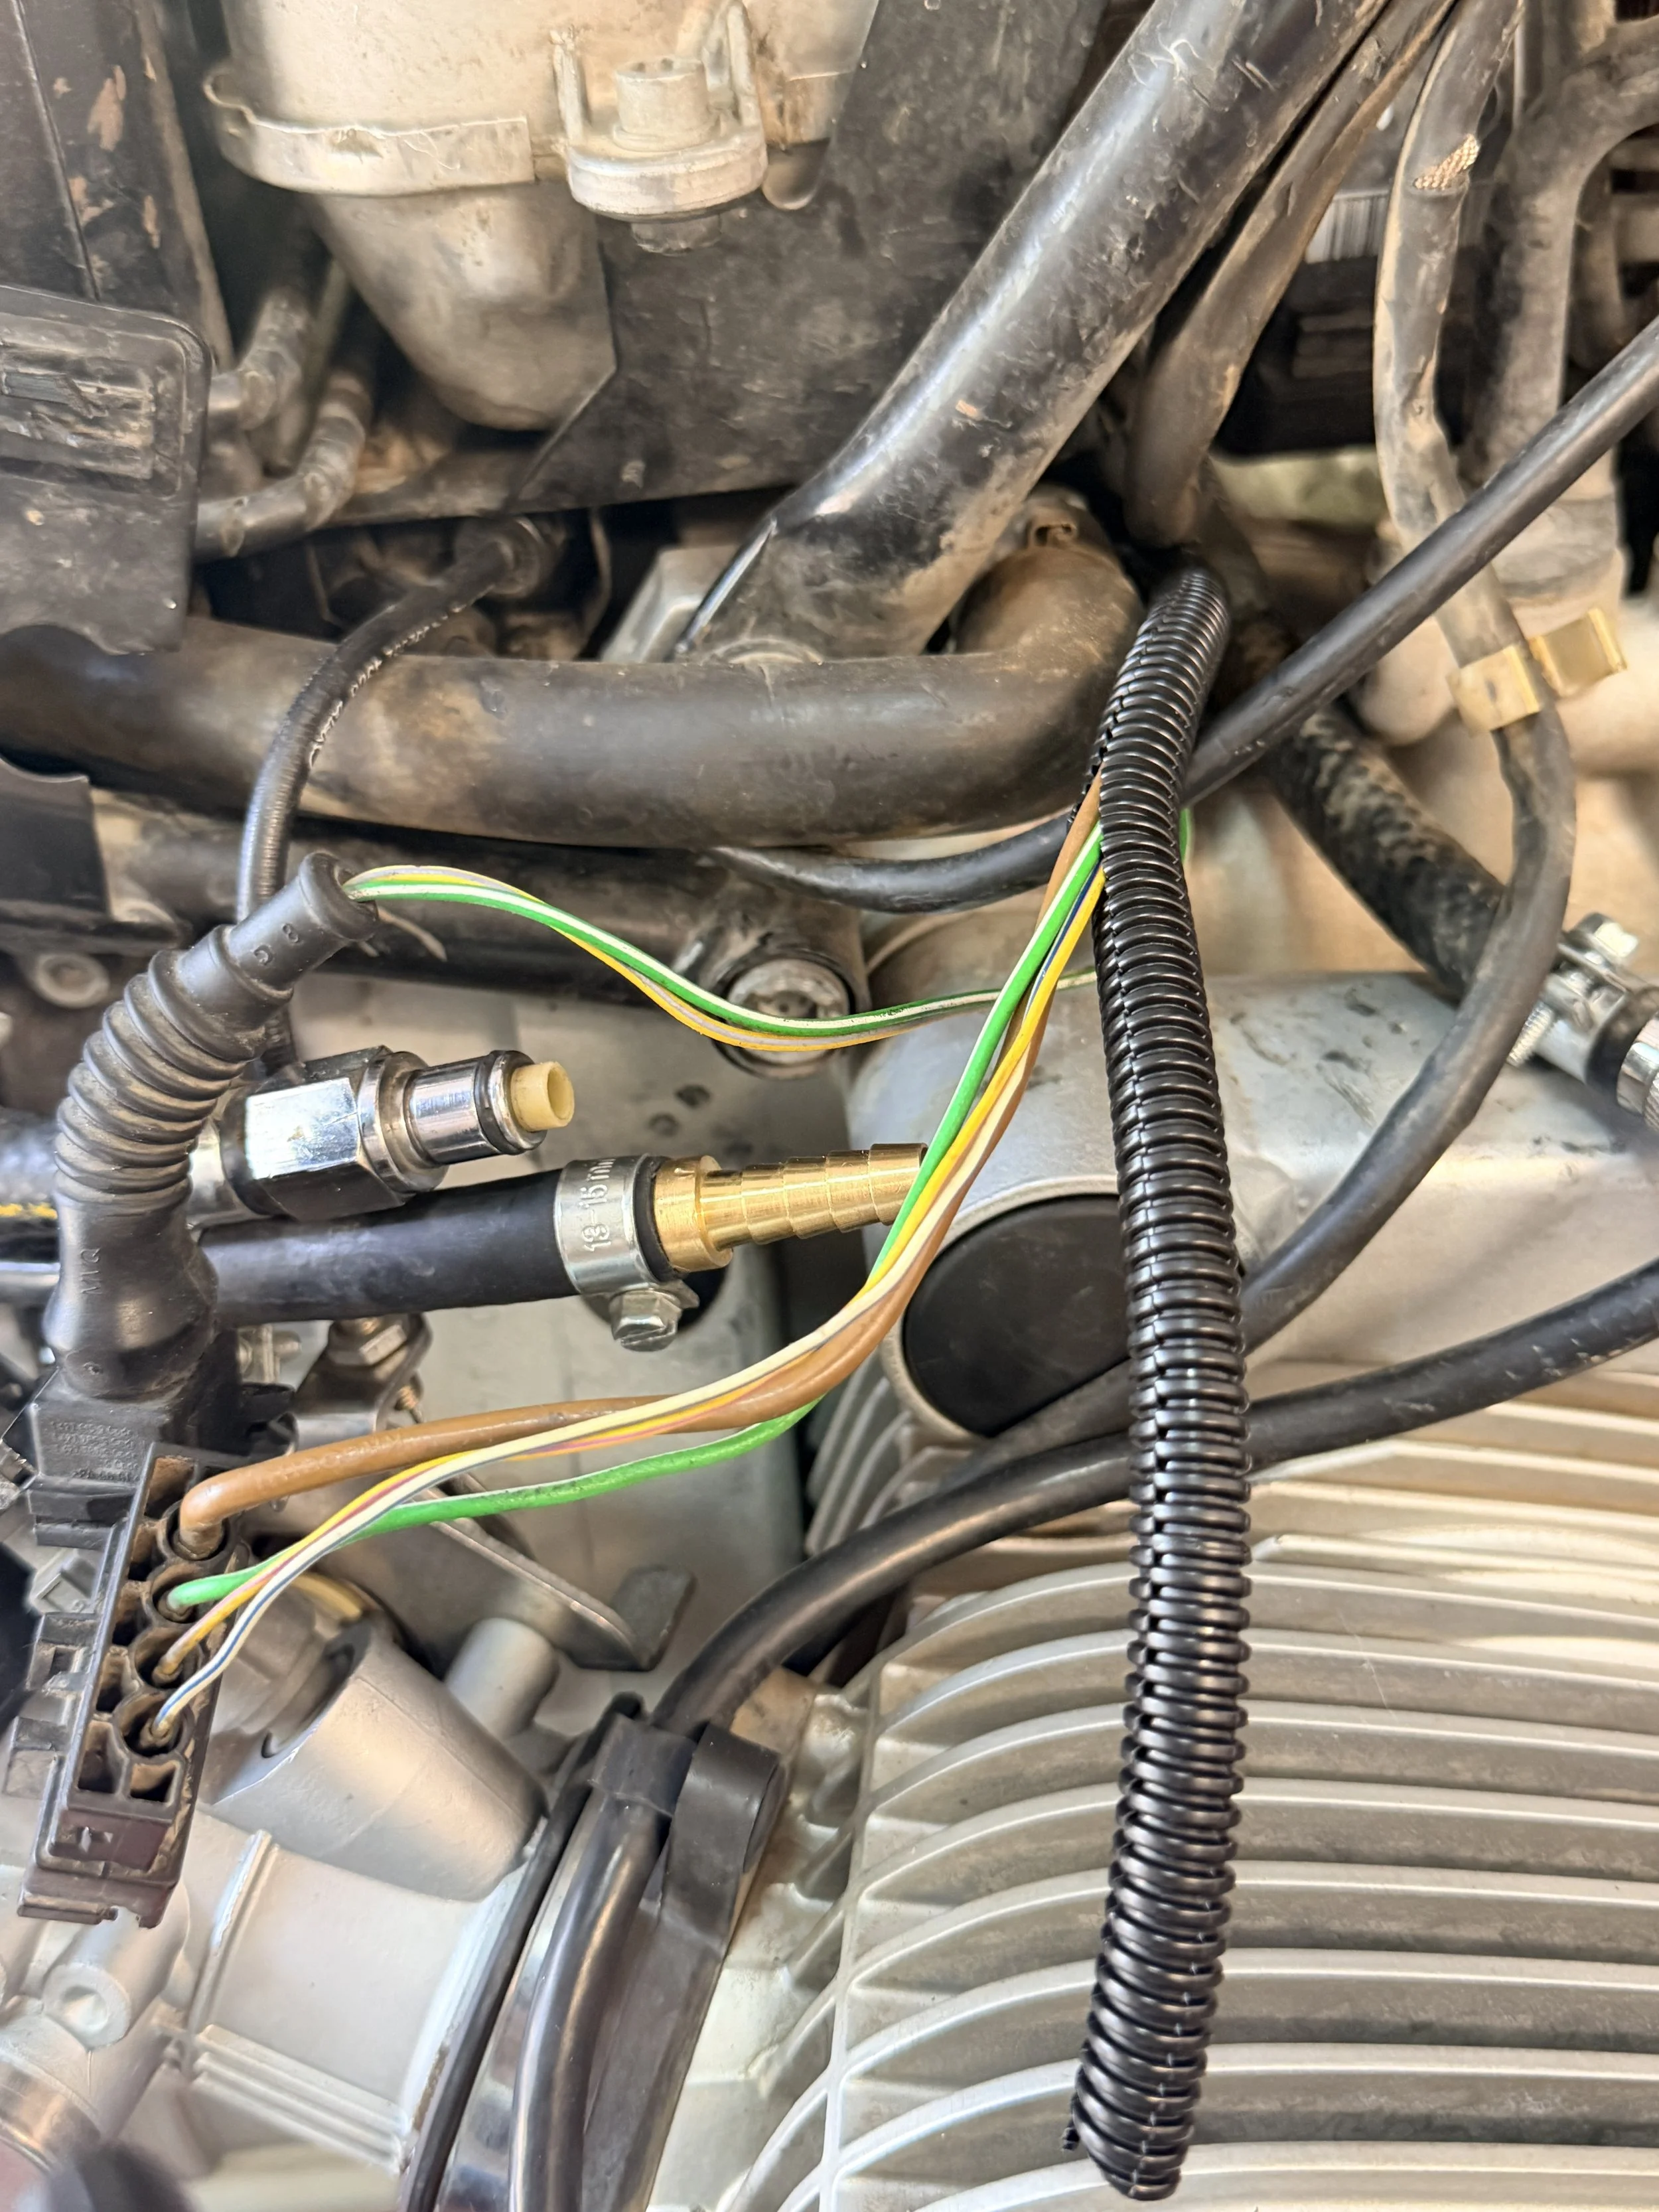
More exposed wires before.
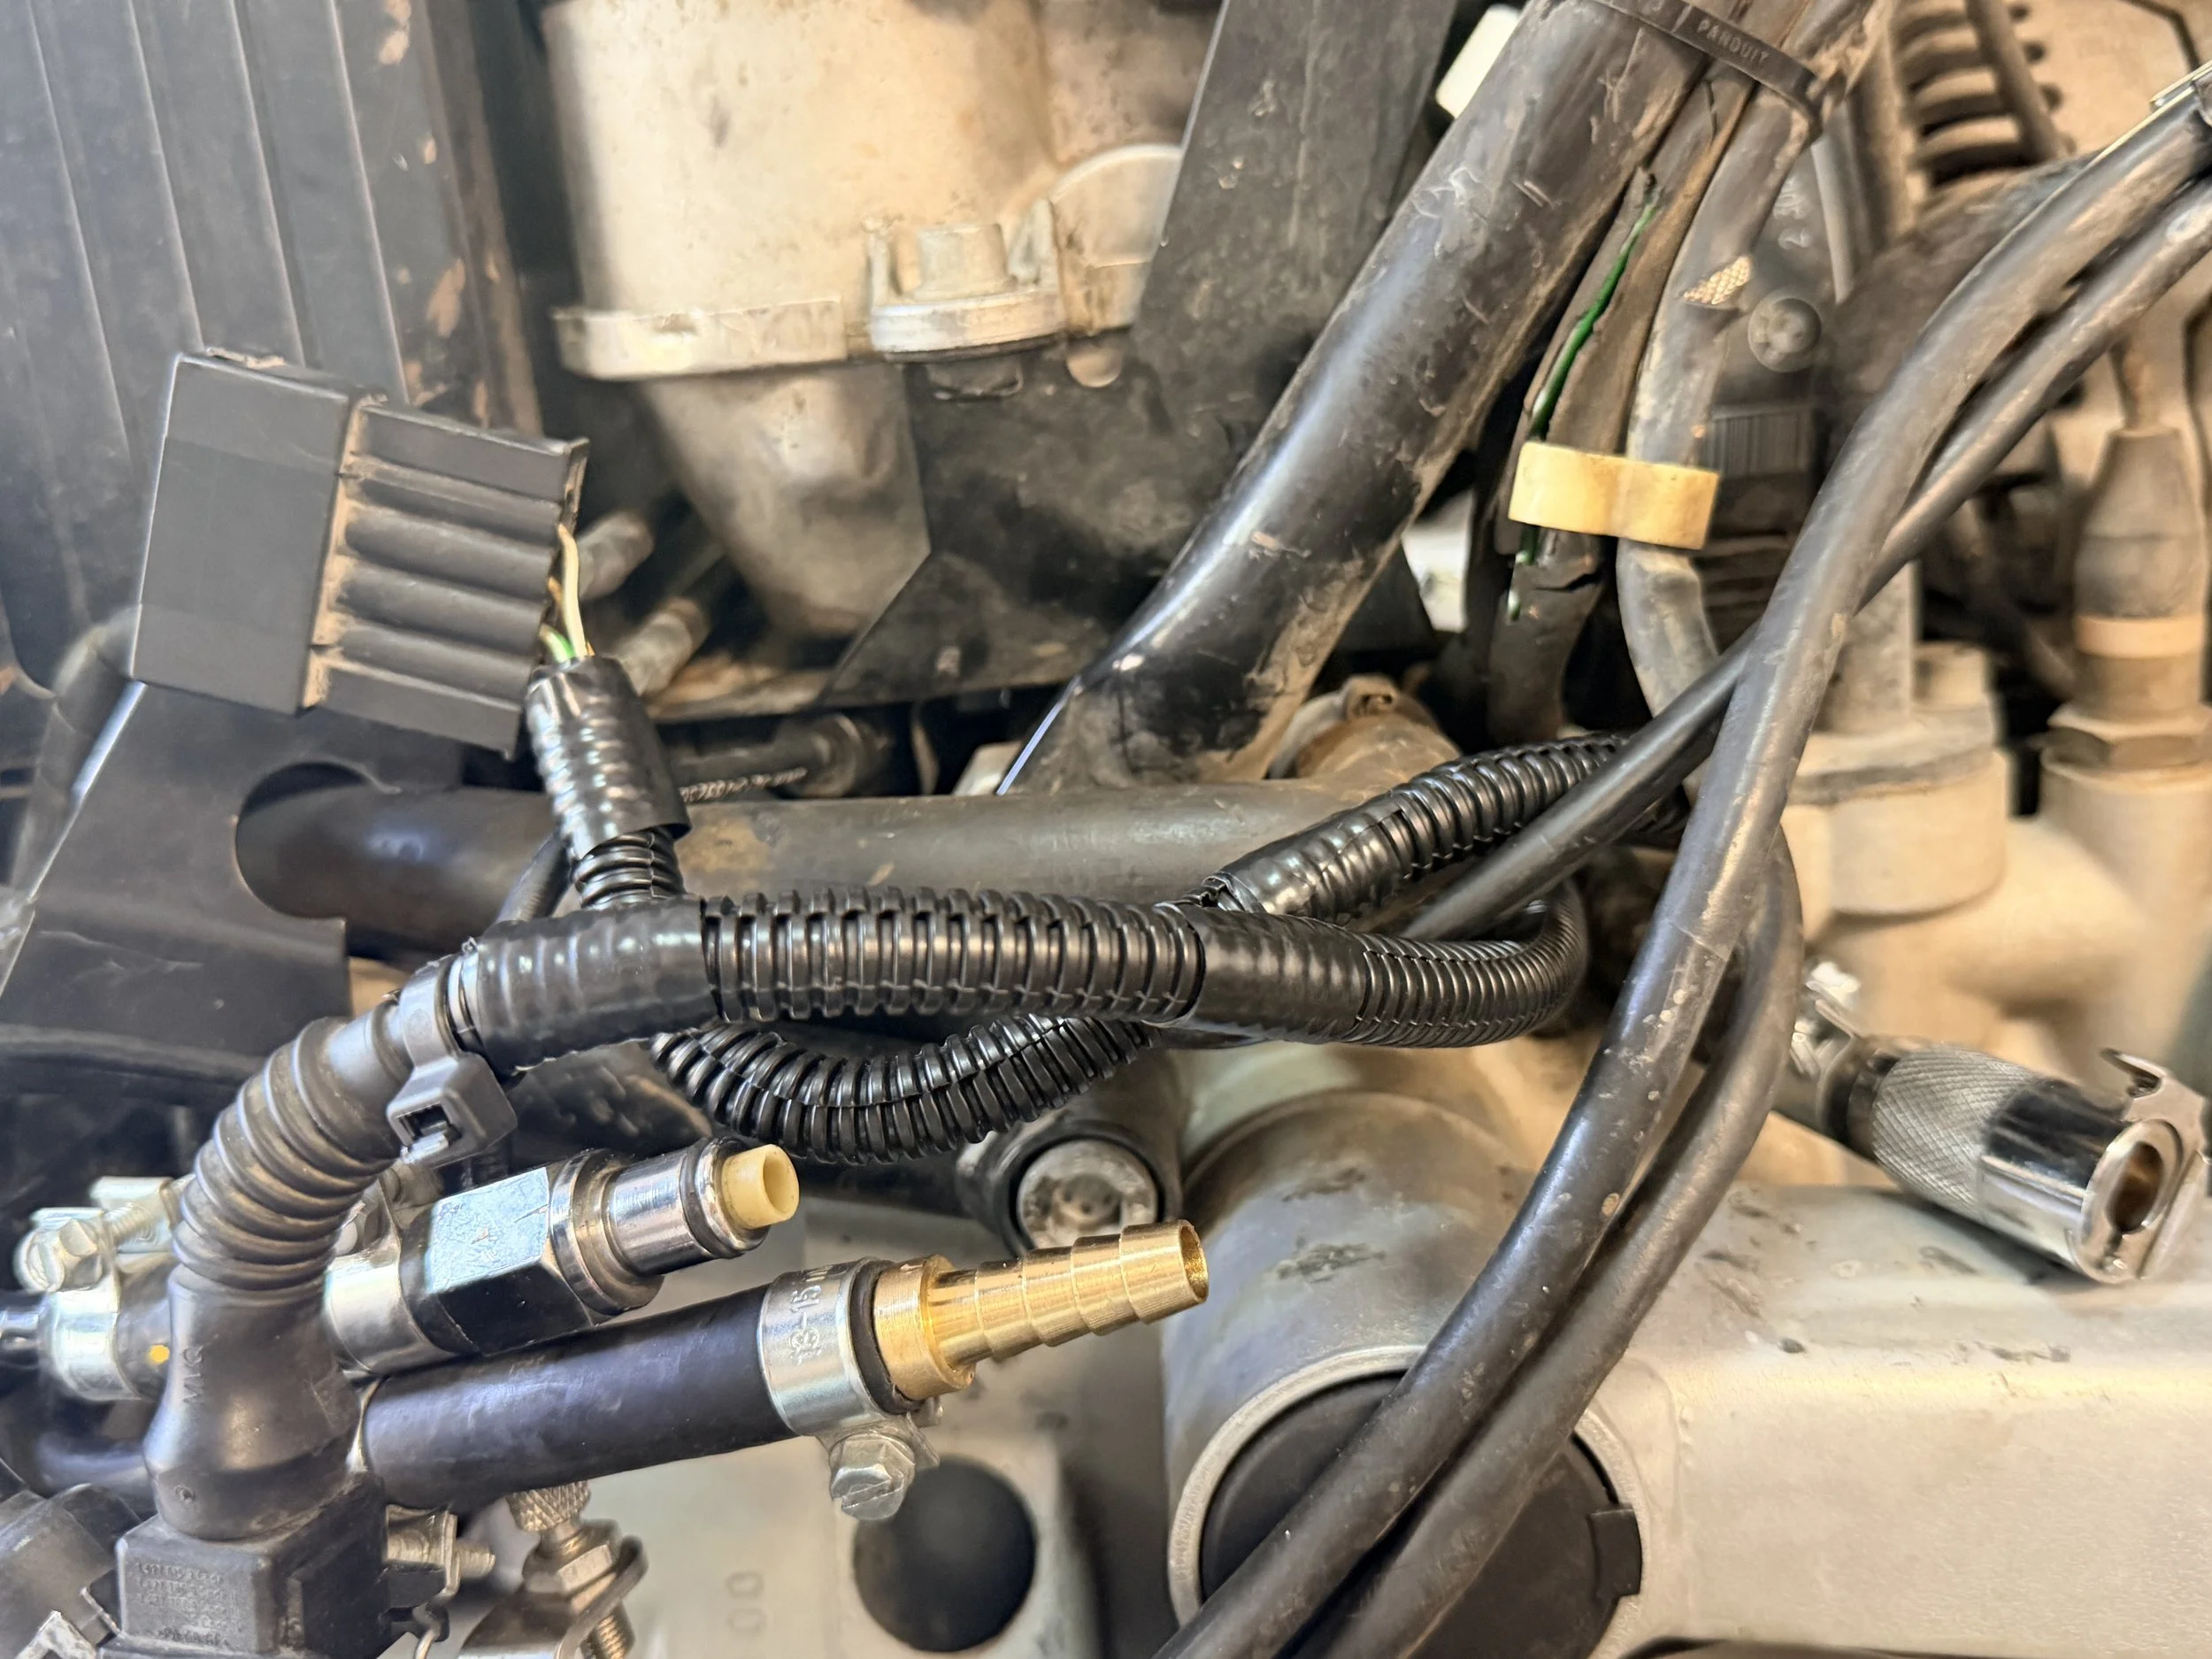
Much cleaner afterwards. I'm pleased with the results.
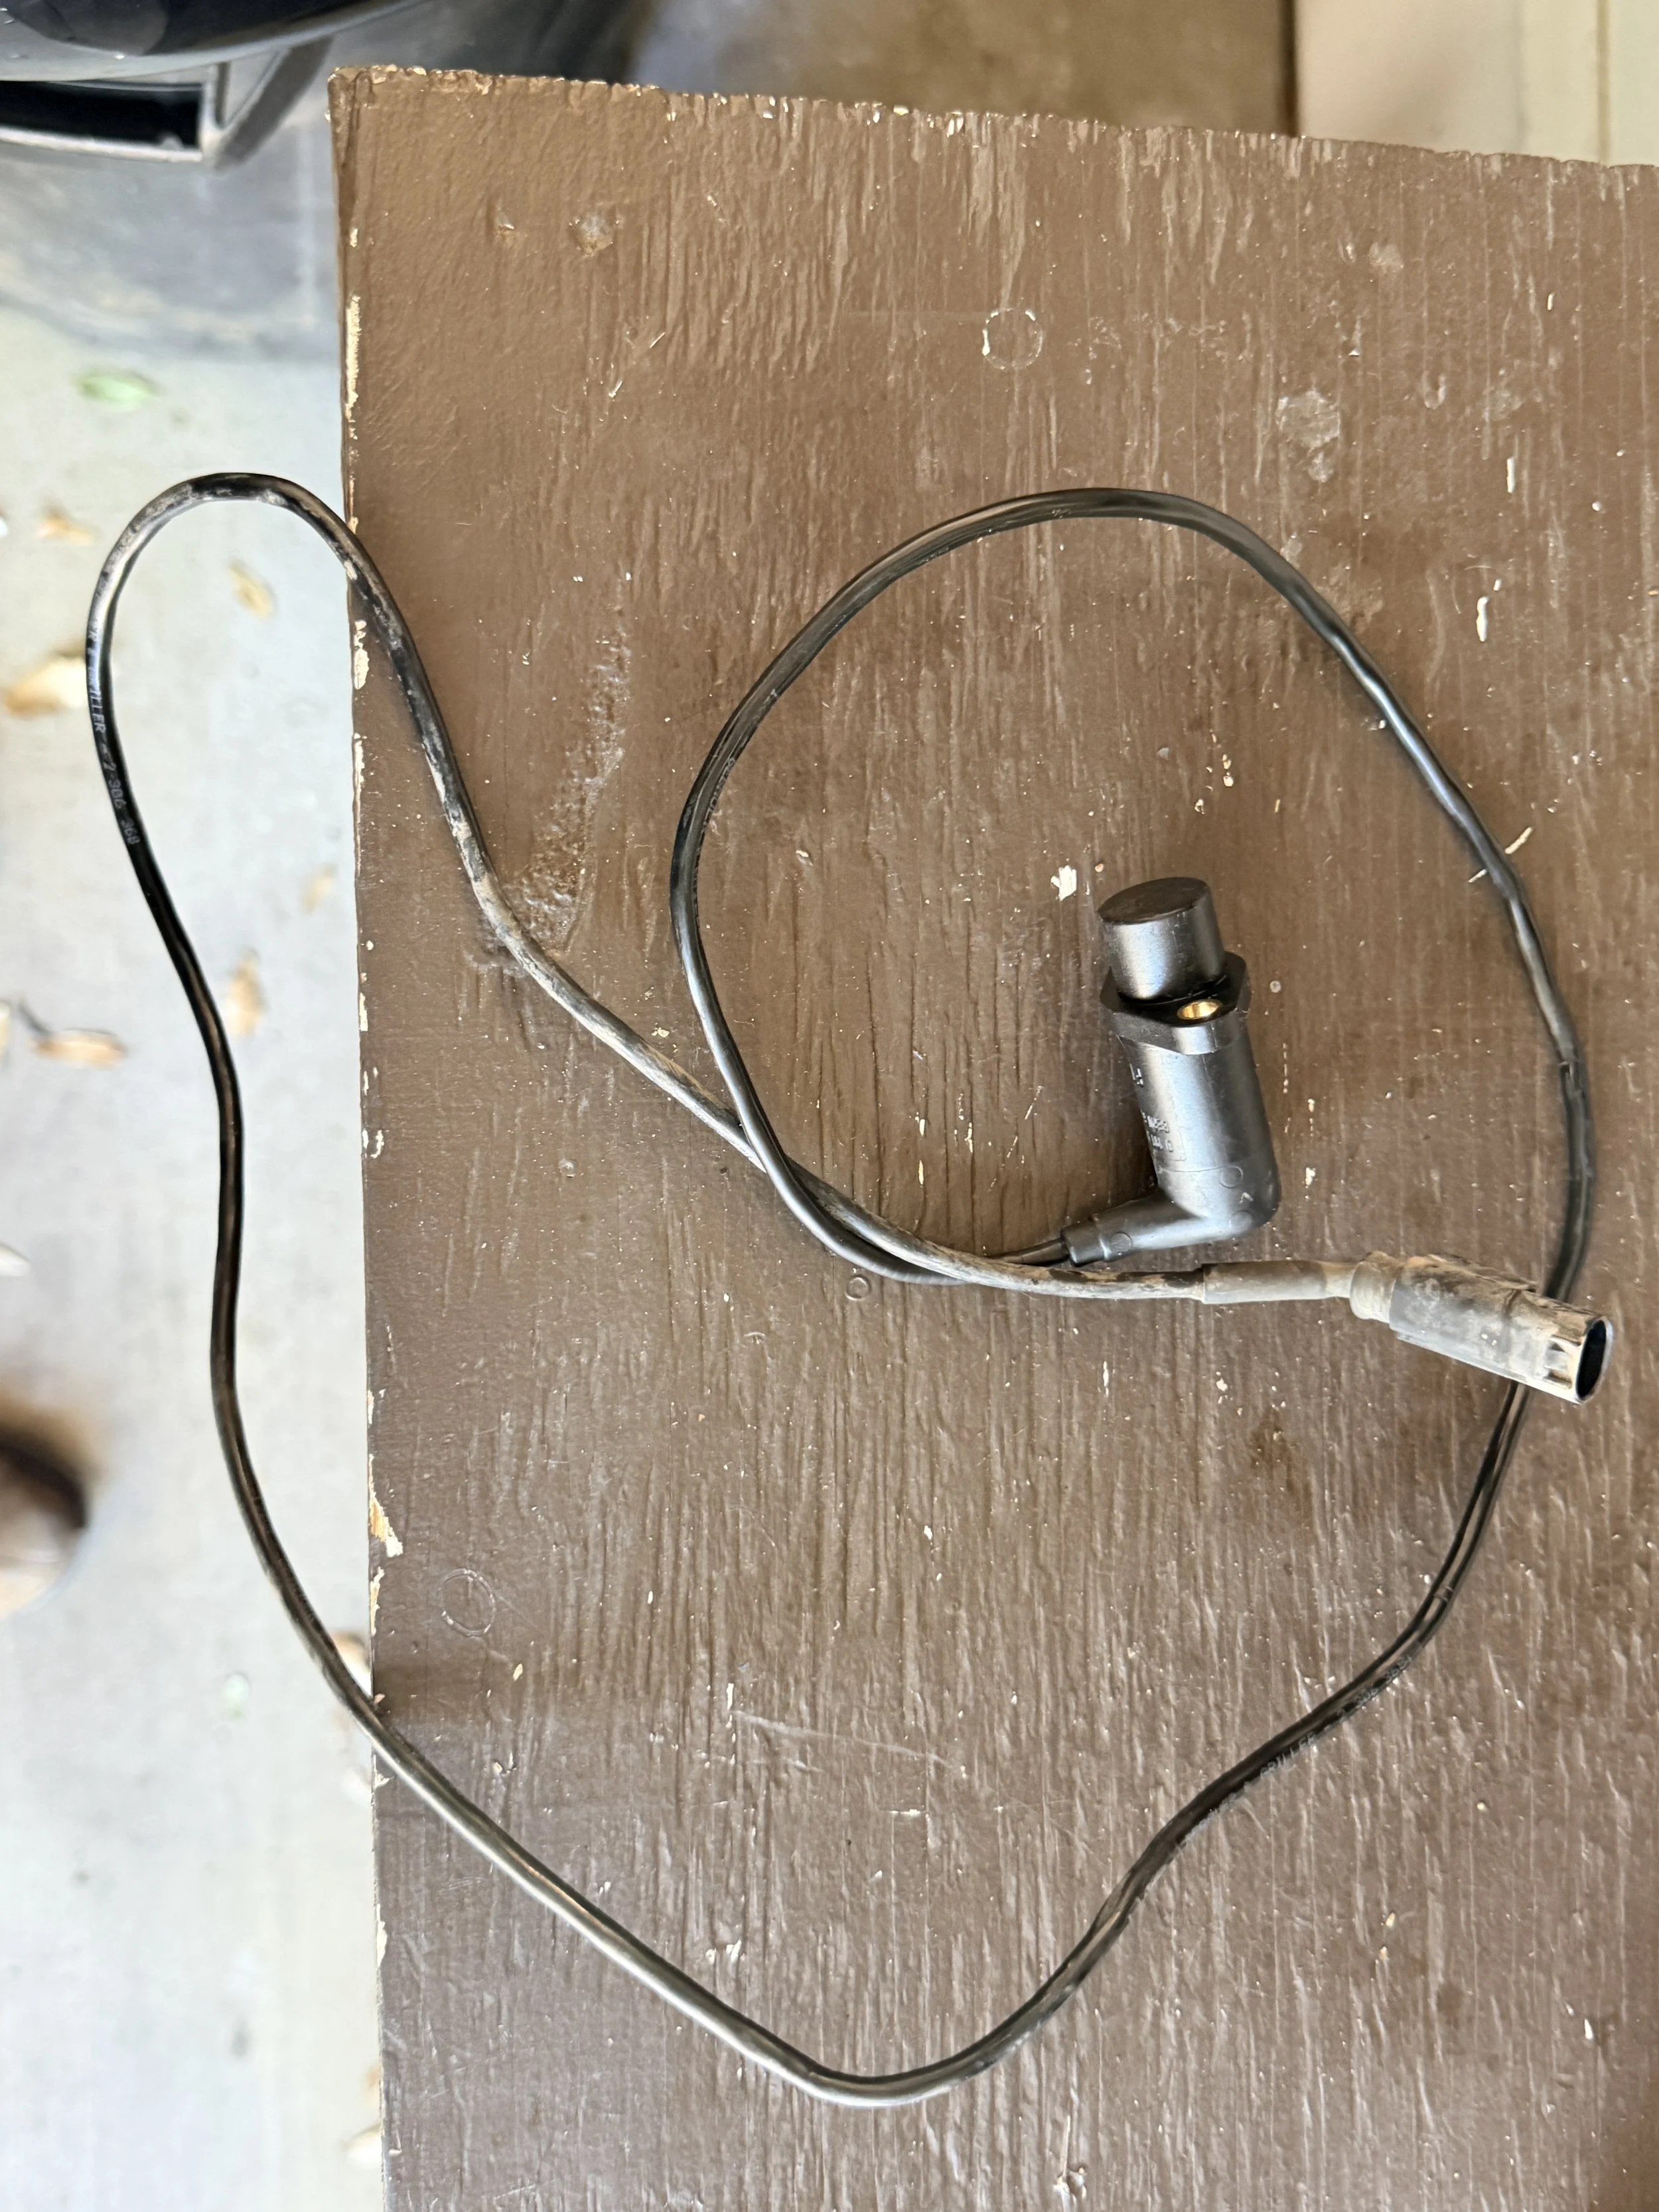
We began the ABS delete process. Keeping everything in tact for a potential resell.
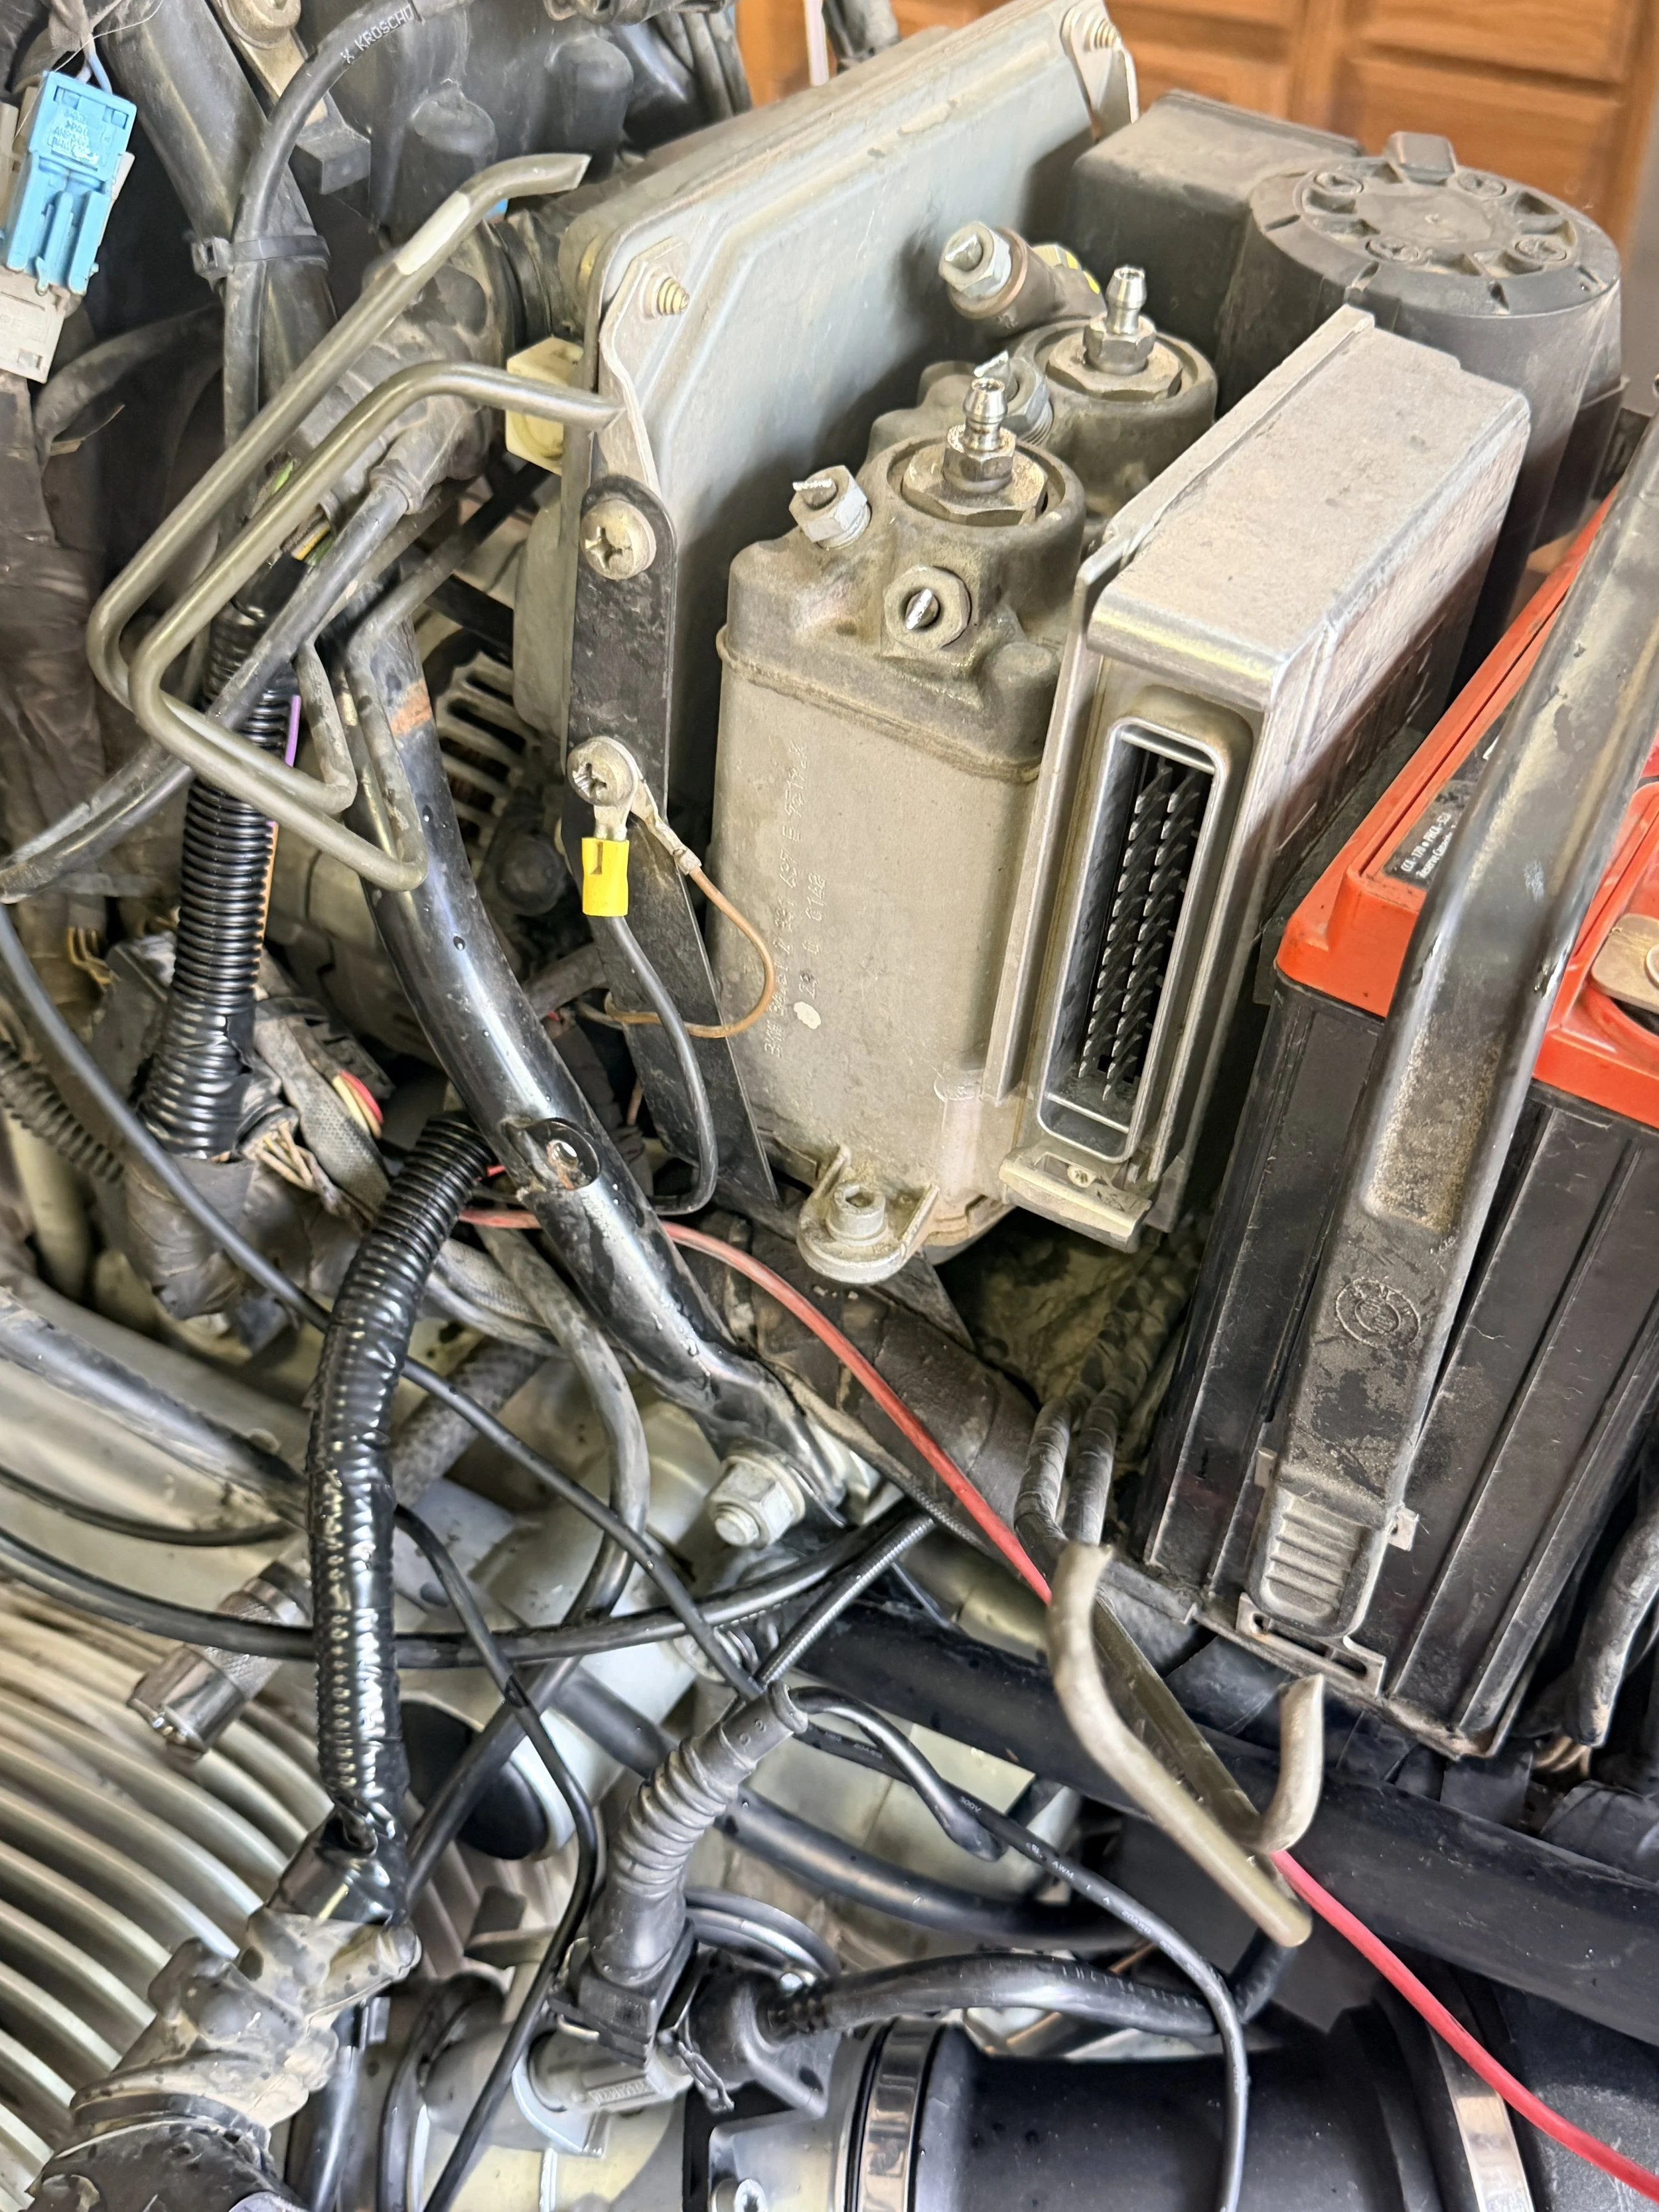
Removed the ABS wiring harness to check brake functionality wasn't impaired on this before deleting the ABS. It doesn't & we are off.
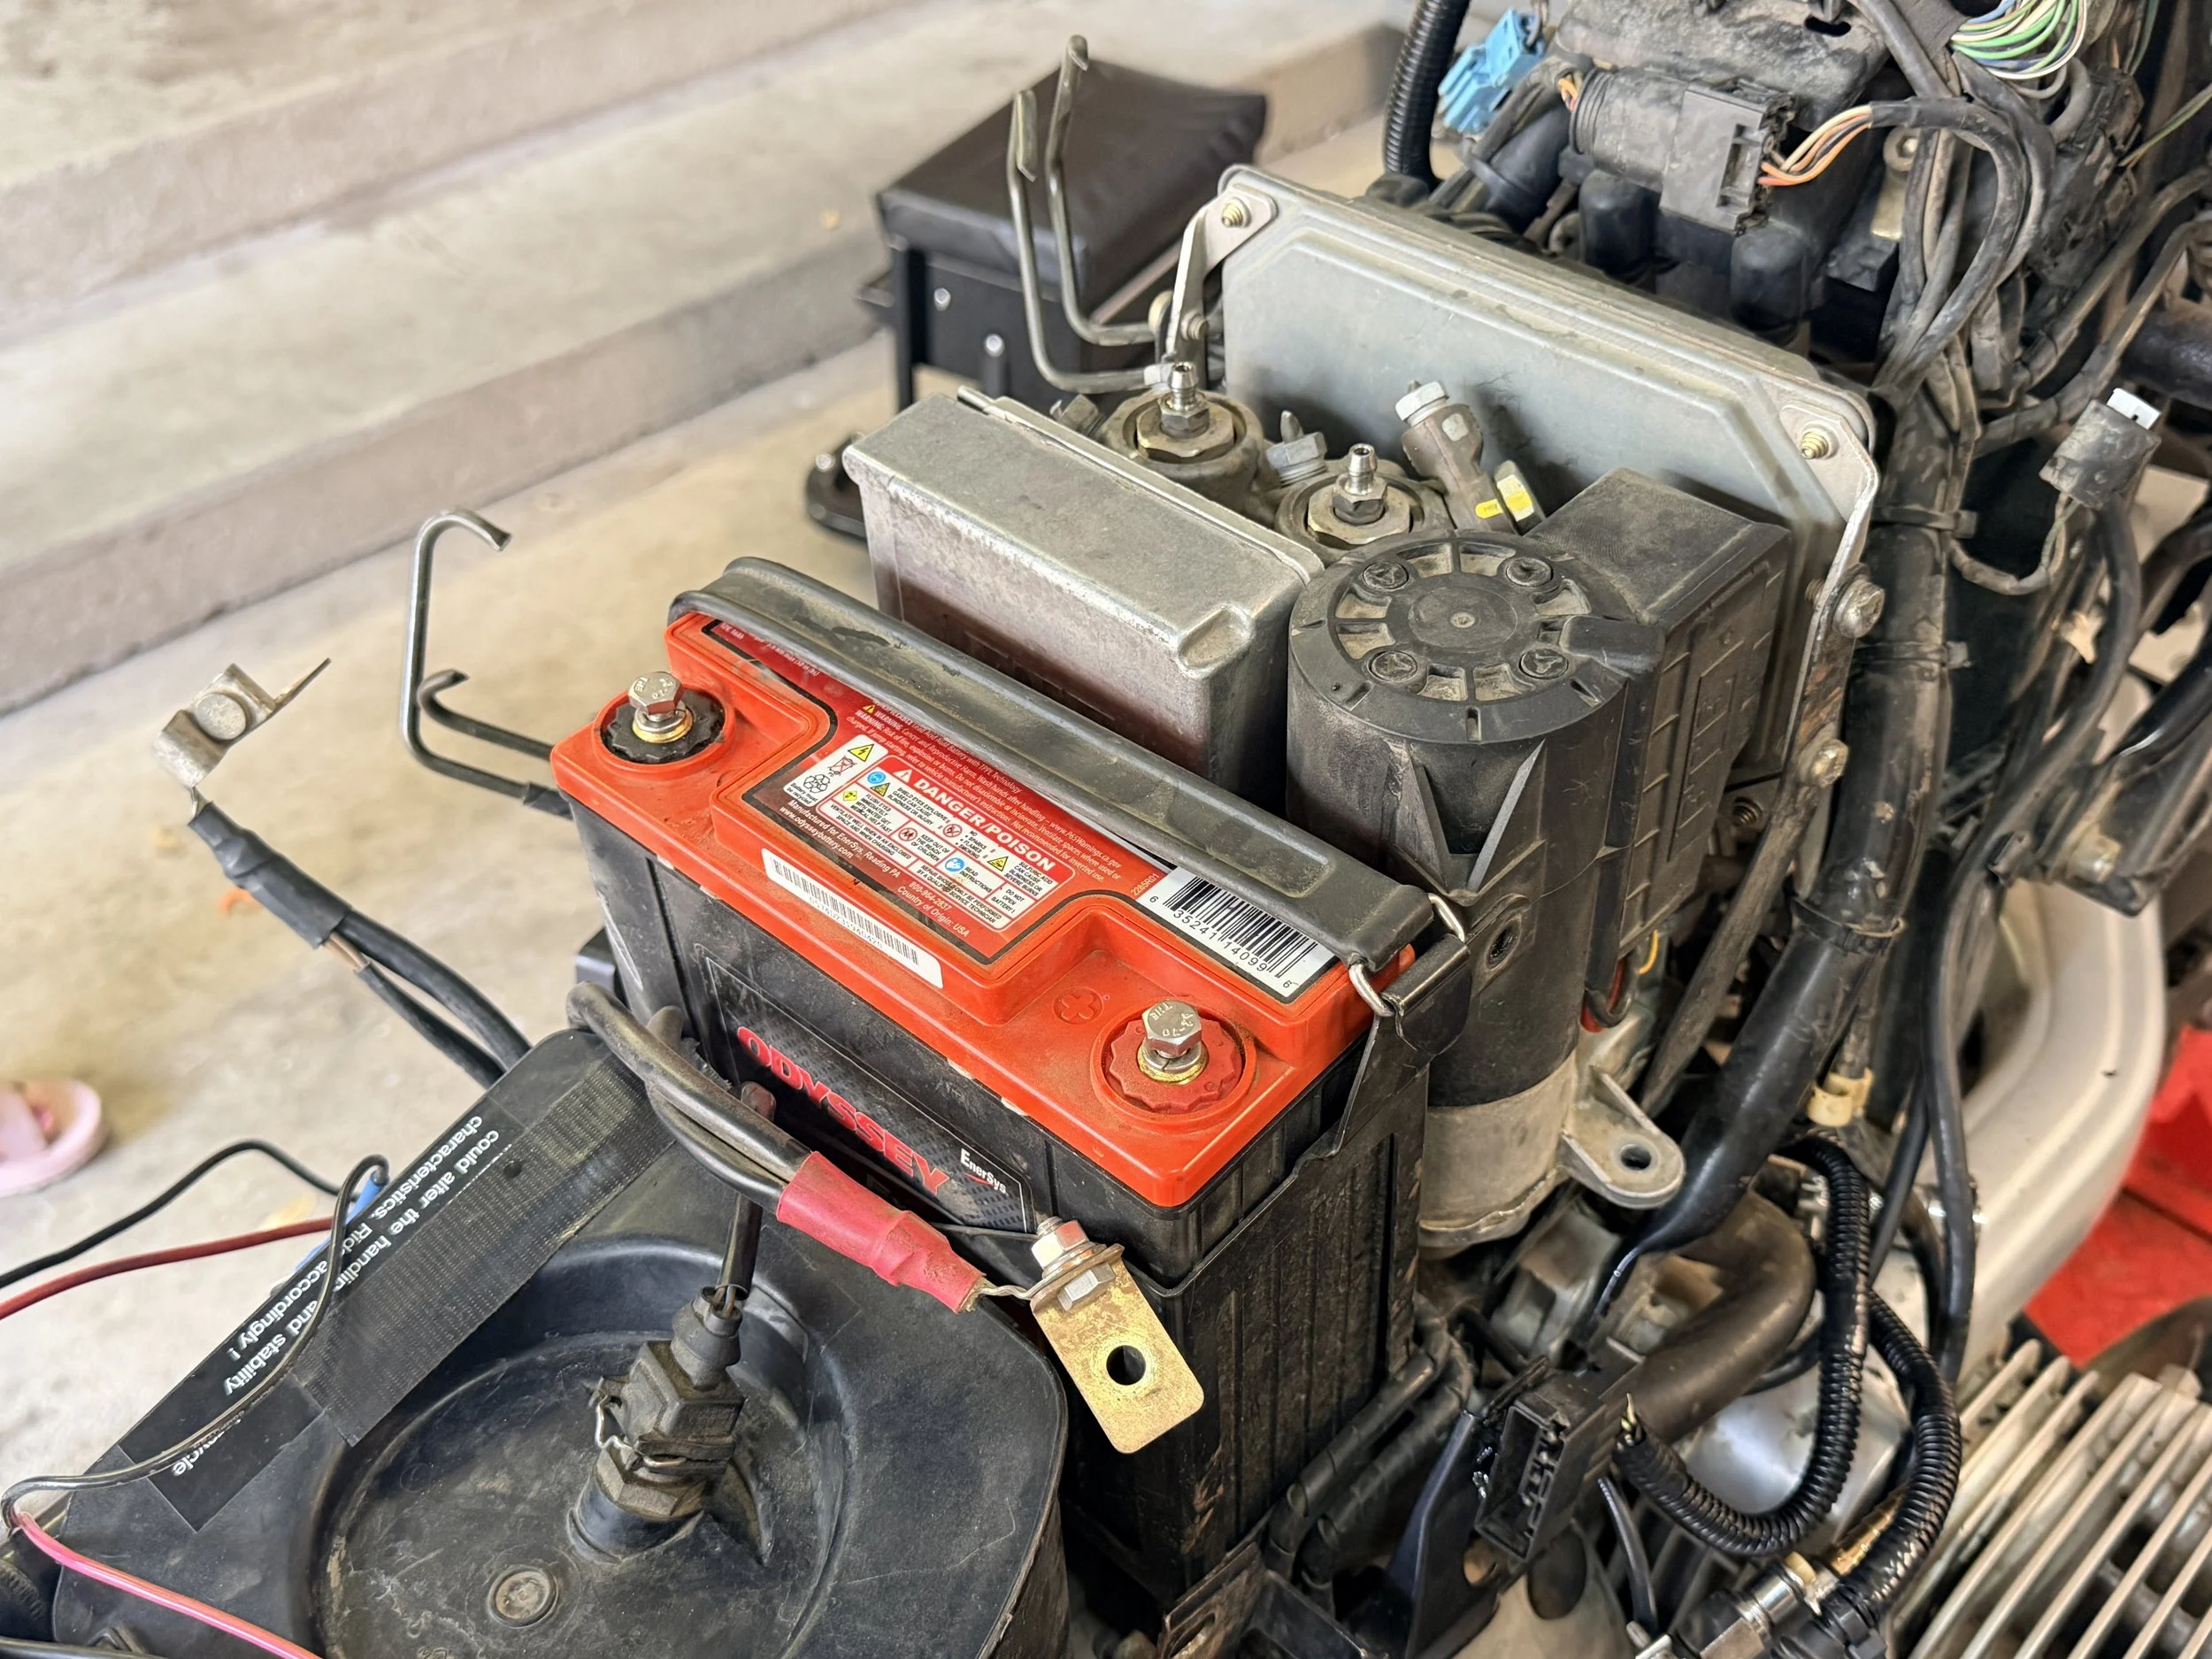
Preparing the ABS for removal requires the battery to come off so that ABS wiring harness can be cut.
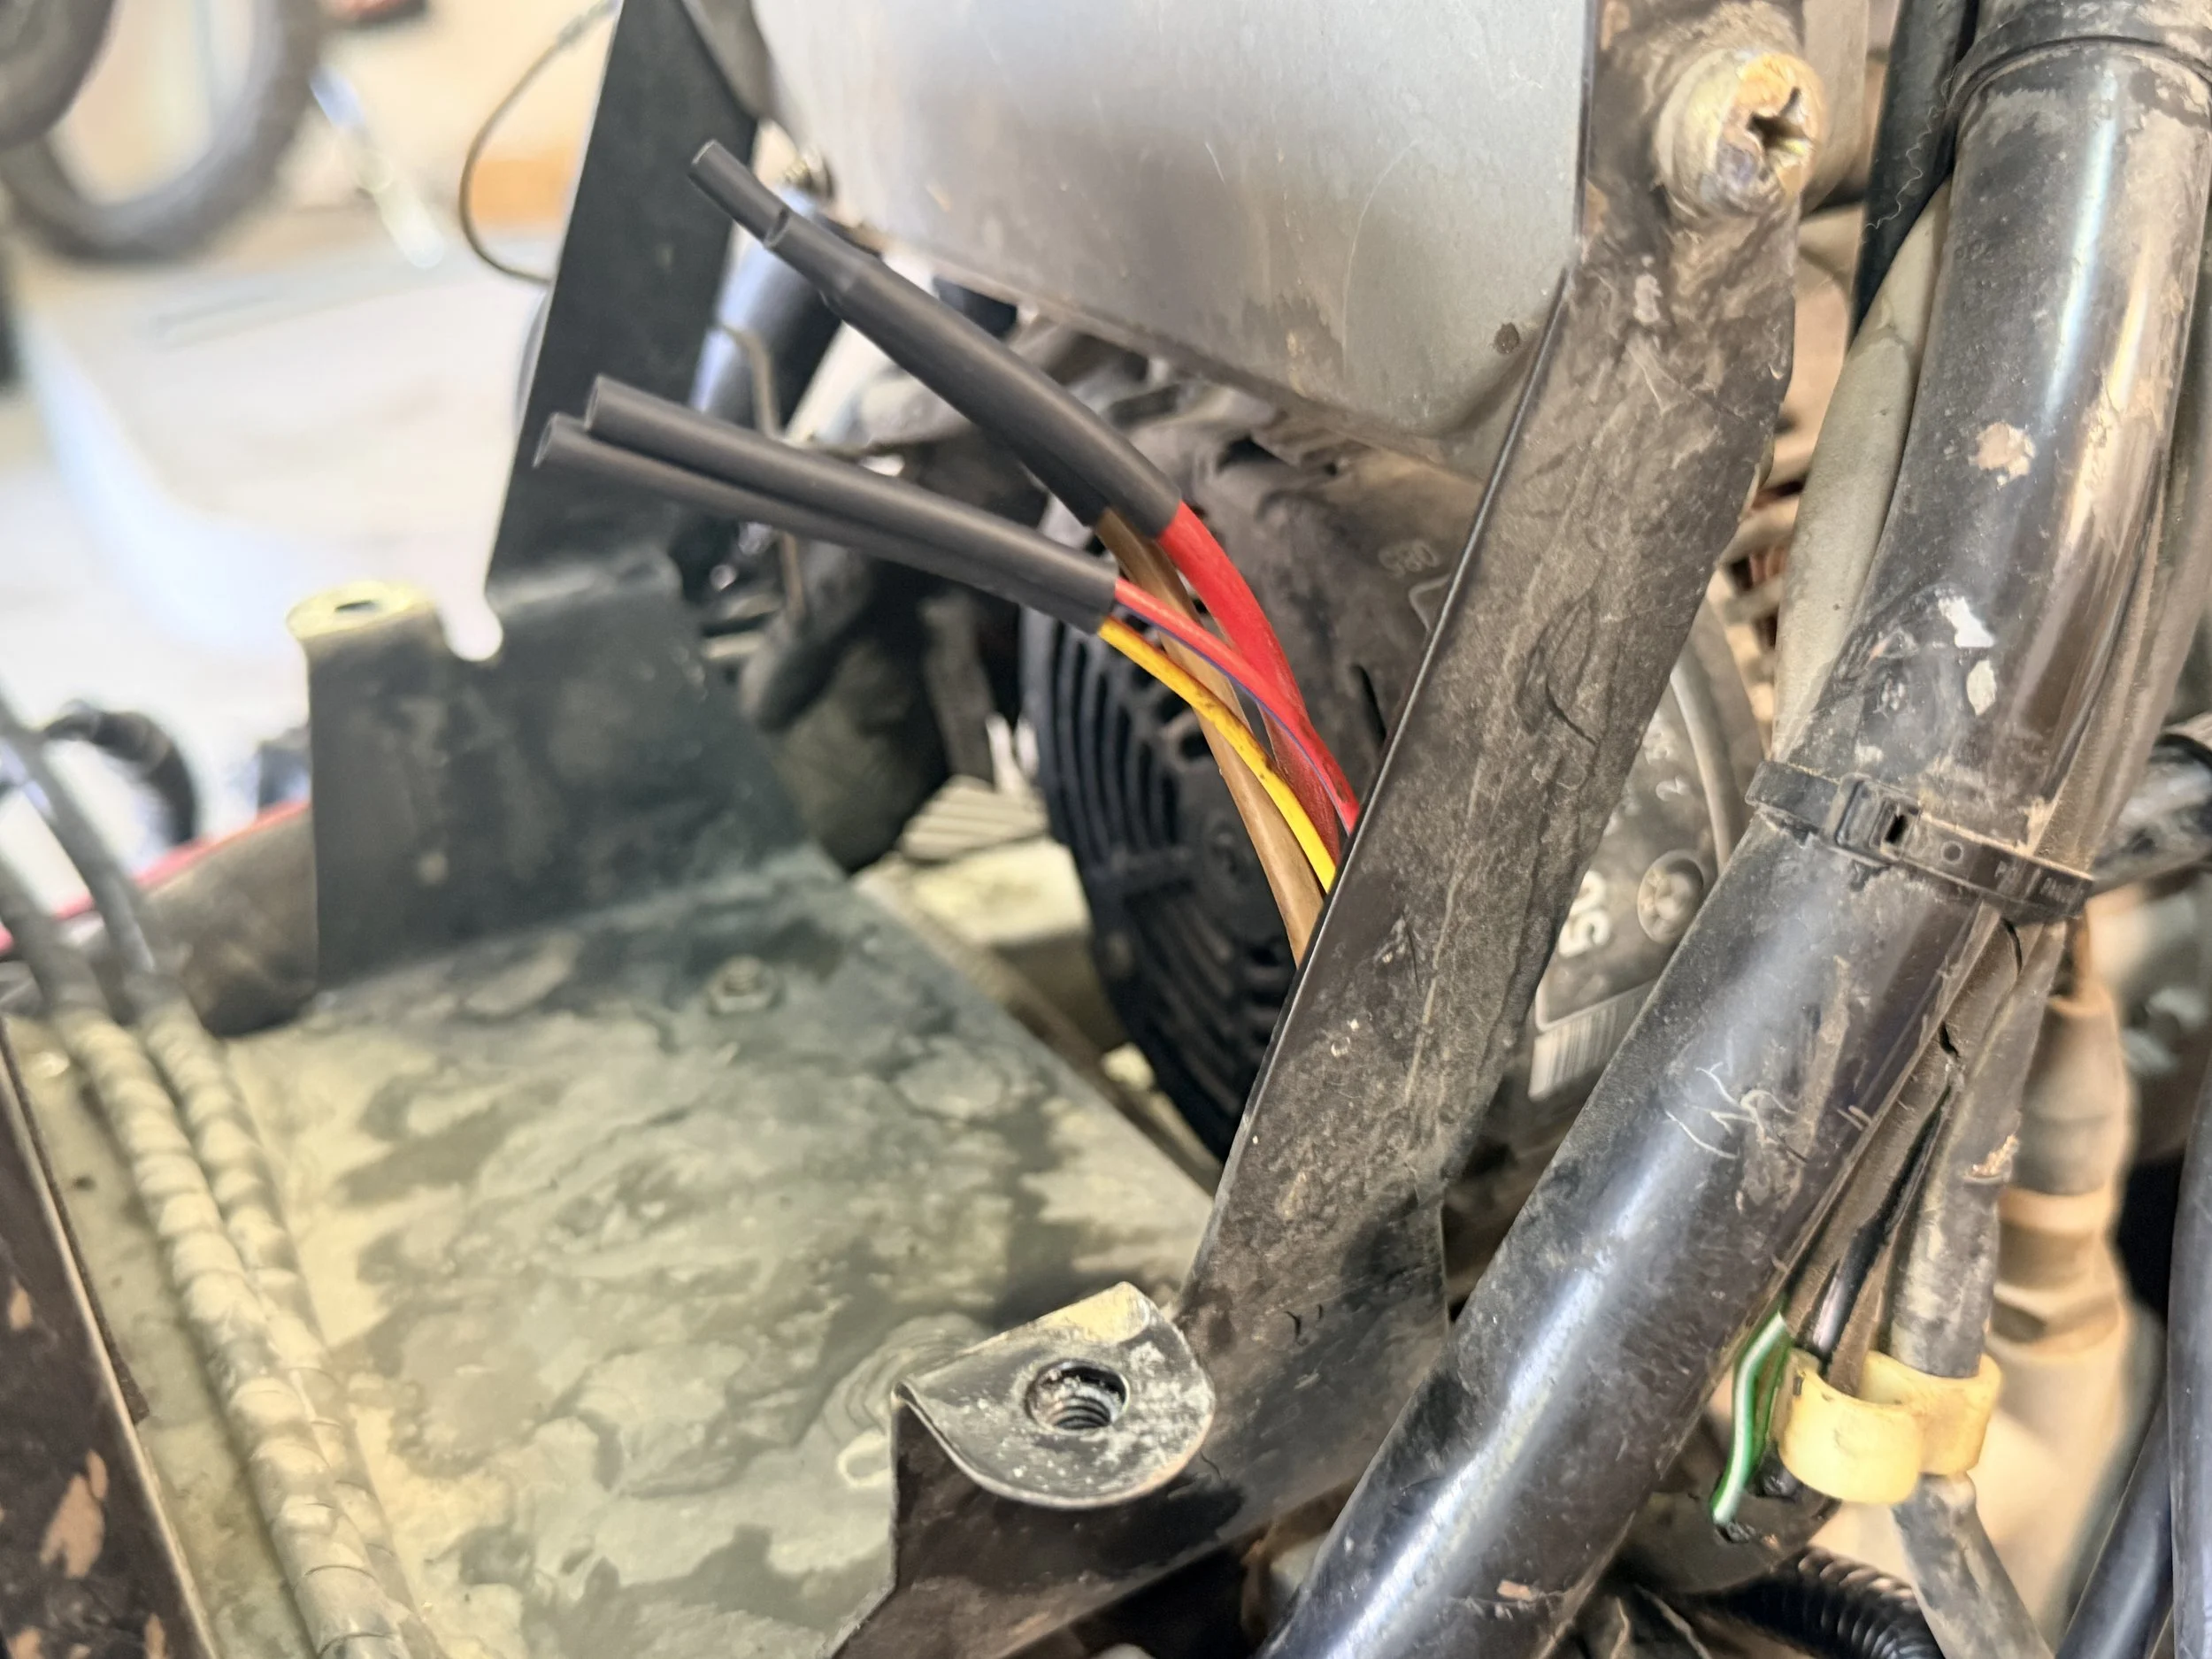
The wiring harness is cut and each line is heat shrinked to prevent any electrical wires grounding or shorting out the system.
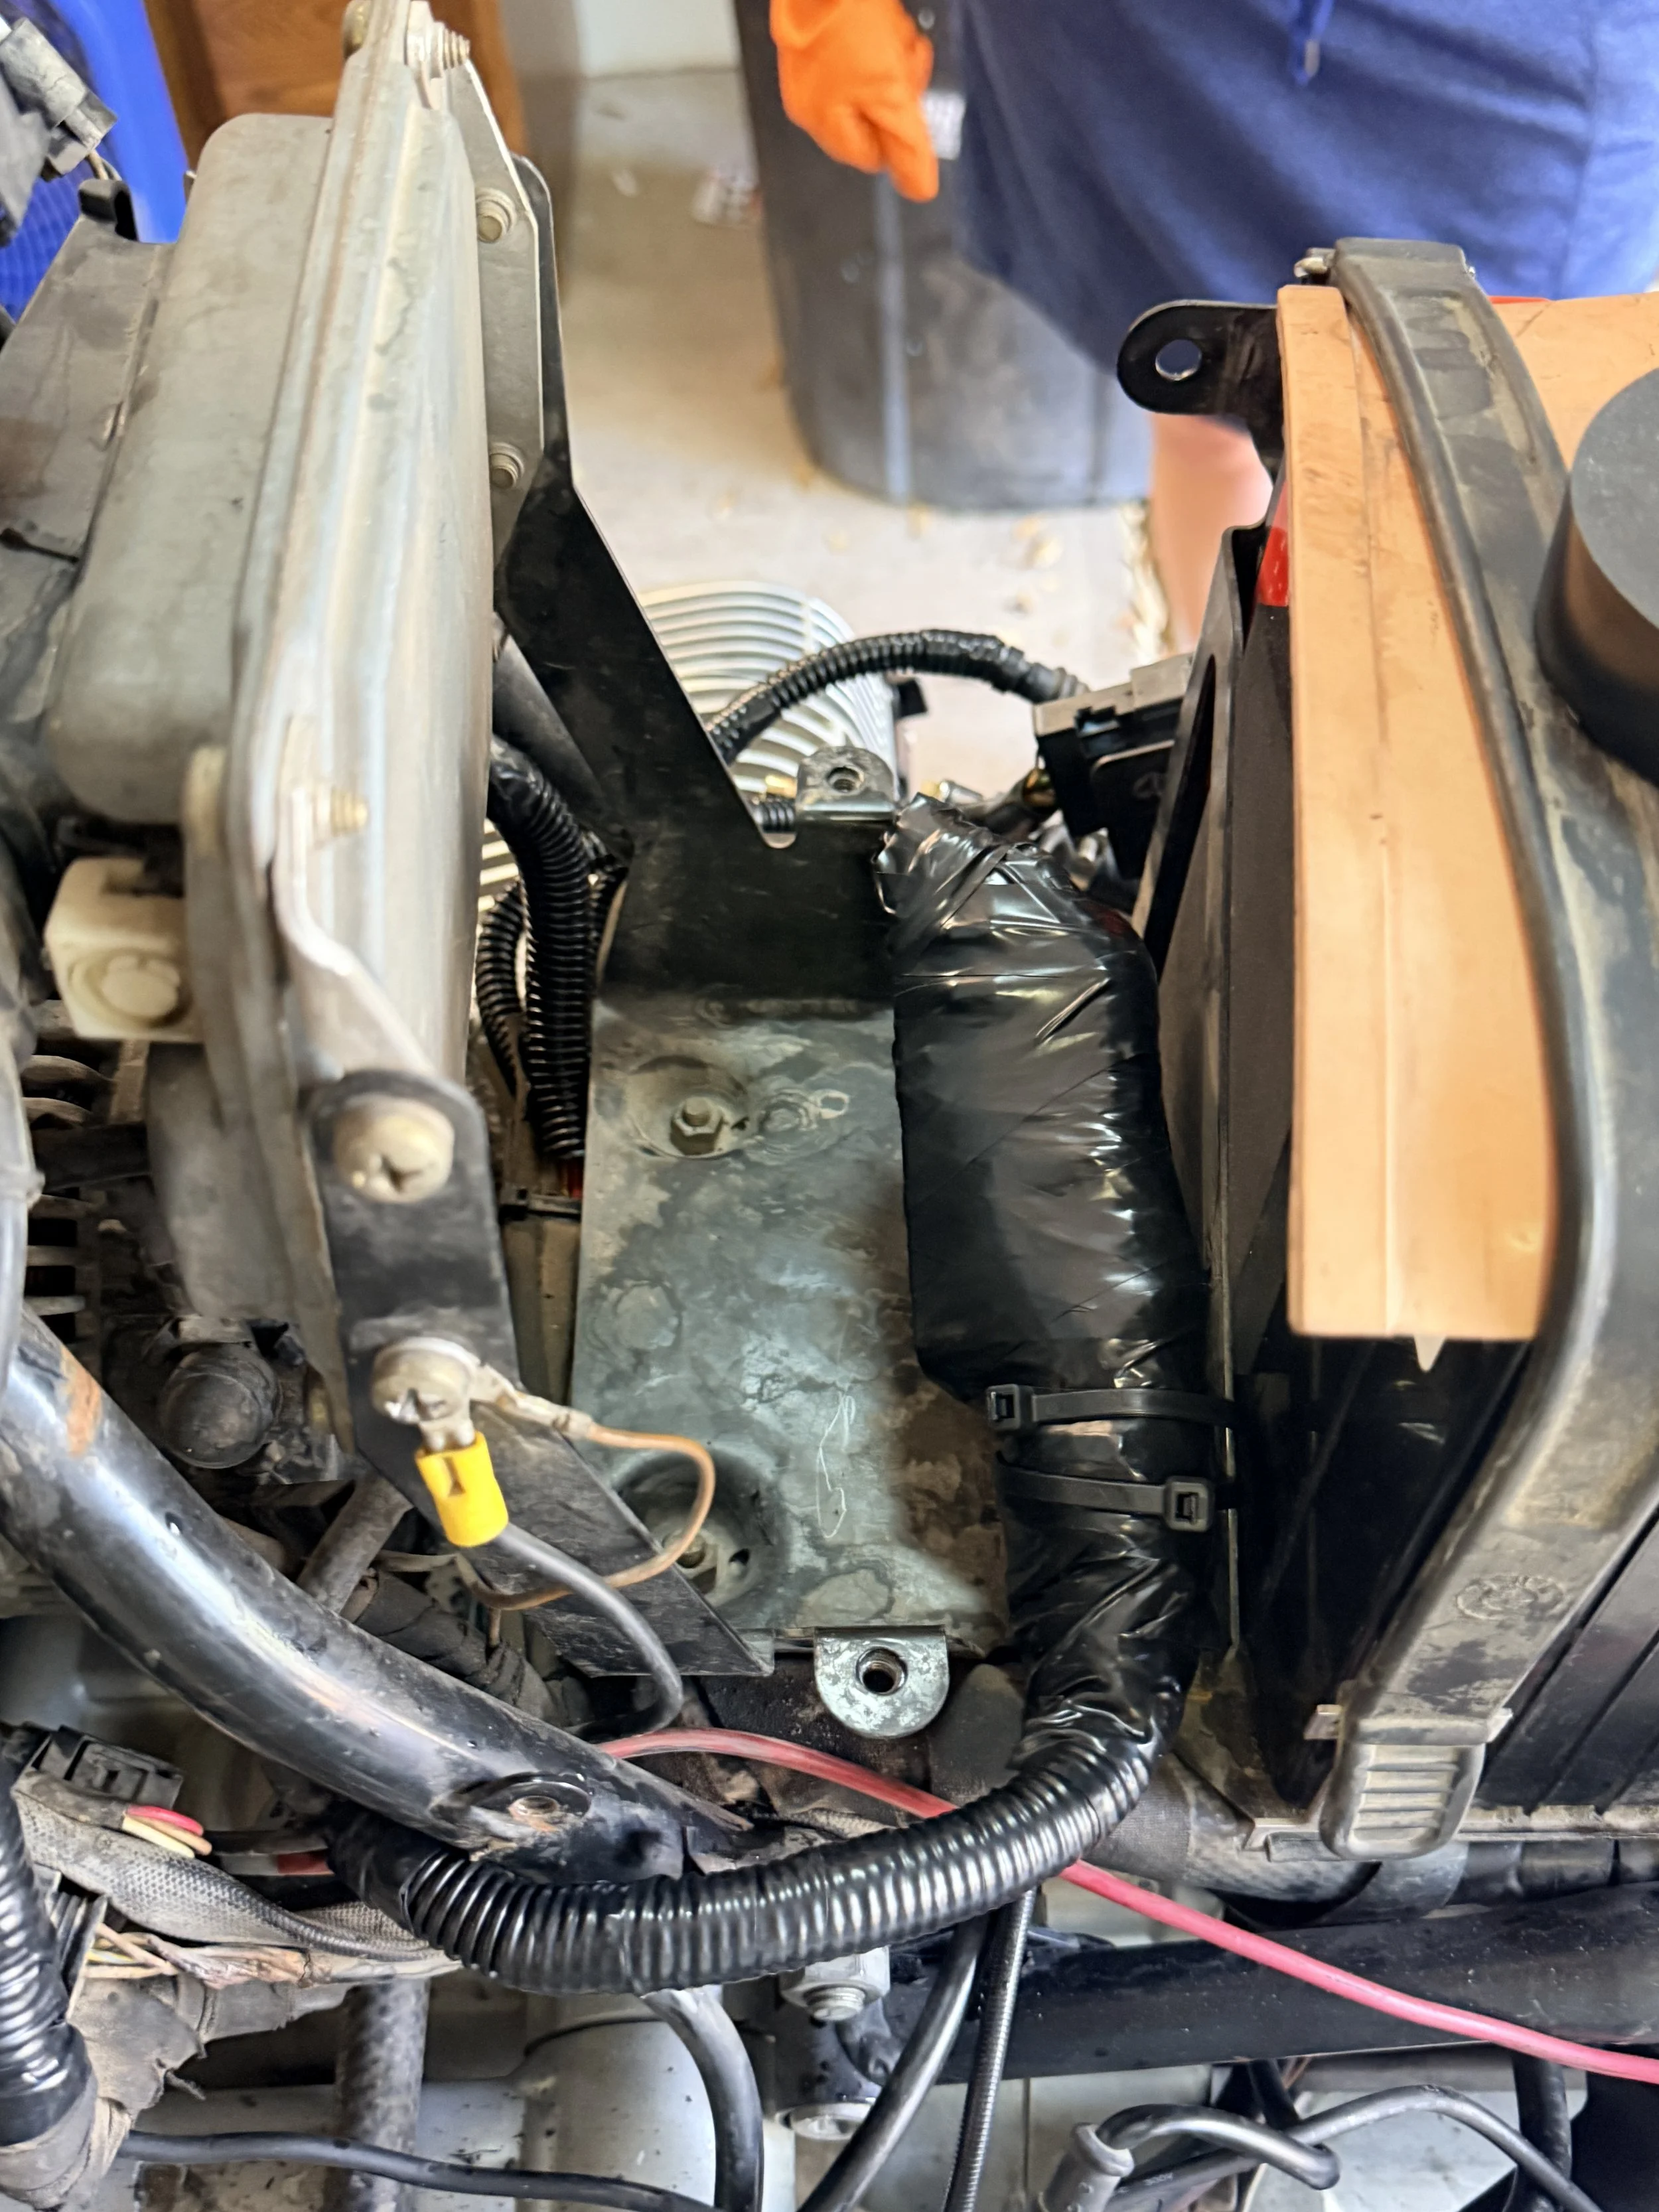
Waterproofed the main cable unit and storied it in the now vacant place. More than 12# of weight savings on a unit that wasn't even working to begin with.
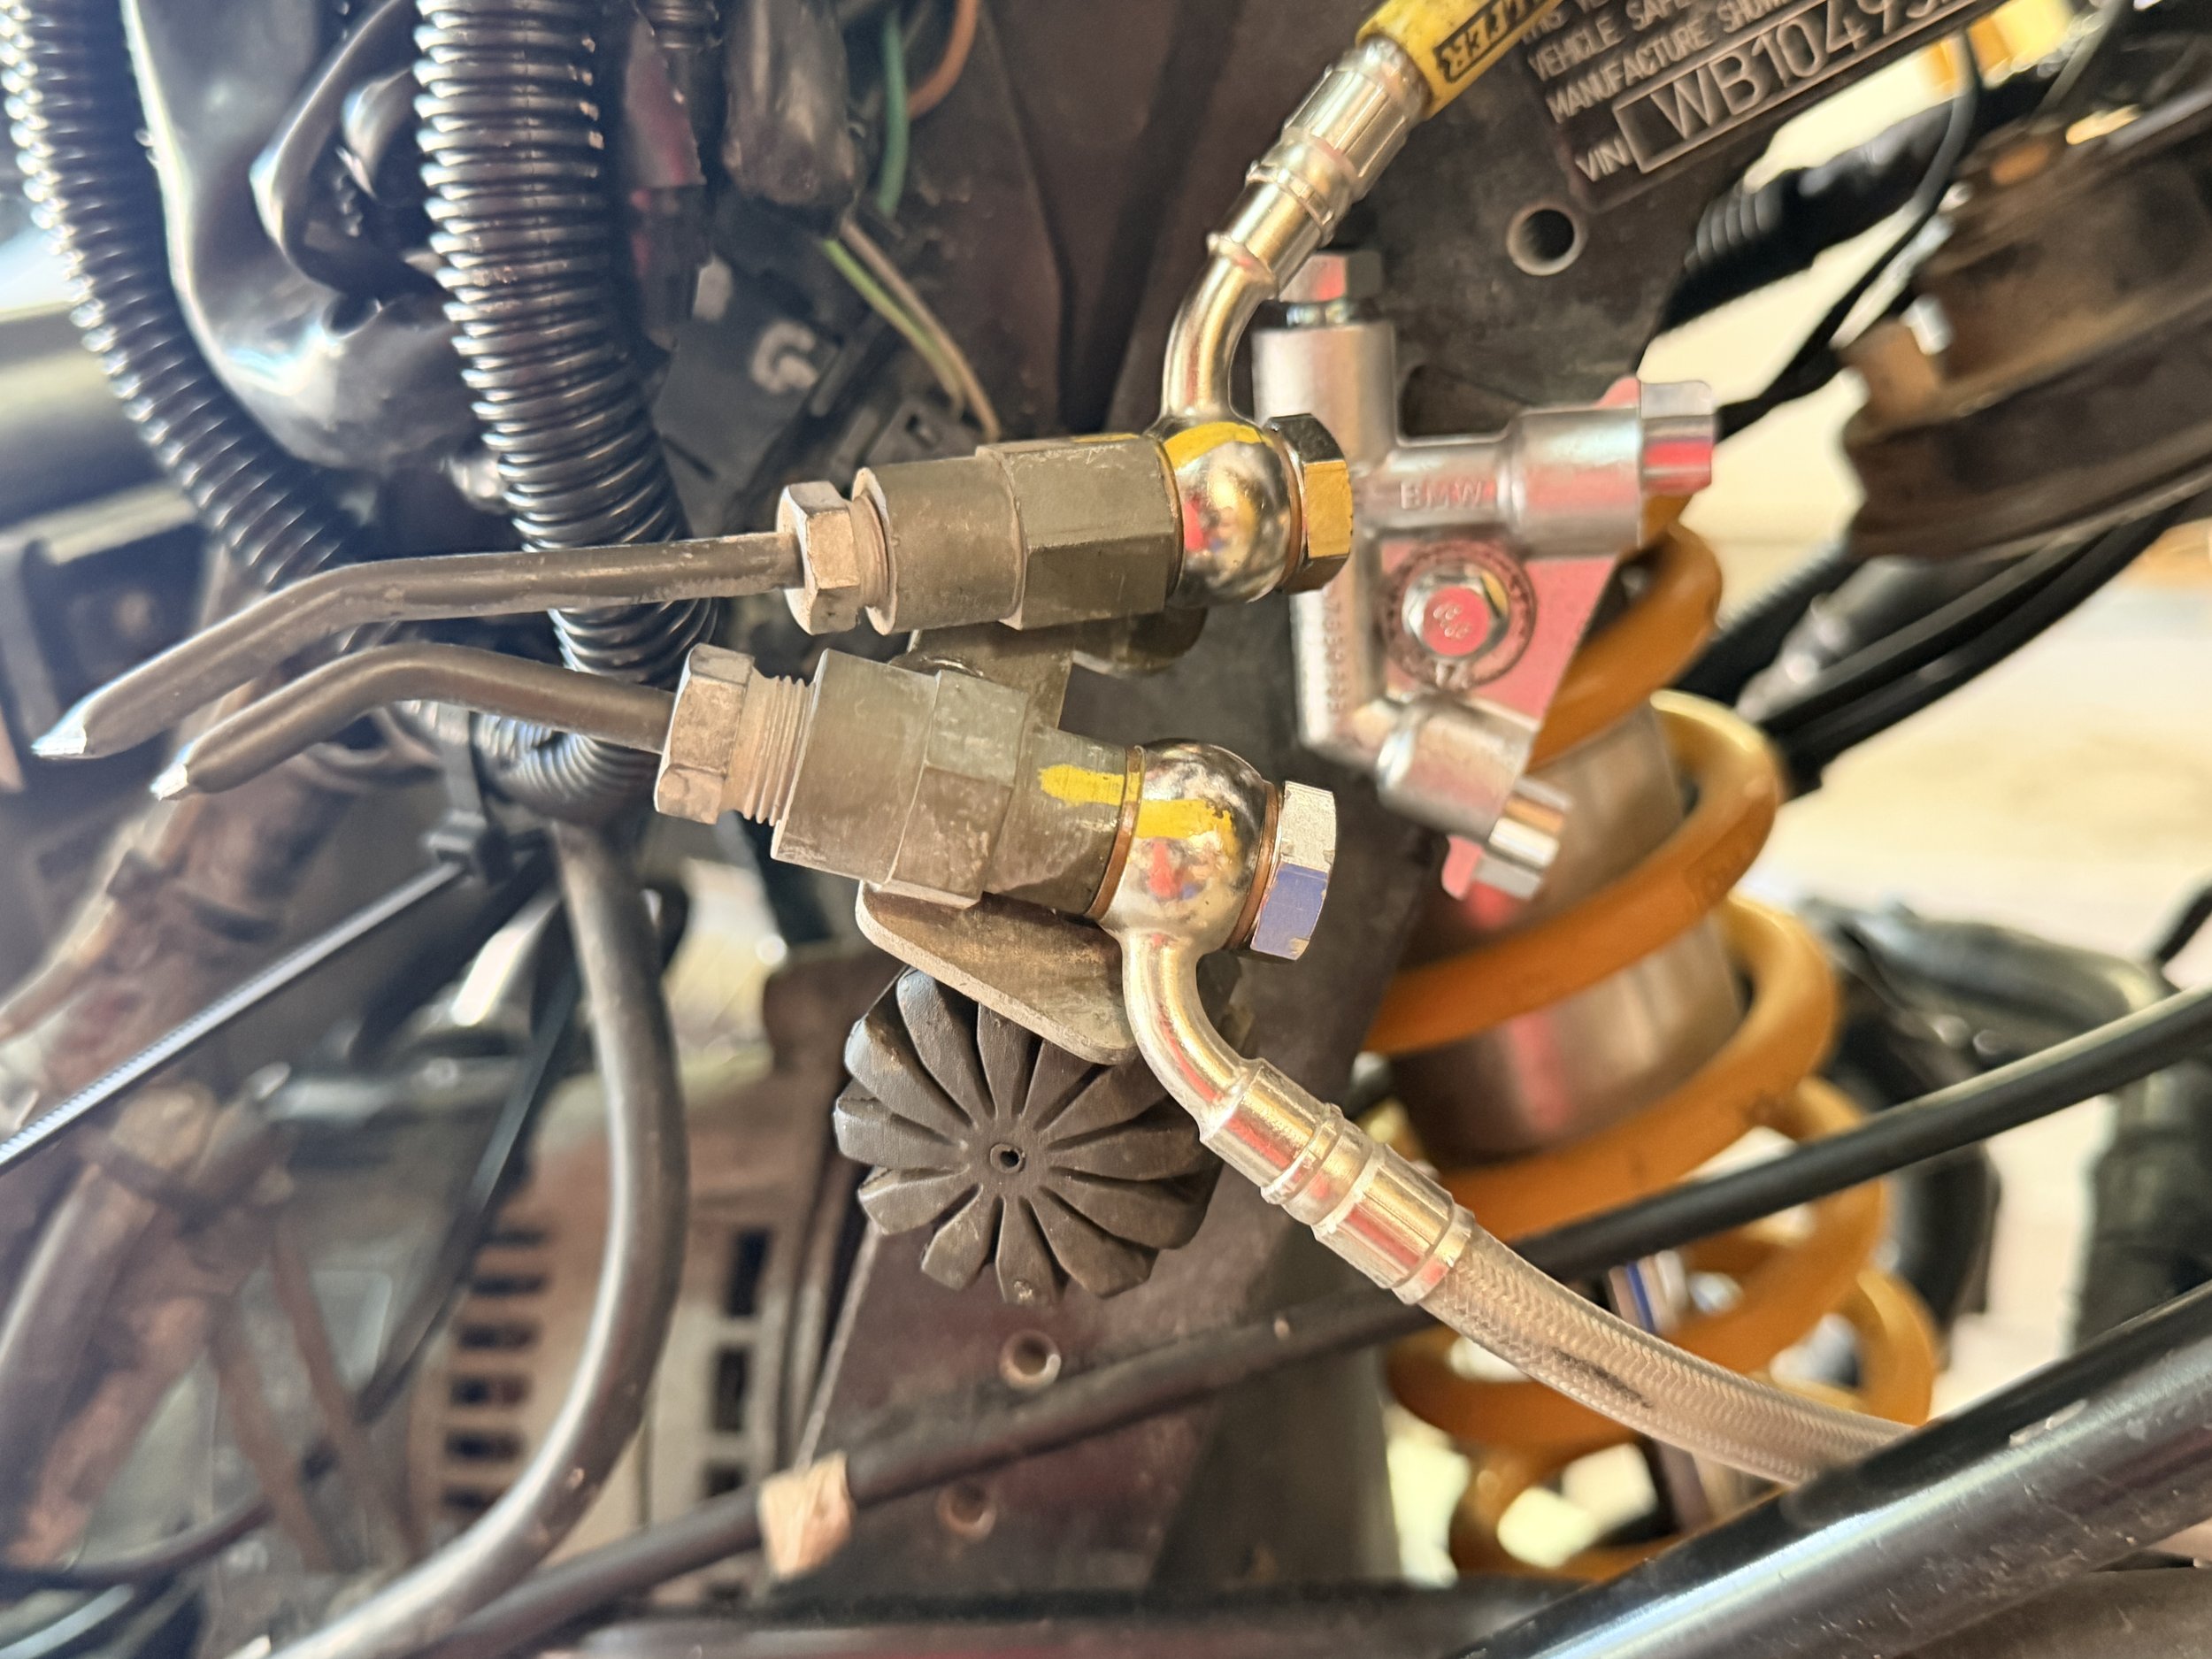
The new junction has been installed and ready to switch the lines over.
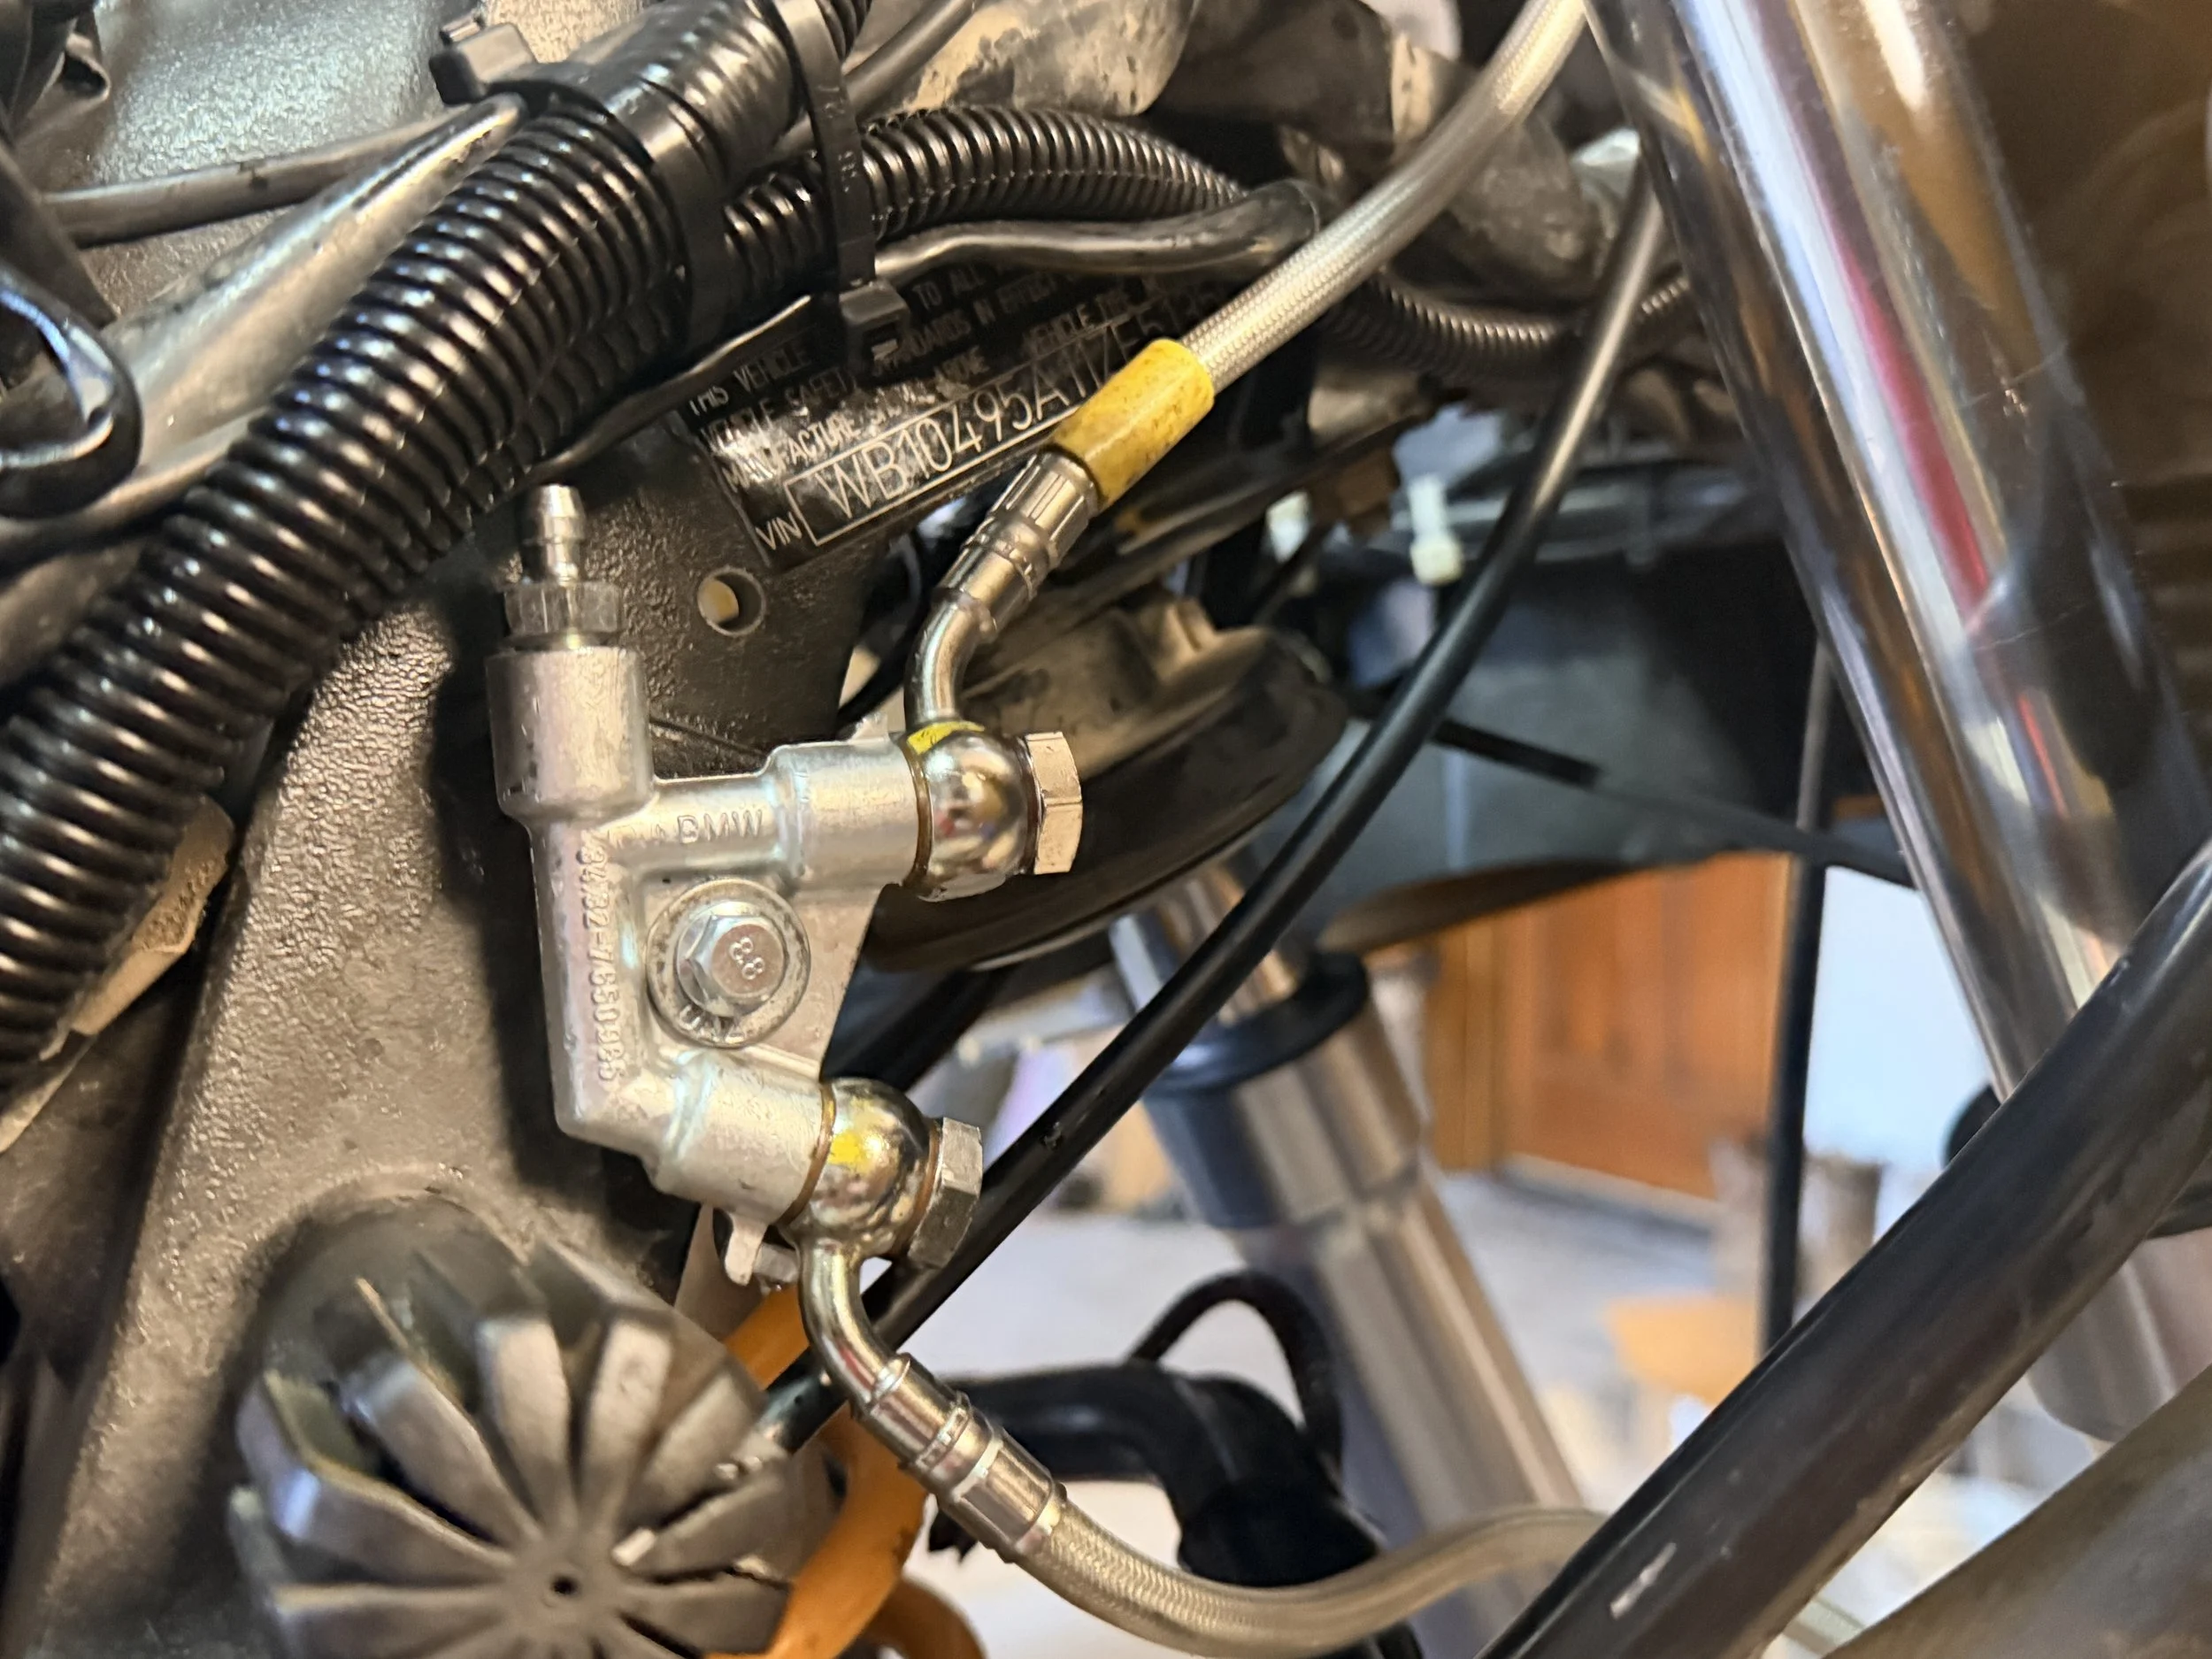
Junction done, and bleed in process.
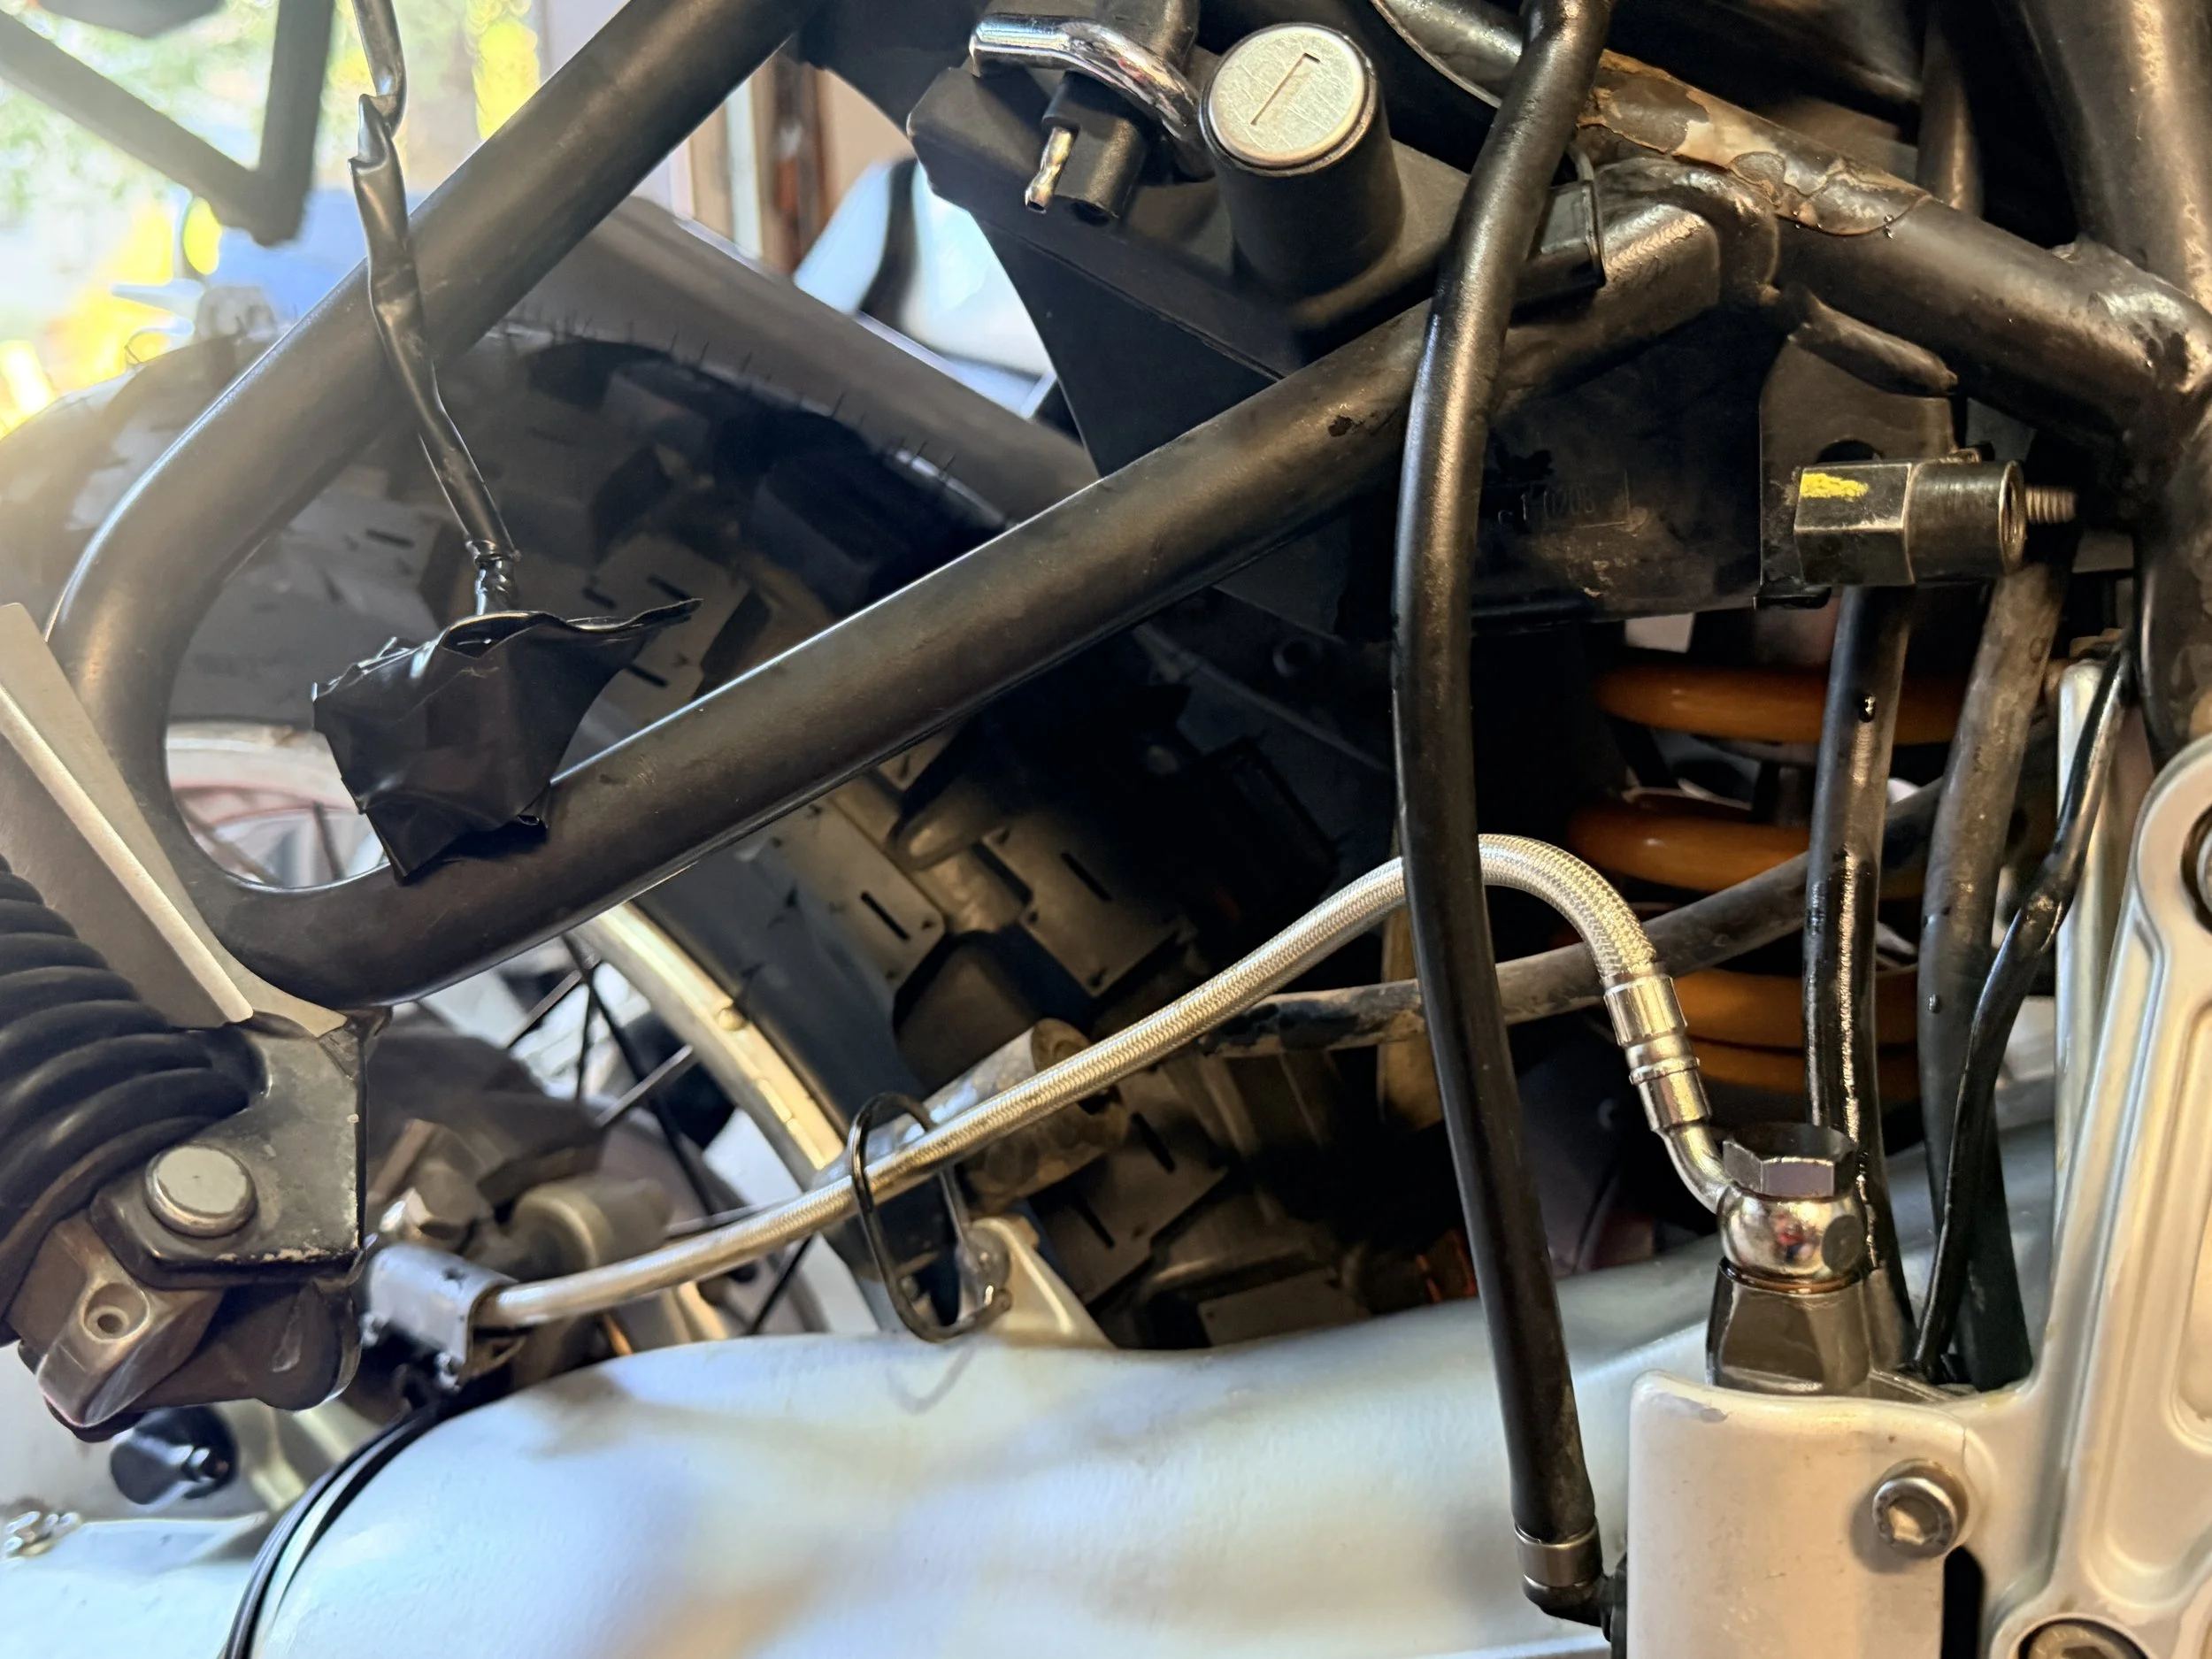
Rear line mounted directly into the rear master cylinder.
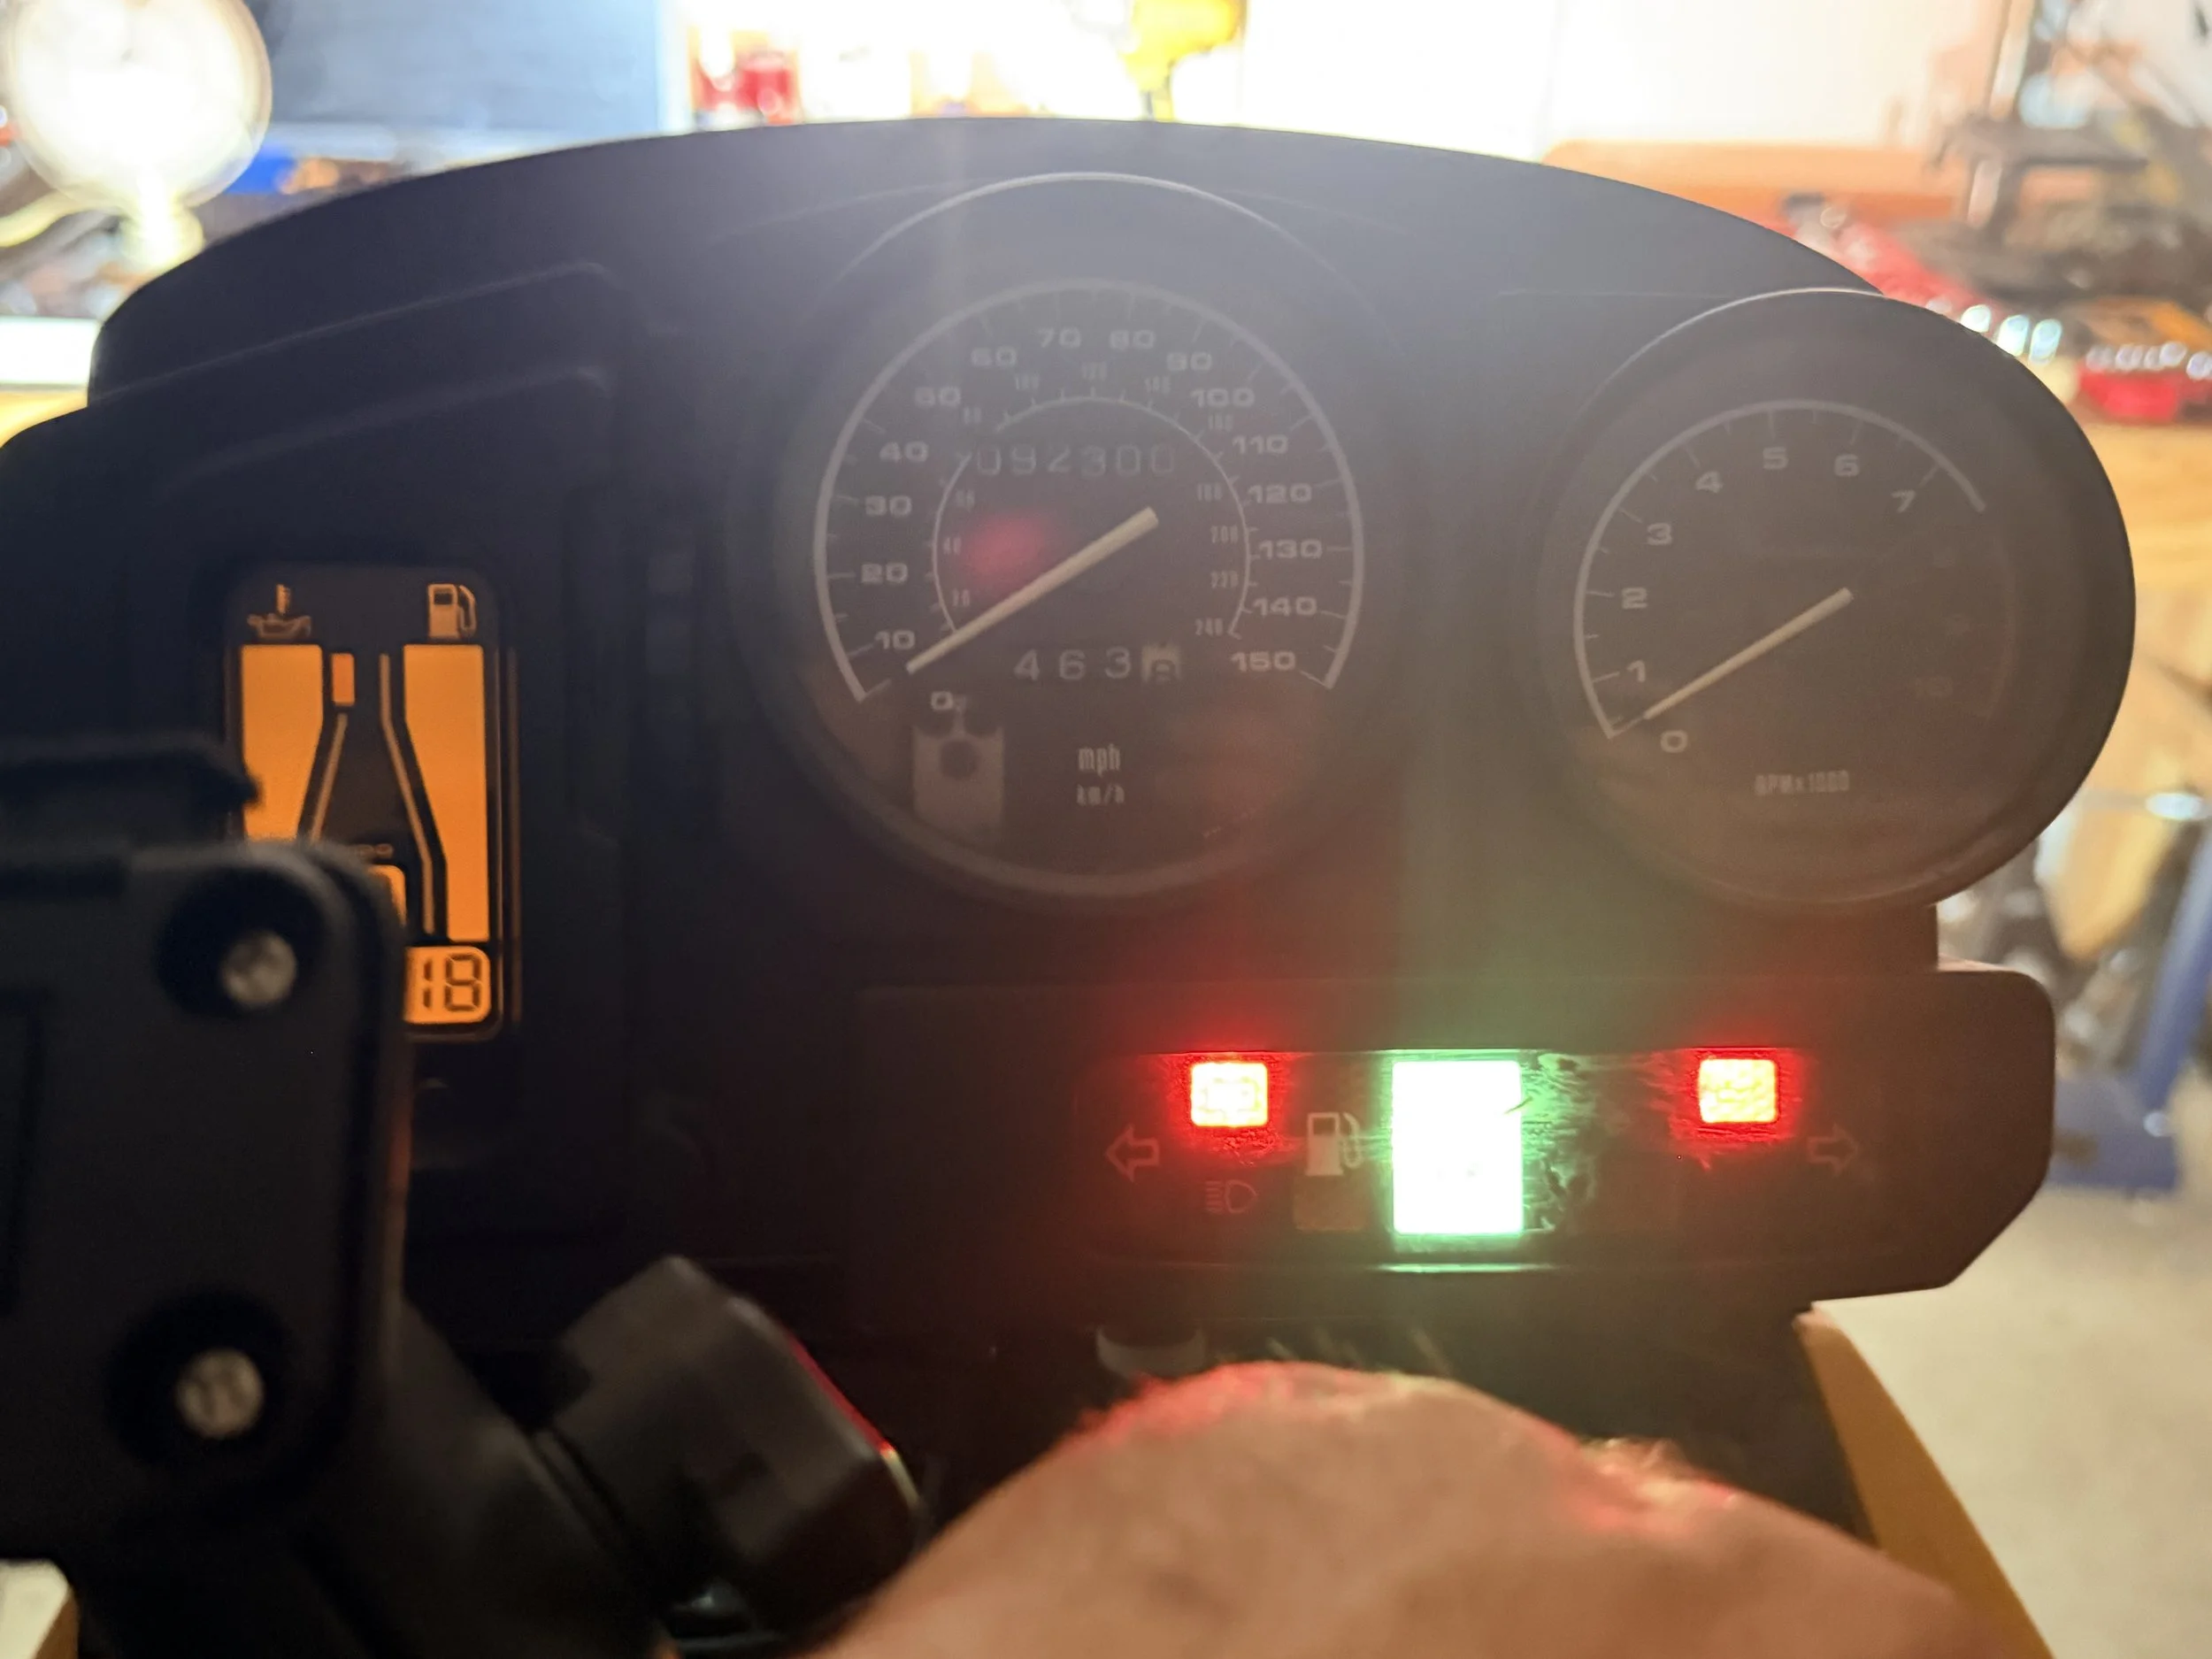
The dash lights no longer worked. We will fix that quickly with a trip to parts store.
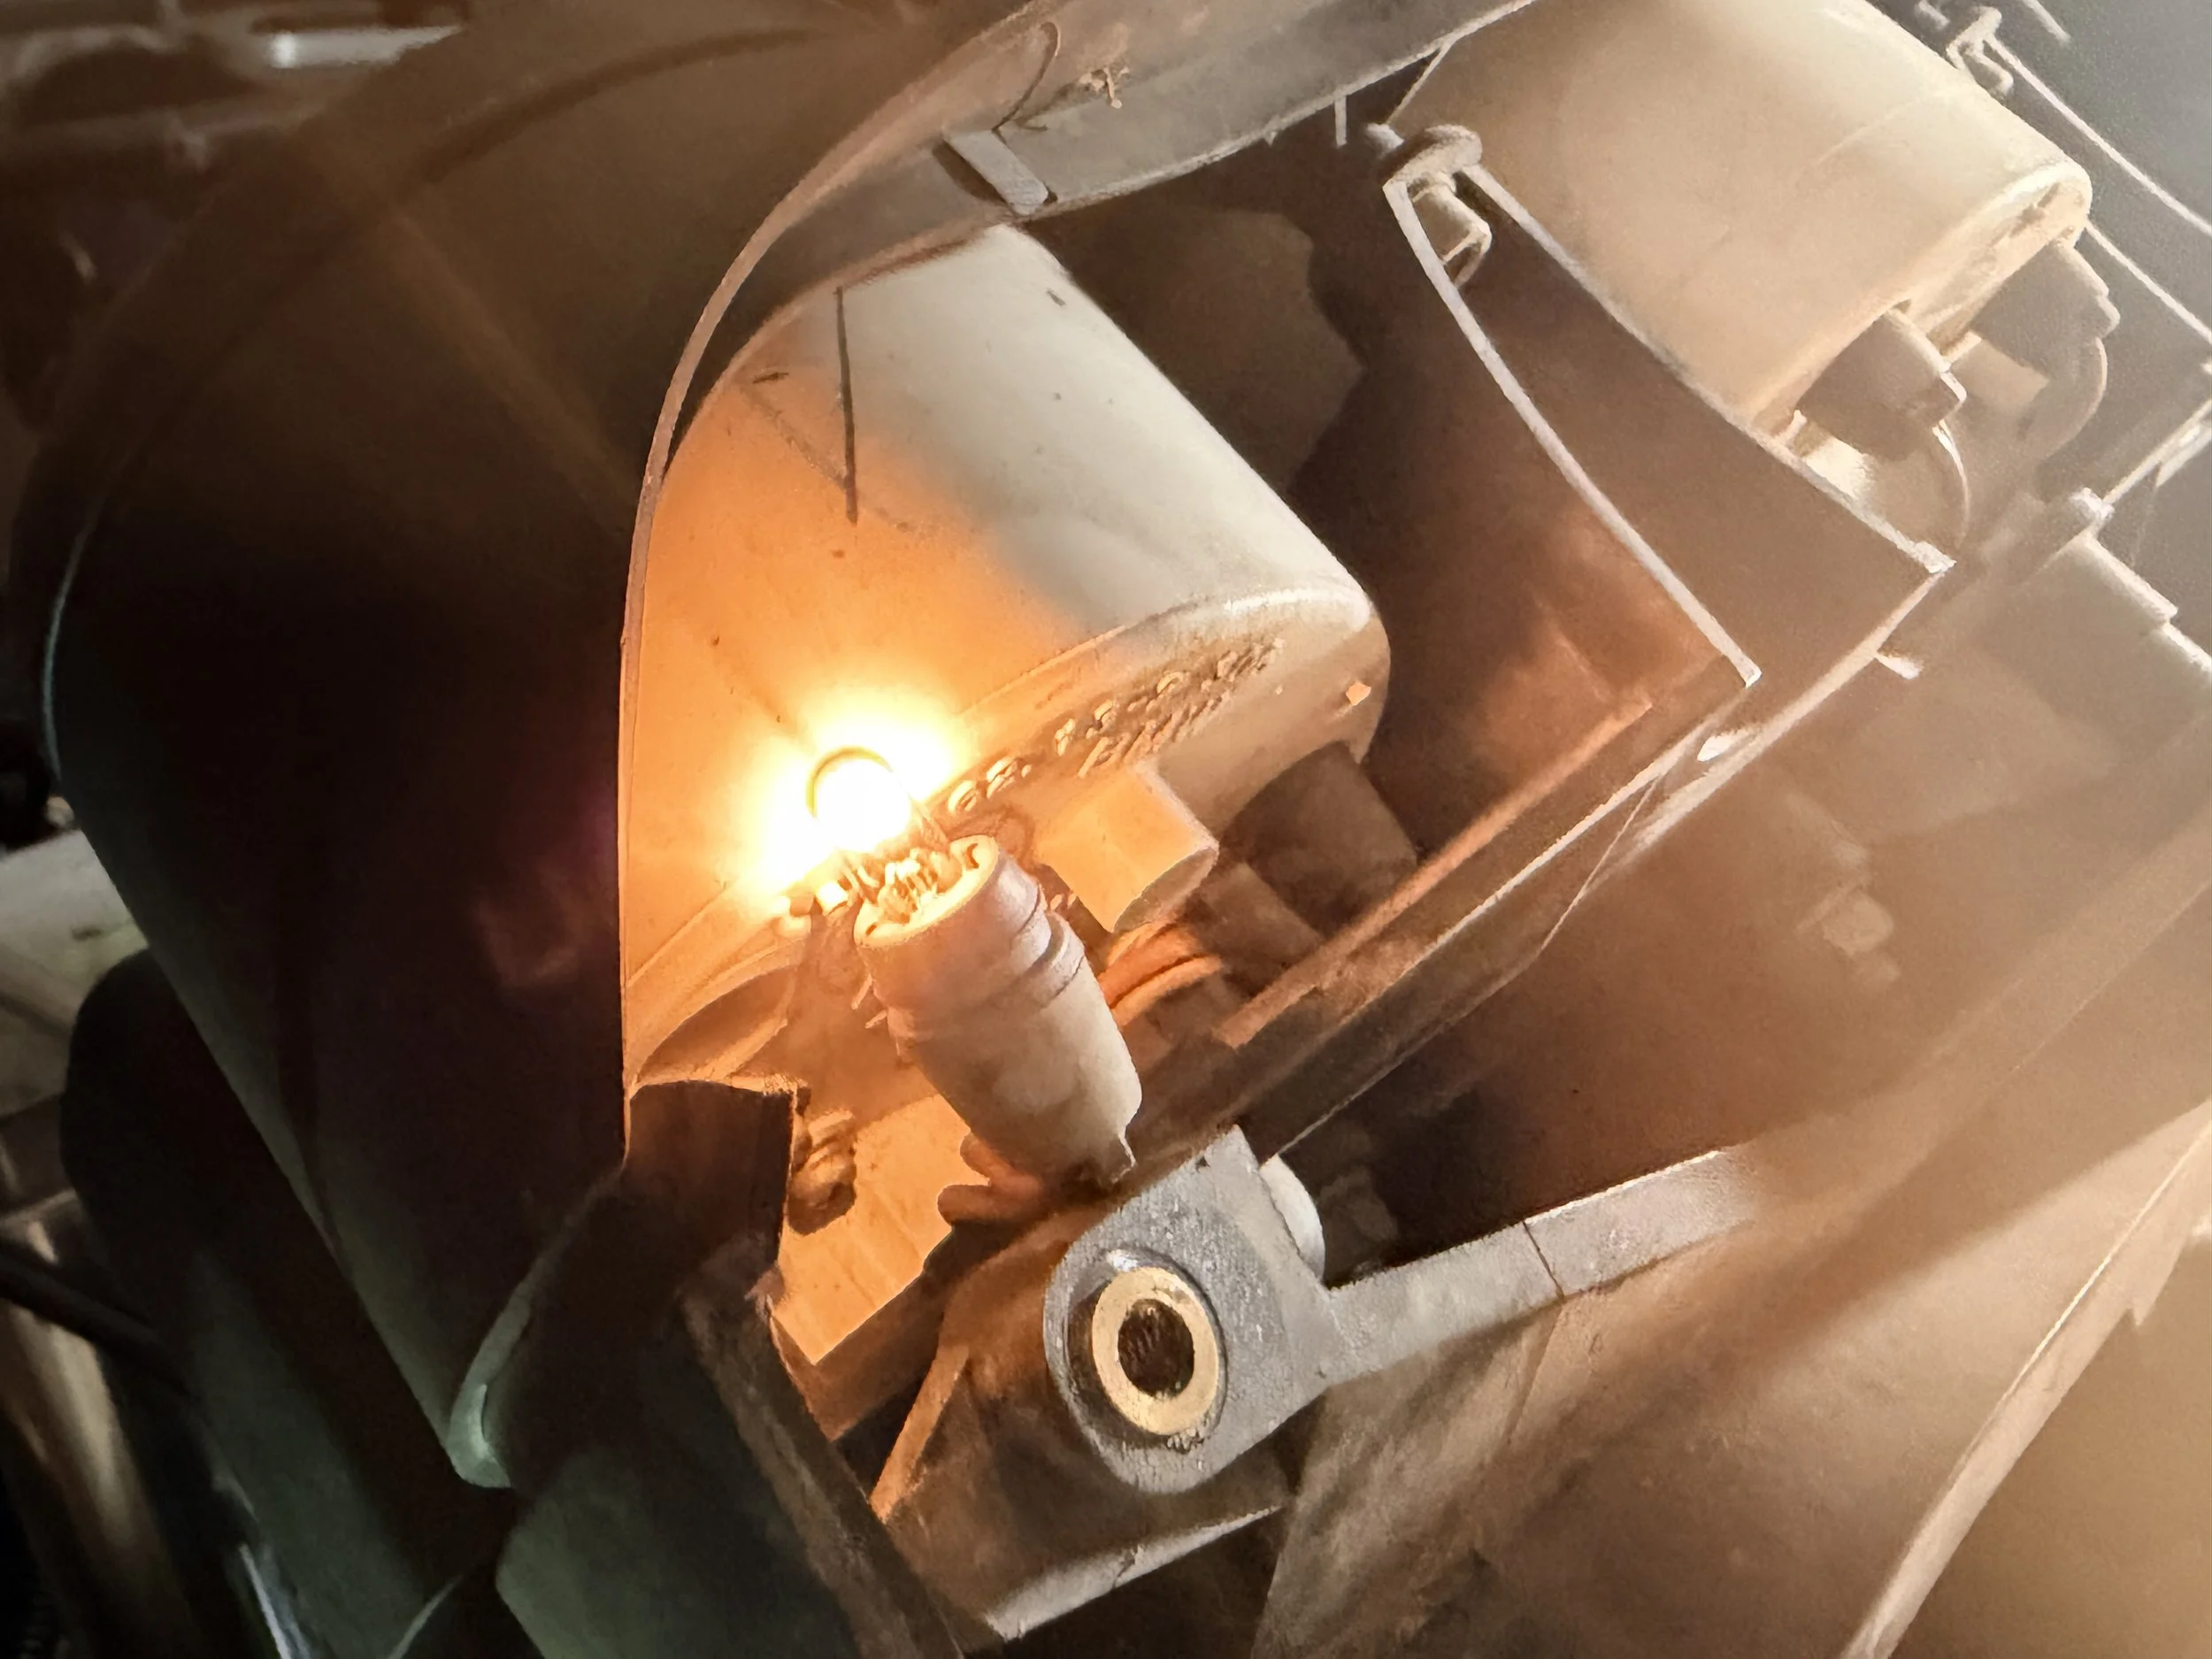
4x new bulbs installed.
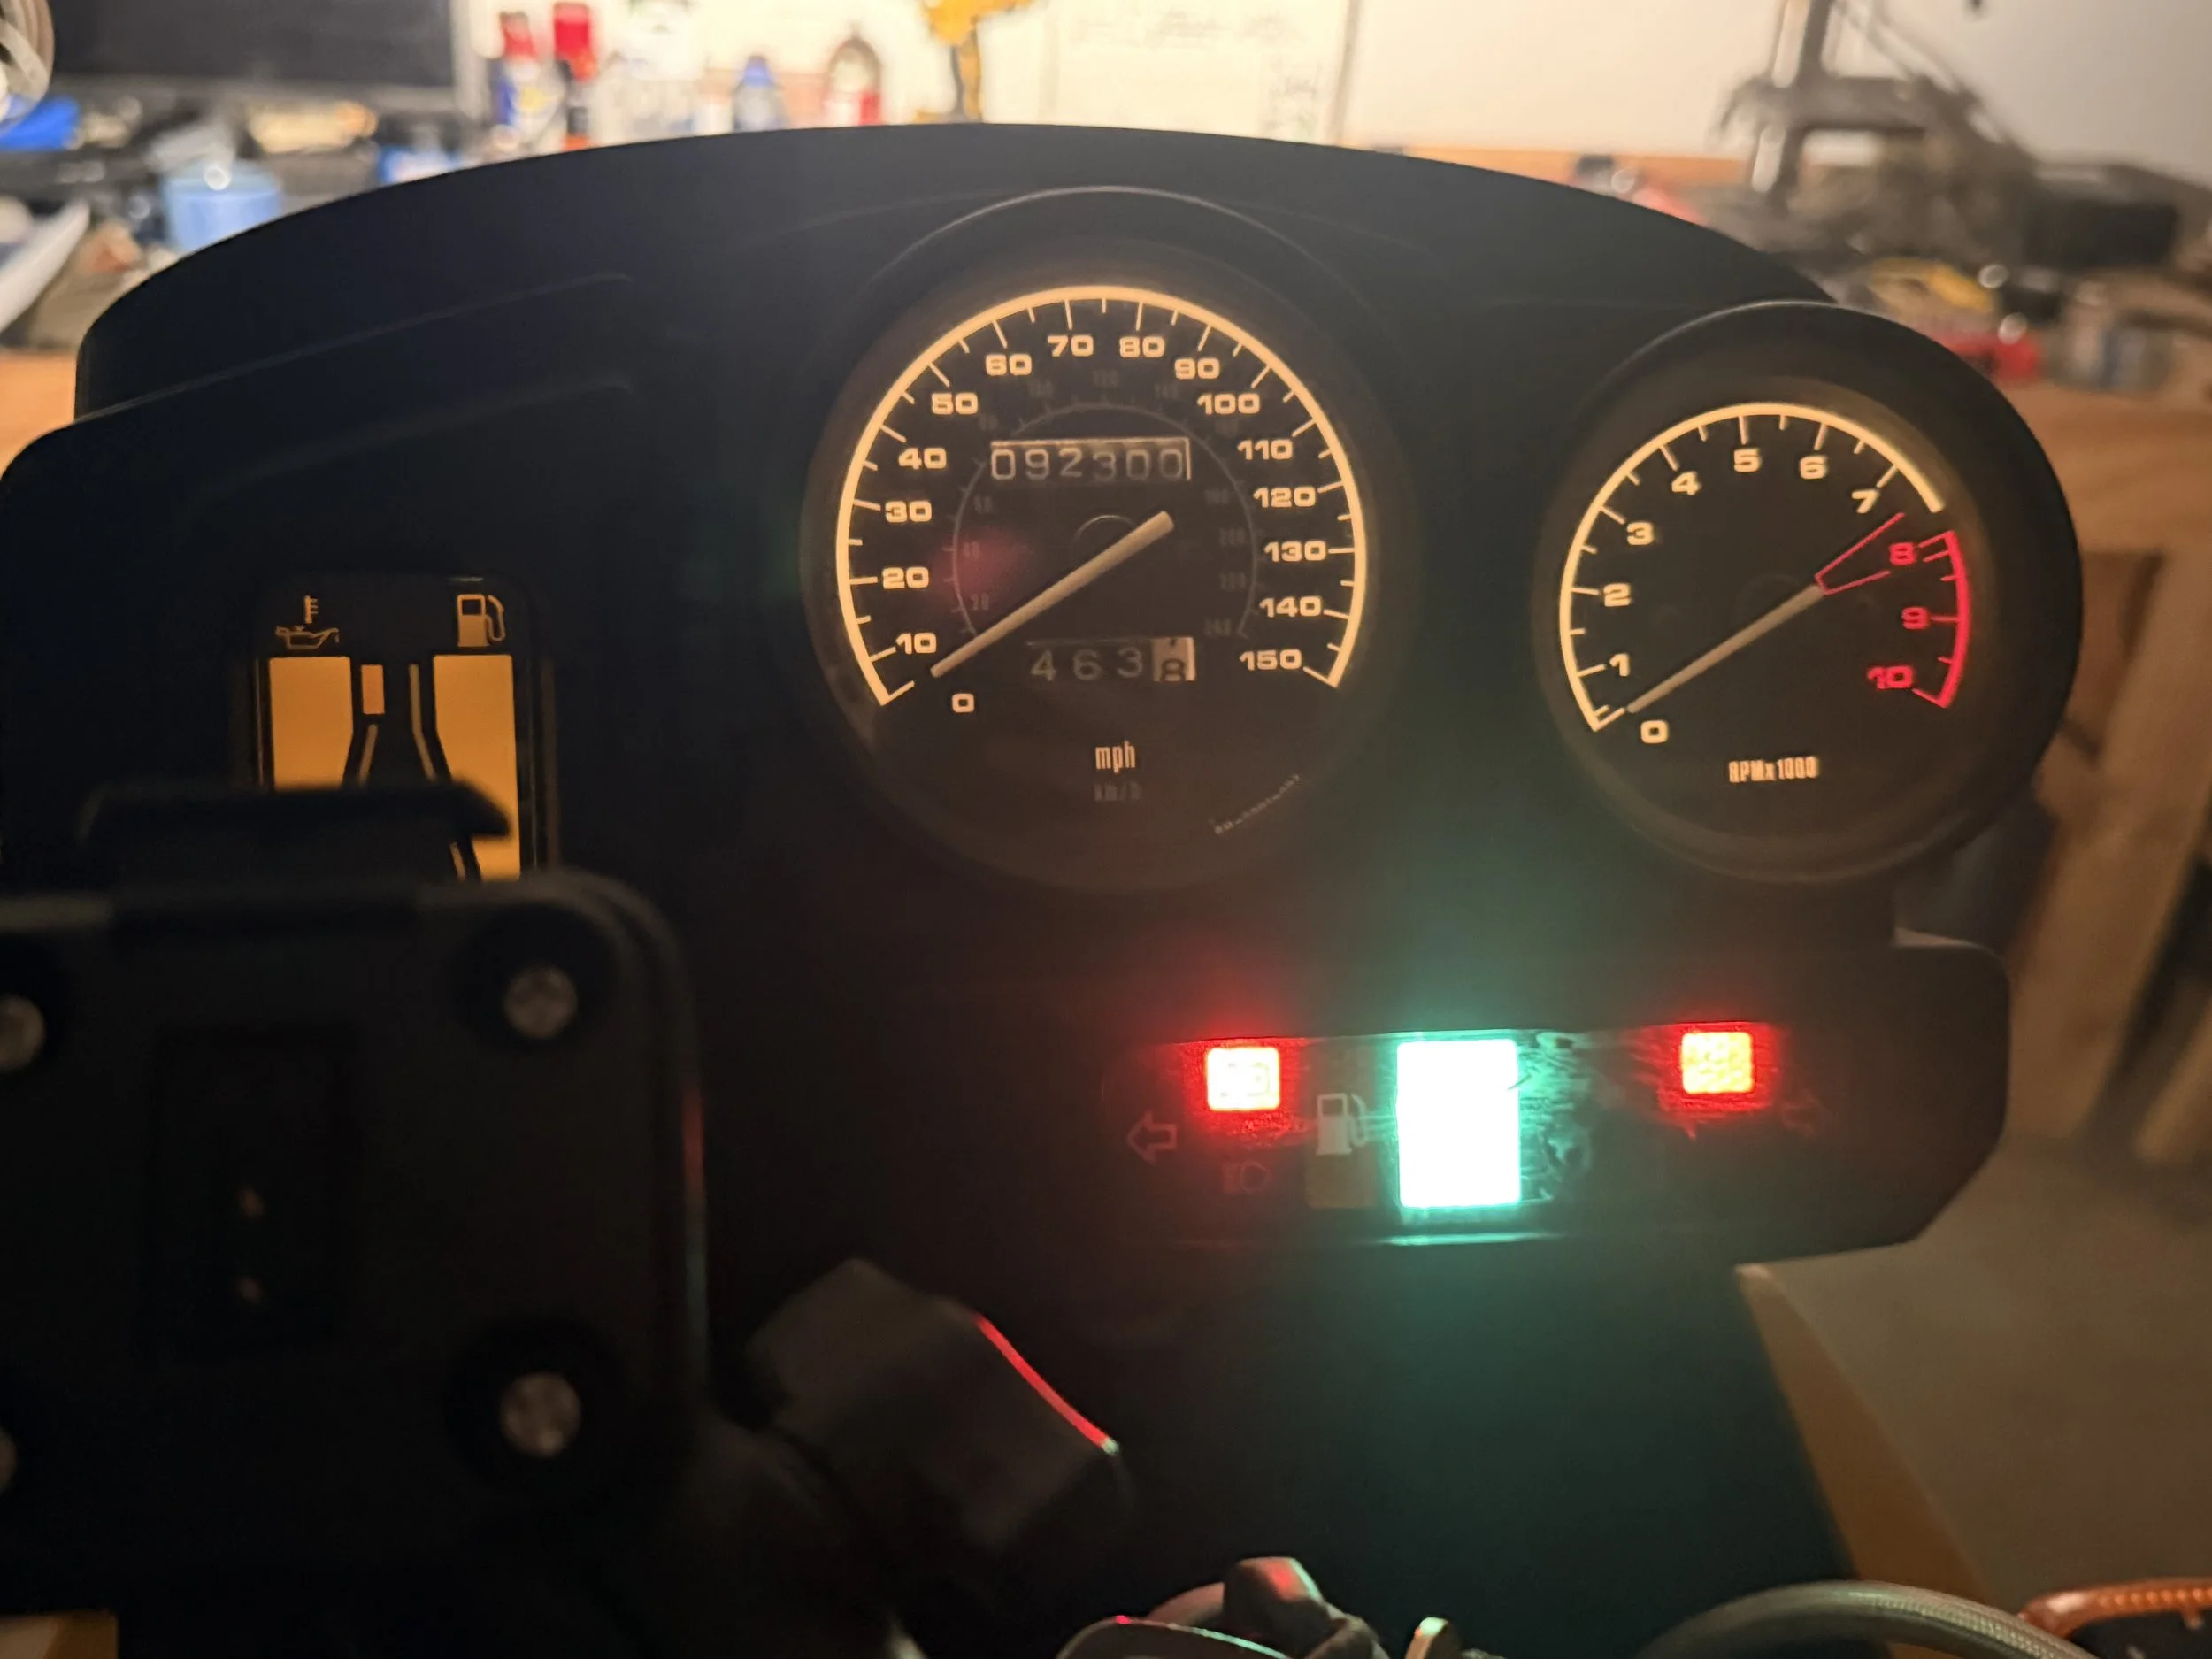
Now the dash works again!
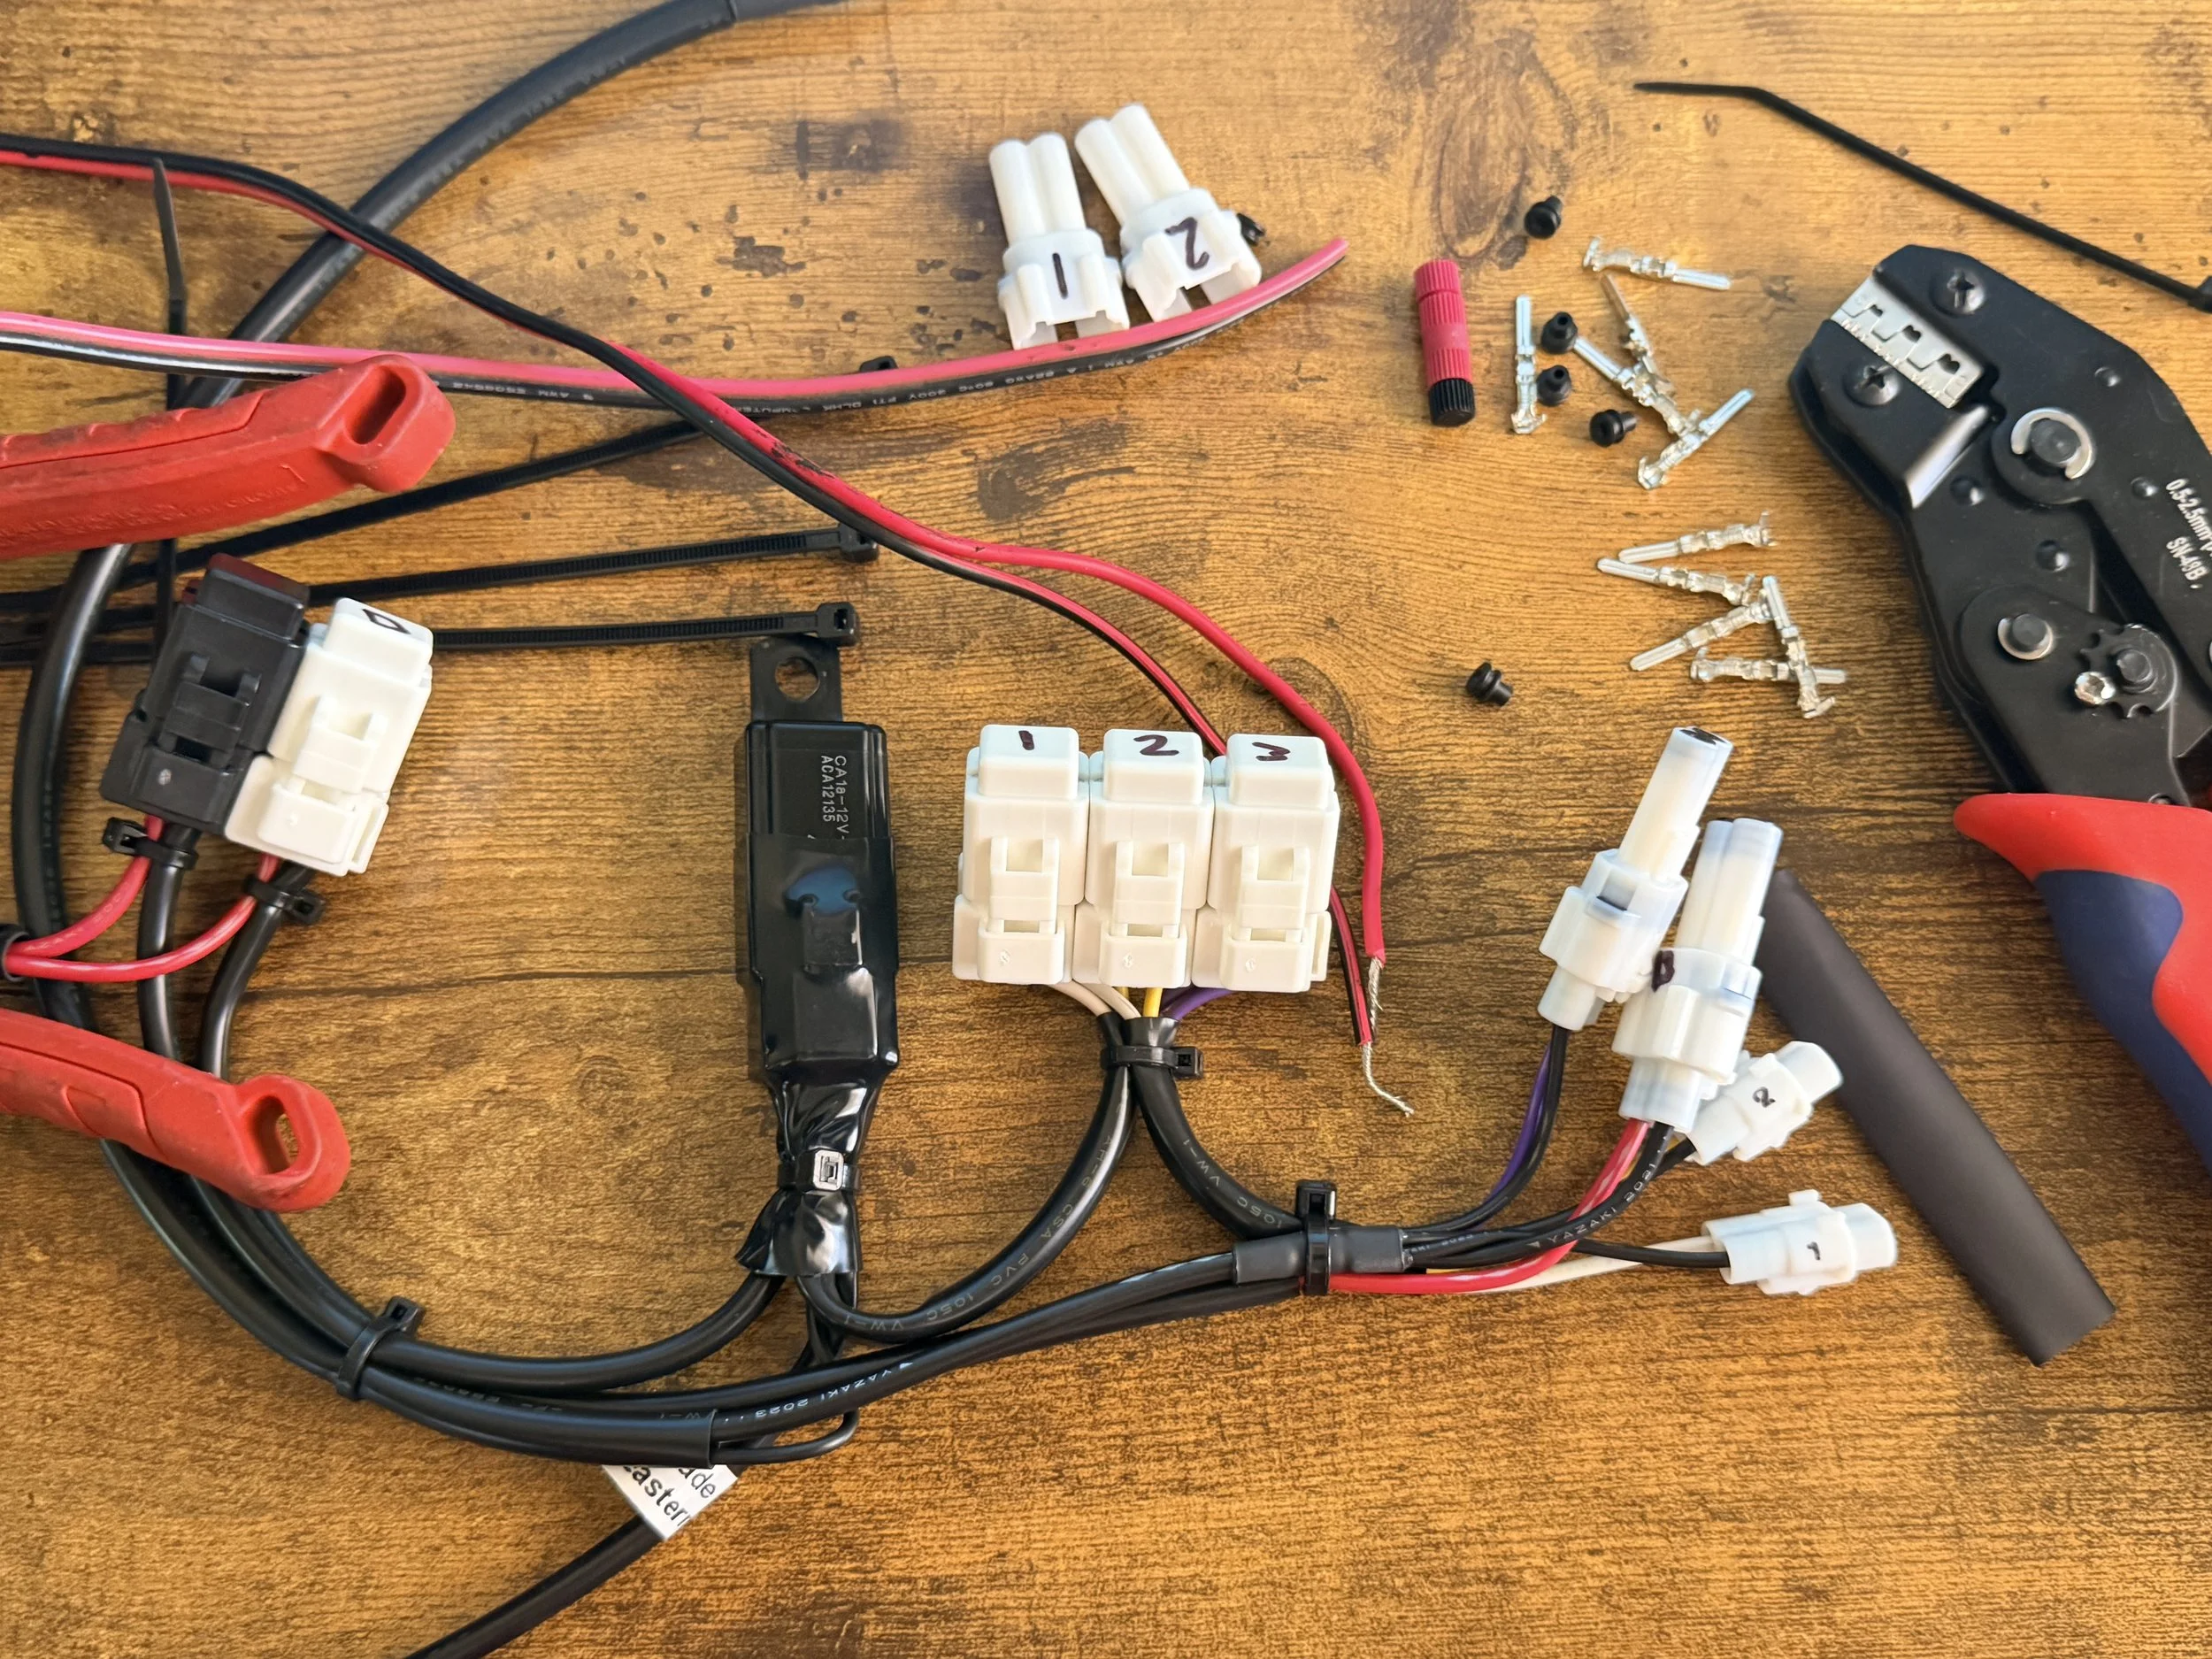
Eastern Beaver 4-Circuit system arrived, and we began to prep the harness for wiring & install. The previous system was working, but this solution is much more robust & better for the bike long-term.
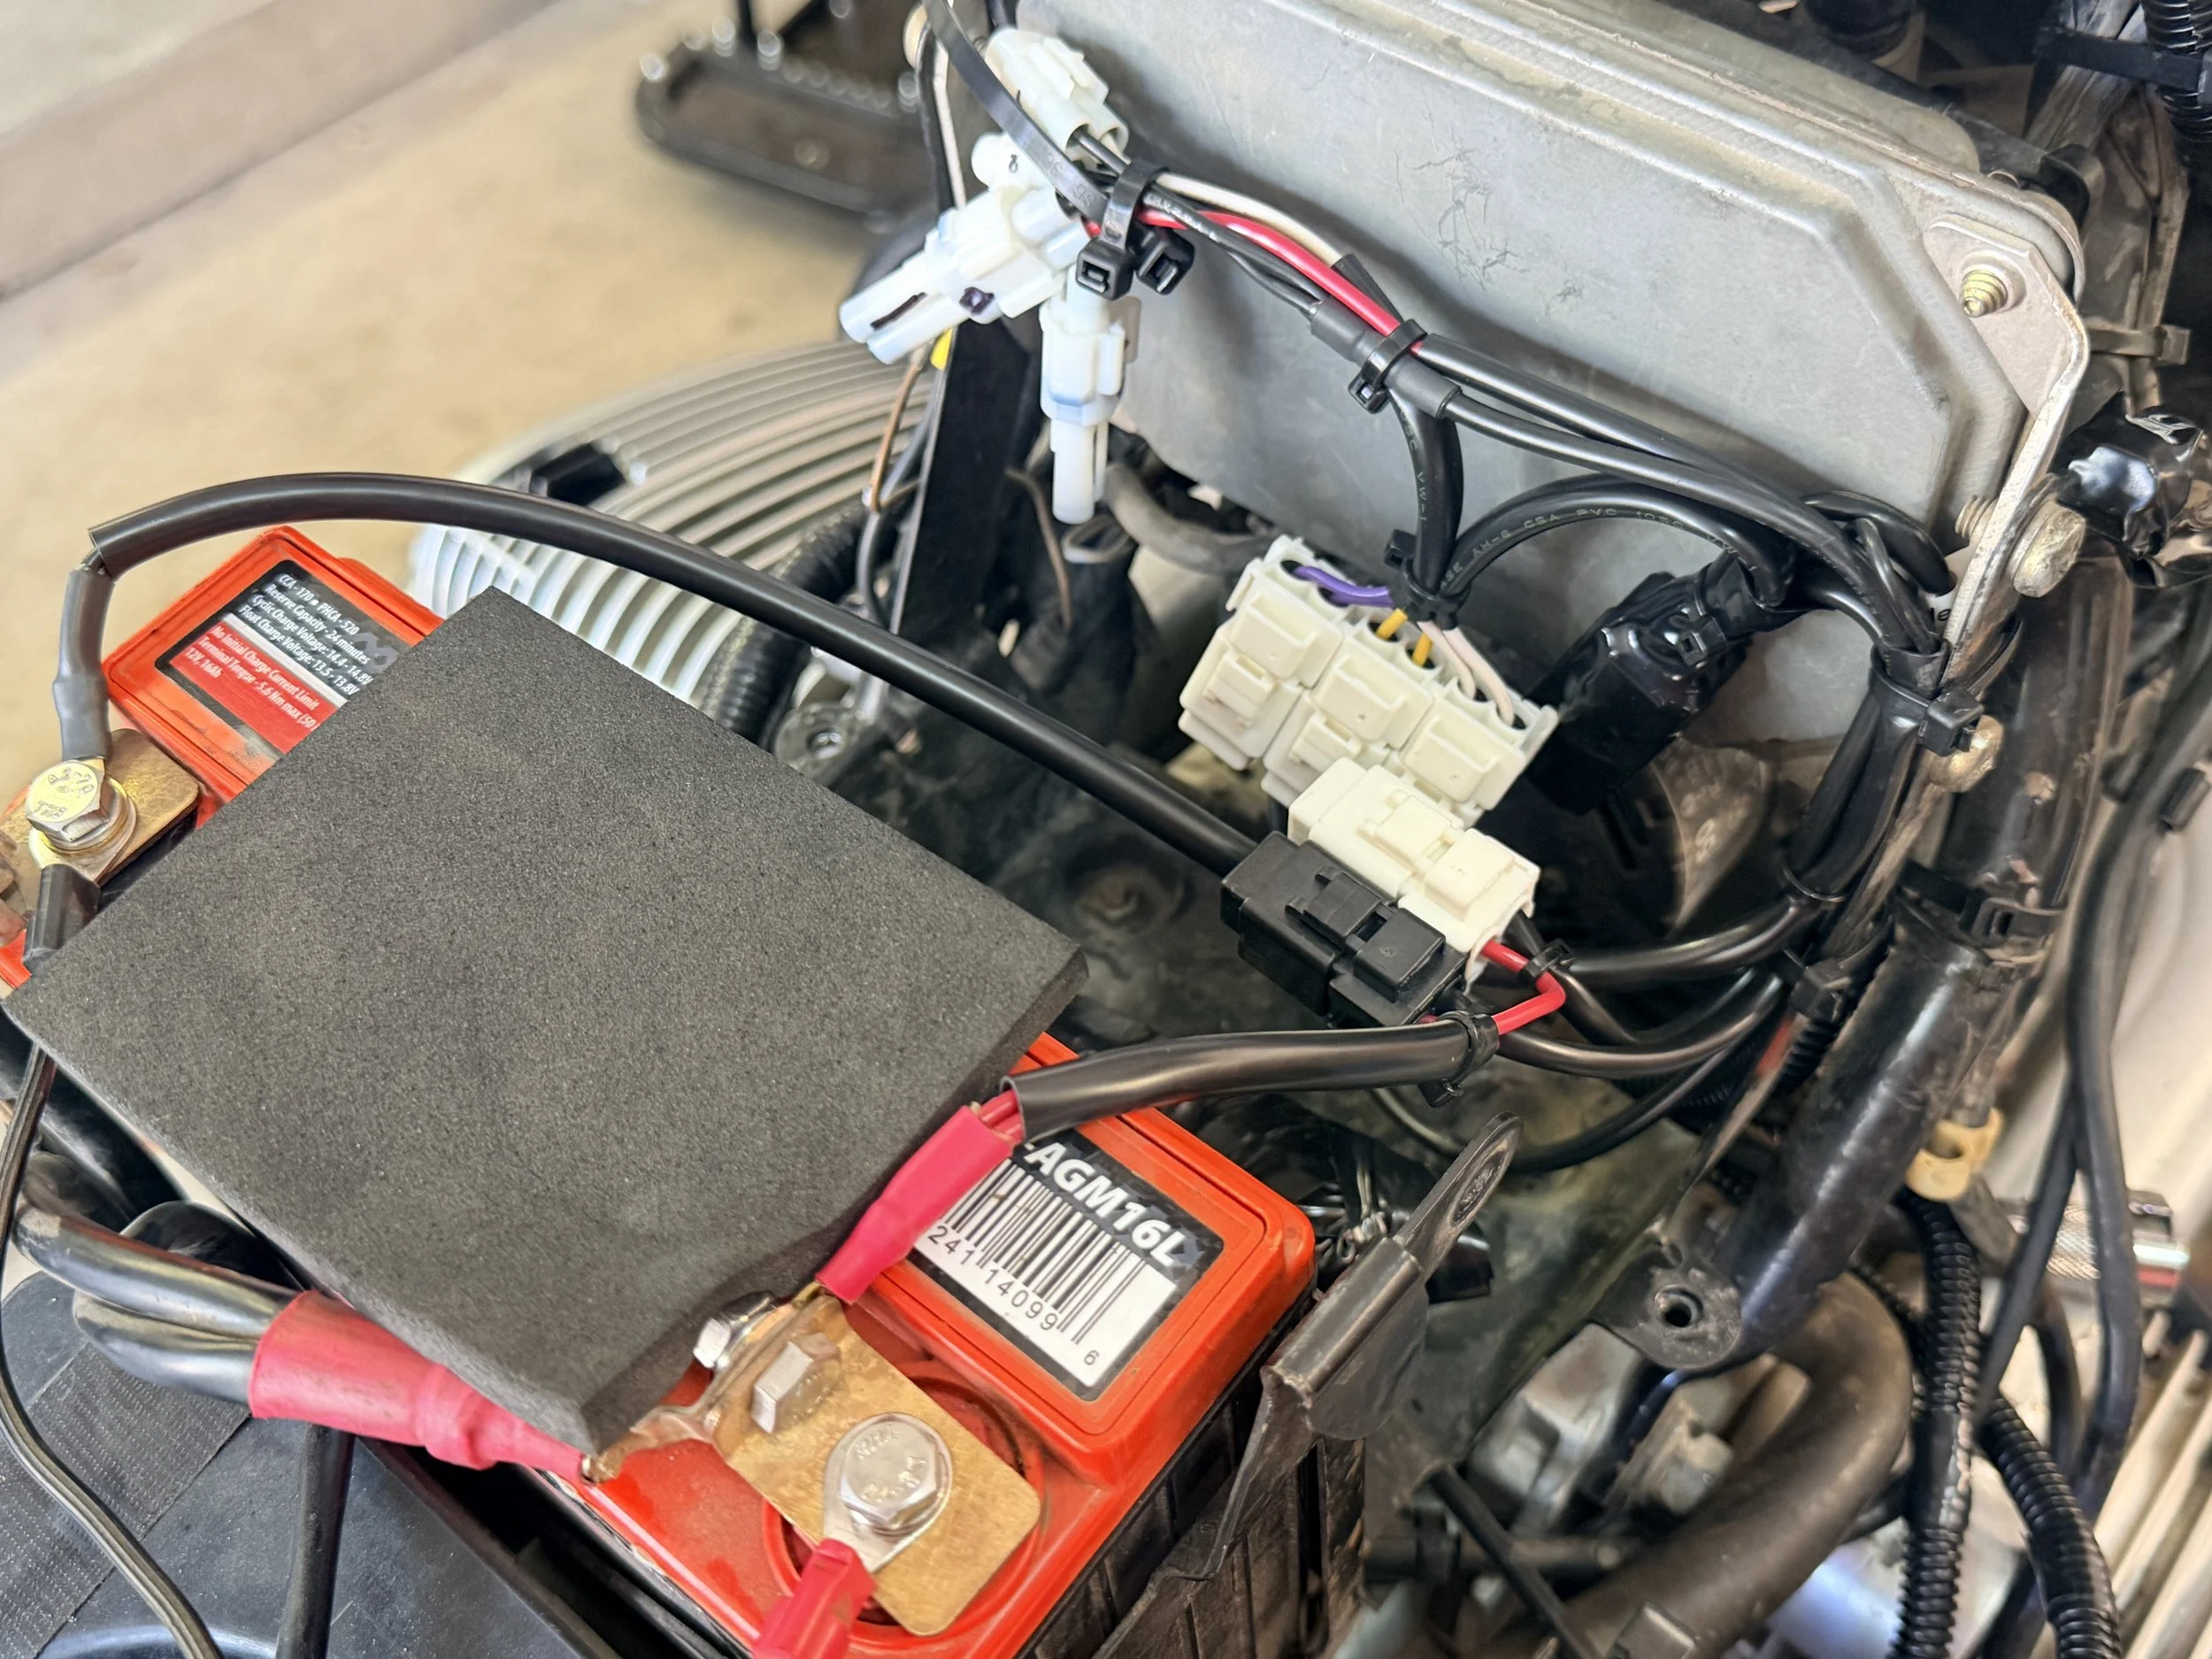
Everything has been plugged in and the wiring has been cleaned for long-term storage.
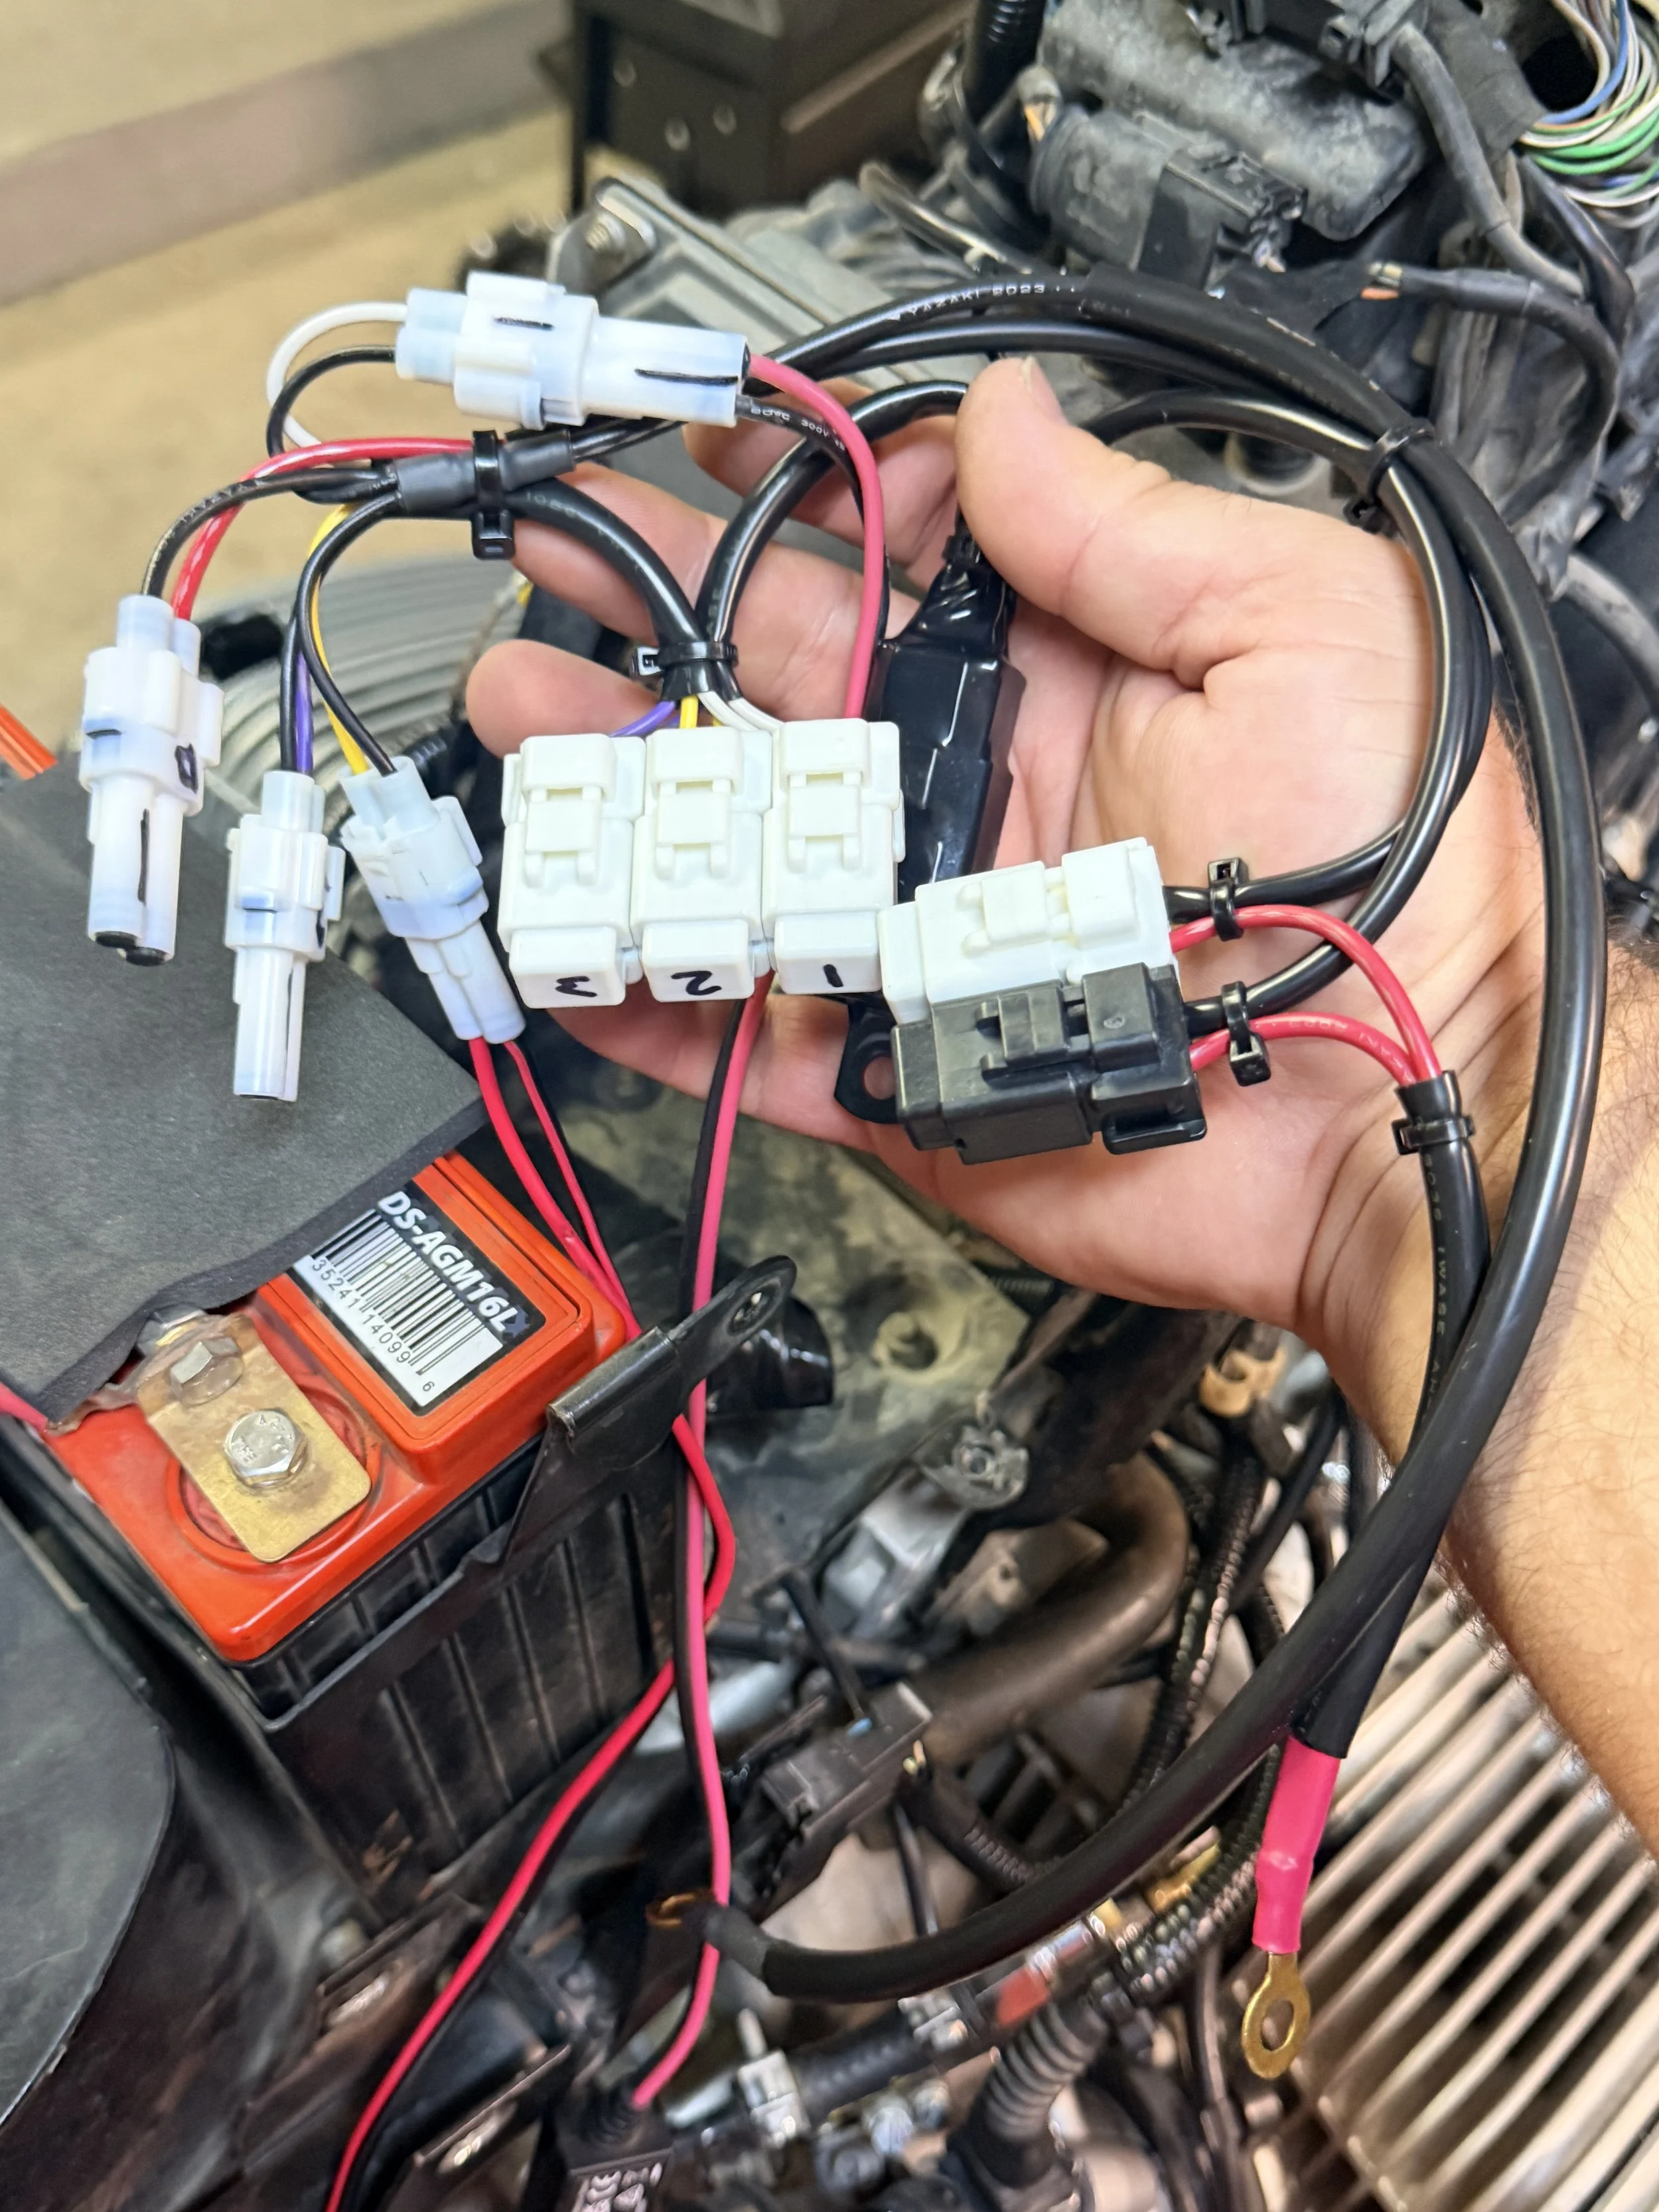
The model was switched power GPS + switched power cell phone charger. Ready to op check.
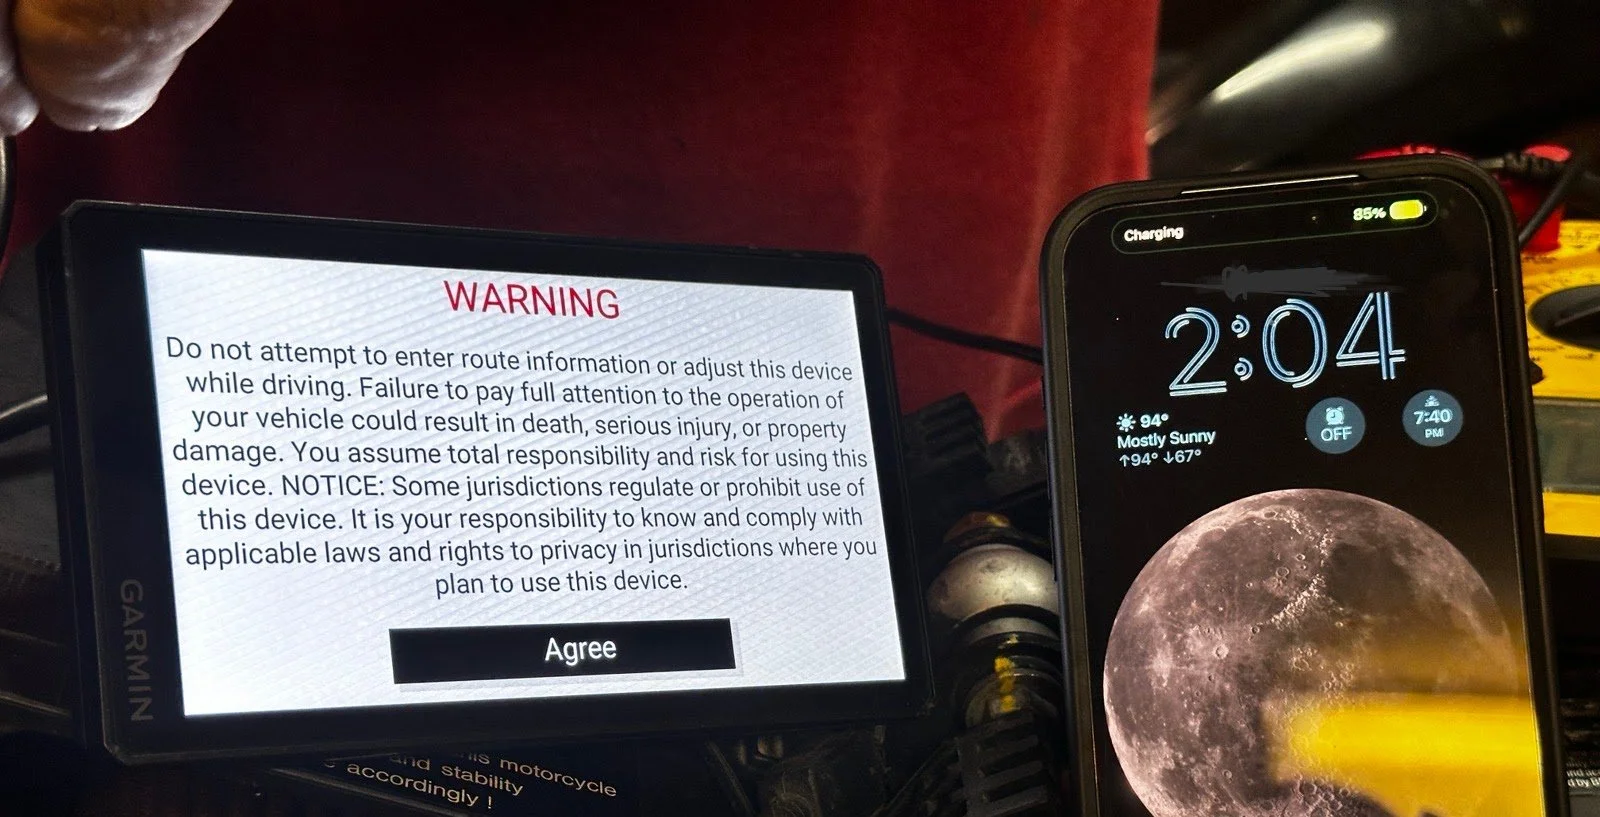
Success! Super early check of the devices - both are functioning correctly. Happy days.
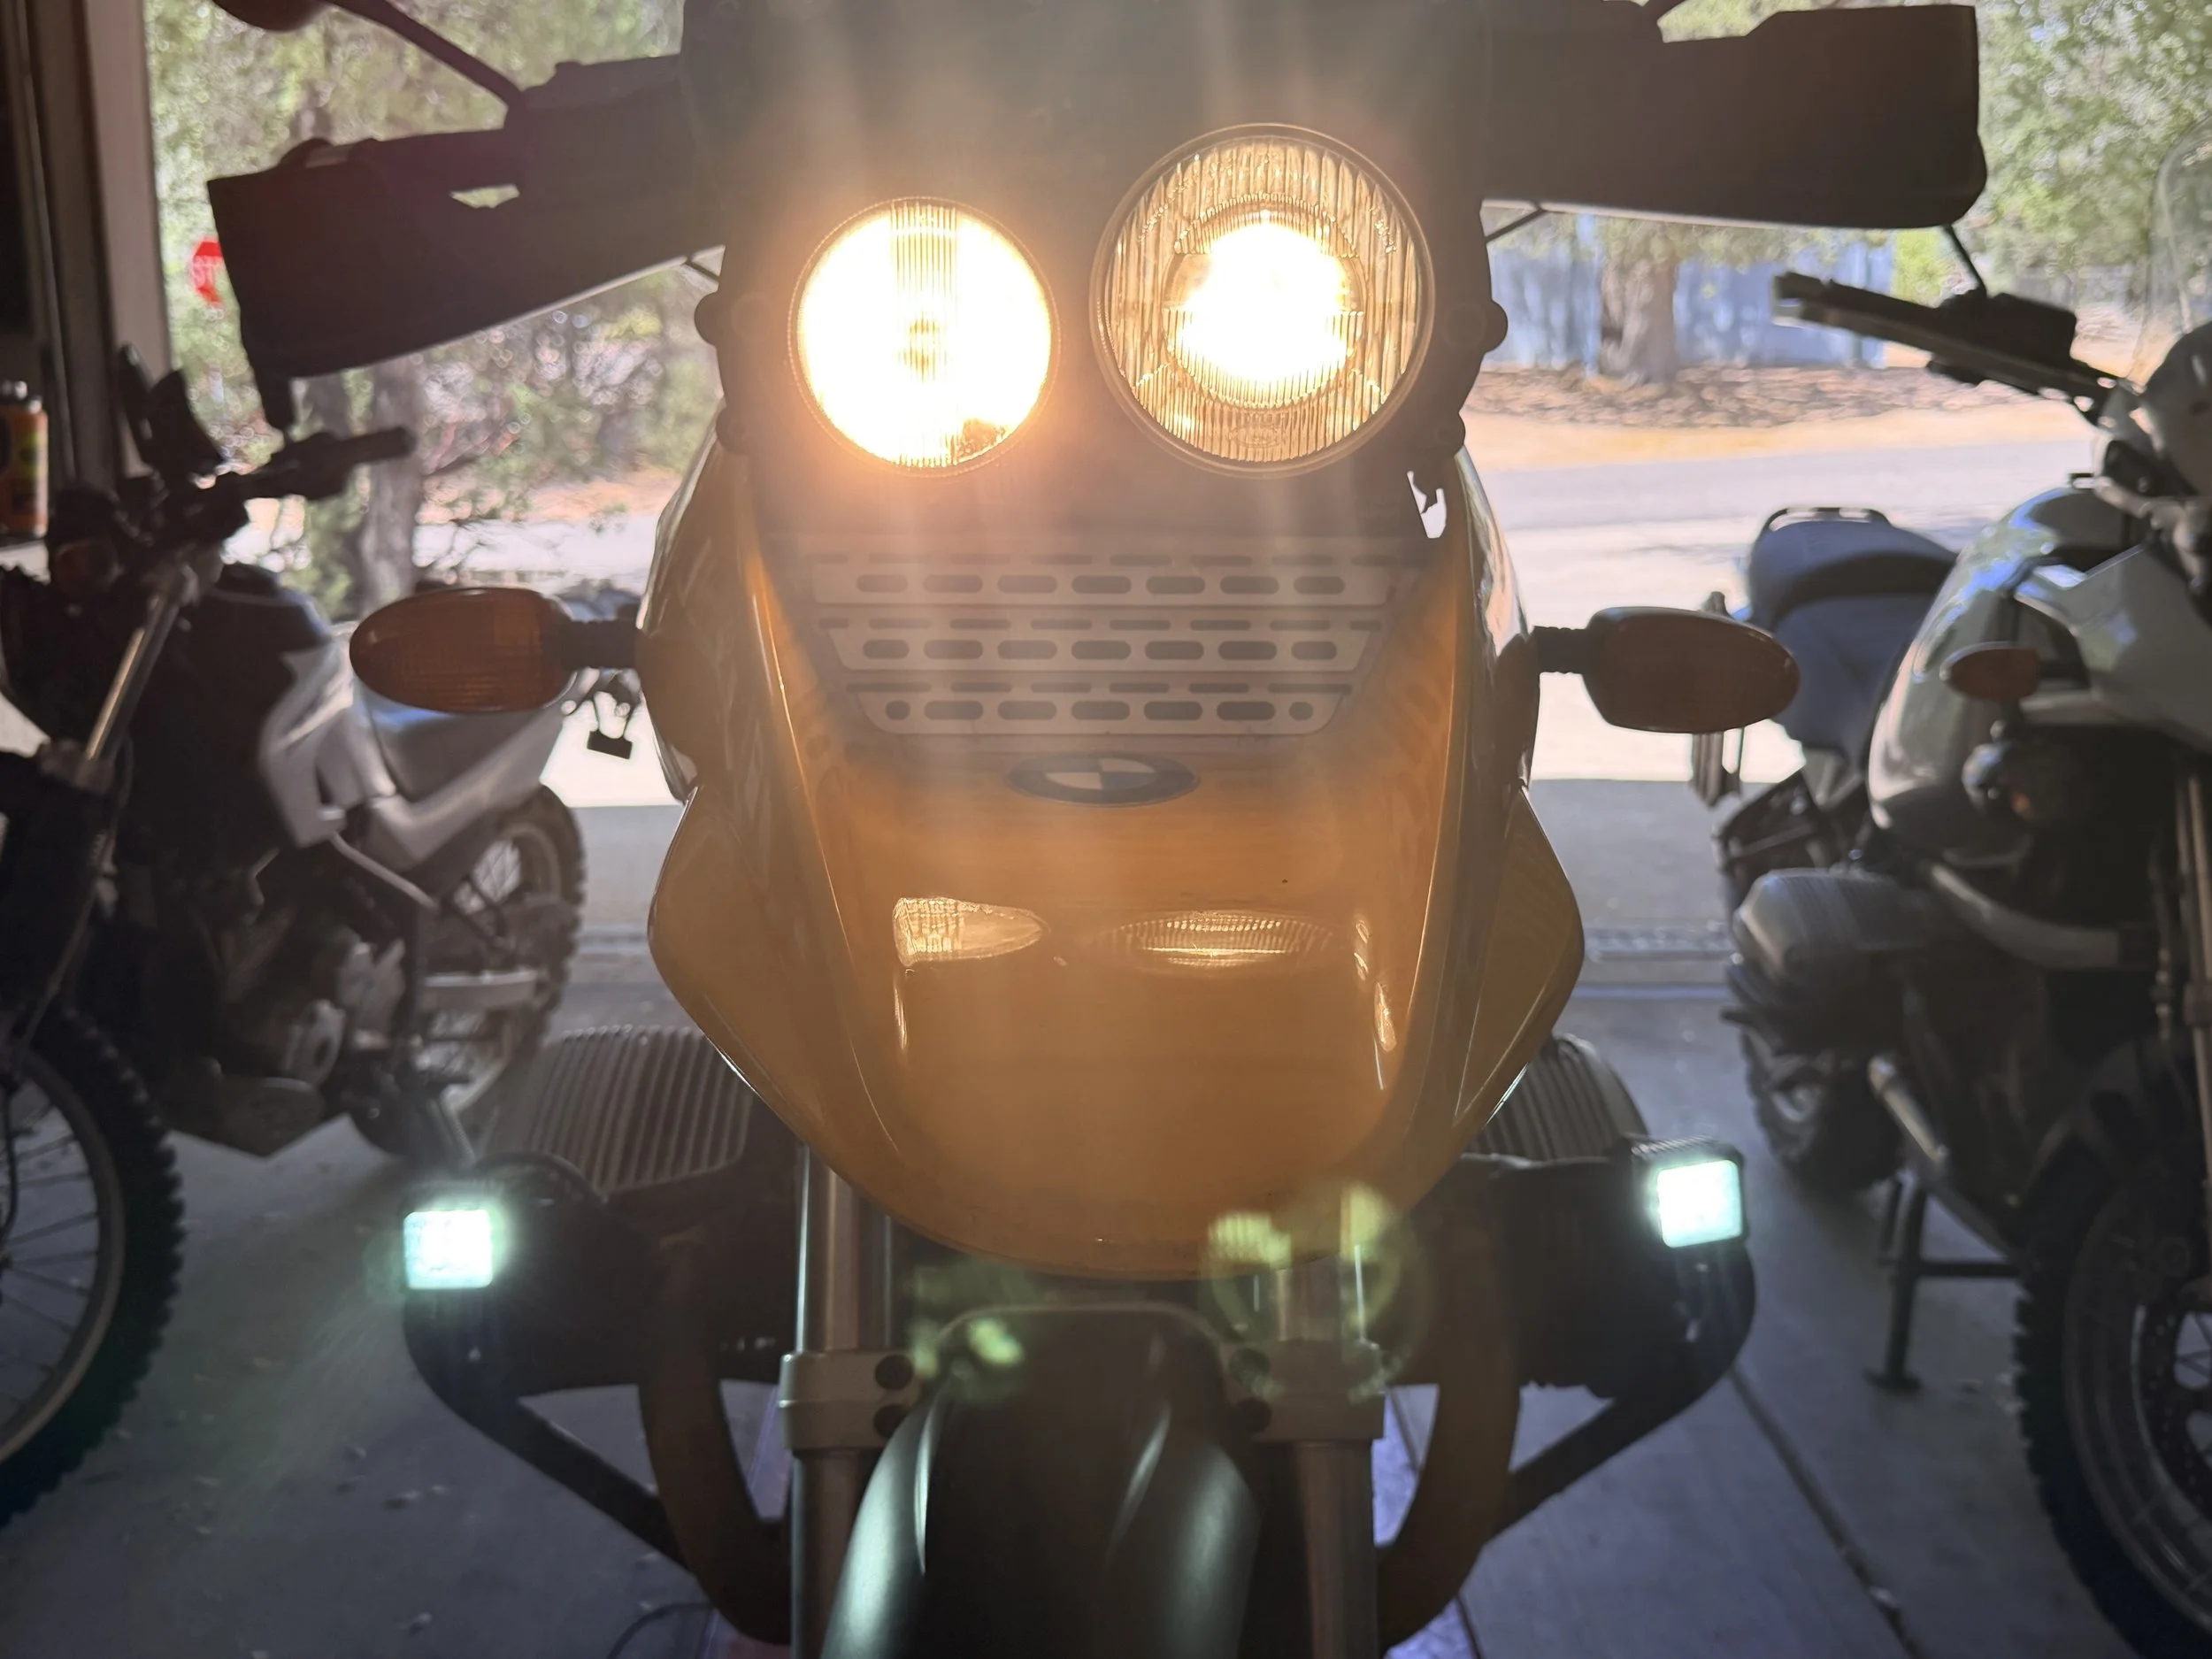
Headlights with factory H1 bulbs.
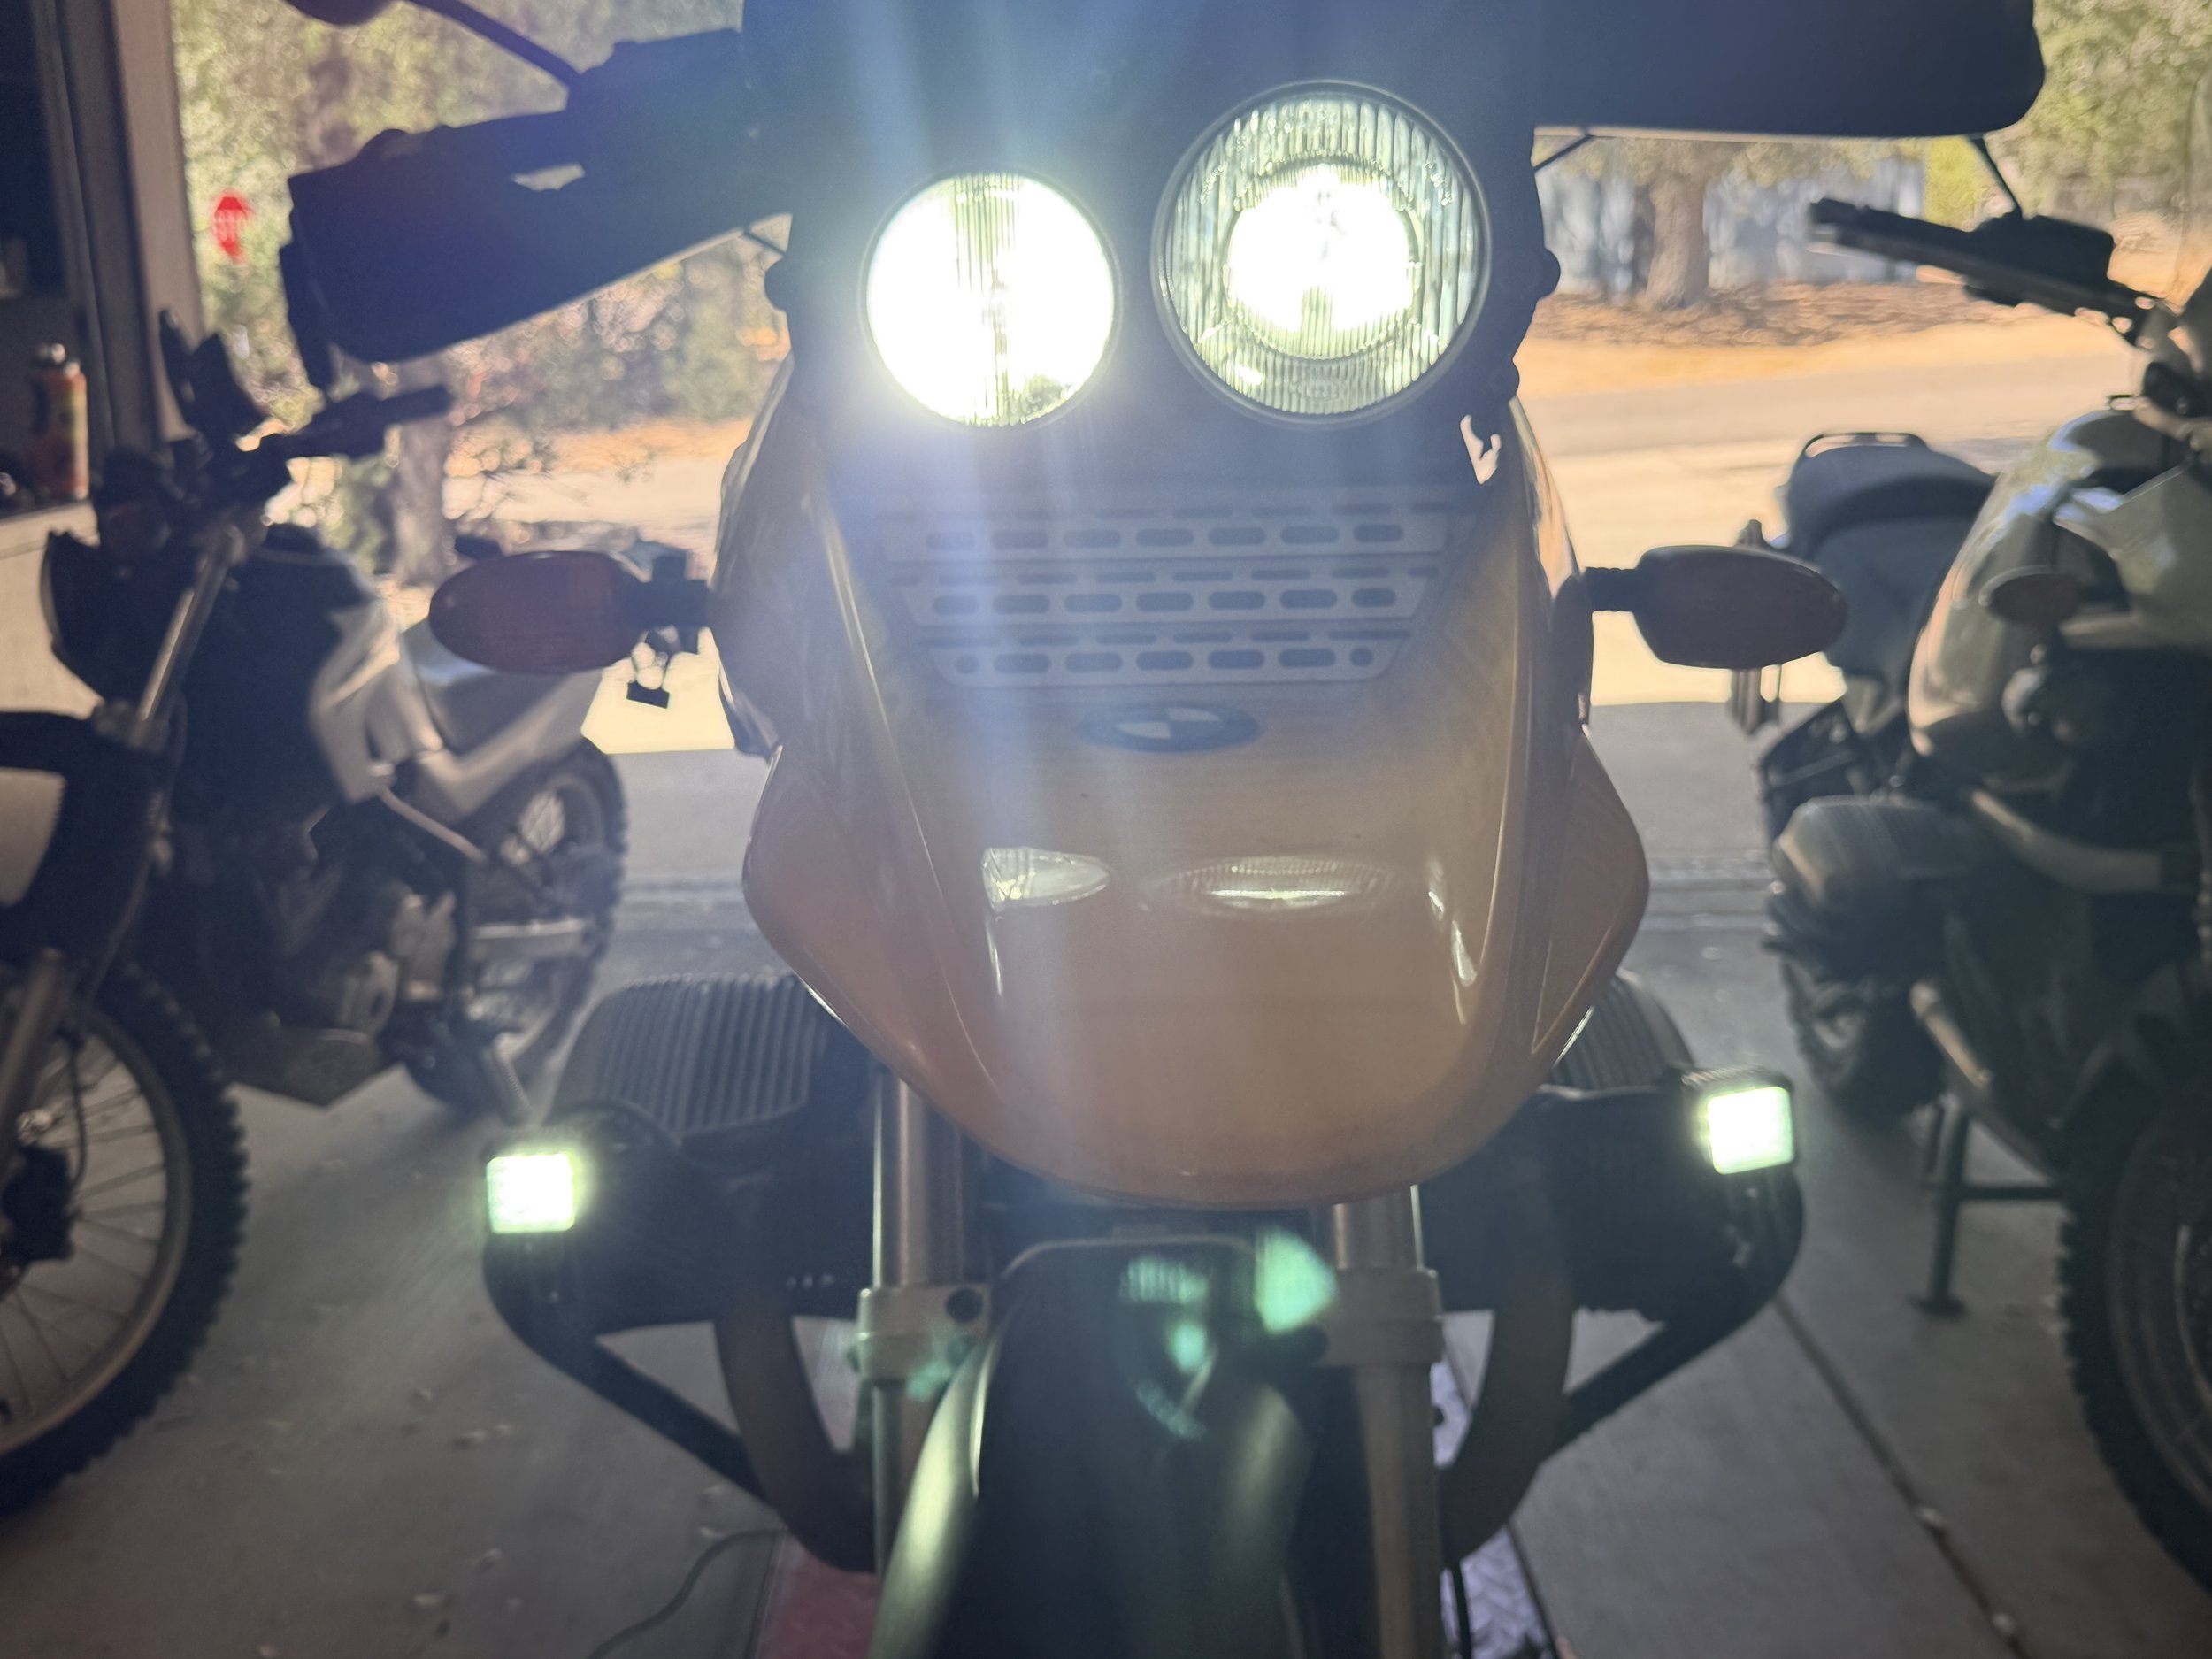
LED headlights installed. They require to be grounded properly to function. You cannot just plug in & test.
80k Mile Bike Rebuild
80k Mile Bike Rebuild

We got started with the suspension right off knowing this would take the longest turnaround.
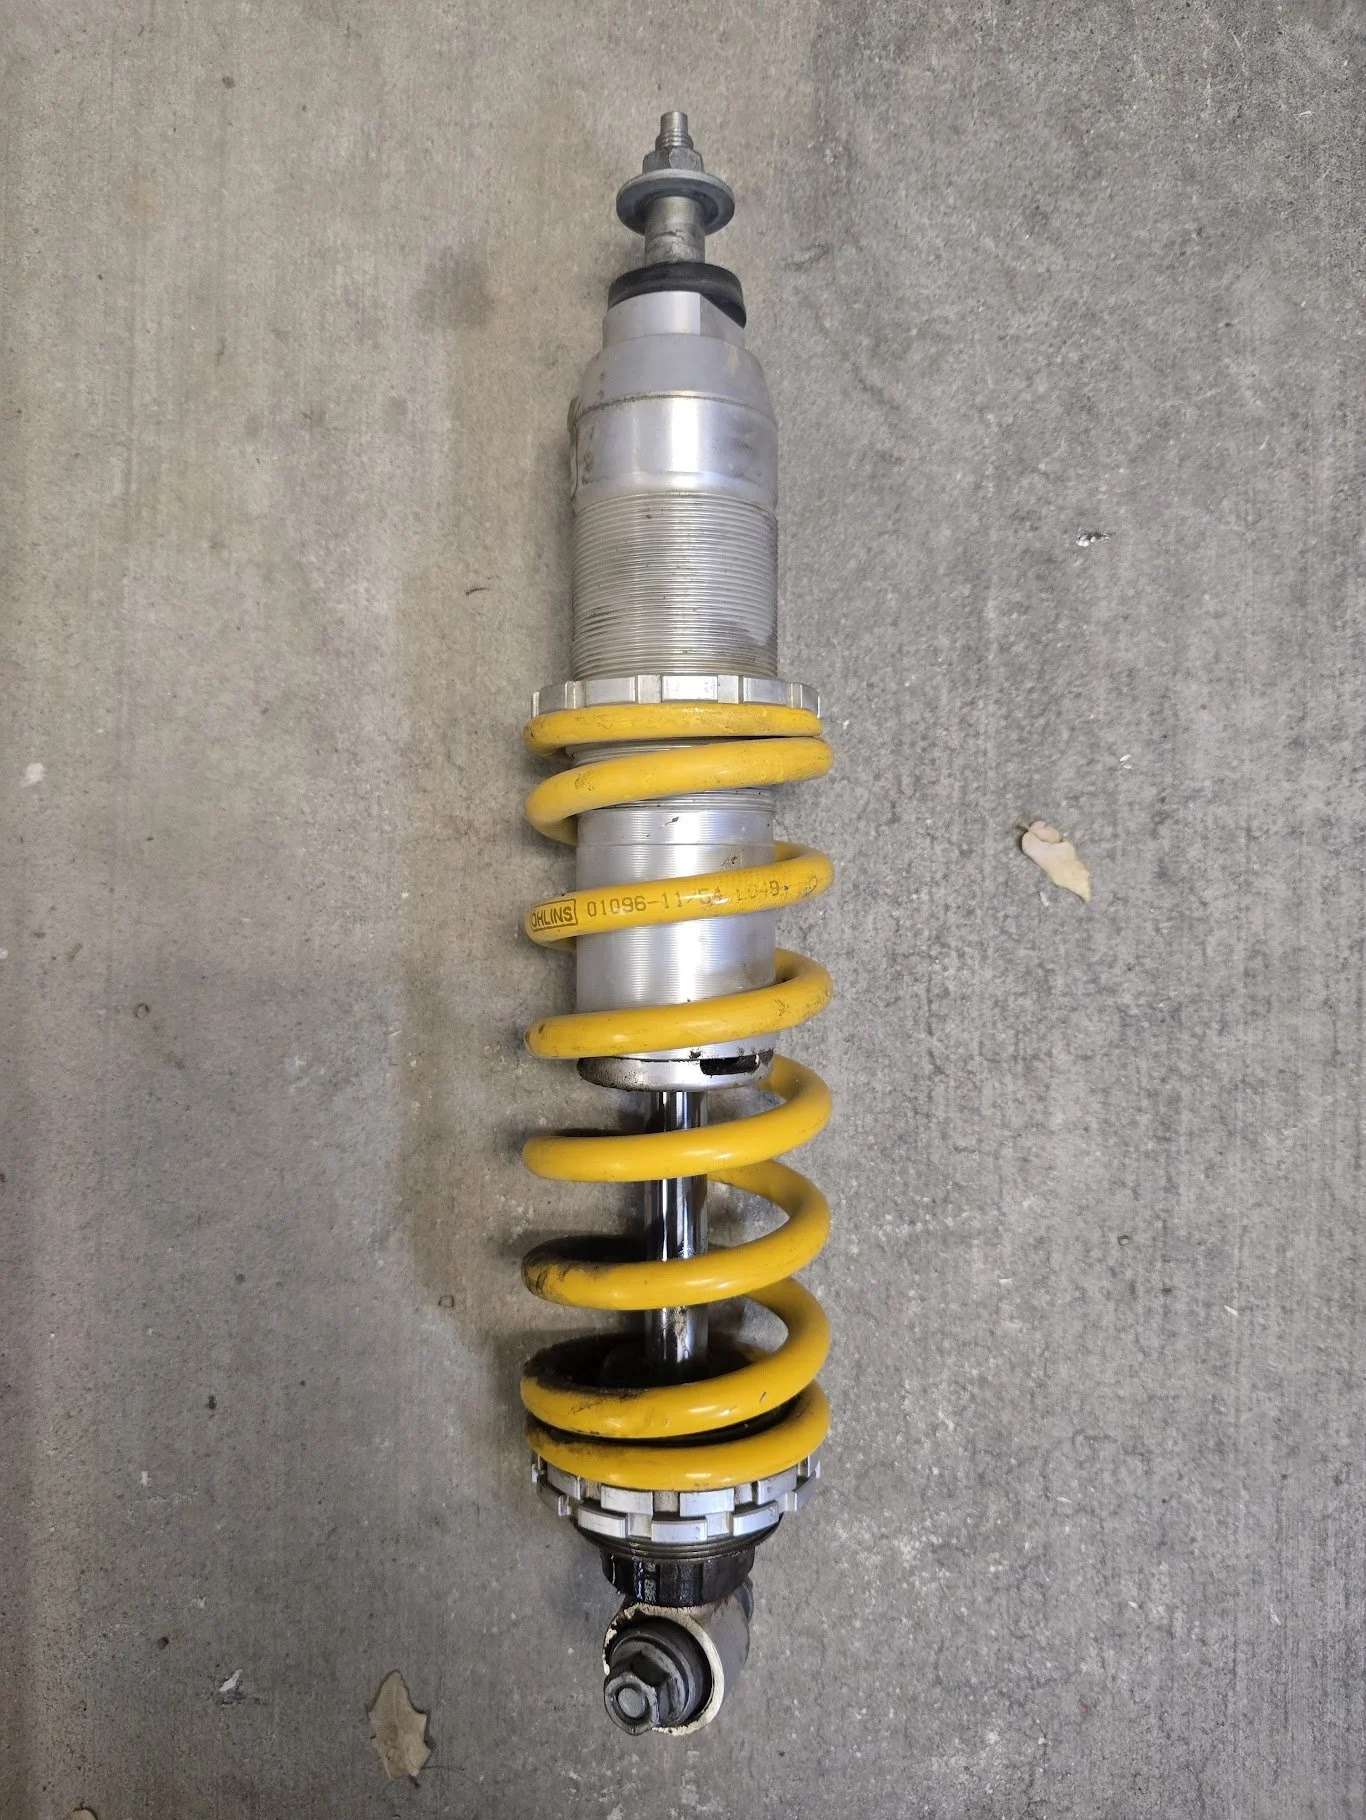
Both front and rear shocks were sent to Ohlins for complete rebuilds.
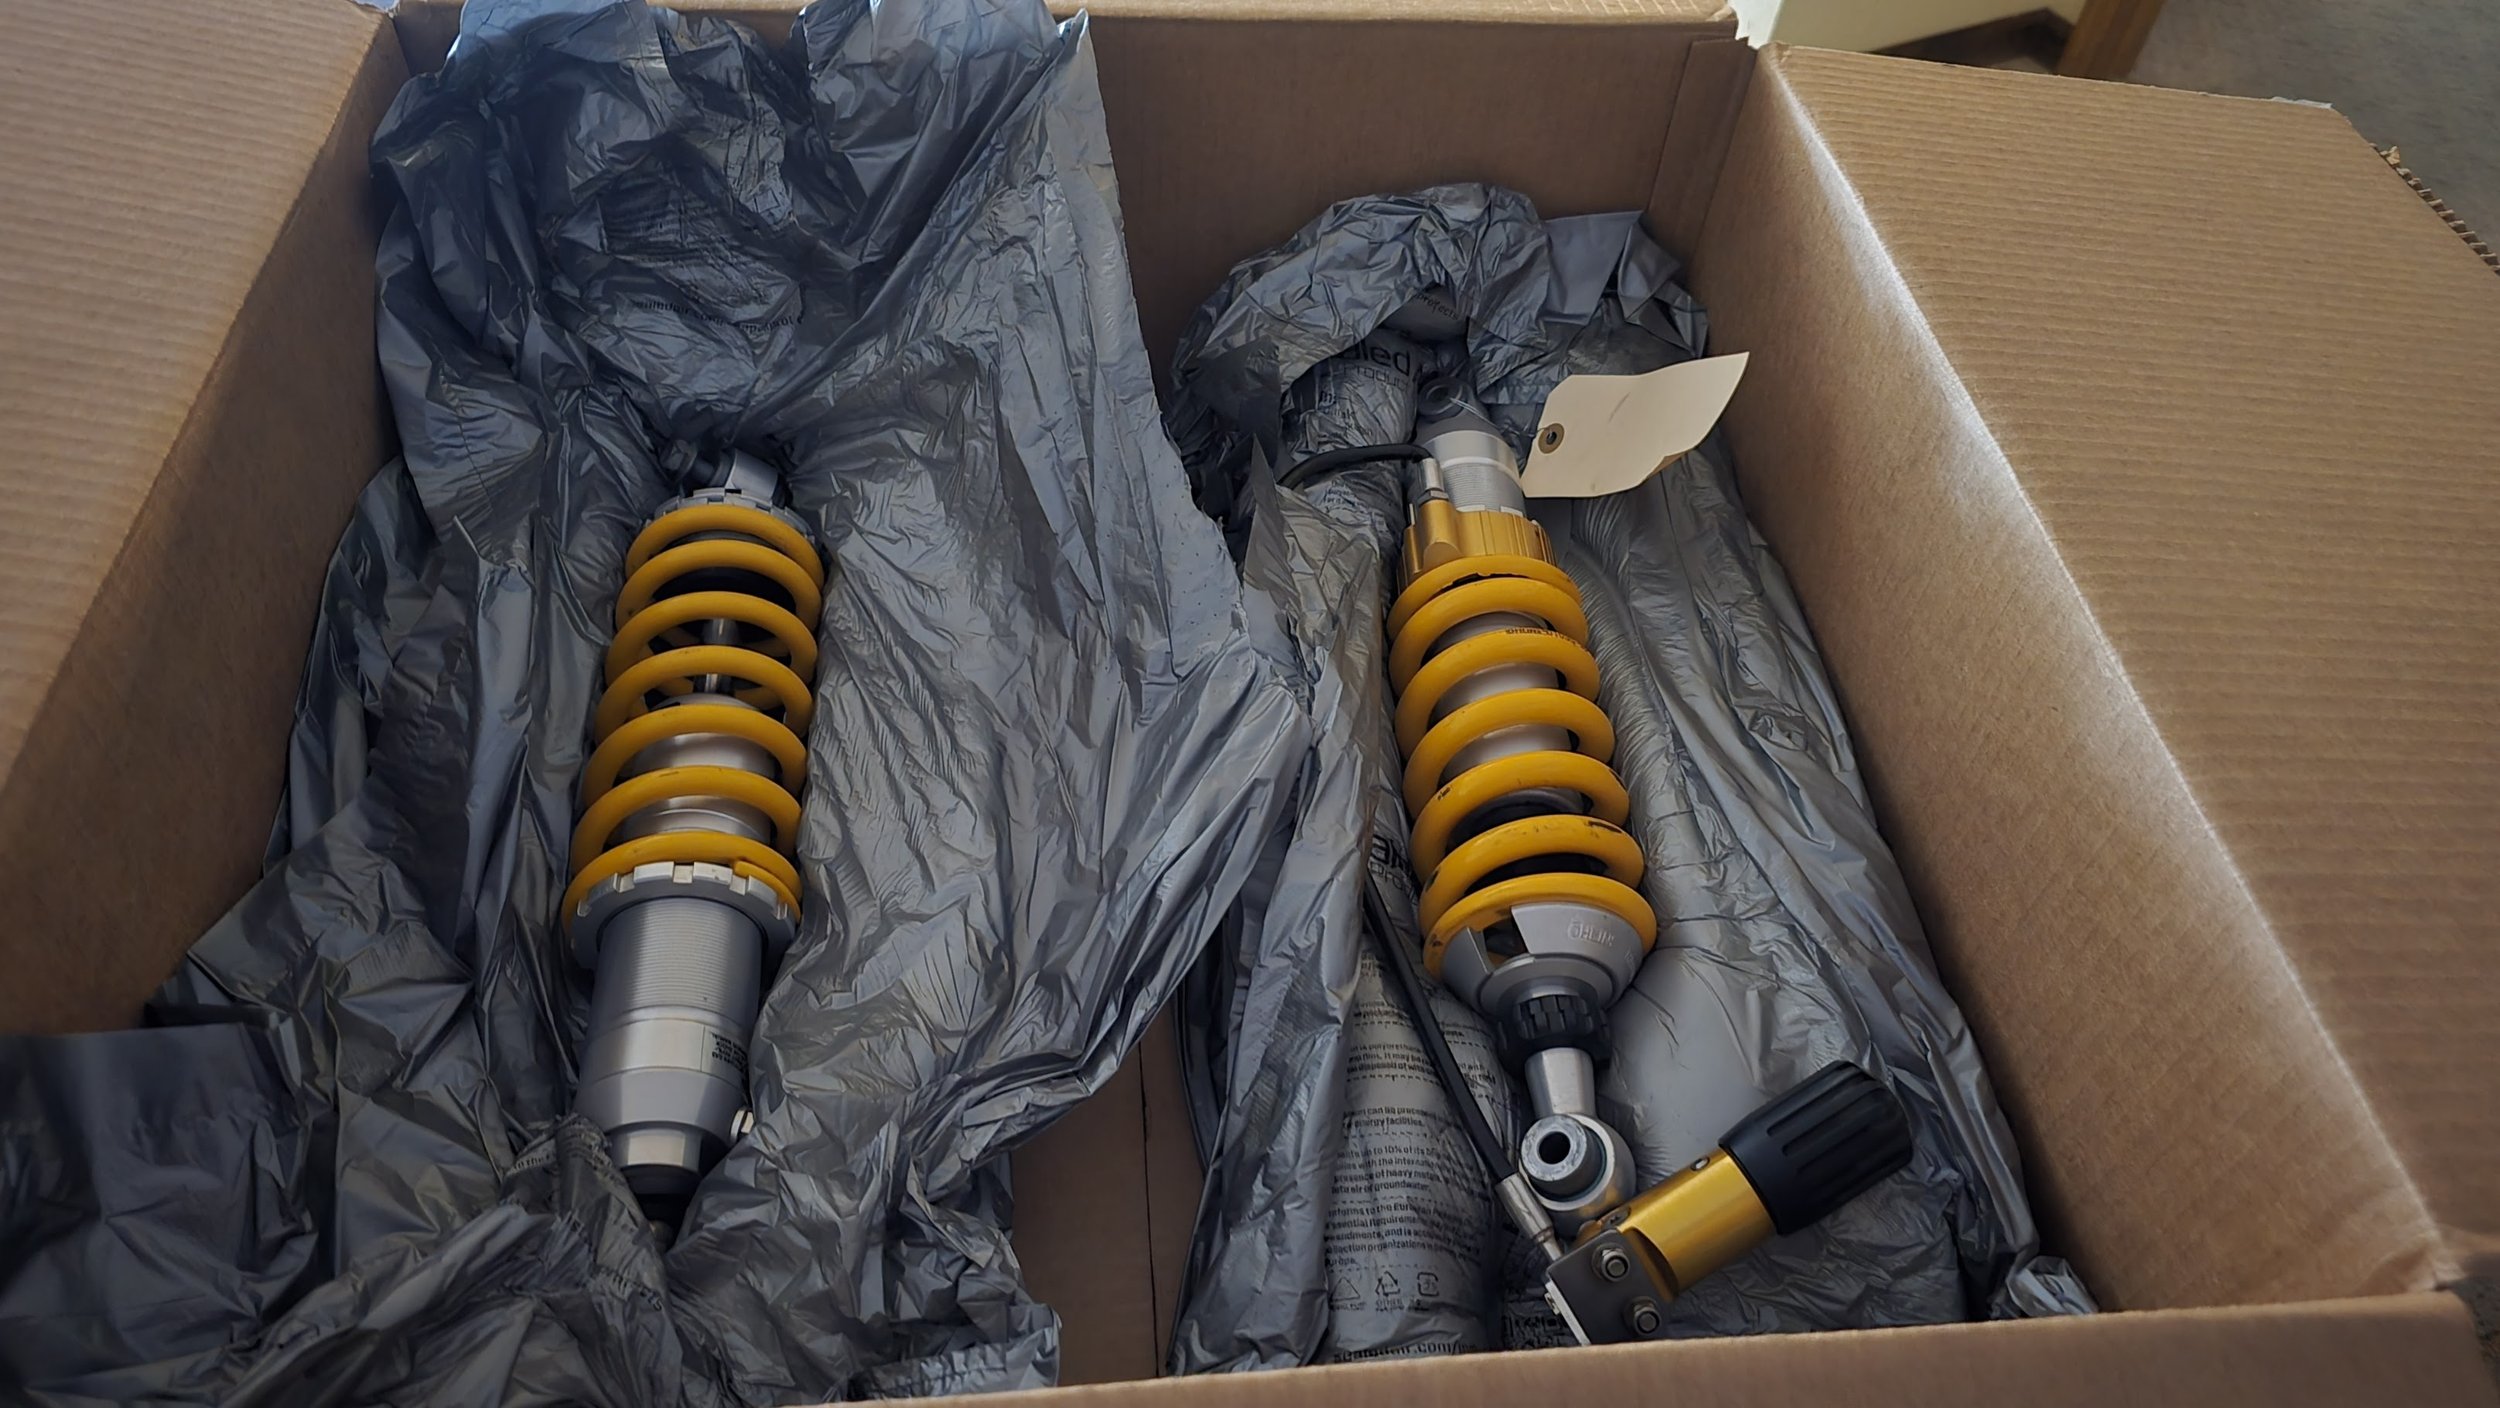
Both shocks returned quickly, and I was surprised by the timeliness and quality of the work.

Rear shock installed, torqued to spec, every bolt thoroughly cleaned, and ready for thousands more miles!
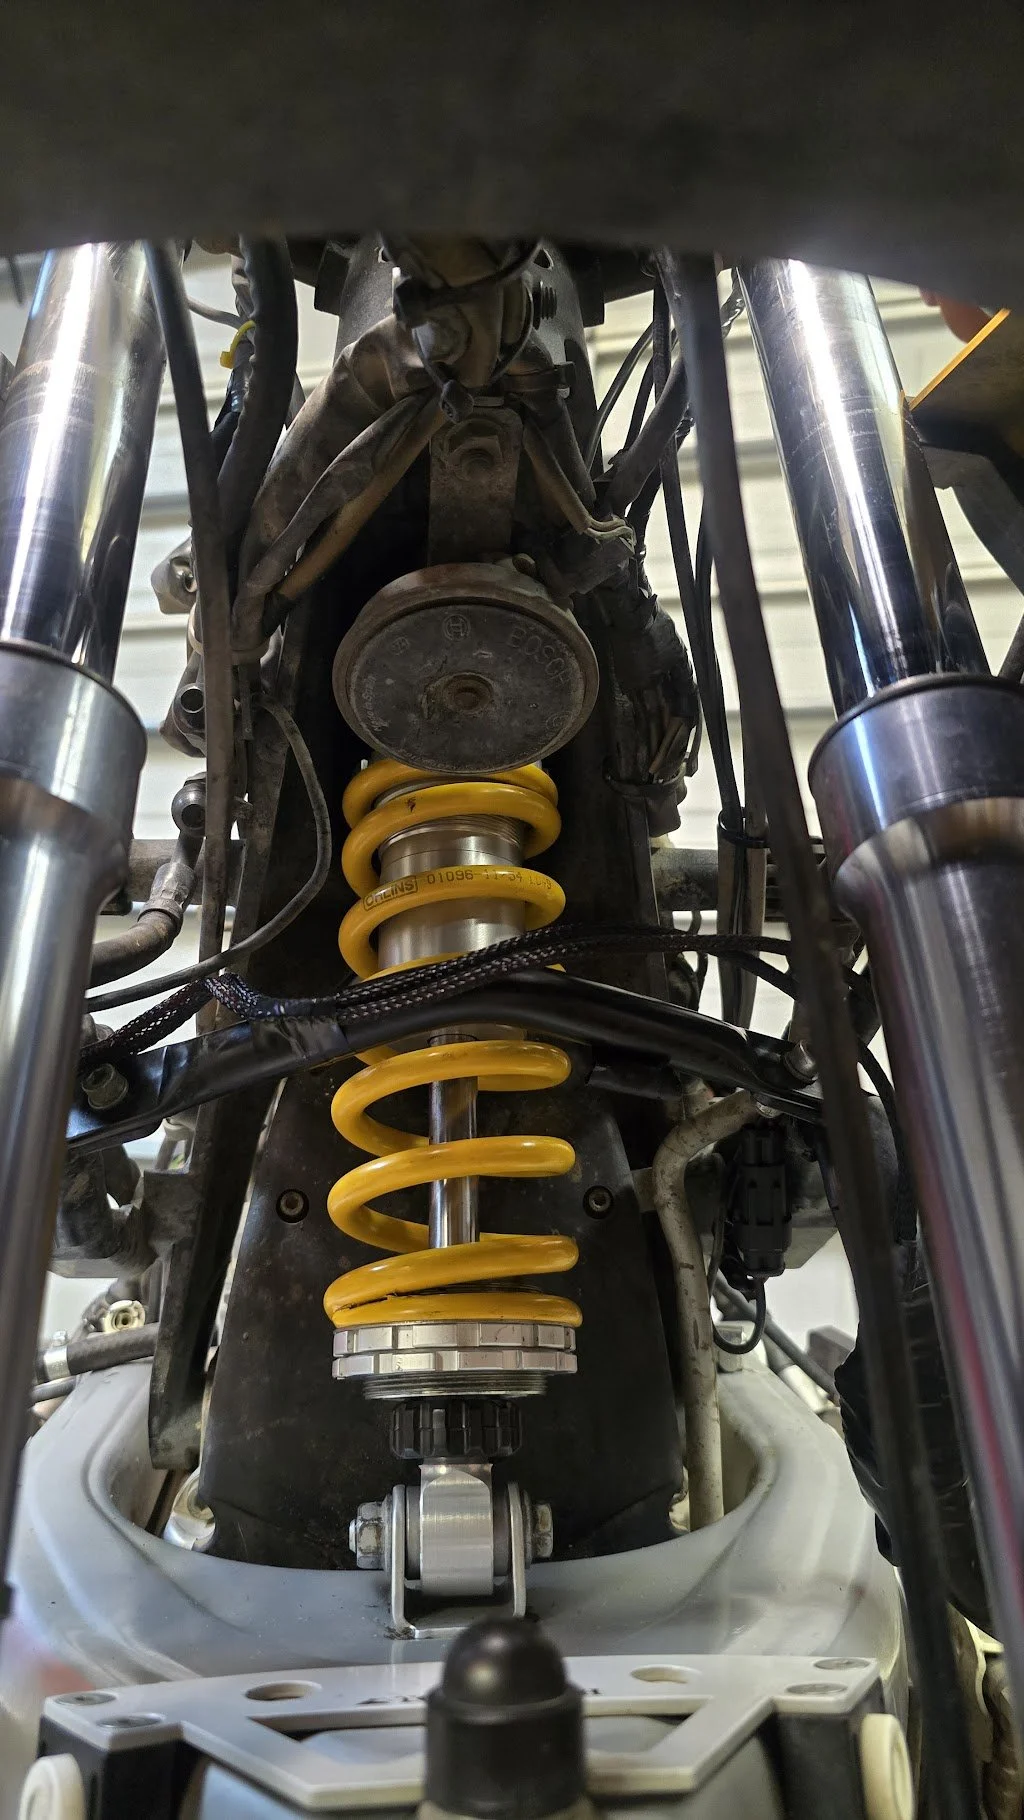
Front shock went on without a fuss, thanks in large part to the fact that the entire bike was stripped down.
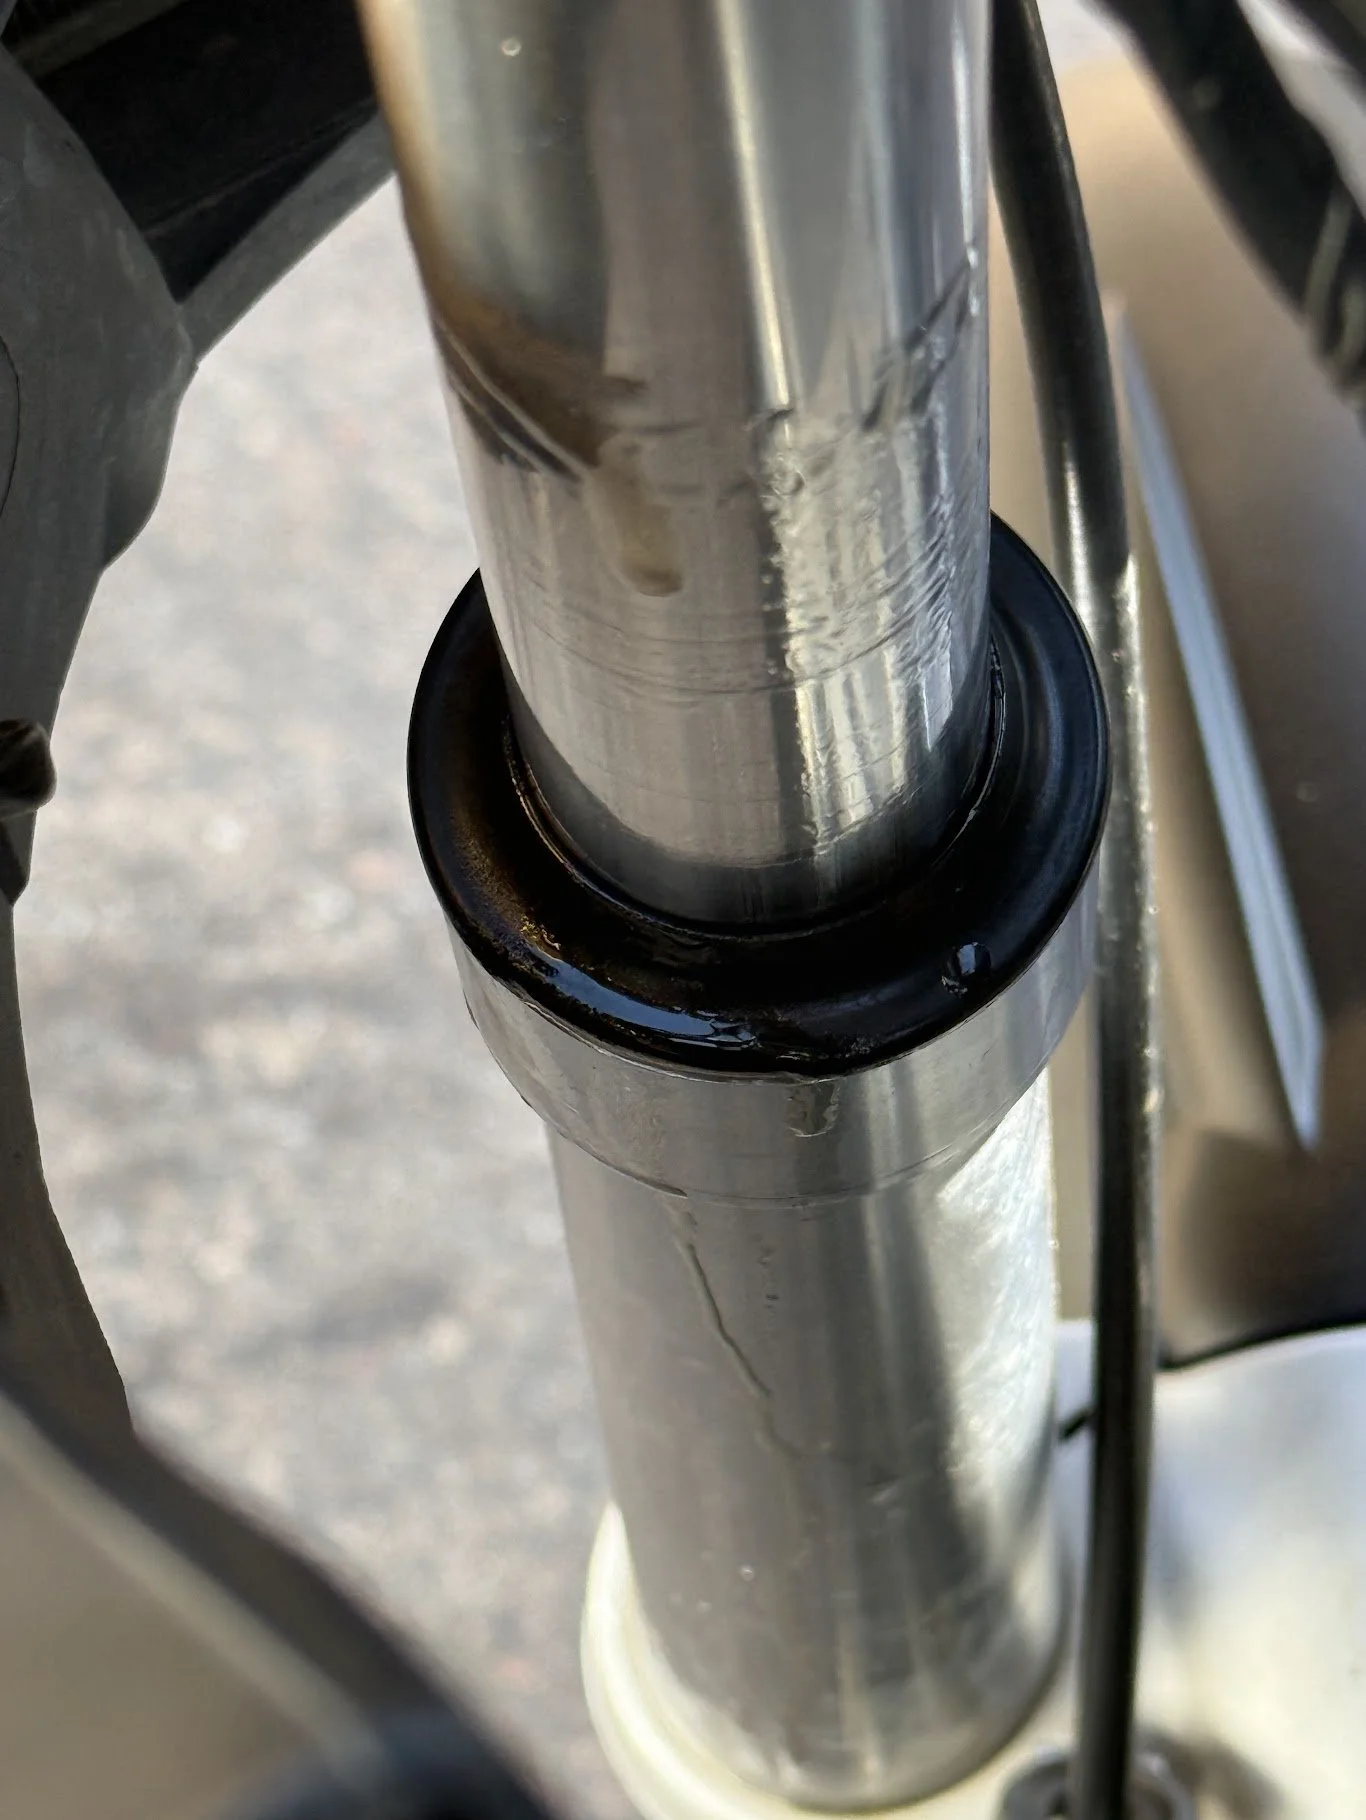
After completing the entire bike, on our test ride we sprung a leak in the fork legs.

It felt like at every turn when we thought we were done it was just something else. Here prepping the fork legs for rebuild.

After removing the fork seals, we cleaned everything out thoroughly.

Lots of drainage time and cleaning - we did a good job here.
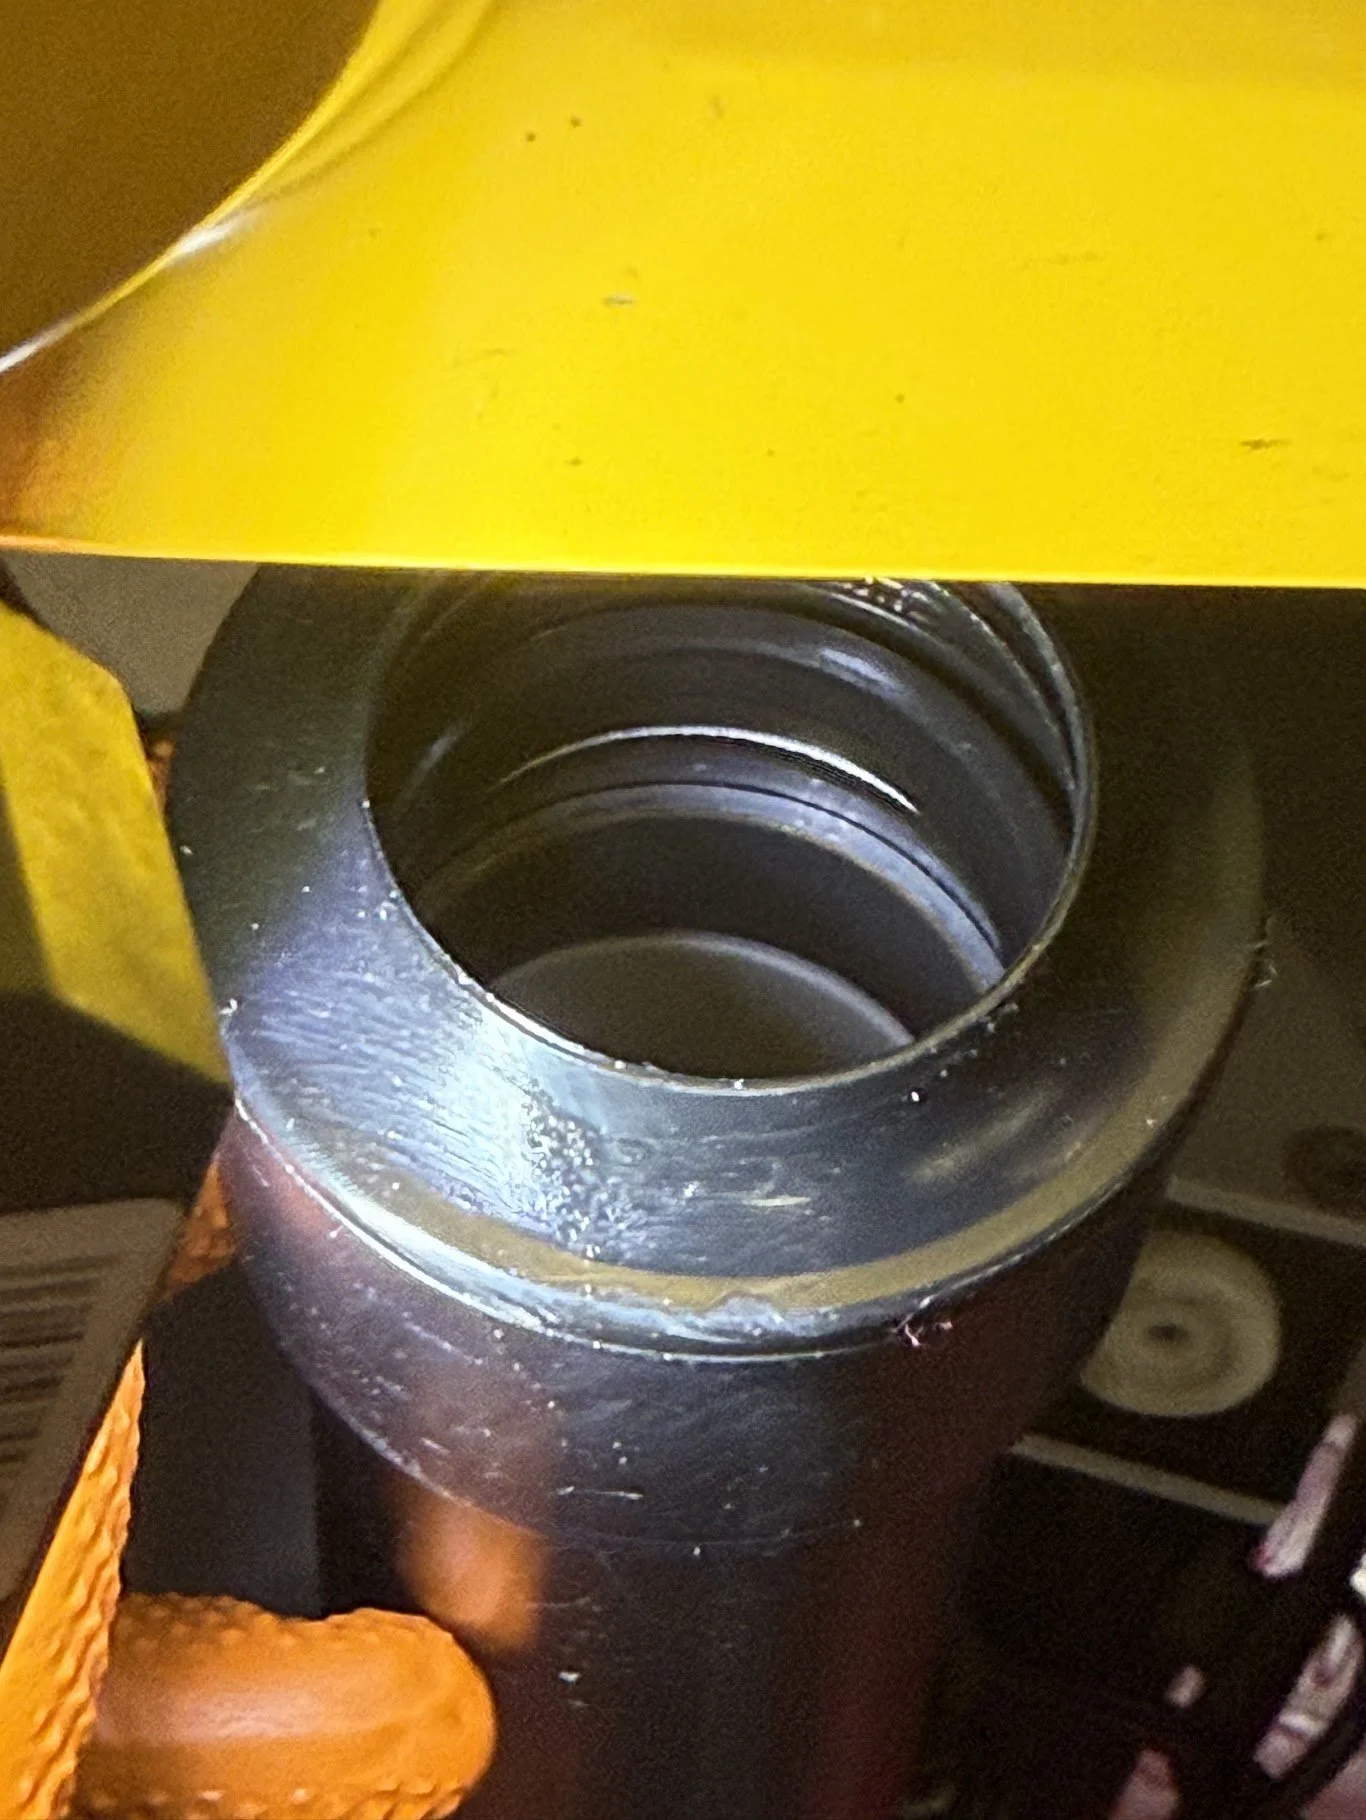
New fork seals and fork seal covers were installed.
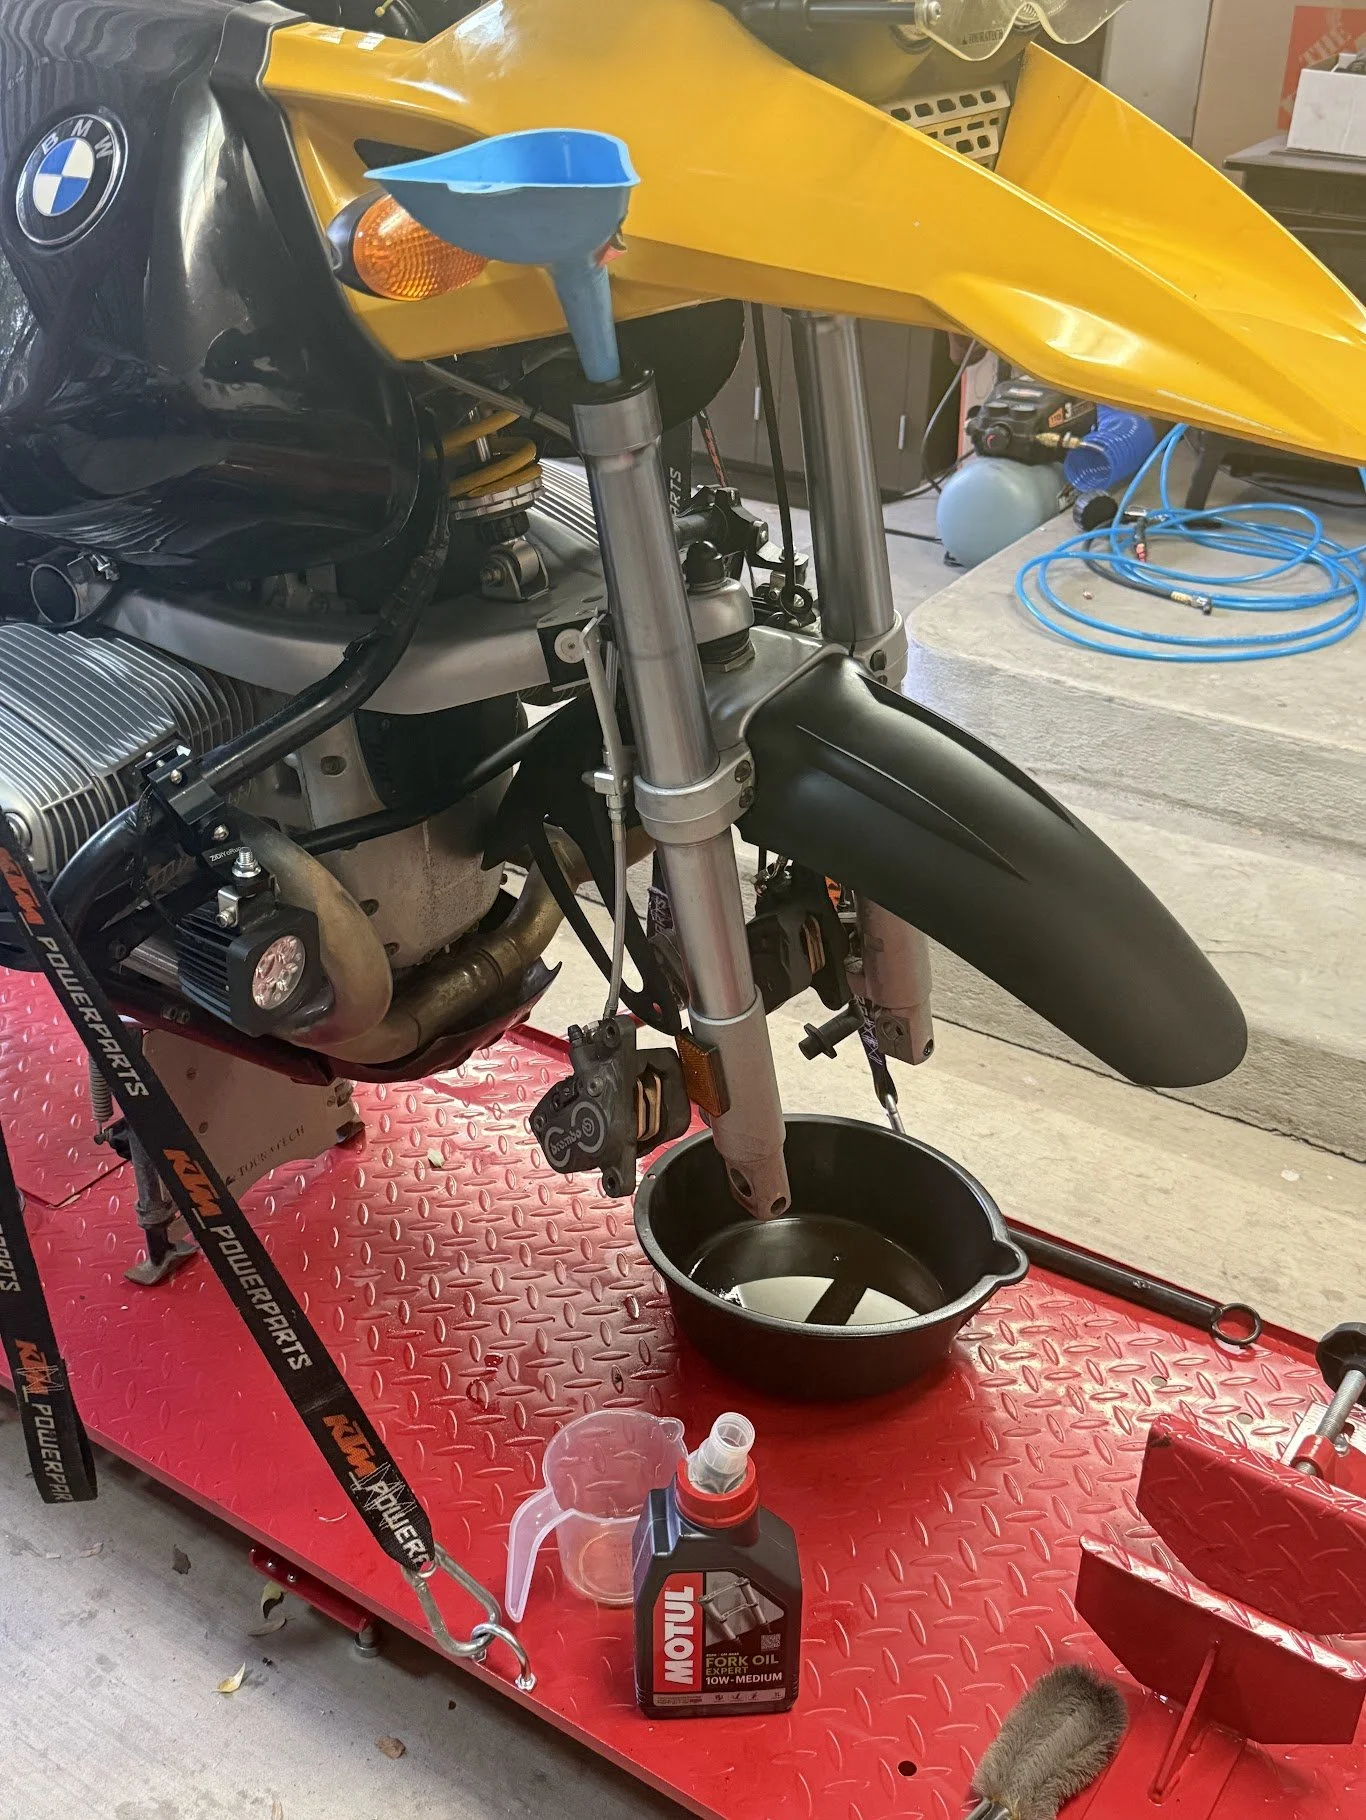
Fork oil went in, and I learned a lot about what these fork legs do on the GS.

Suspension complete! Ready for the road.

We had major throttle body issues on both sides. On one side, the valve was allowing excess air through causing all sorts of idle issues. The other side the bushings in the throttle body were worn. I had to replace both.
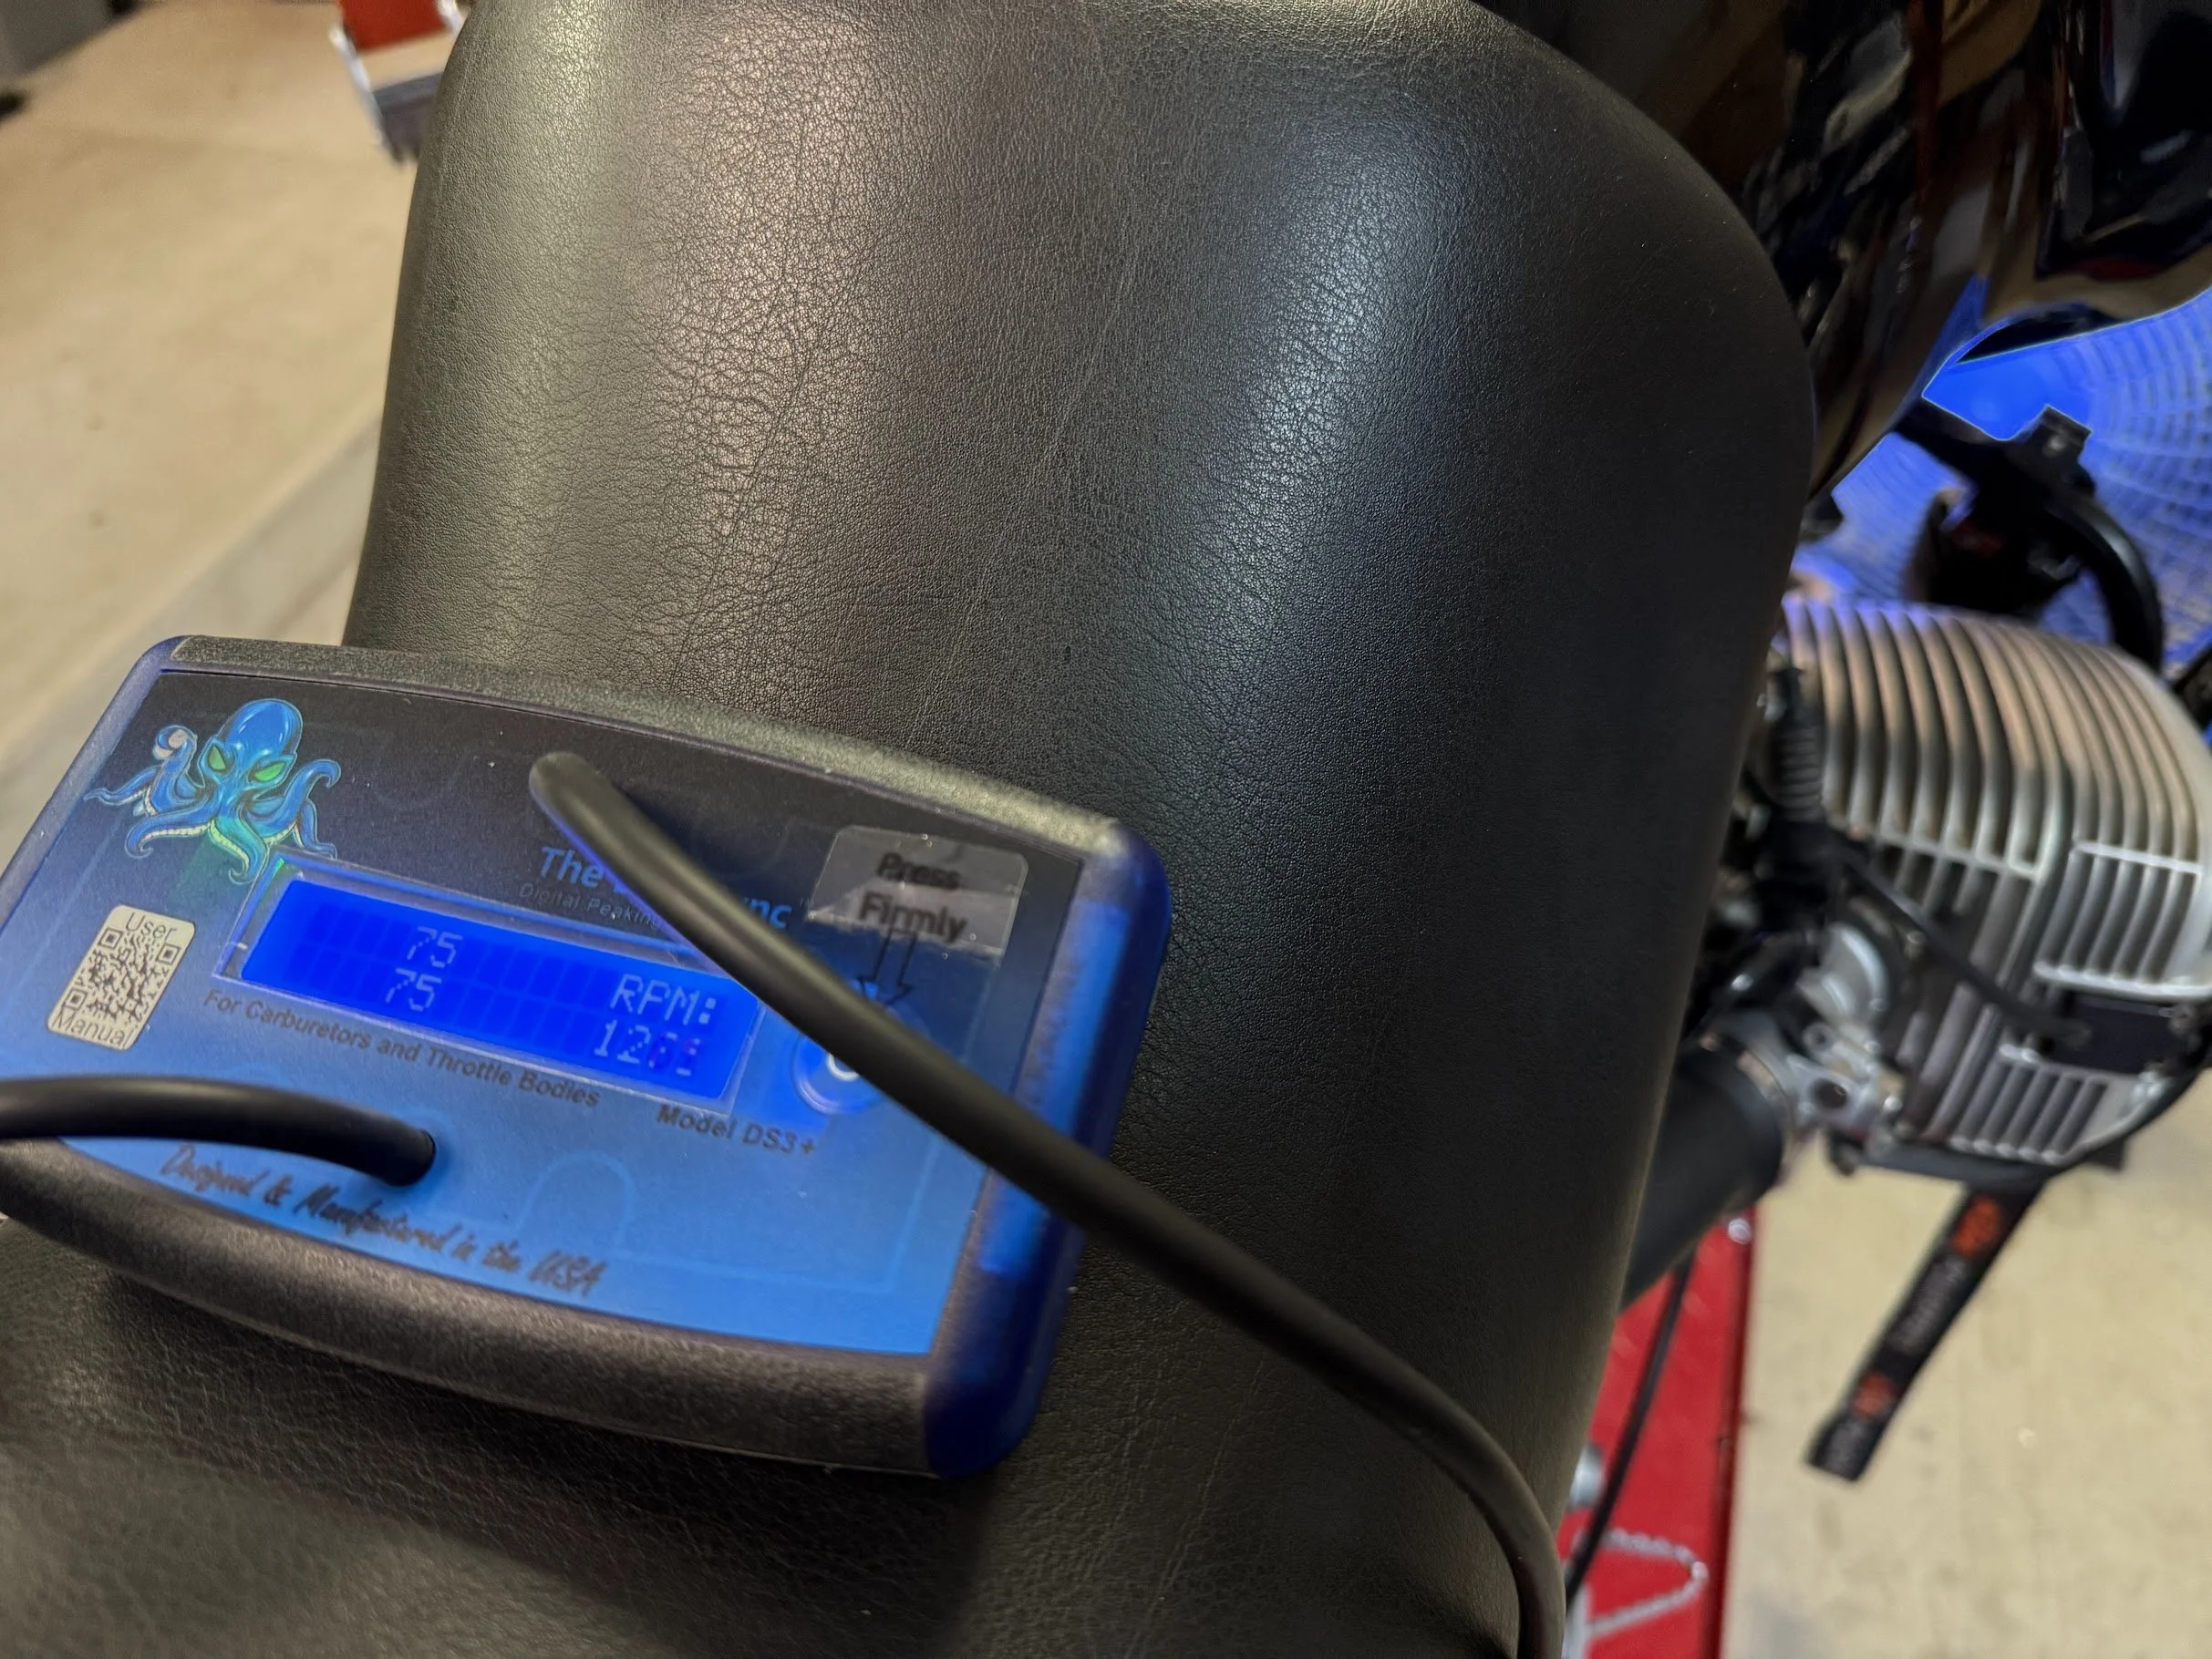
After replacement, we began to synch the throttle bodies, dramatically improving the overall idle. This tool is worth it's weight in gold.
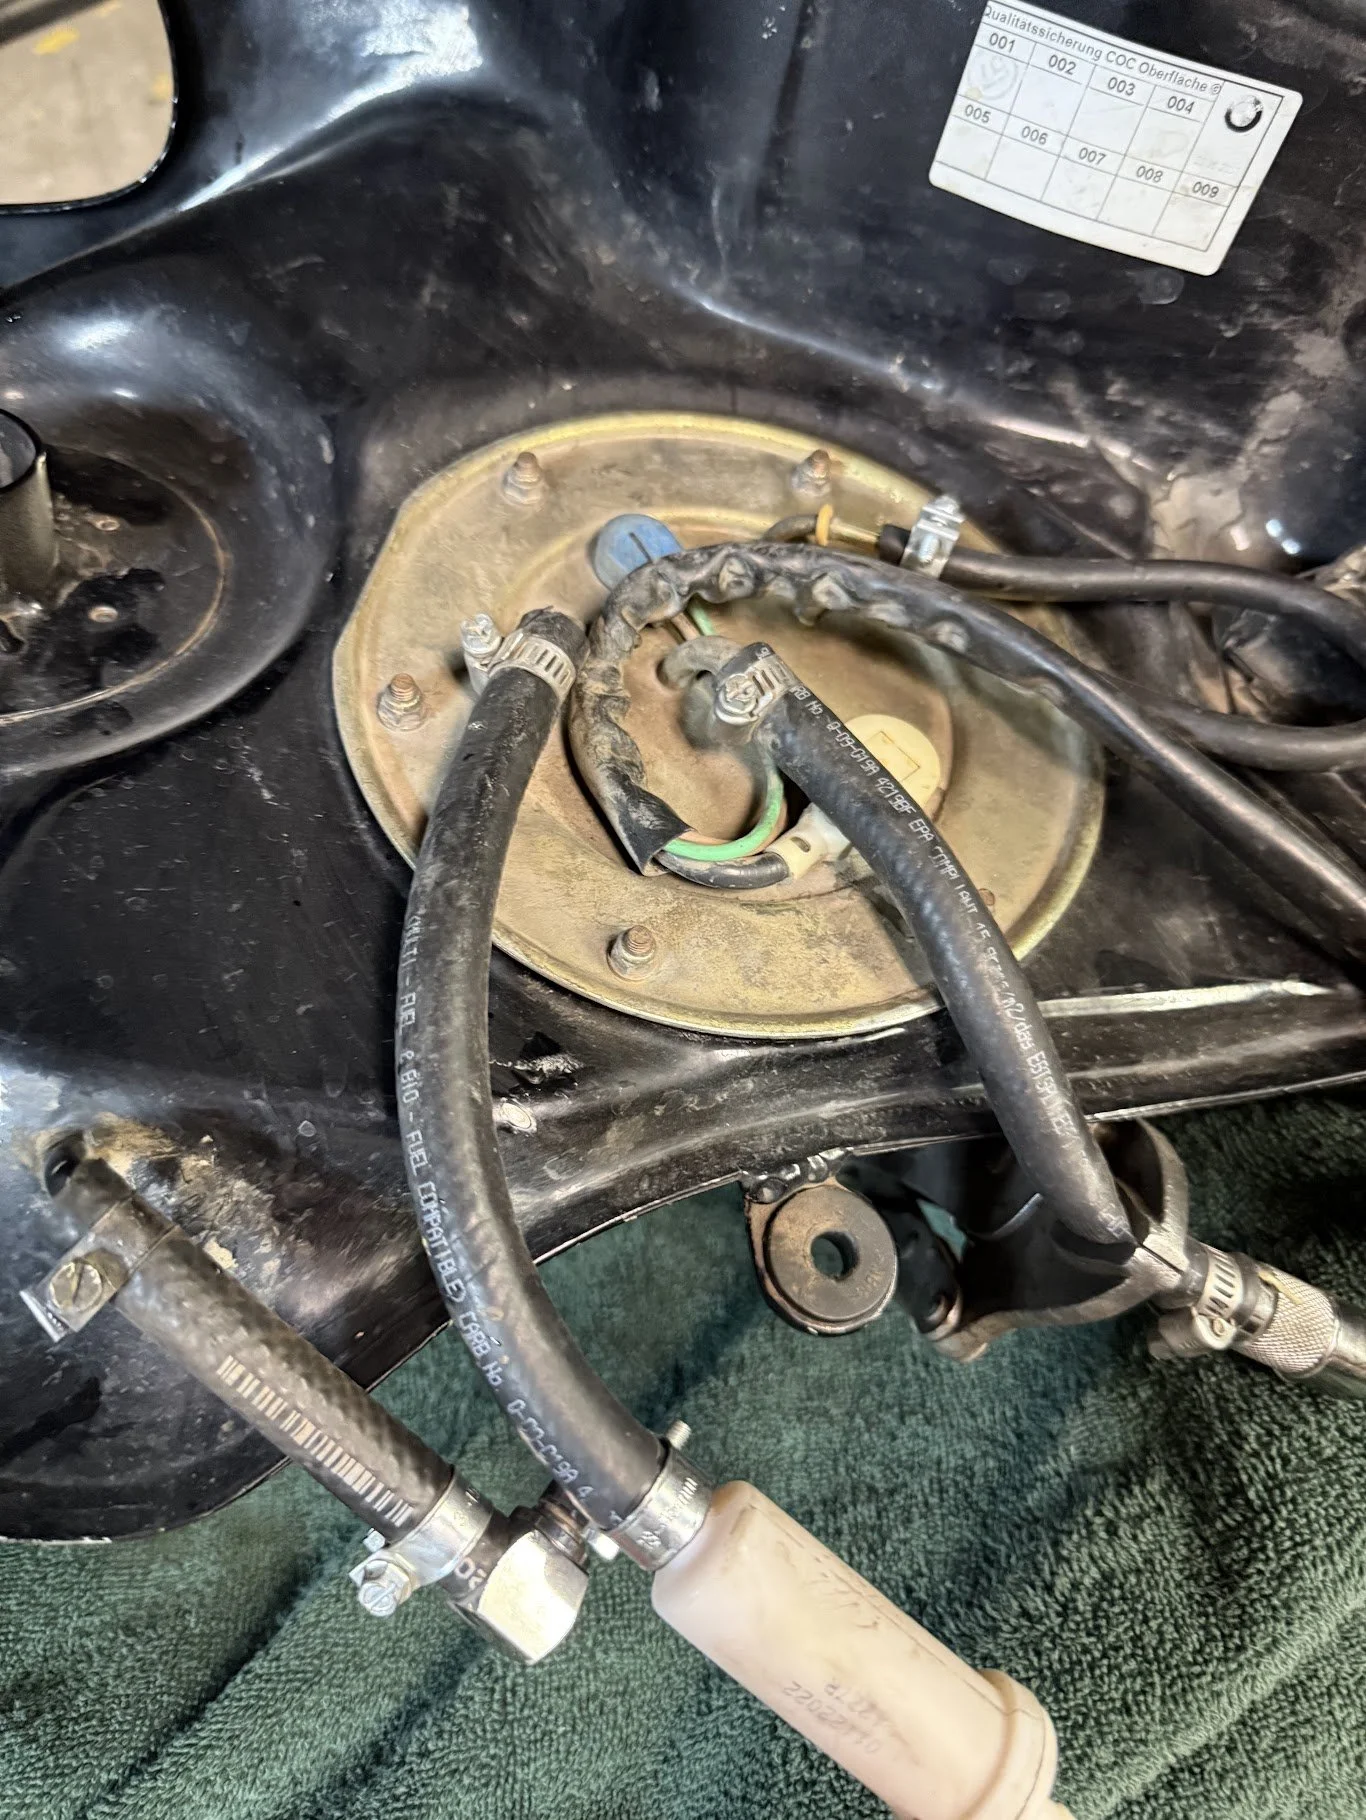
Off to the fuel pump - would it have lasted...maybe. But better to replace it. Once we got into it, I'm glad we did!
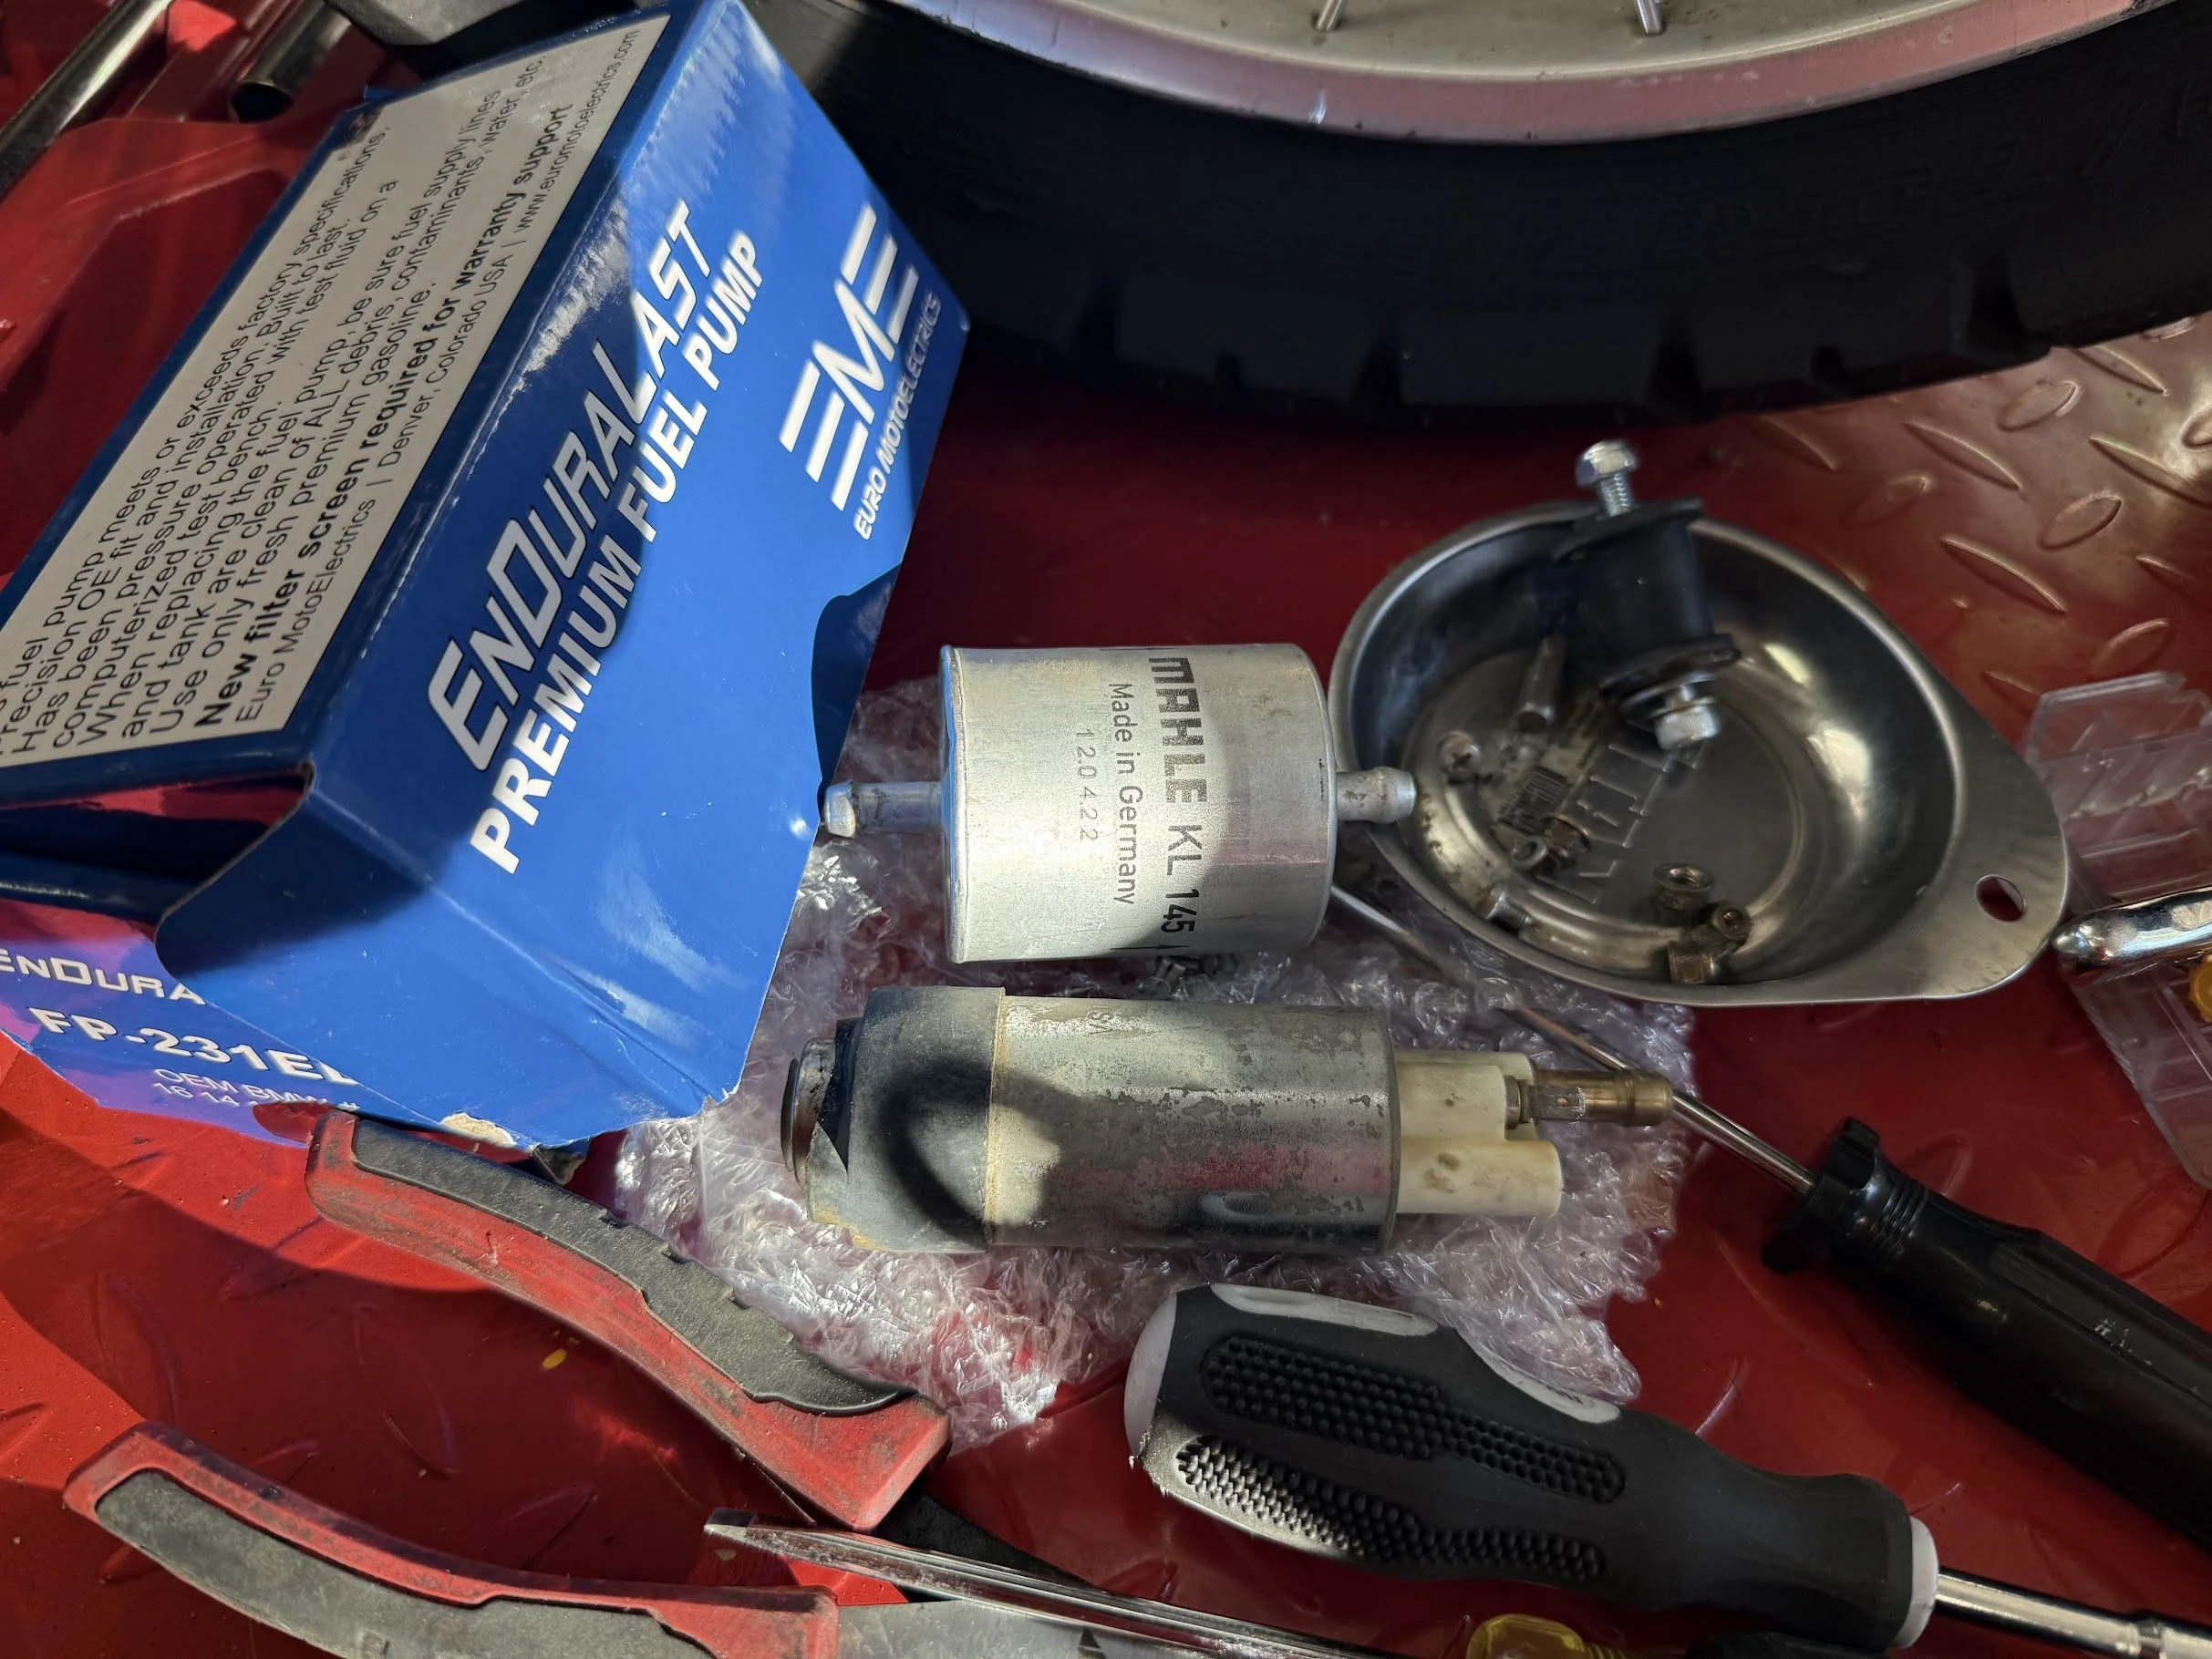
Getting all the parts ready for installation.
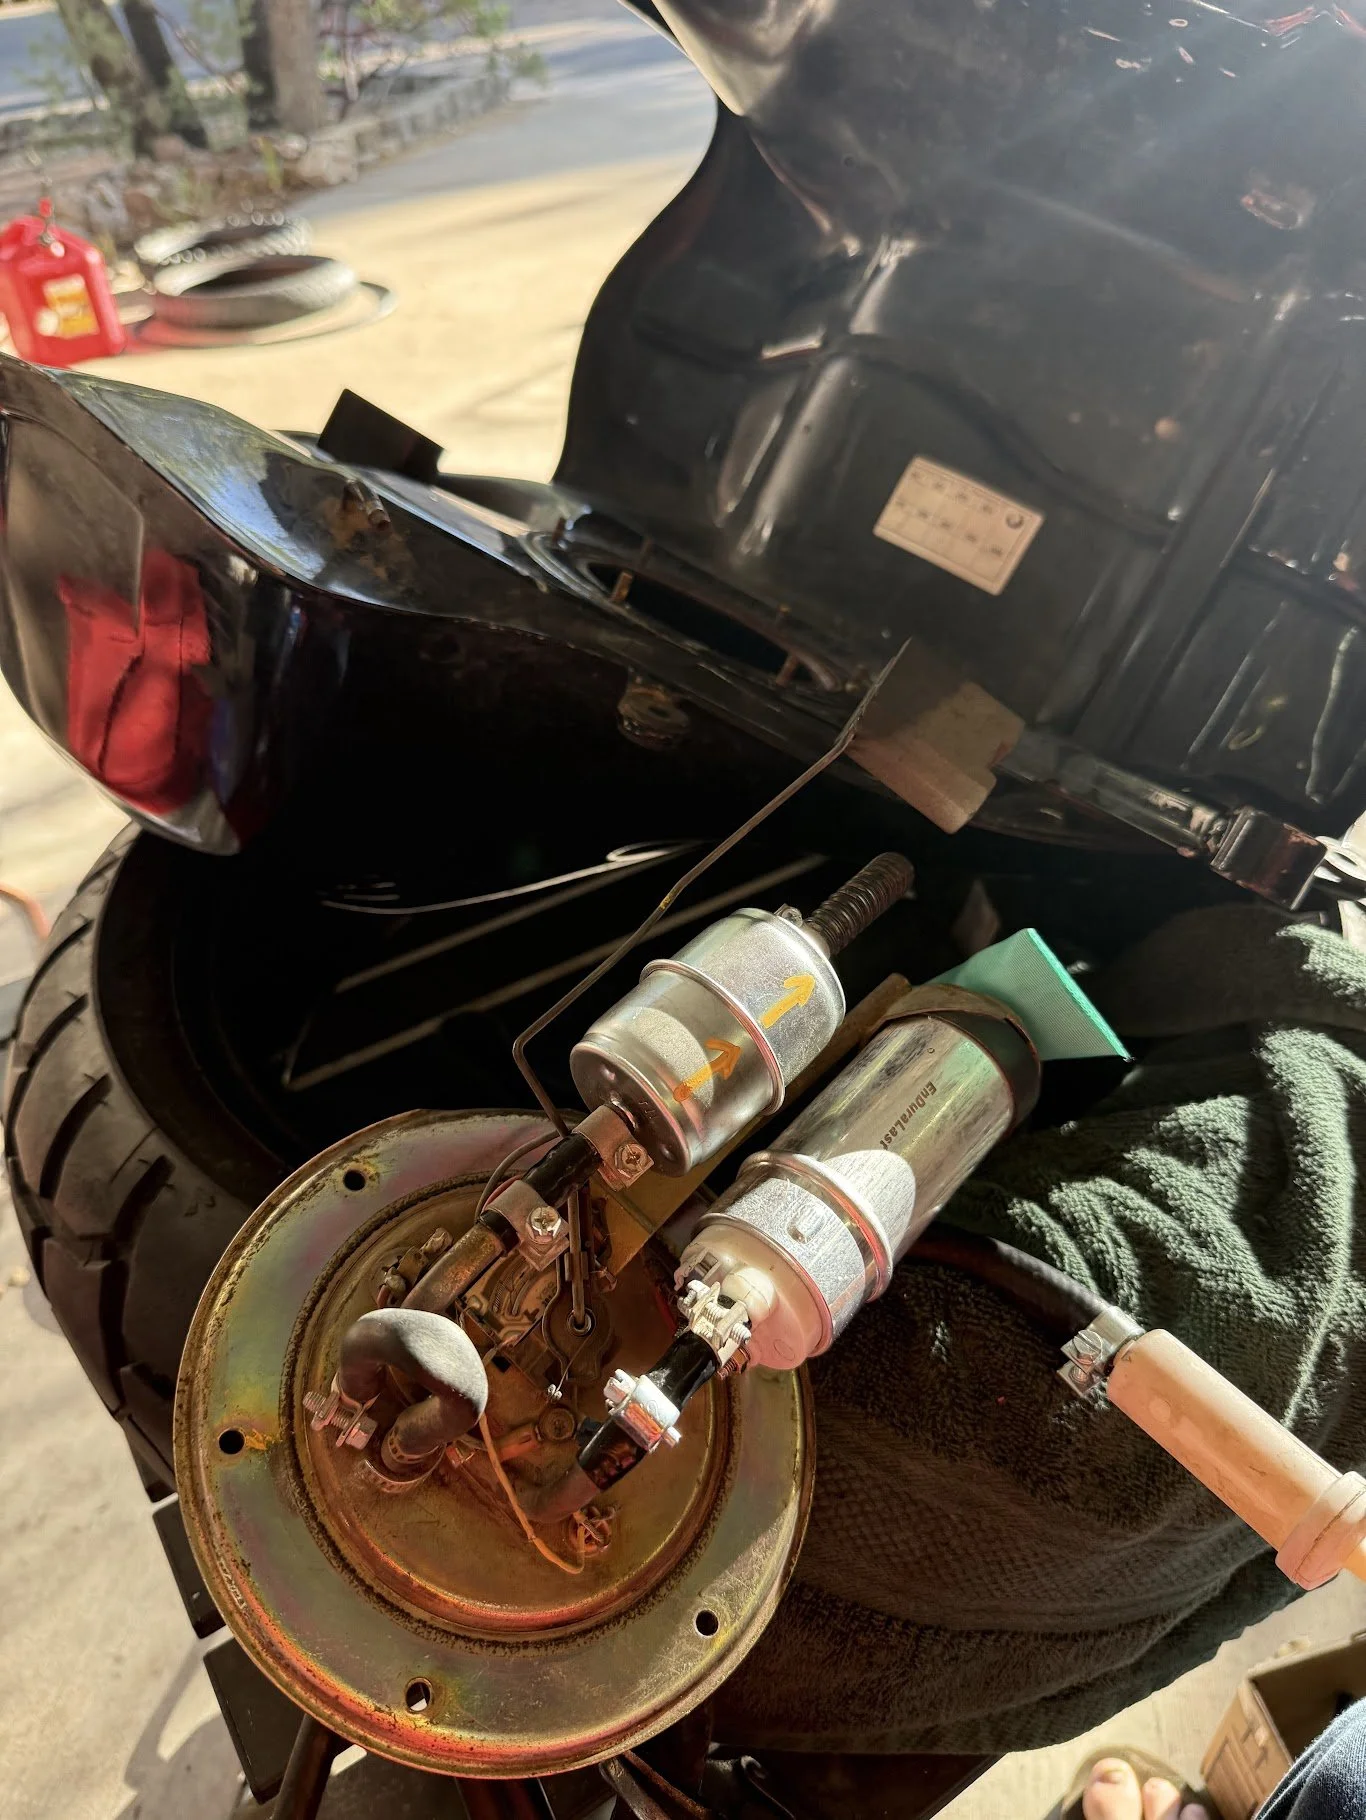
We elected to go with the widely available one that was cheaper. Regret - maybe. It's super loud. Forums said so - I didn't check them. But the thing pumps fuel!

Off to do the gear oil in both locations. Always remembering to ensure the pour spout bolt comes free before removing the drain bolt. Ask me how I know!
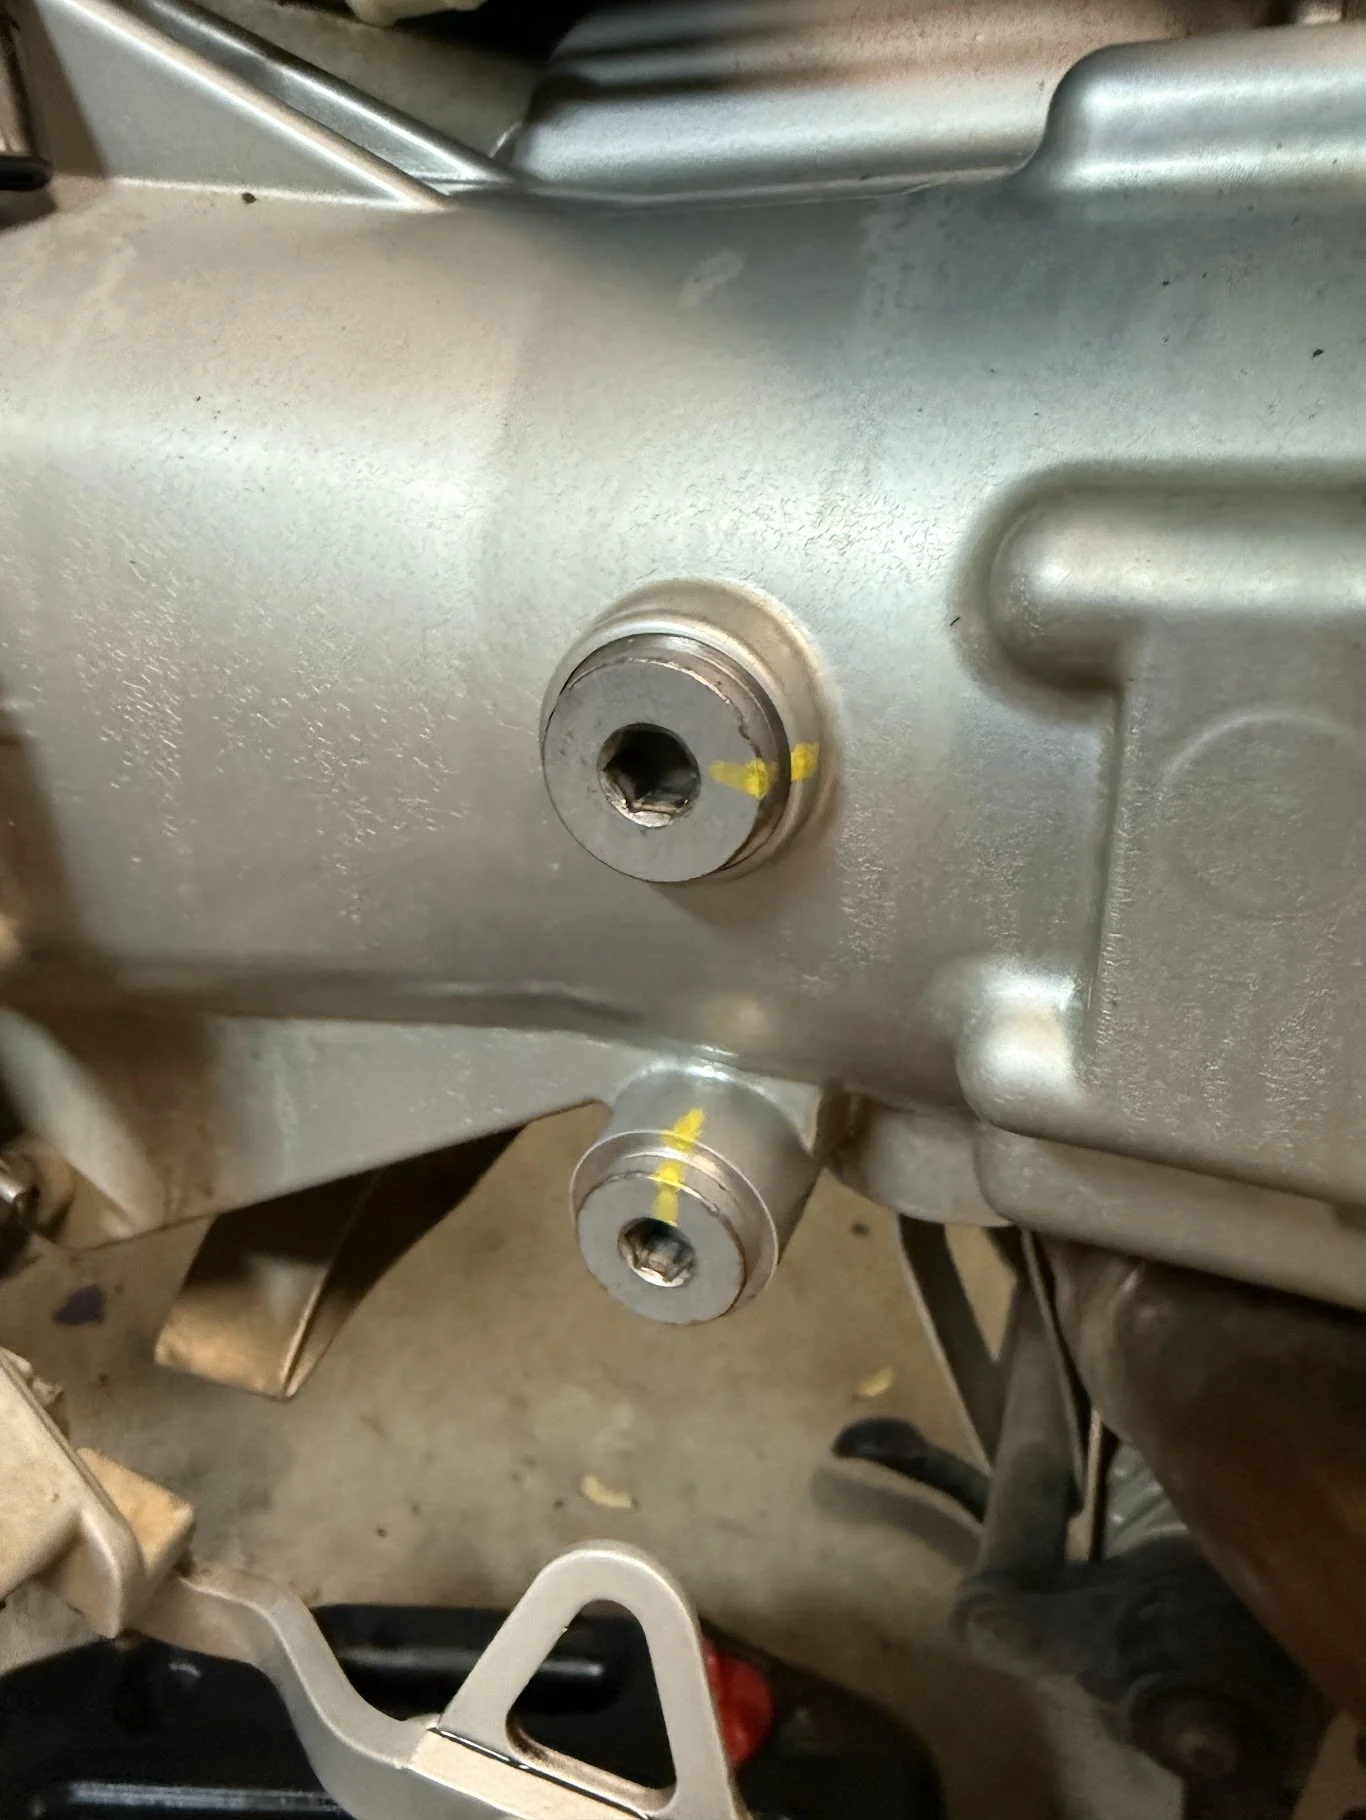
Front transmission gear box refilled after allowing to drain for 24-hours and torqued to spec.
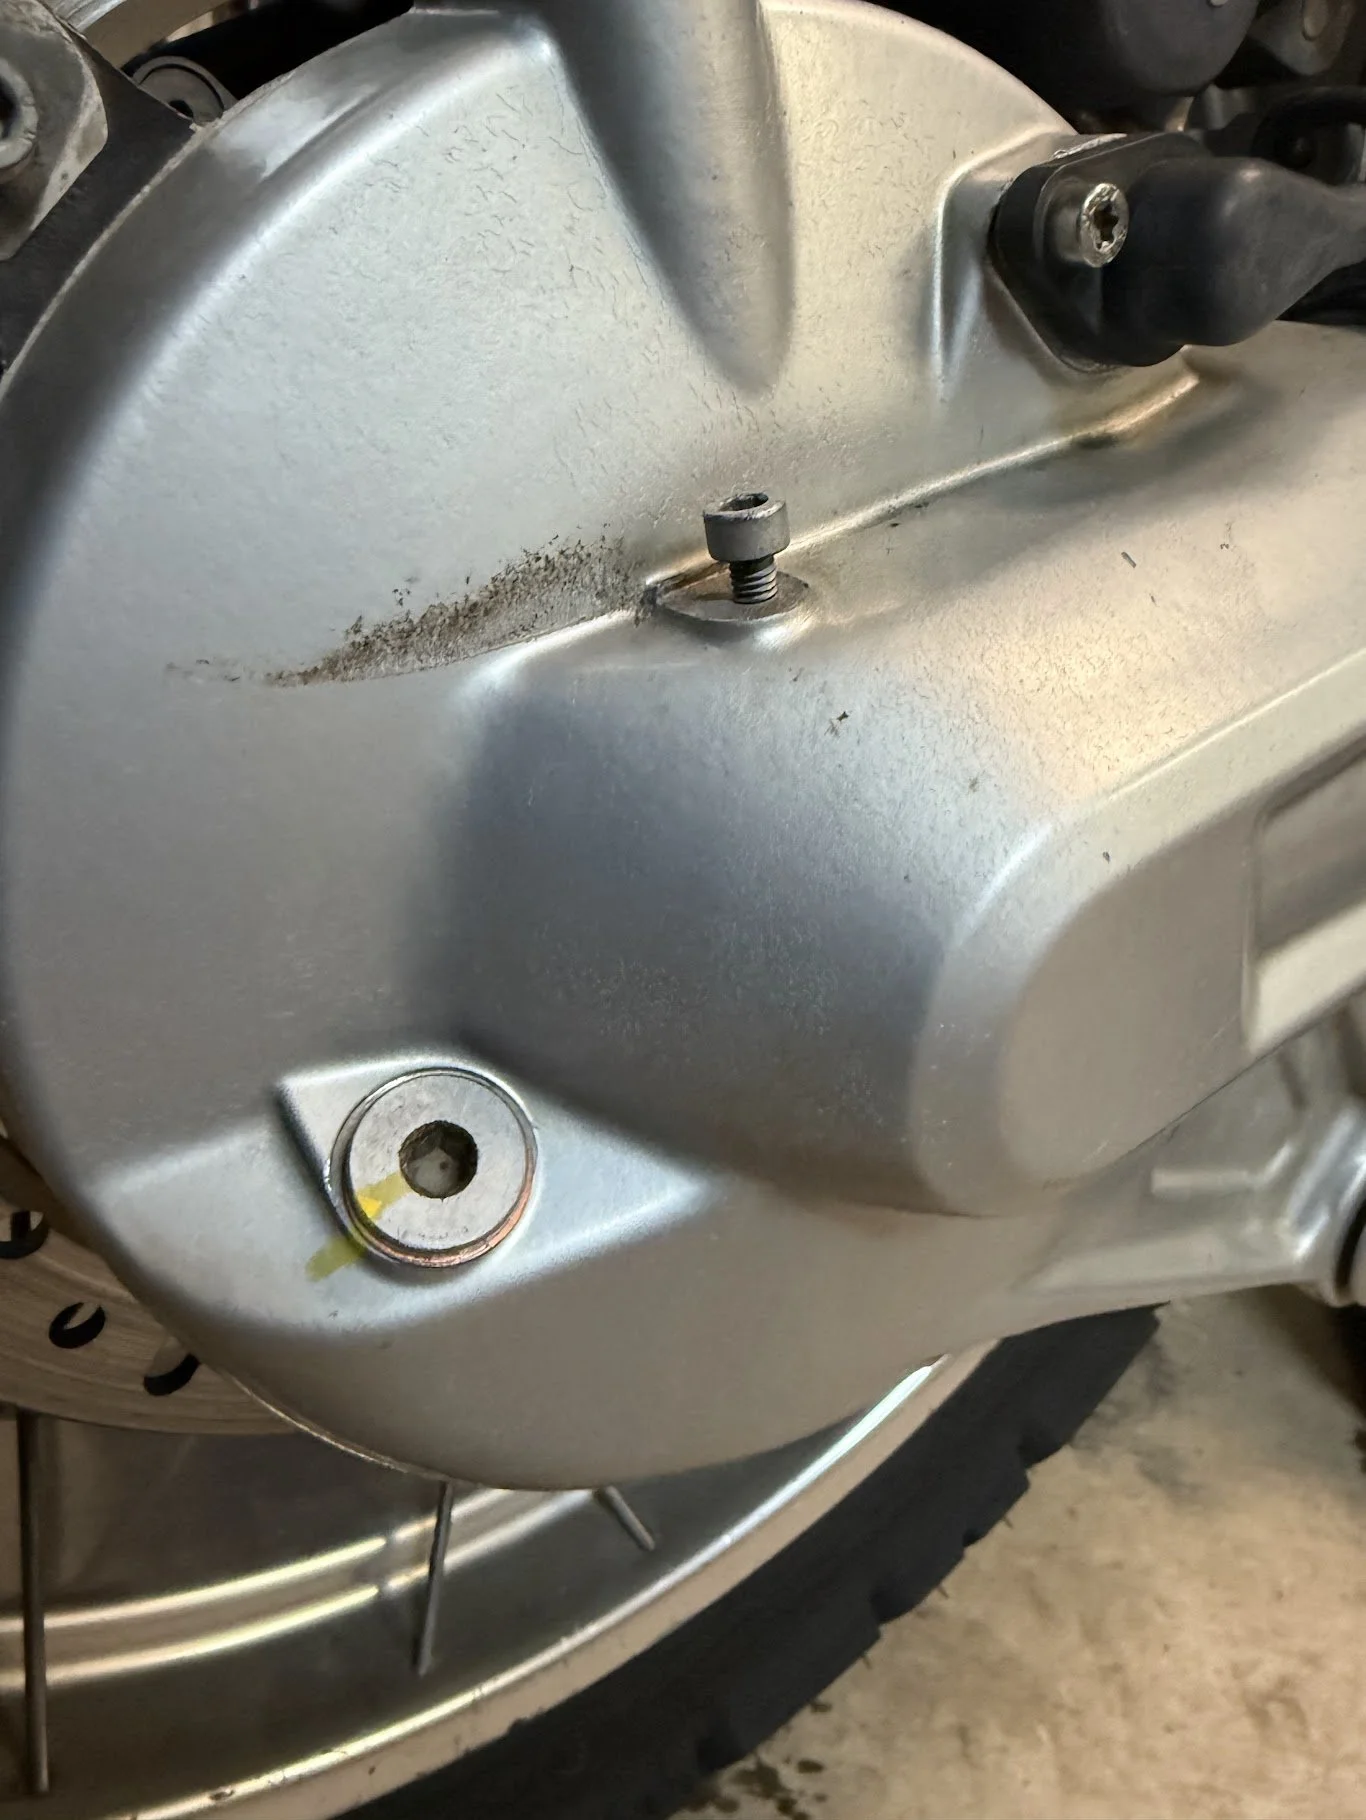
Rear drive fluid was done, and it was definitely time for new gear oil. Seeing a minimum amount of metal particles gave me confidence. Torqued to spec.

Now on to the oil change. A common issue with these oil filters is the sealing ring remaining in place. We used a camera to fish it out.
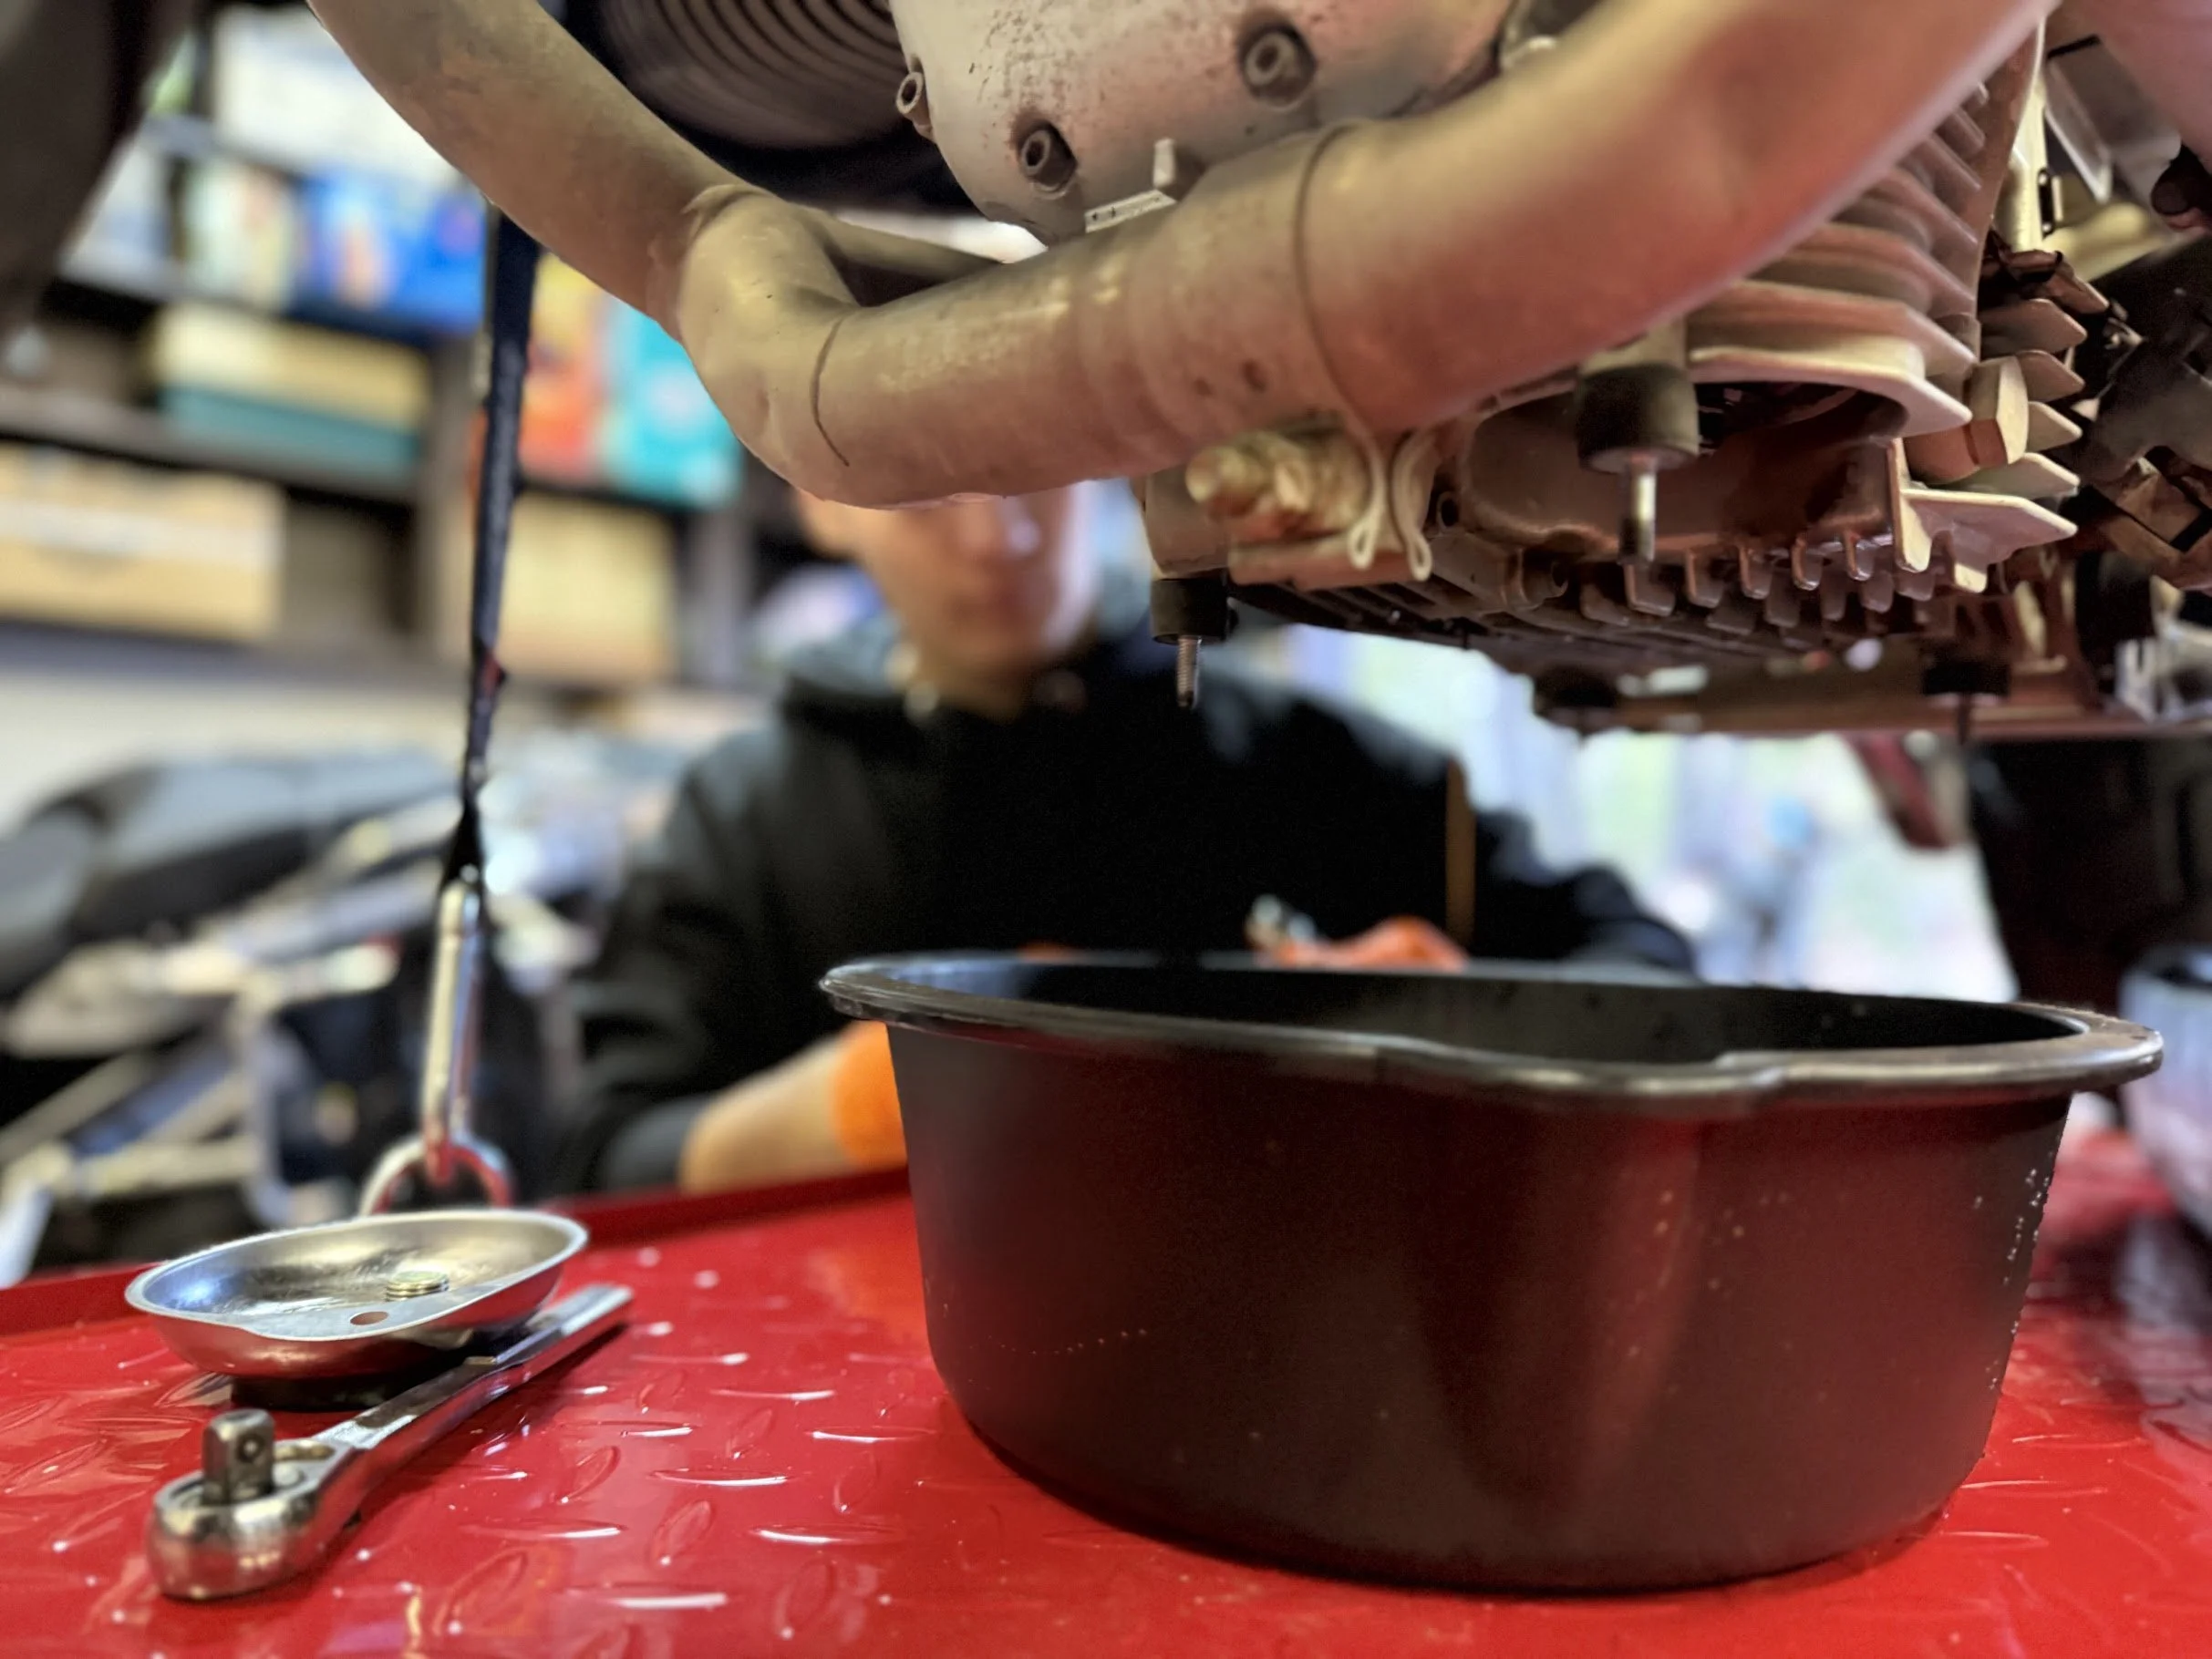
So happy to see my son after months apart. He's changing the oil here.

Always right the date and mileage! New oil filter going in. We had to go get another oil filter wrench to fit this OEM filter.
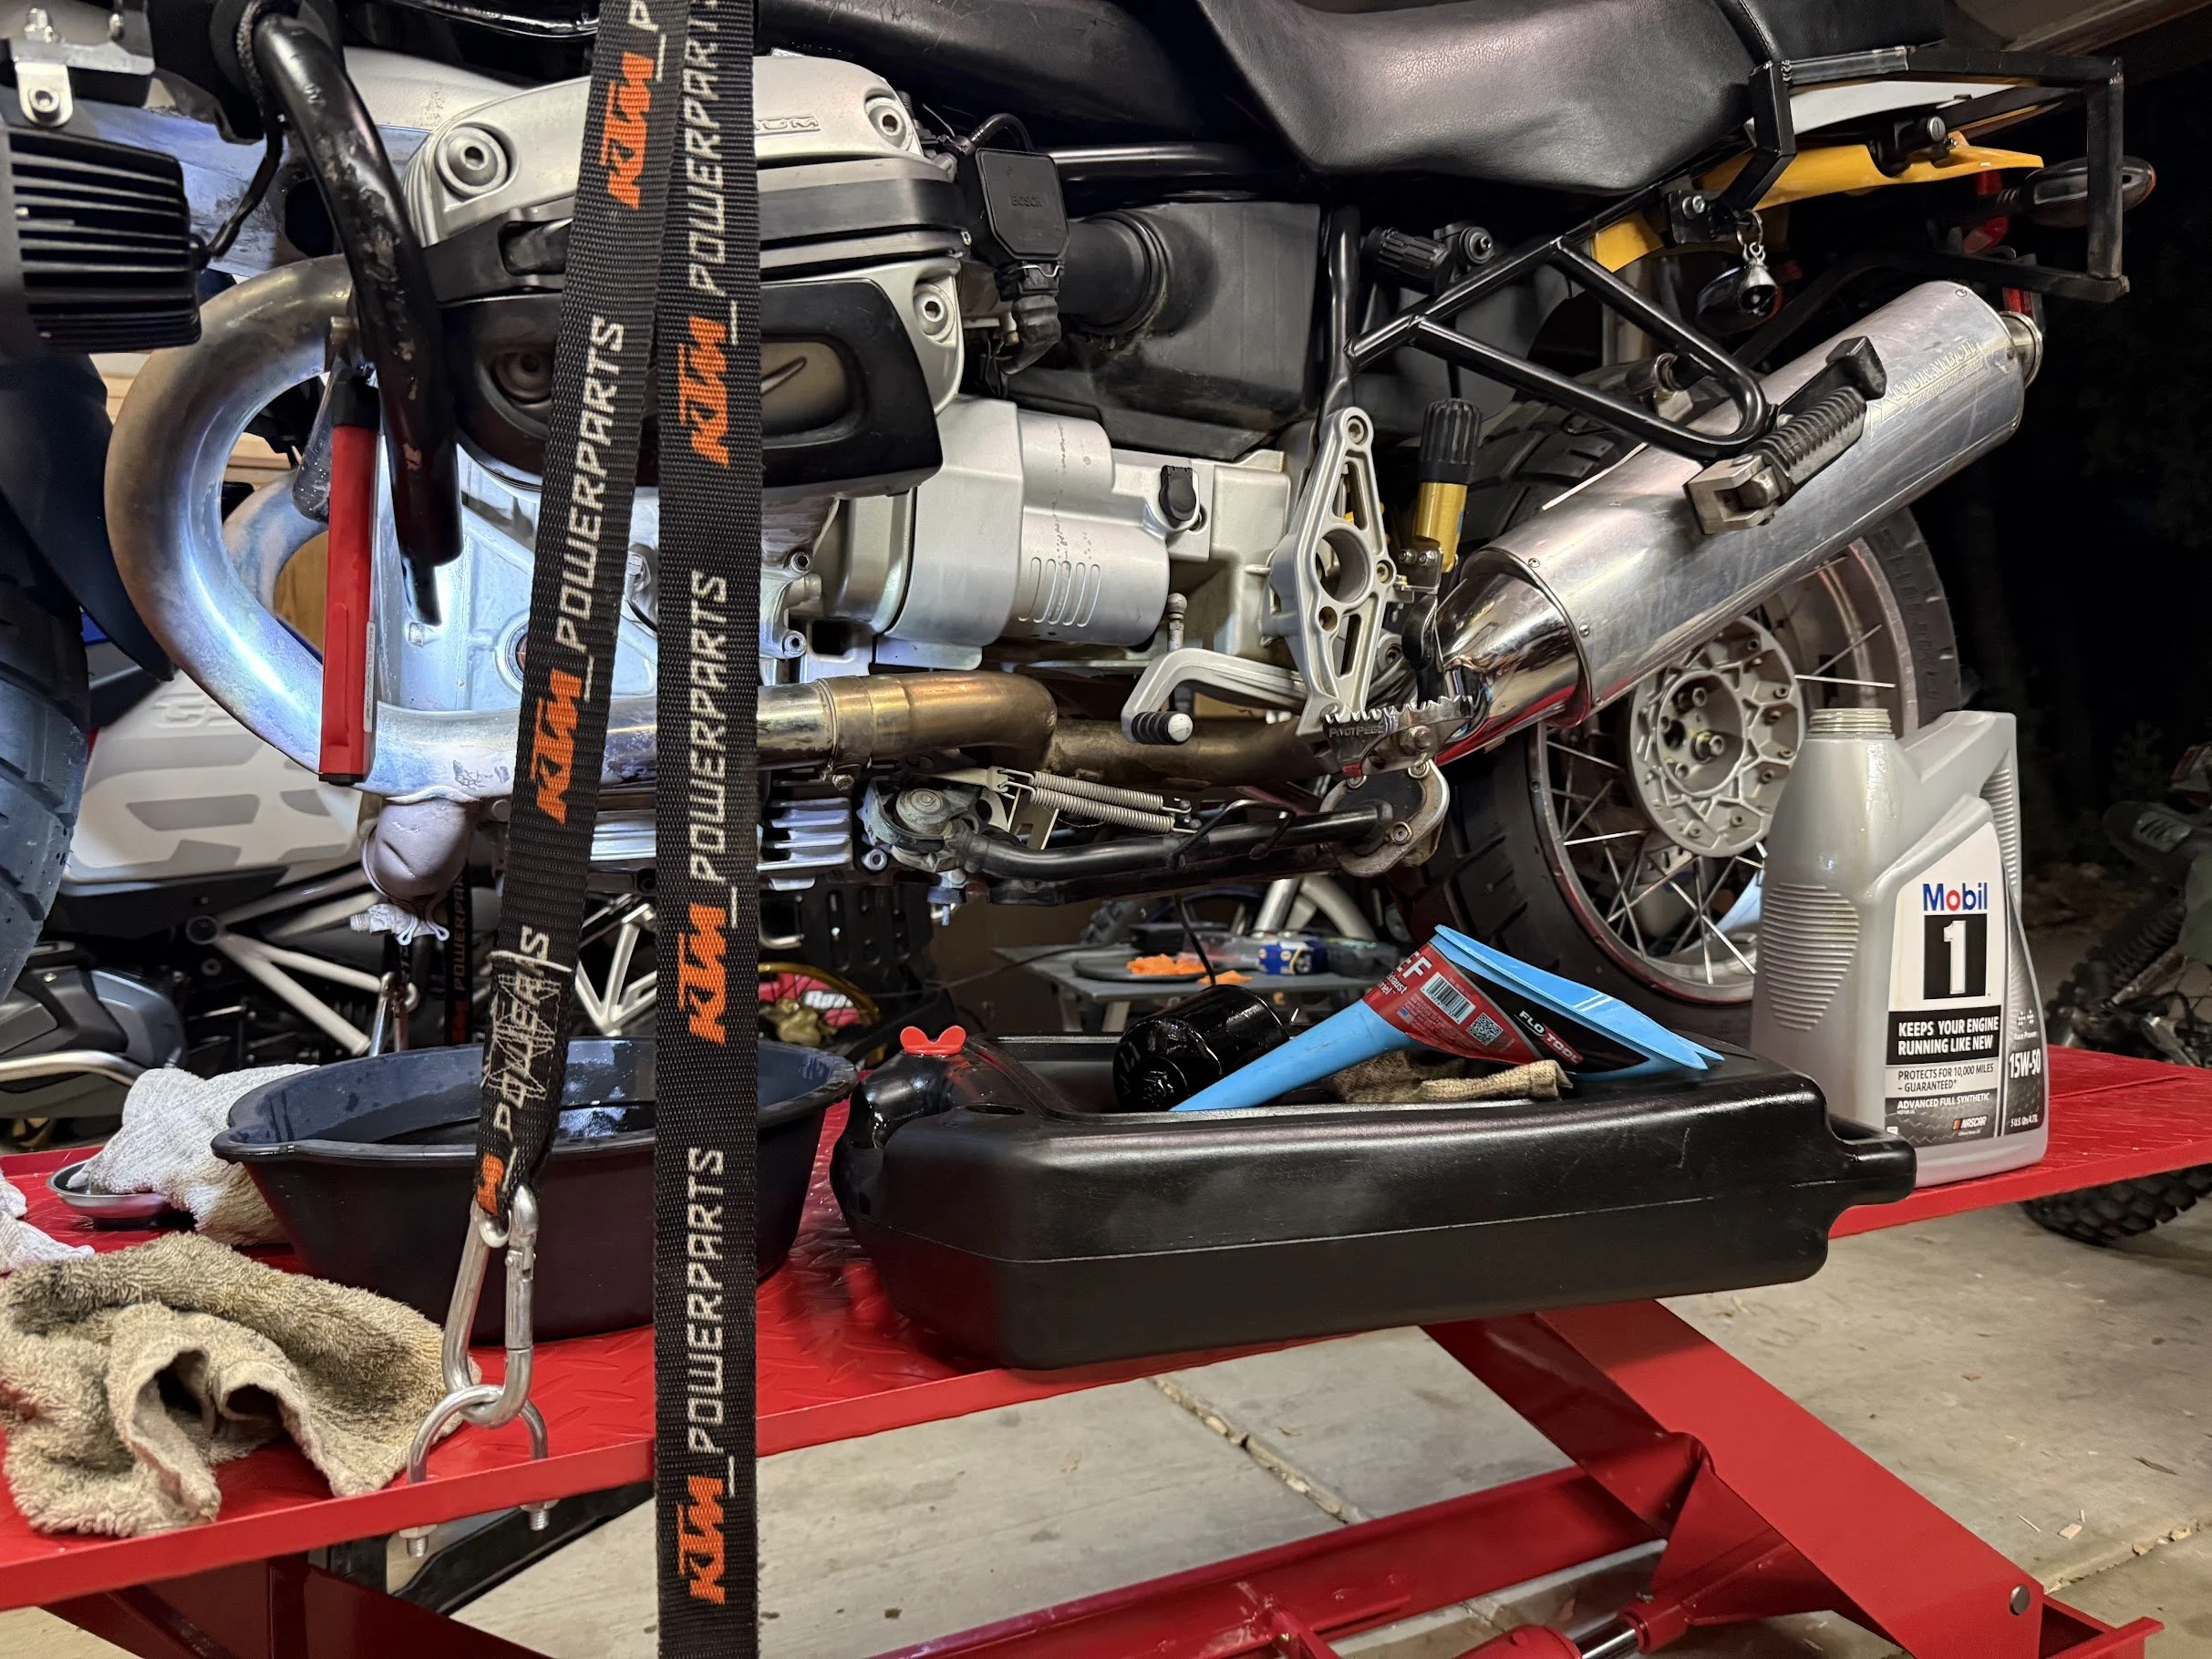
What a mess! The oil is changed.
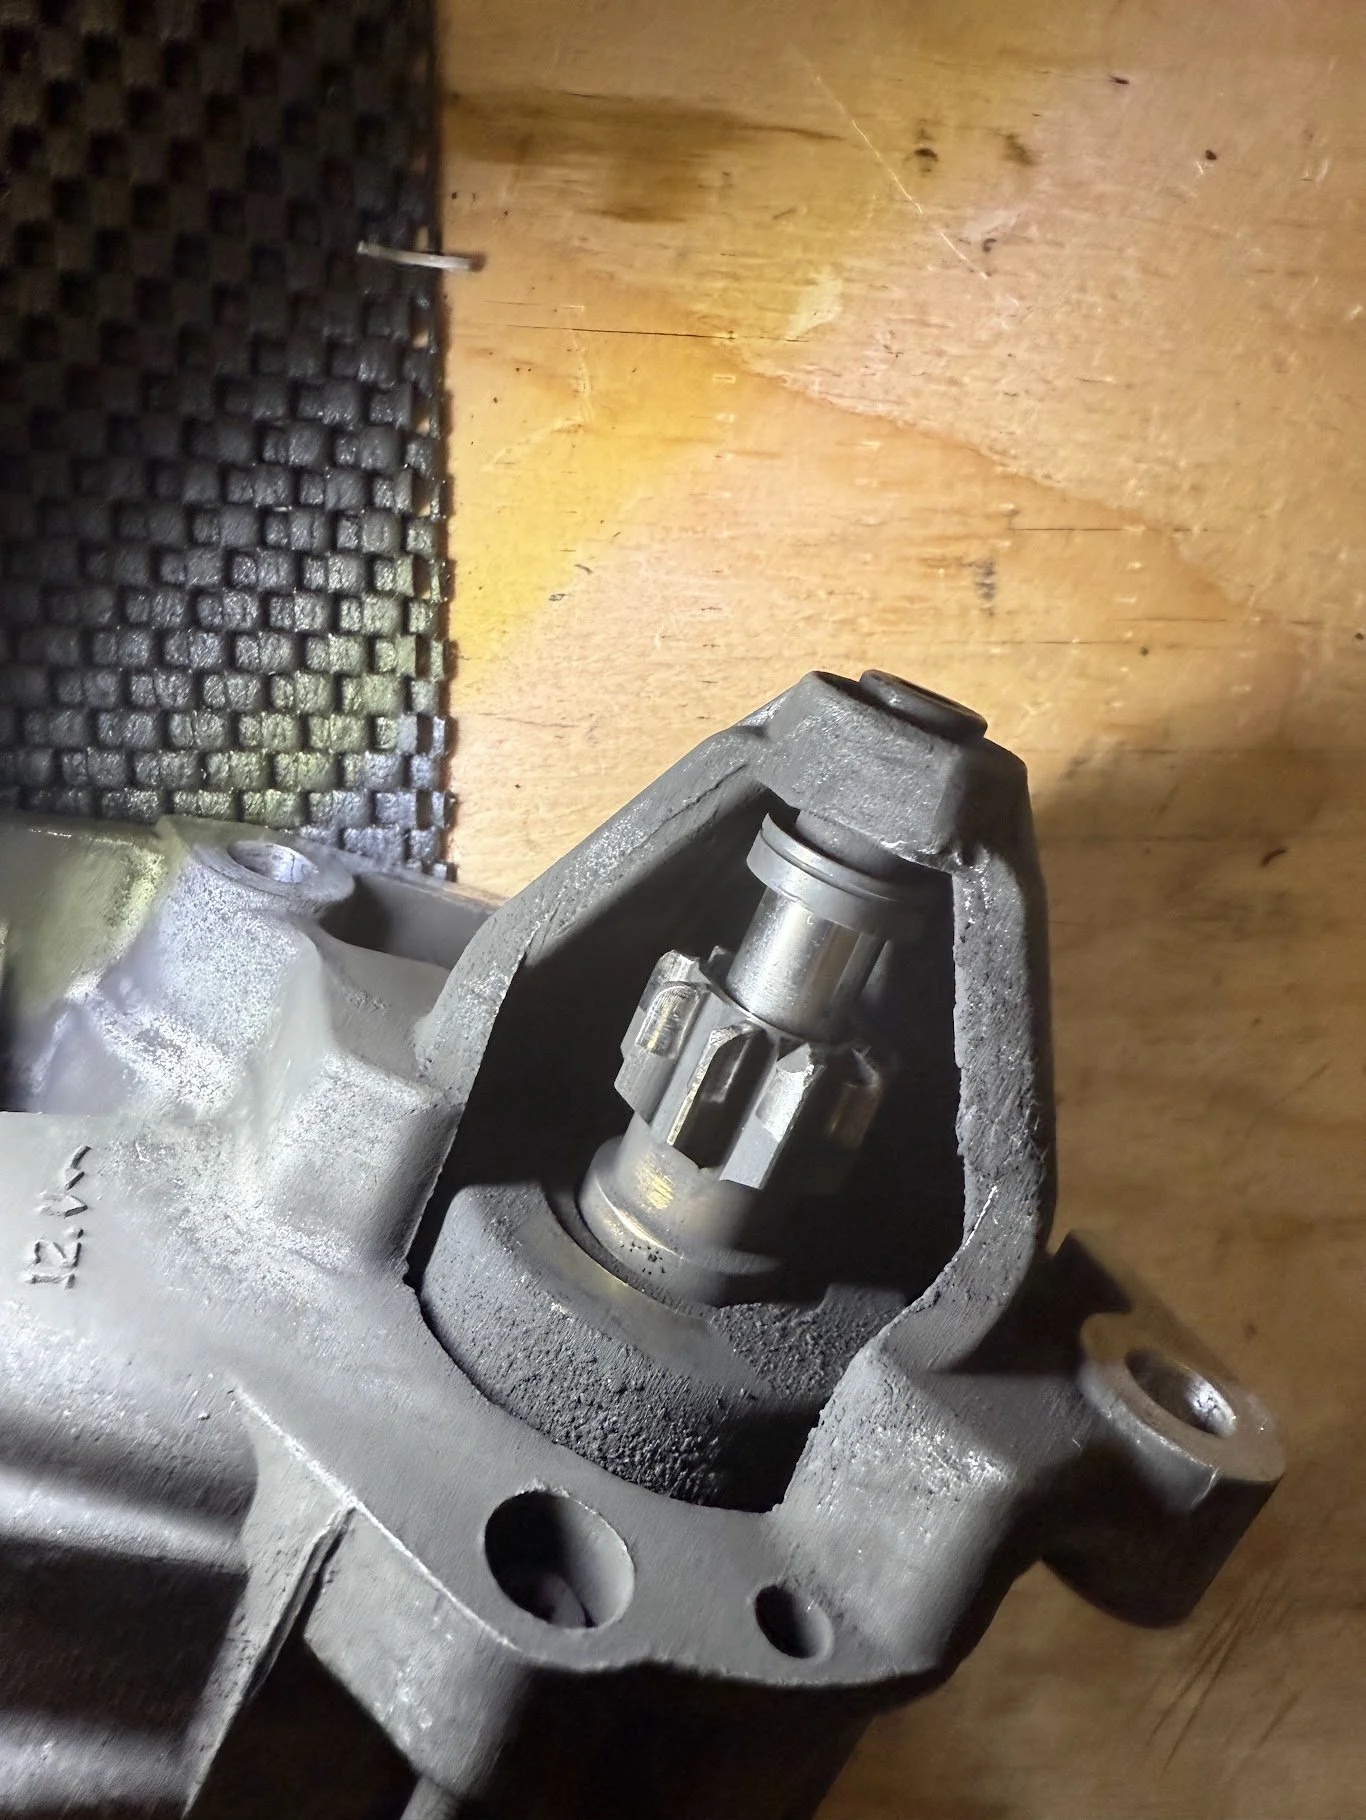
The starter motor was making bad noises. It was still doing starter things, but not great. It needed replaced. A rebuild wouldn't do. See stripped teeth.
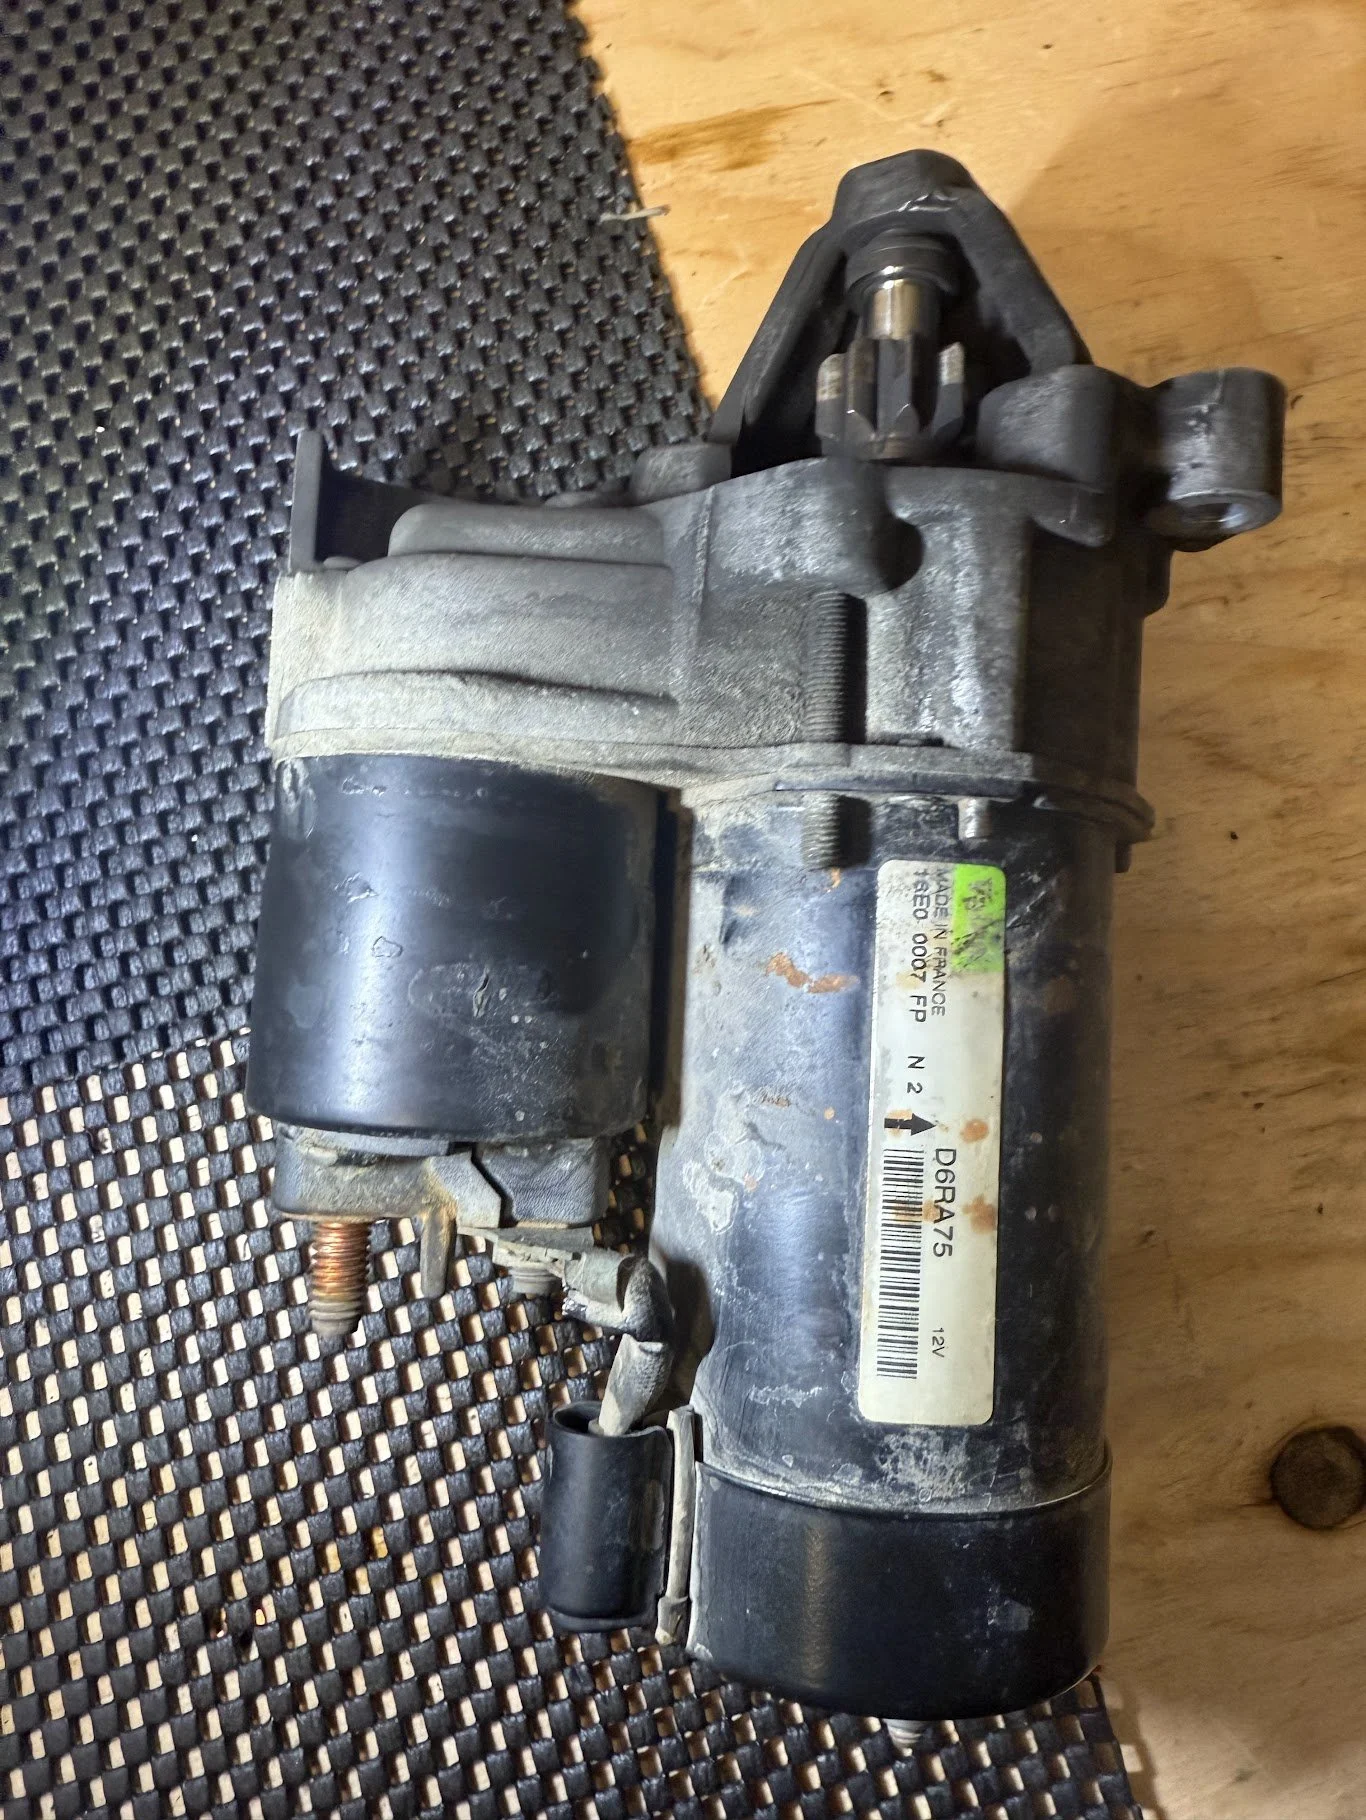
Old starter motor out. Ready for the new one.

No picture of the new starter motor for some reason, but we got the old one out, cleaned as best we could, inspected for damage along the teeth - everything looked clean.
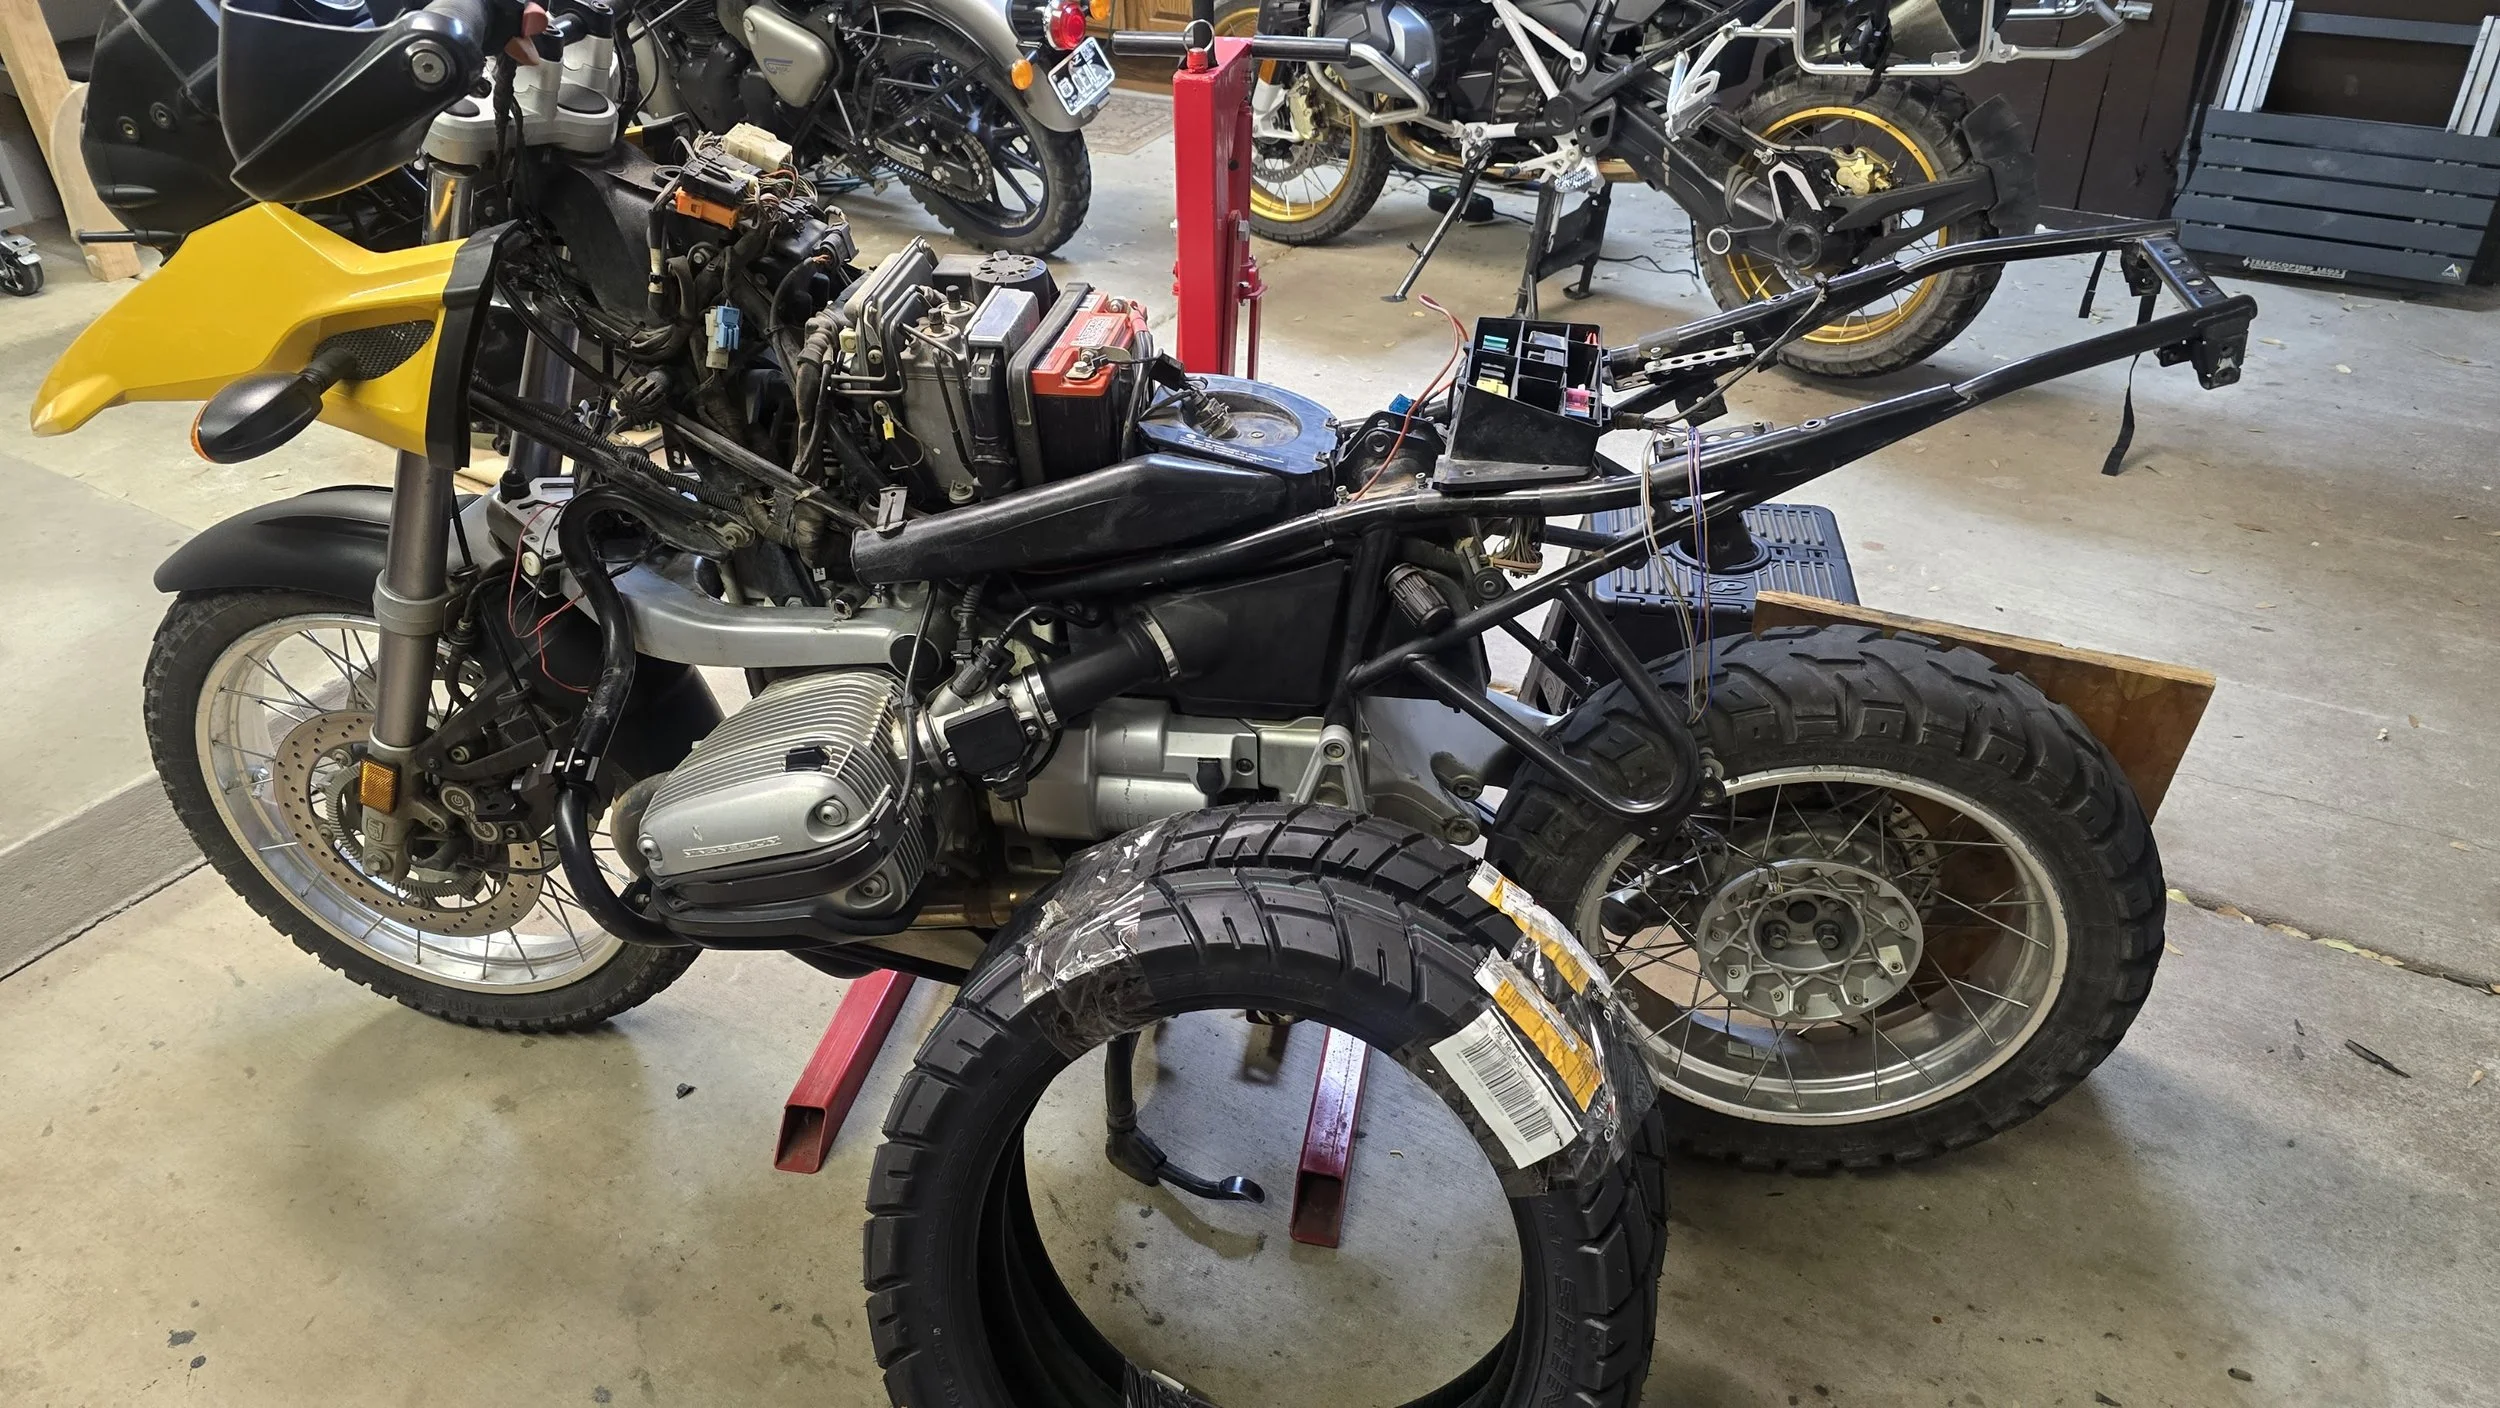
Happy new rubber day! Went with Shinko 705s. I don't like 'em, but $ doesn't grow on trees.
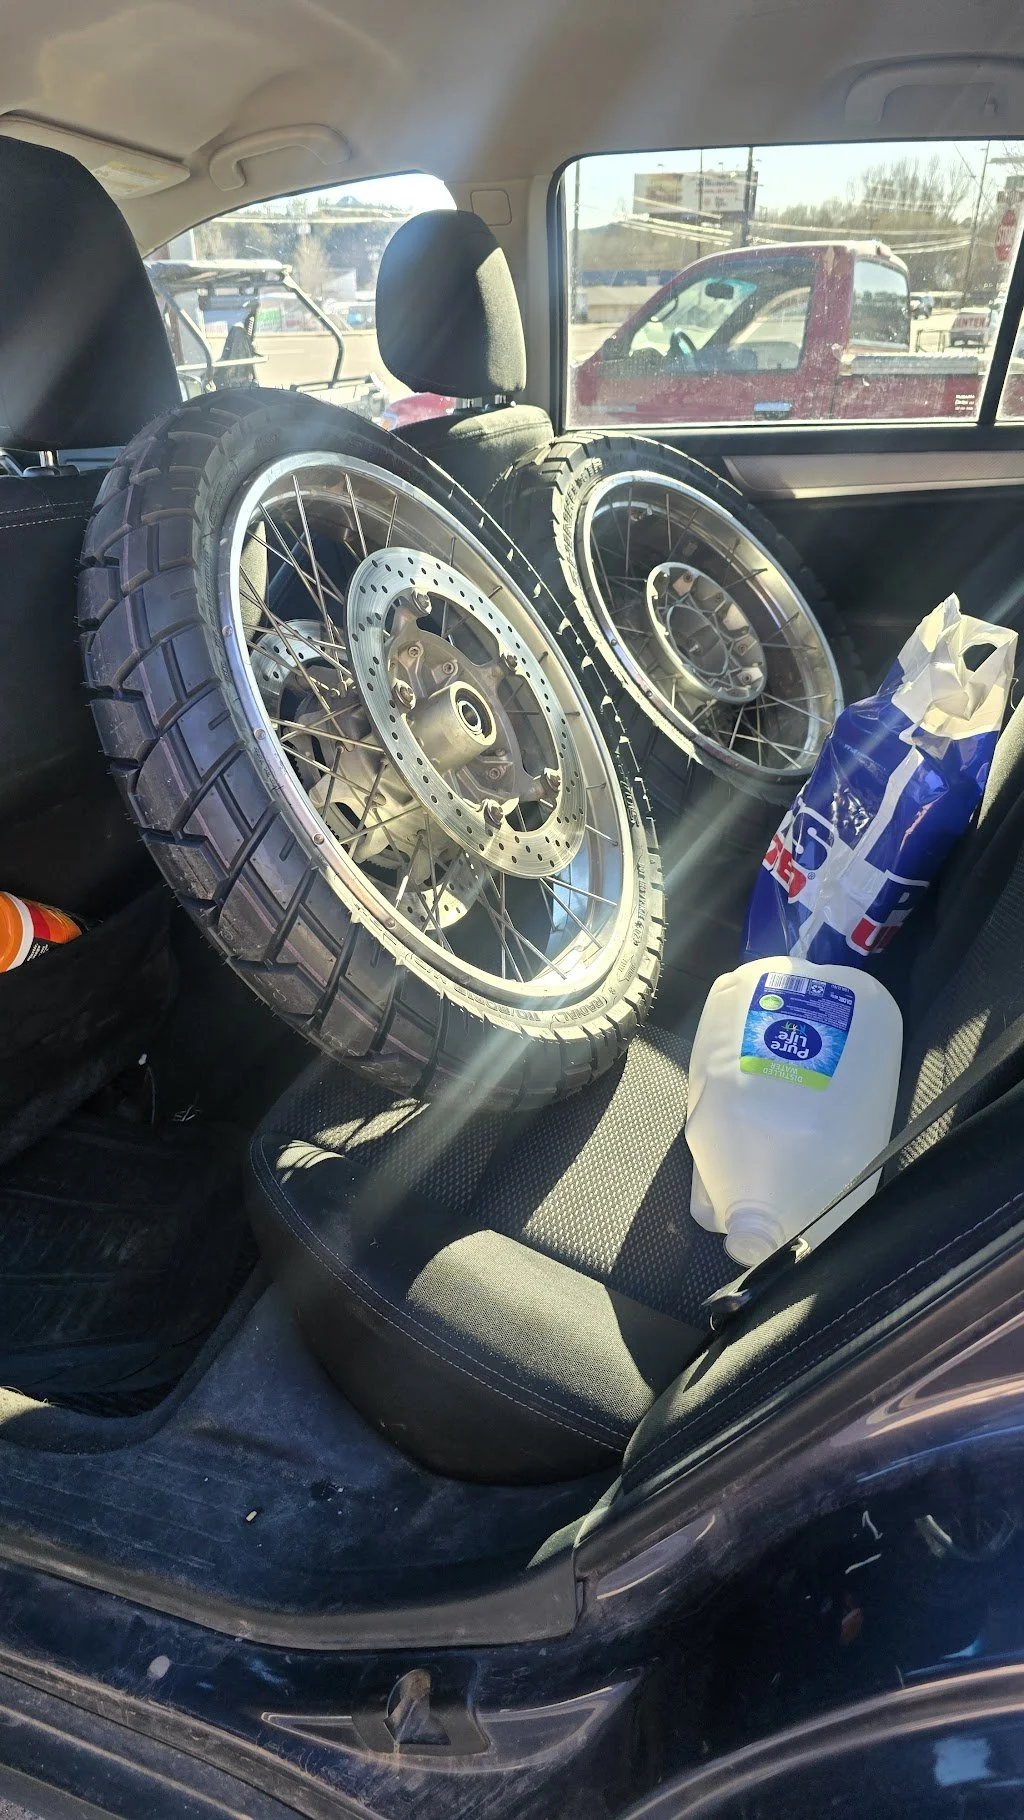
Happy tire installation day!

Got the new tires on - the fresh rubber really started to bring the bike back to life. Also found a rear mud guard on Ebay, and purchased. It made the bike look nice.

Front brake rotors. Do yourself a favor and don't check them. I did, and I couldn't unsee it. So I purchased new front rotors and felt better about them being back in spec.

Old air filter said three things: 1) I don't keep up with normal maintenance, 2) I don't care for my bike, 3) I don't sweat the small stuff - all three make me sad.

Off to the brakes. The ABS light was on, and I got to troubleshooting the small stuff. It's a big cost to fix it properly without deleting it. I elected to ignore it.

The brake lines (24 years old) were showing their wear, and I wasn't comfortable putting the brake lines to the test. In went SS brake lines.

I really liked the look and functionality of the SS brake lines.
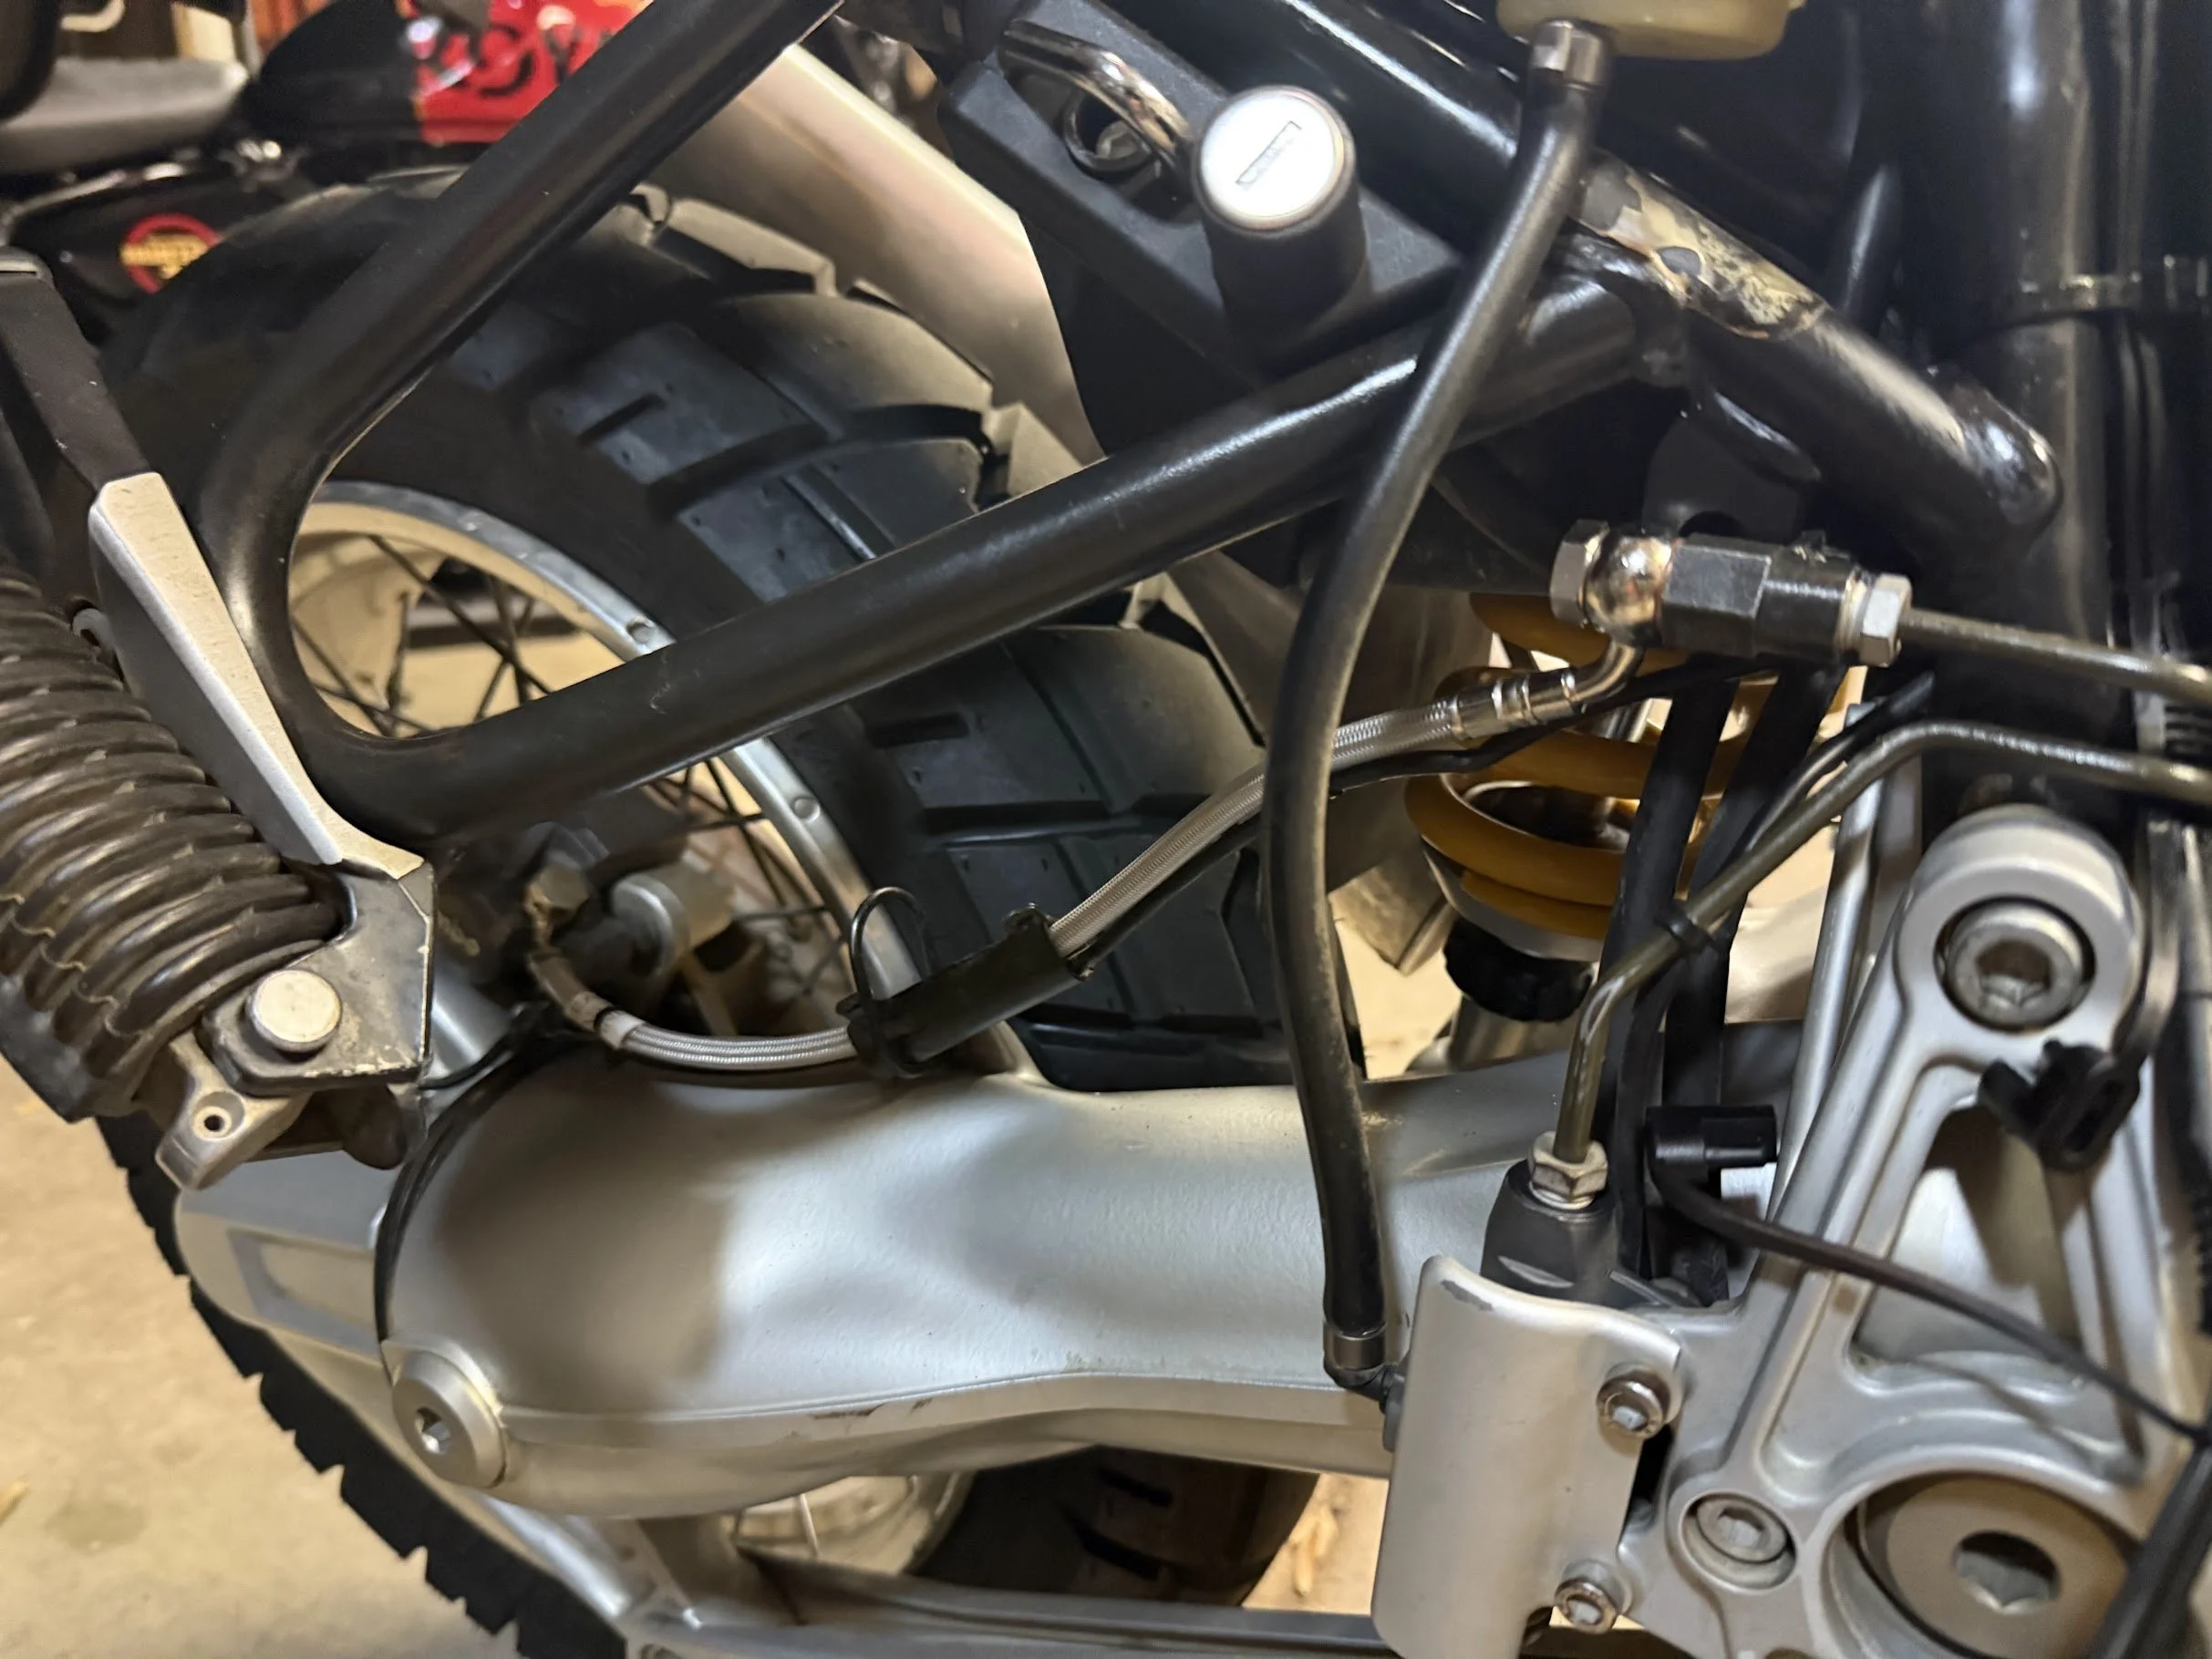
Rear SS brake lines went in without a fuss. Doing the ABS bleed then caliper bleed was annoying, but after getting the hang of it - not hard.

Across the entire bike I did my best to bring all bolts back to a factory new look - took a lot of time to do it, but it felt right.

Painting parts of the bike to hide some of the years of abuse.

Getting started on adding more switched power capacity to the panel.

After some serious work, re-routing, and re-organization, I was able to get the bike's phone charger on switched power.

I really enjoyed the position and look of it on the bike.
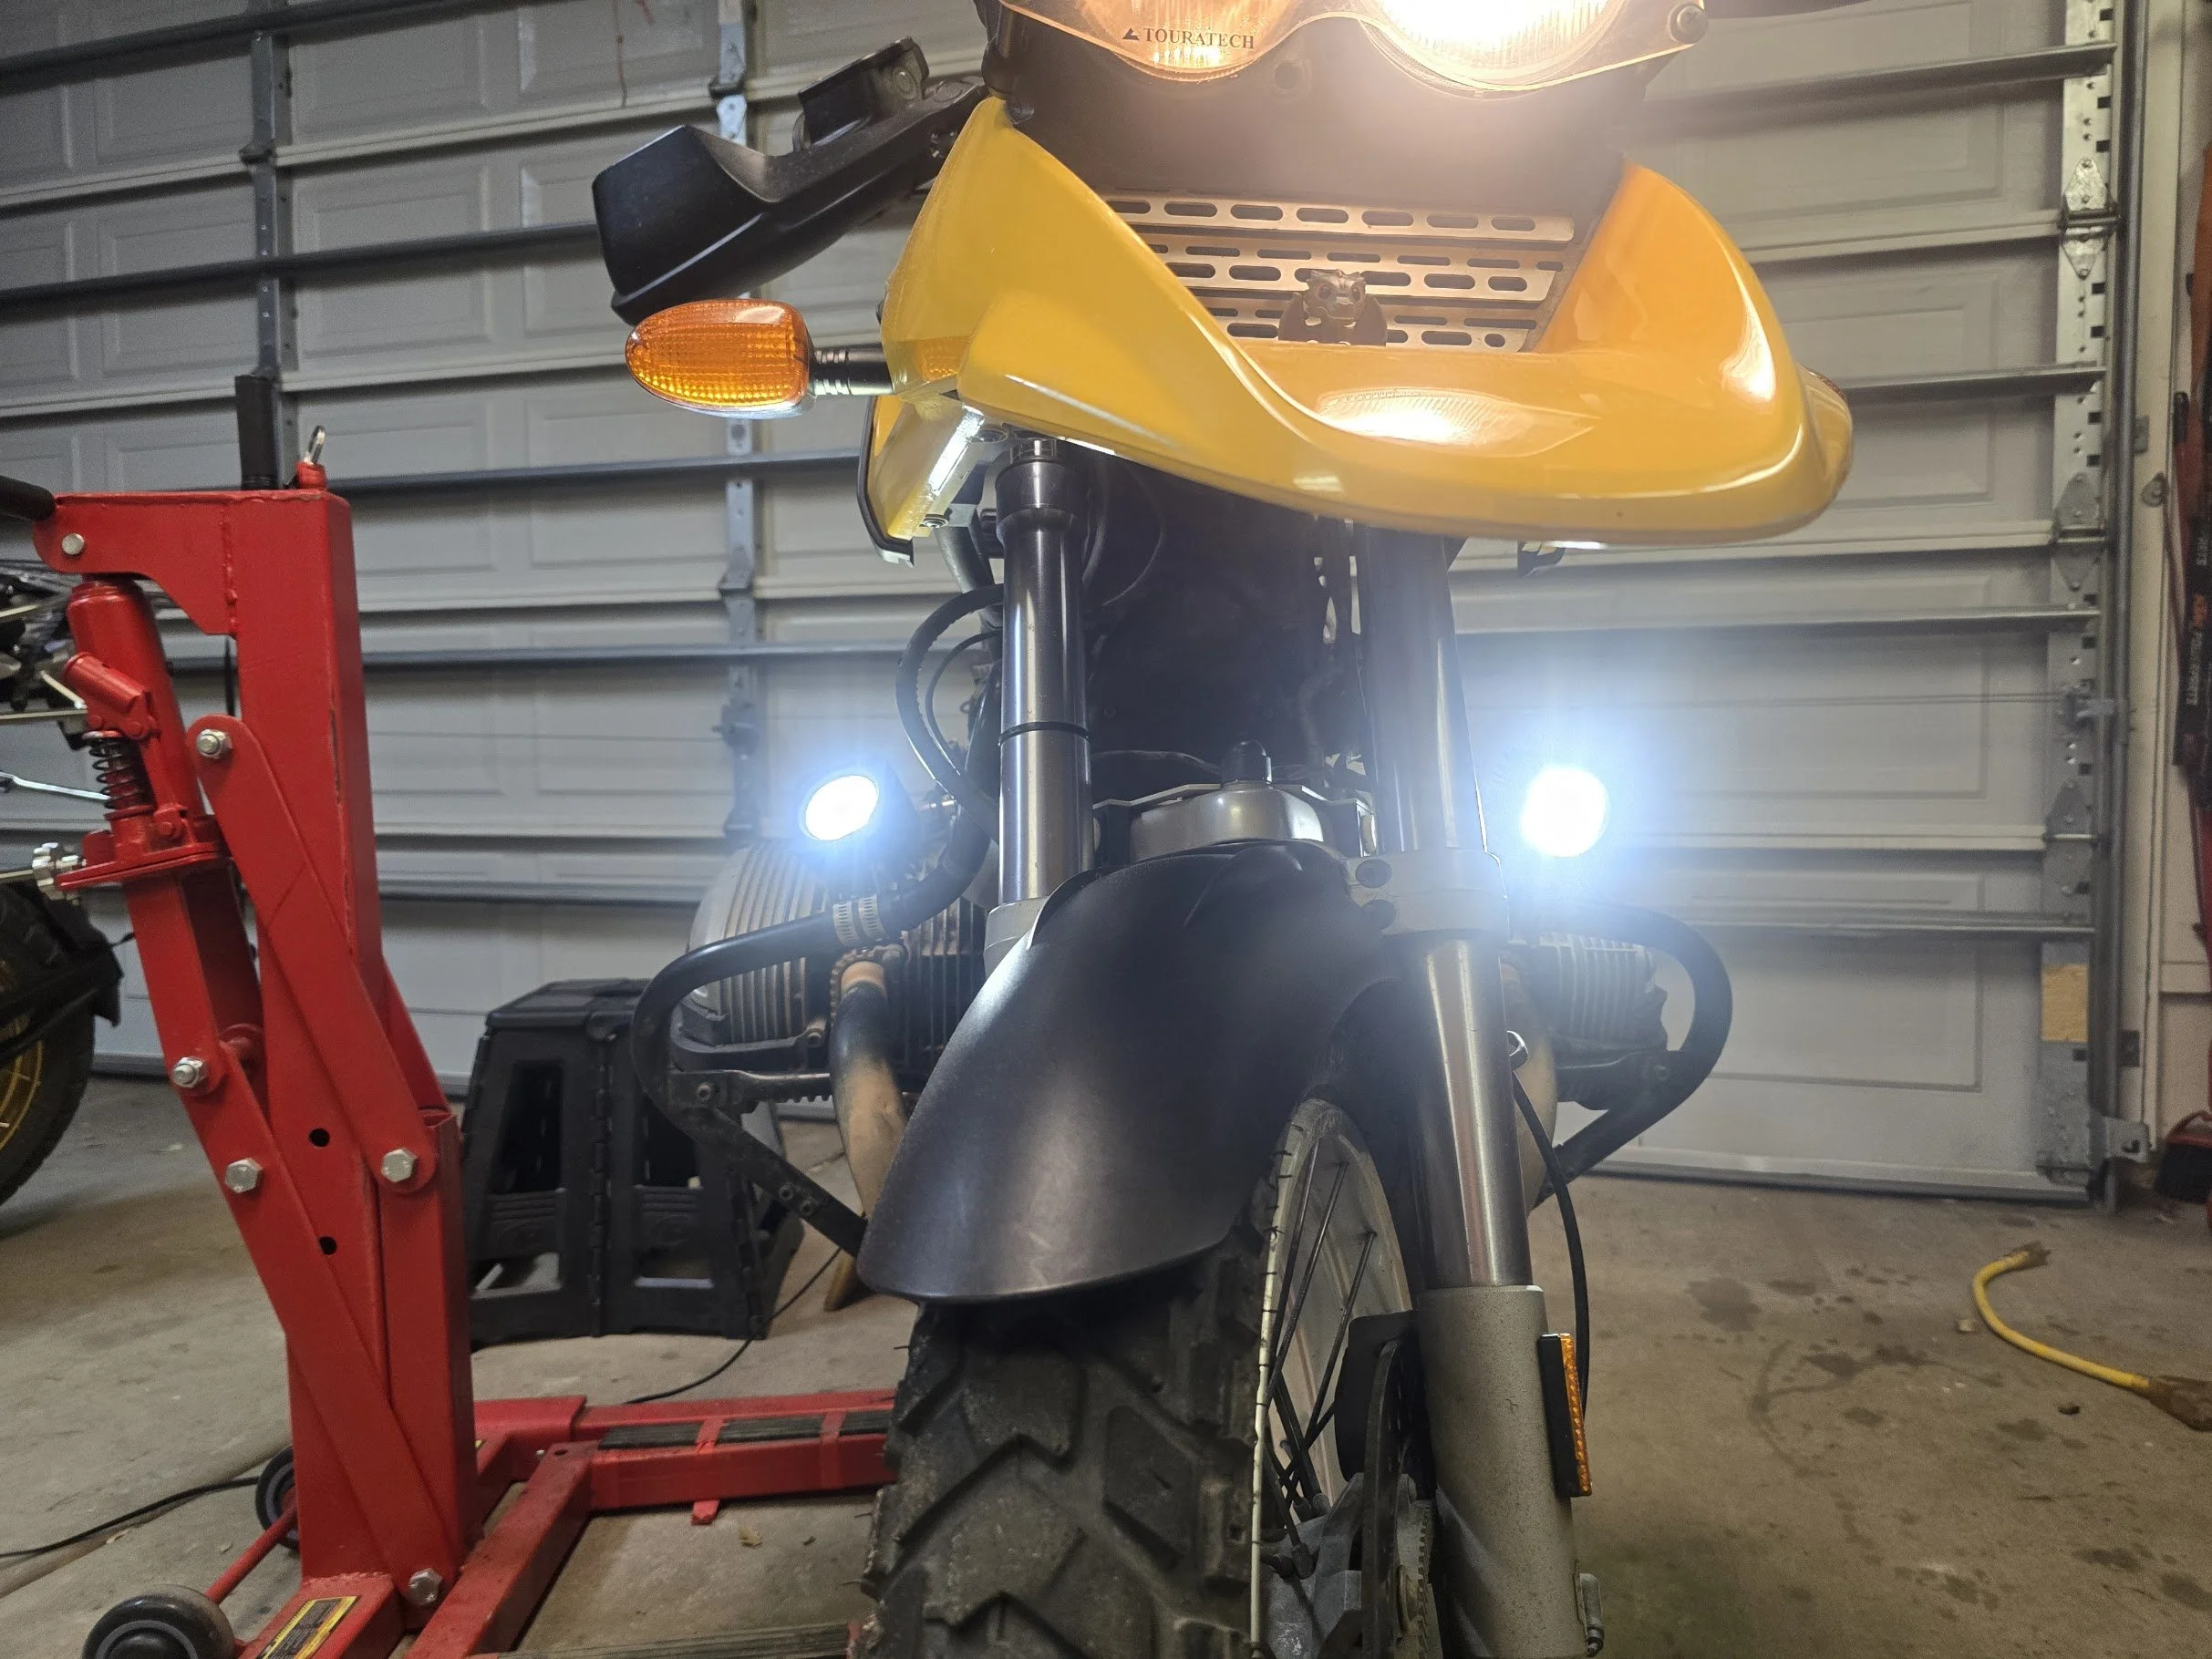
The aux headlights. For some reason, I lost all the photos. But this was nothing short of a labor of love.
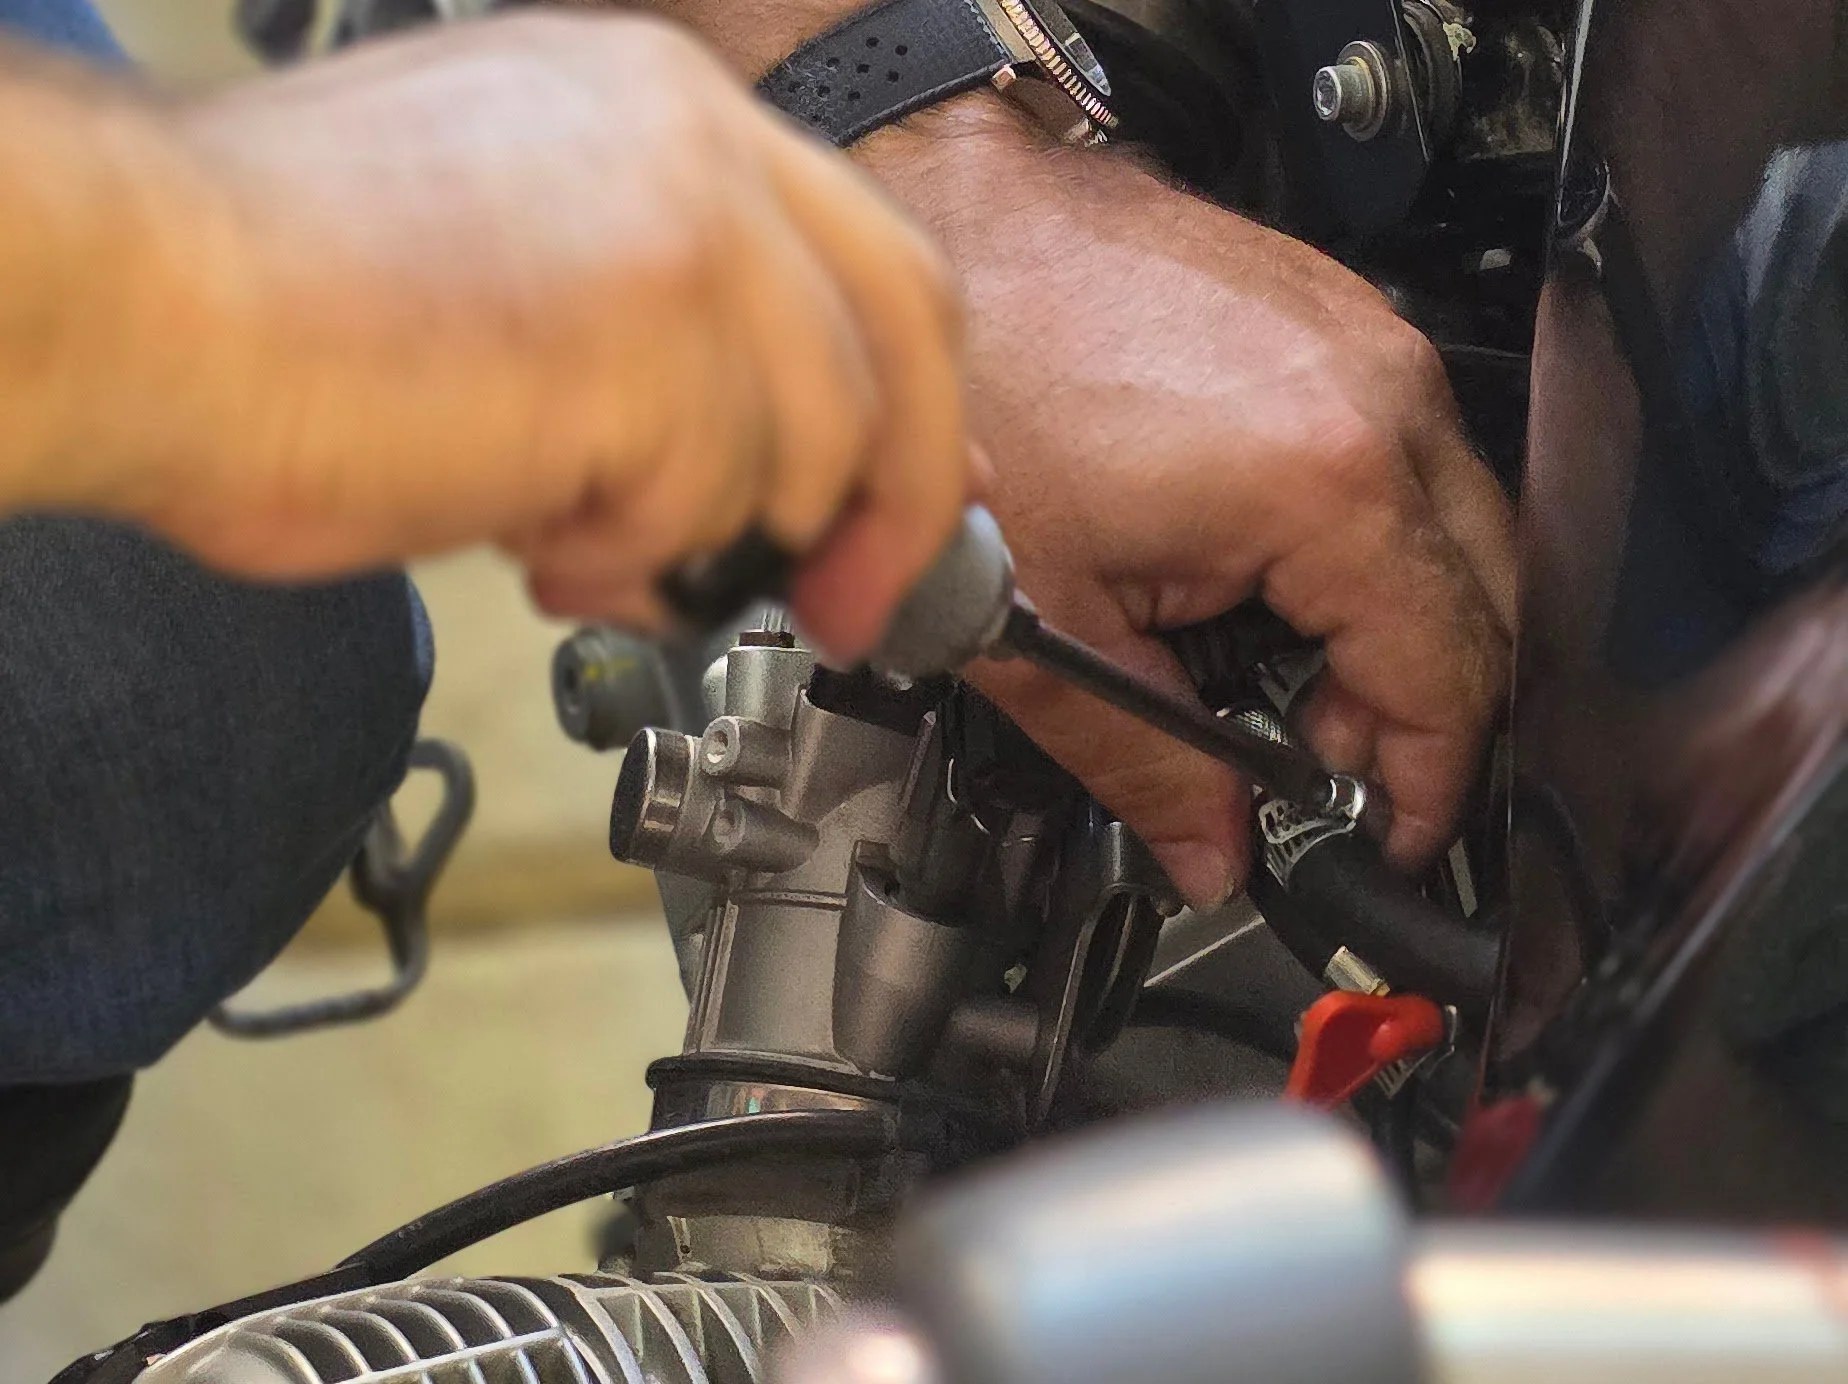
Fixing the fuel lines after routing the electrical wiring the wrong way...again.
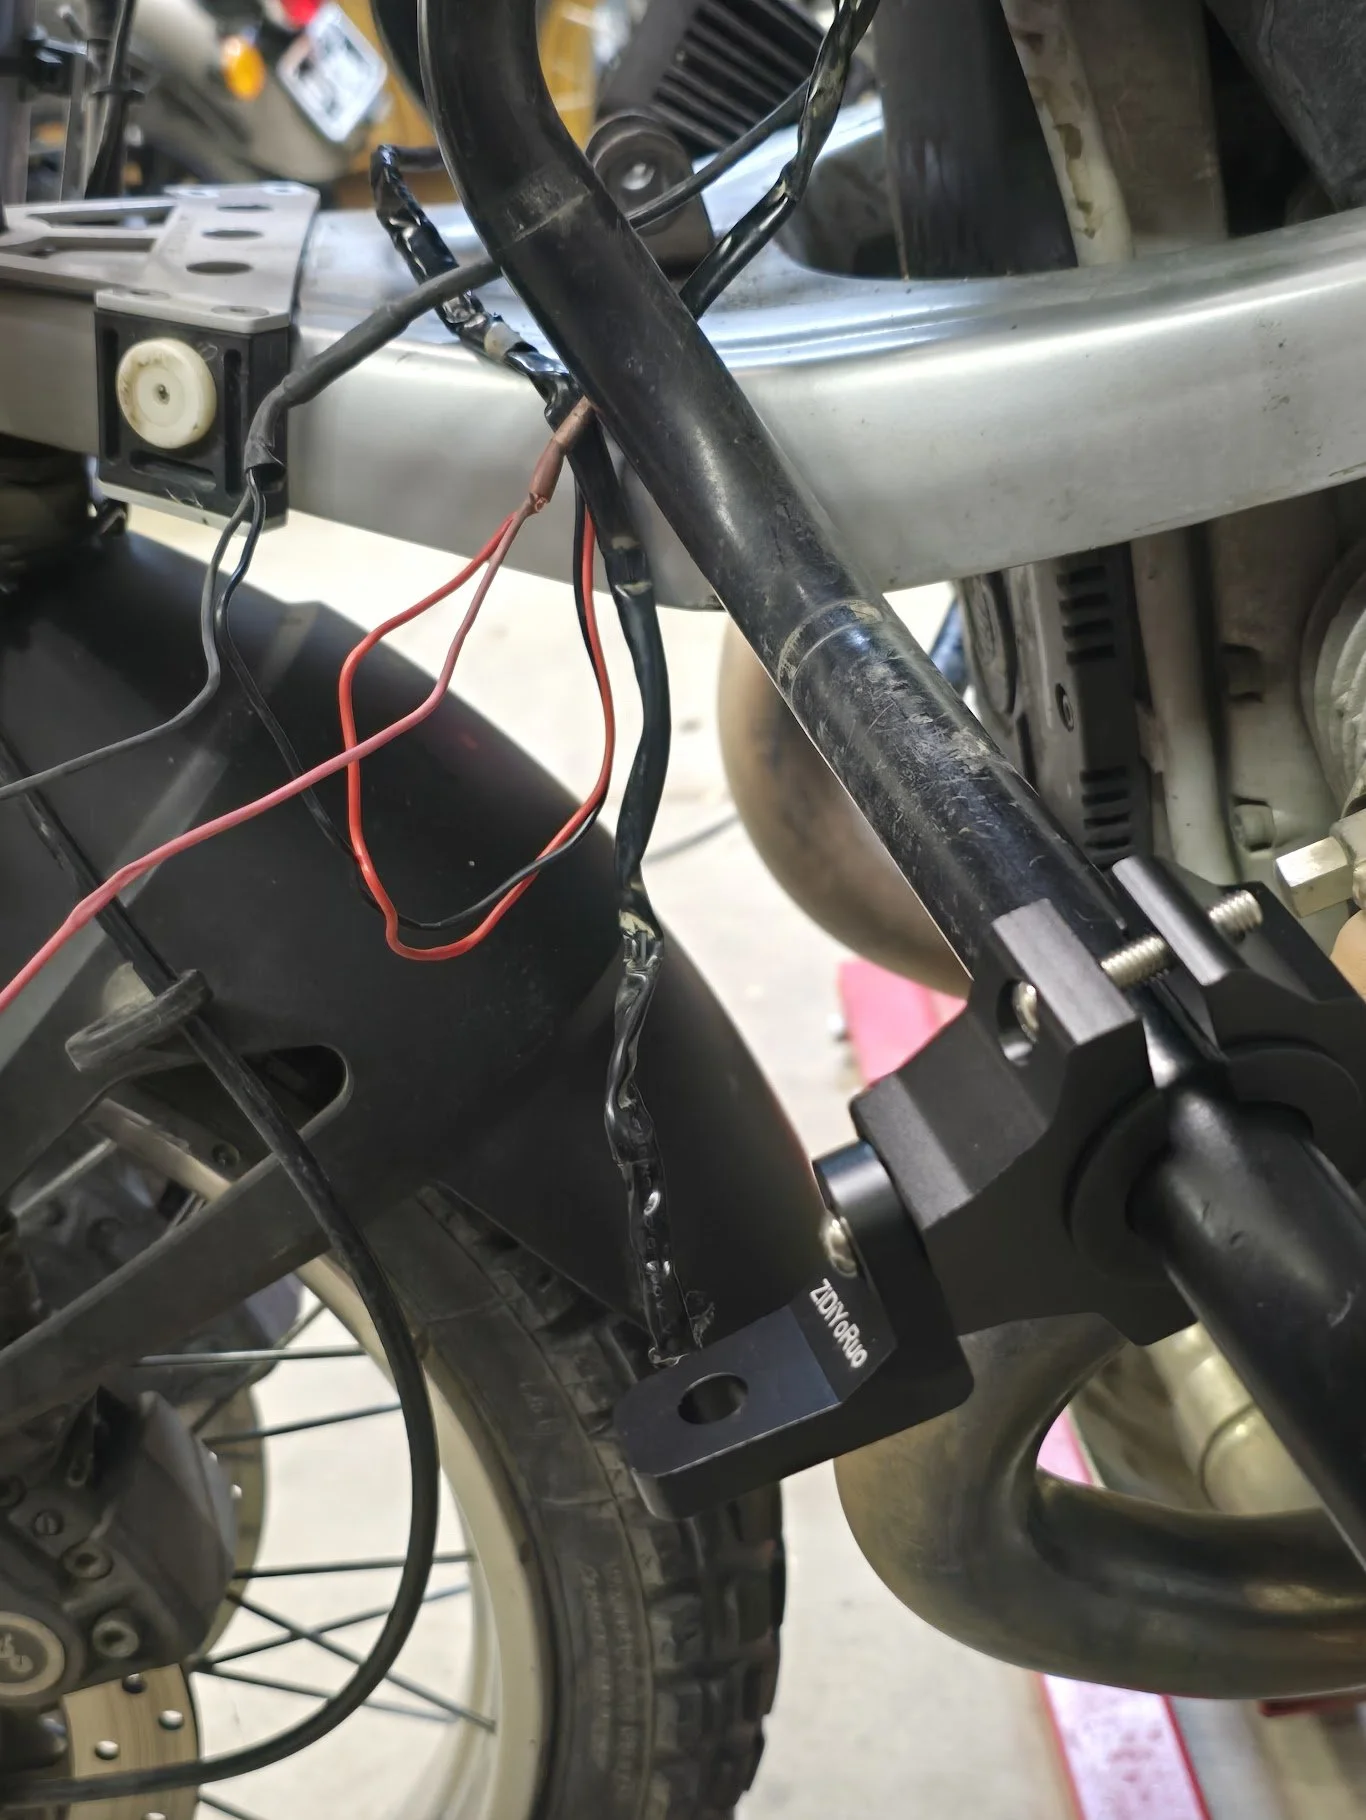
However wired this the first time really should have considered the long game. The did not. So I paid for it.
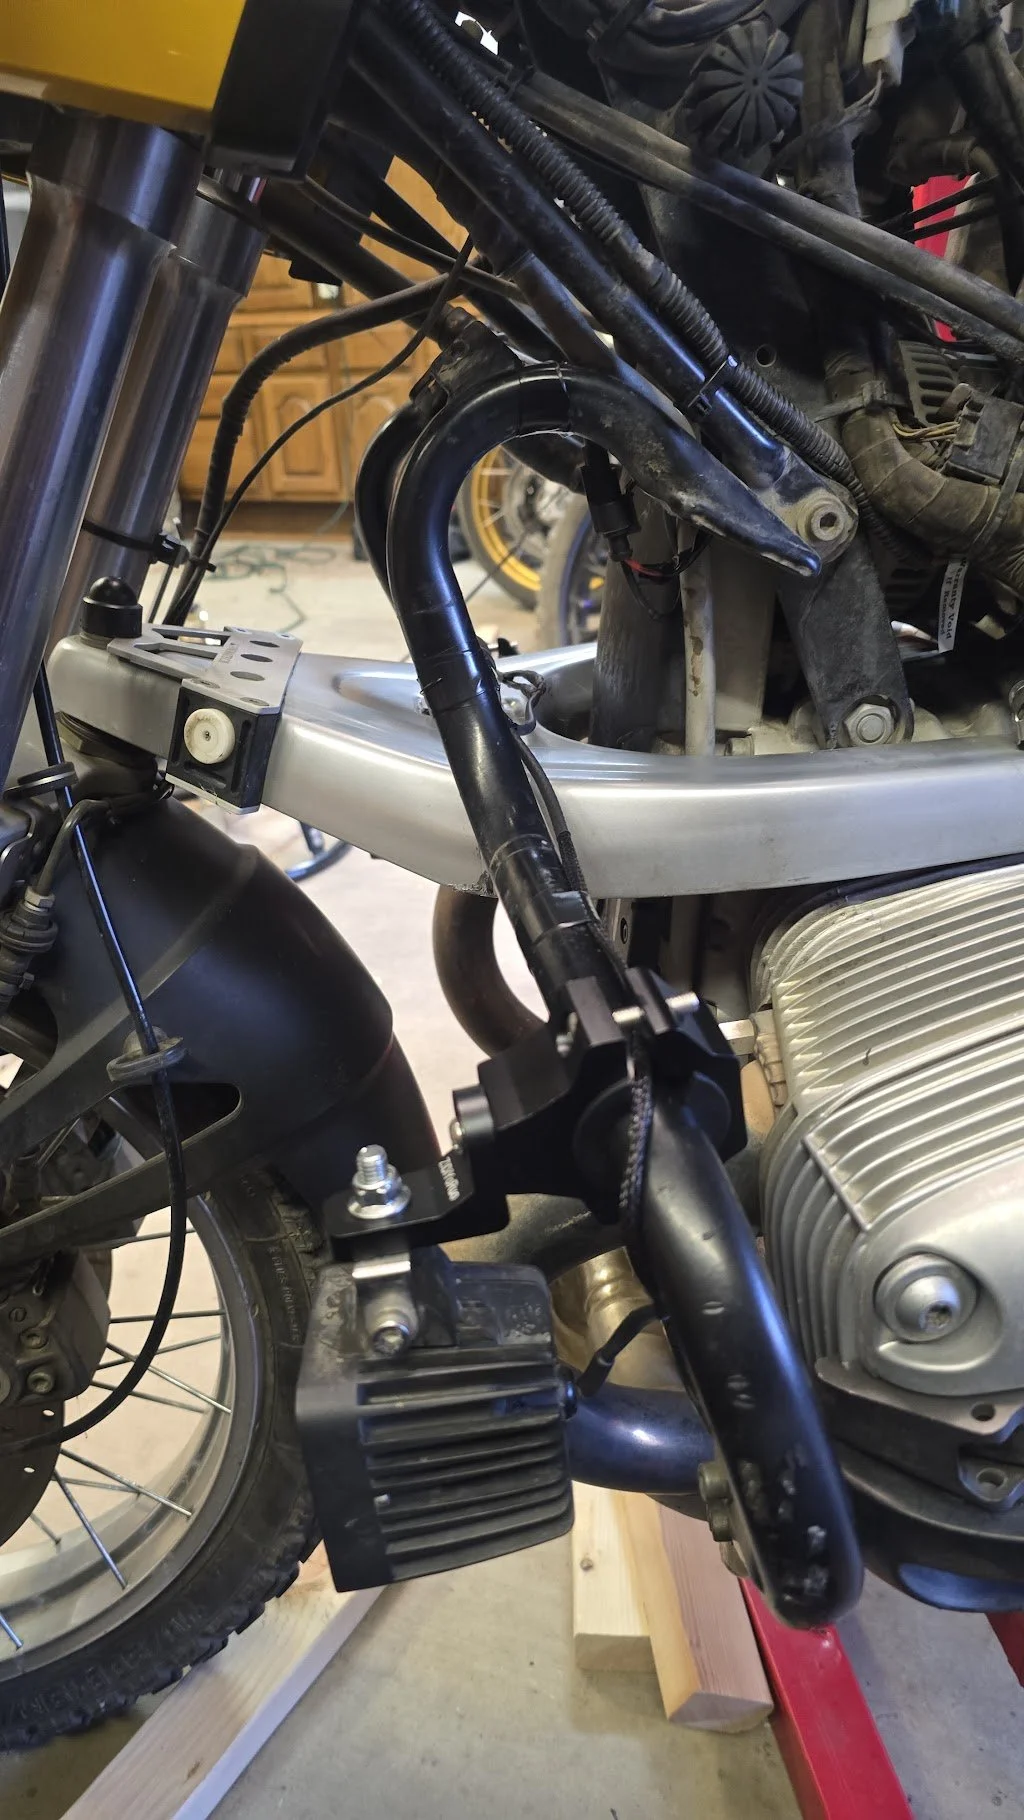
It looks great! Clean. It works. I would later have to rebuild the entire wiring harness for the aux lights a few weeks later when shorts started to manifest themselves.
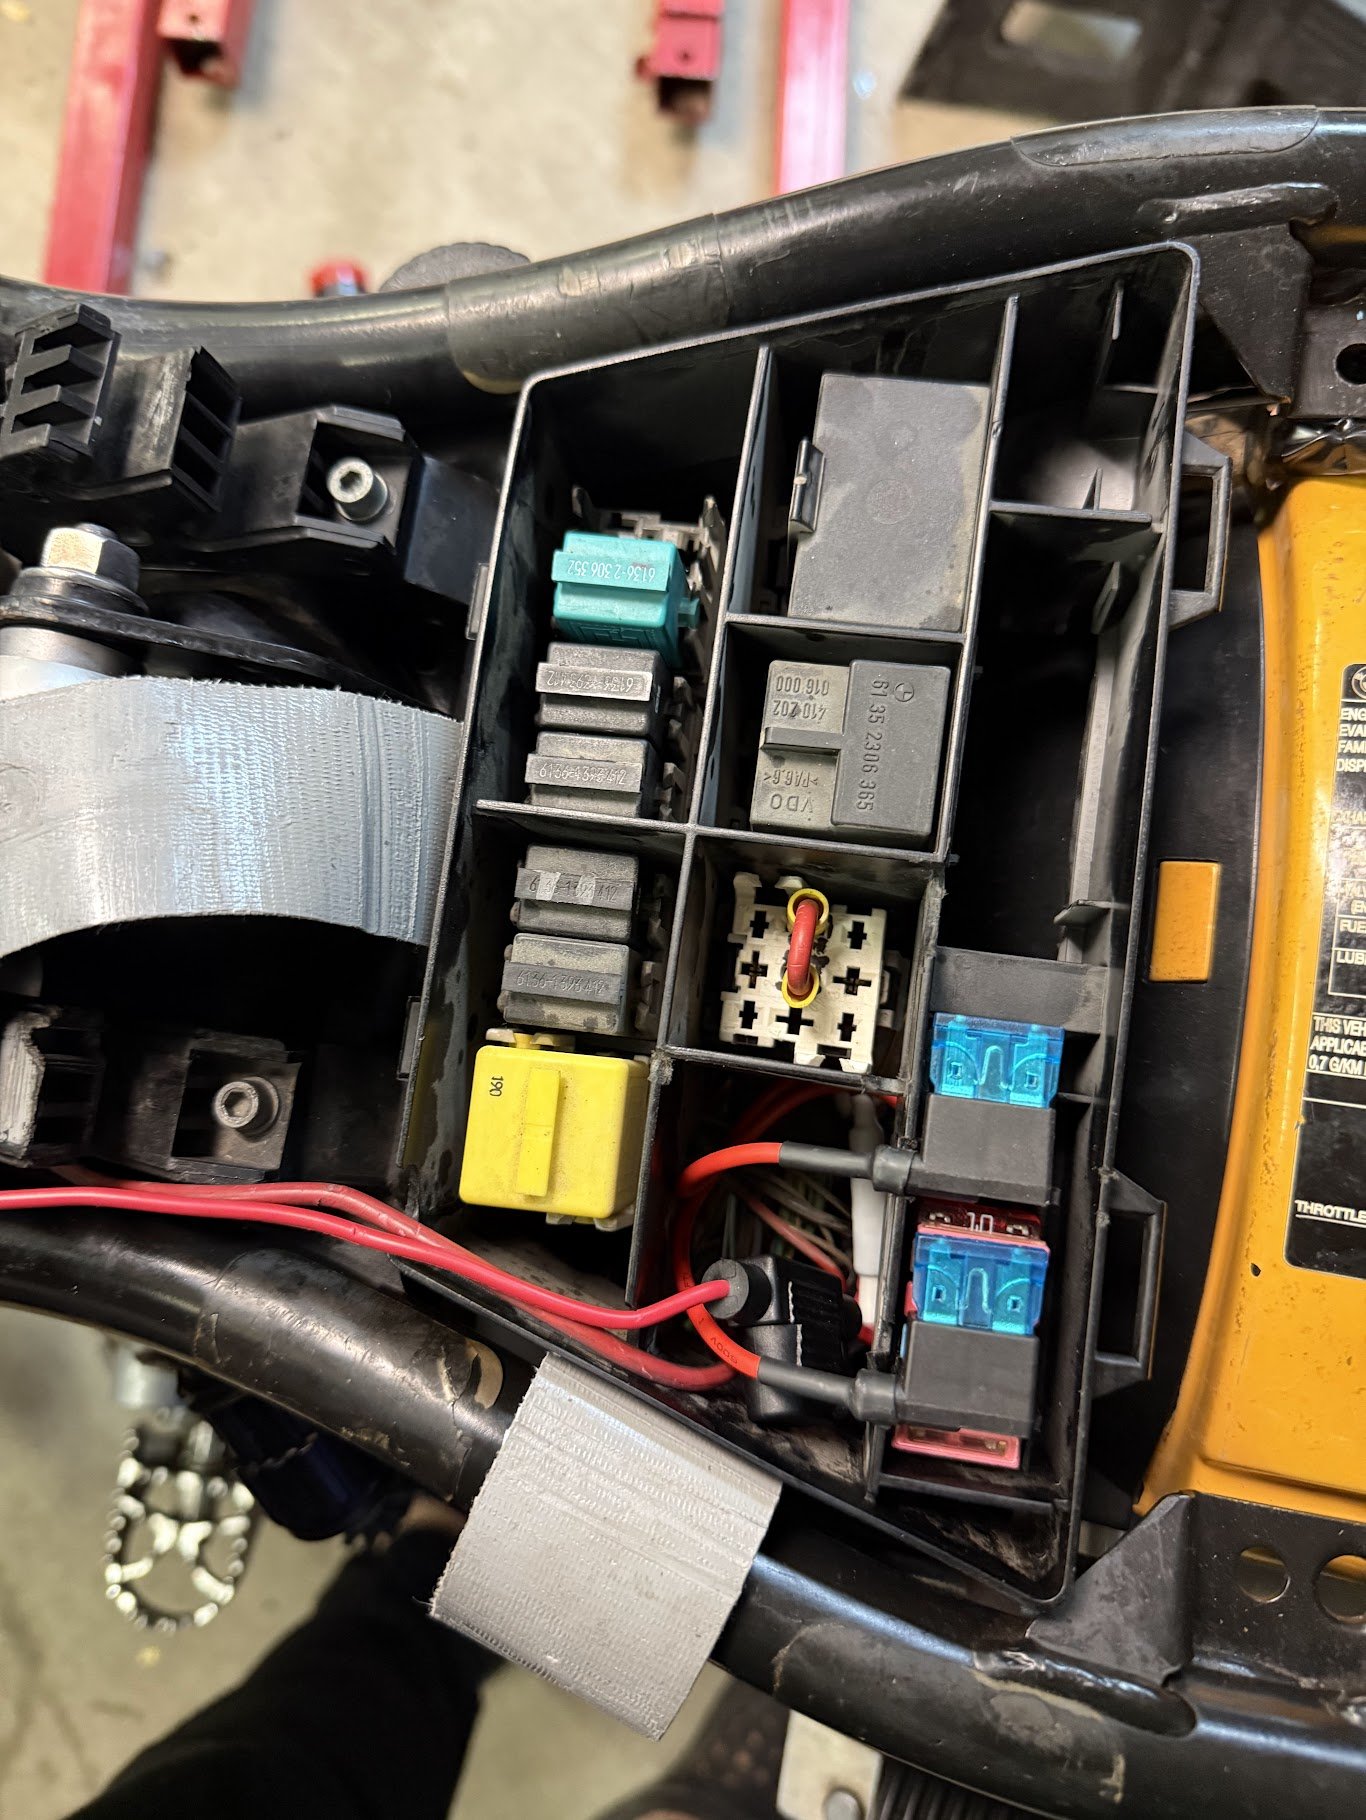
After reviewing the load capacity, I was able to get everything on switched, fused power. It performs well and still does.