
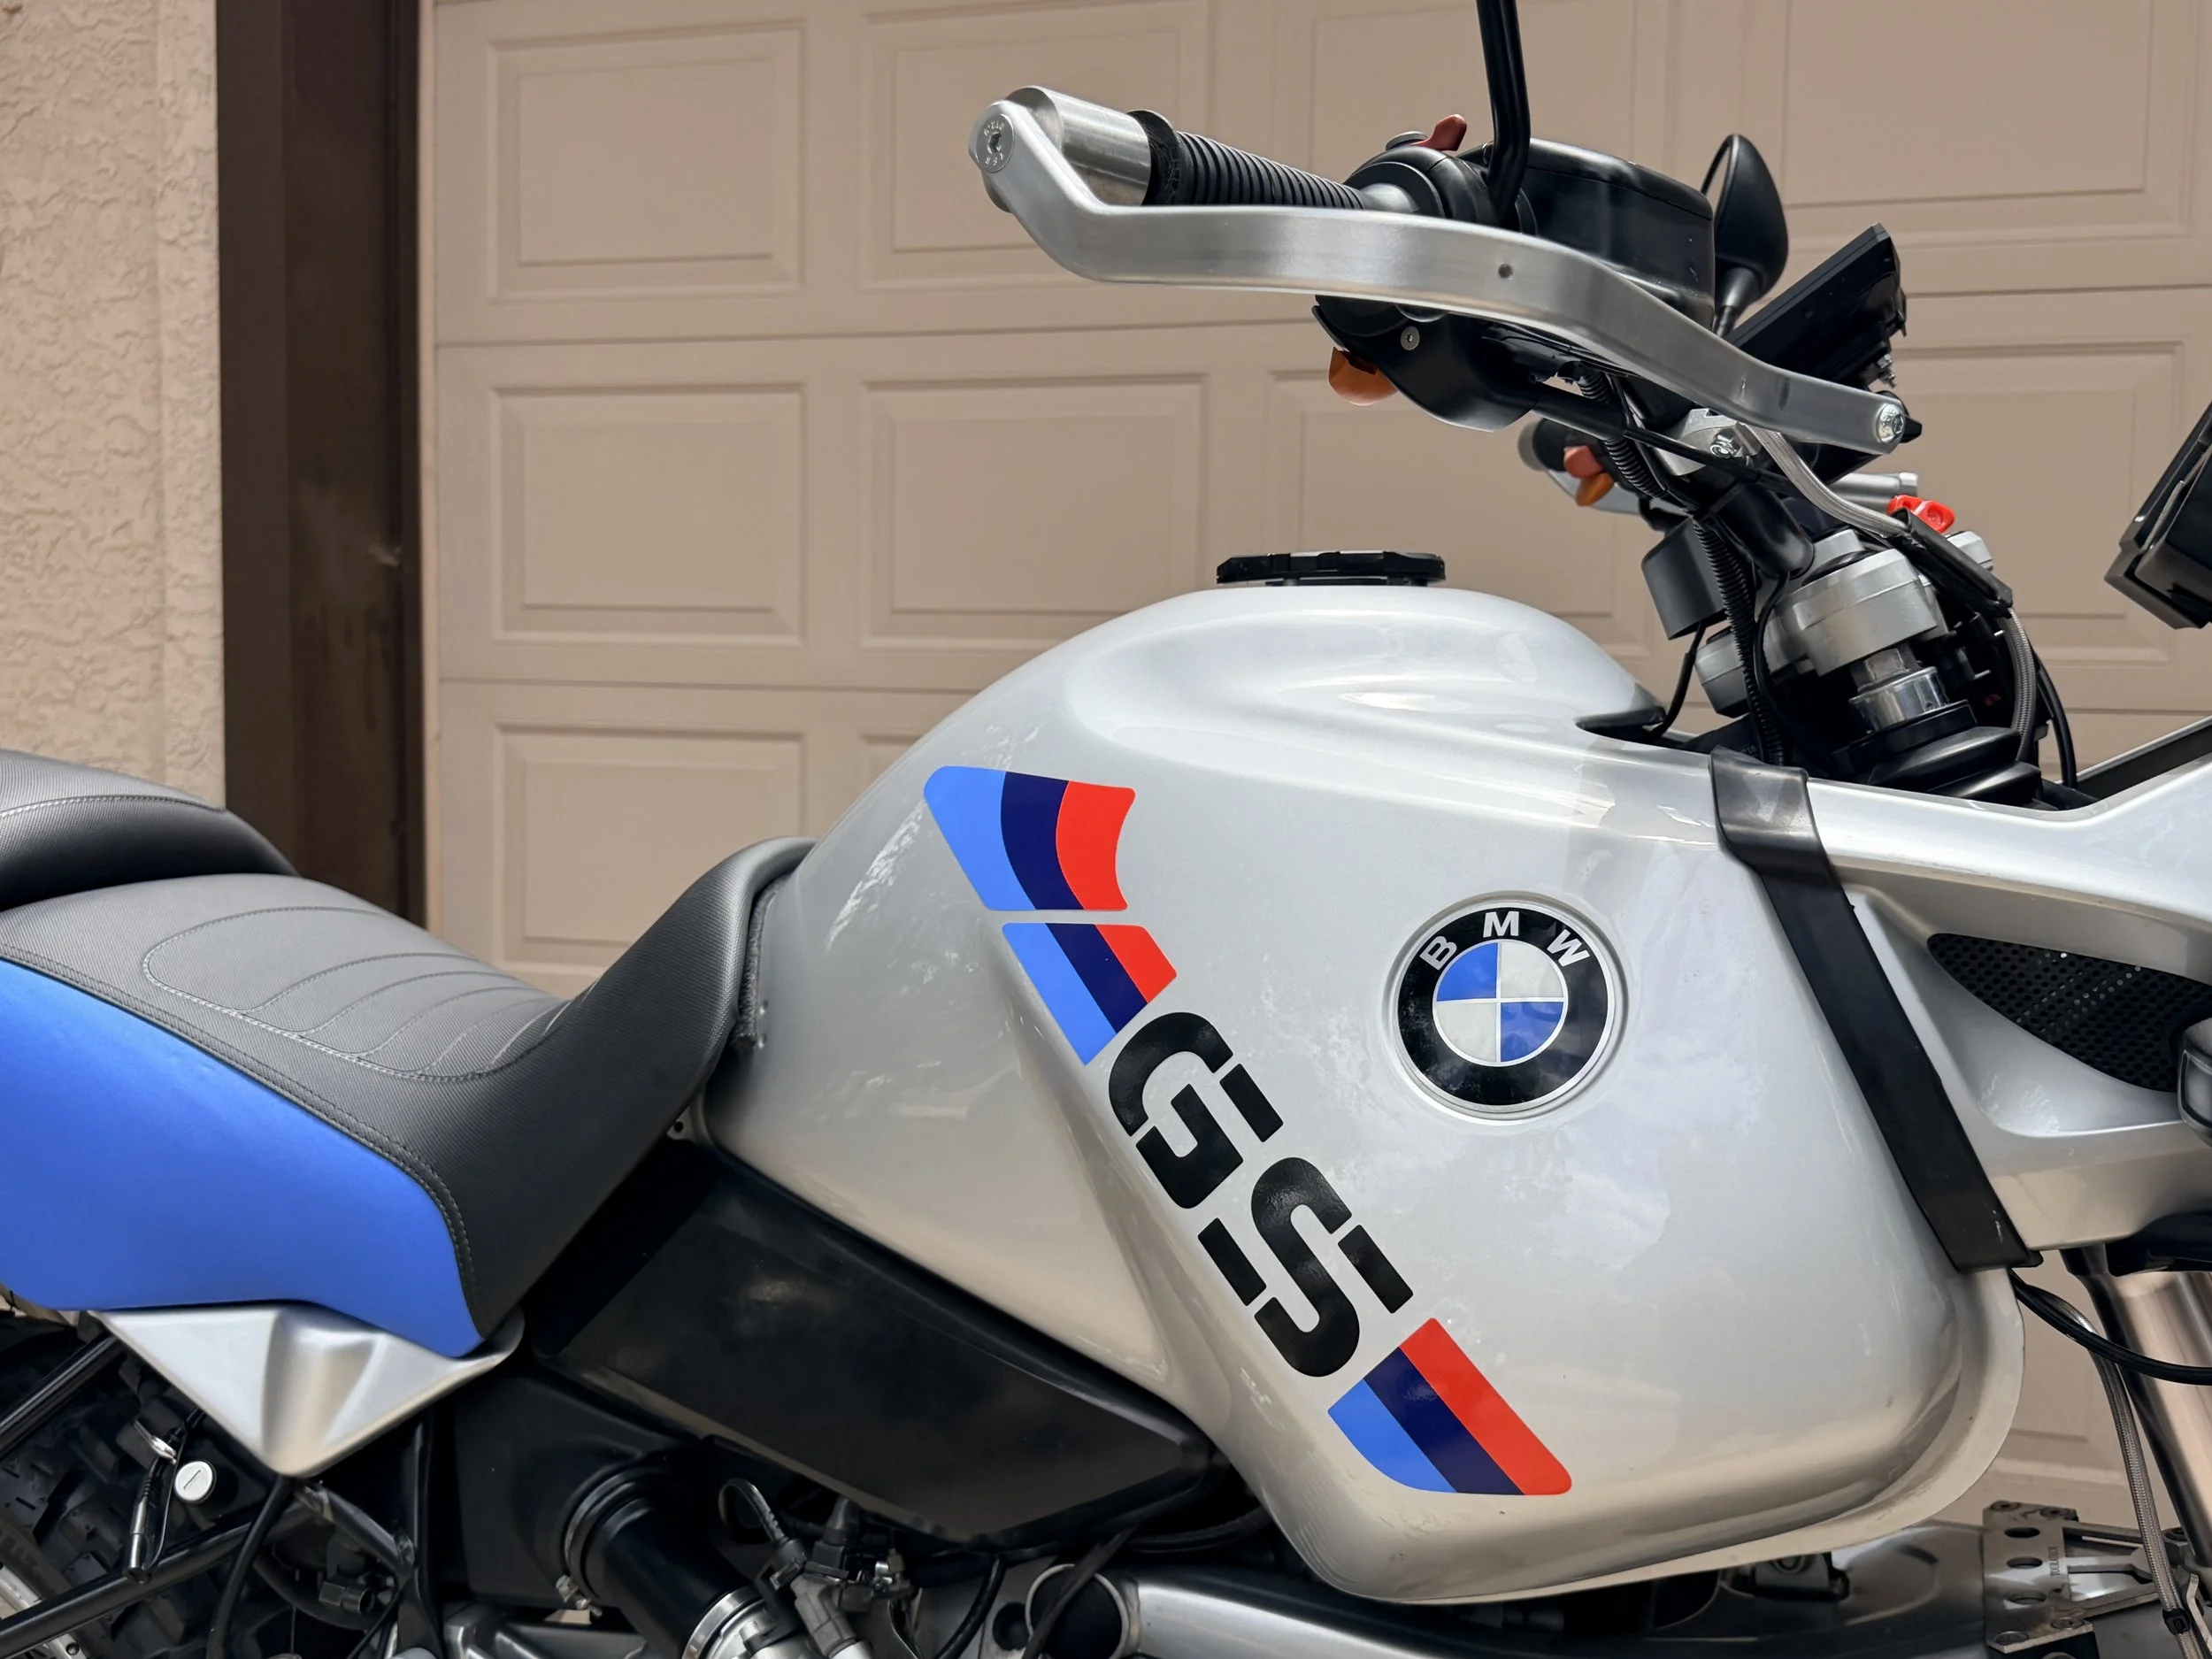
2000 BMW R1150 GS
The seller lied to me, and I had no way to get in there and prove otherwise. That's the trap of buying a used motorcycle on a clock. A bike deserves a slow walk-around, a long sit, a good think. I gave it none of those, and I paid for it three ways: too much at purchase, too little in my estimate, and far more than expected to bring it back to excellent working order.
And still. We took a 26-year-old motorcycle and put it back on the road in great condition, looking better than the day it left the factory, with a lot more years ahead of it than behind.
It came to me with 64,000 miles, a stretch of outdoor storage somewhere in its past, and barely a thousand miles ridden in the last six years. Everything on it was bad. Everything. And that's the real lesson this bike taught me, because neglect leaves fingerprints just as surely as care does. Attention to detail, love for a machine, the commitment to keep something running well: these are not chores. They are part of the beauty of living a full life. Care, in every corner of life, produces goodness. This machine had received none, and it showed in every single area.
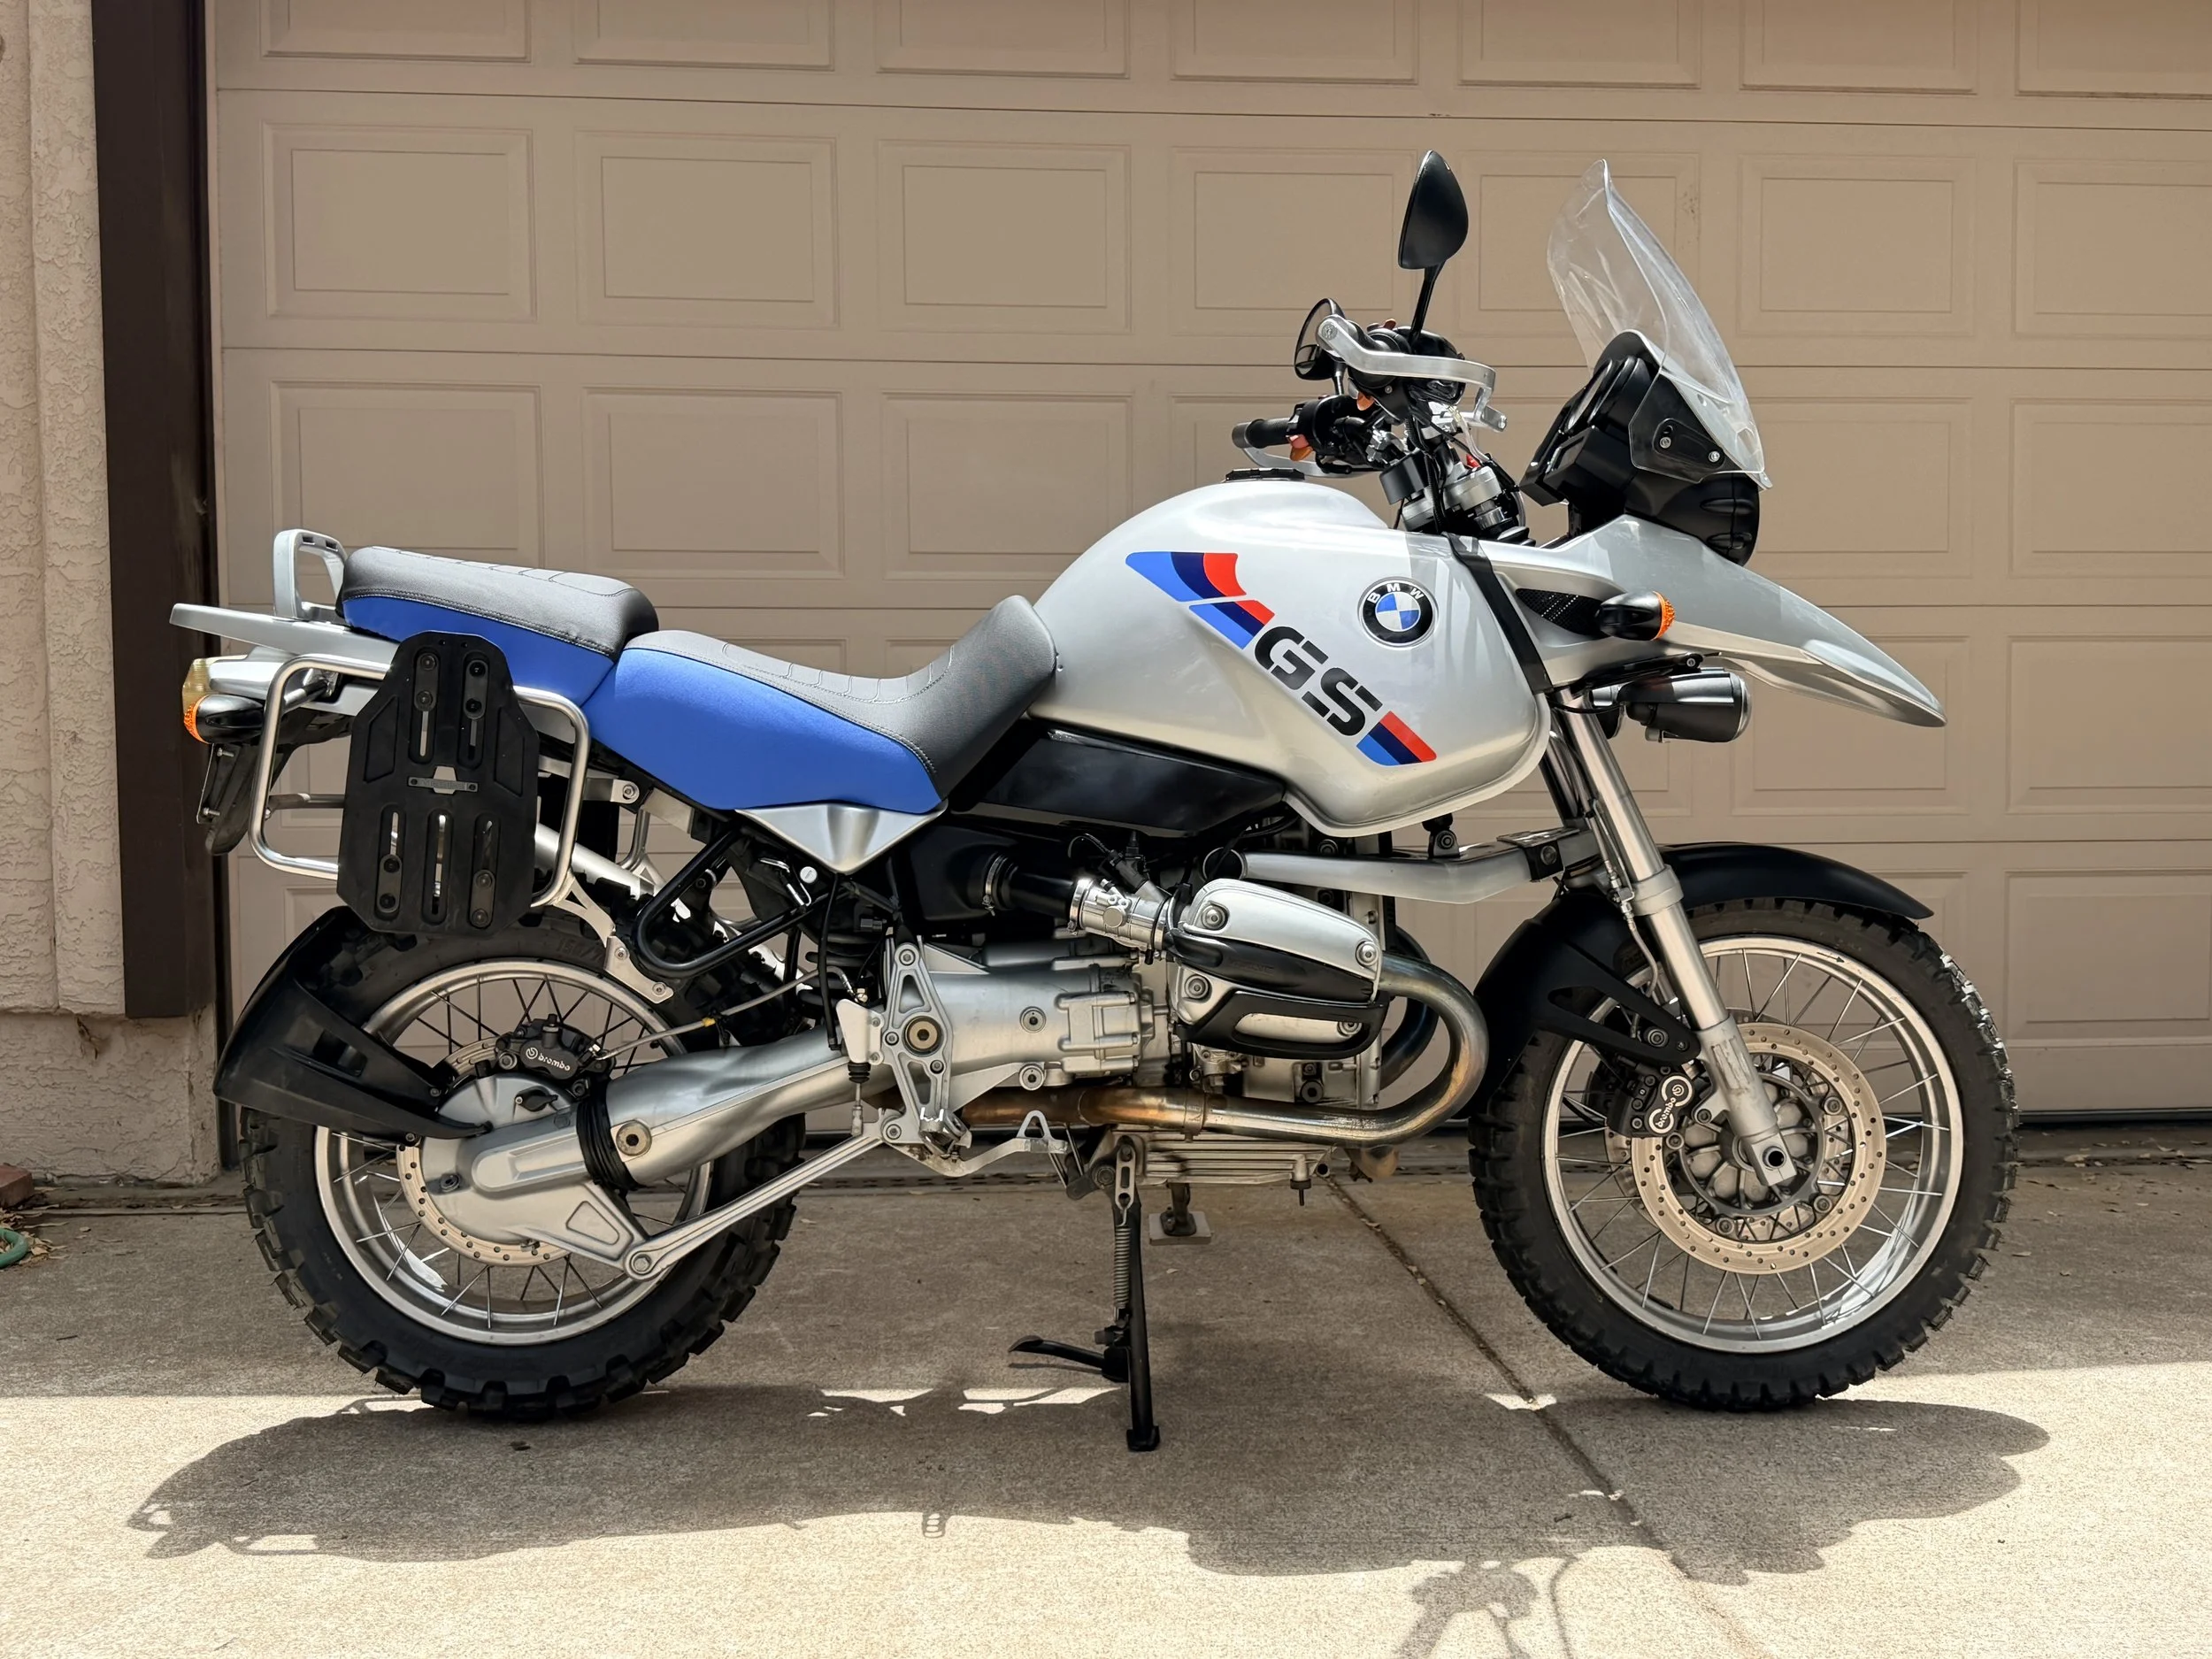
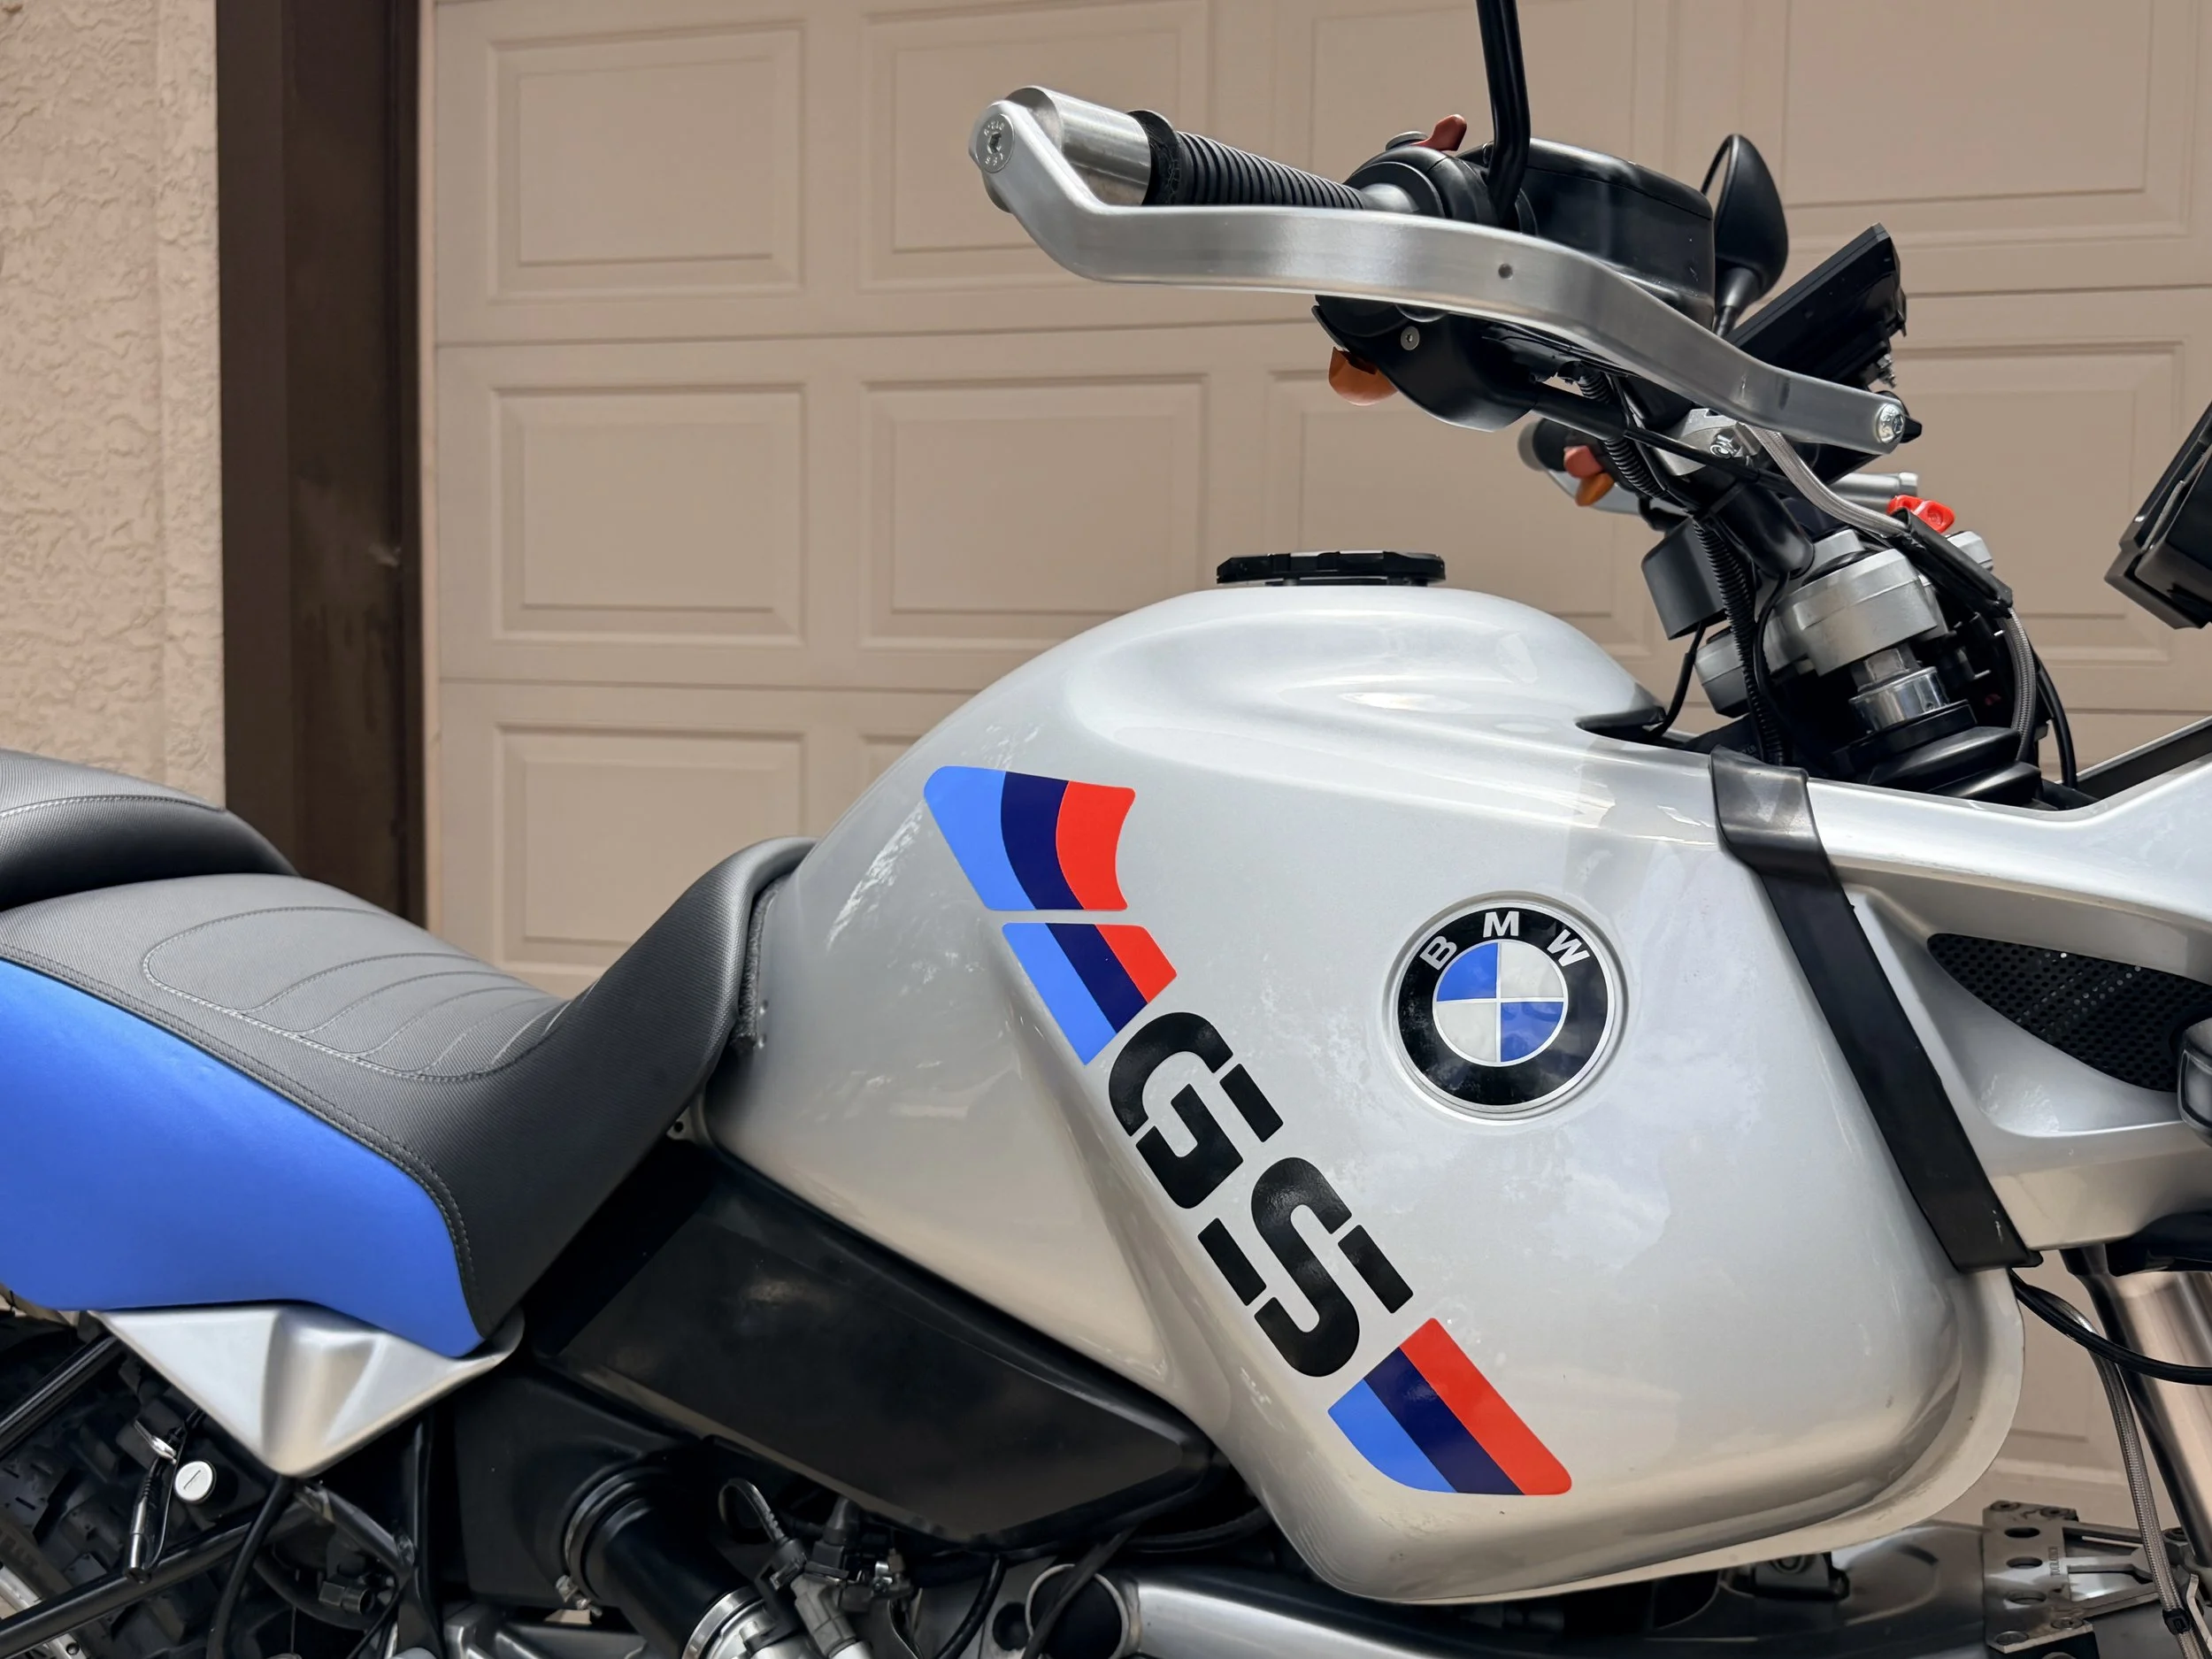
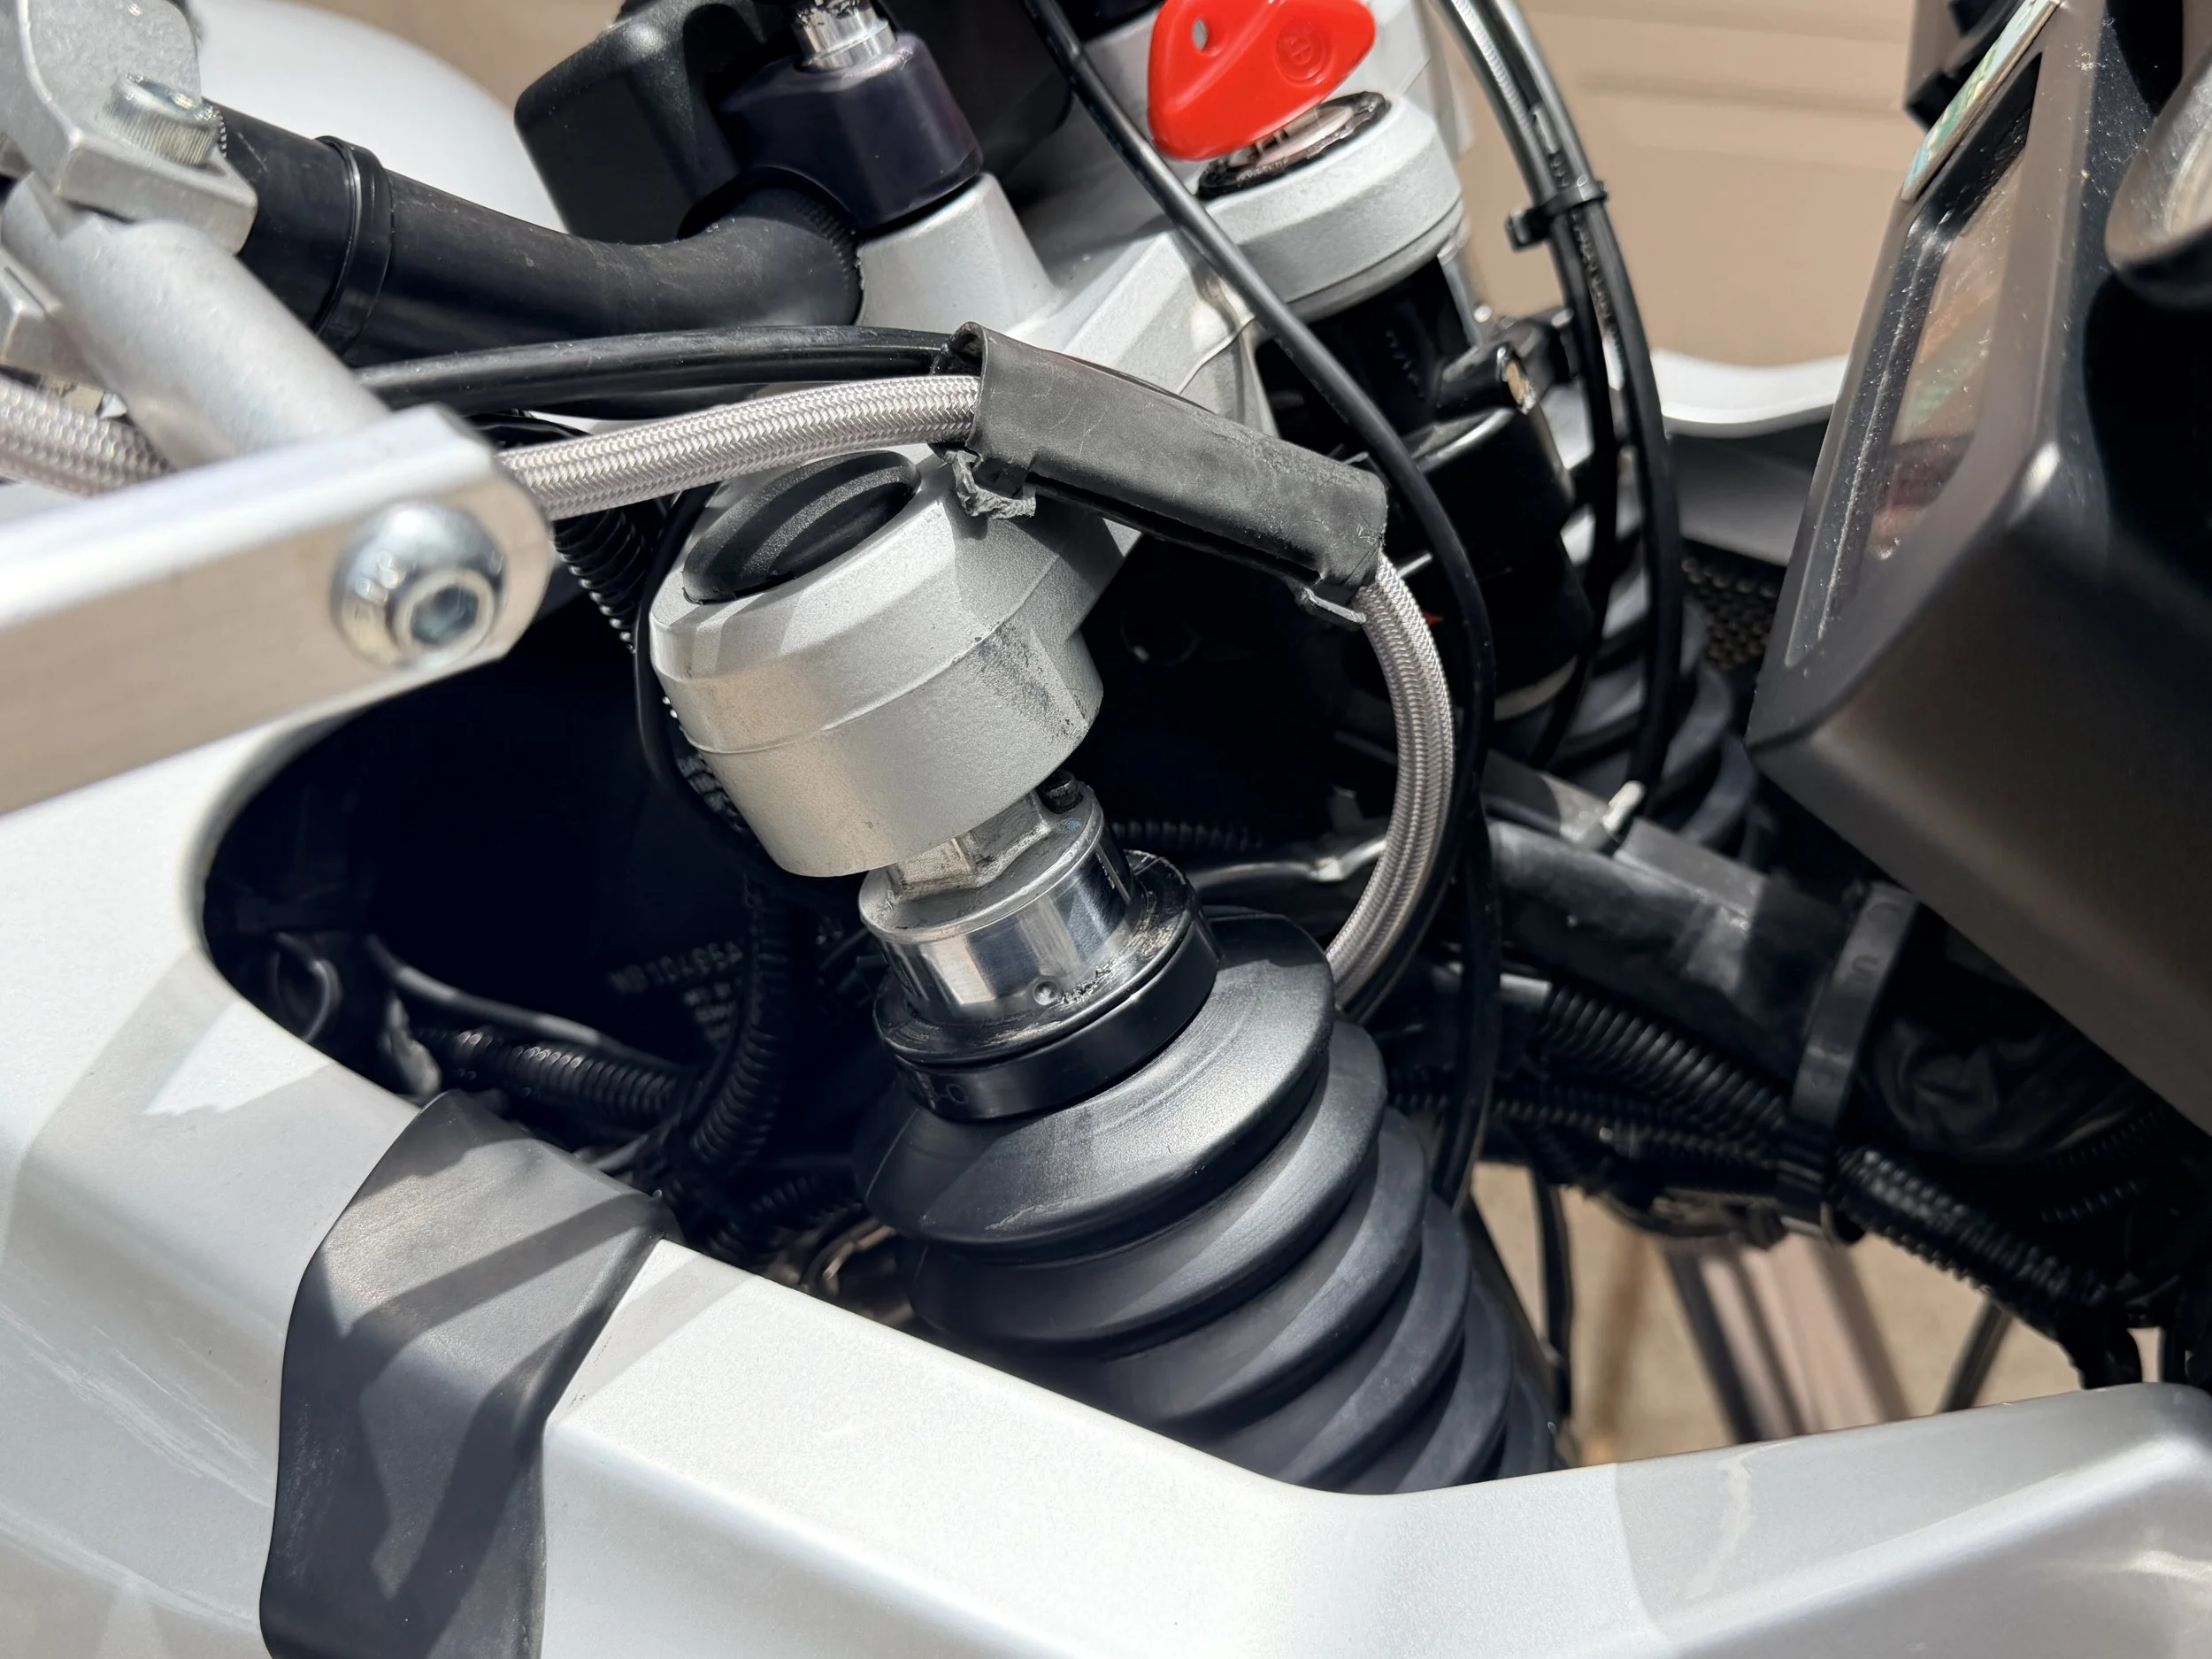
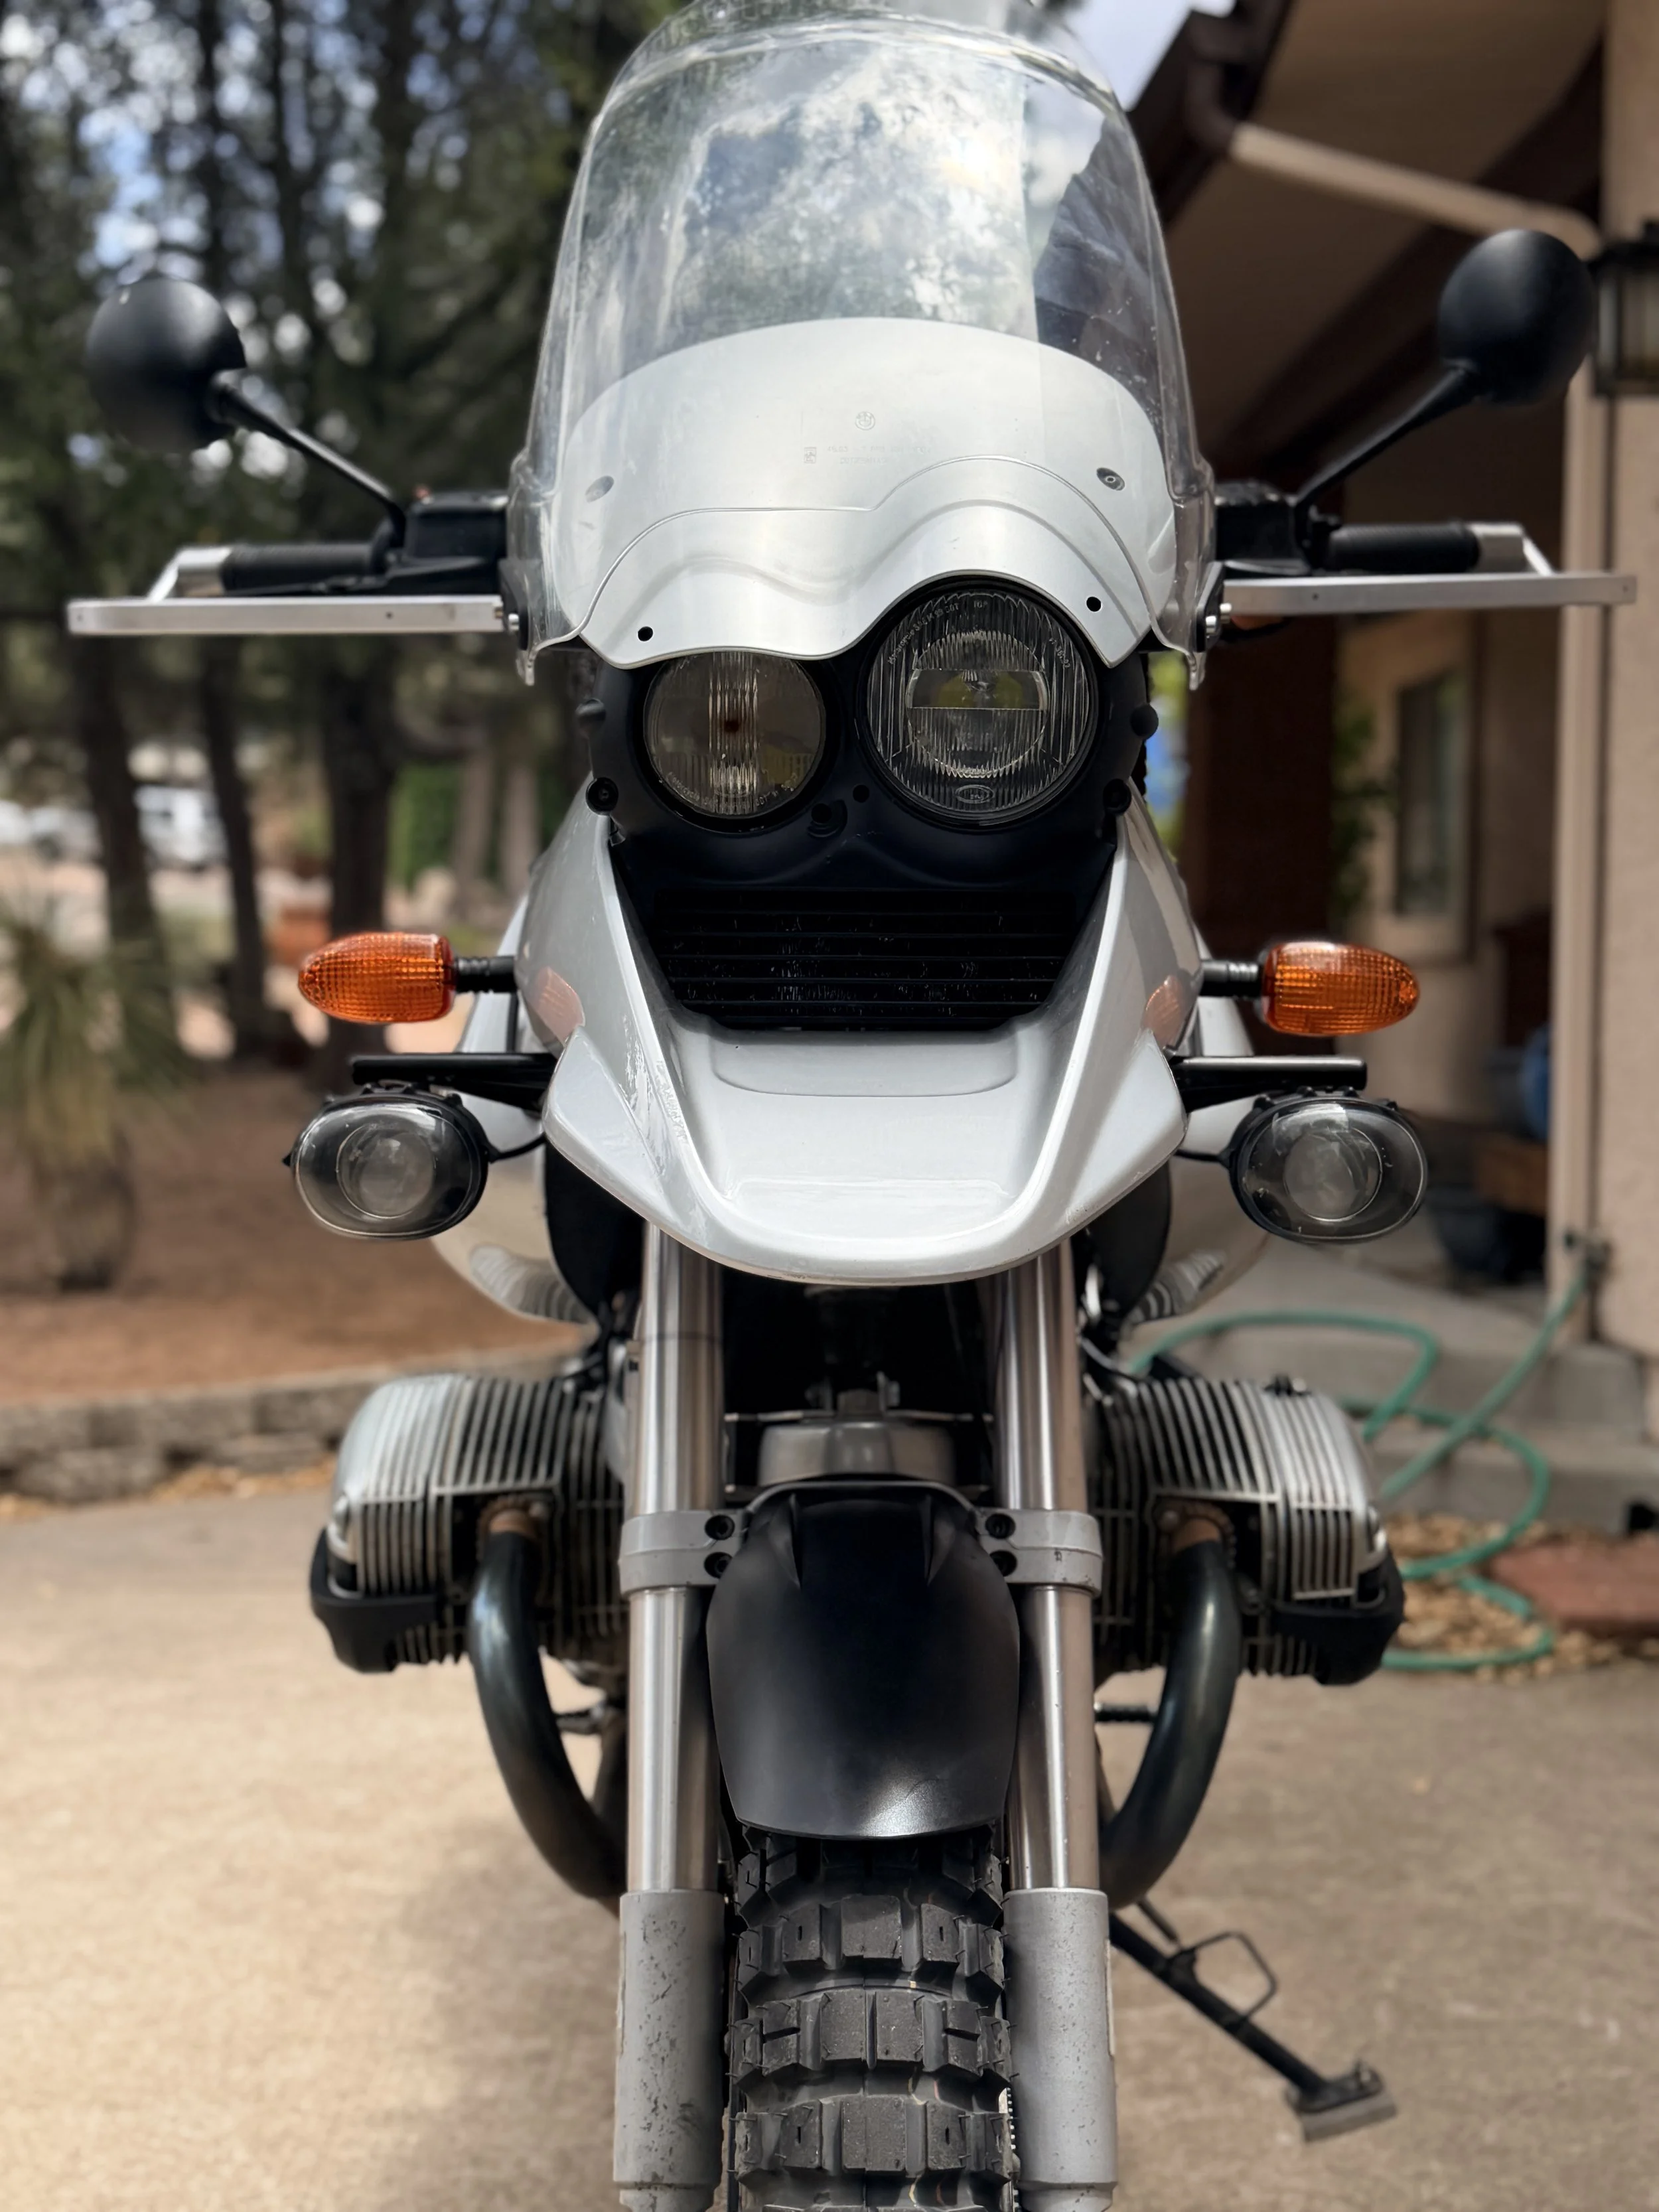
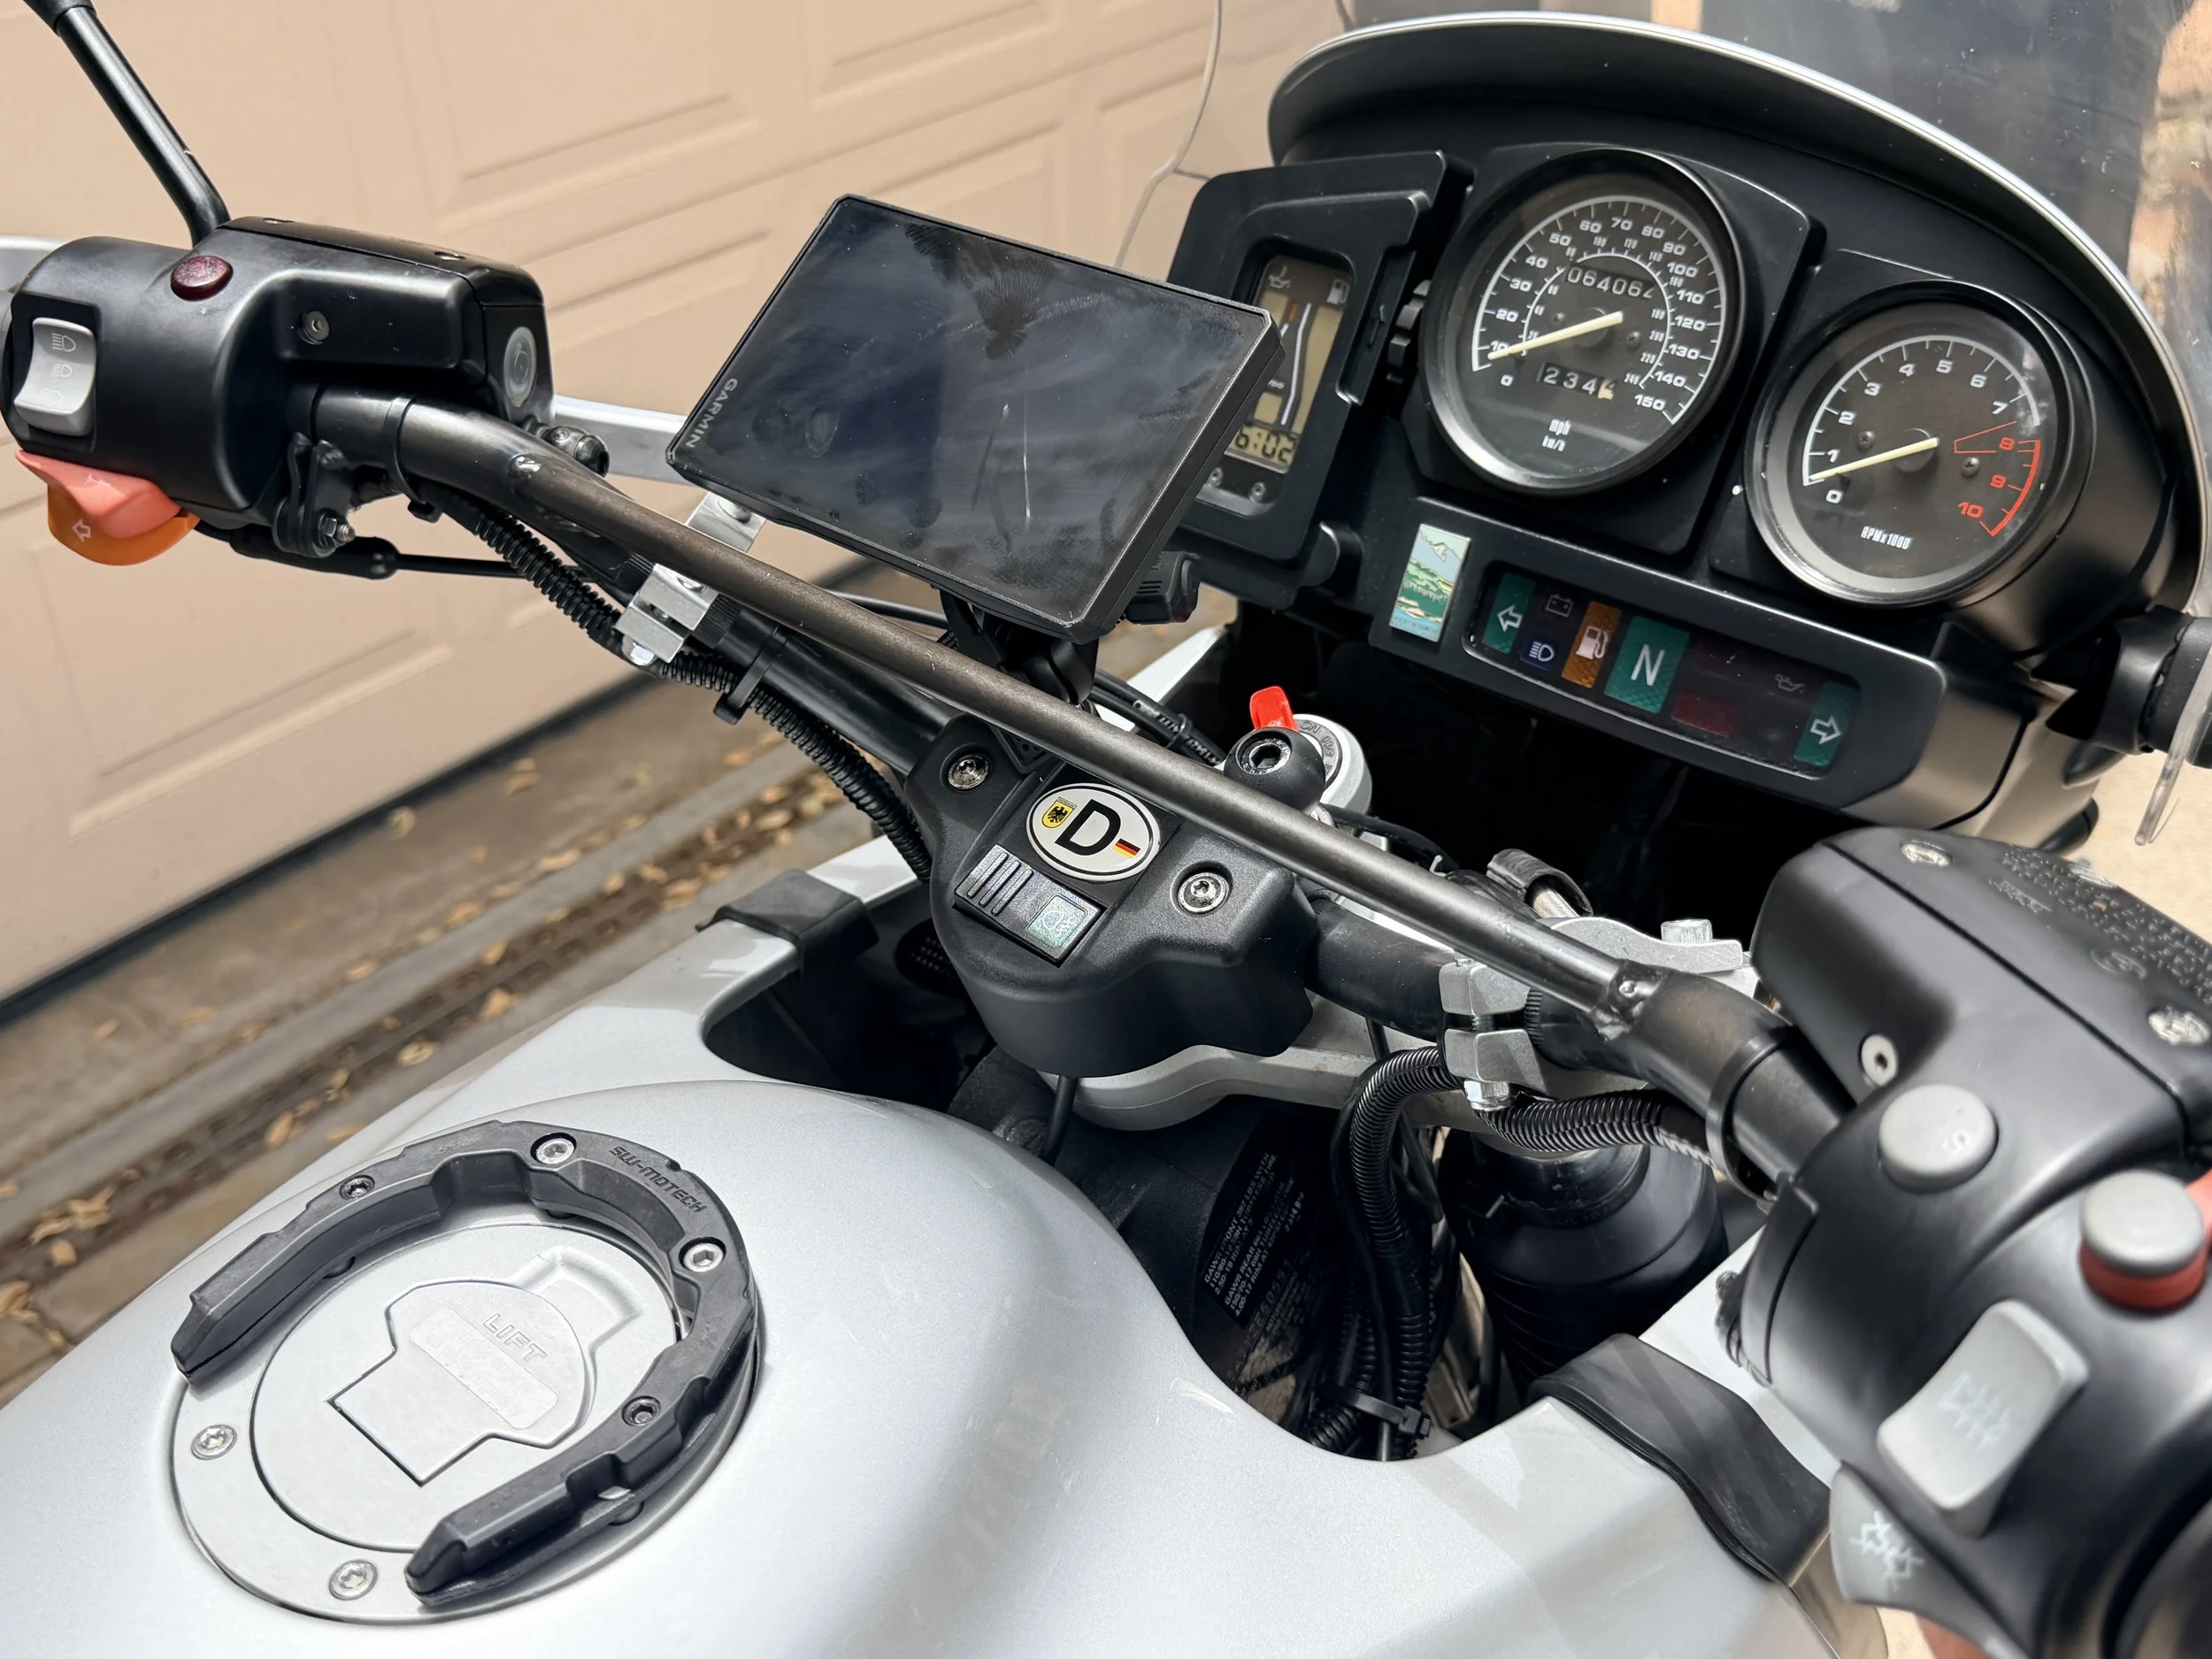
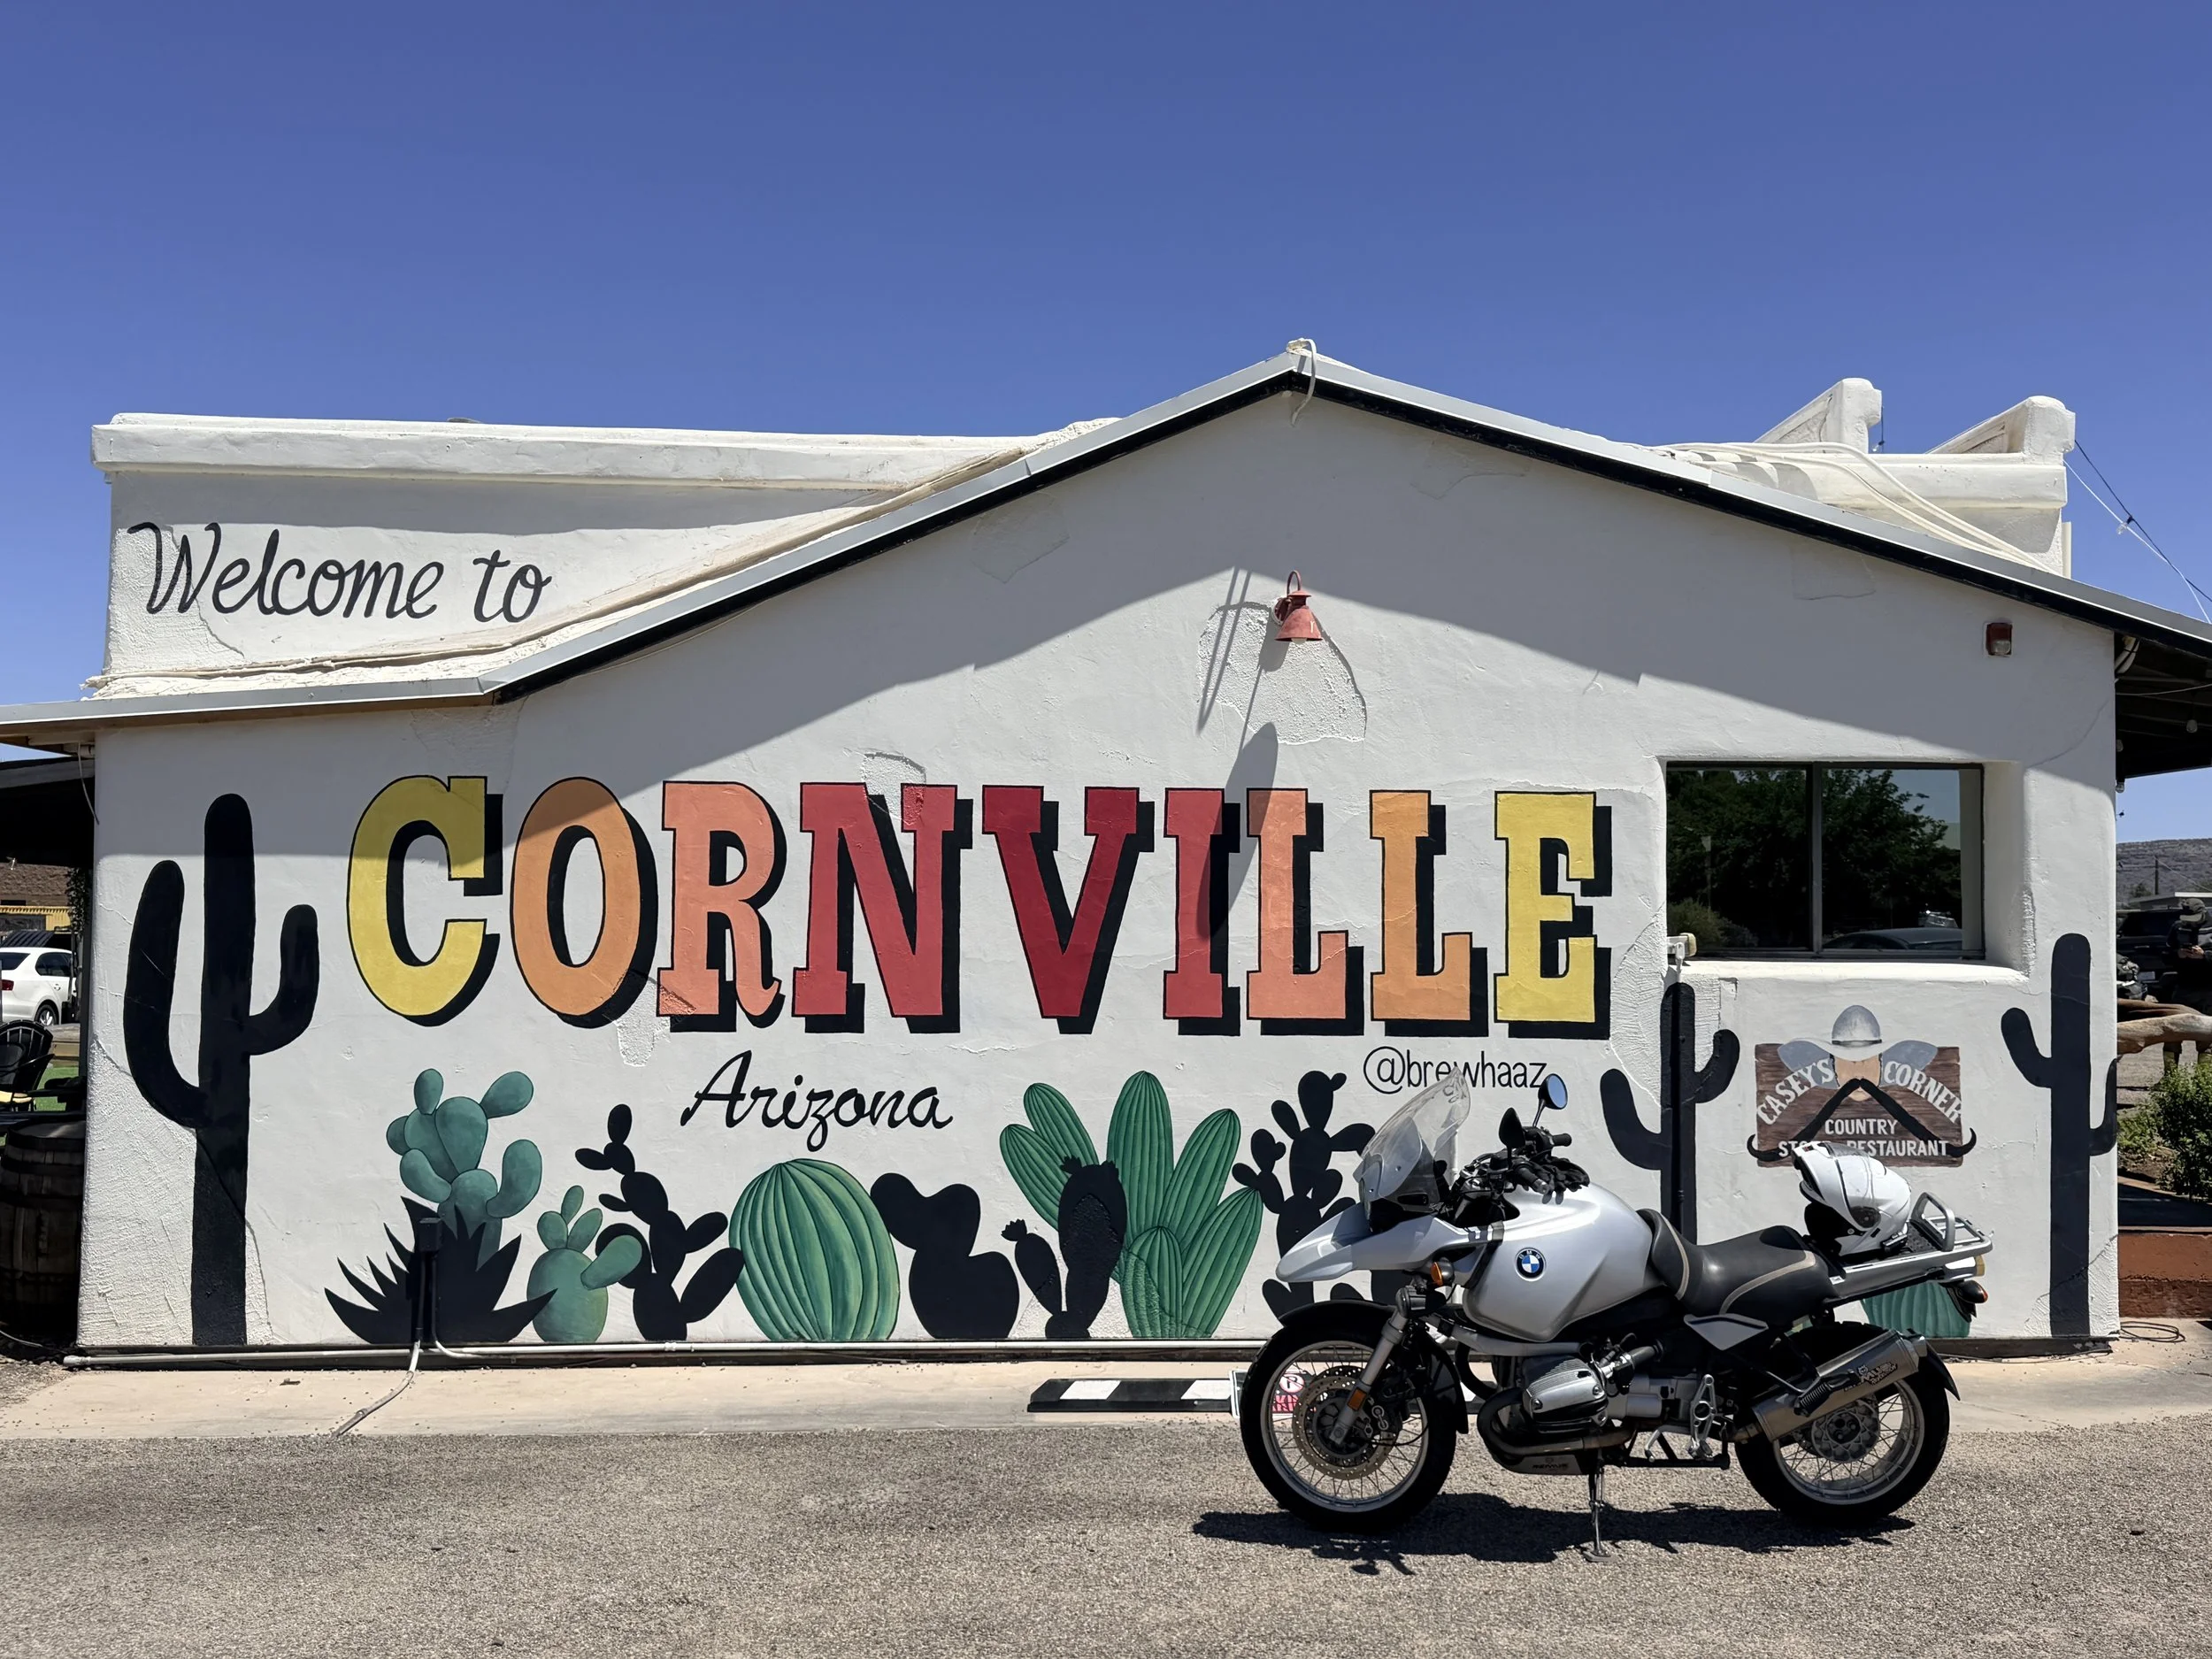
I took the R1150GS on a single 200-mile test ride to really evaluate restoration requirements. It was a foolish decision, and I narrowly avoided paying a high price for it. The second I realized the seller was full of shit, I should have pulled the plug and immediately gone into maintenance. The bike ran, but you could hear, feel, and see problems all over the place.
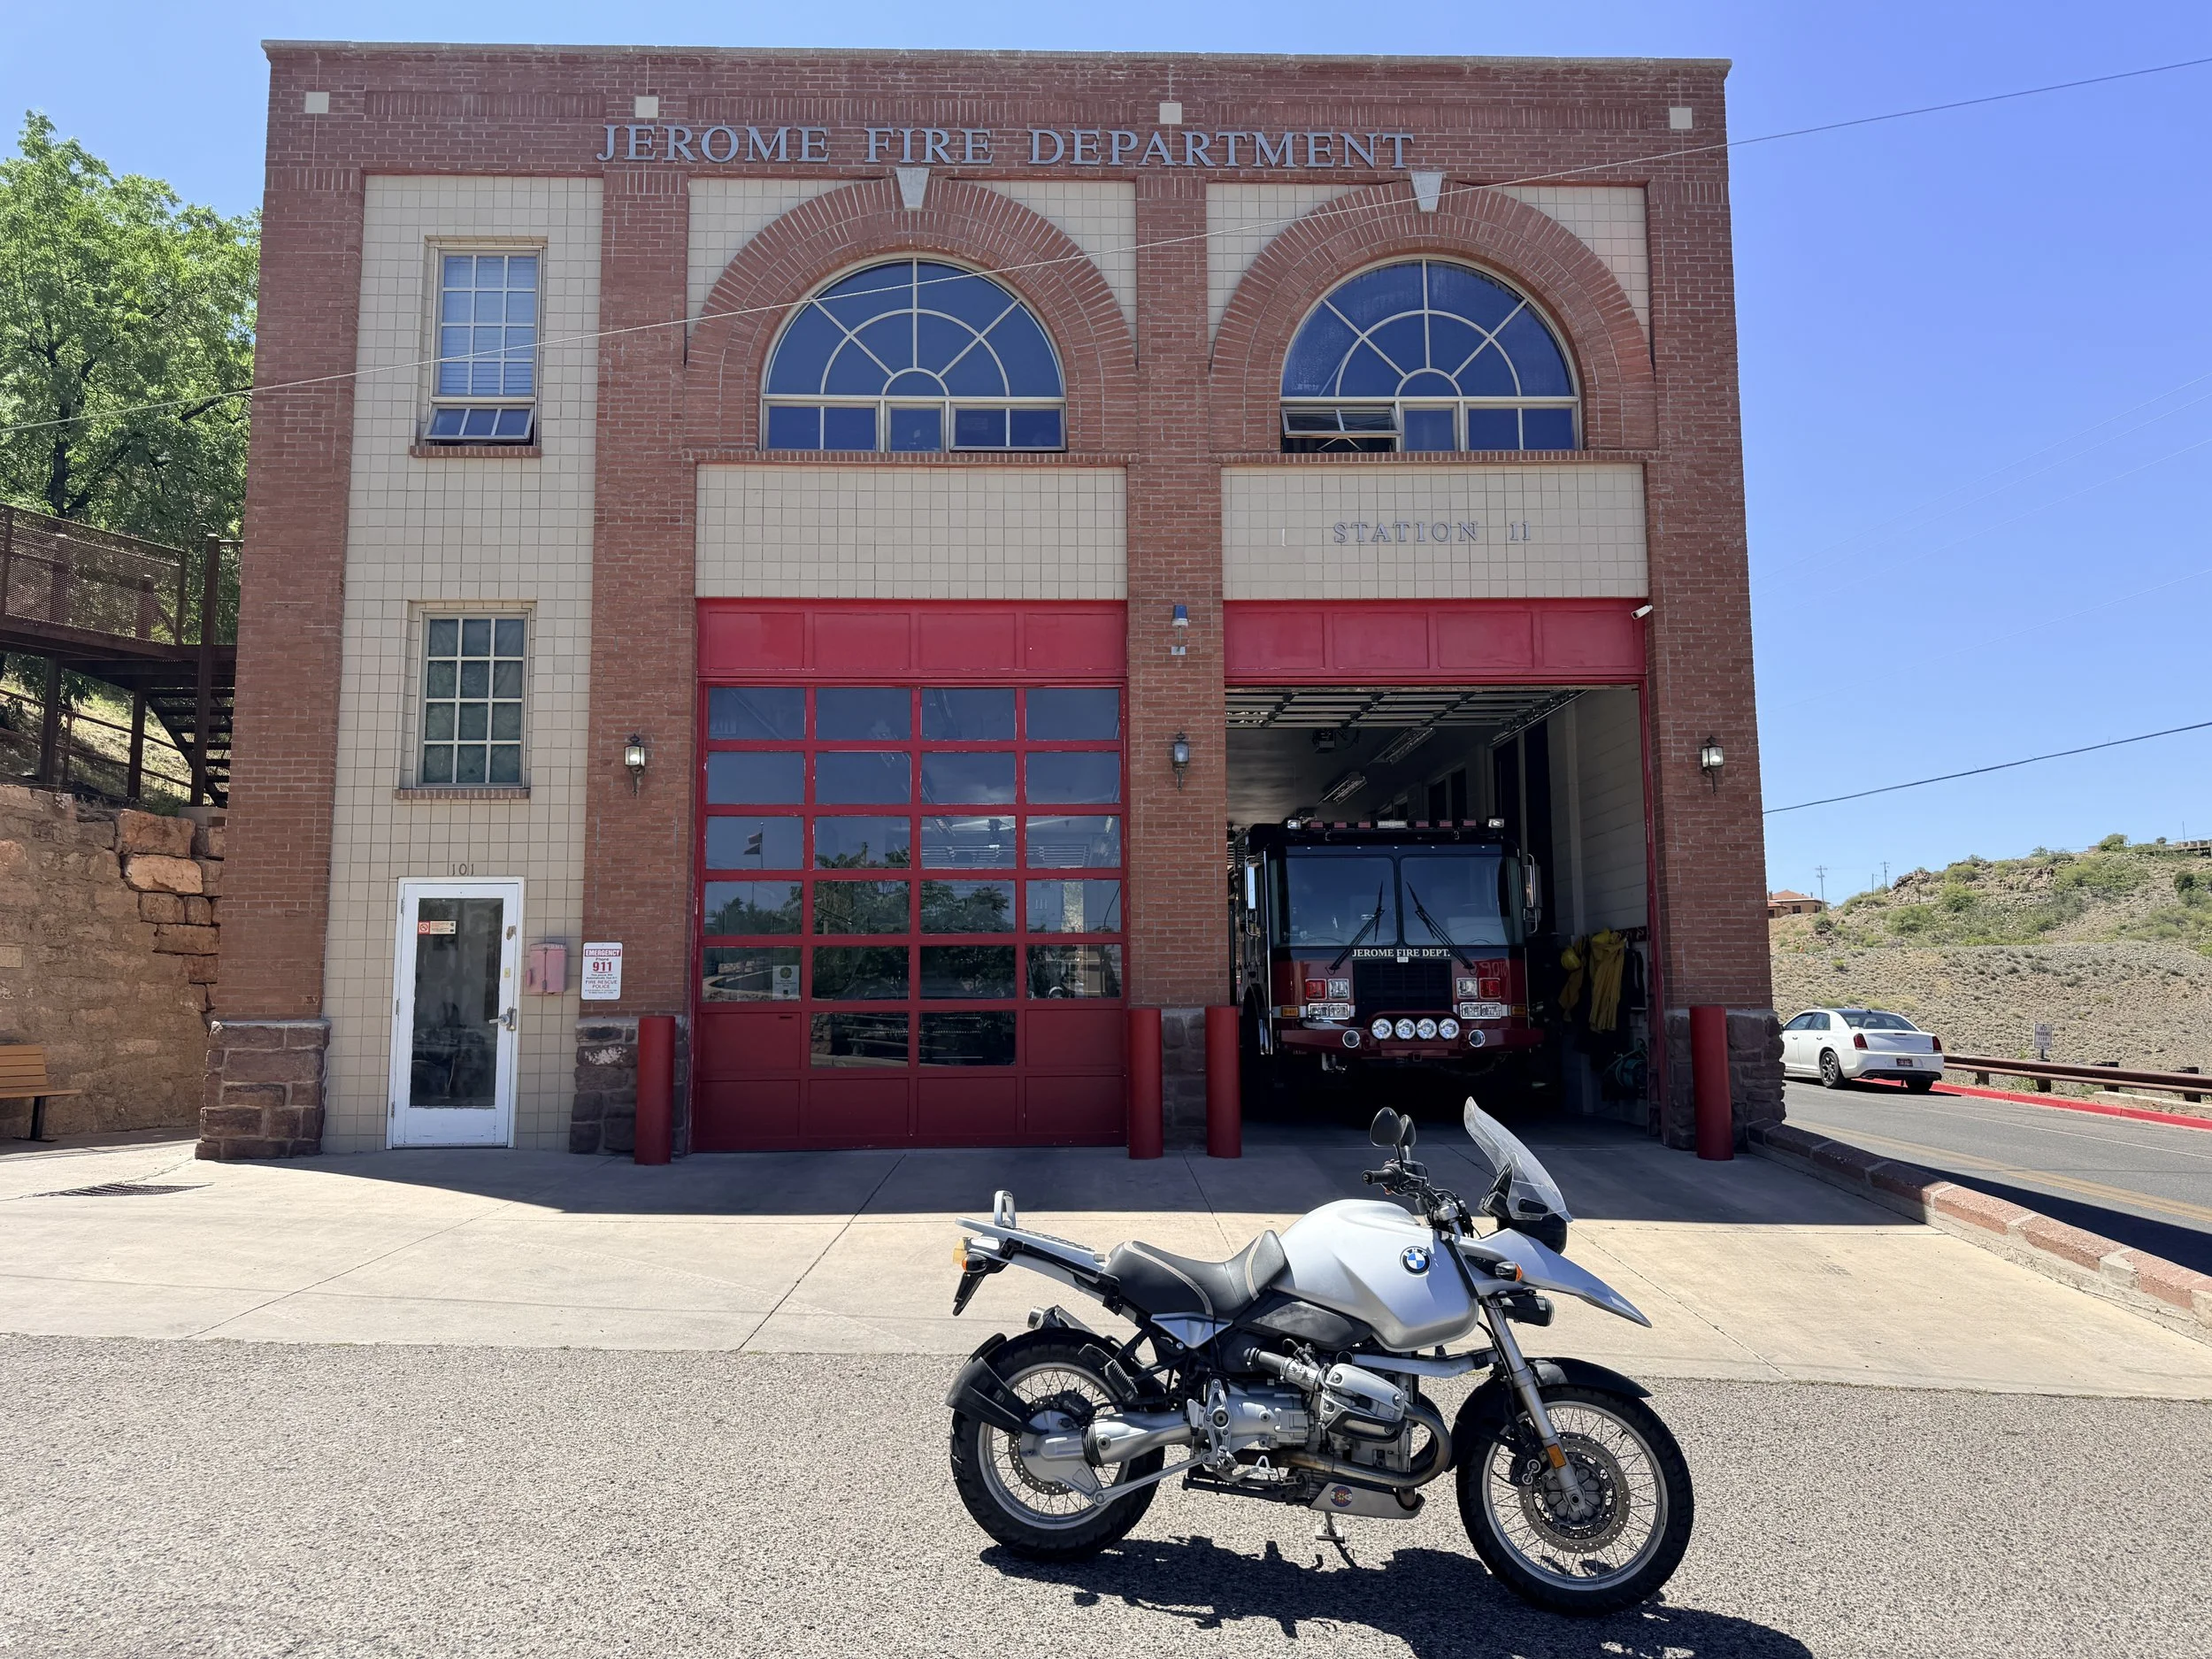
The seen, felt, heard issues: braking/stopping power was bad; free play in the final drive, cylinders were not in harmony with each other, throttle cable & tension were creating inconsistent RPMs, no bulbs worked in the dash, heated grip didn't work, engine misfiring, horrible smell from exhaust (bad gas smell but with fresh fuel), strong ticking sound from left cylinder, electrical faults that were blowing fuses, a rear wheel that wouldn't hold air & slow leak, exposed wires everywhere, leaking front fork. The unseen issues are outlined below.
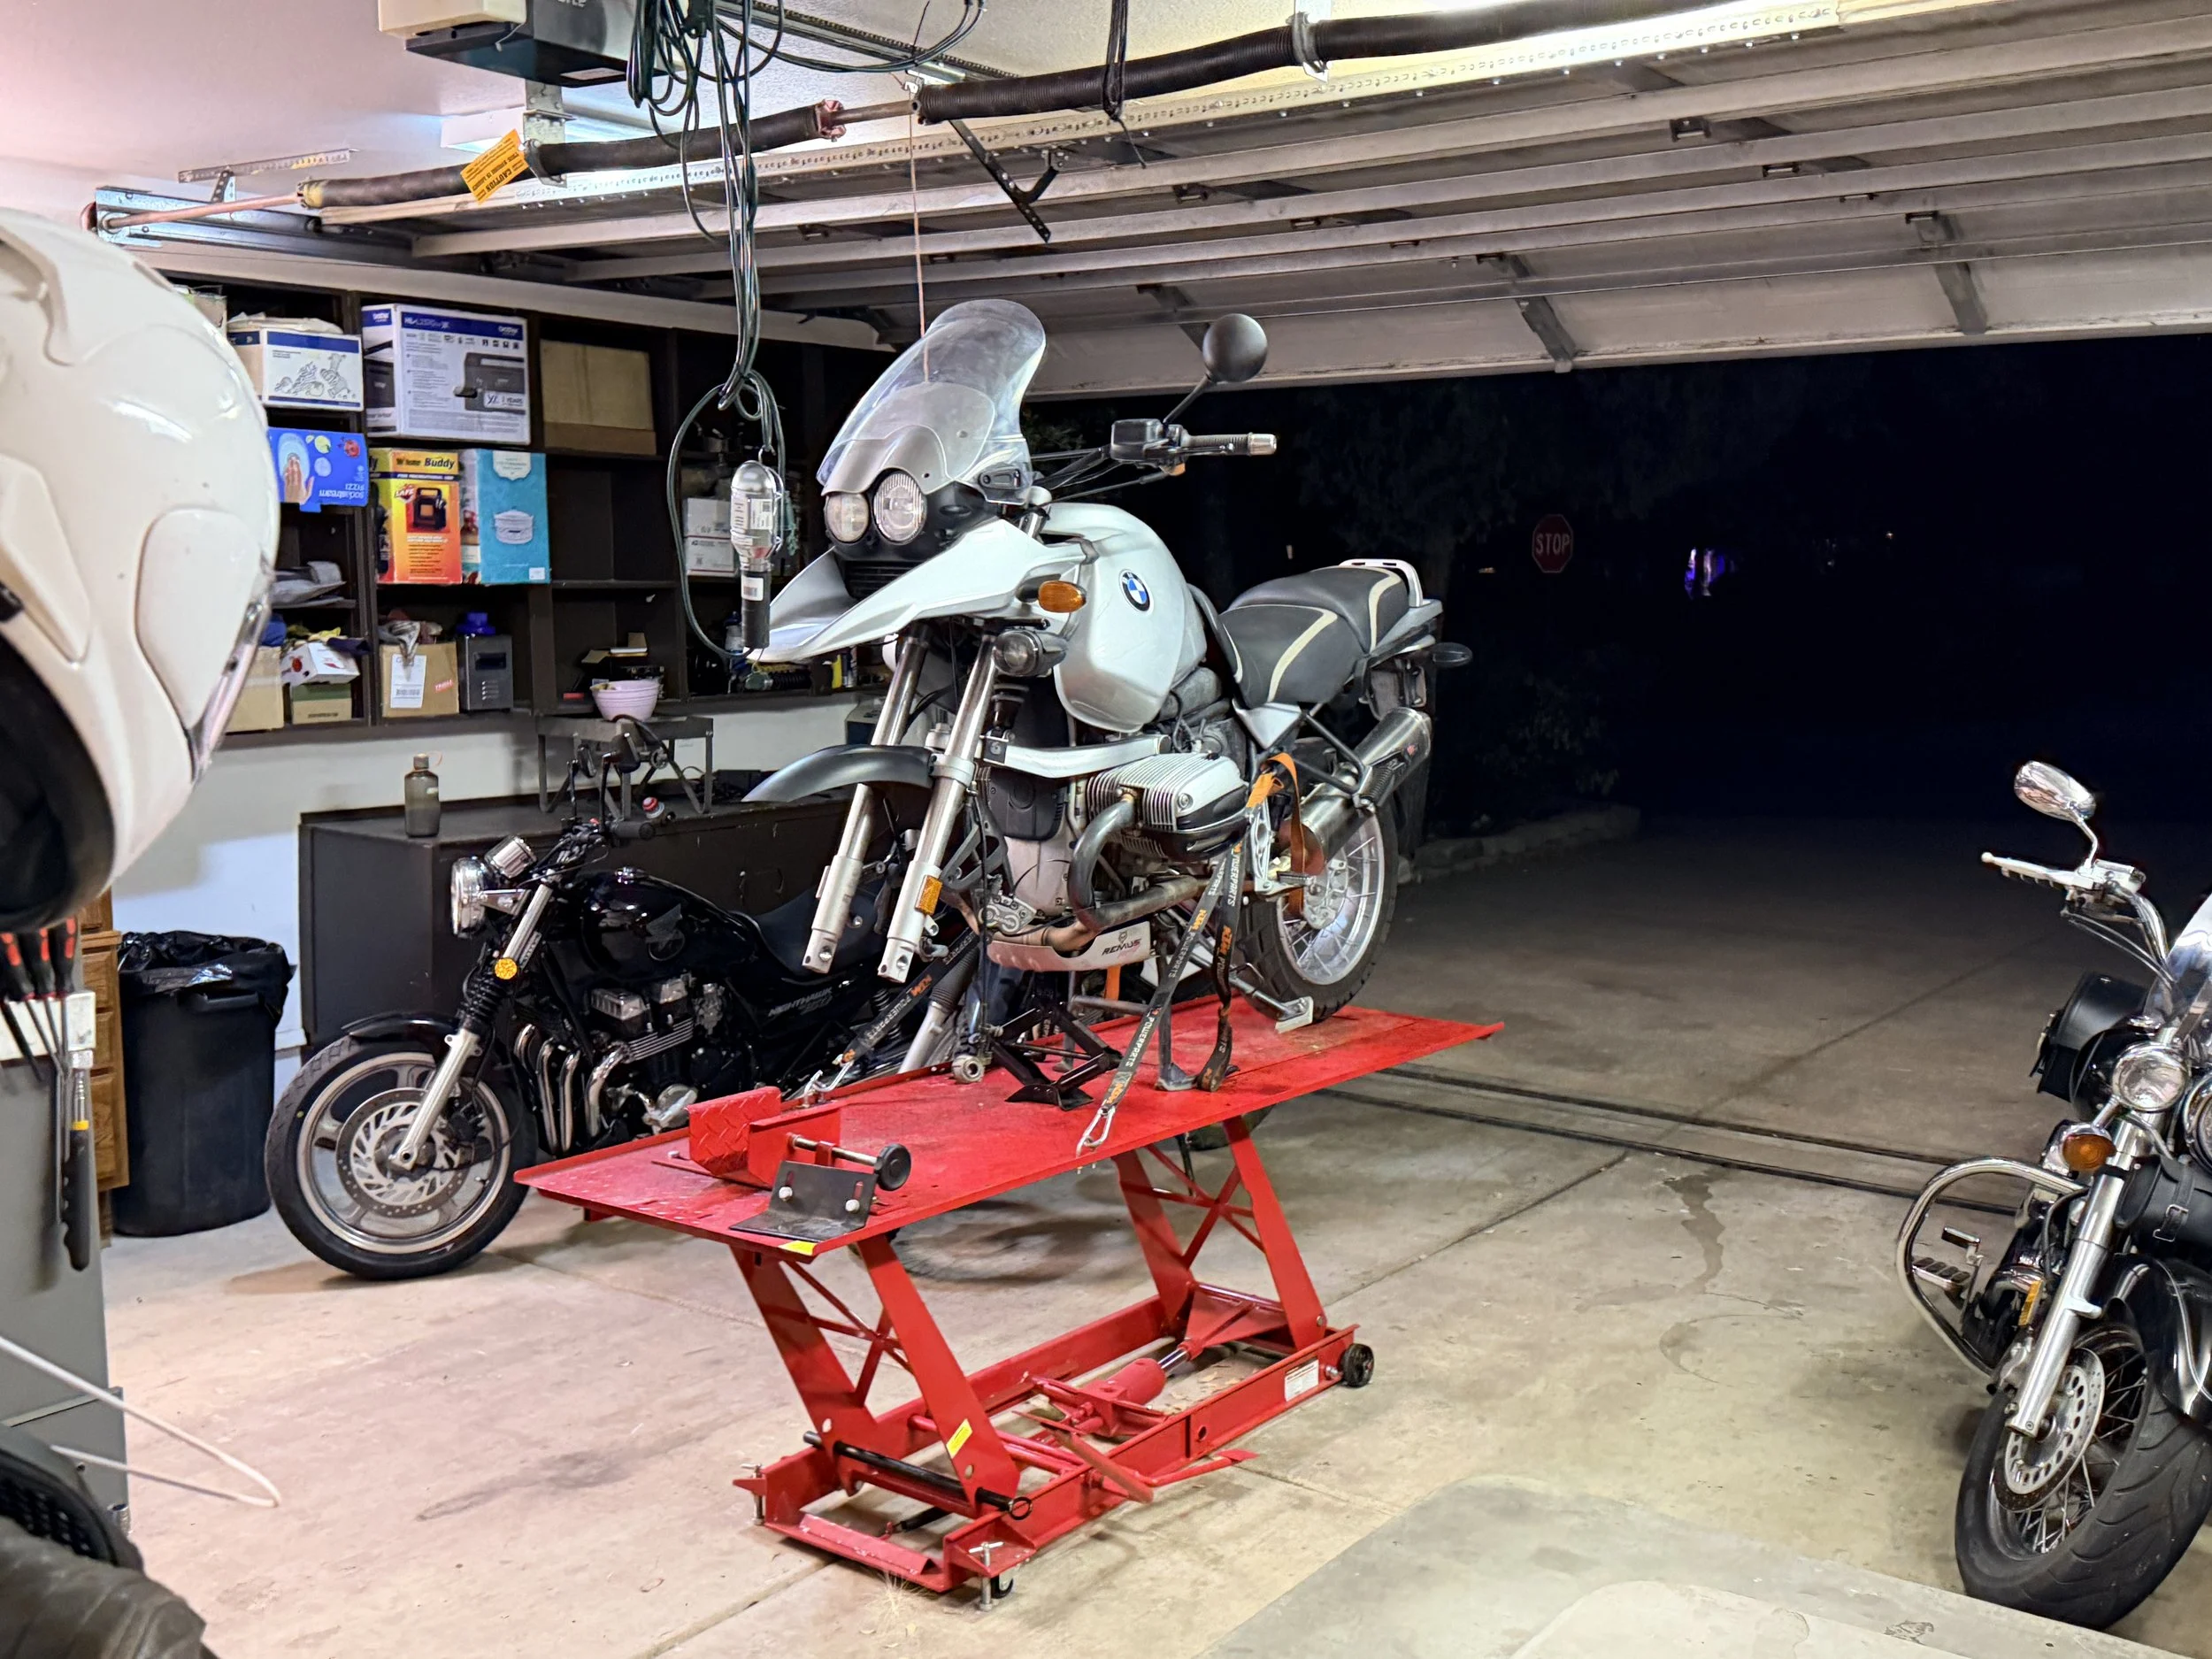
The bike goes on the lift for inspection & planning.
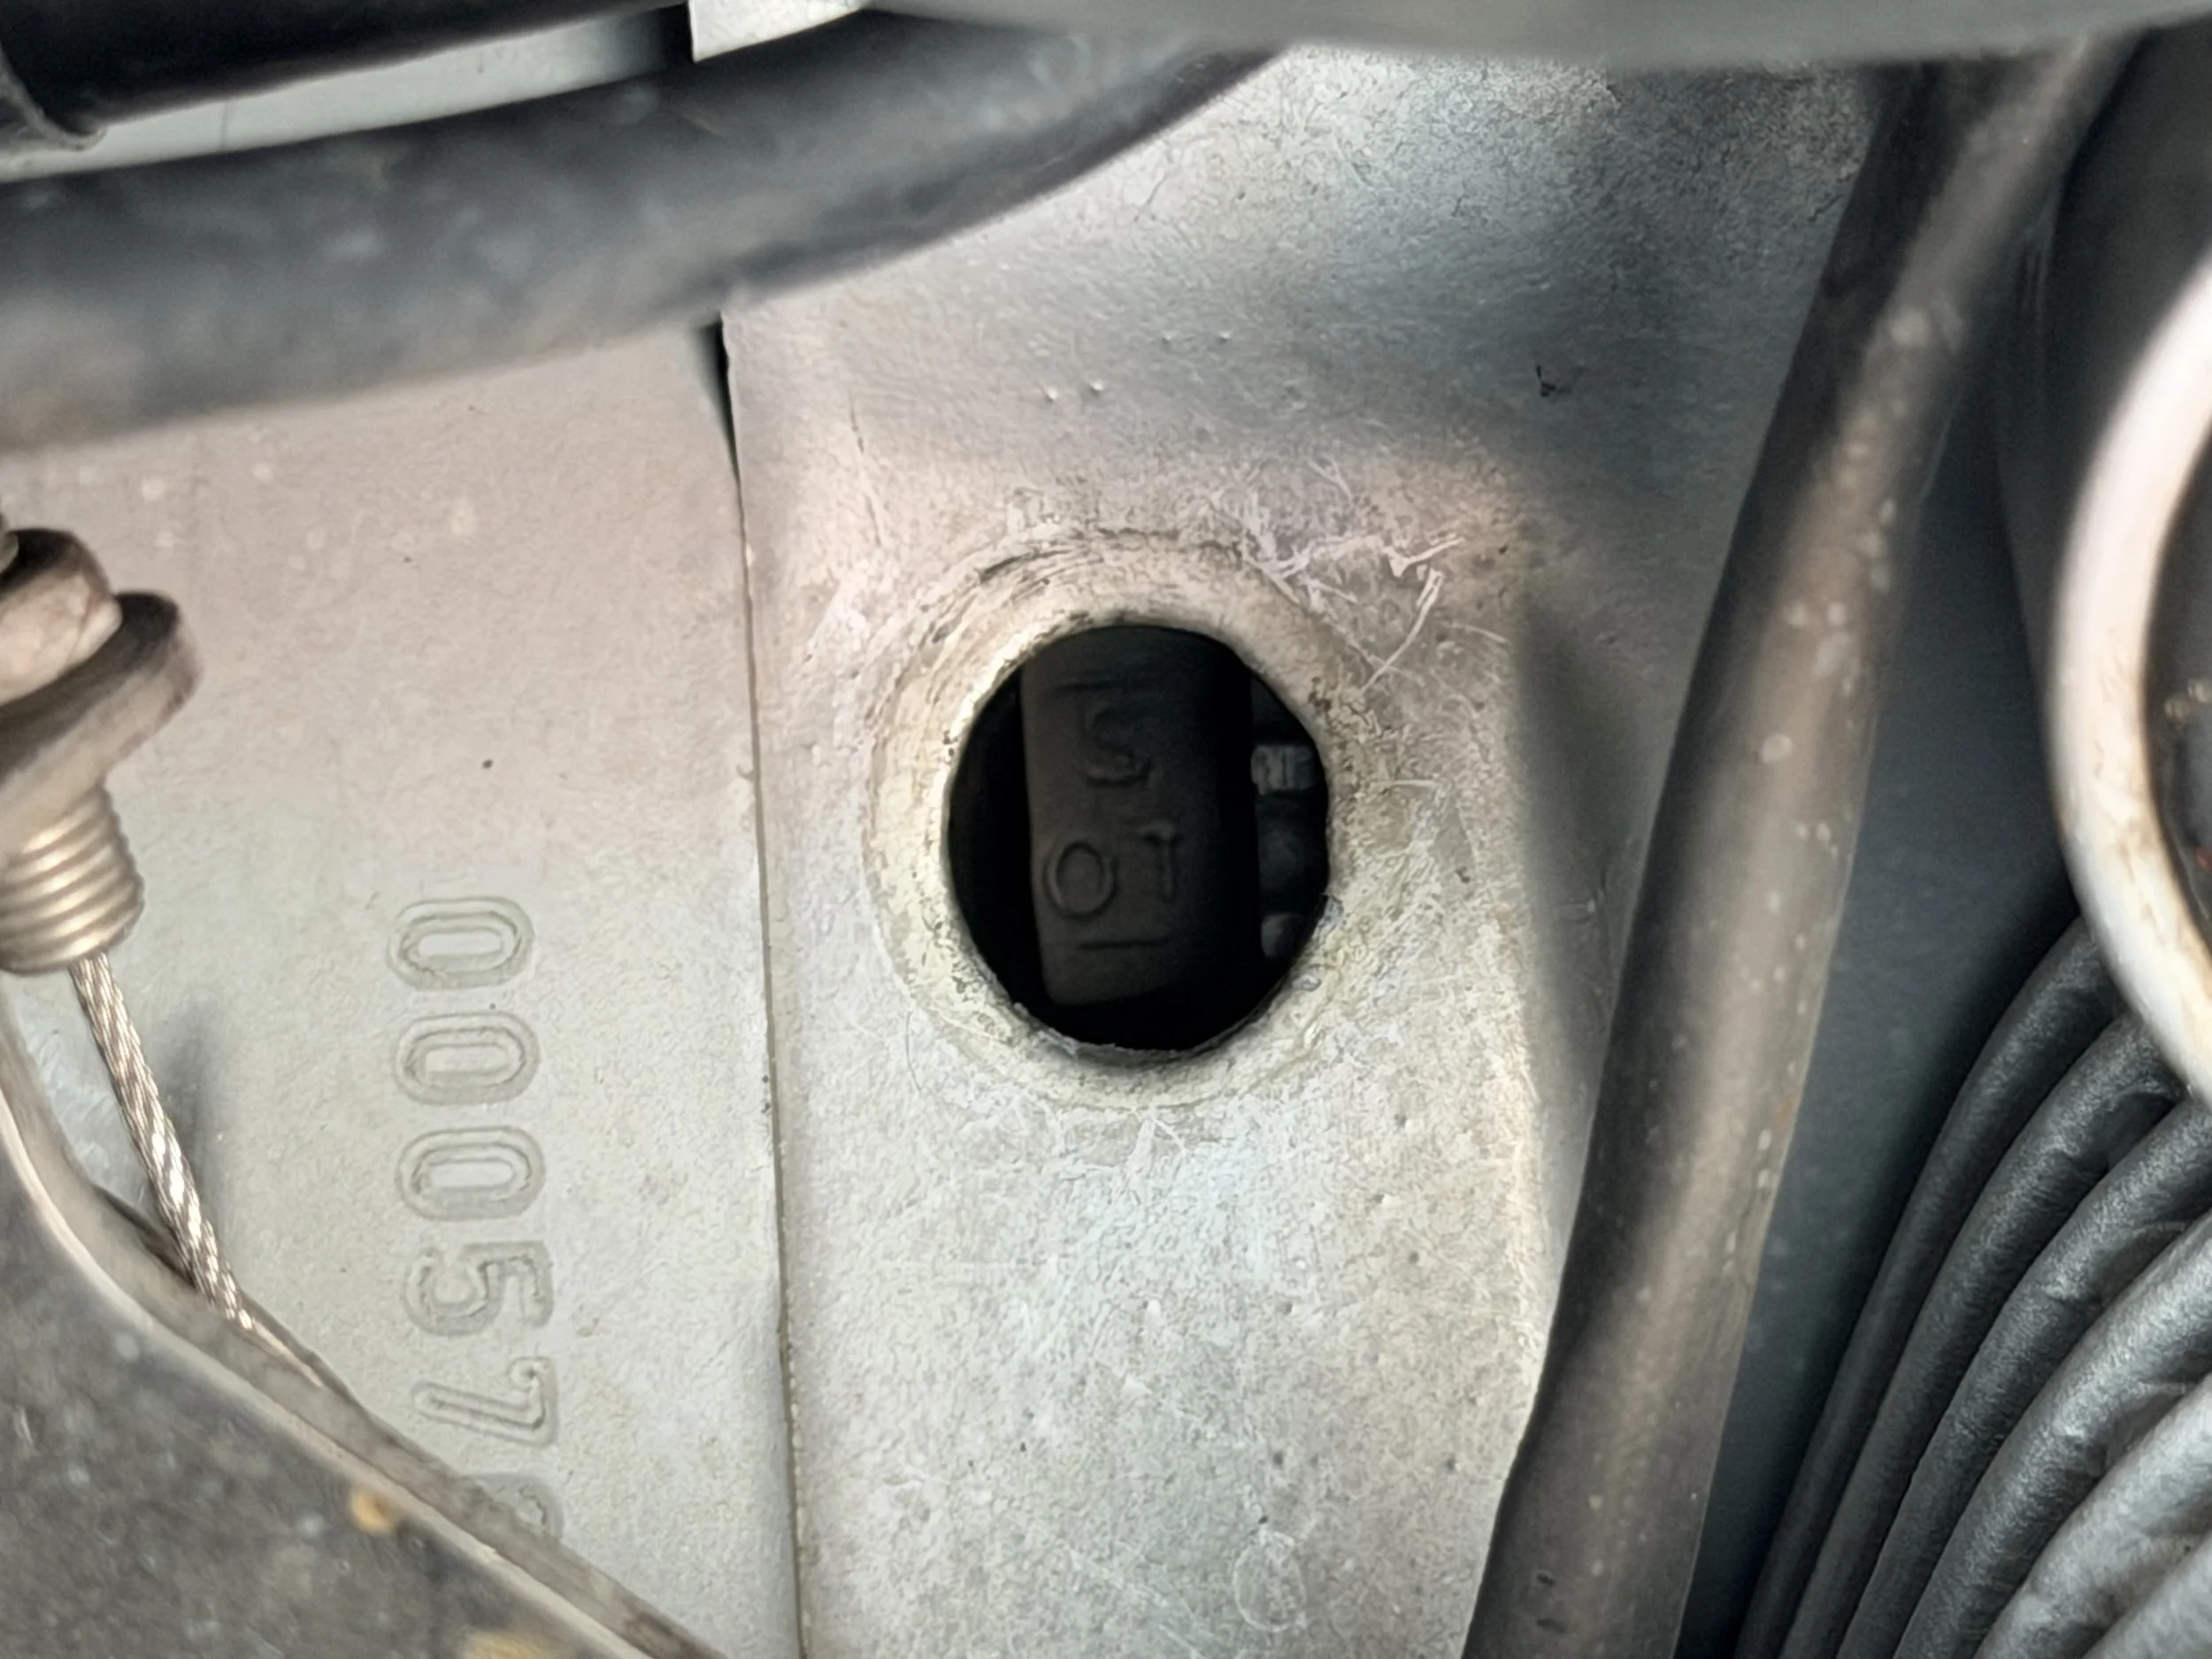
Initially, I was concerned he used the mark to do both cylinders at the same time - turned out be right. An easy mistake.
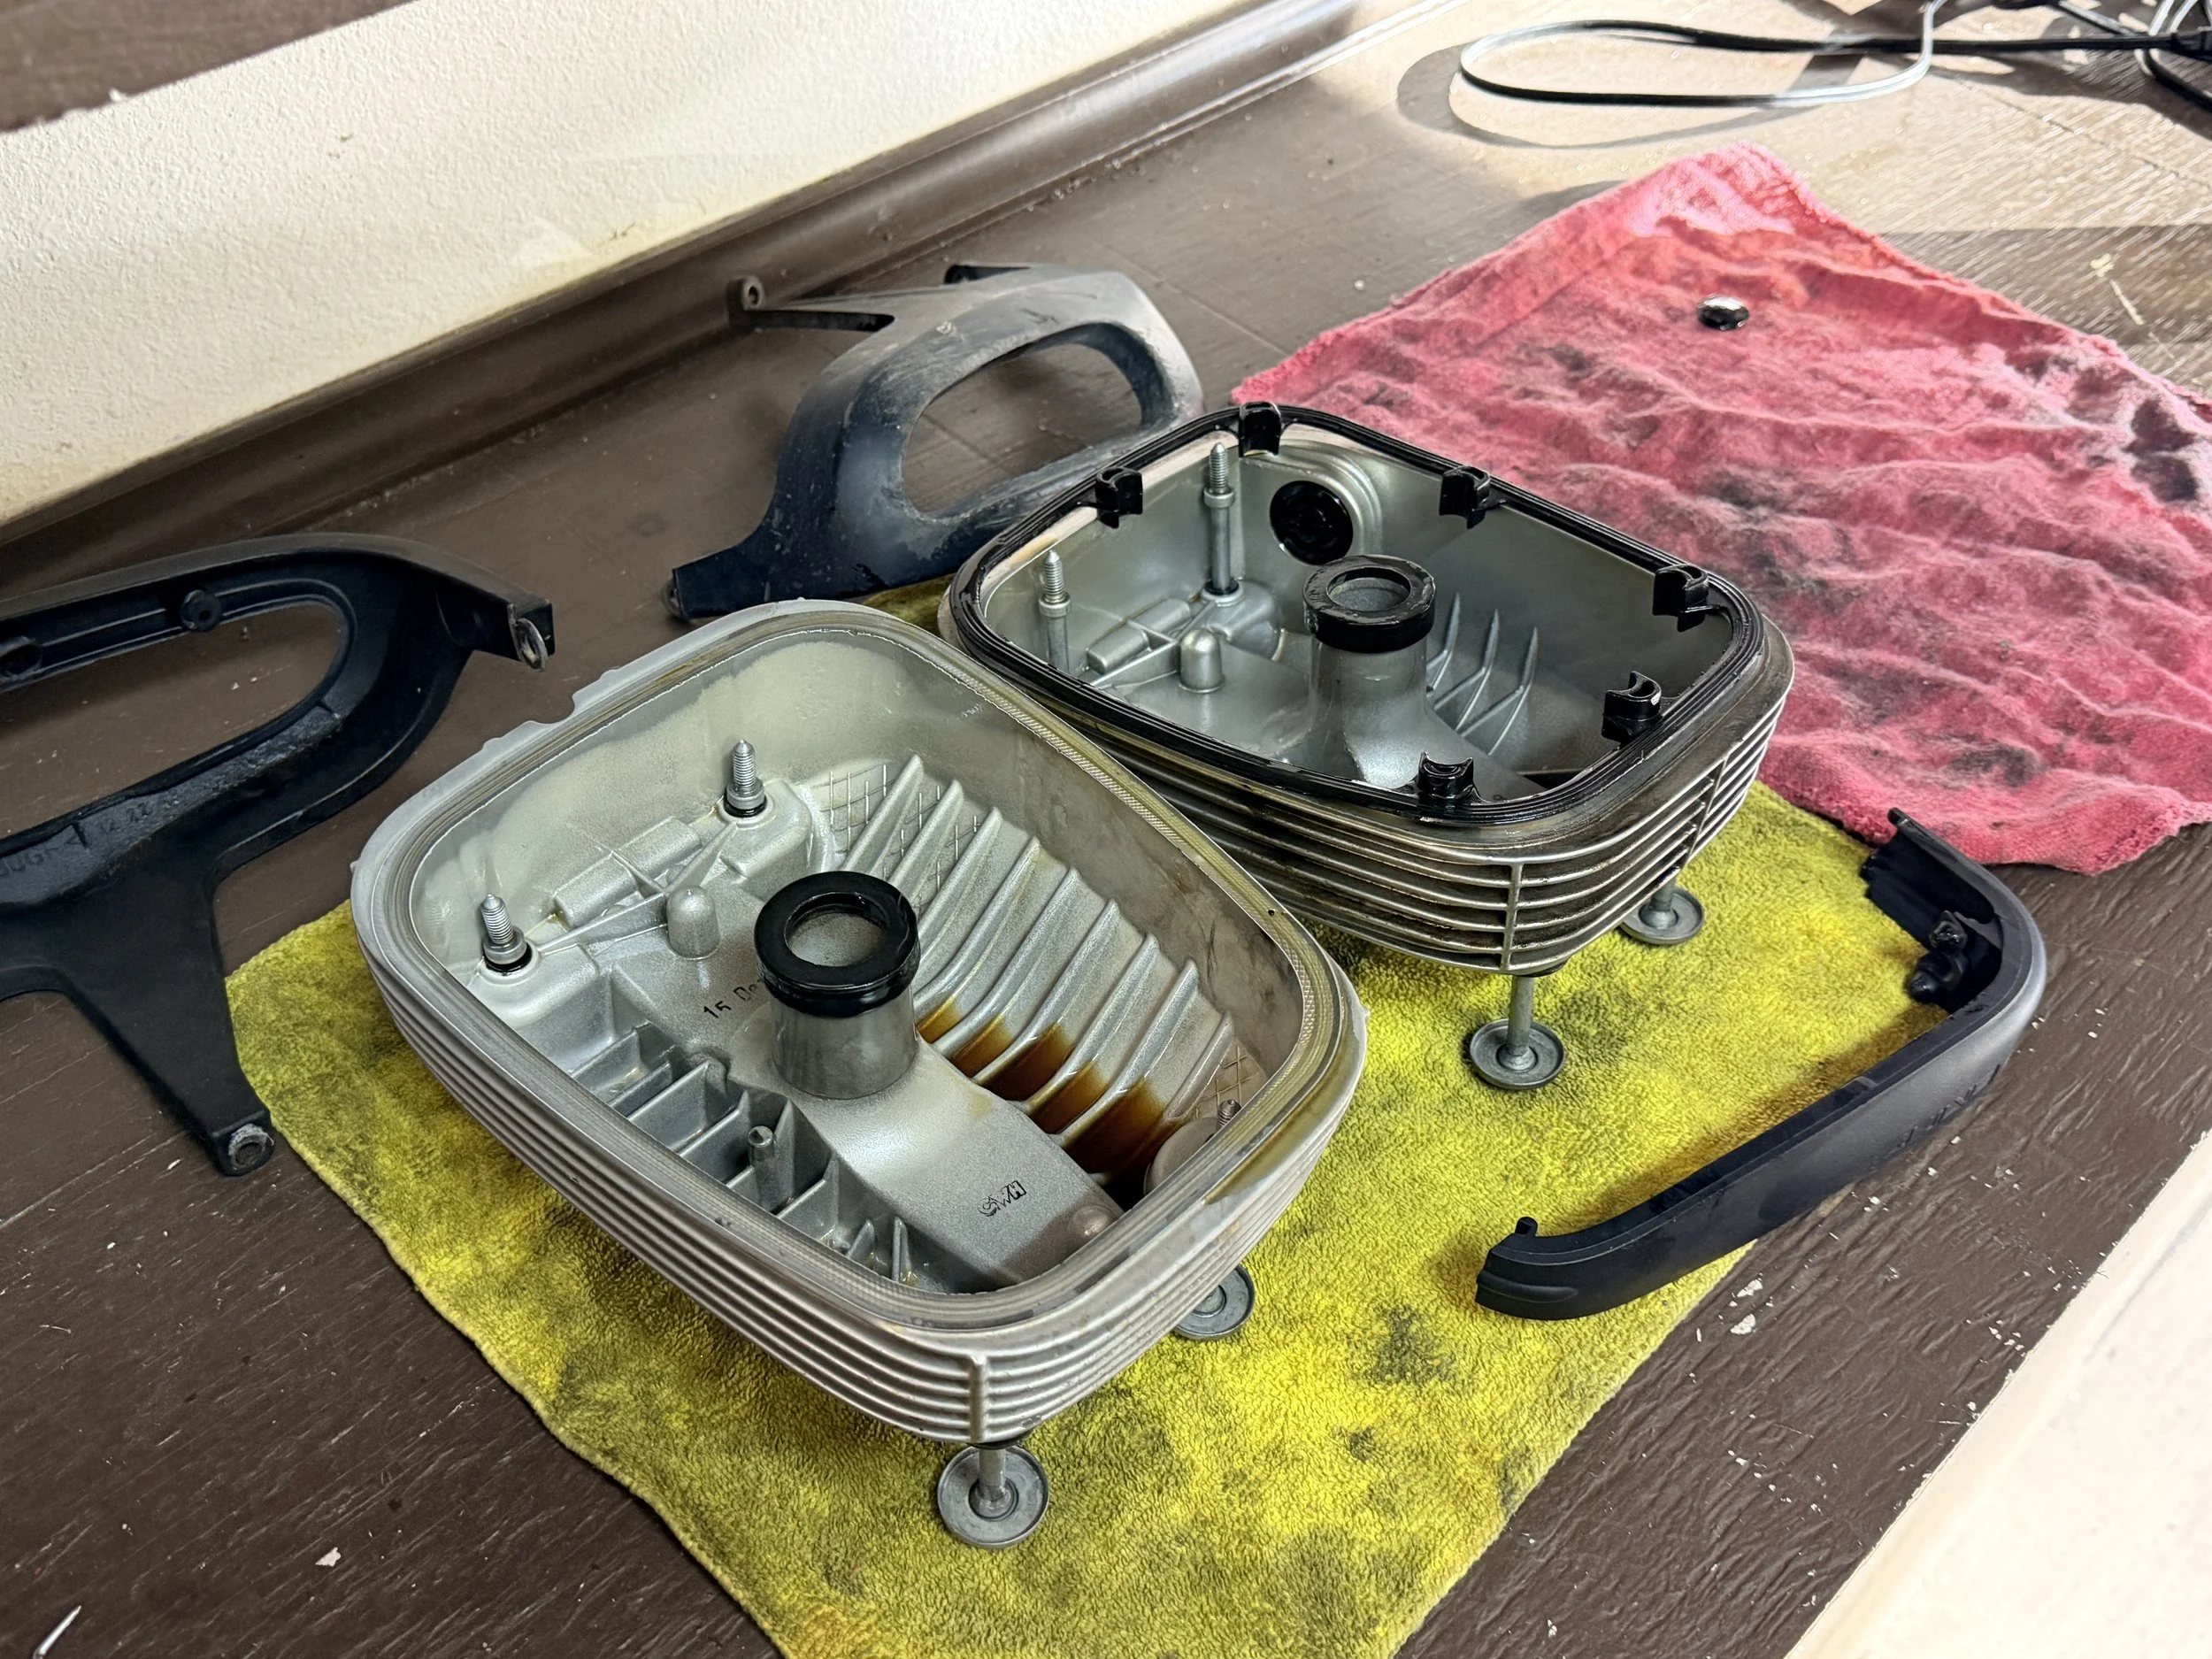
Valve covers were pulled, inspected.
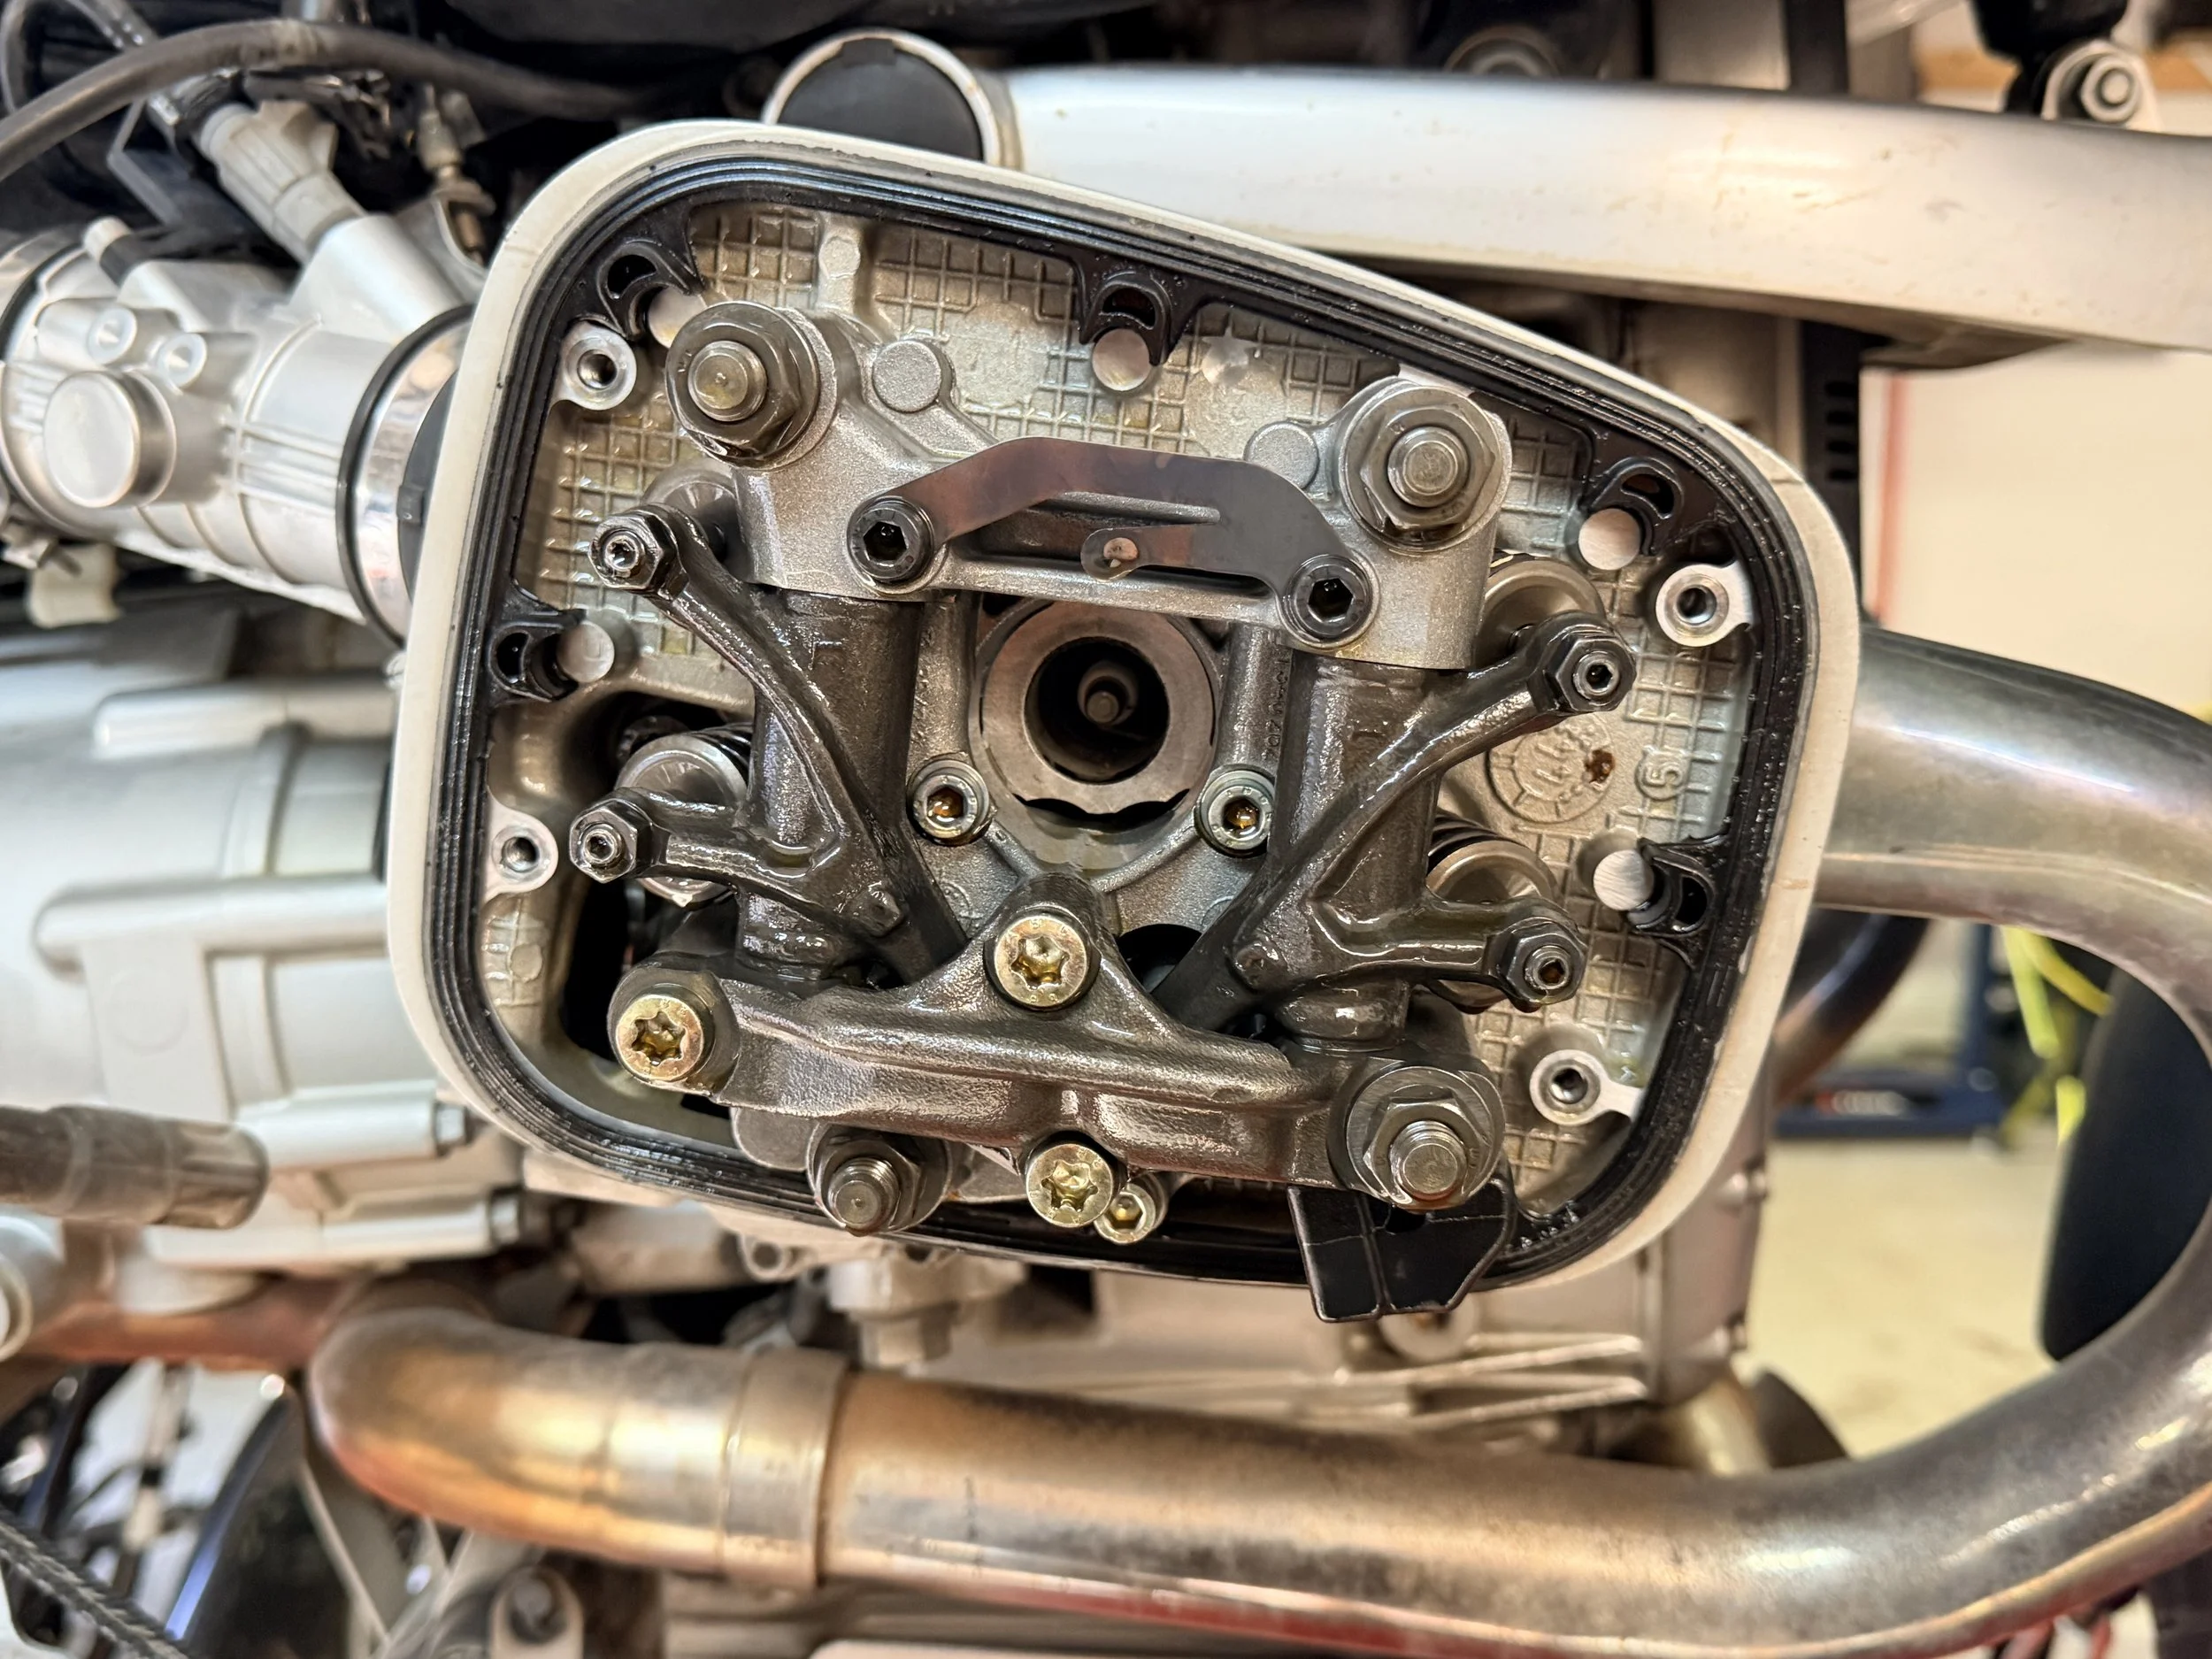
The right cylinder was close - intake tight, exhaust loose.
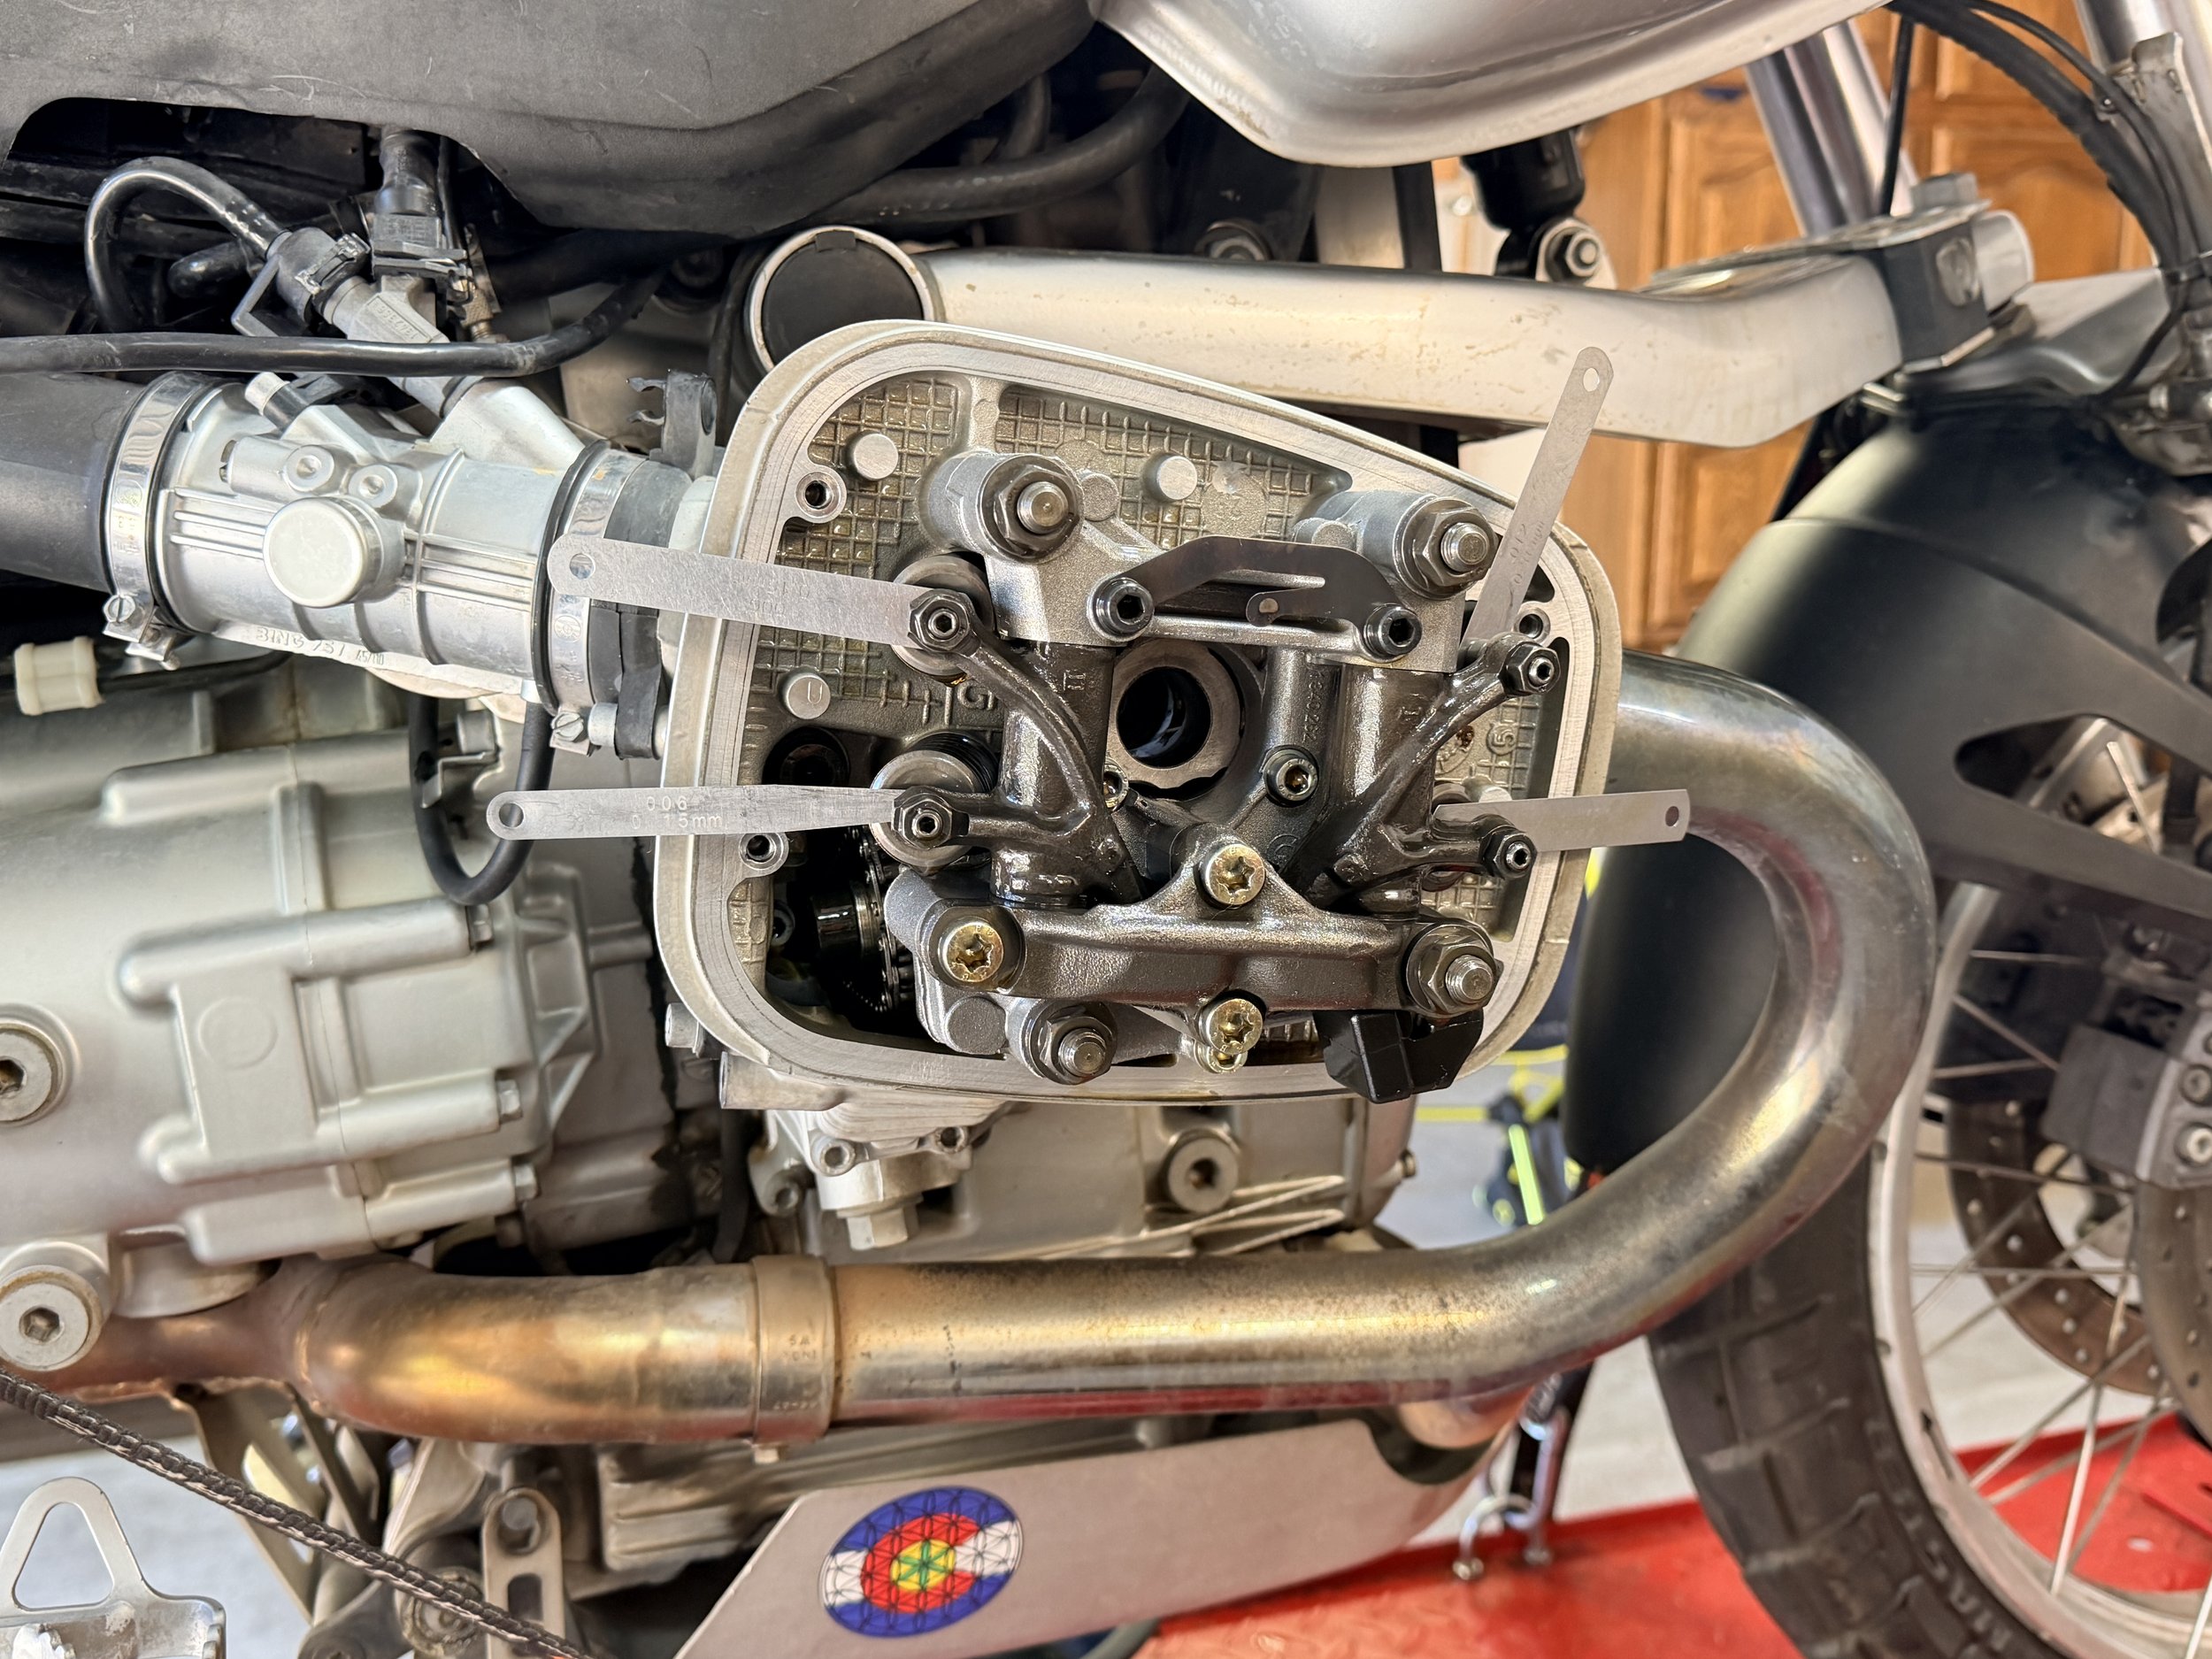
After the careful game of back & forth, the valves are set to .15mm intake & .30mm exhaust. In time - those will get played with to fine tune. Now - textbook. The left cylinder - wildly off - rotated the engine to the correct position for left cylinder valve adjustment - an immediate difference.
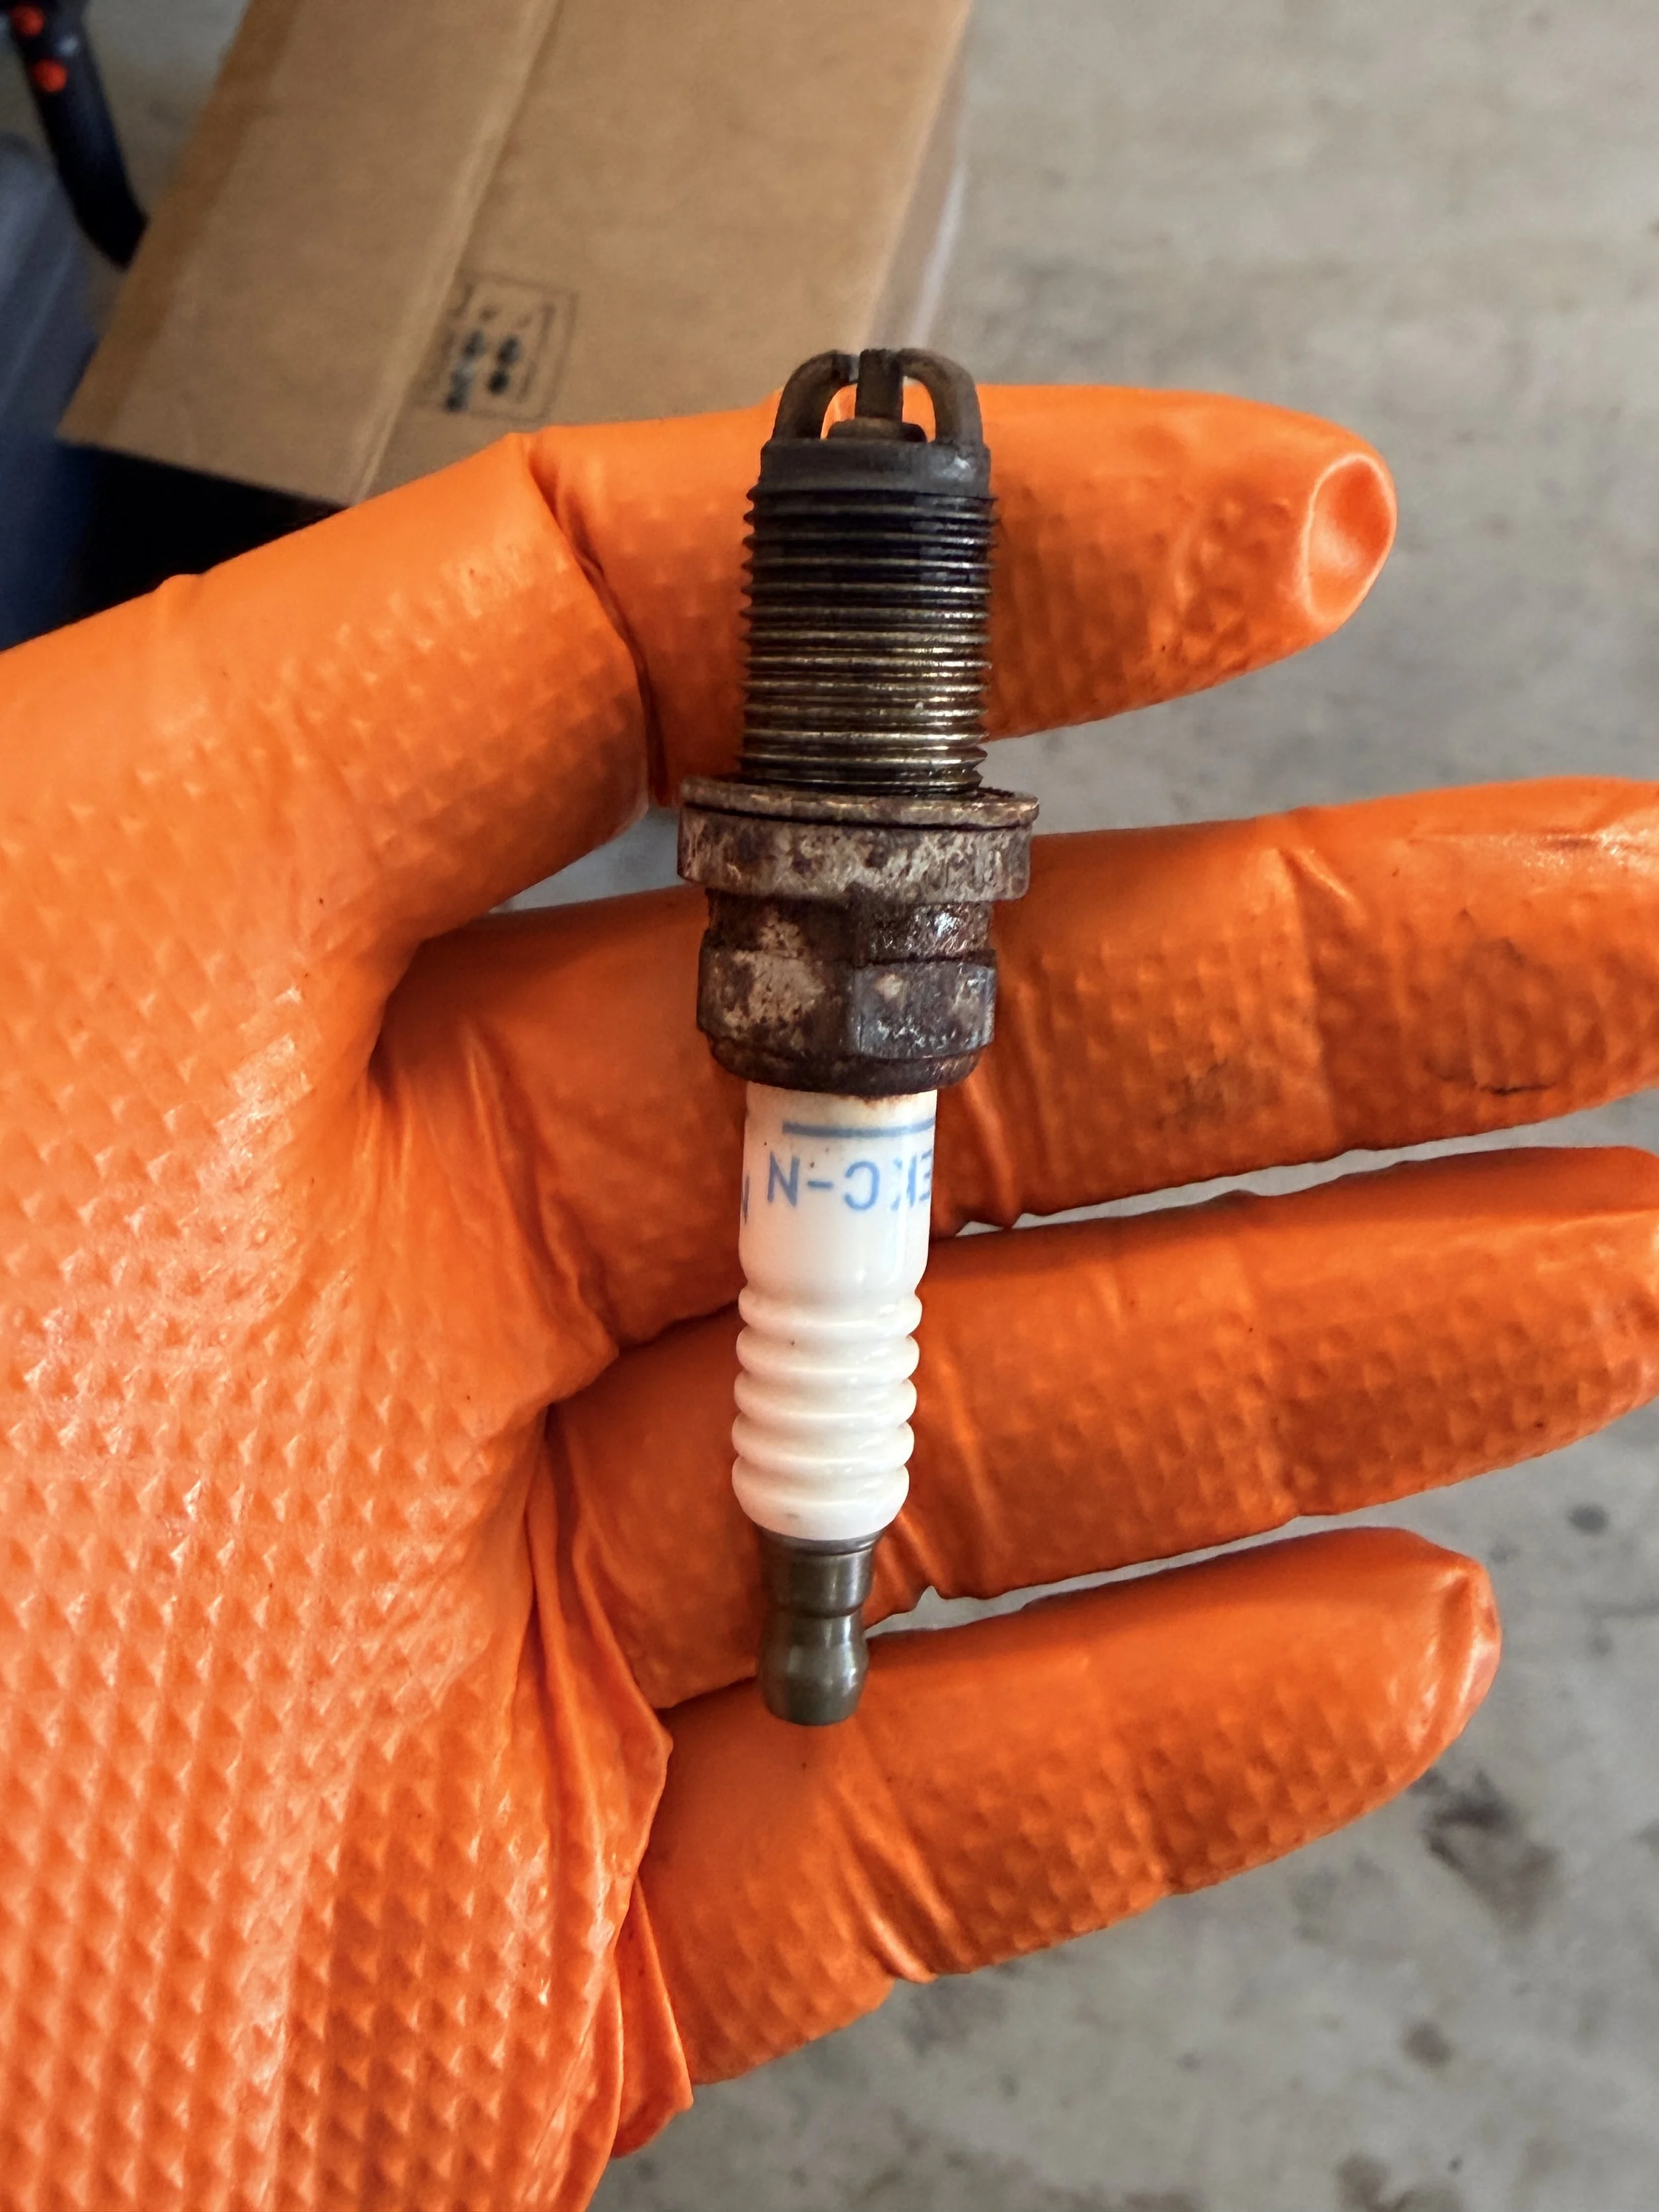
Reading the spark plugs - a sad day that the plugs showed significant signs of wear but not enough to read properly. Perks of 1k miles in 6+ years. No signs of a serious problem.
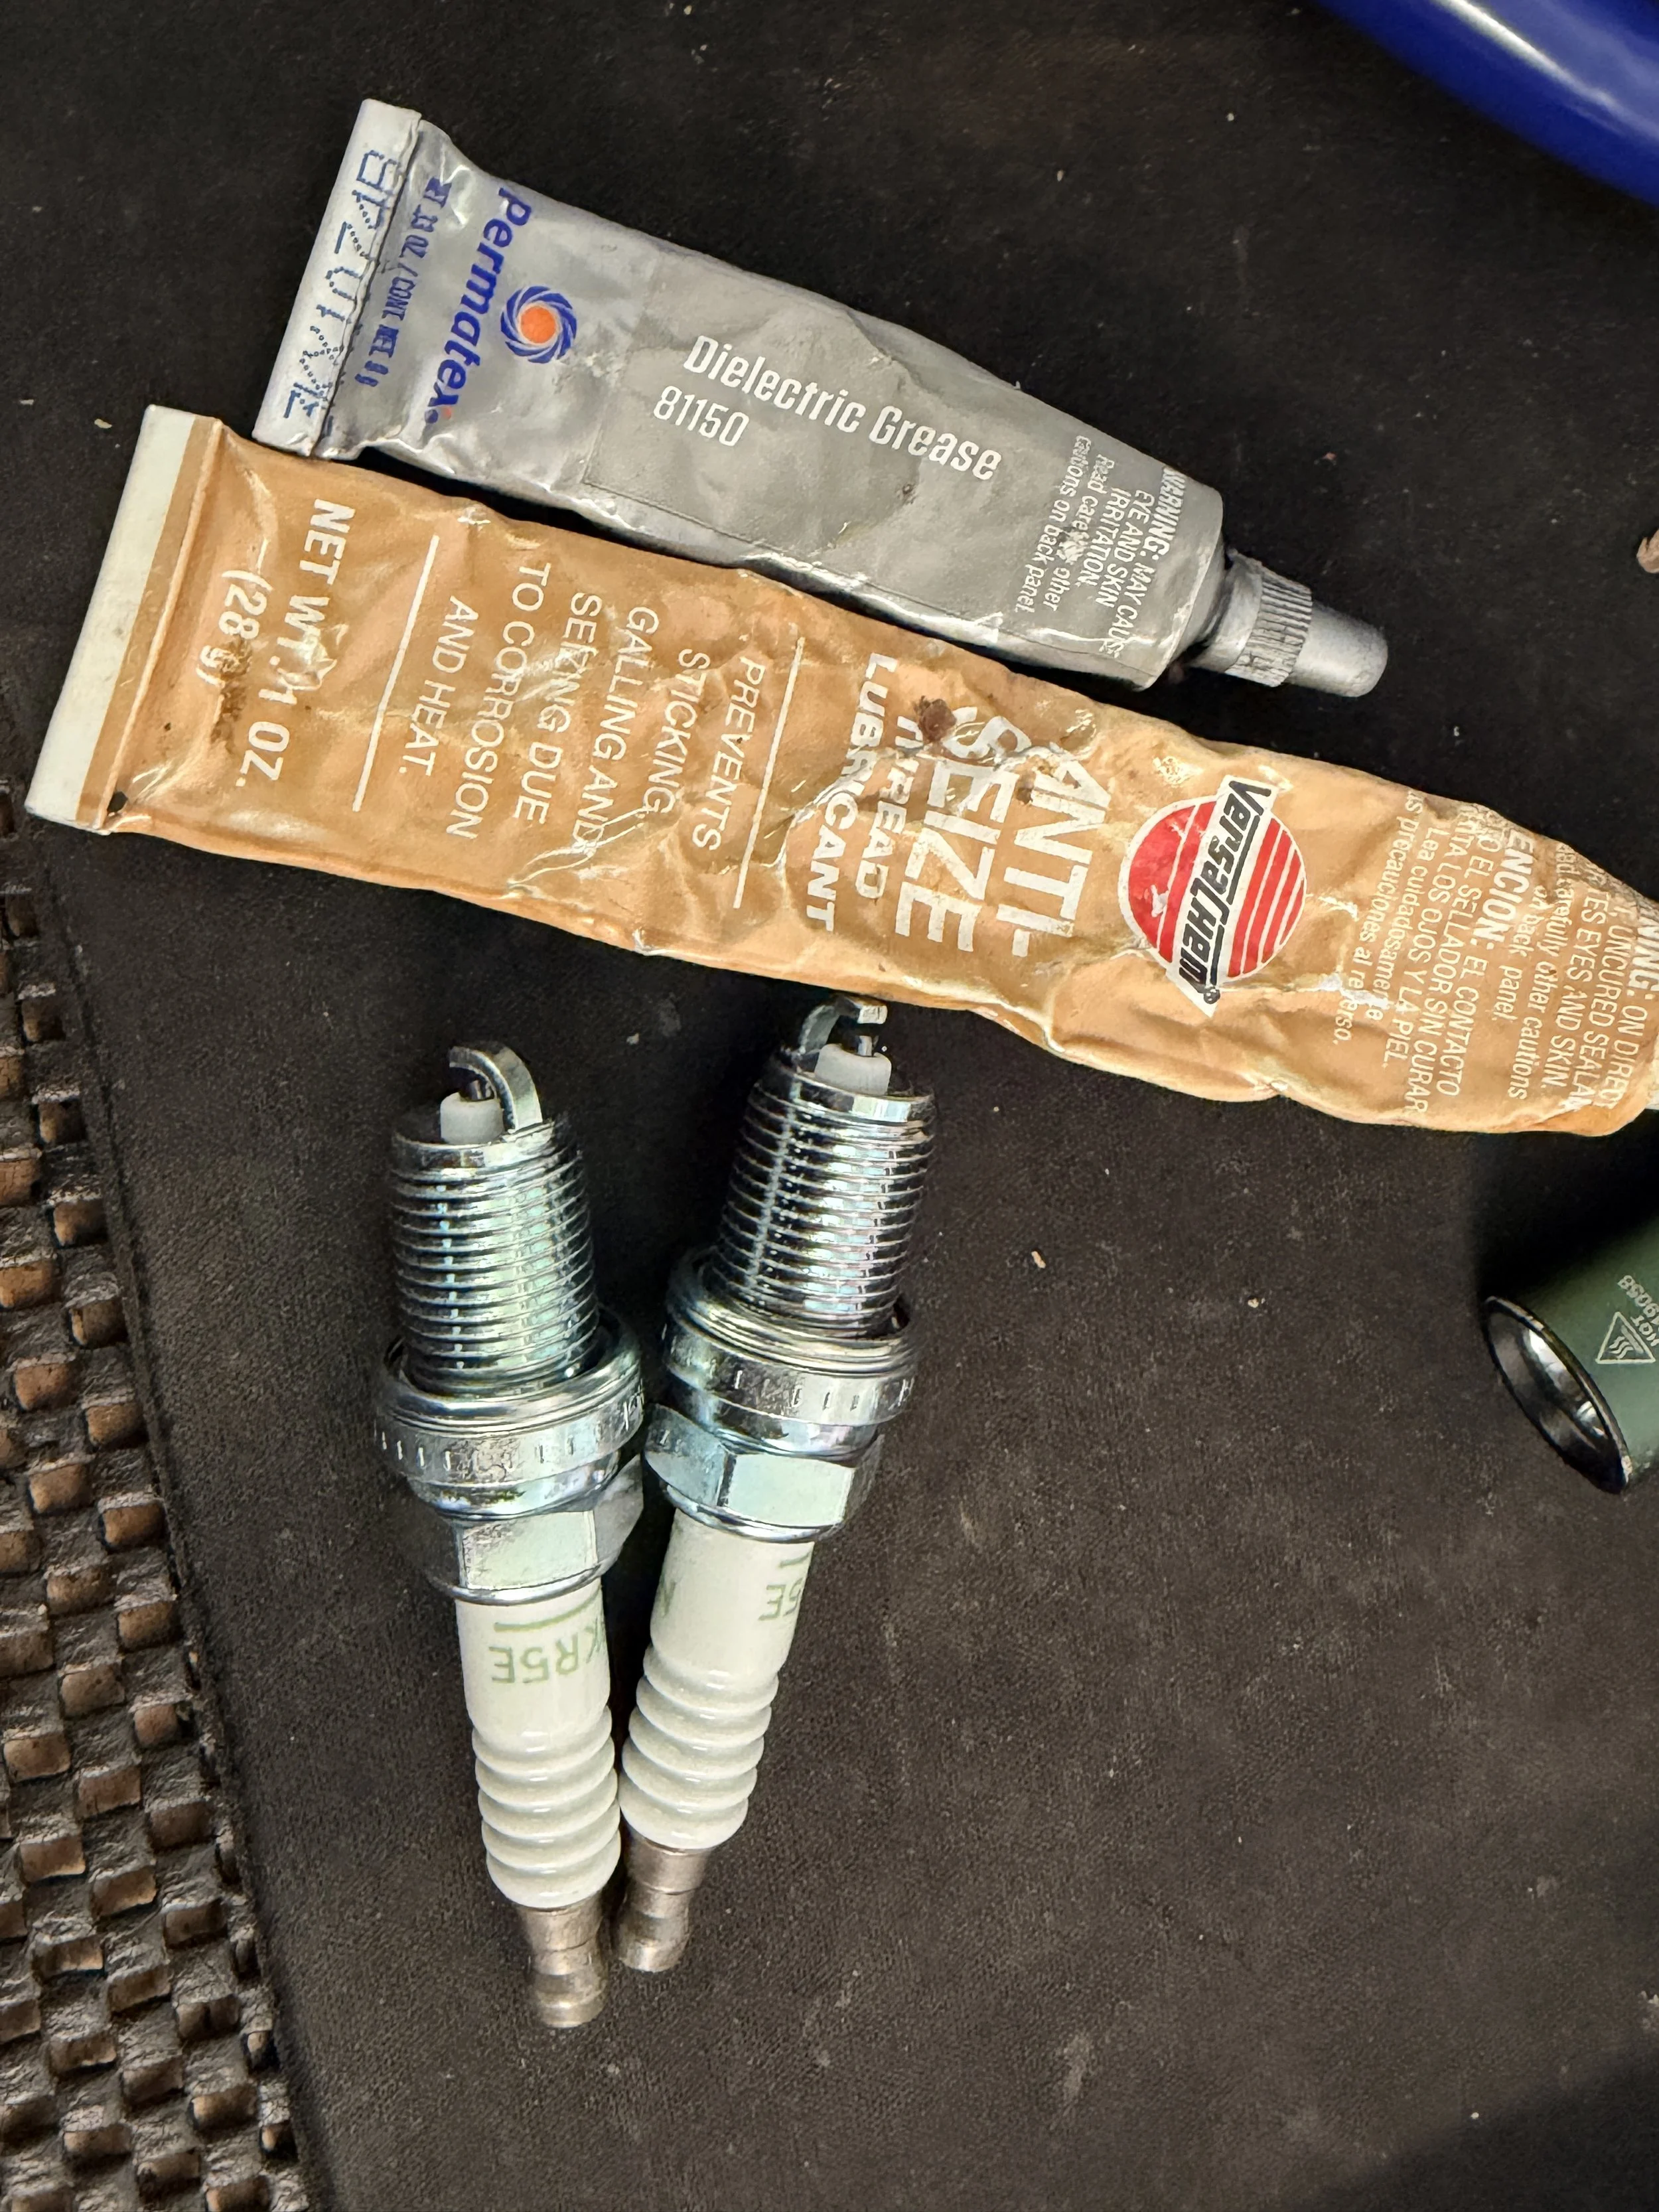
Let's replace the plugs and get the bike back in action. There is interesting literature on the relationship between plug types for this bike. Worth noting that different riding objectives & styles could push you to an 8 or 9 respectively. I'm sure a great debate.
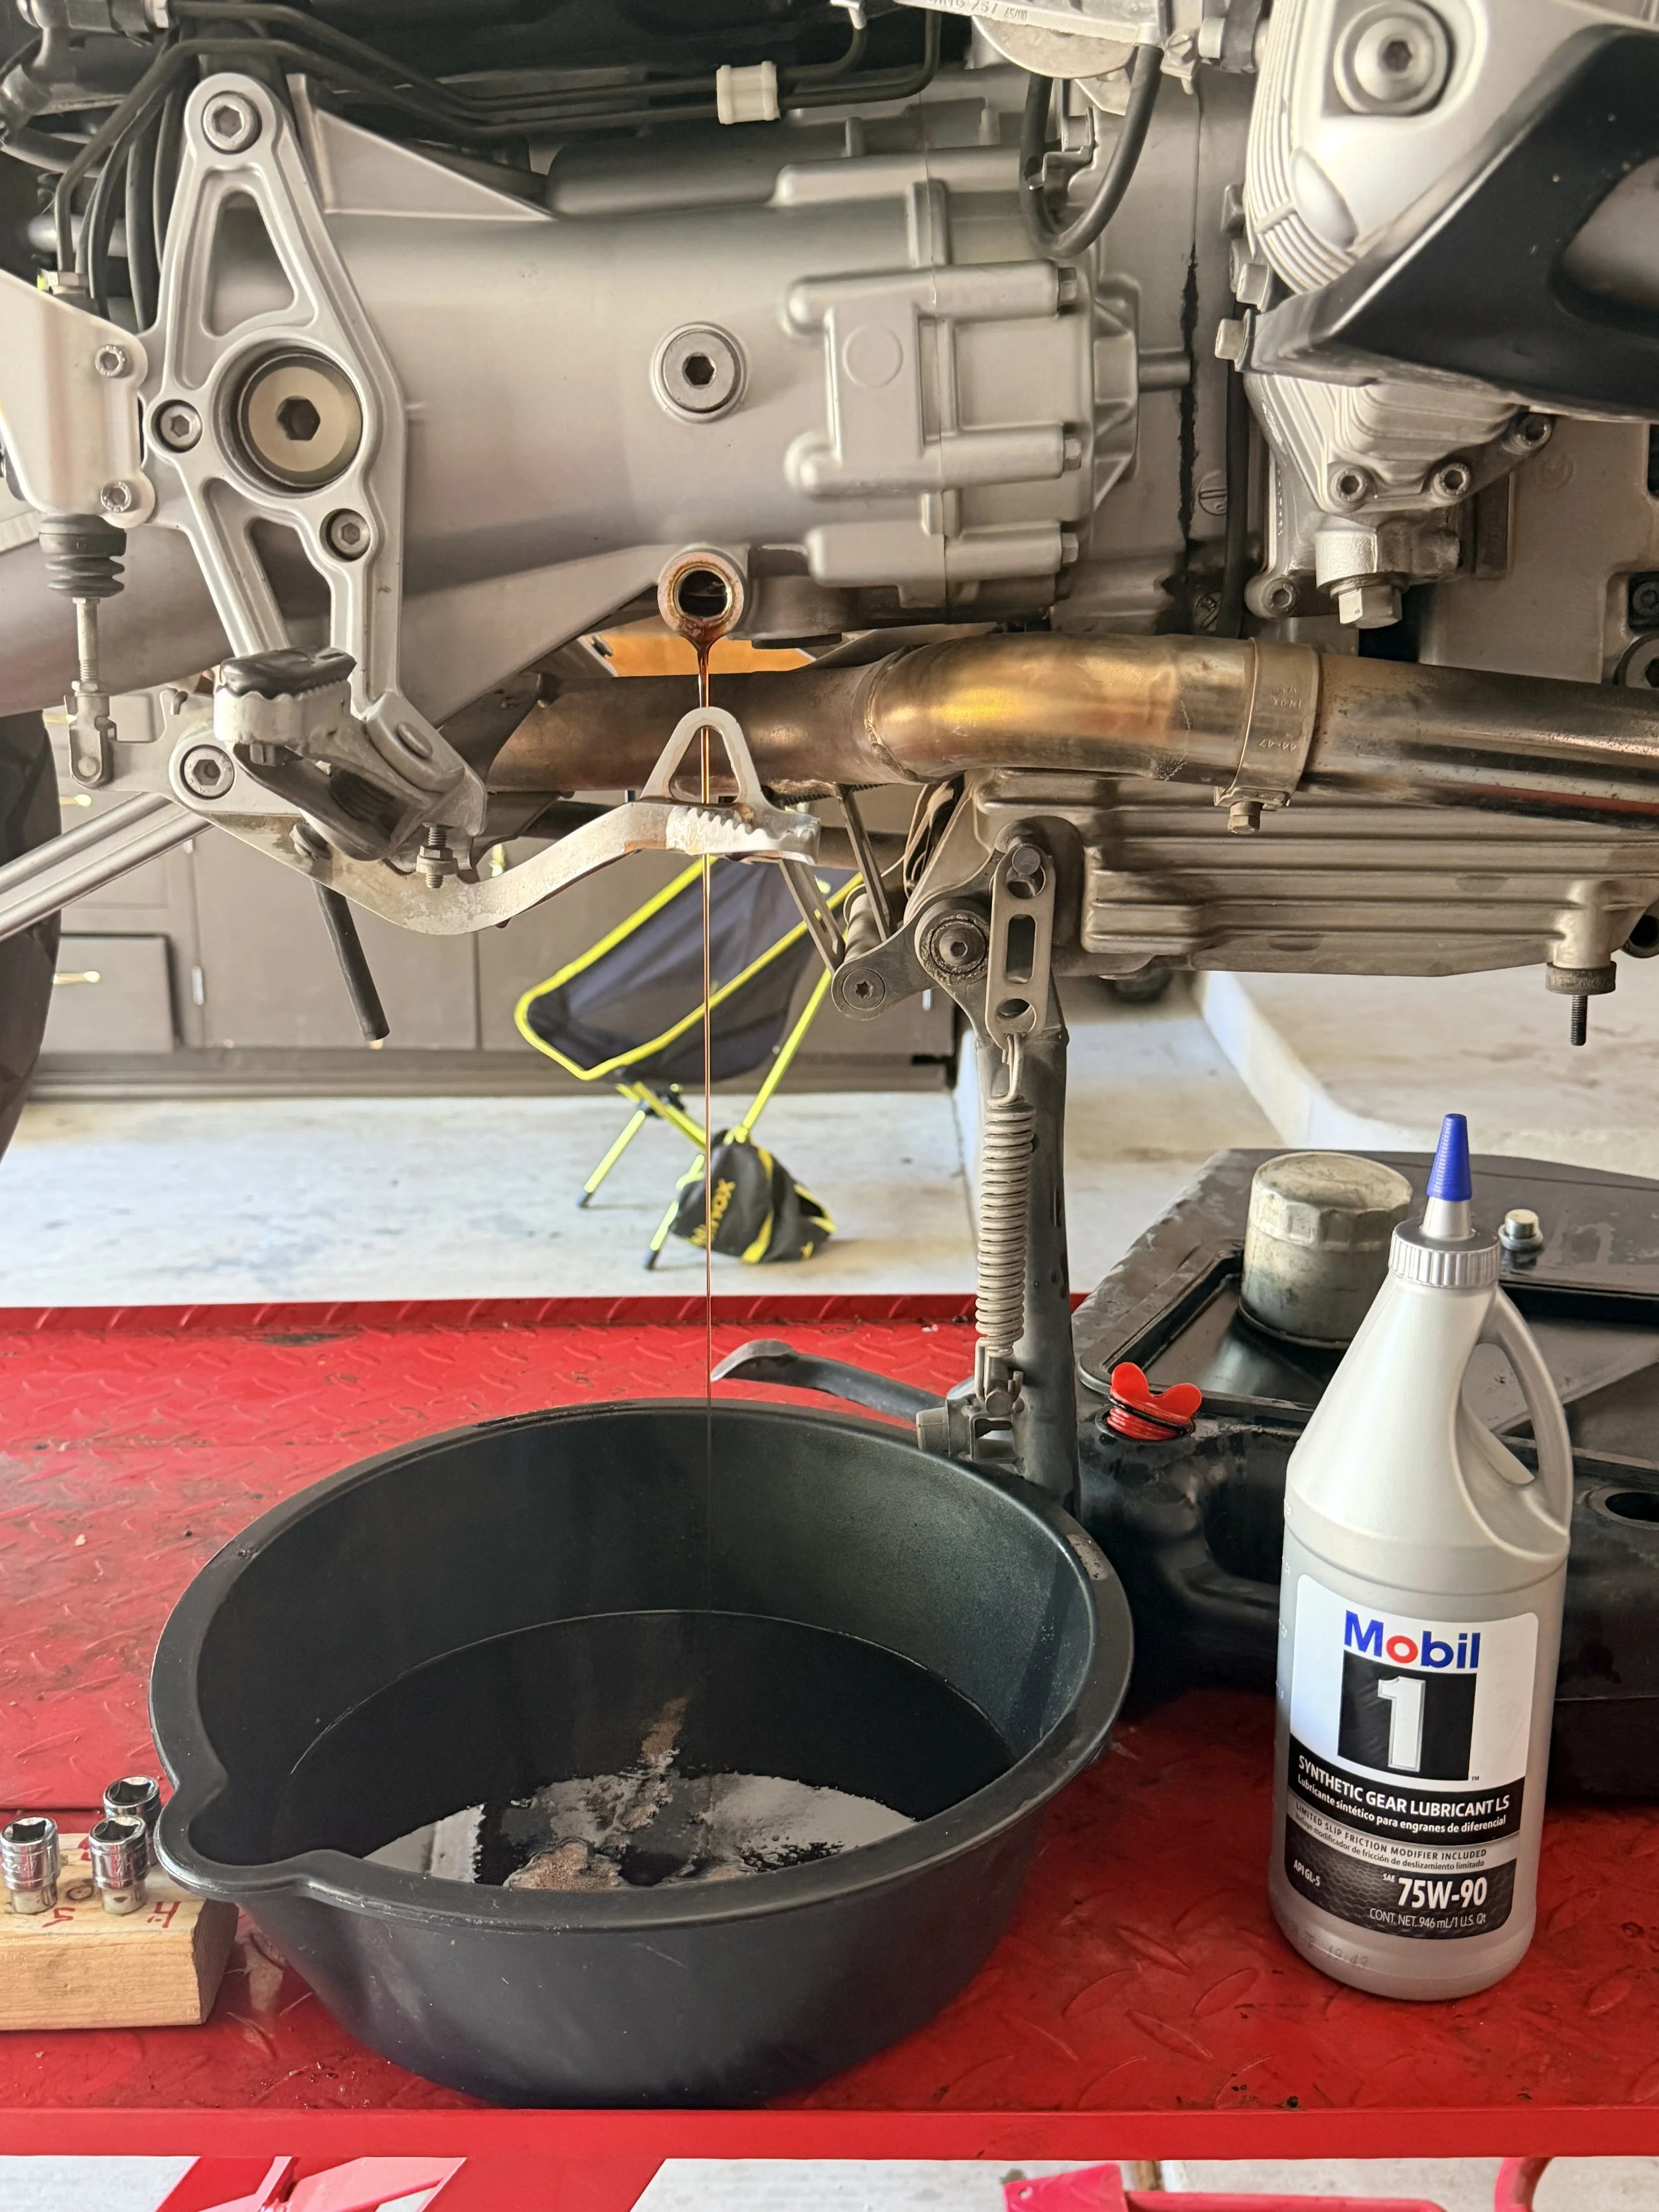
Fluids replaced. I'm not sure what the hell gear oil was in there. It has just been replaced, but I didn't trust it.
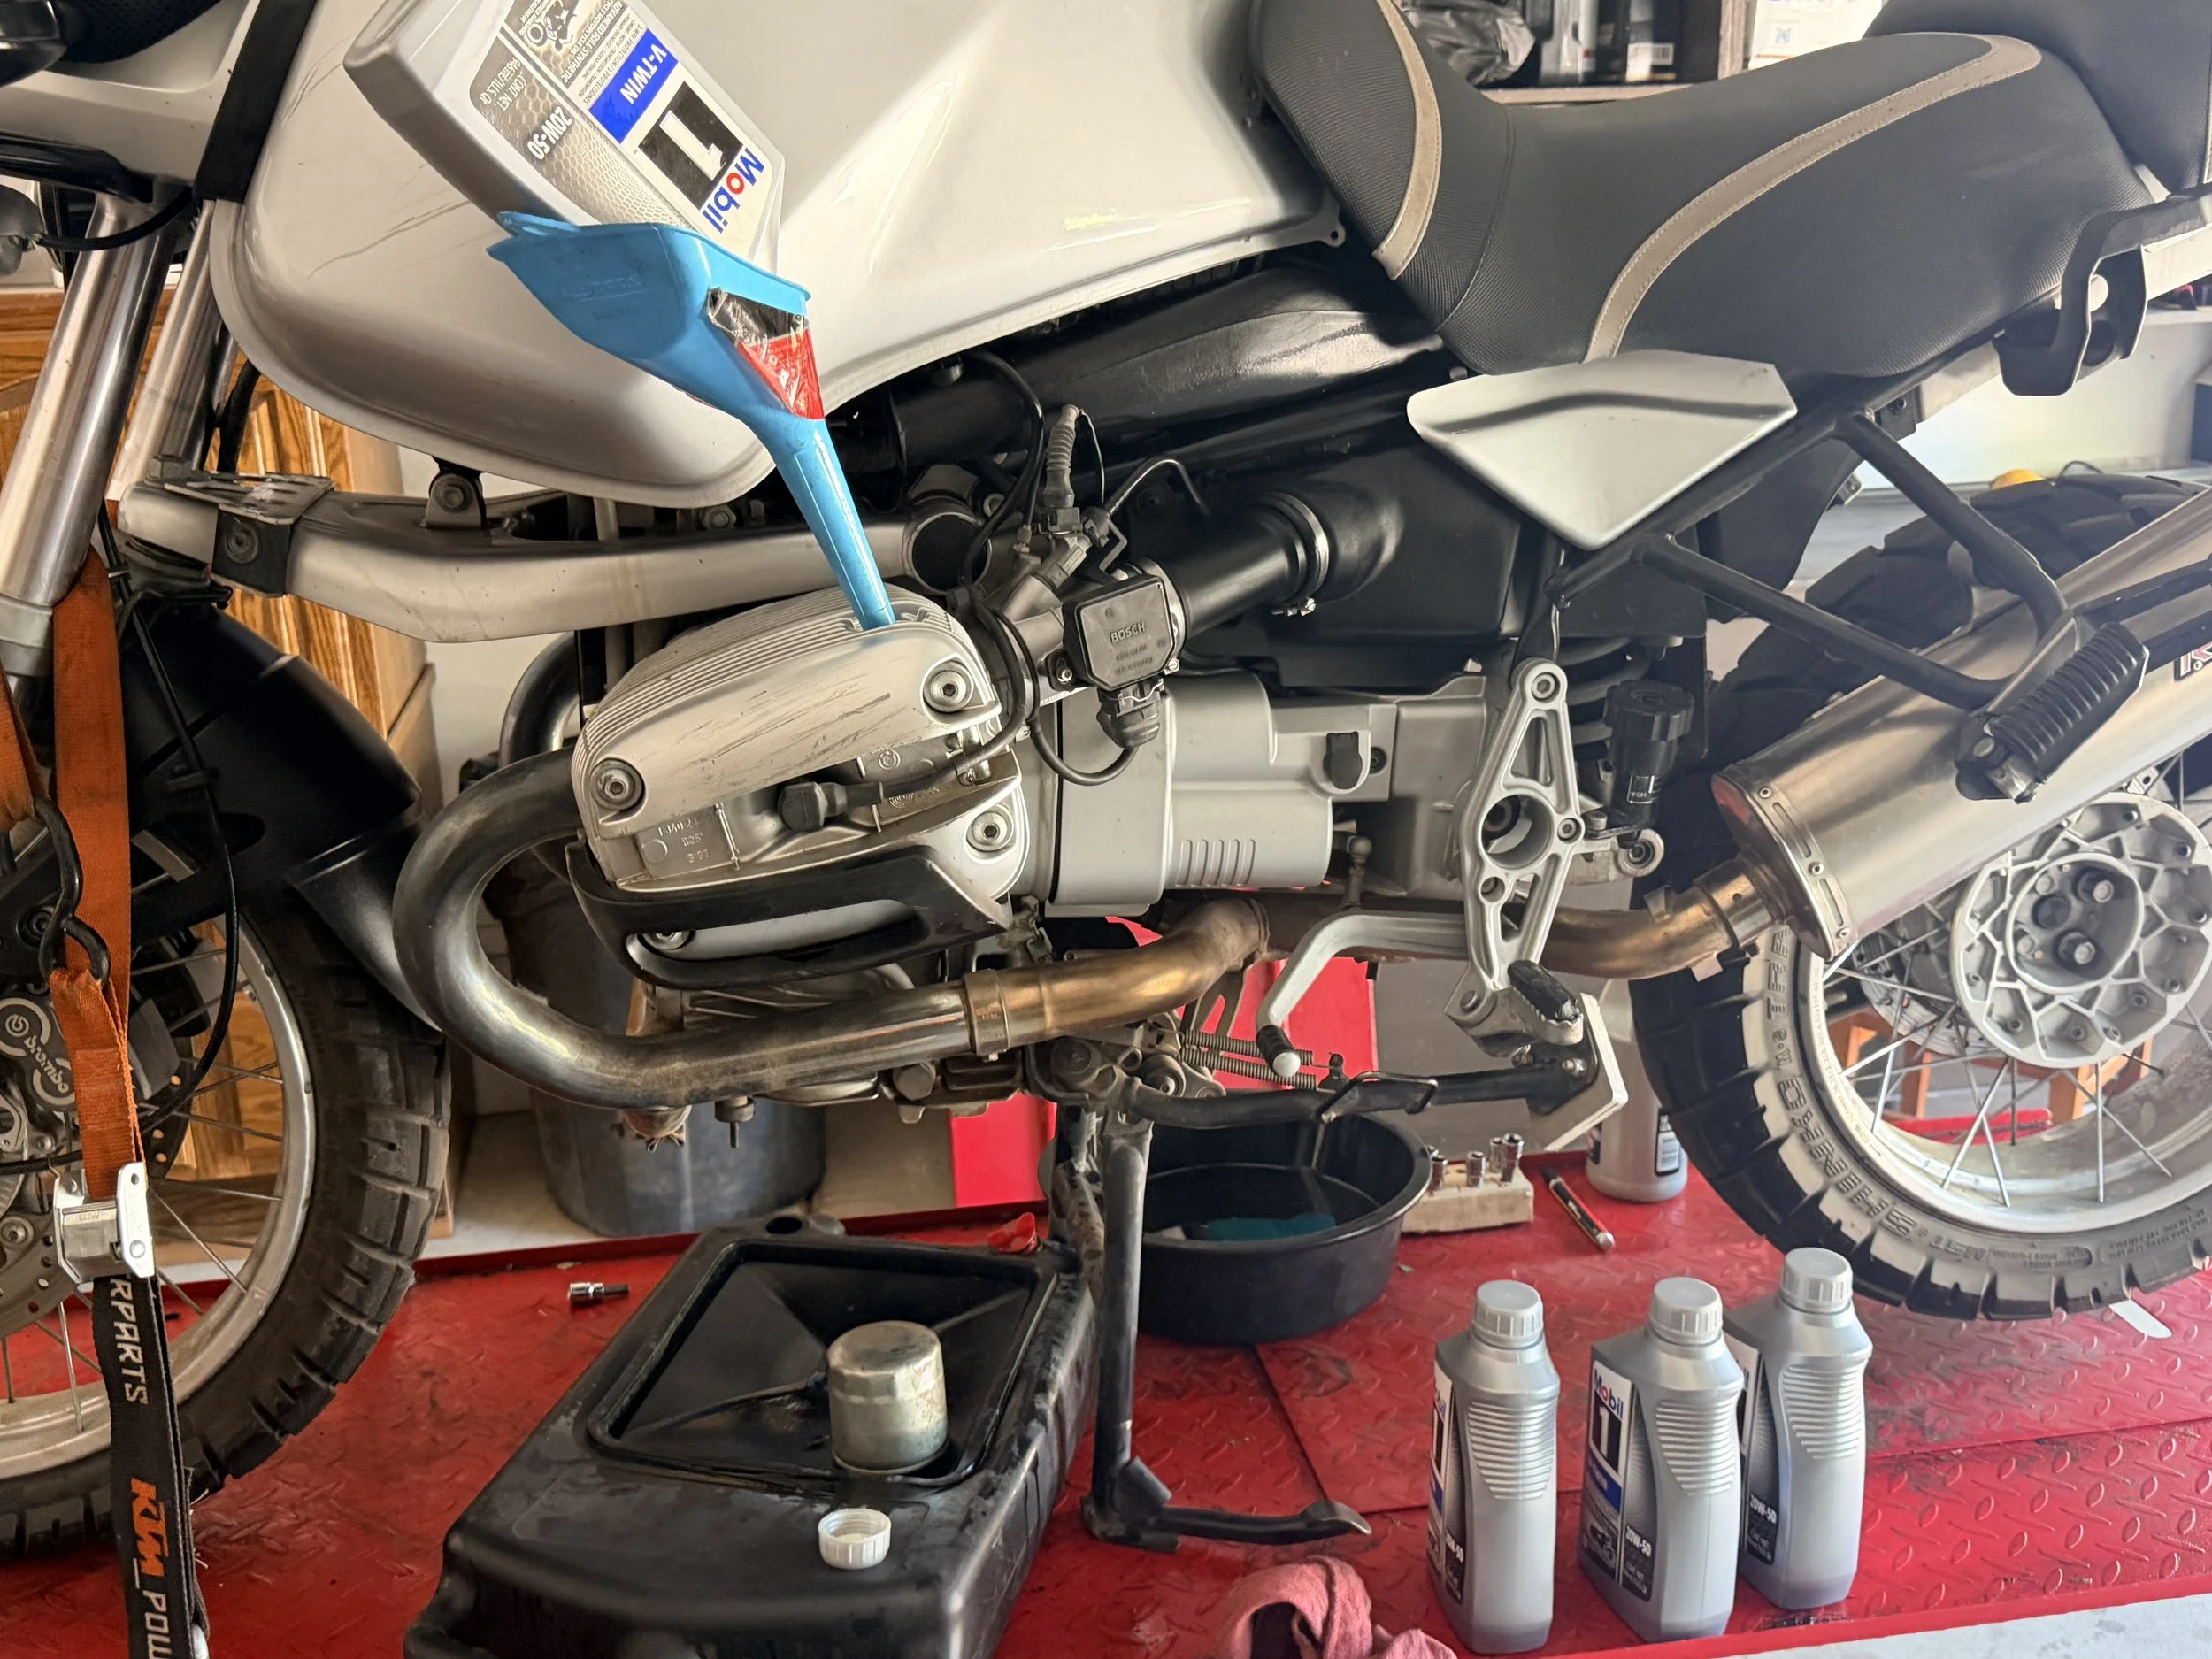
Engine oil & filter replaced - Mobil1 V-Twin 20W-50 & HF-163 filter.
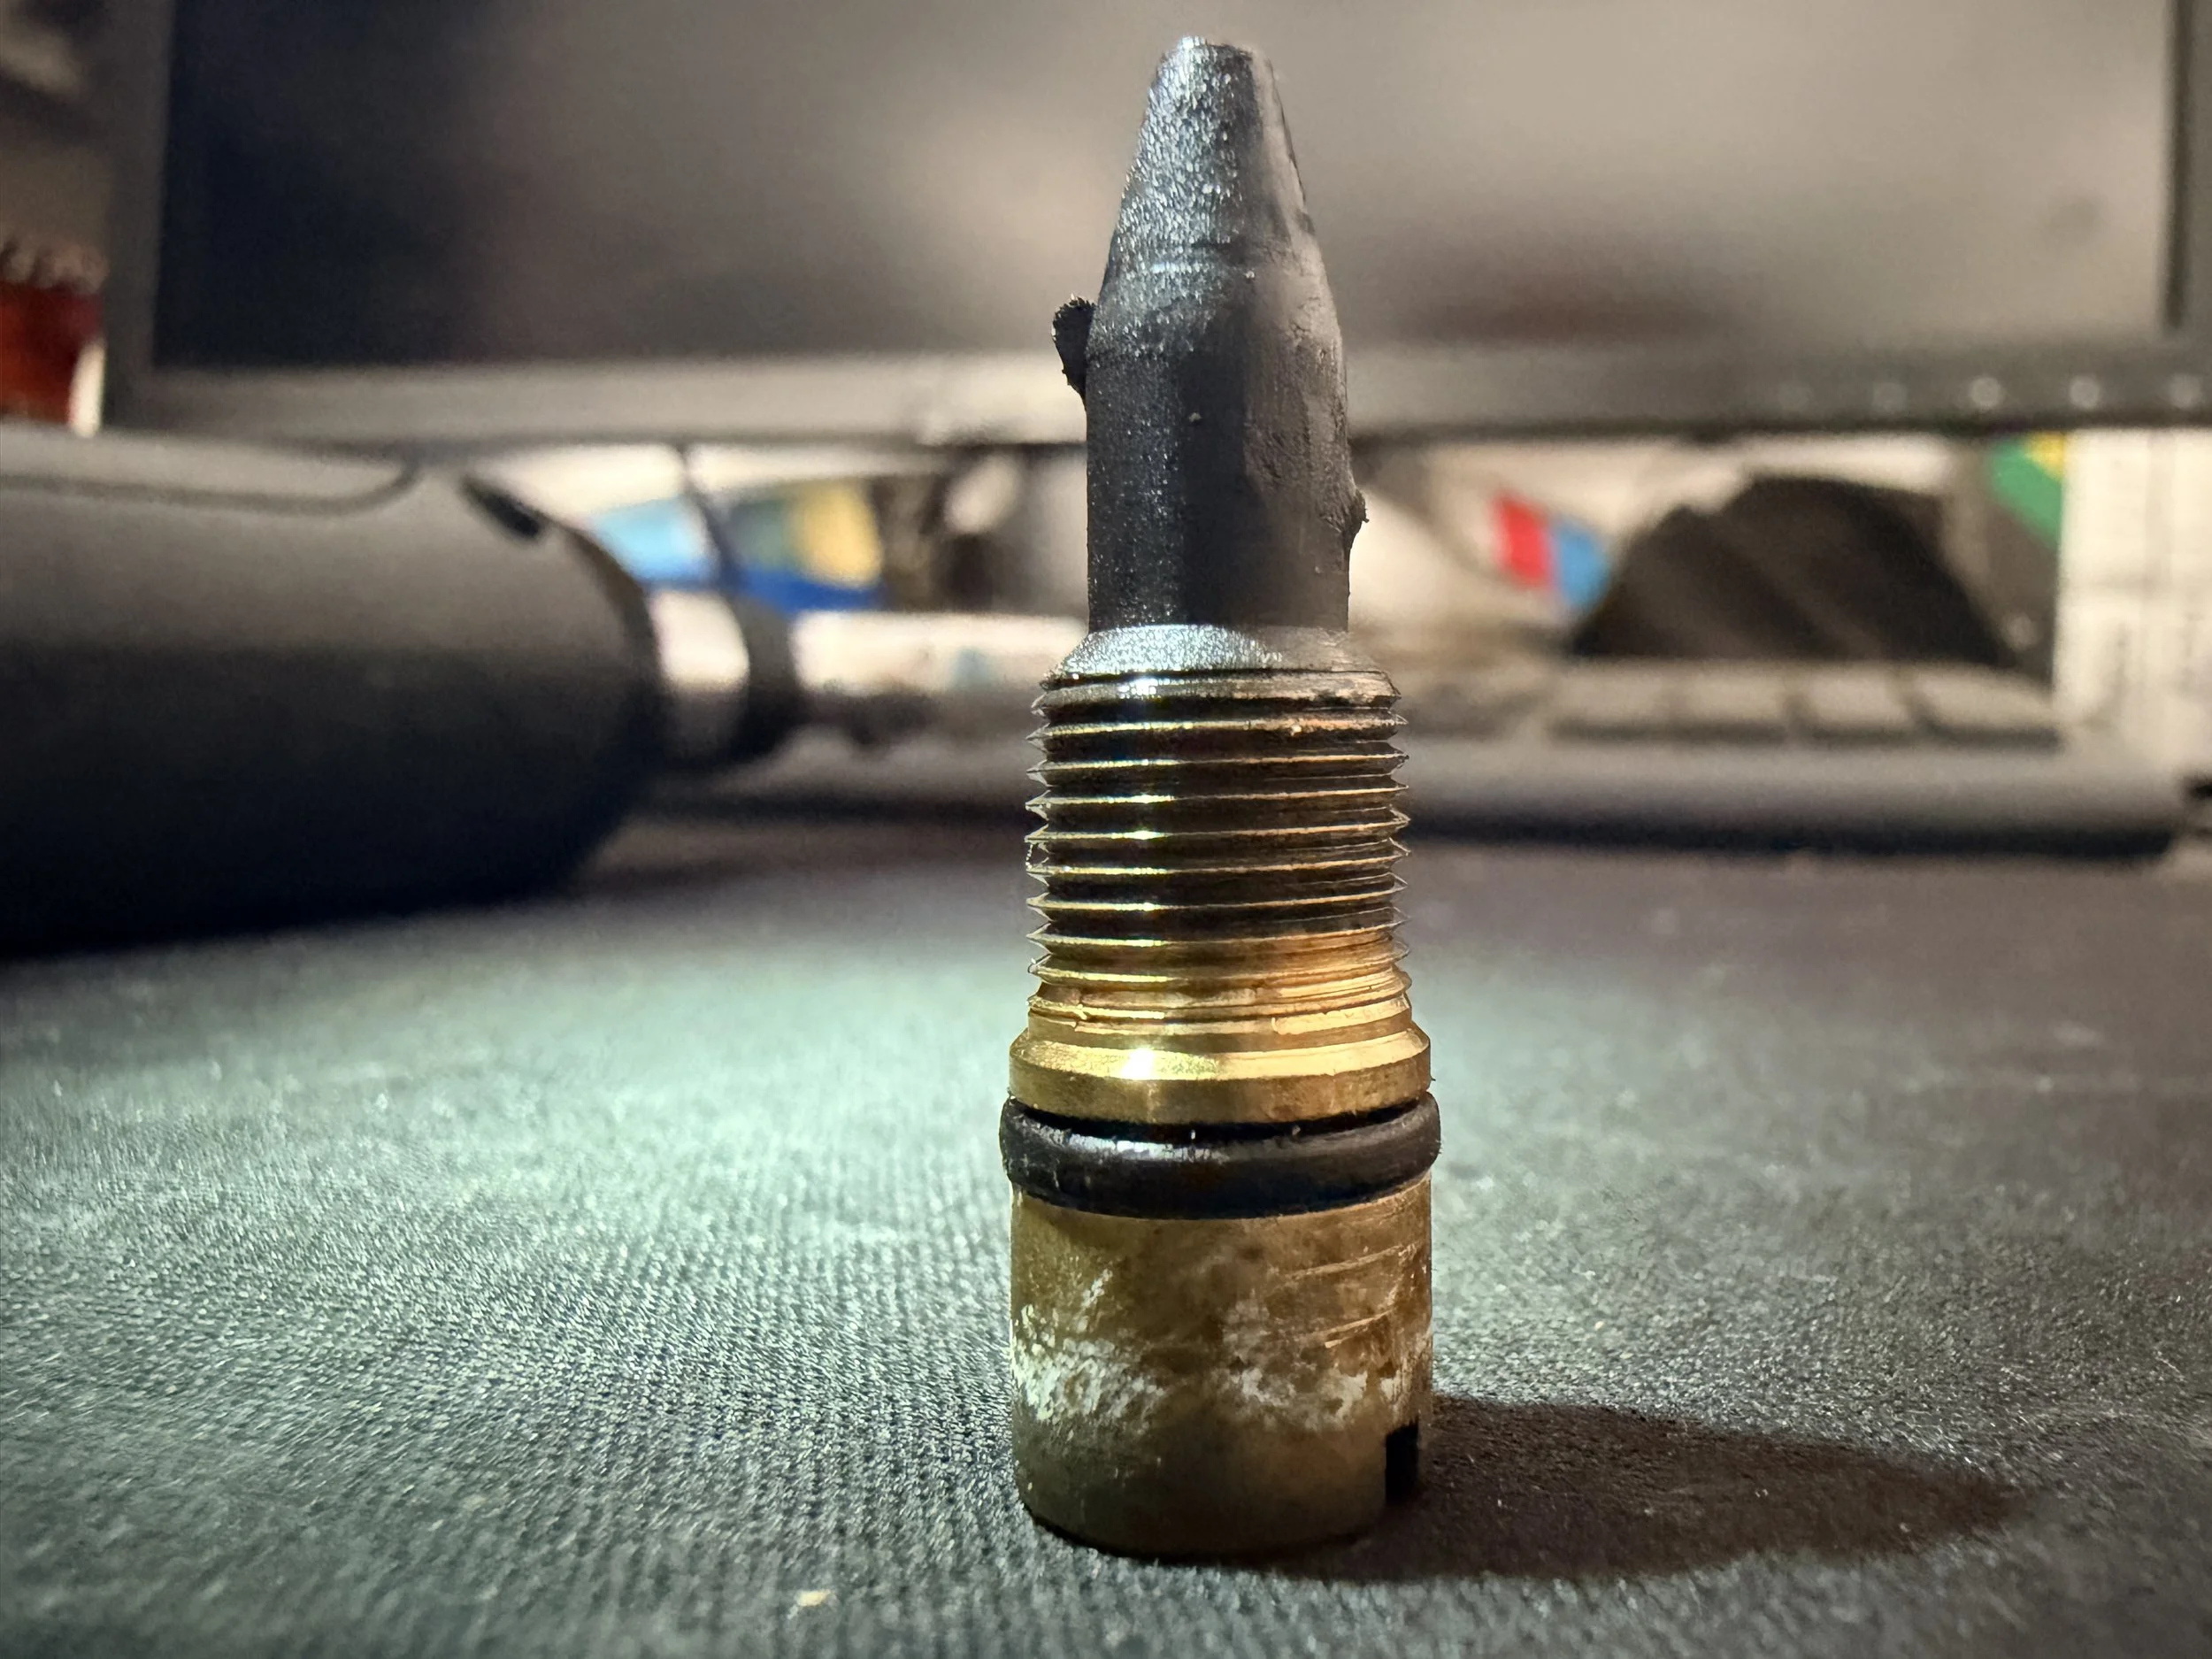
Not great photos, but I pulled the throttle bodies, the big brass screws, and thoroughly cleaned the things. Neglected for sure. Now better.
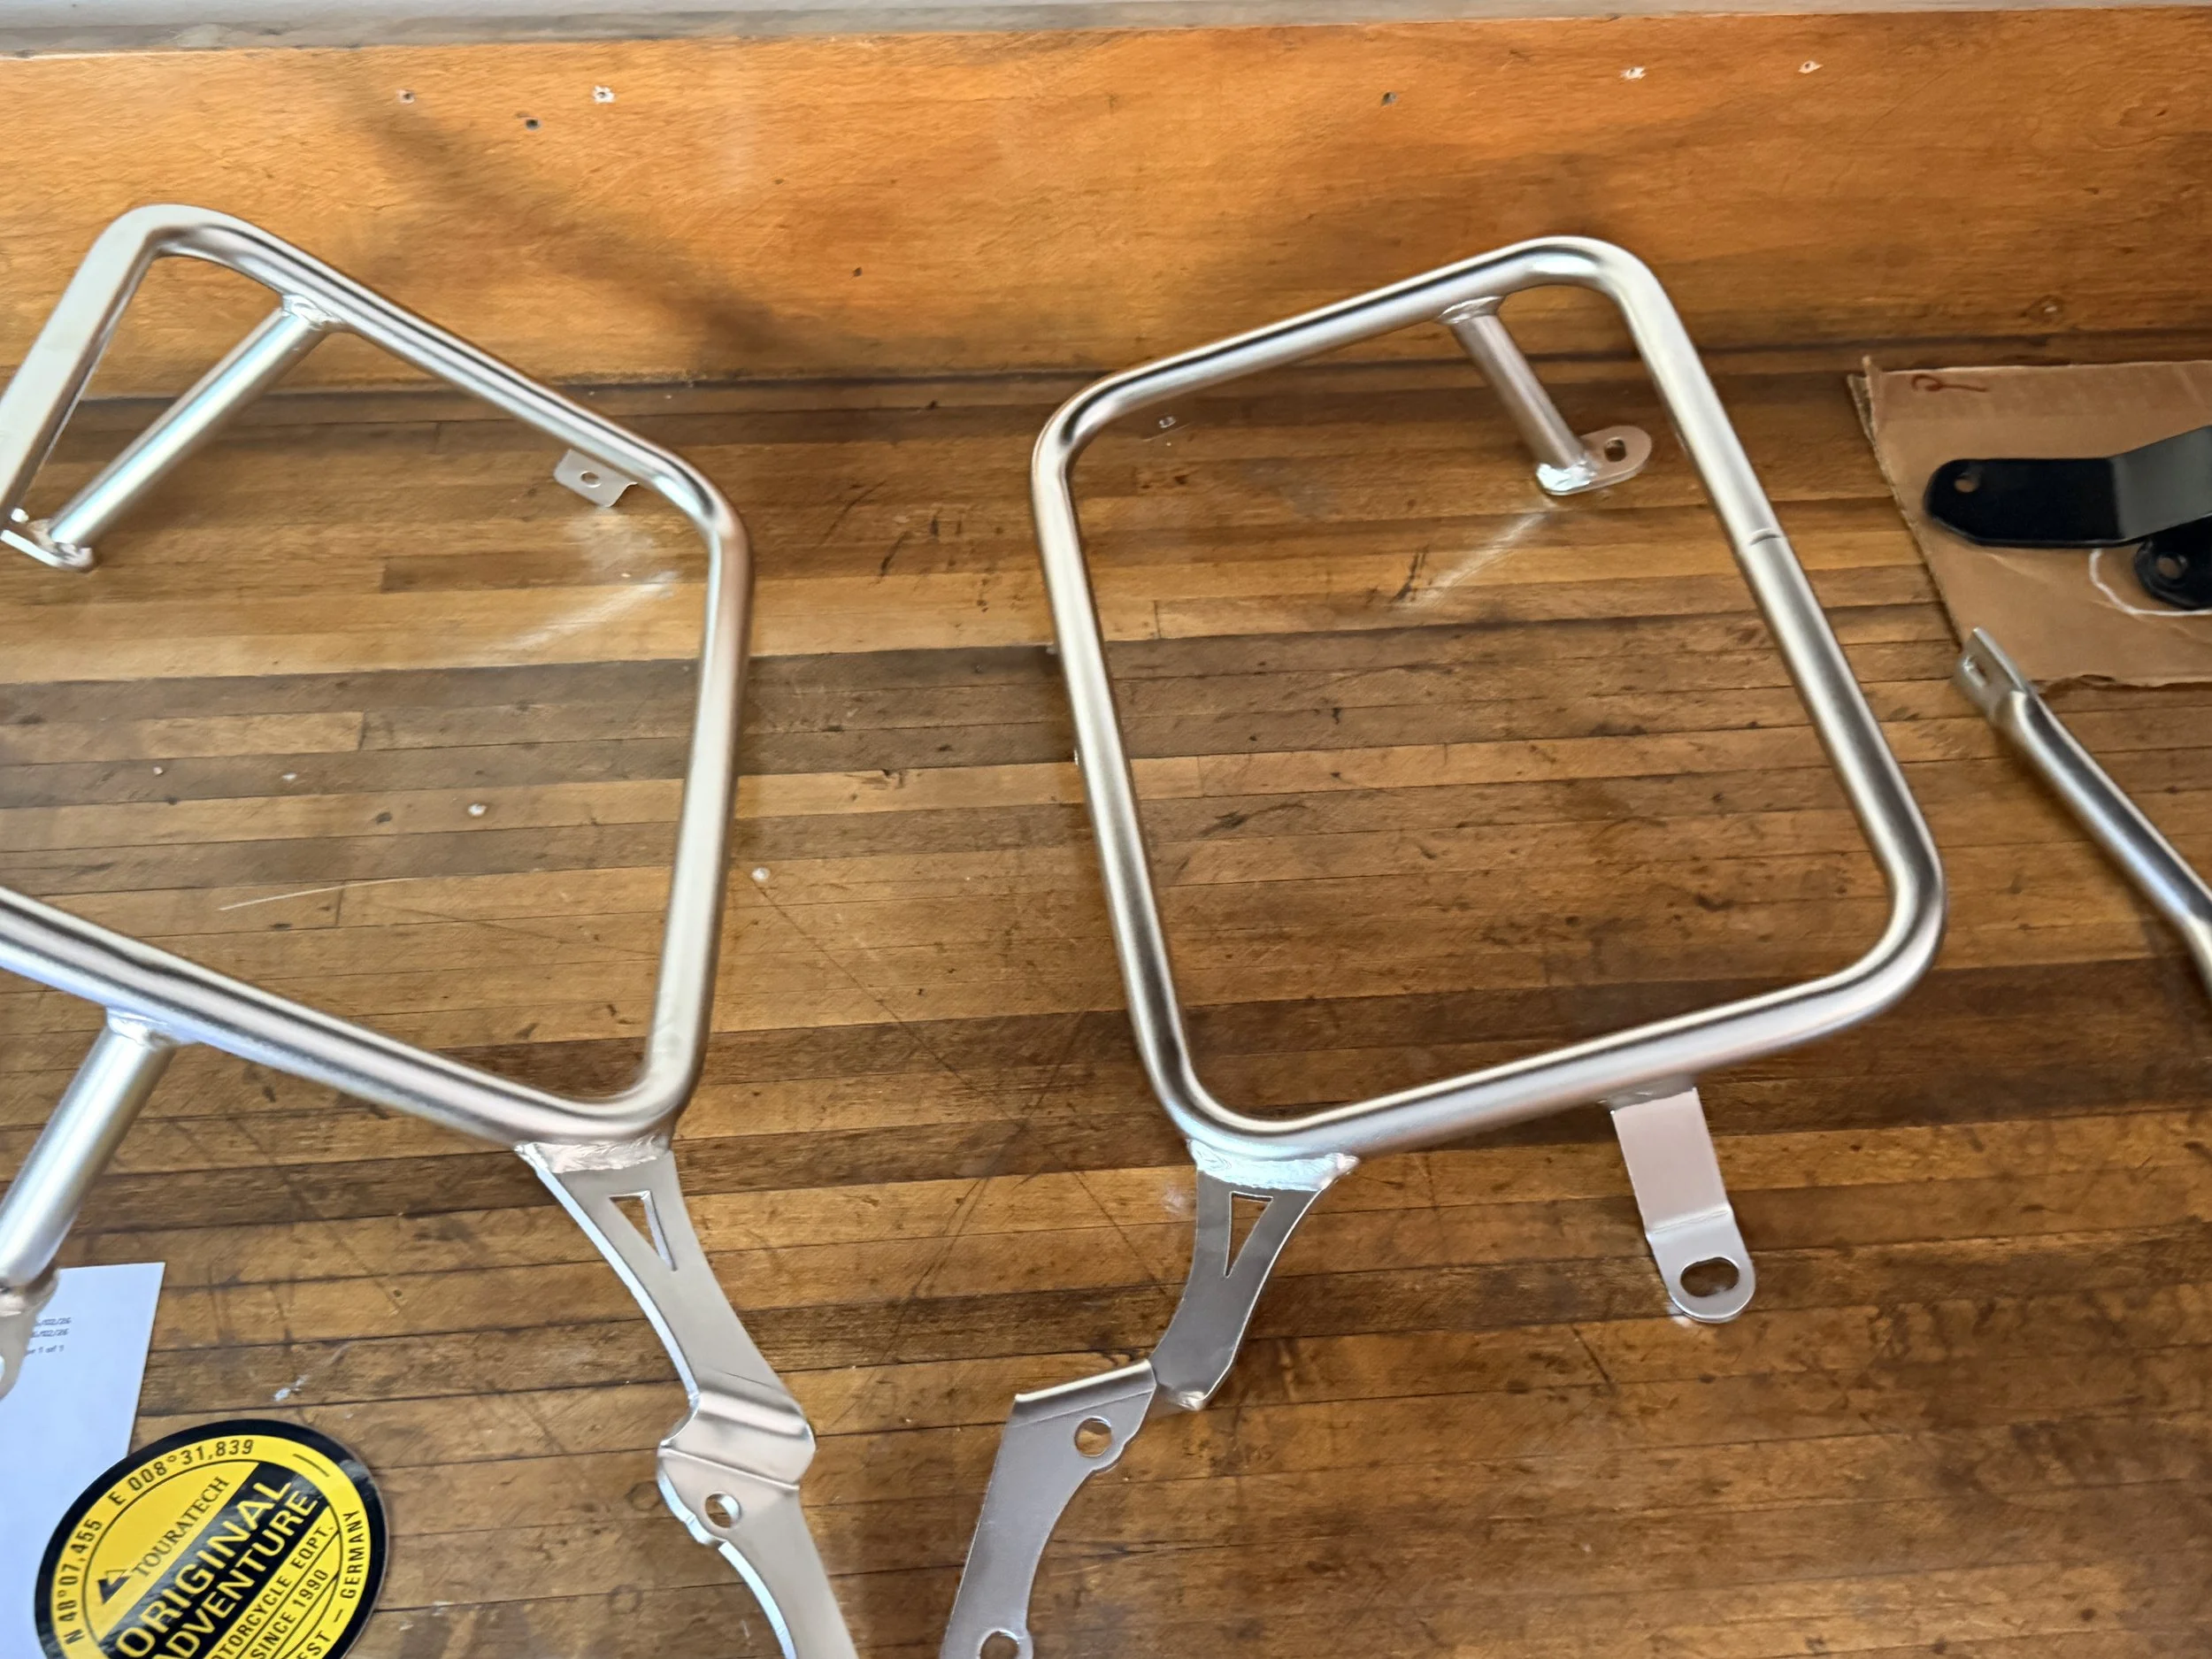
An easy, early win - using the Mosko Moto luggage from my previous bike - just needed something to attach them to. The Touratech racks went on super easy.
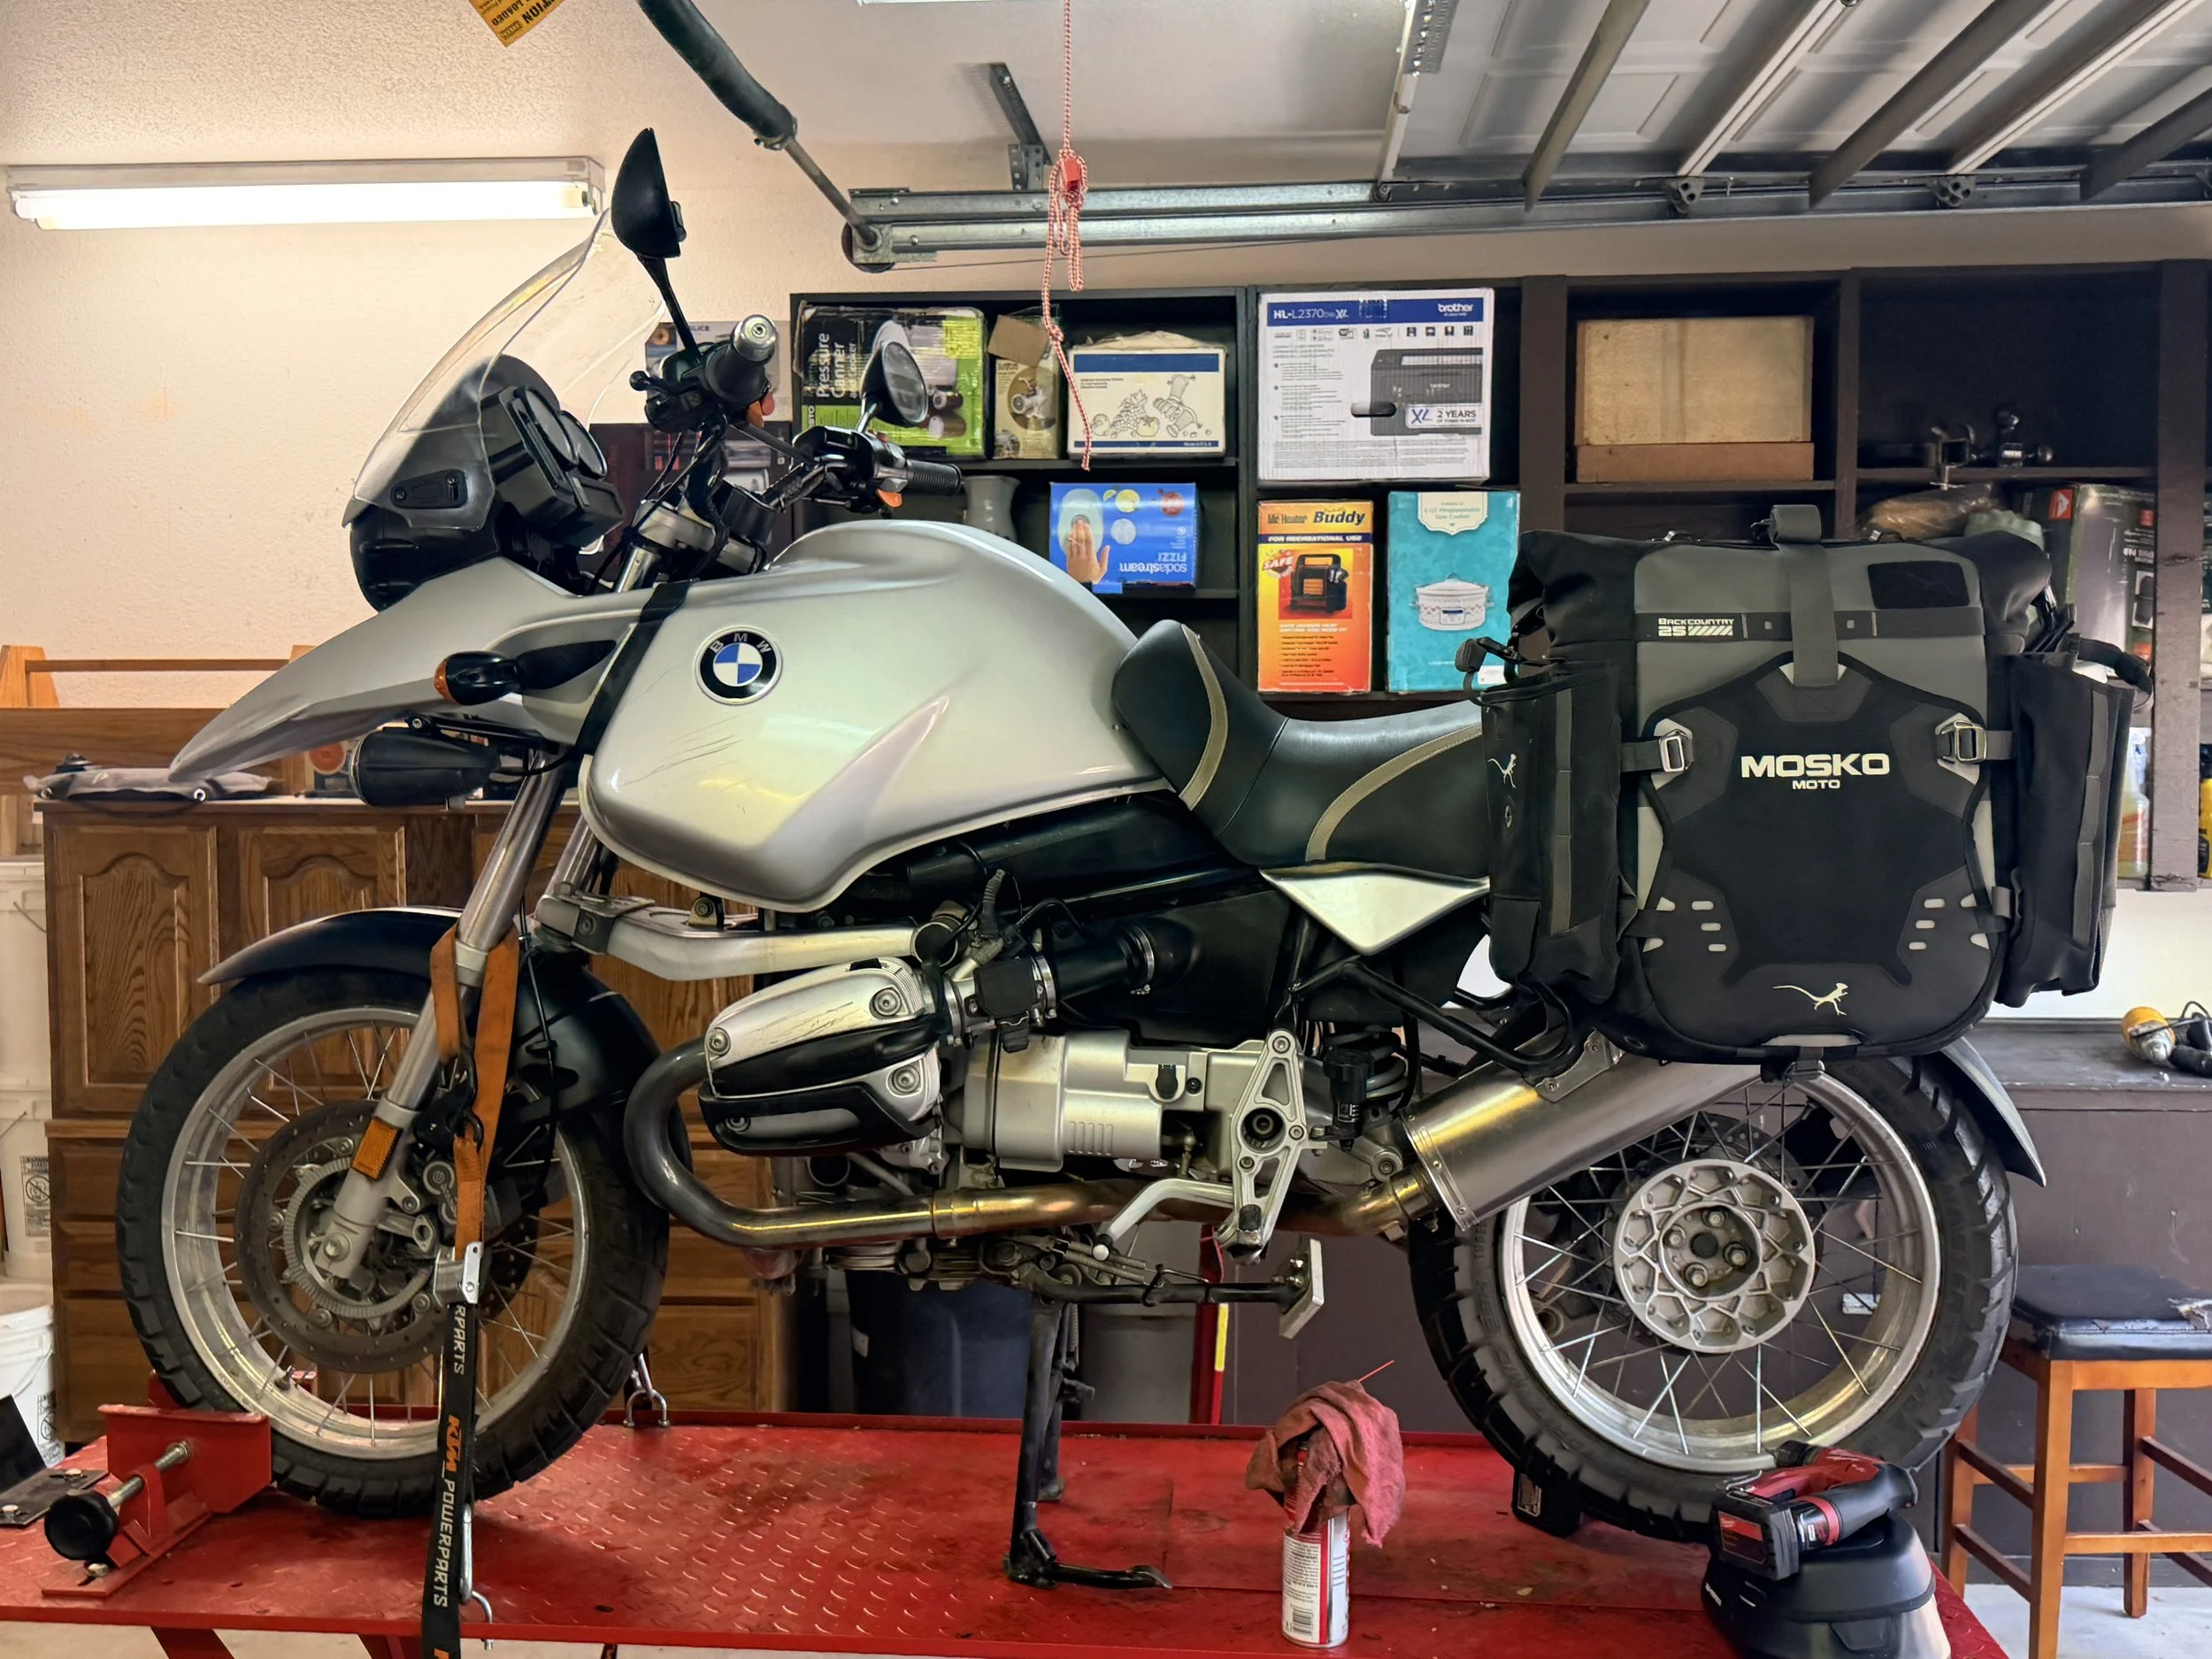
Success - we can now go places. The luggage looks great & is highly functional on the bike.
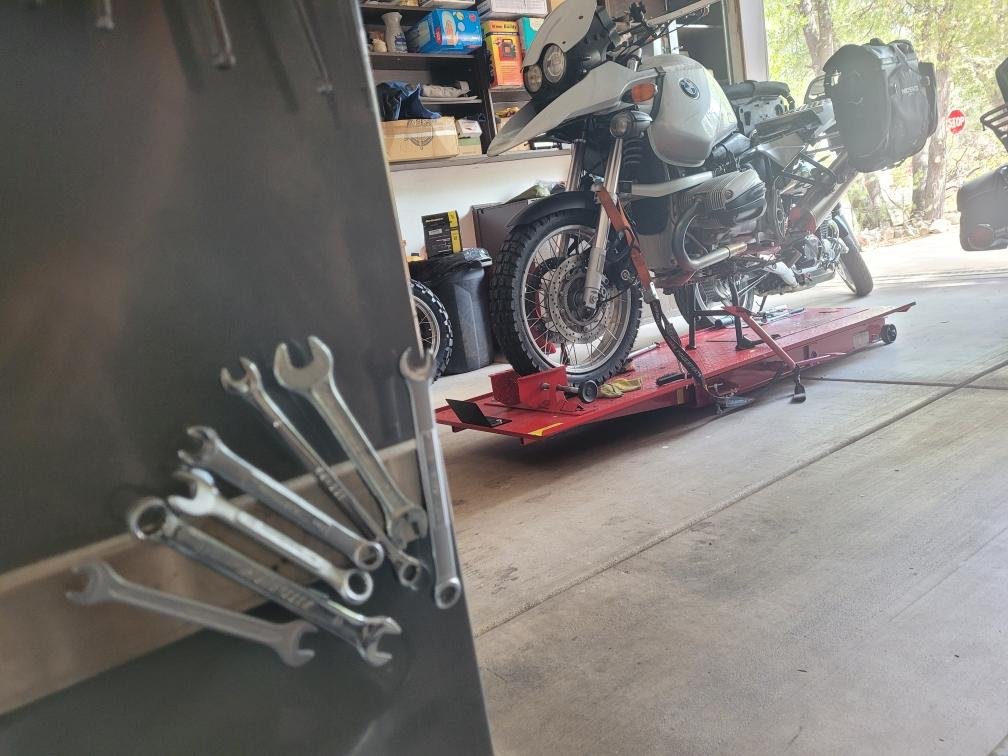
Another look - taken by my son.
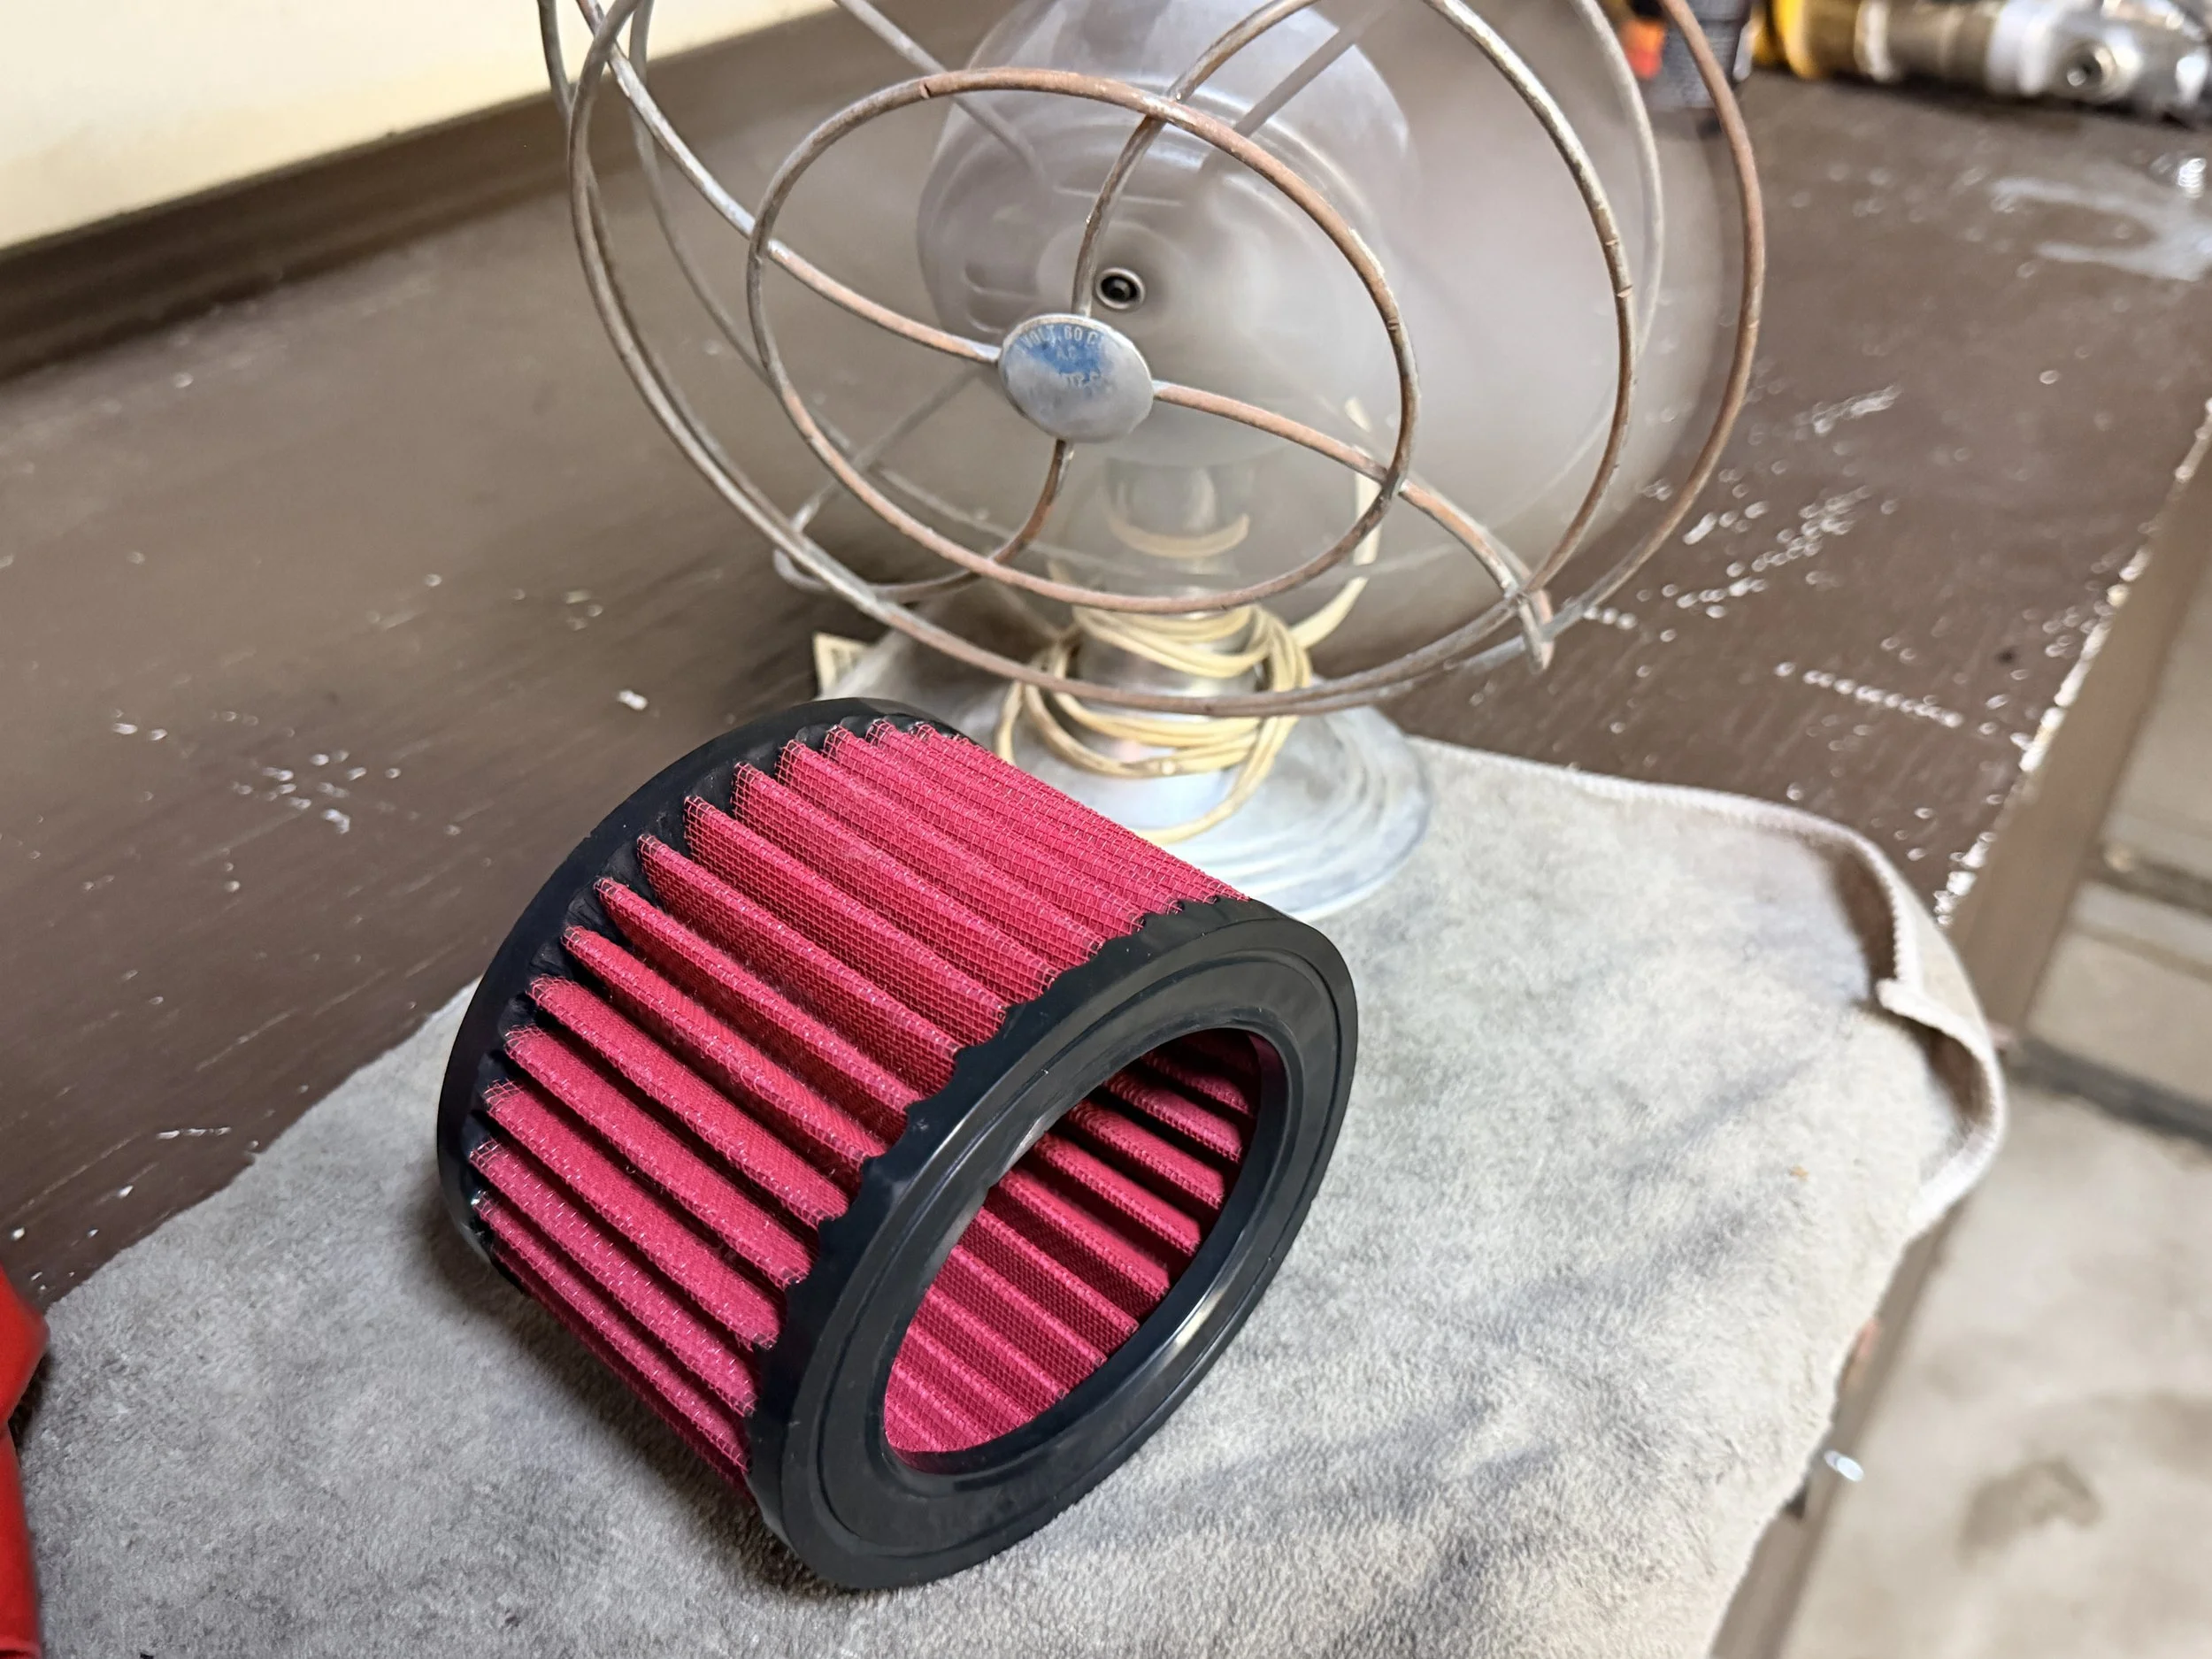
Air filter cleaned, oiled, and ready for more action.
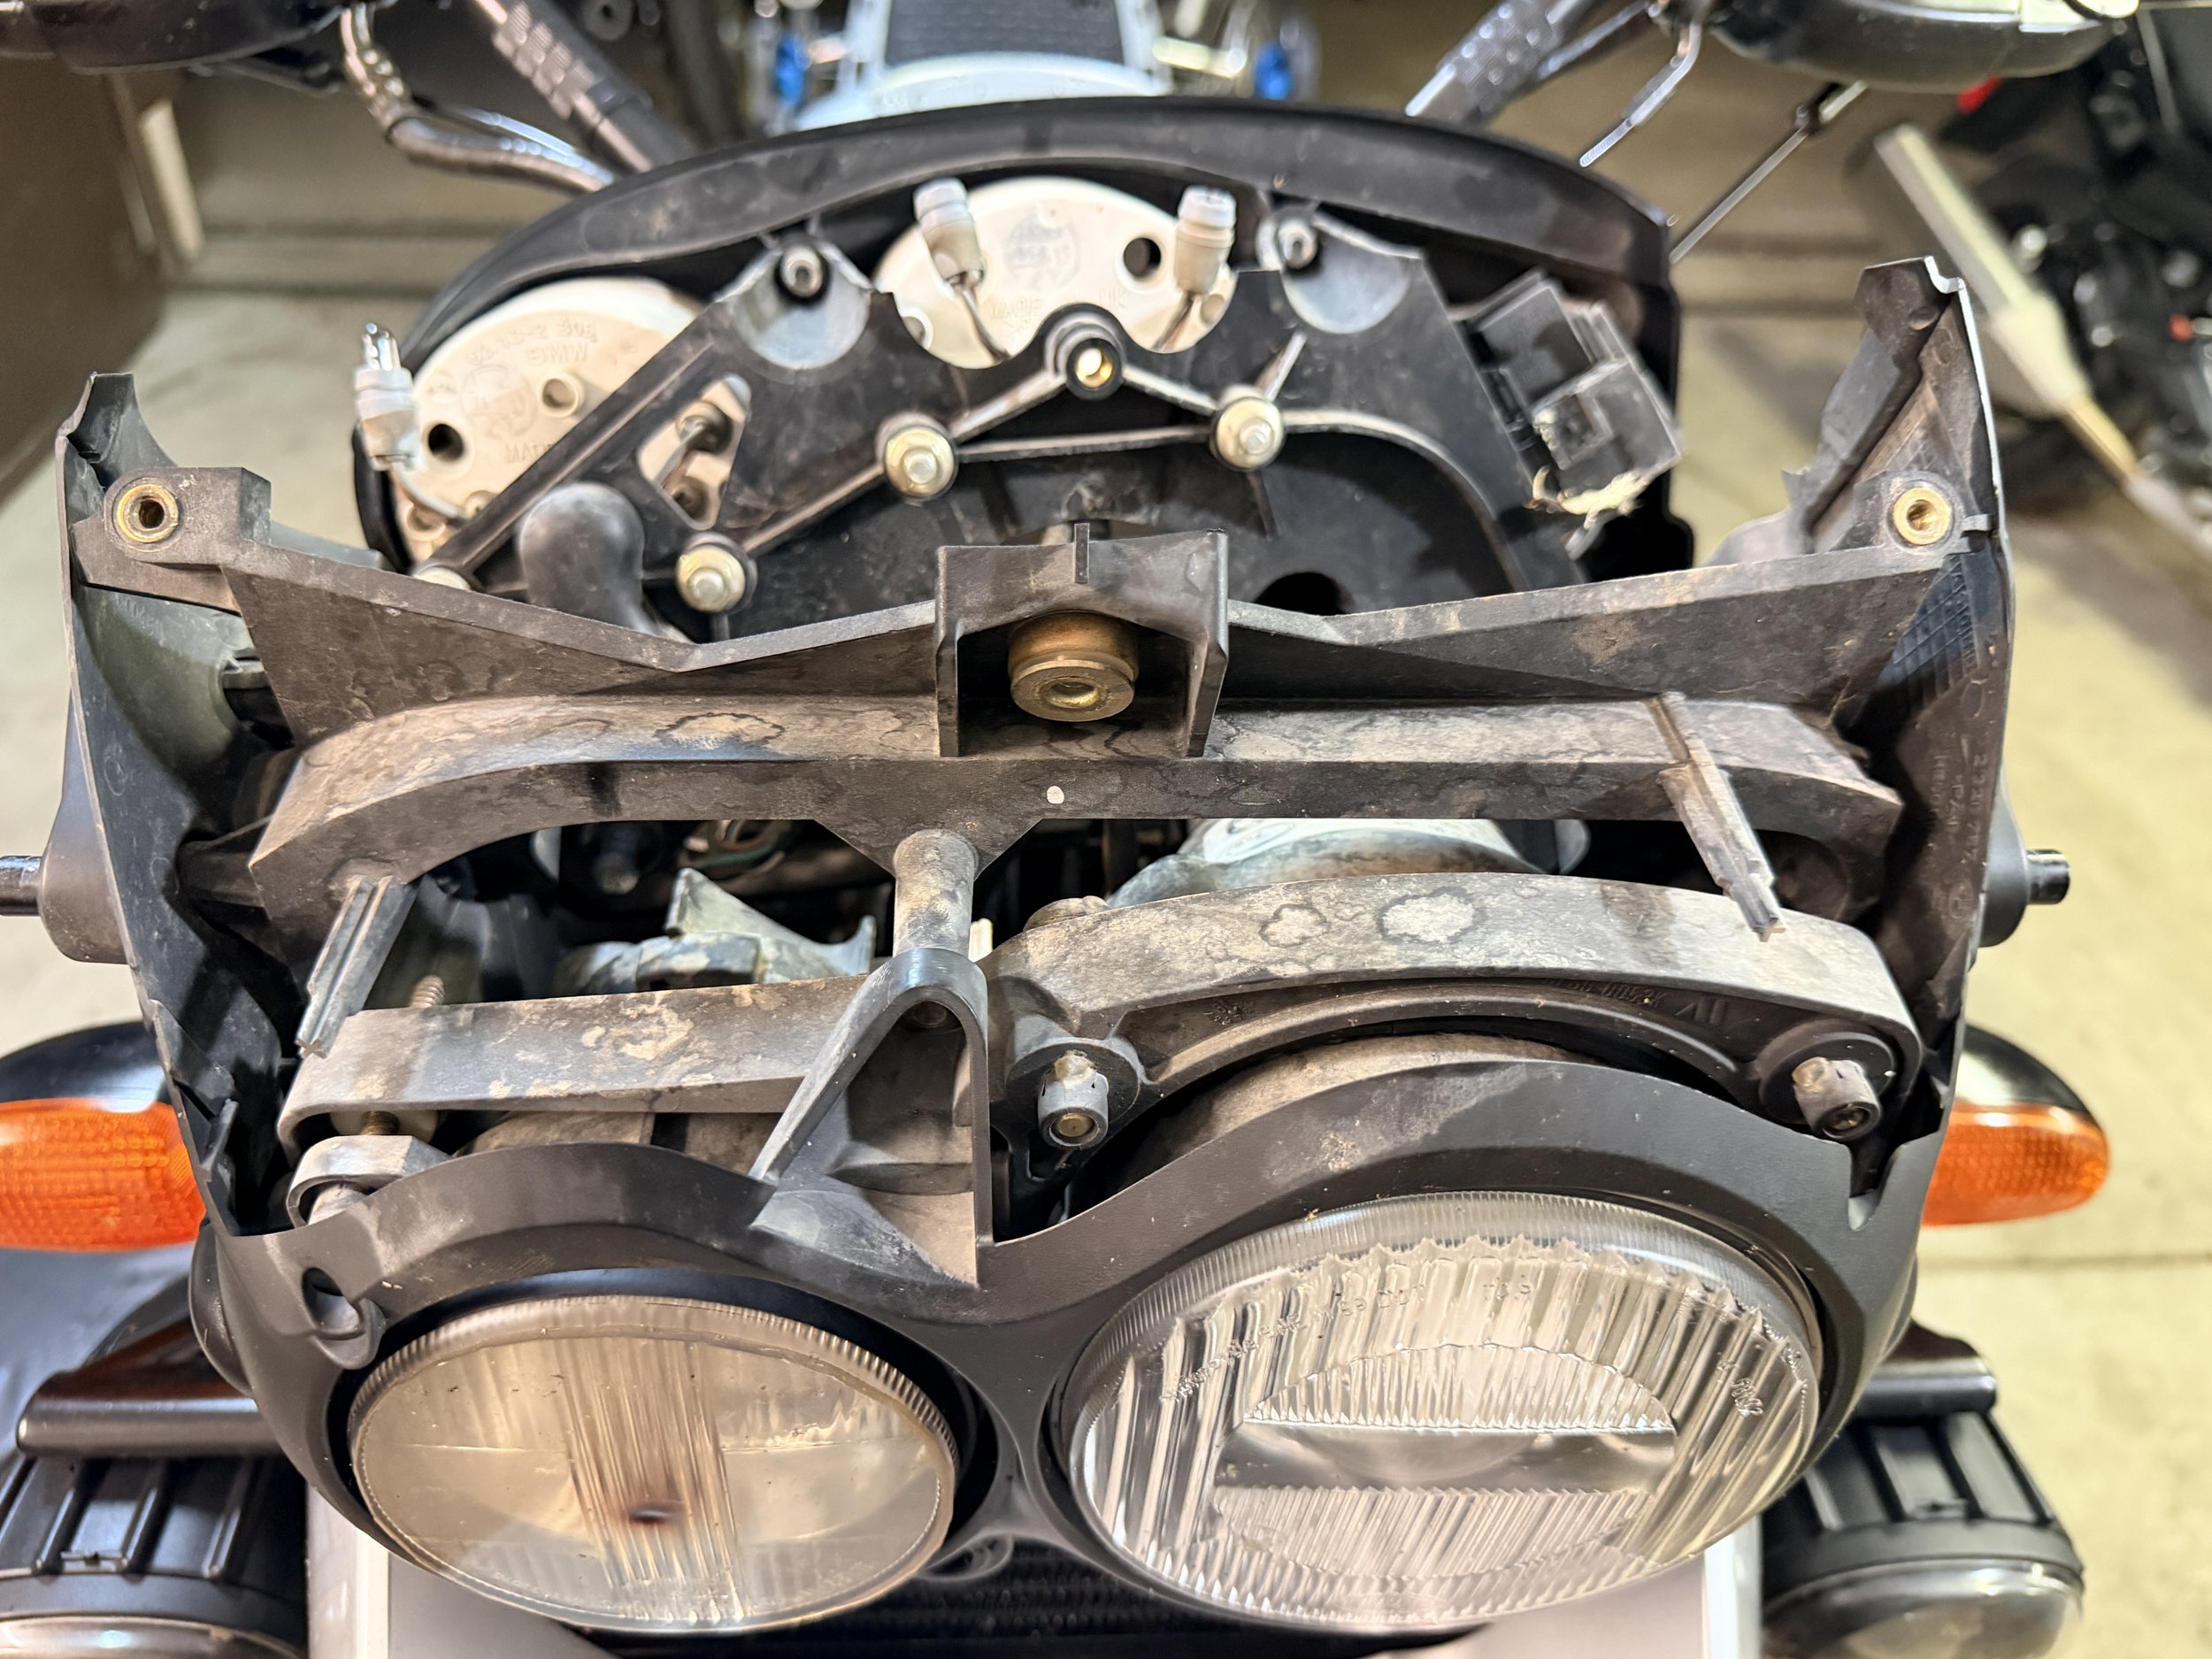
I had to dig into the headlight assembly to replace all the bulbs. I replaced them with standard bulbs easily replaced at parts store. Headlights were replaced with H1 LED bulbs. The wiring in the headlight area was an absolute mess with multiple grounds shorted. All wiring was sorted.
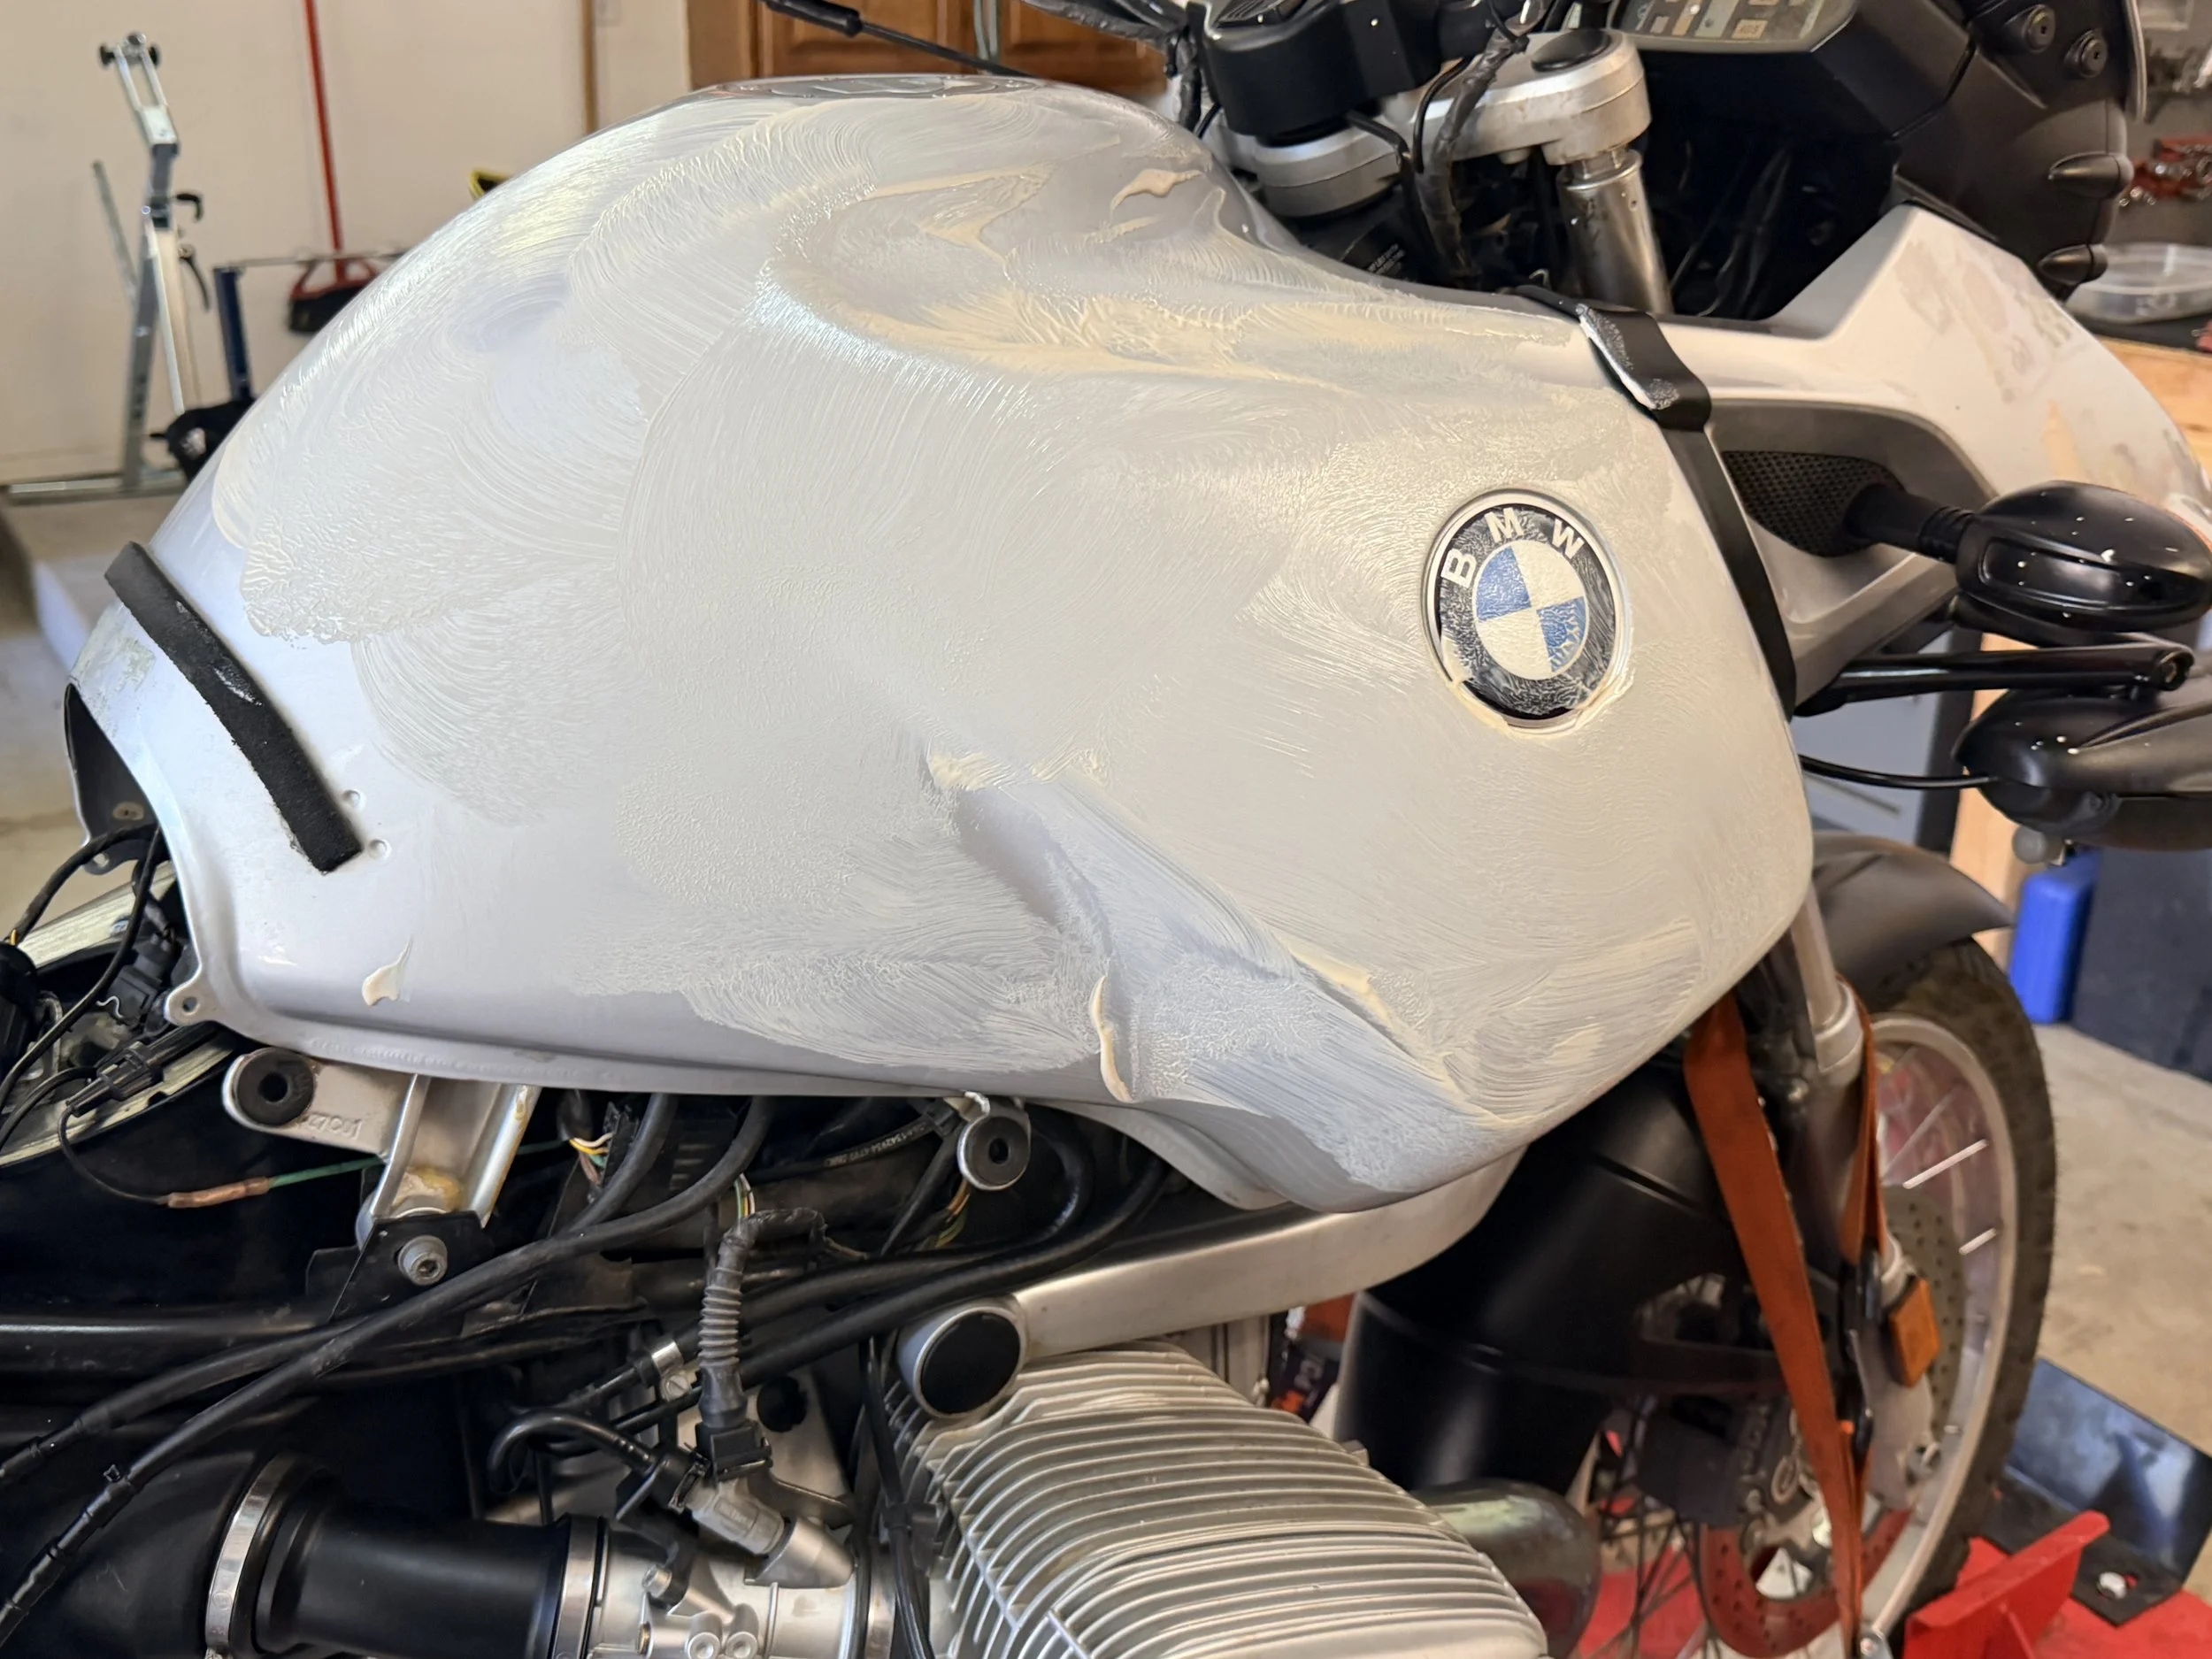
I did the right thing & buffed the tank. Did it make a difference? To me, very little. Others remarked it transformed it. You can be the judge.
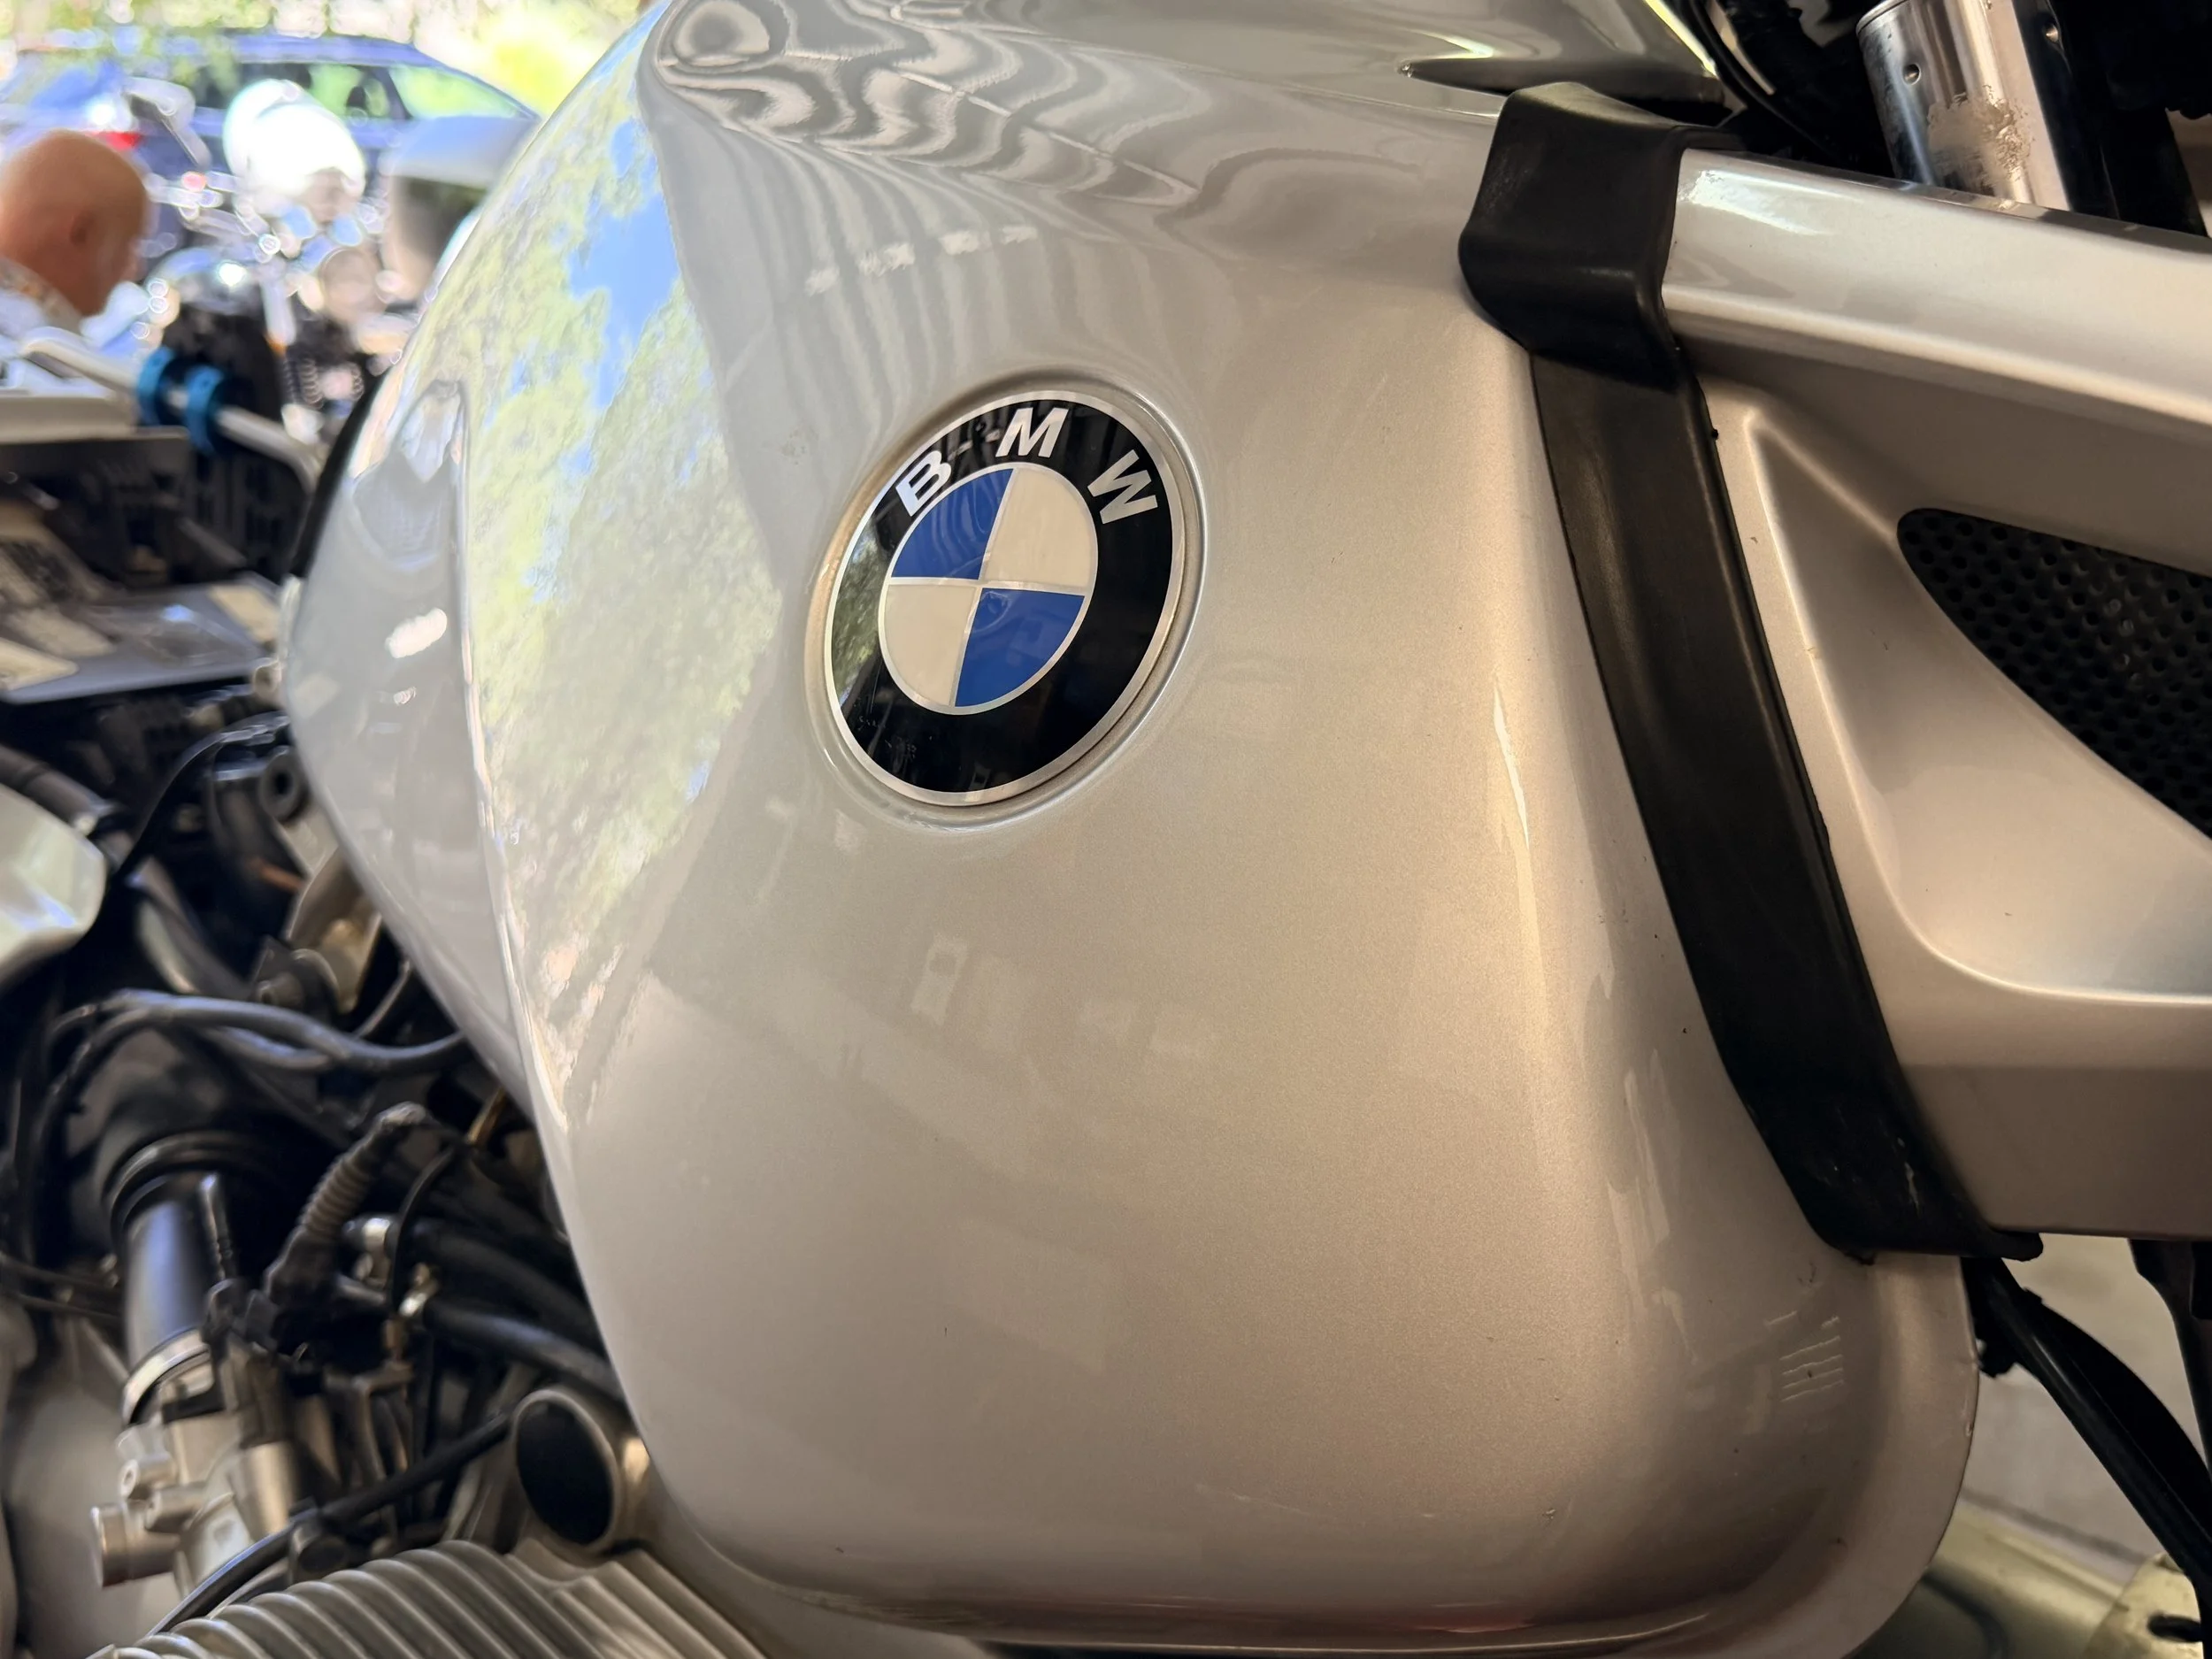
Looking good.
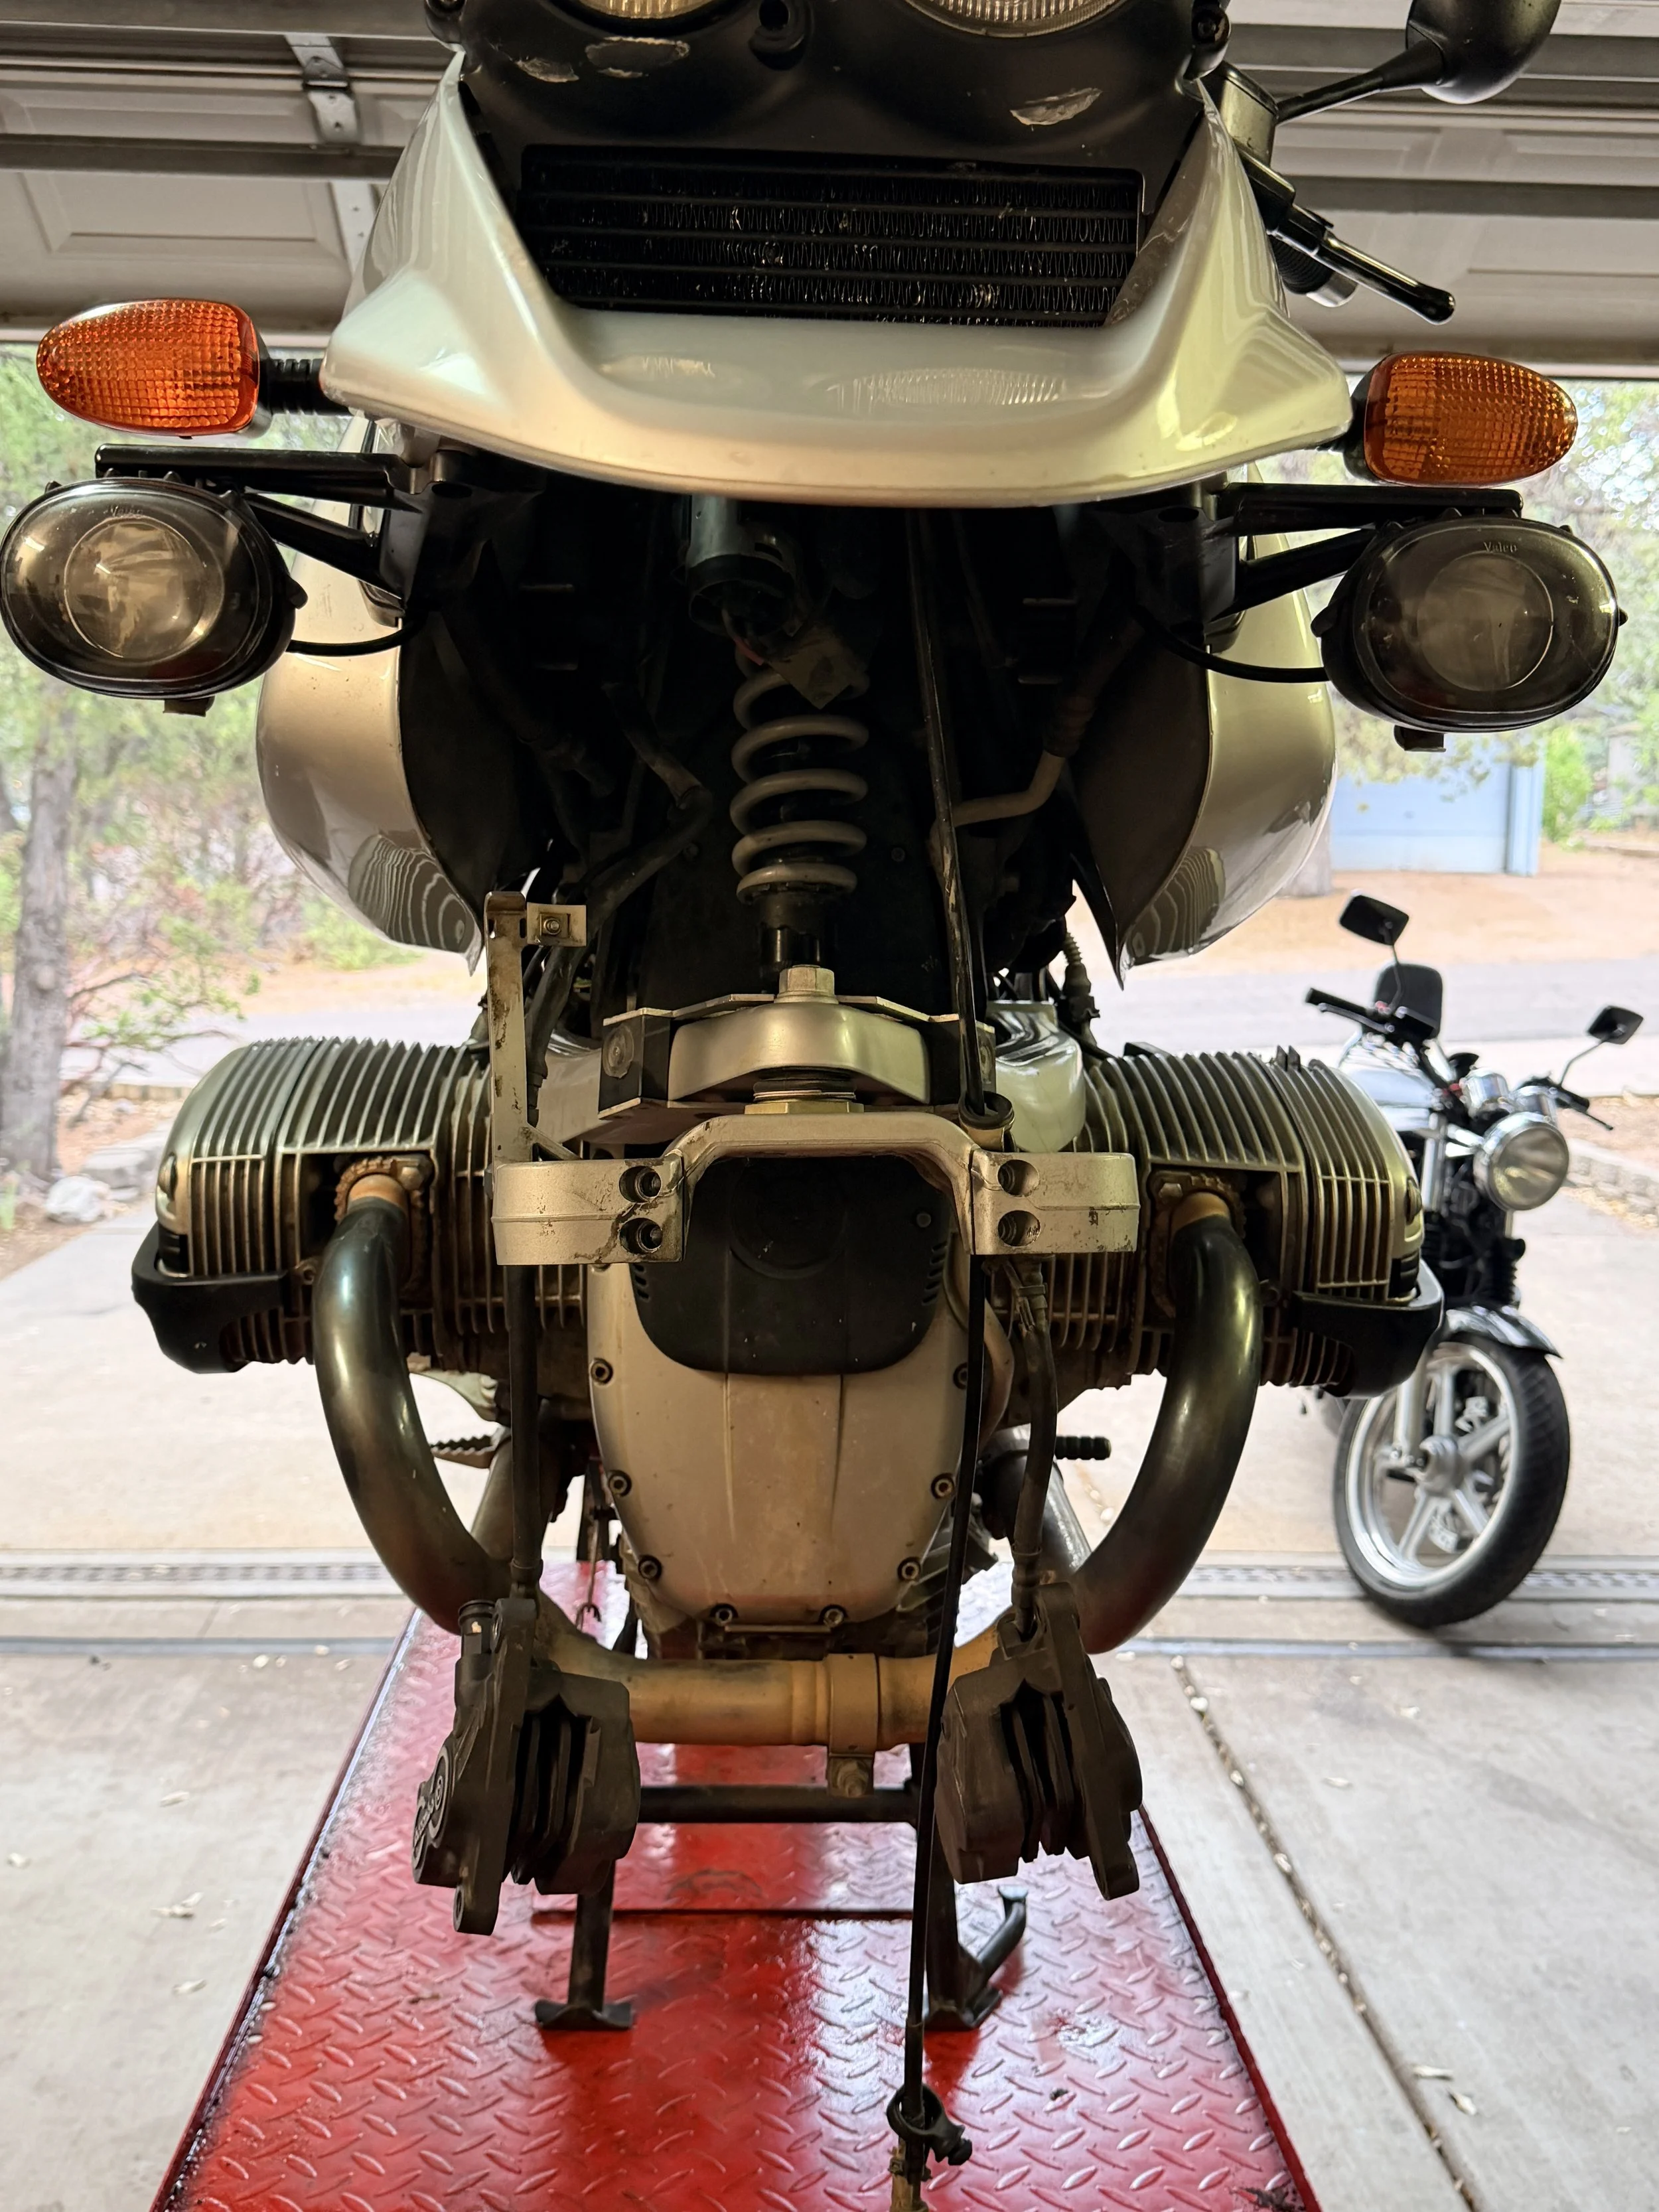
Off came the front end to being the wheel rebuild & the front fork repairs. The clutch cover showed signs of leaking - it hasn't since, and I cannot find the original source. I lean towards front suspension leaking although not obvious.
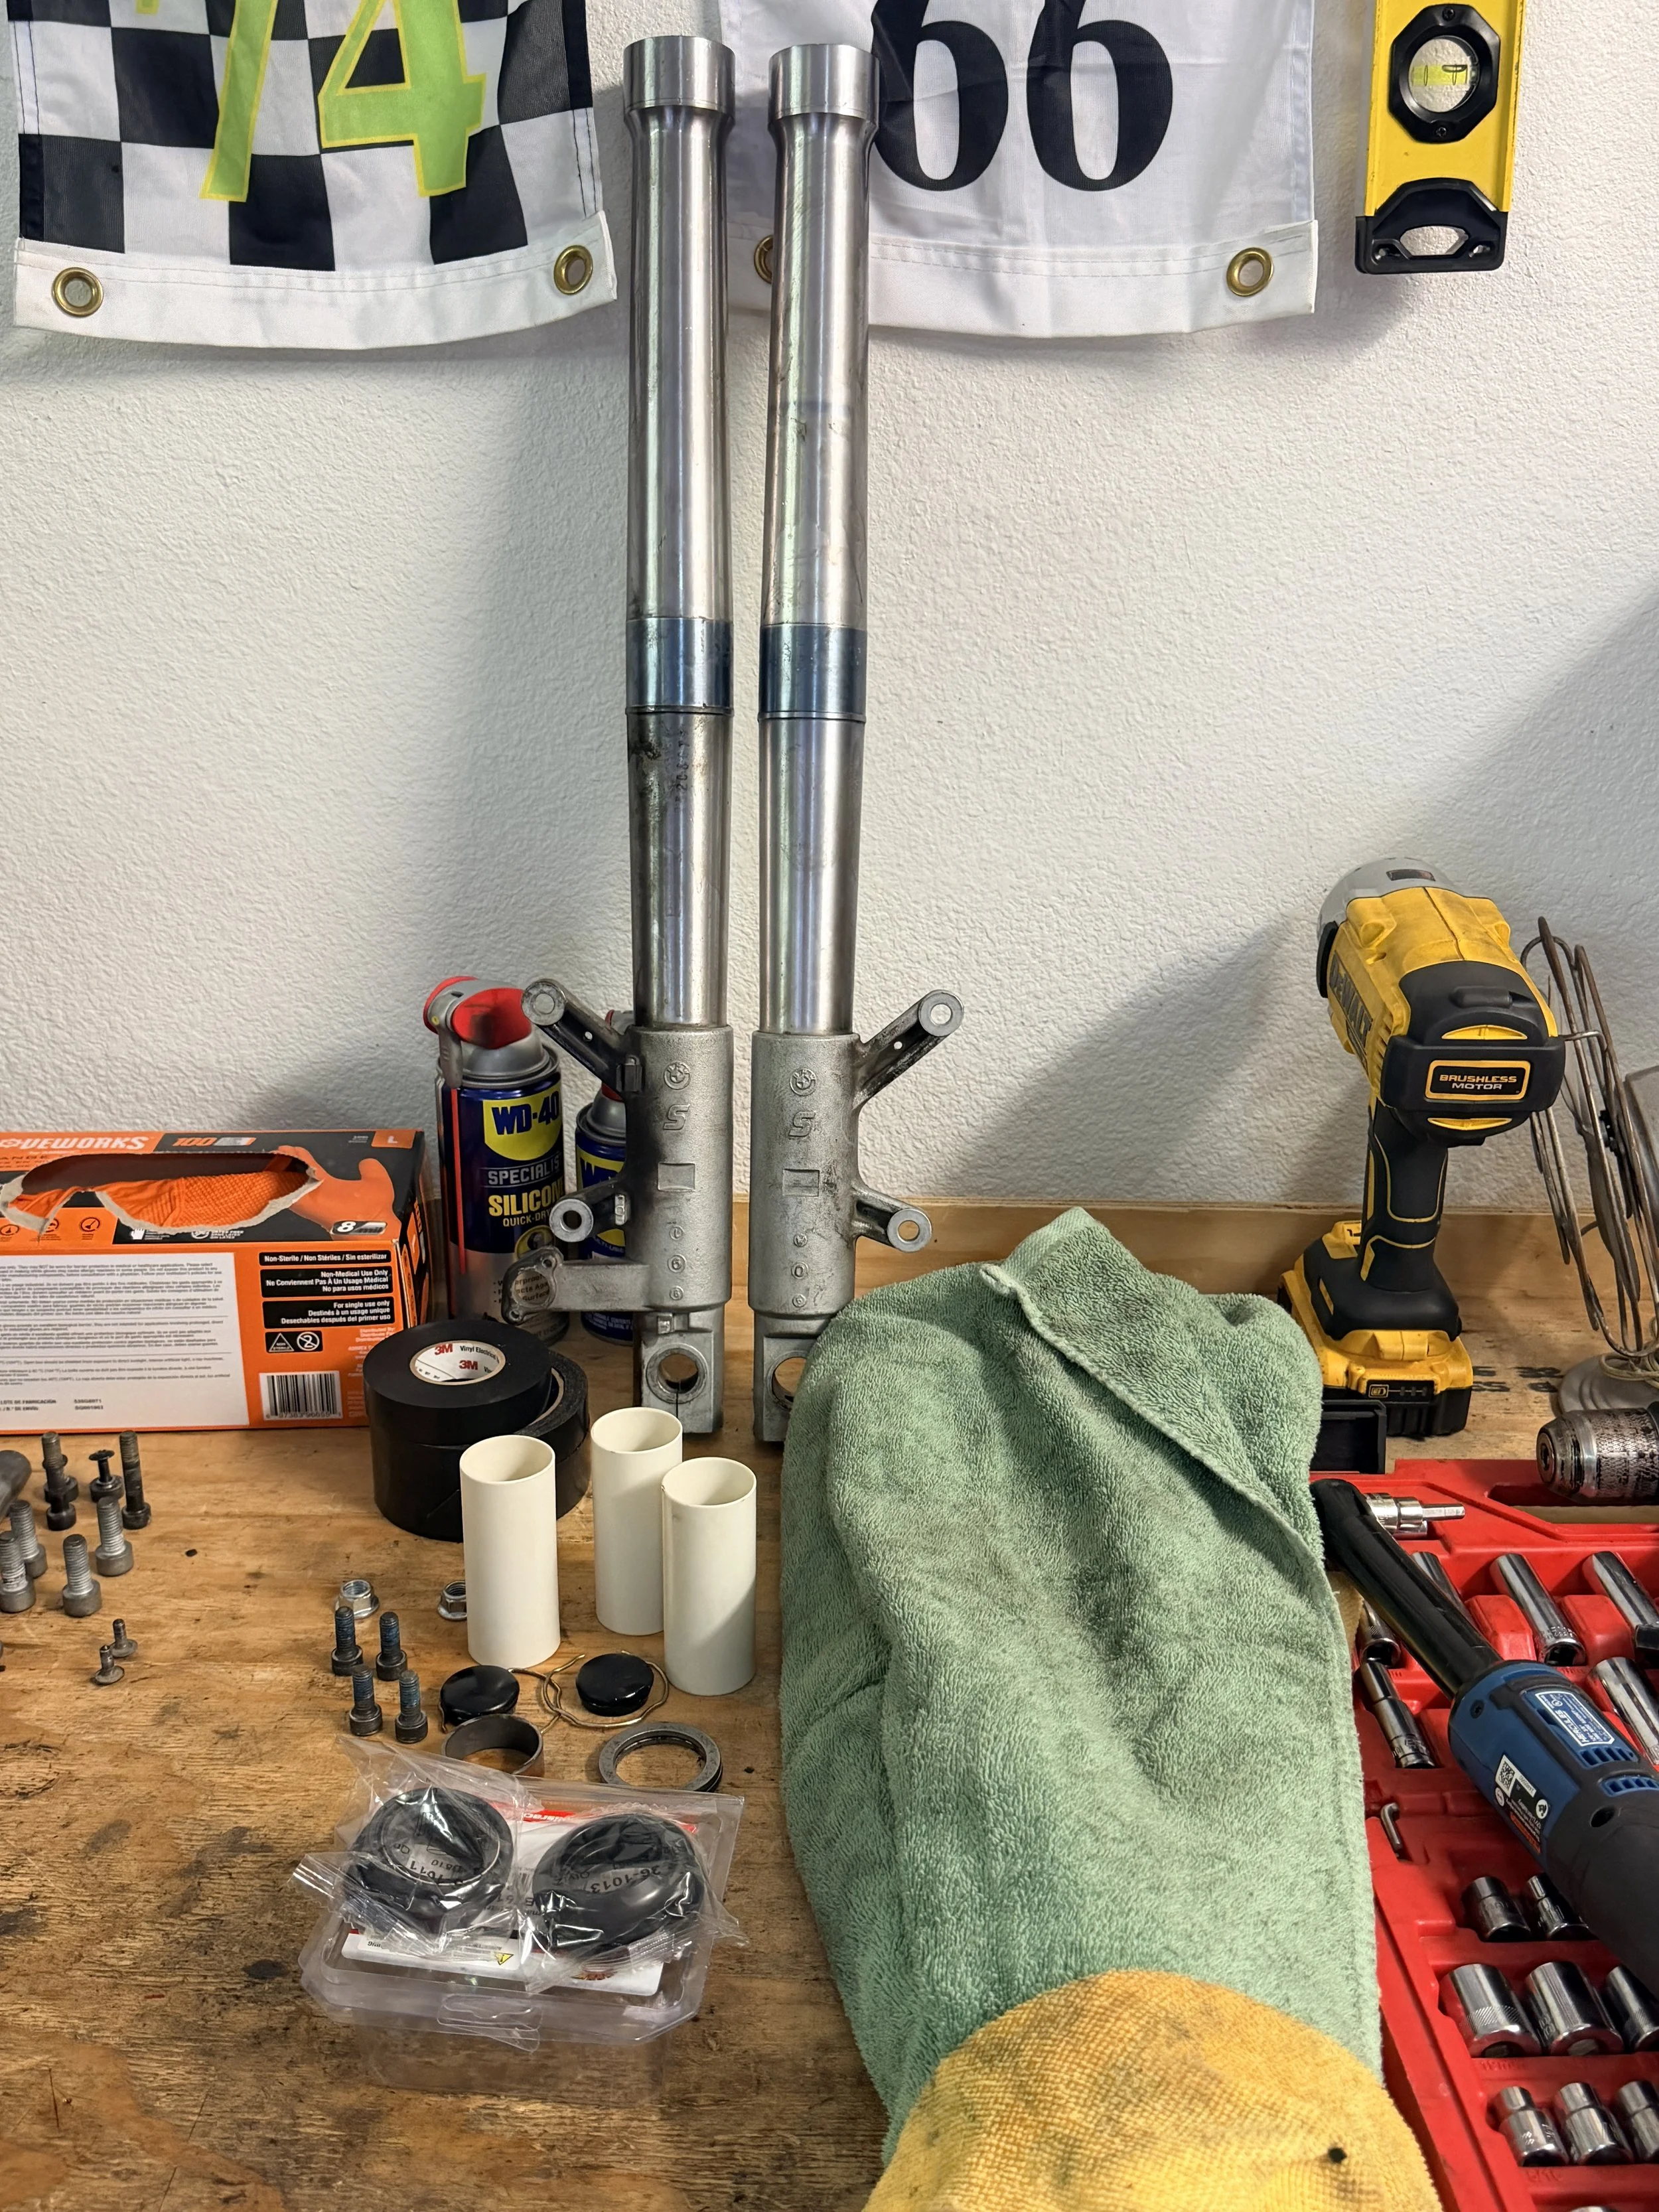
Fork rebuild begins - the damn seal was inside out and the fork oil looked & smelled like hydraulic or gear oil. Quality - guy must have done it drunk. No excuse.
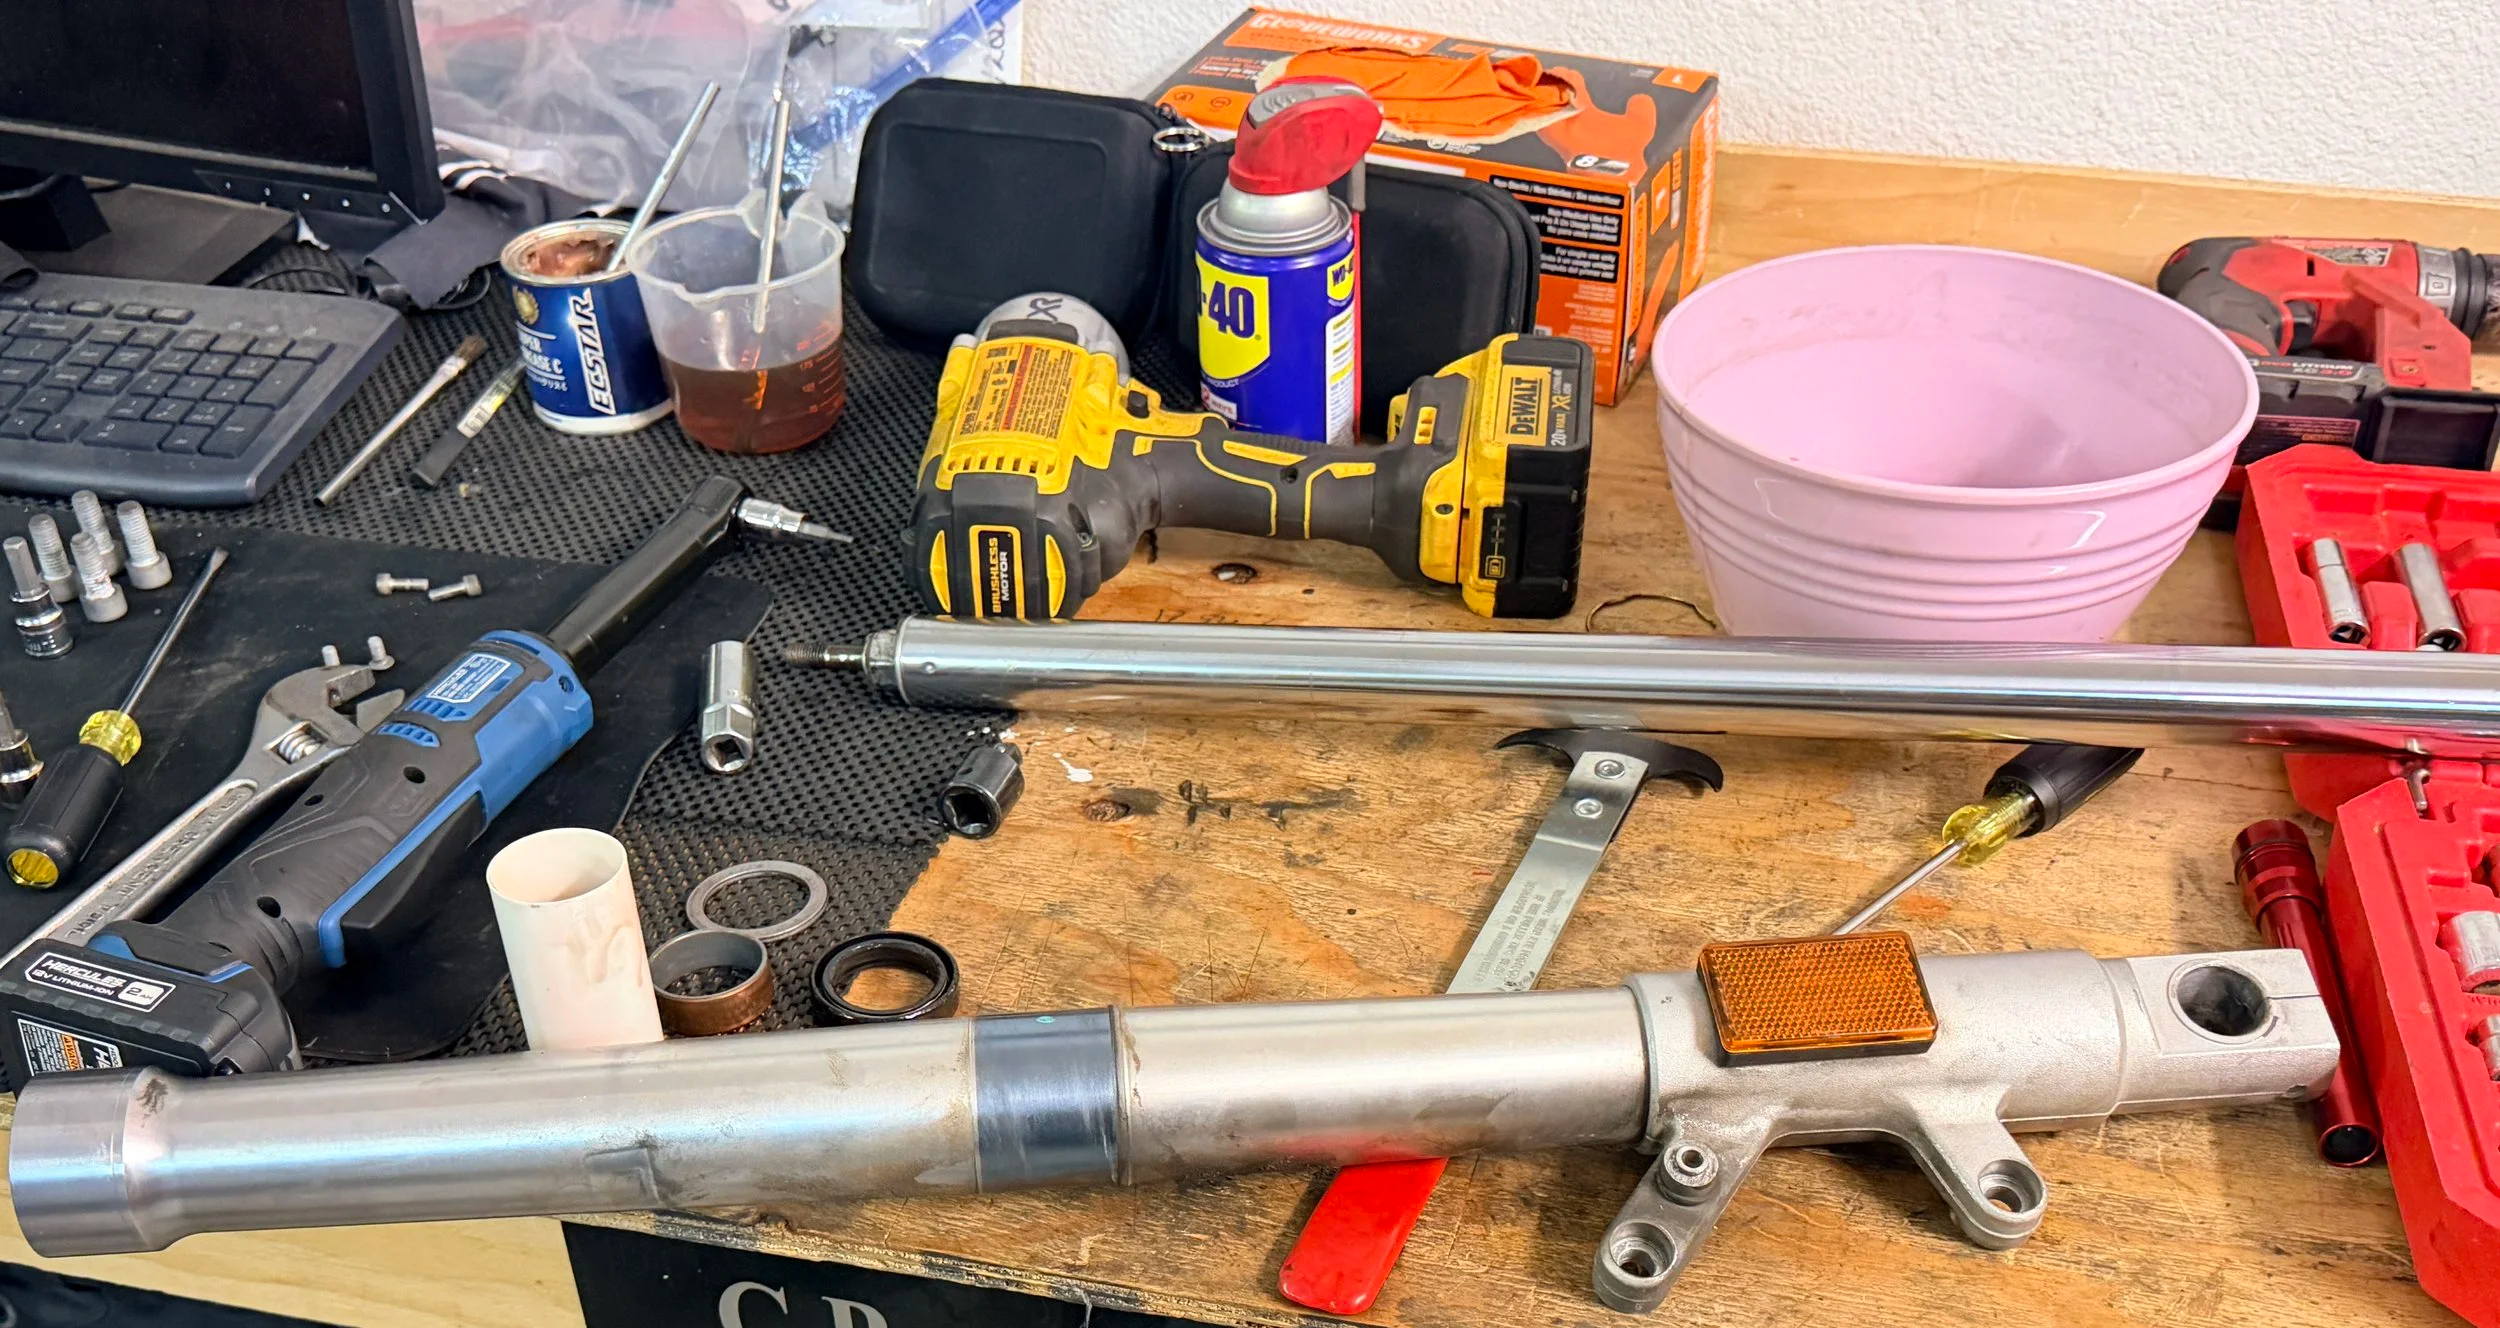
More rebuild - trying to quickly figure out if they need replaced from the scratches on them.
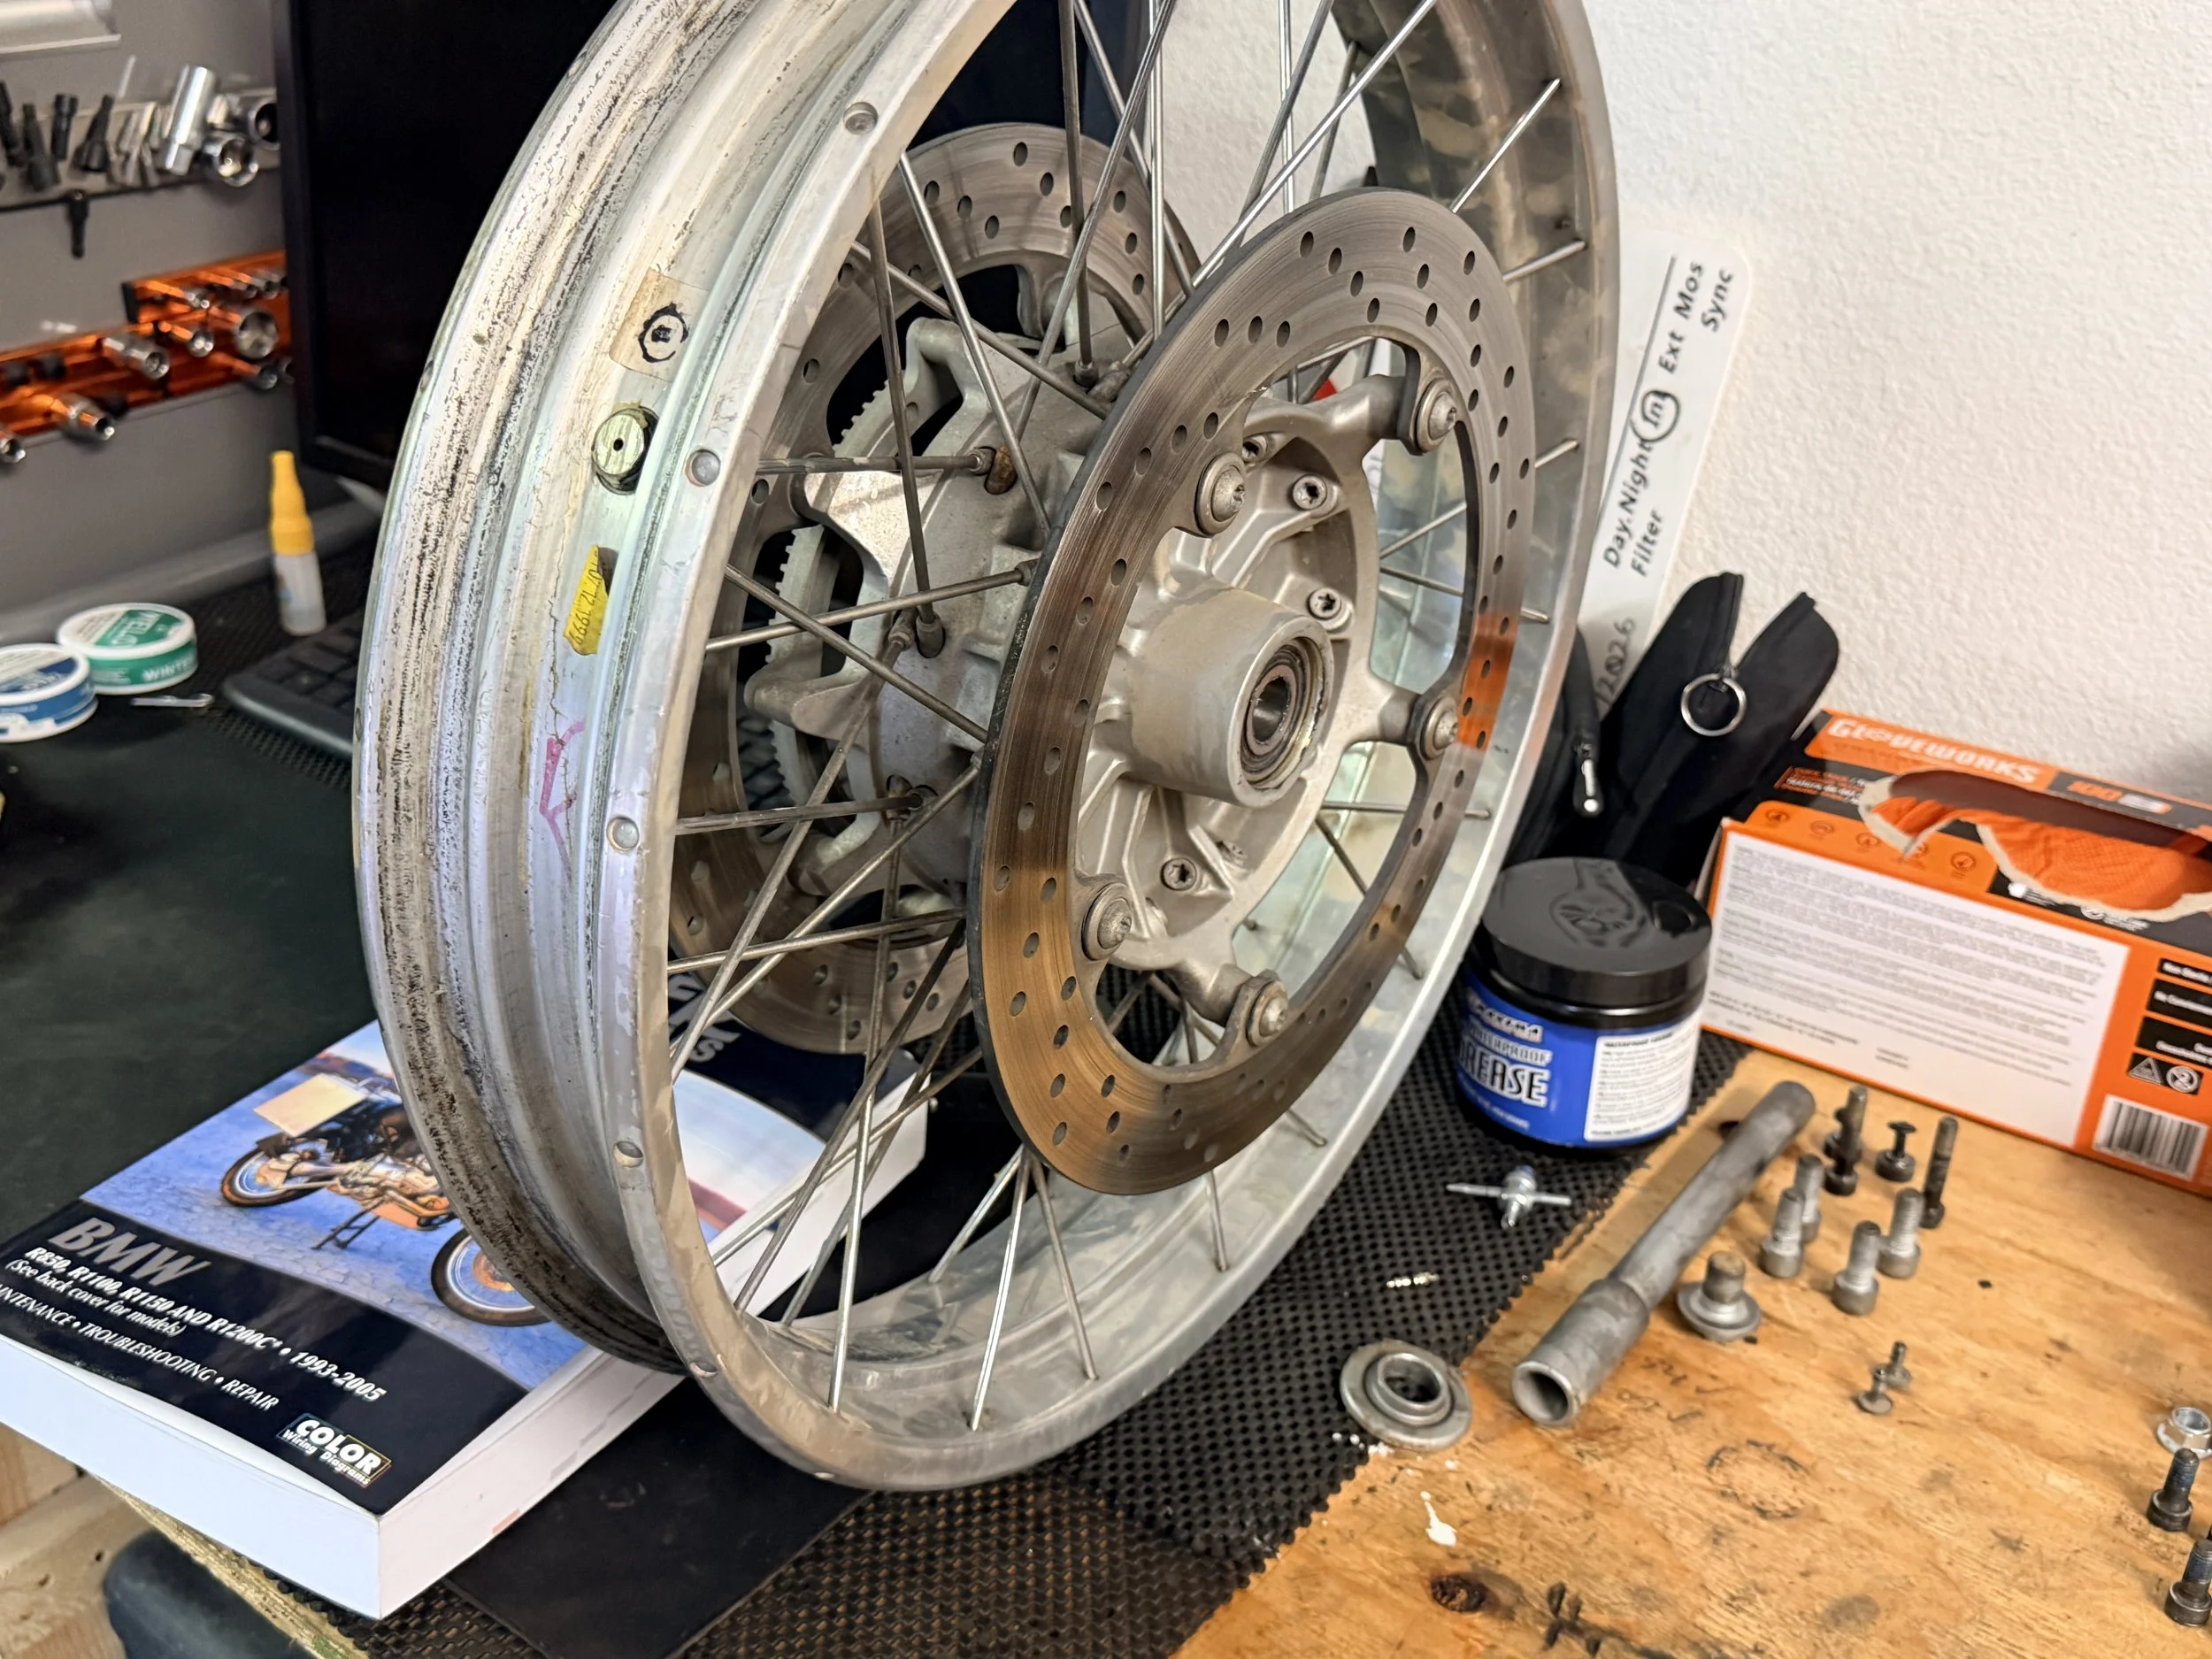
The front wheel was in good shape. The rotors were within limits (surprisingly), but needed work generally.
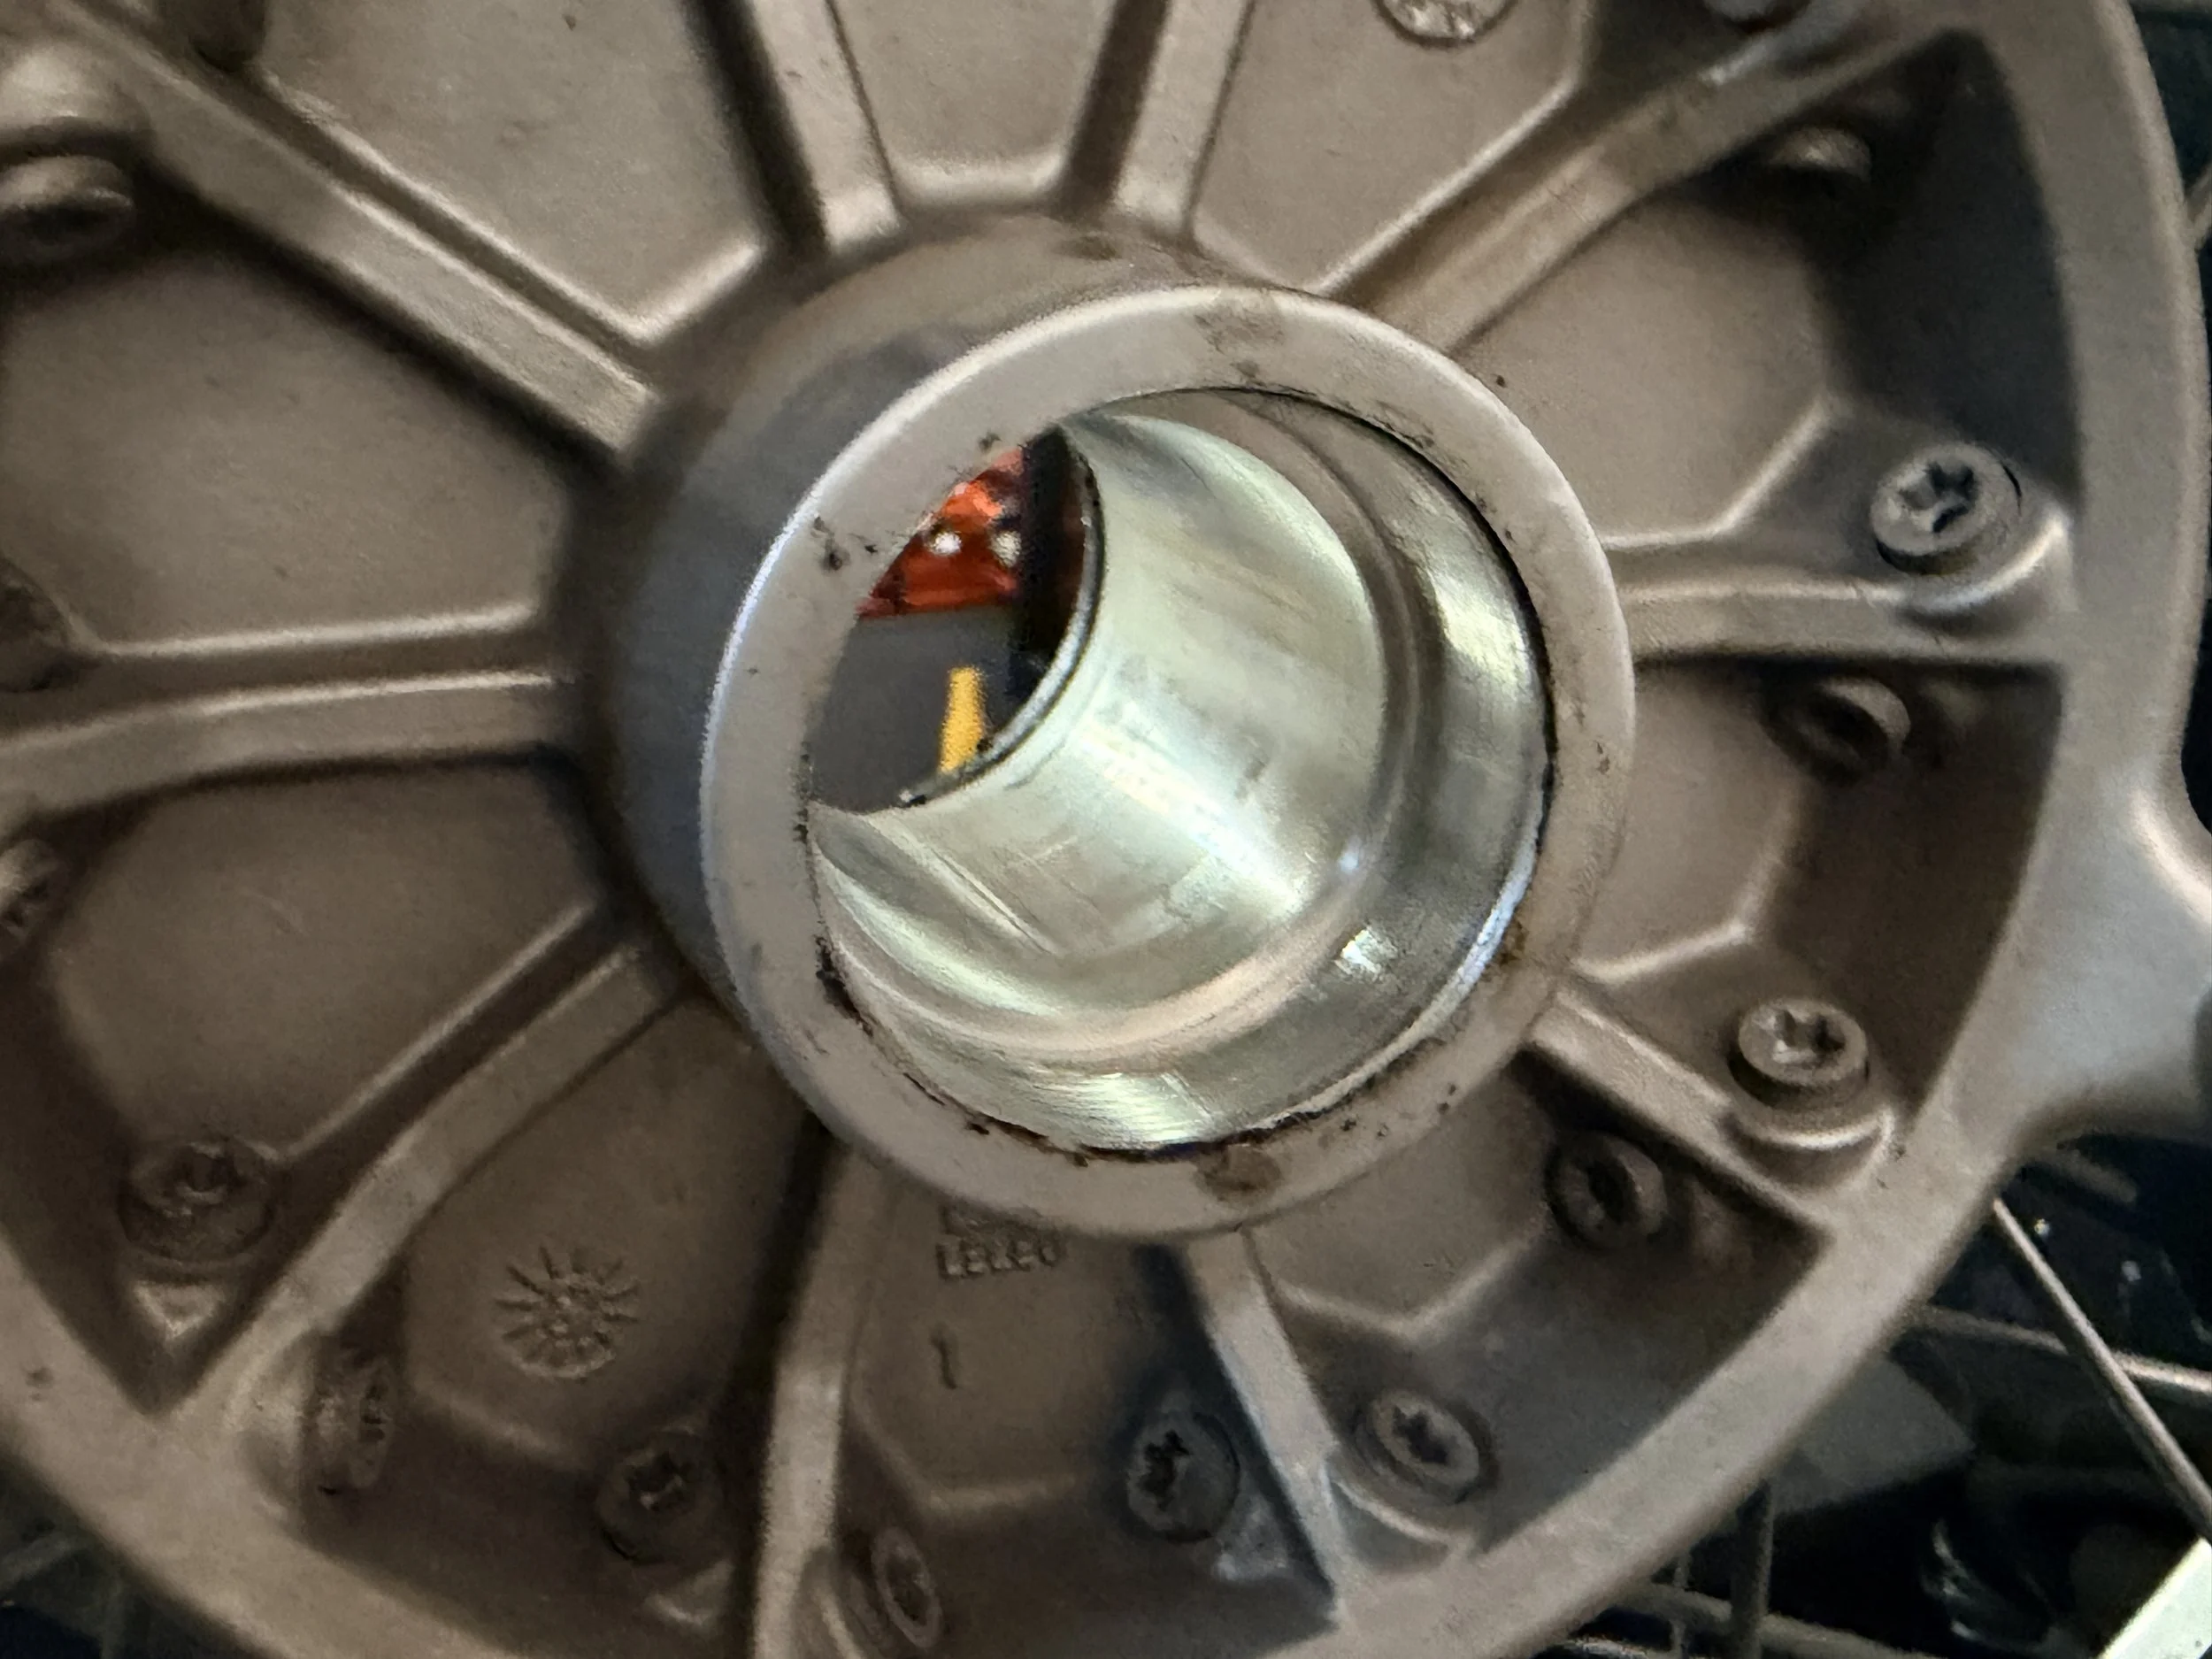
All seals, bearings, and spacers were removed.
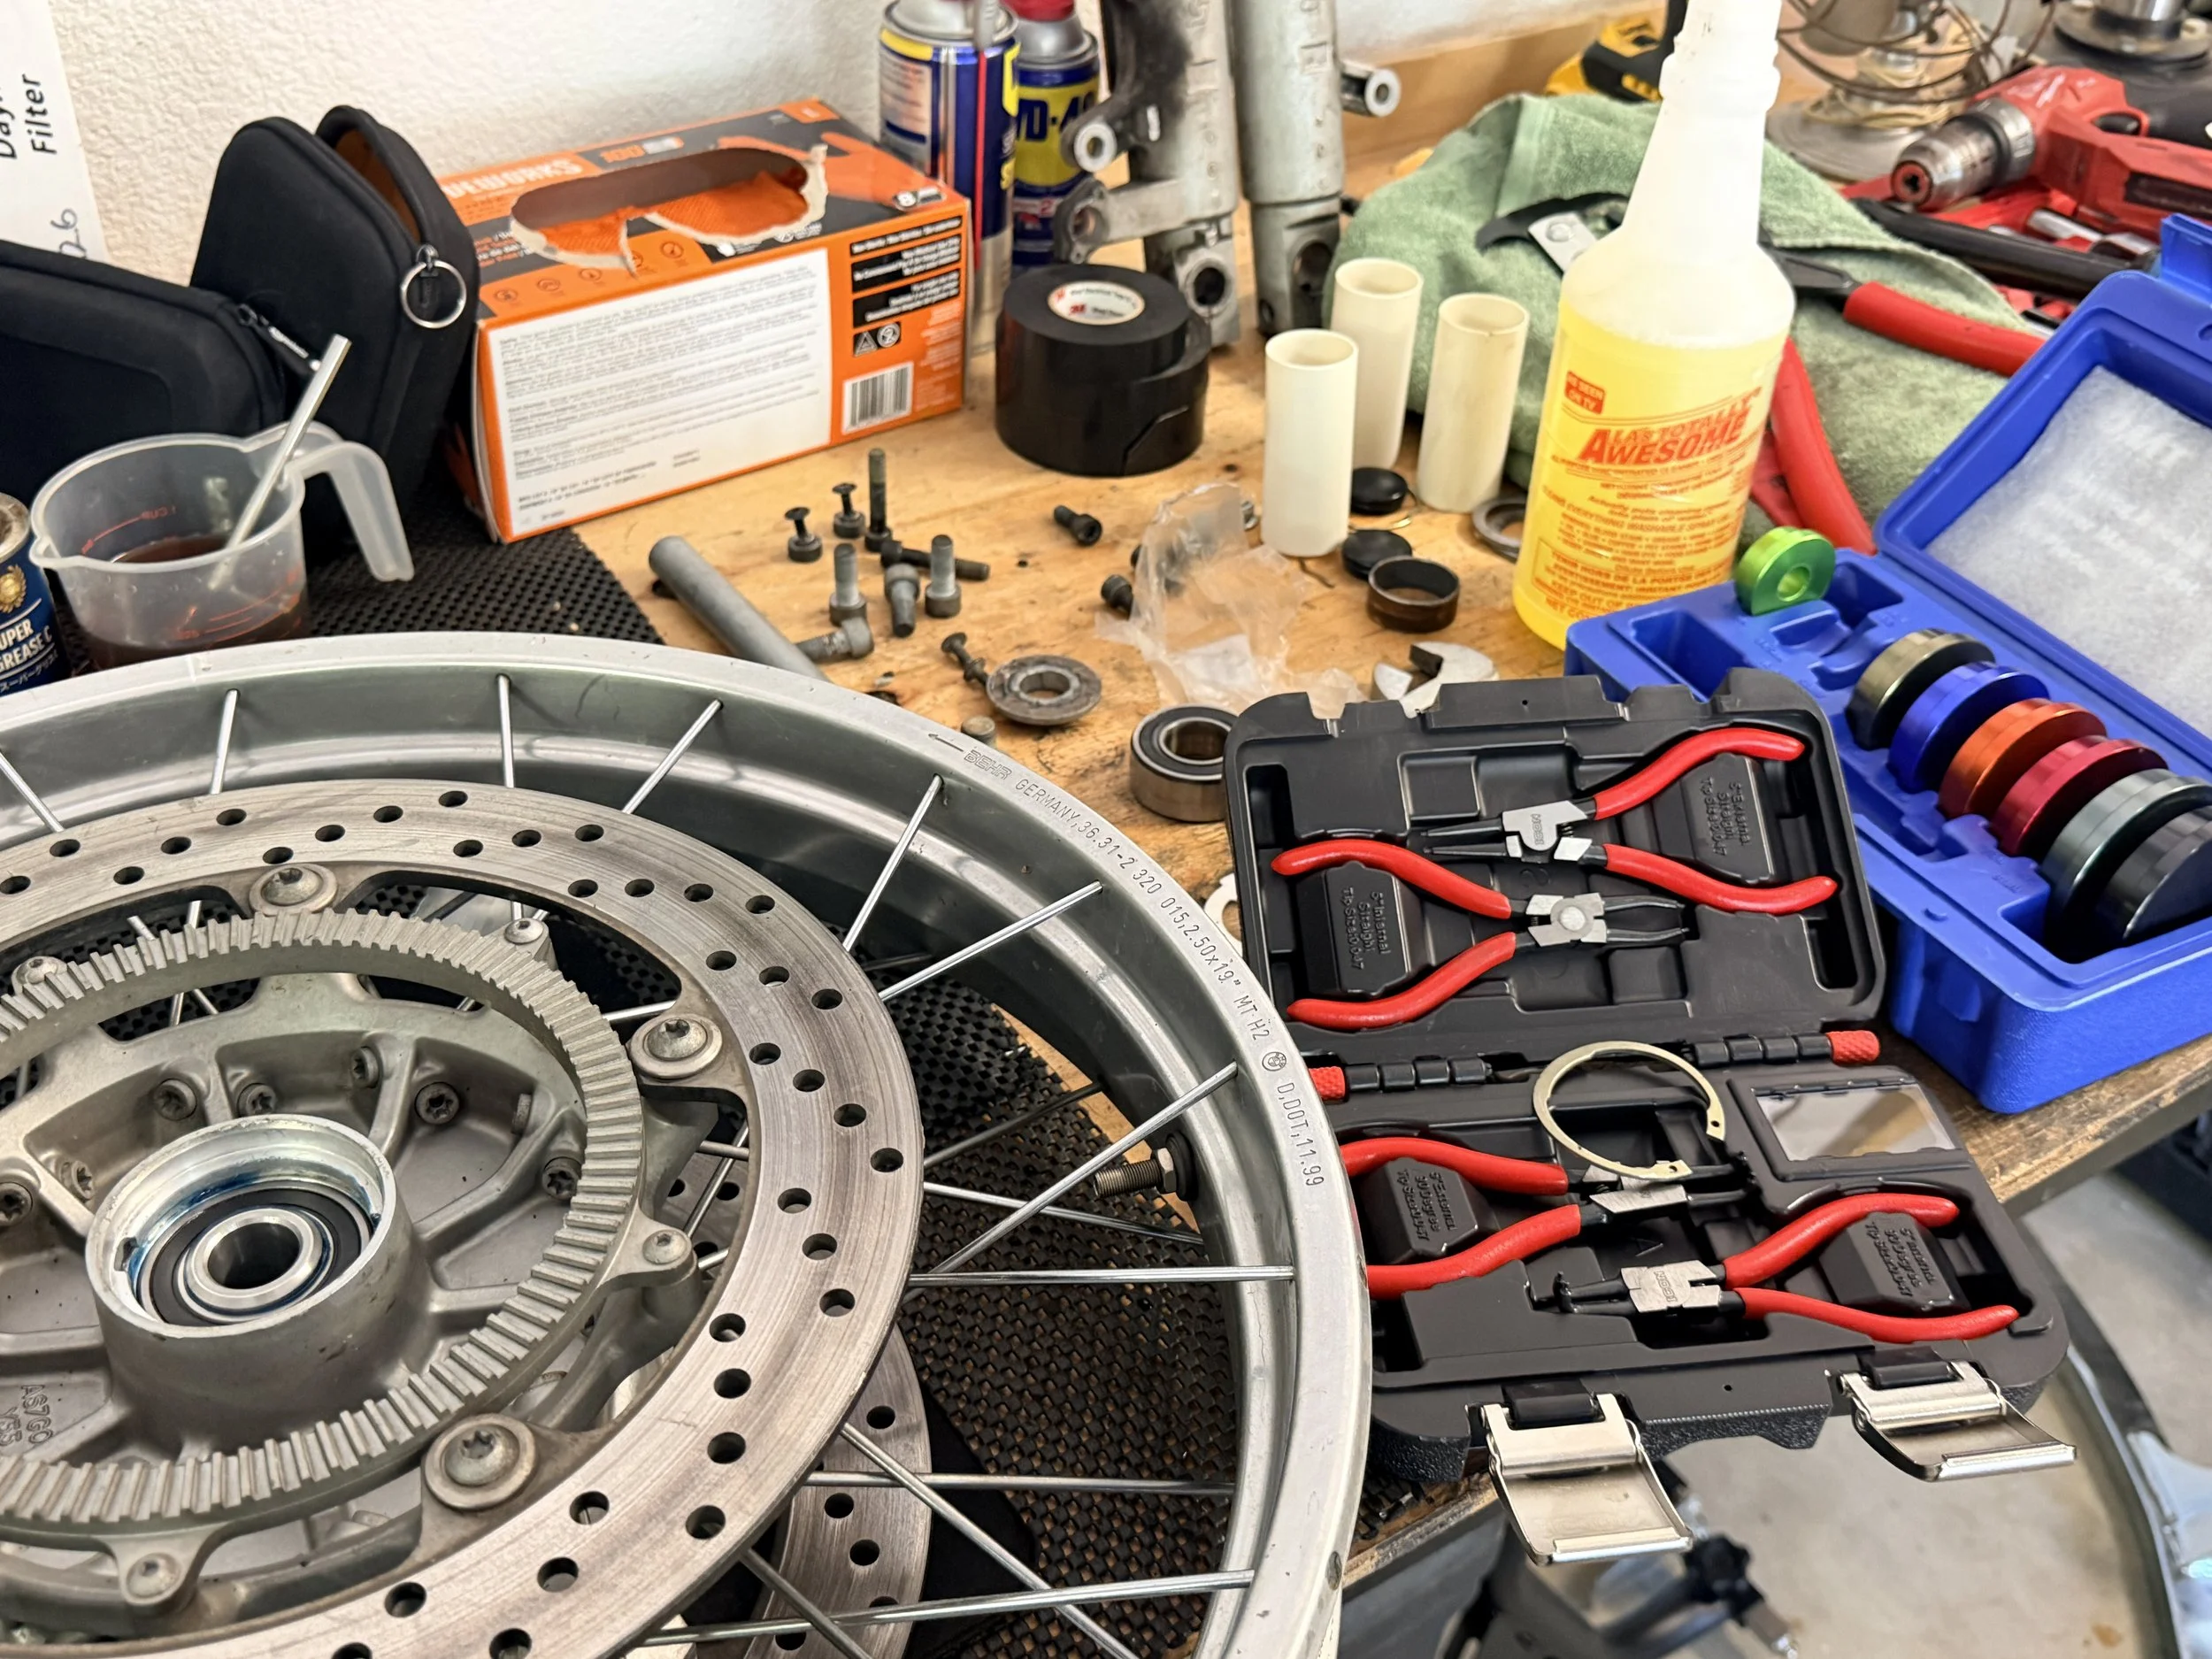
My snap ring plier set was no match for this snap ring. So I had to go get a more robust set to do the job.
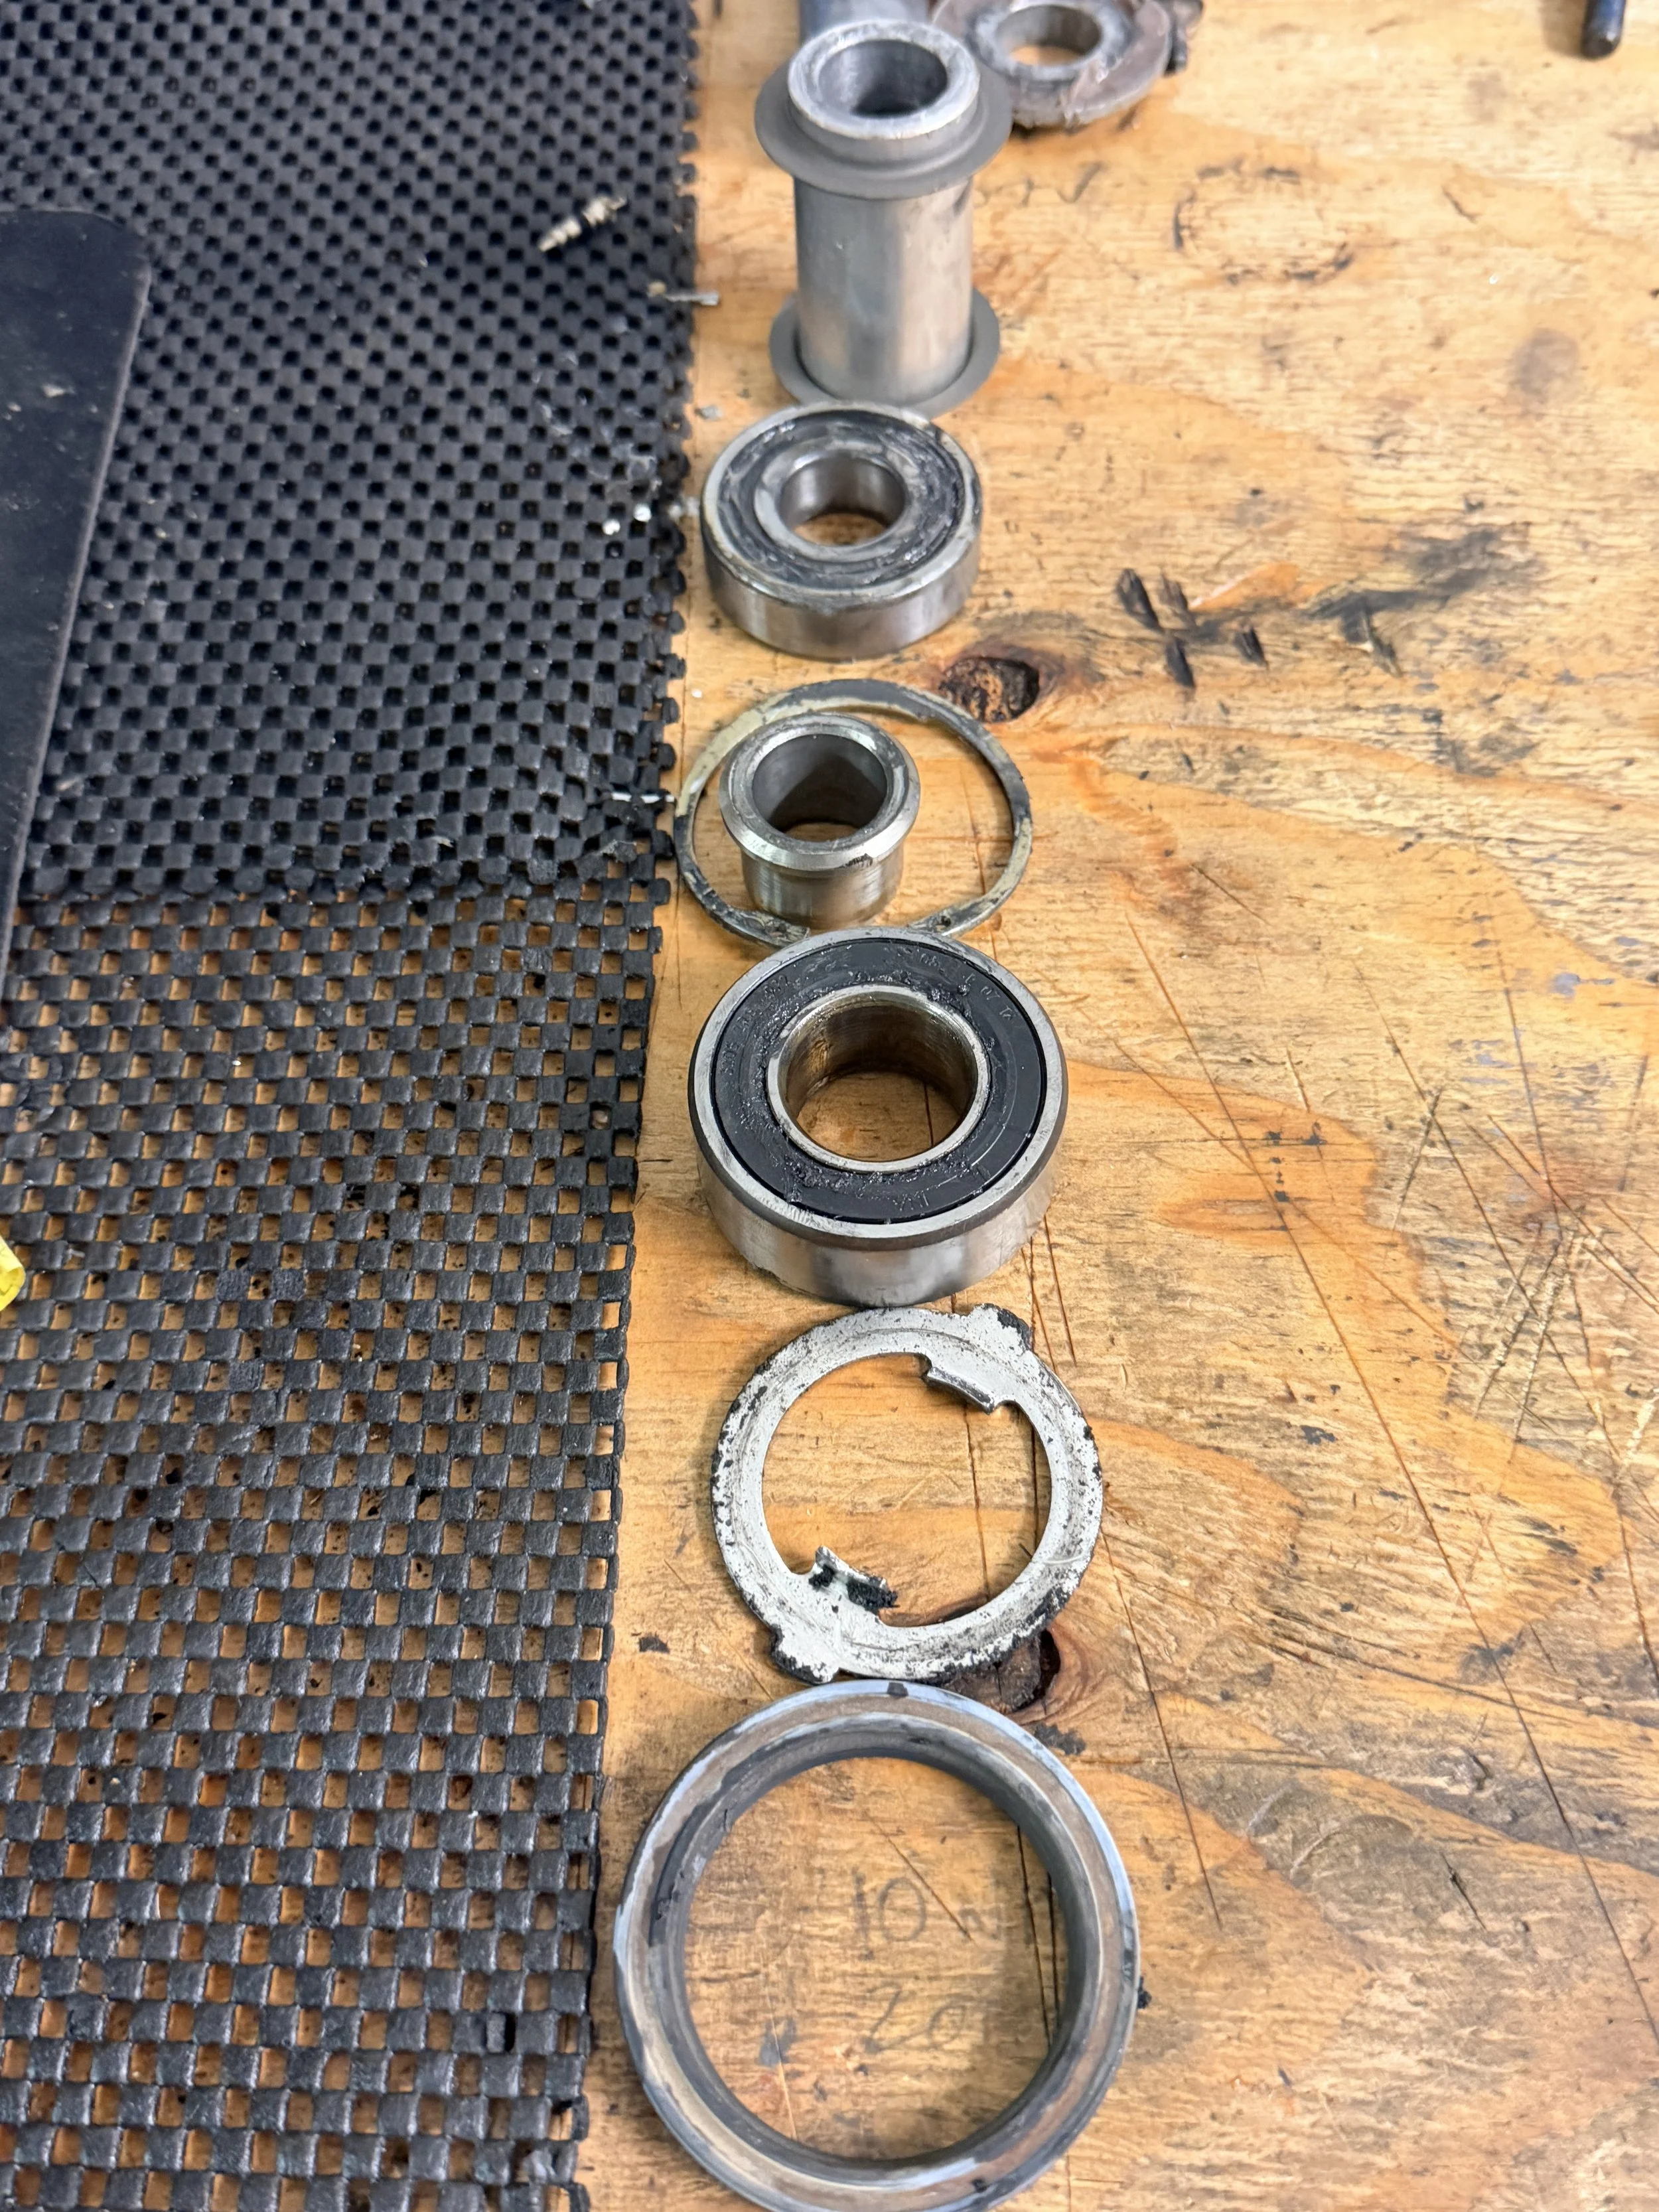
The lineup before replacement. Helps to keep it in order.
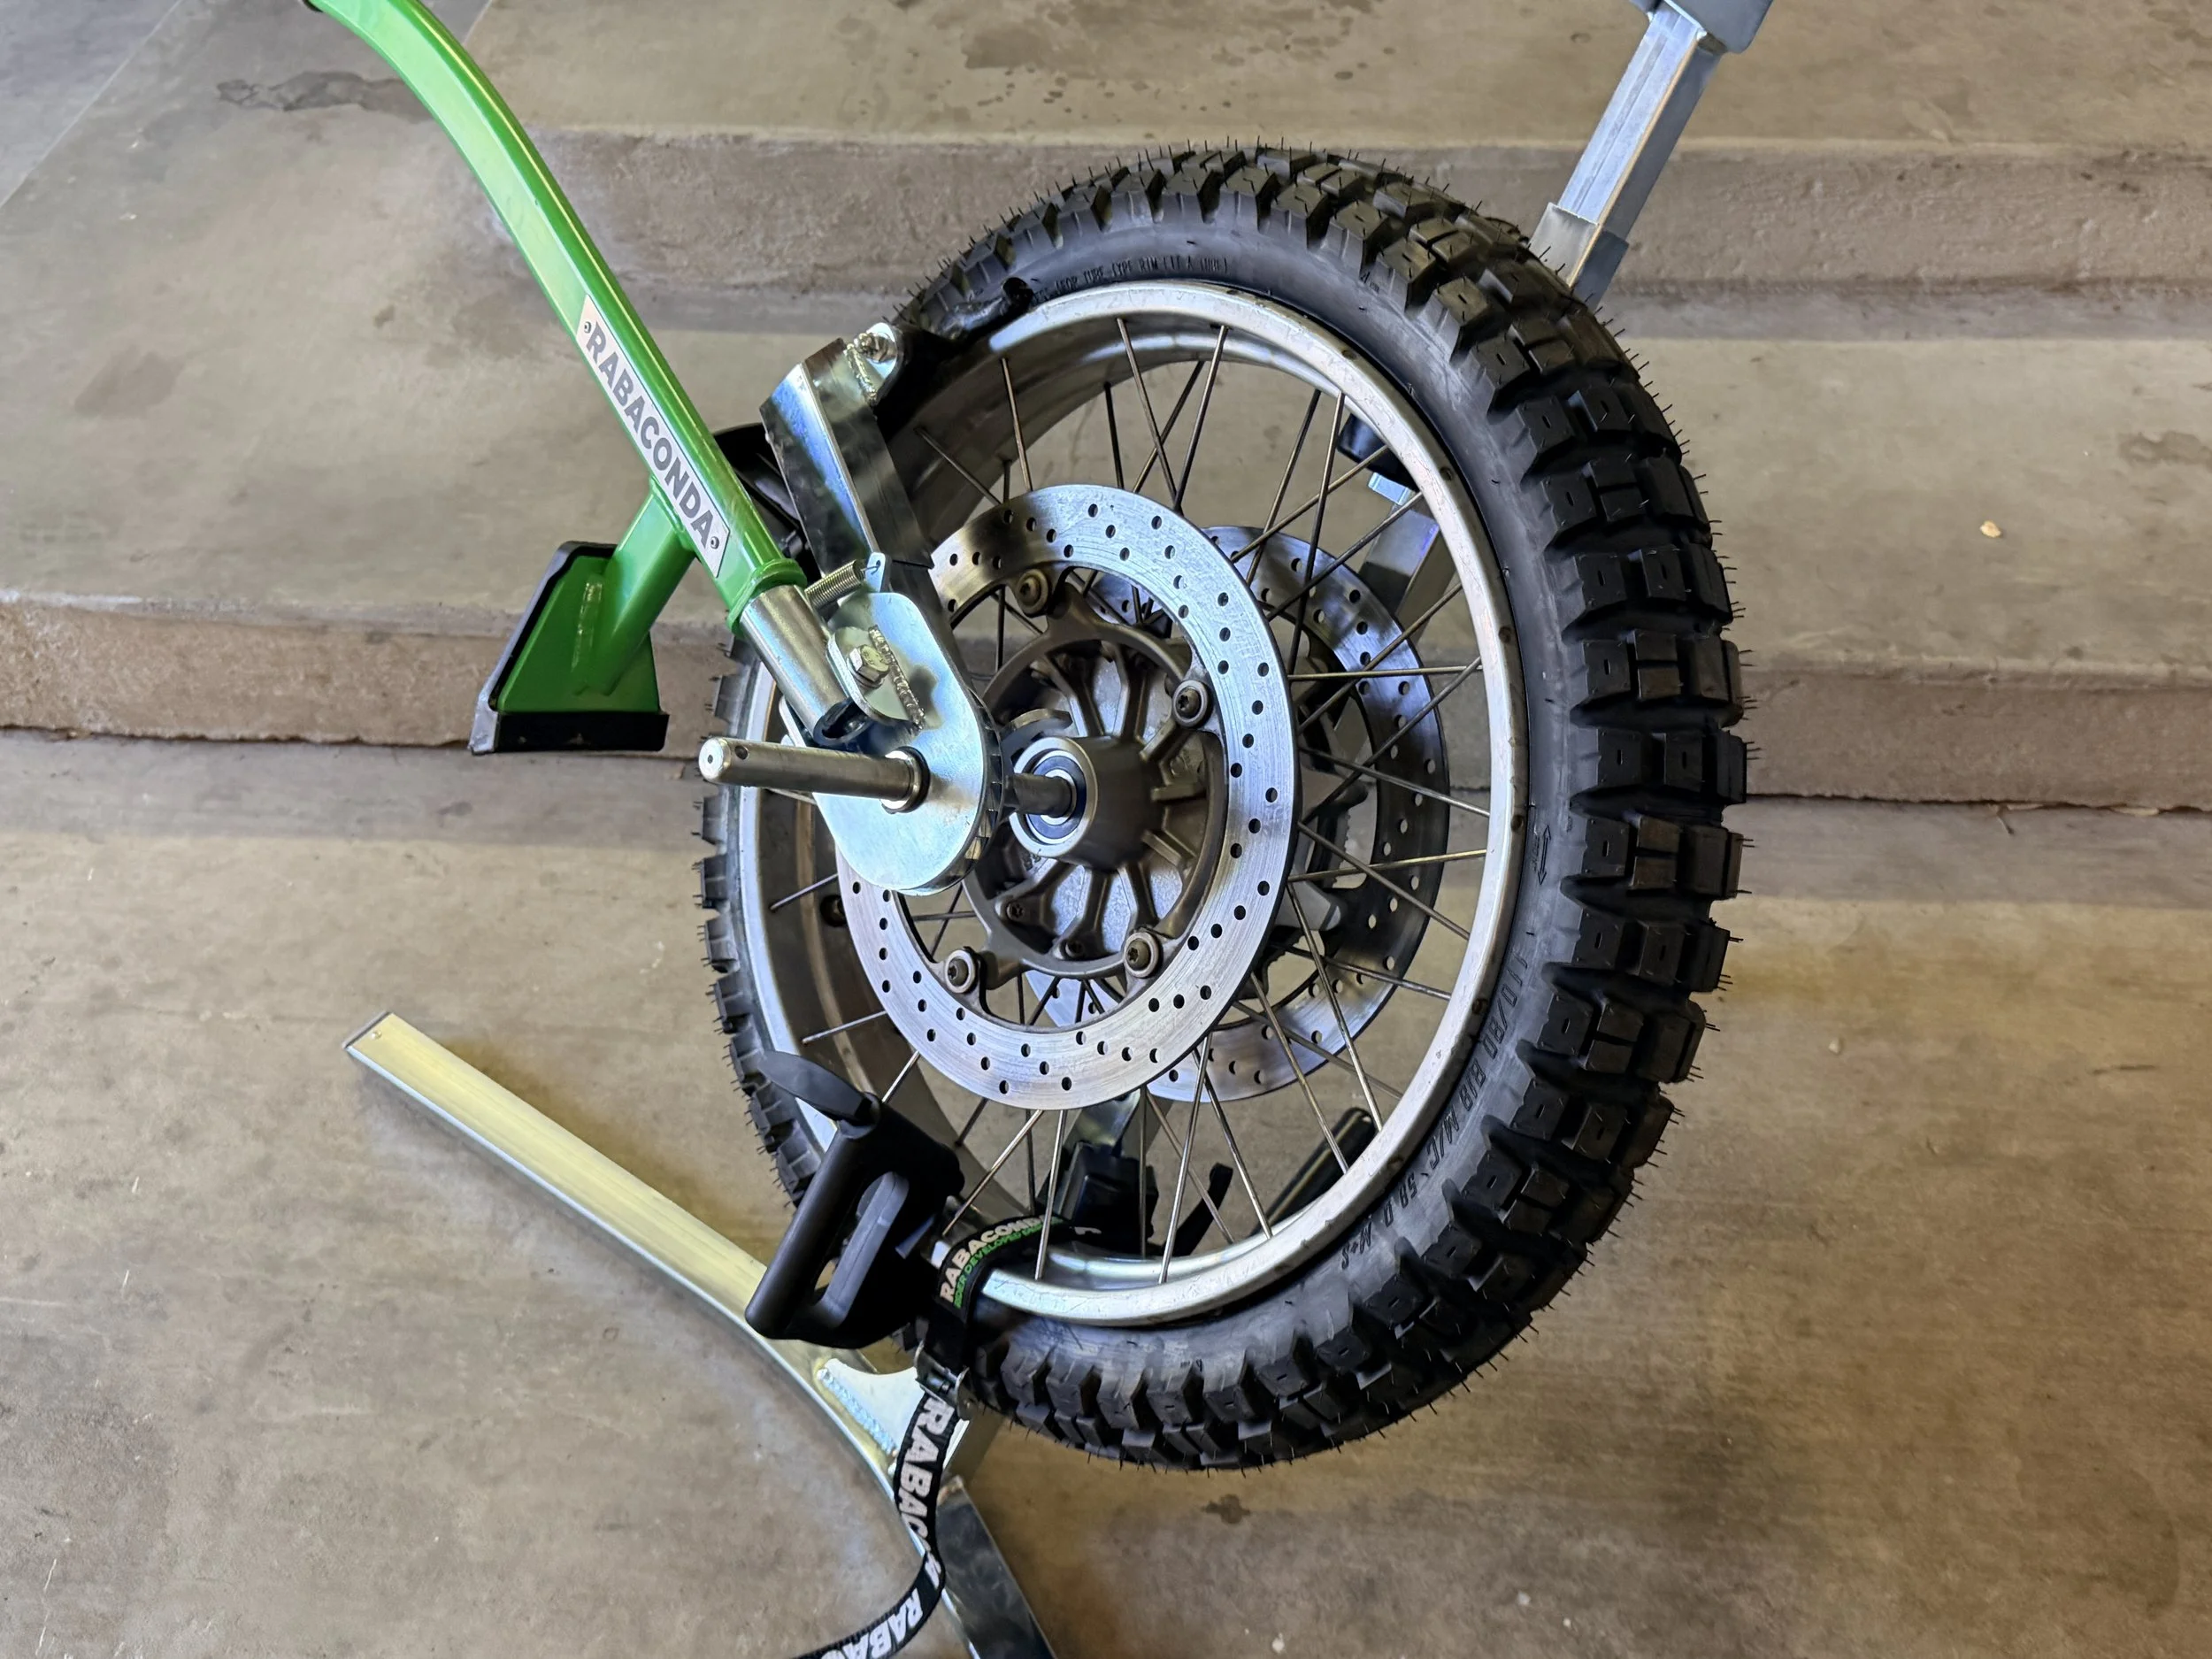
All the bearings & seals went it well, and I mounted the new tire.
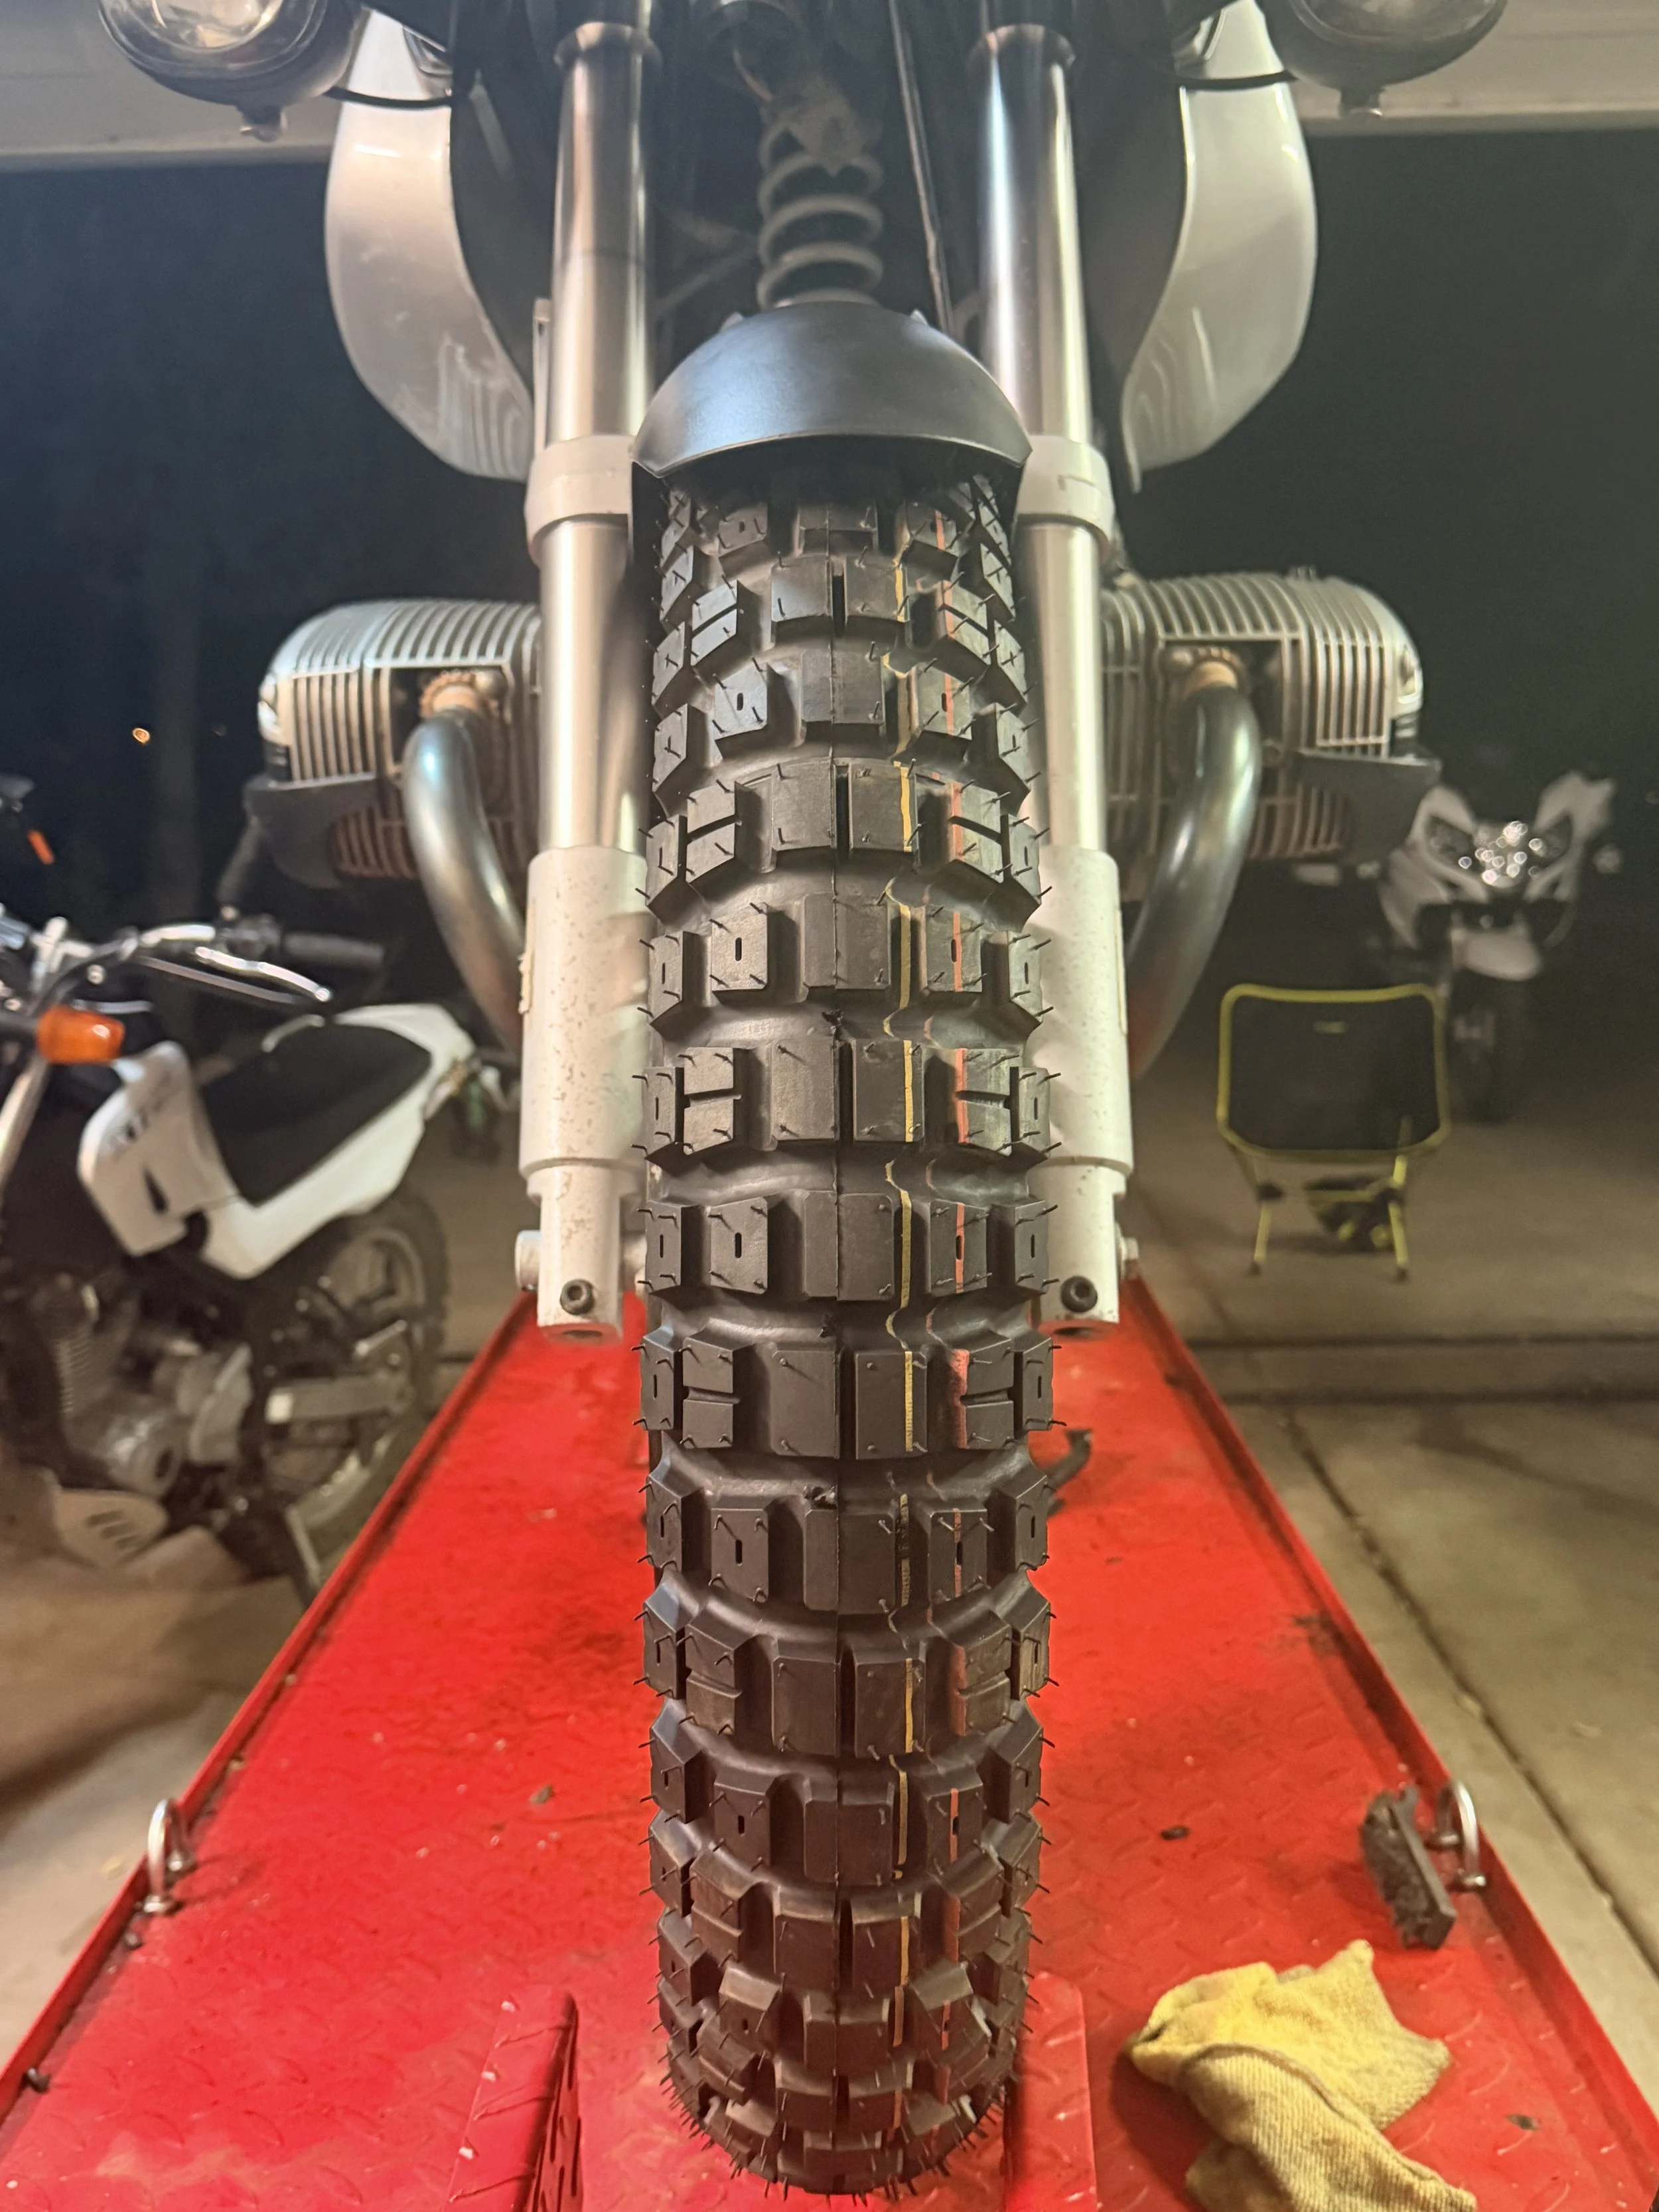
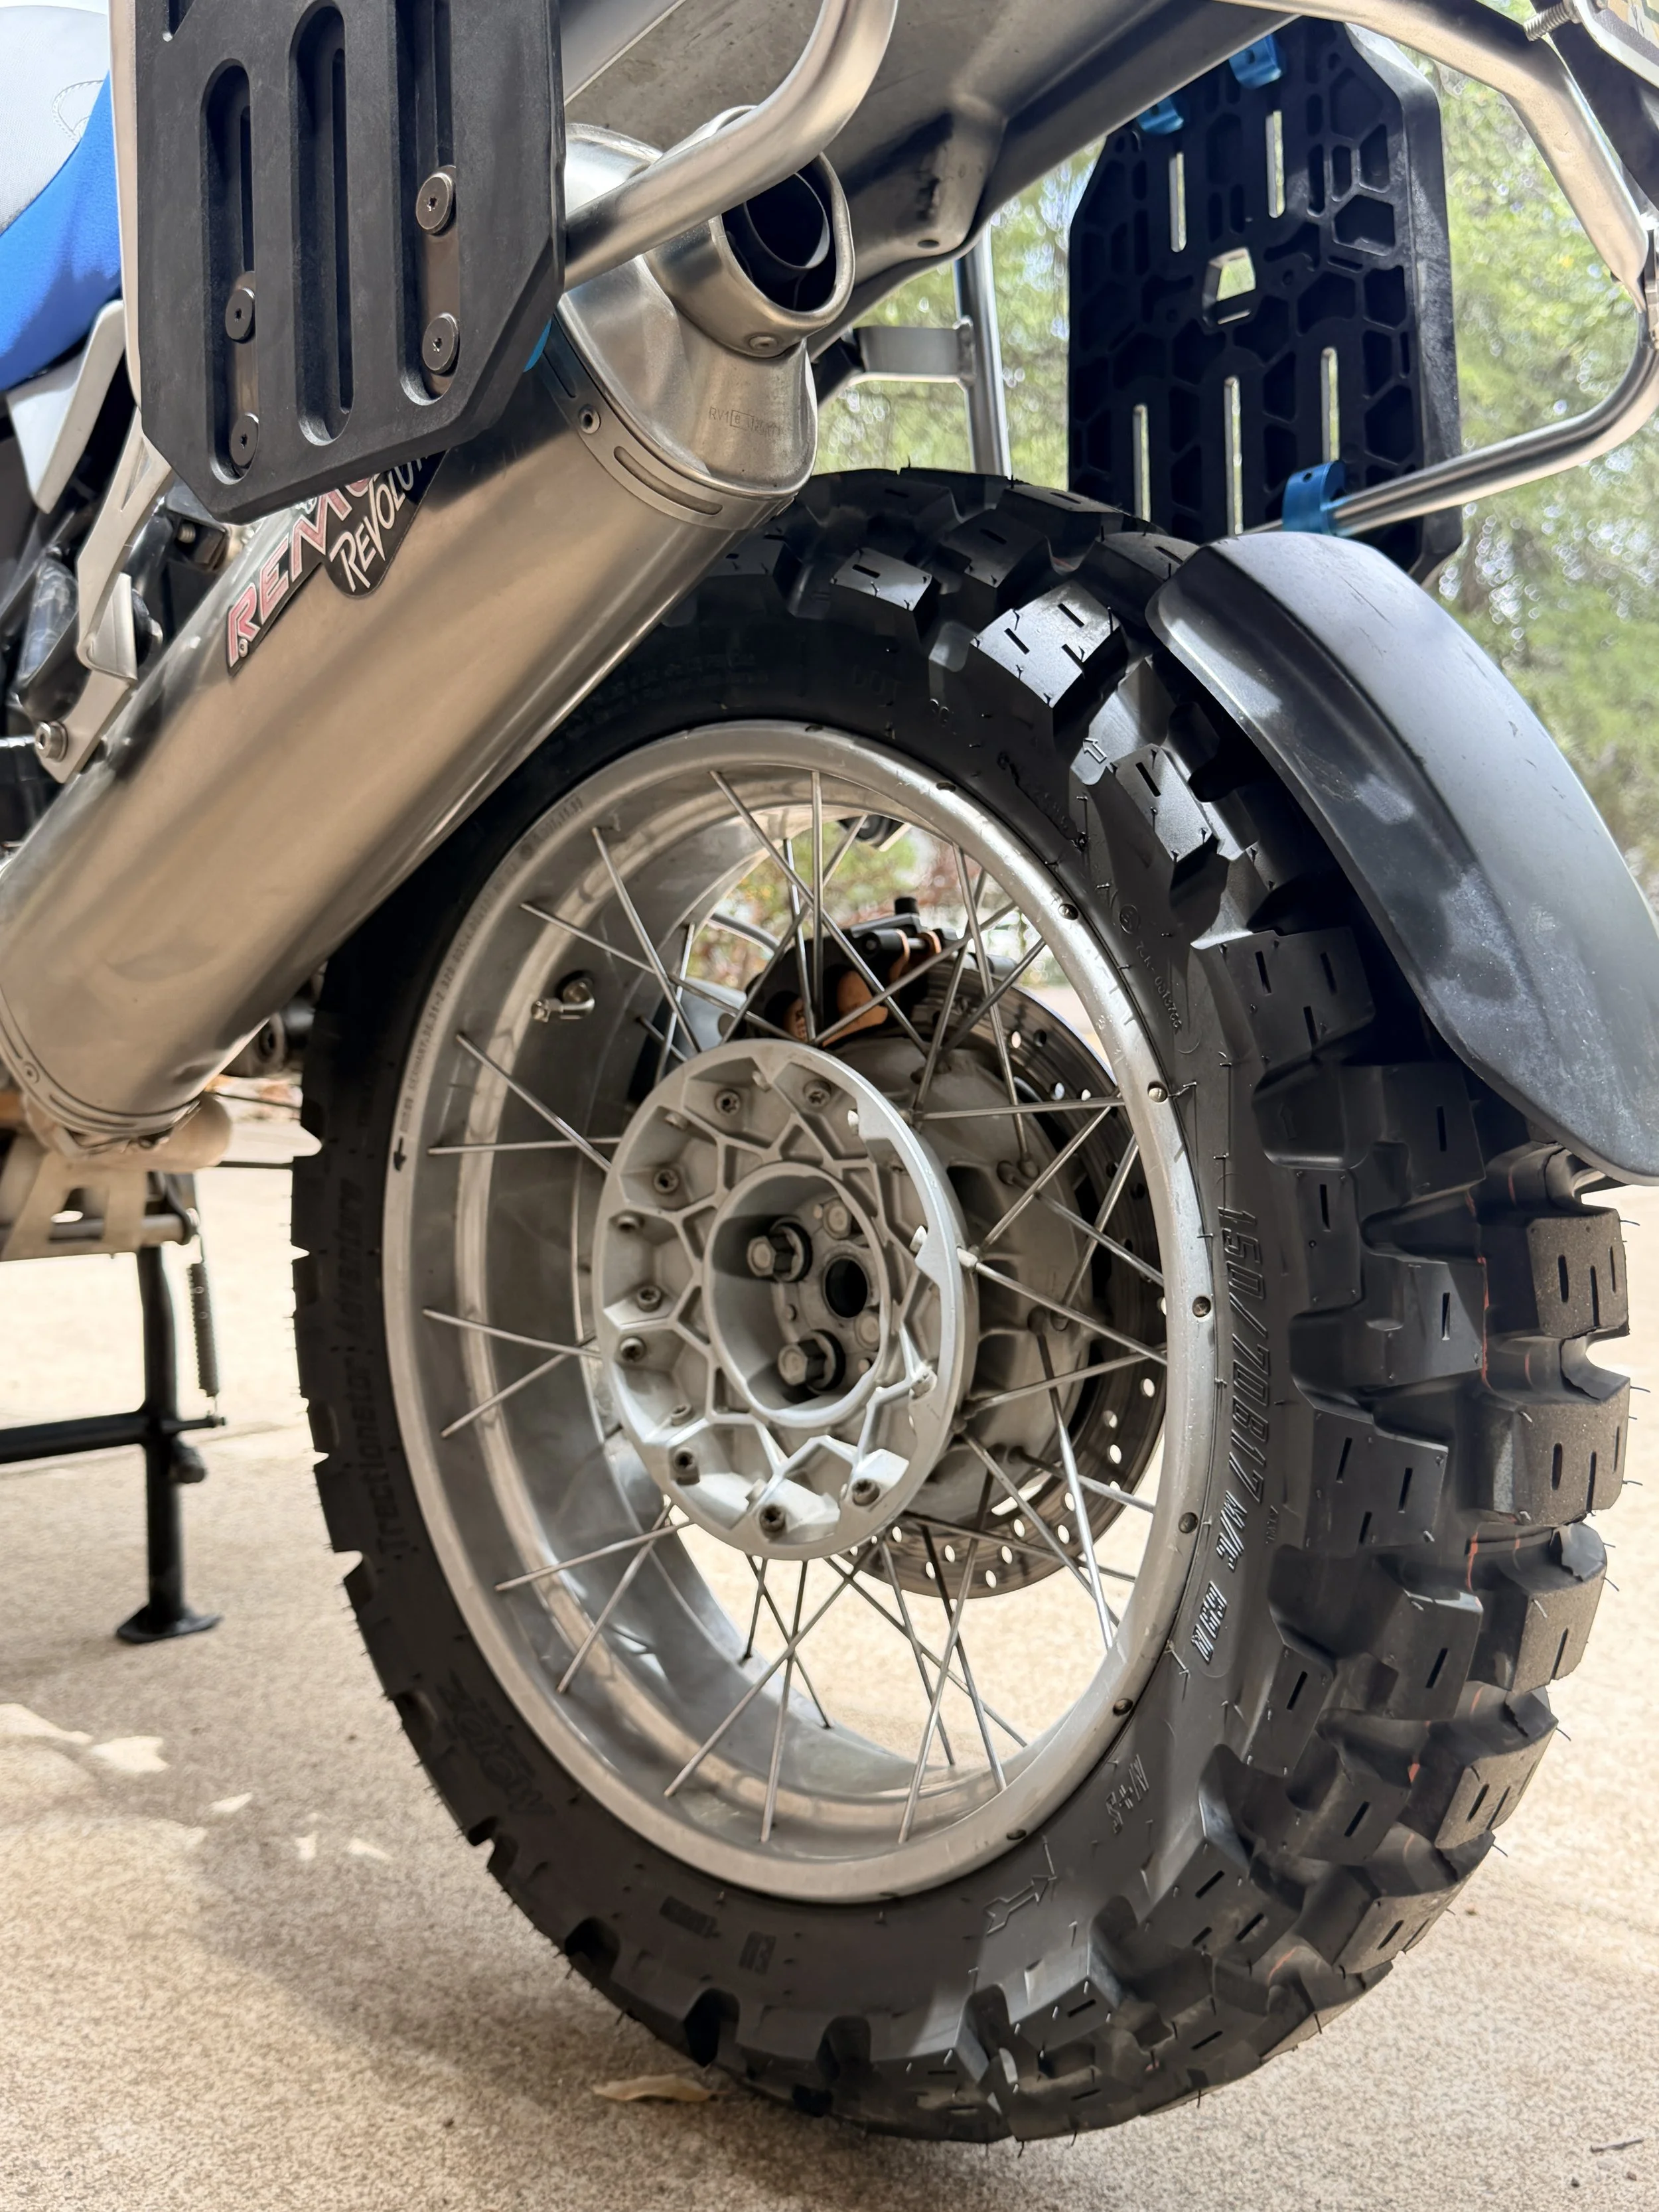
Motoz Tractionator Dual Venture (D/V) - a good tire for this offroad oriented setup.
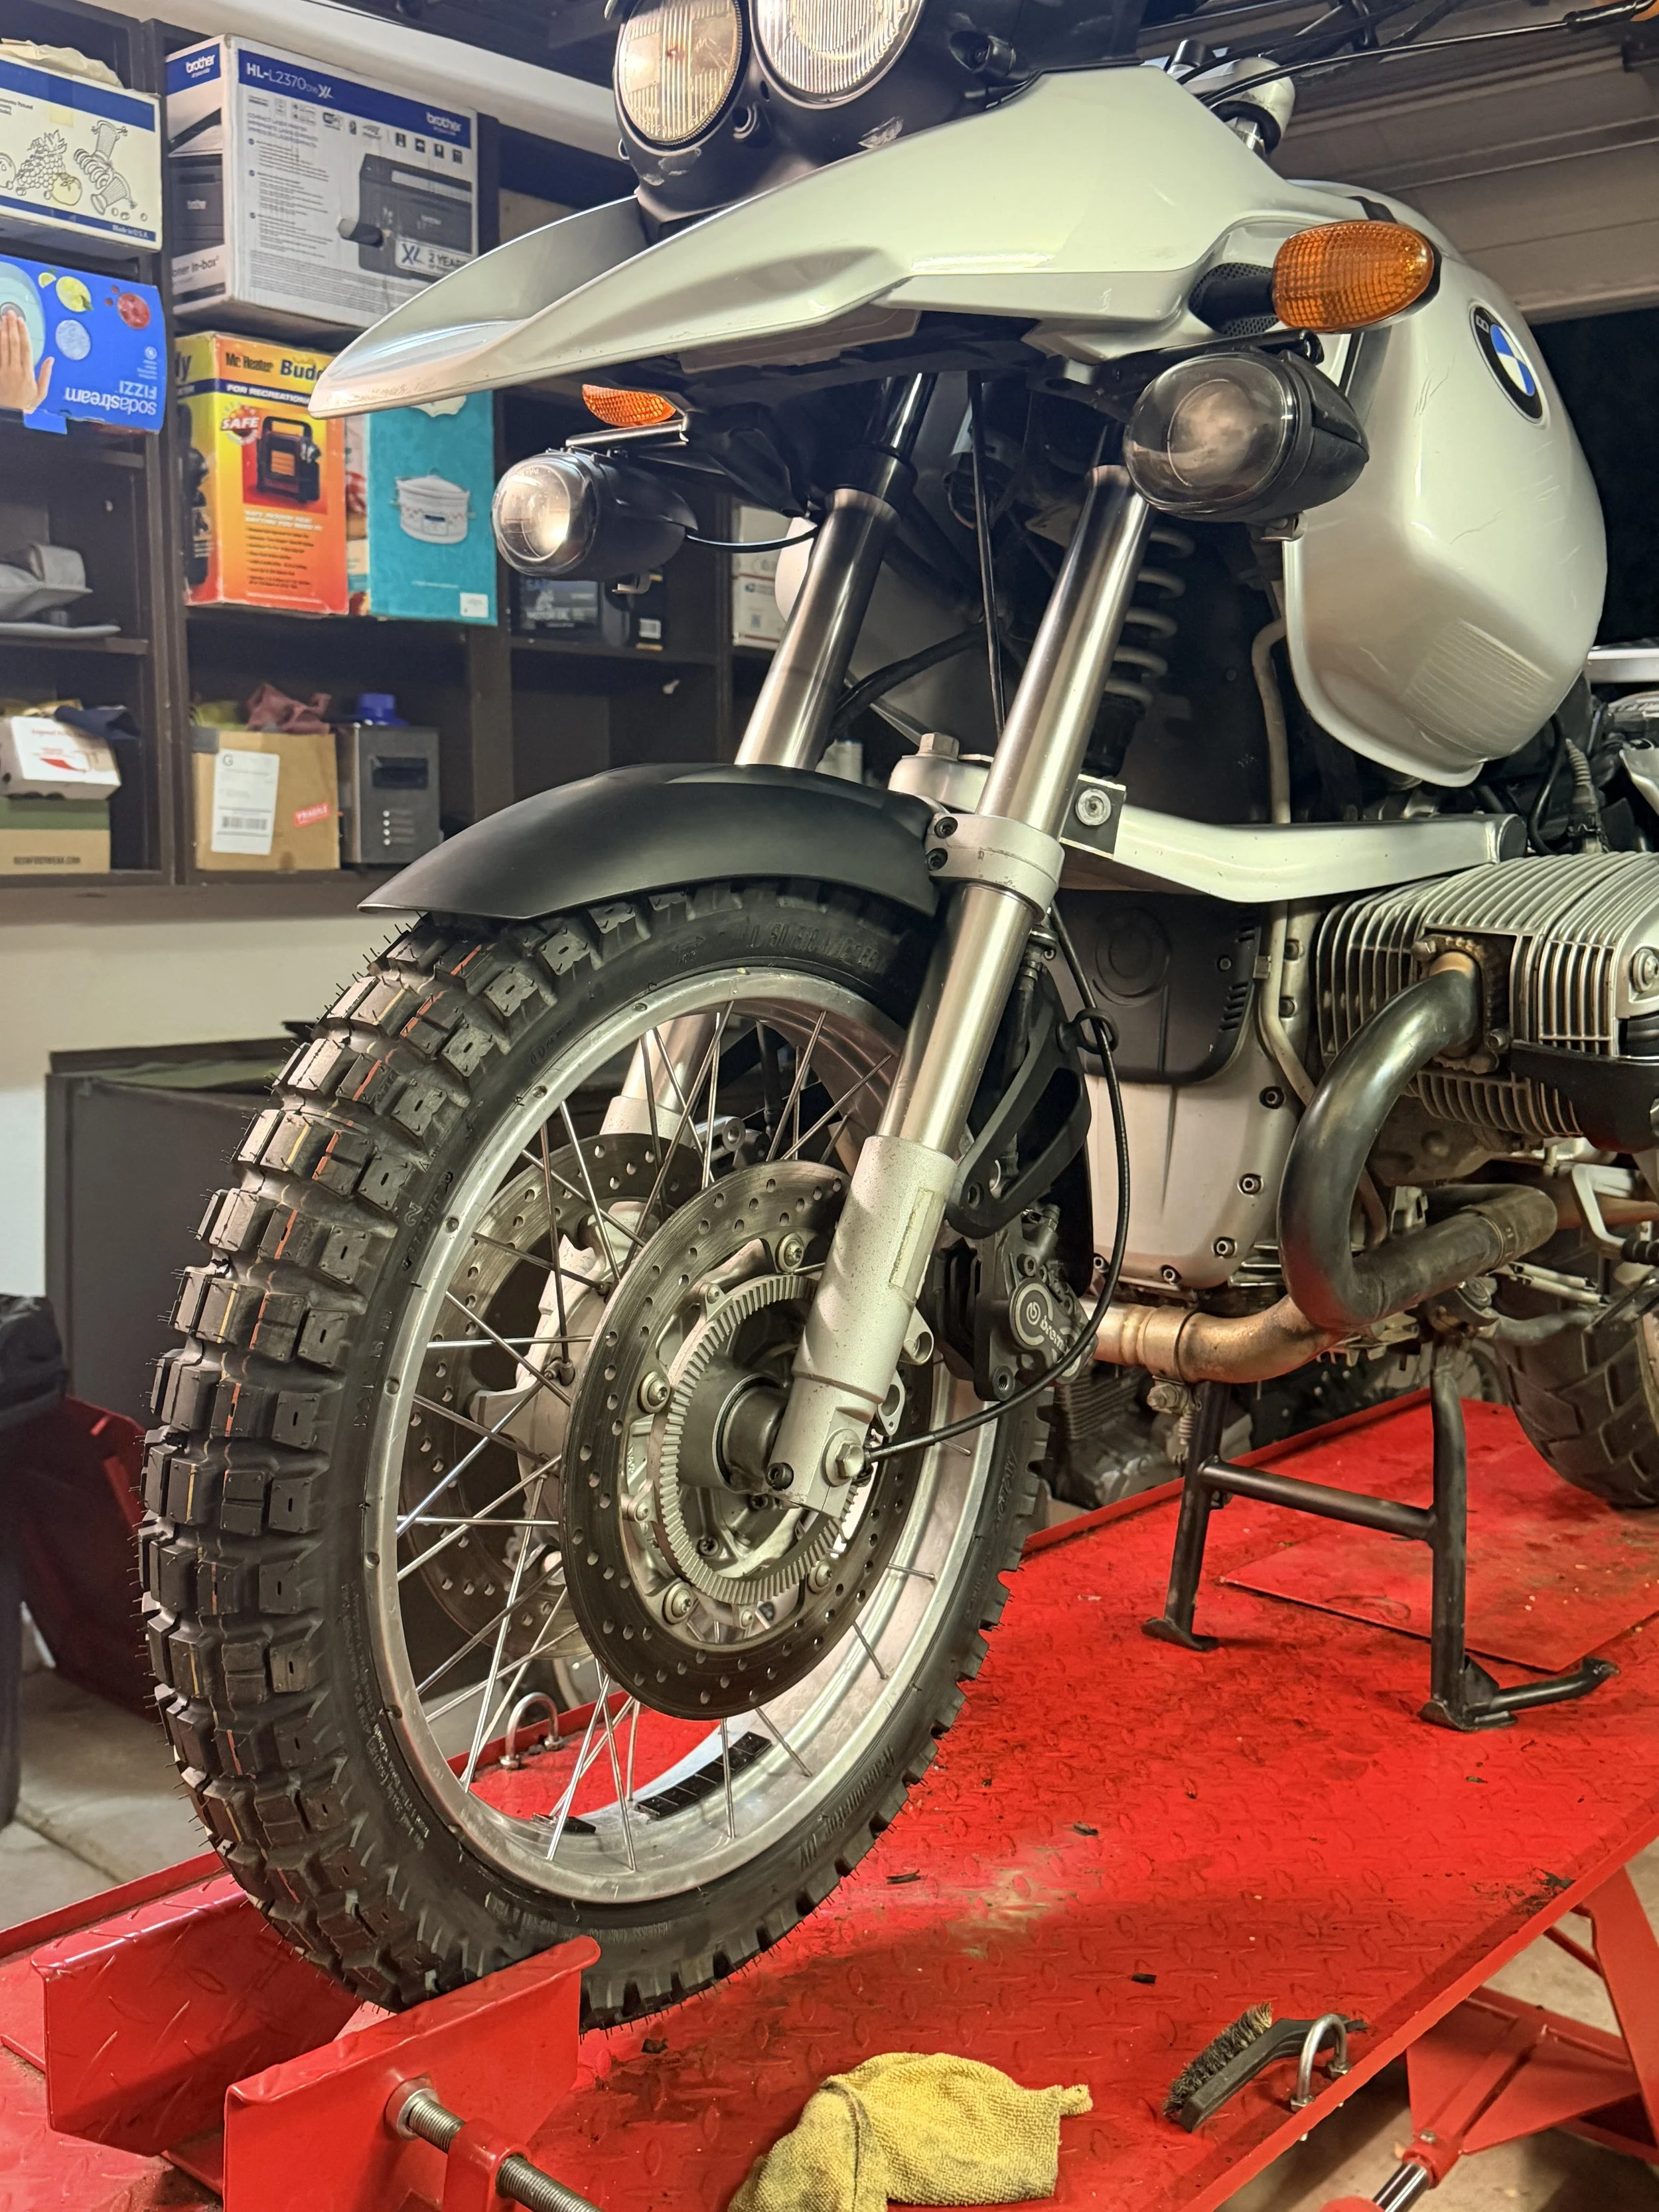
Another look - really transforms the look of this bike in a way that it doesn't with others.
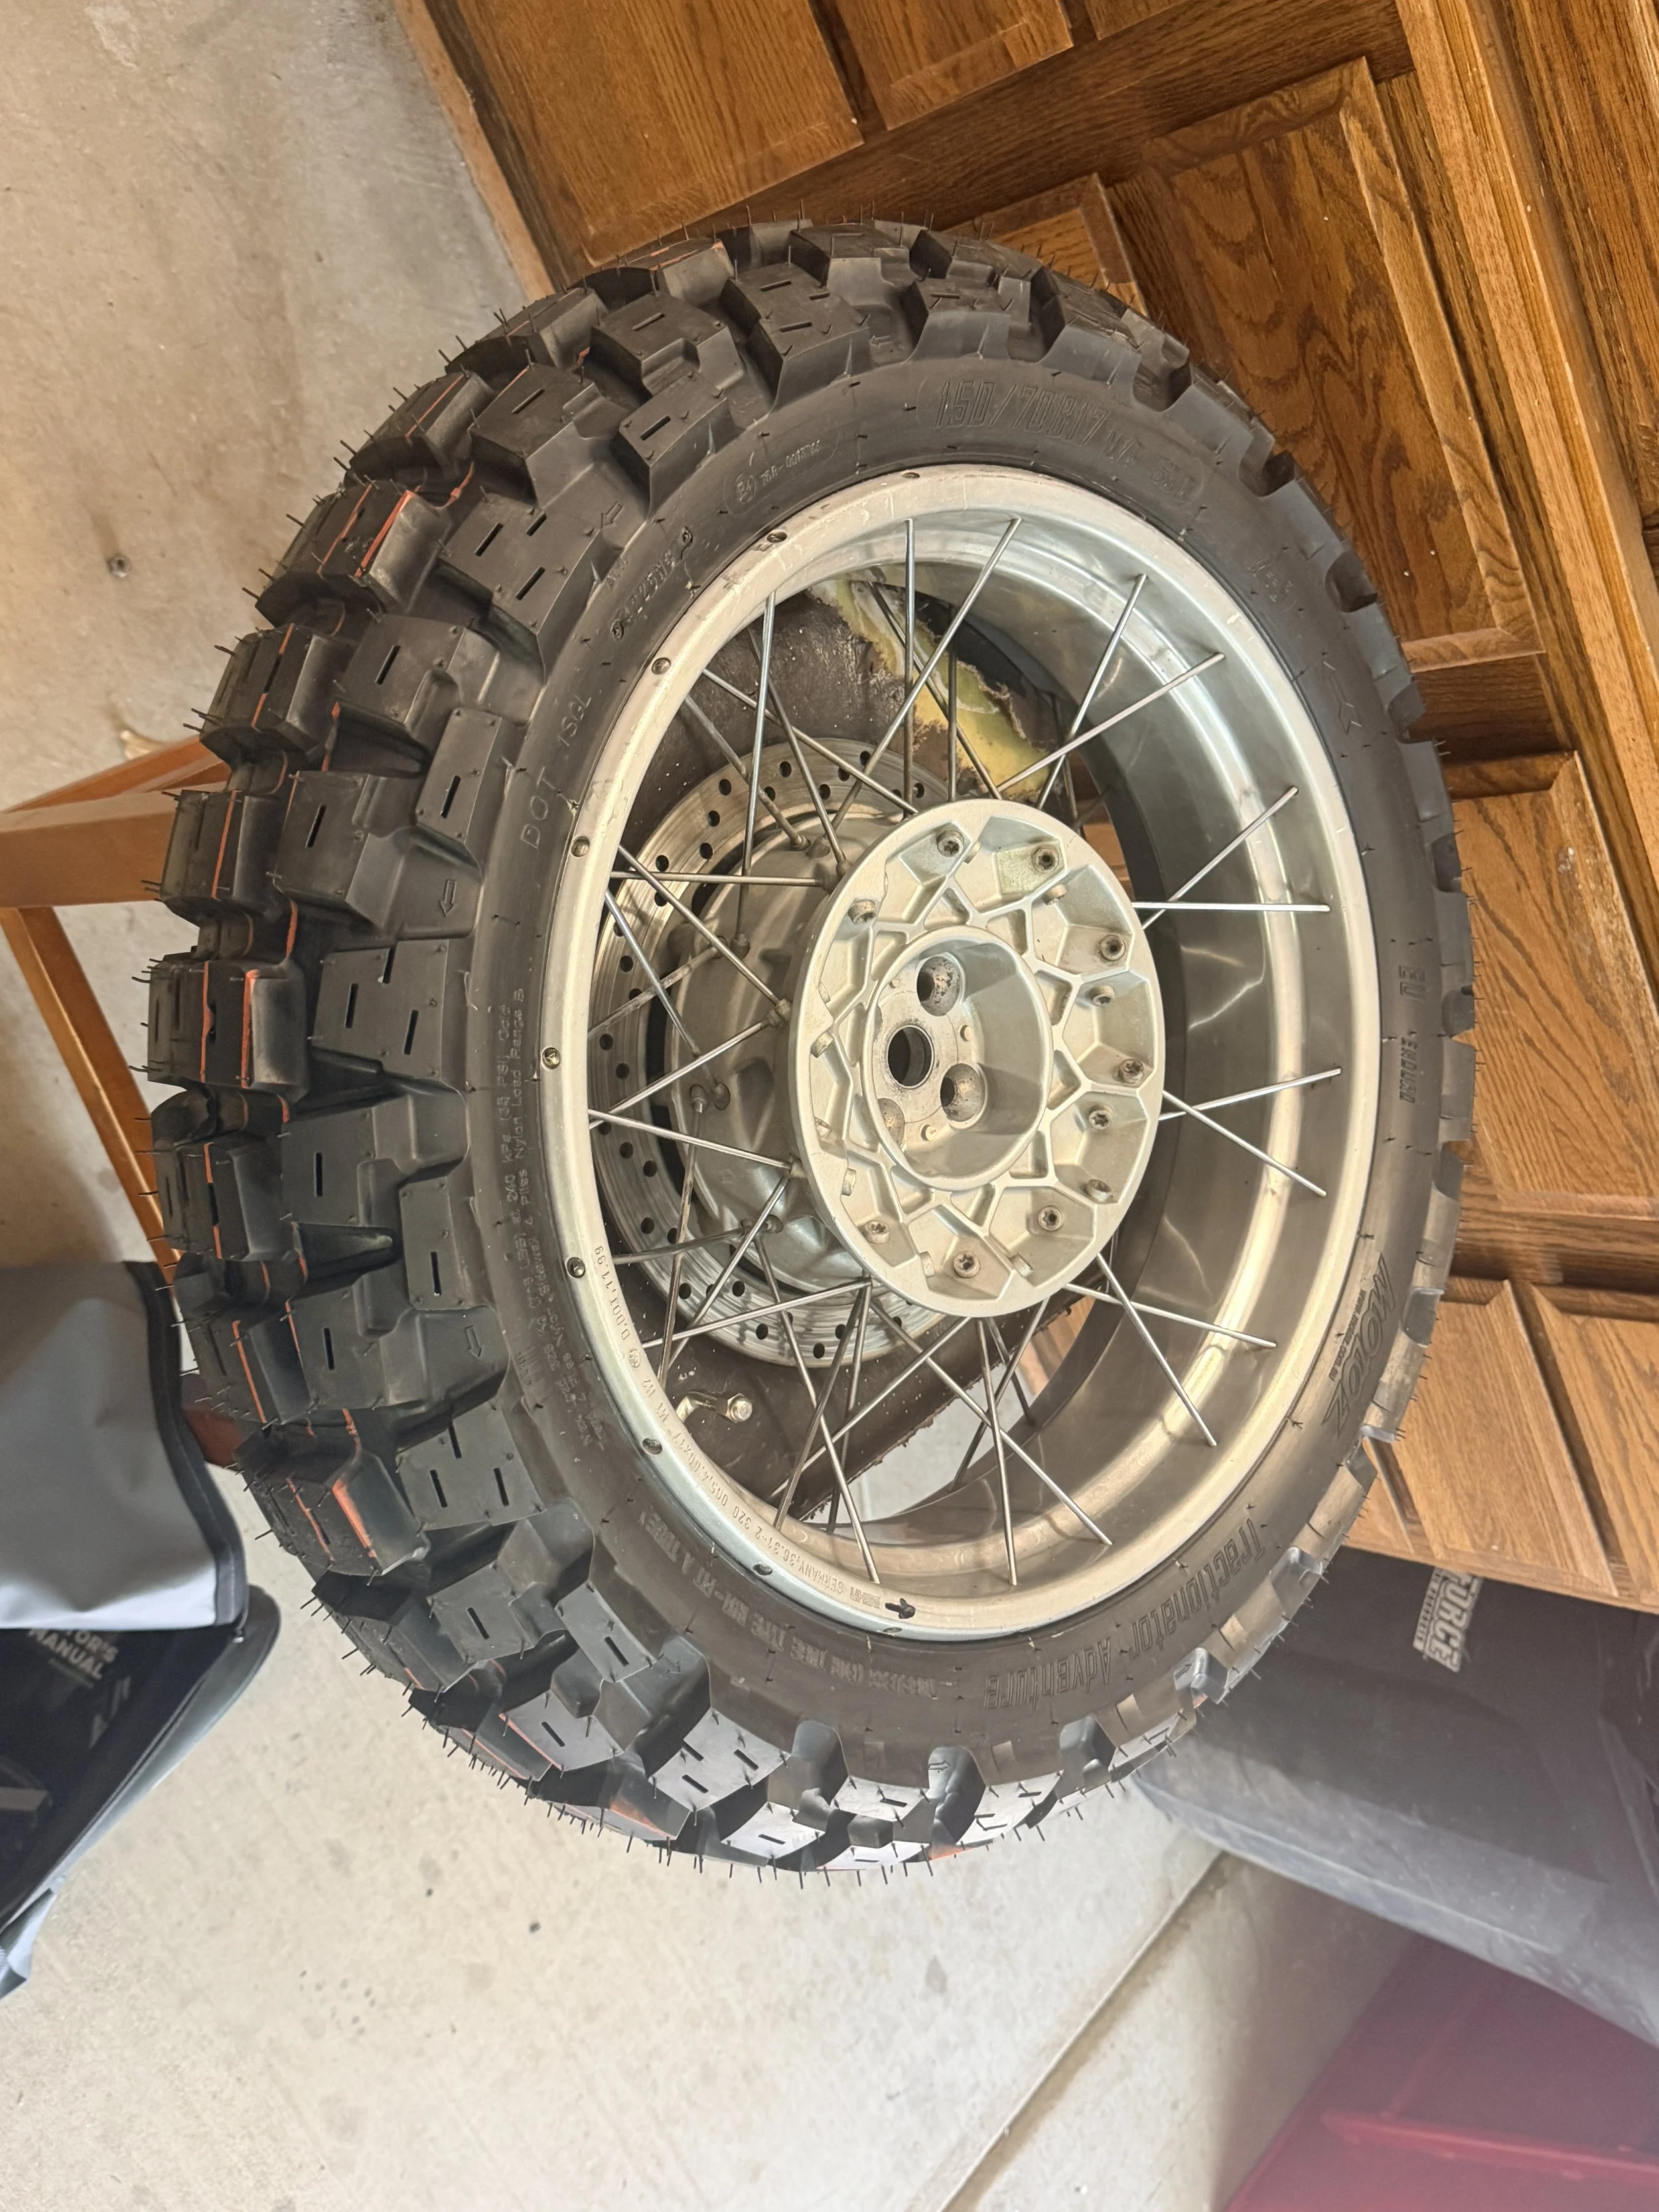
I wish I had taken better photos here. The entire rear wheel was full of water & sludge. It looked liked a bad valve stem, but who knows. When I took it off - I was so grateful it didn't implode during my test ride. Valve stem was replaced w/ a 90-deg & Motoz Tractionator Adventure on the rear.
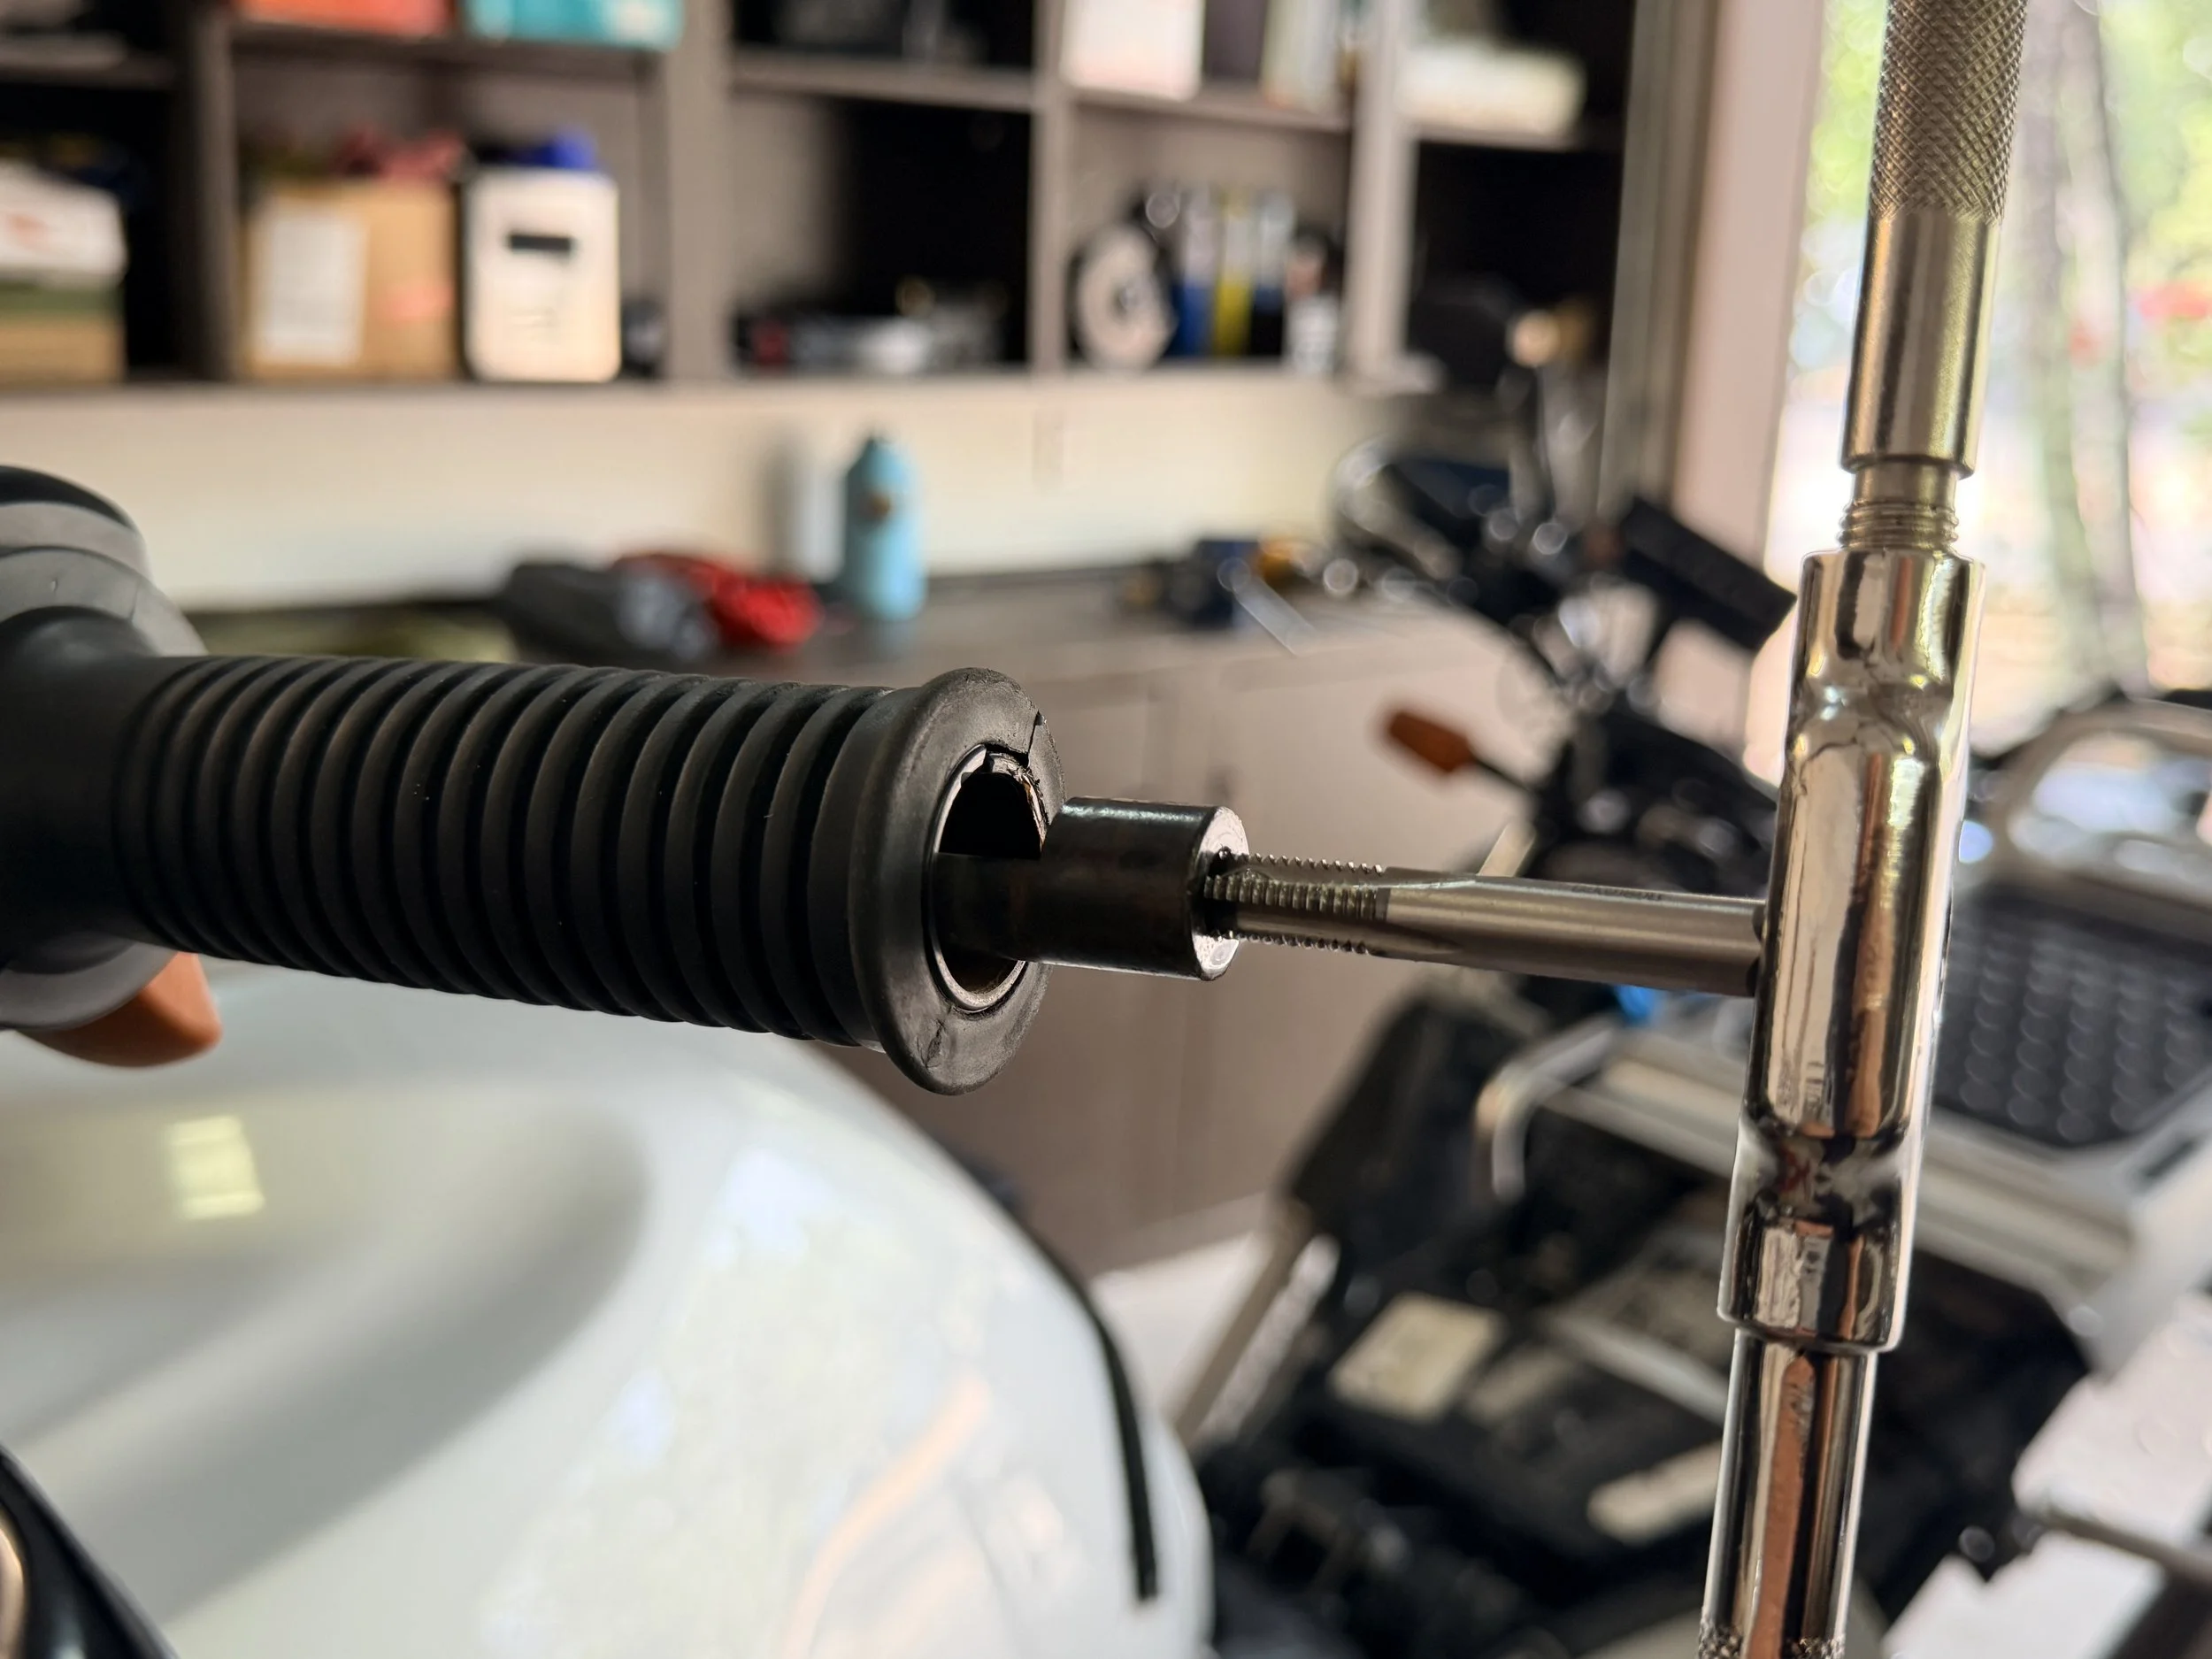
The handlebars needed re-tapped. They were an absolute mess. One of the bar ends fell off during the test ride.
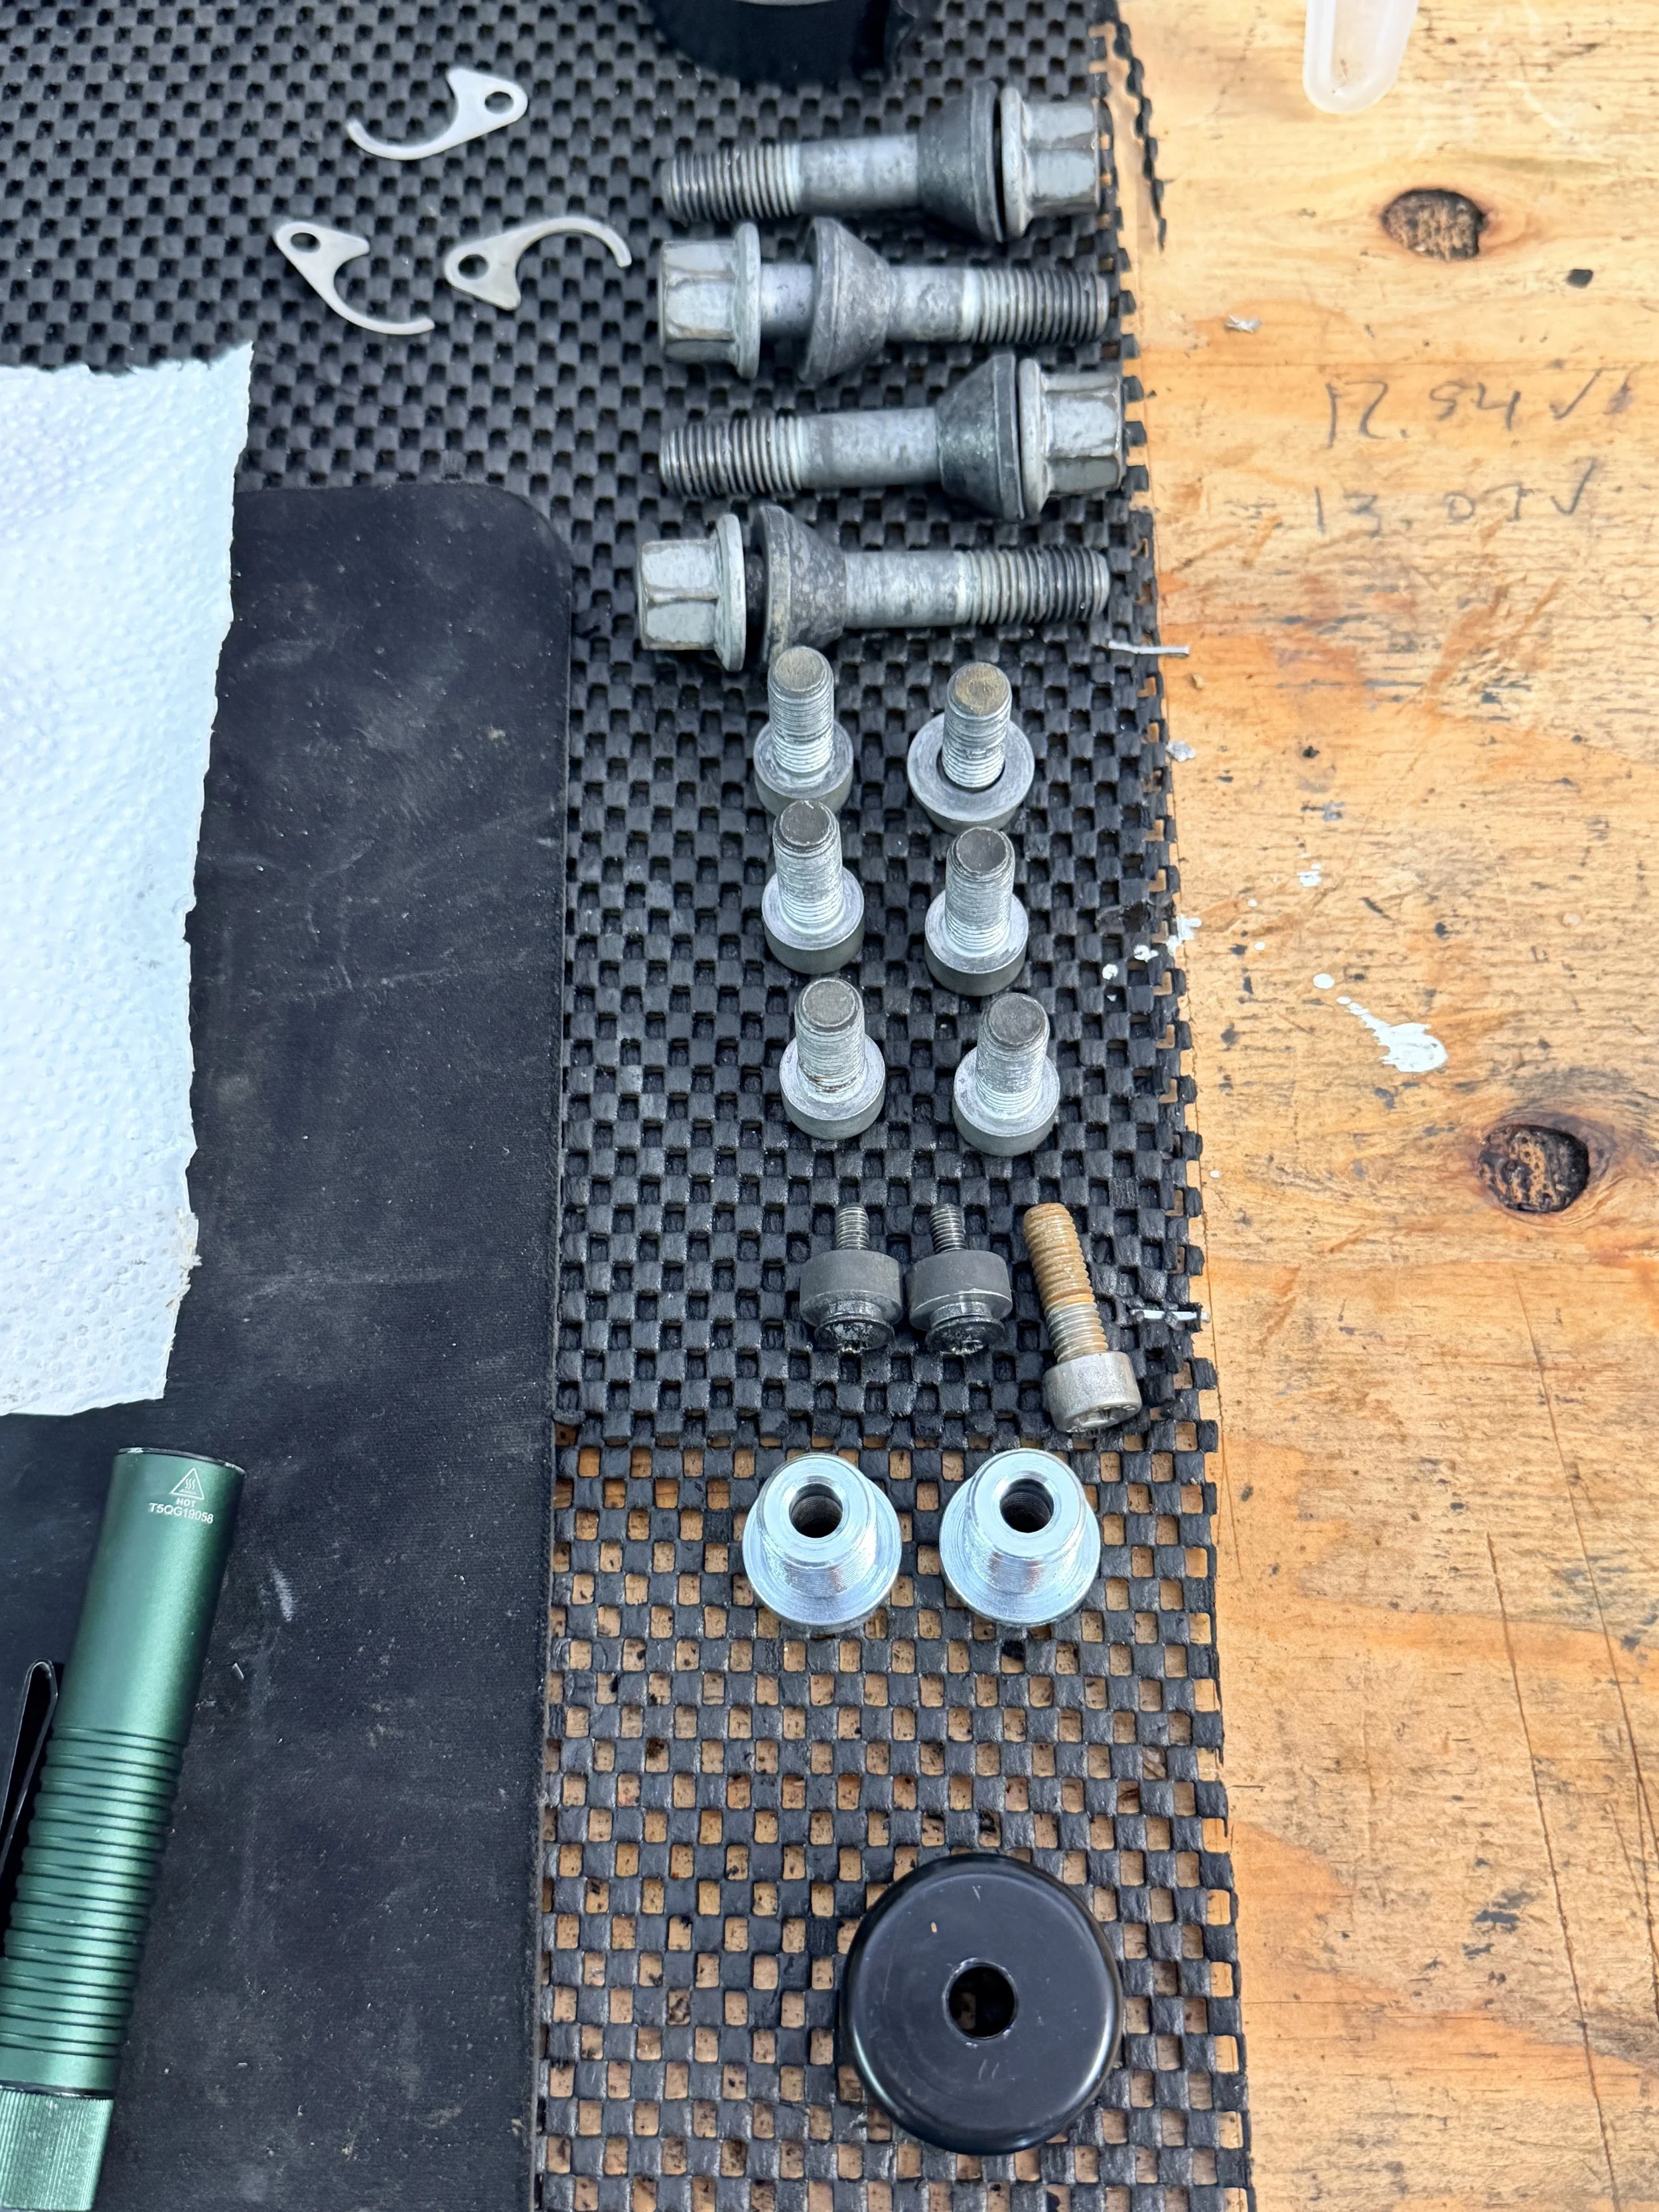
Organzing everyting for the final drive work.
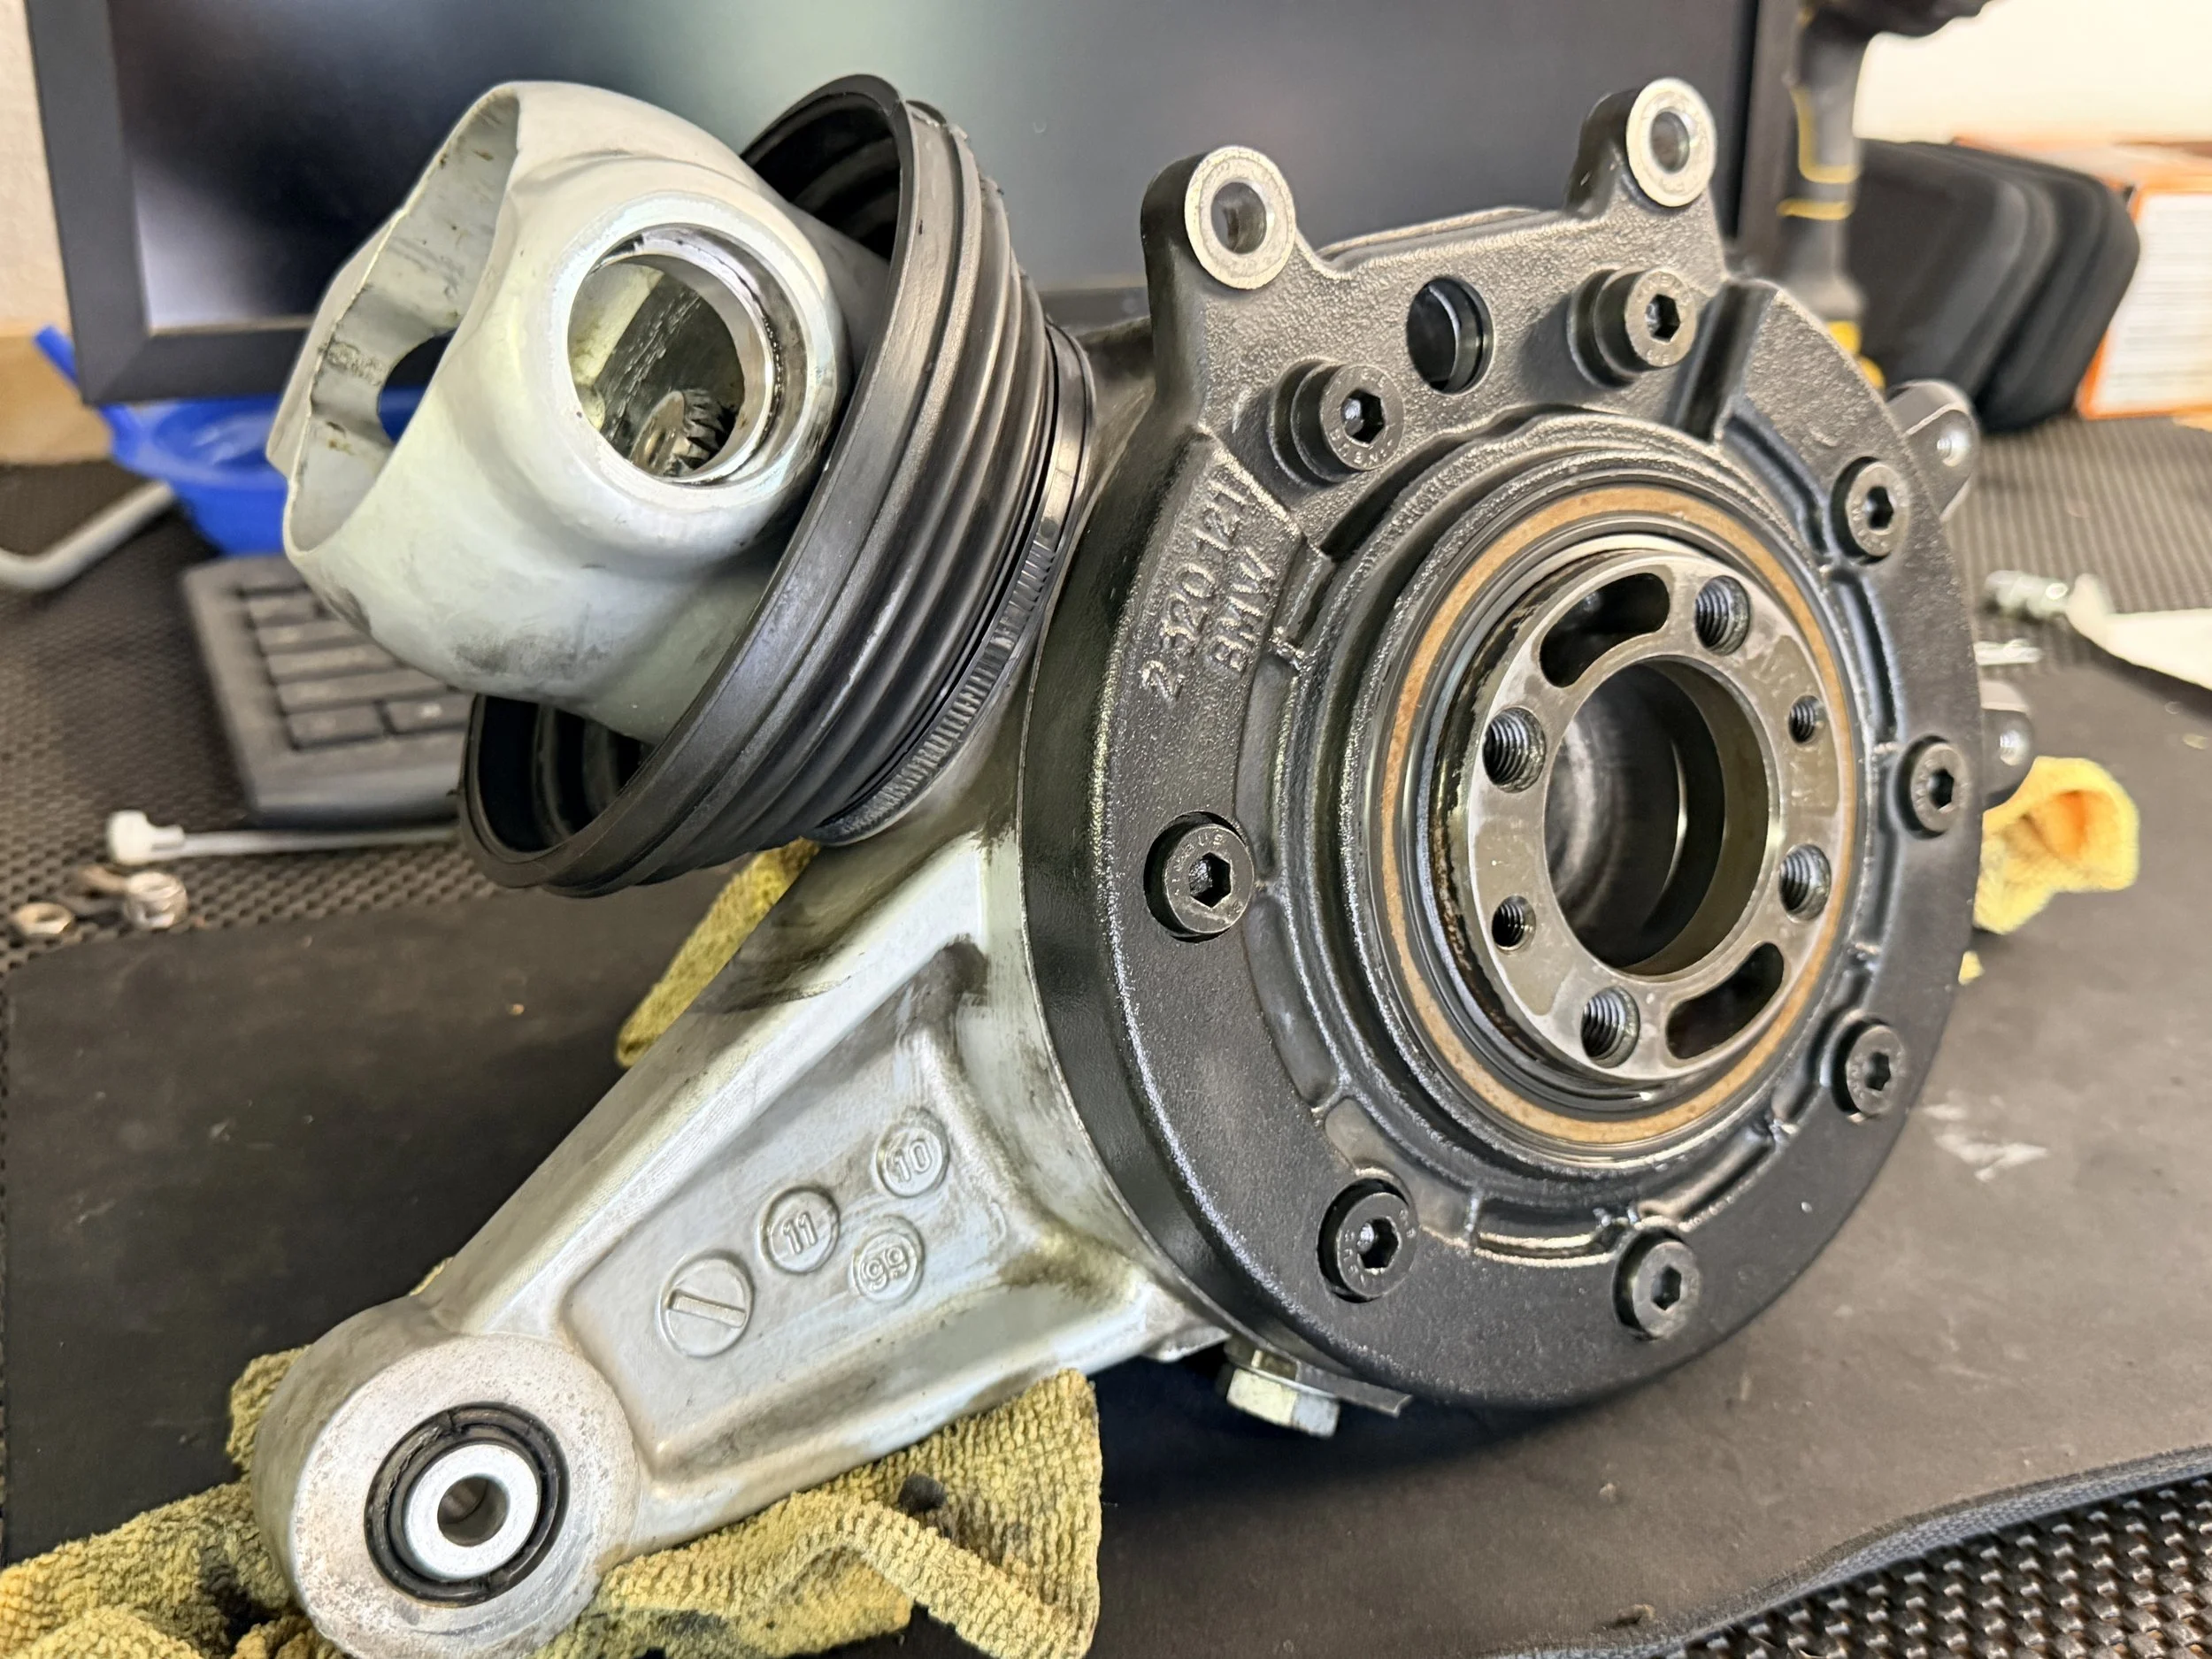
I had two problems with the final drive - leaking seal and freeplay.
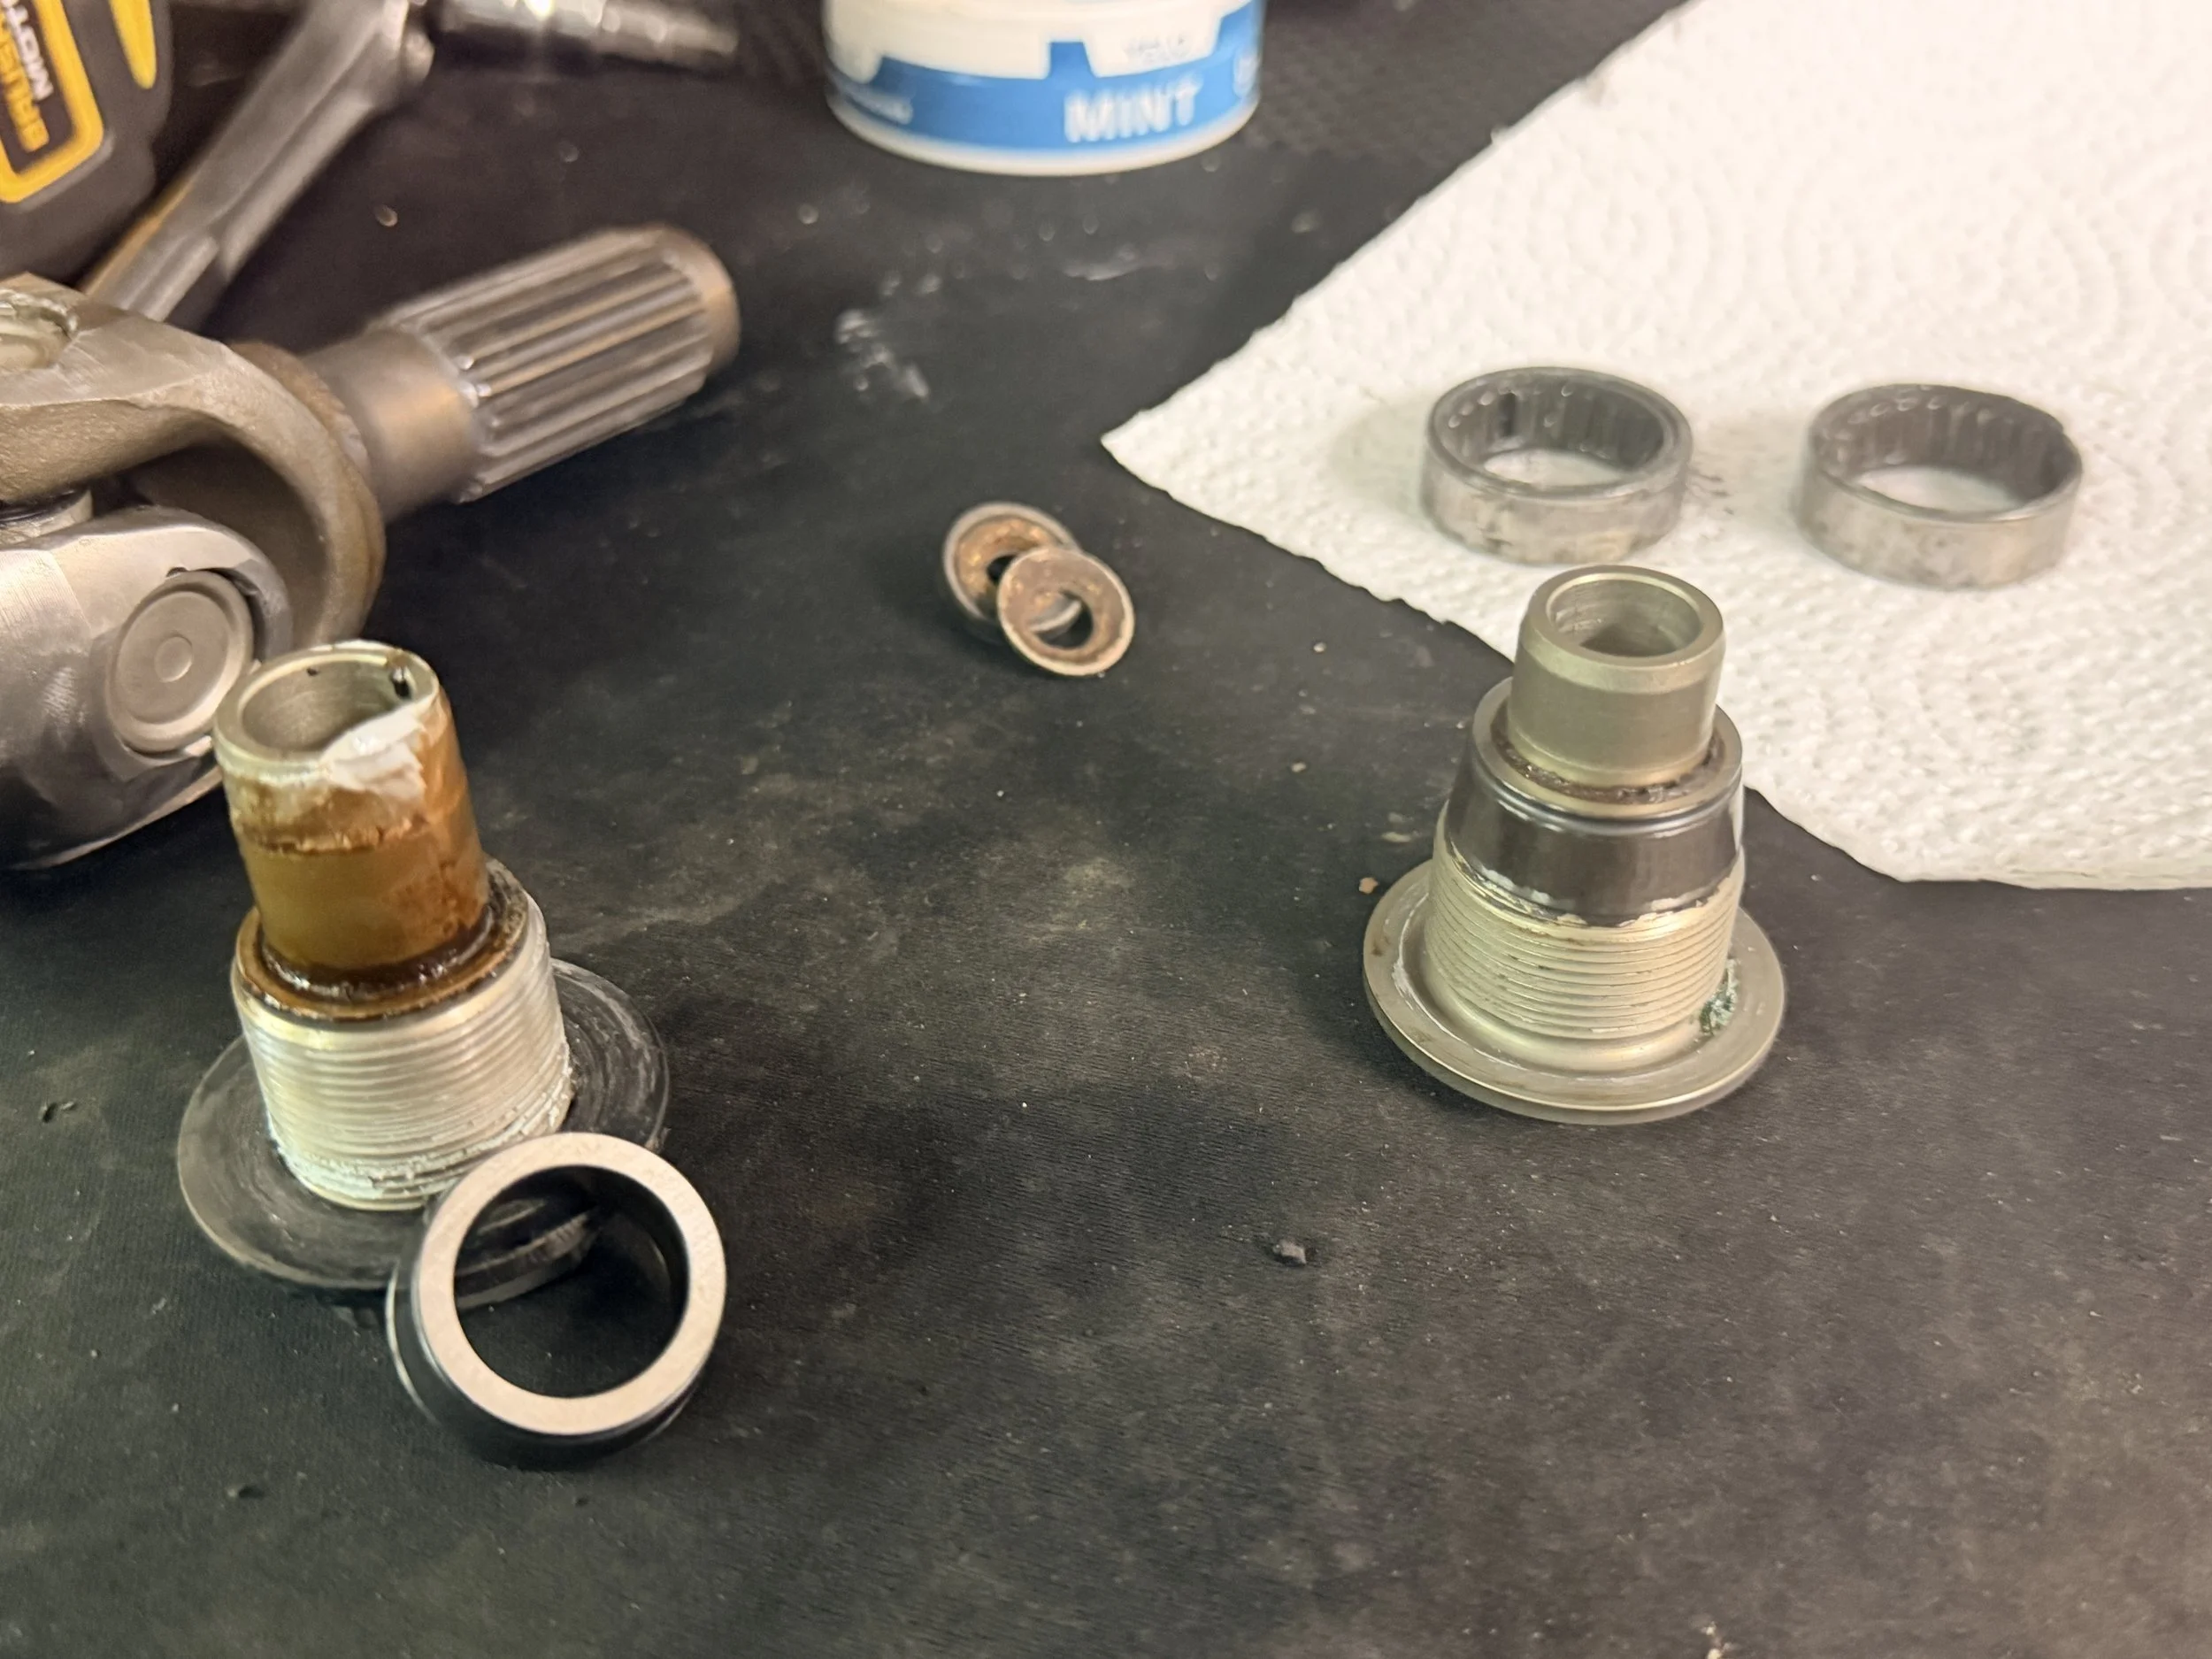
It took 30+ min to get the final drive off w/ a significant amount of heat. And it was bad.
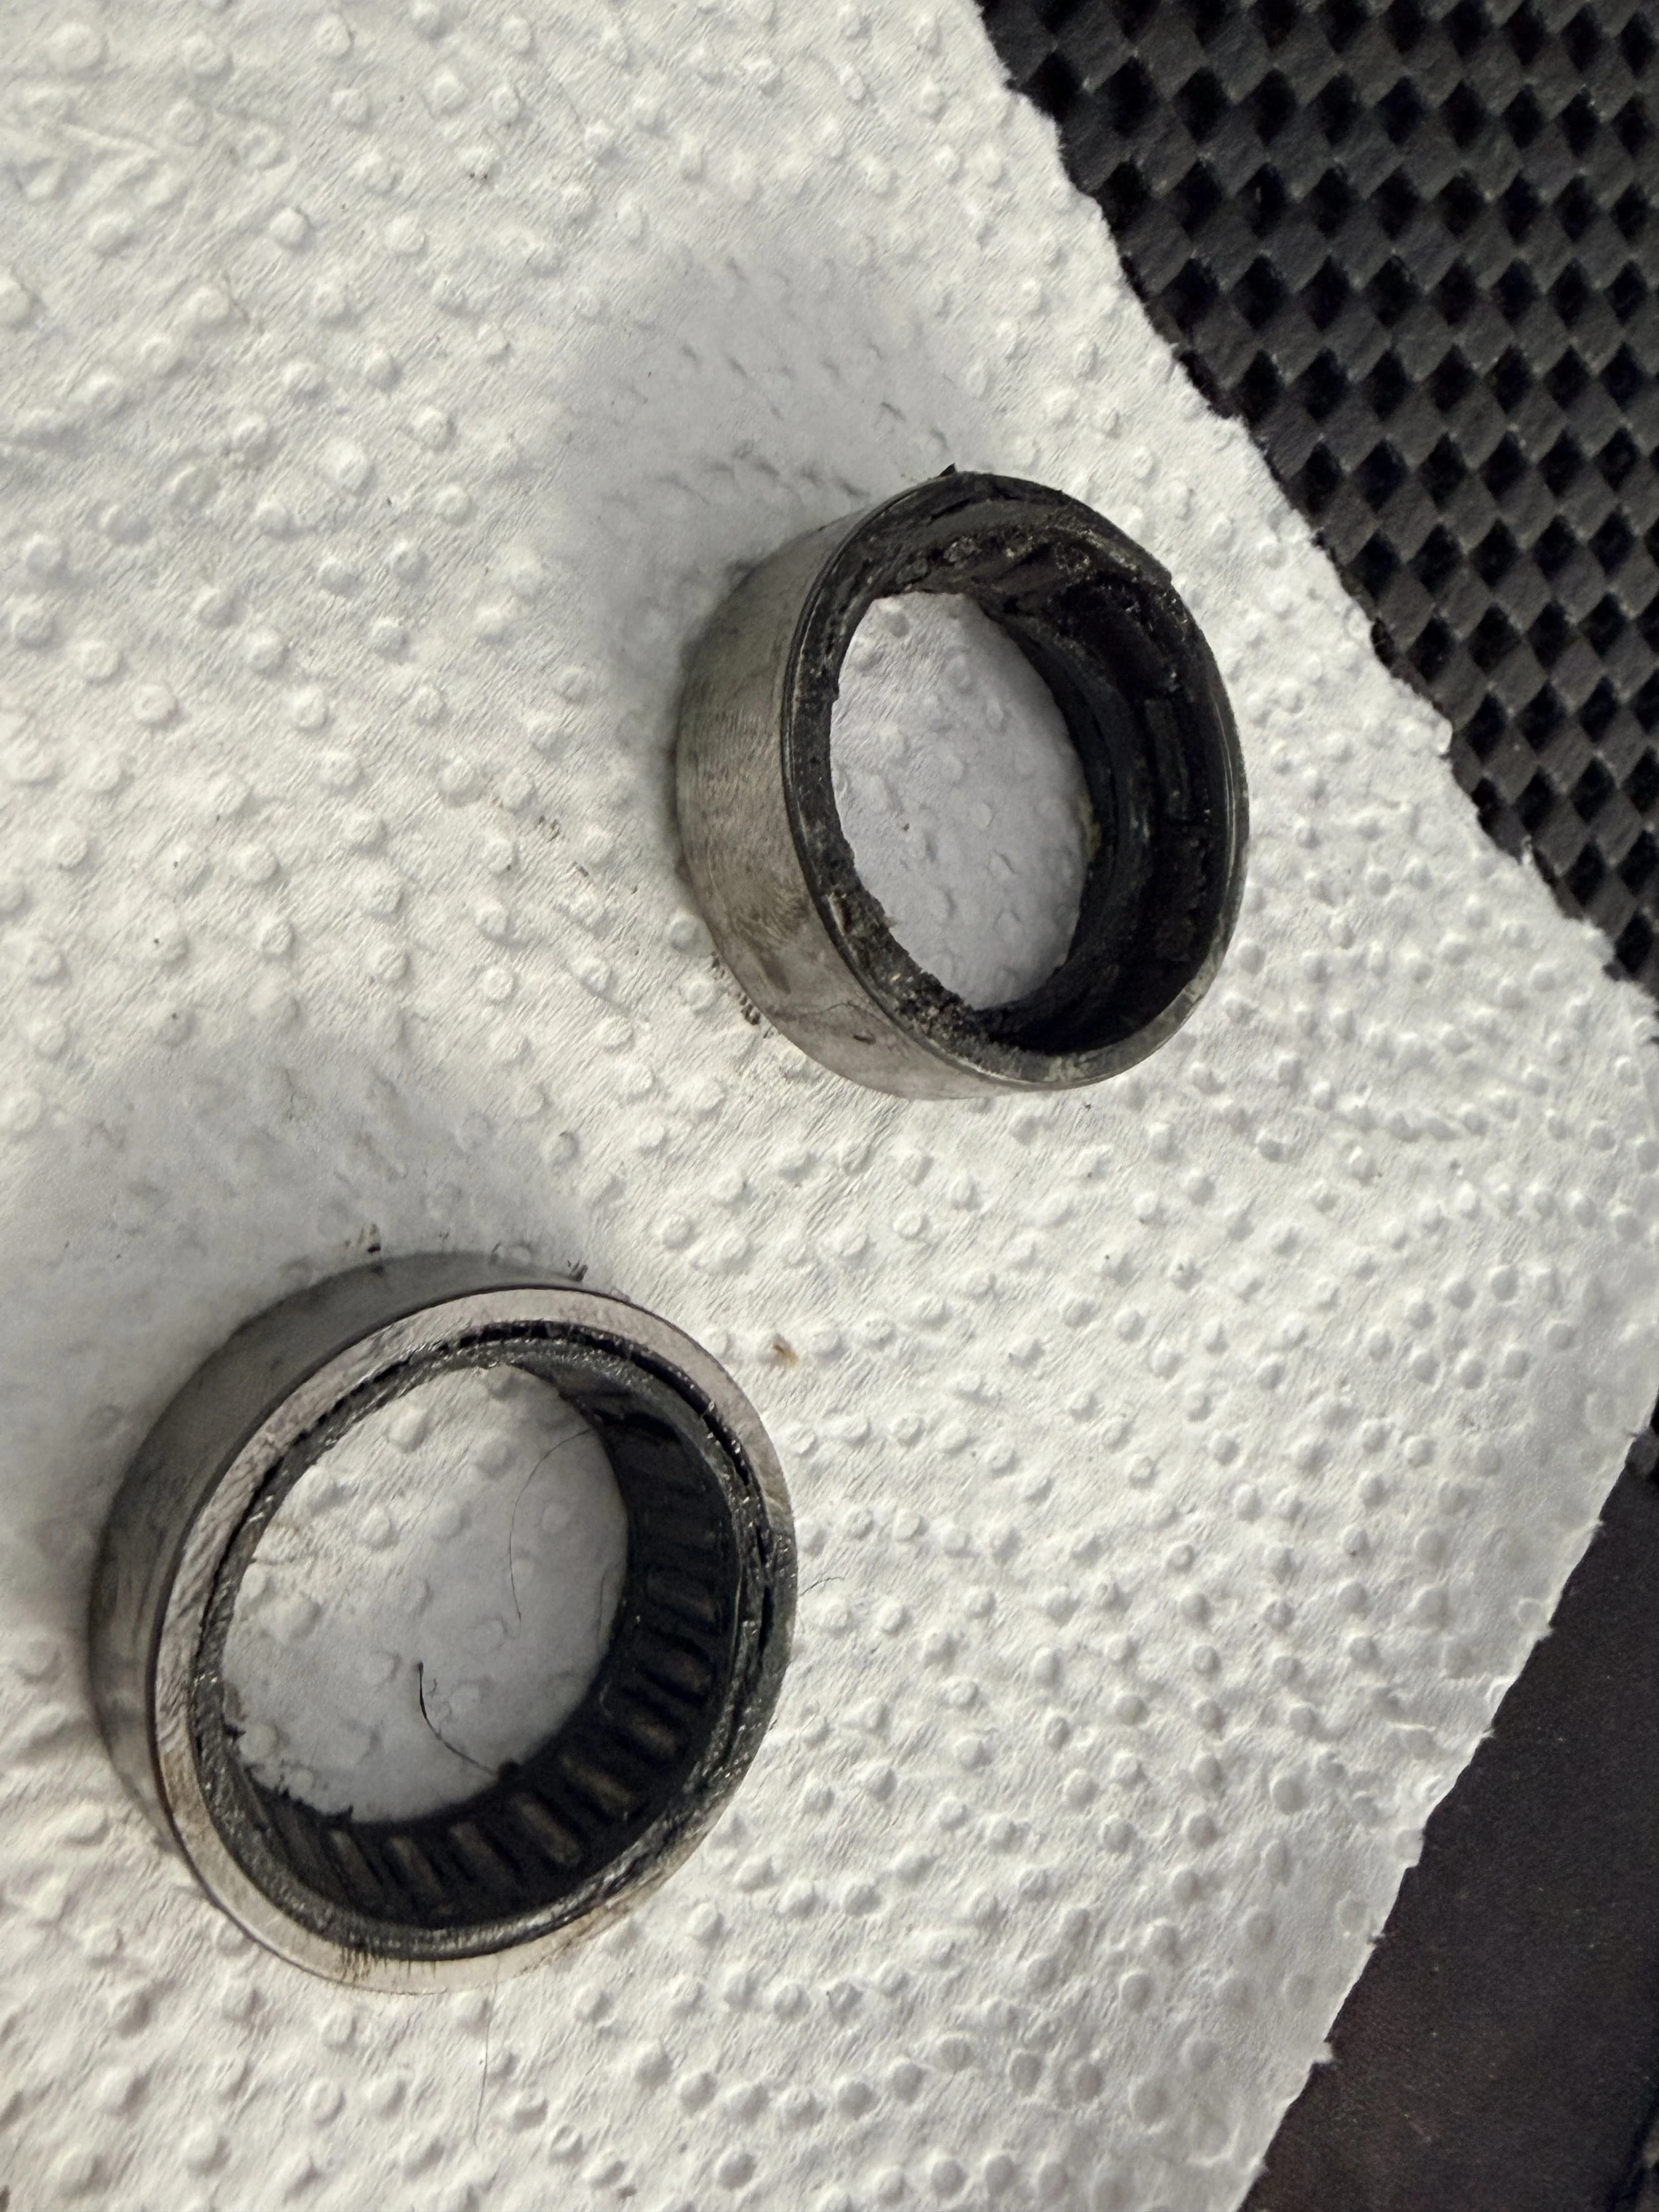
The tapered roller bearings were non-existent. The small bearings fell out of the final drive and were playing ping pong in there. It was at this moment, I became very frustrated. Replaced with Nushing bearings. Super easy to install.
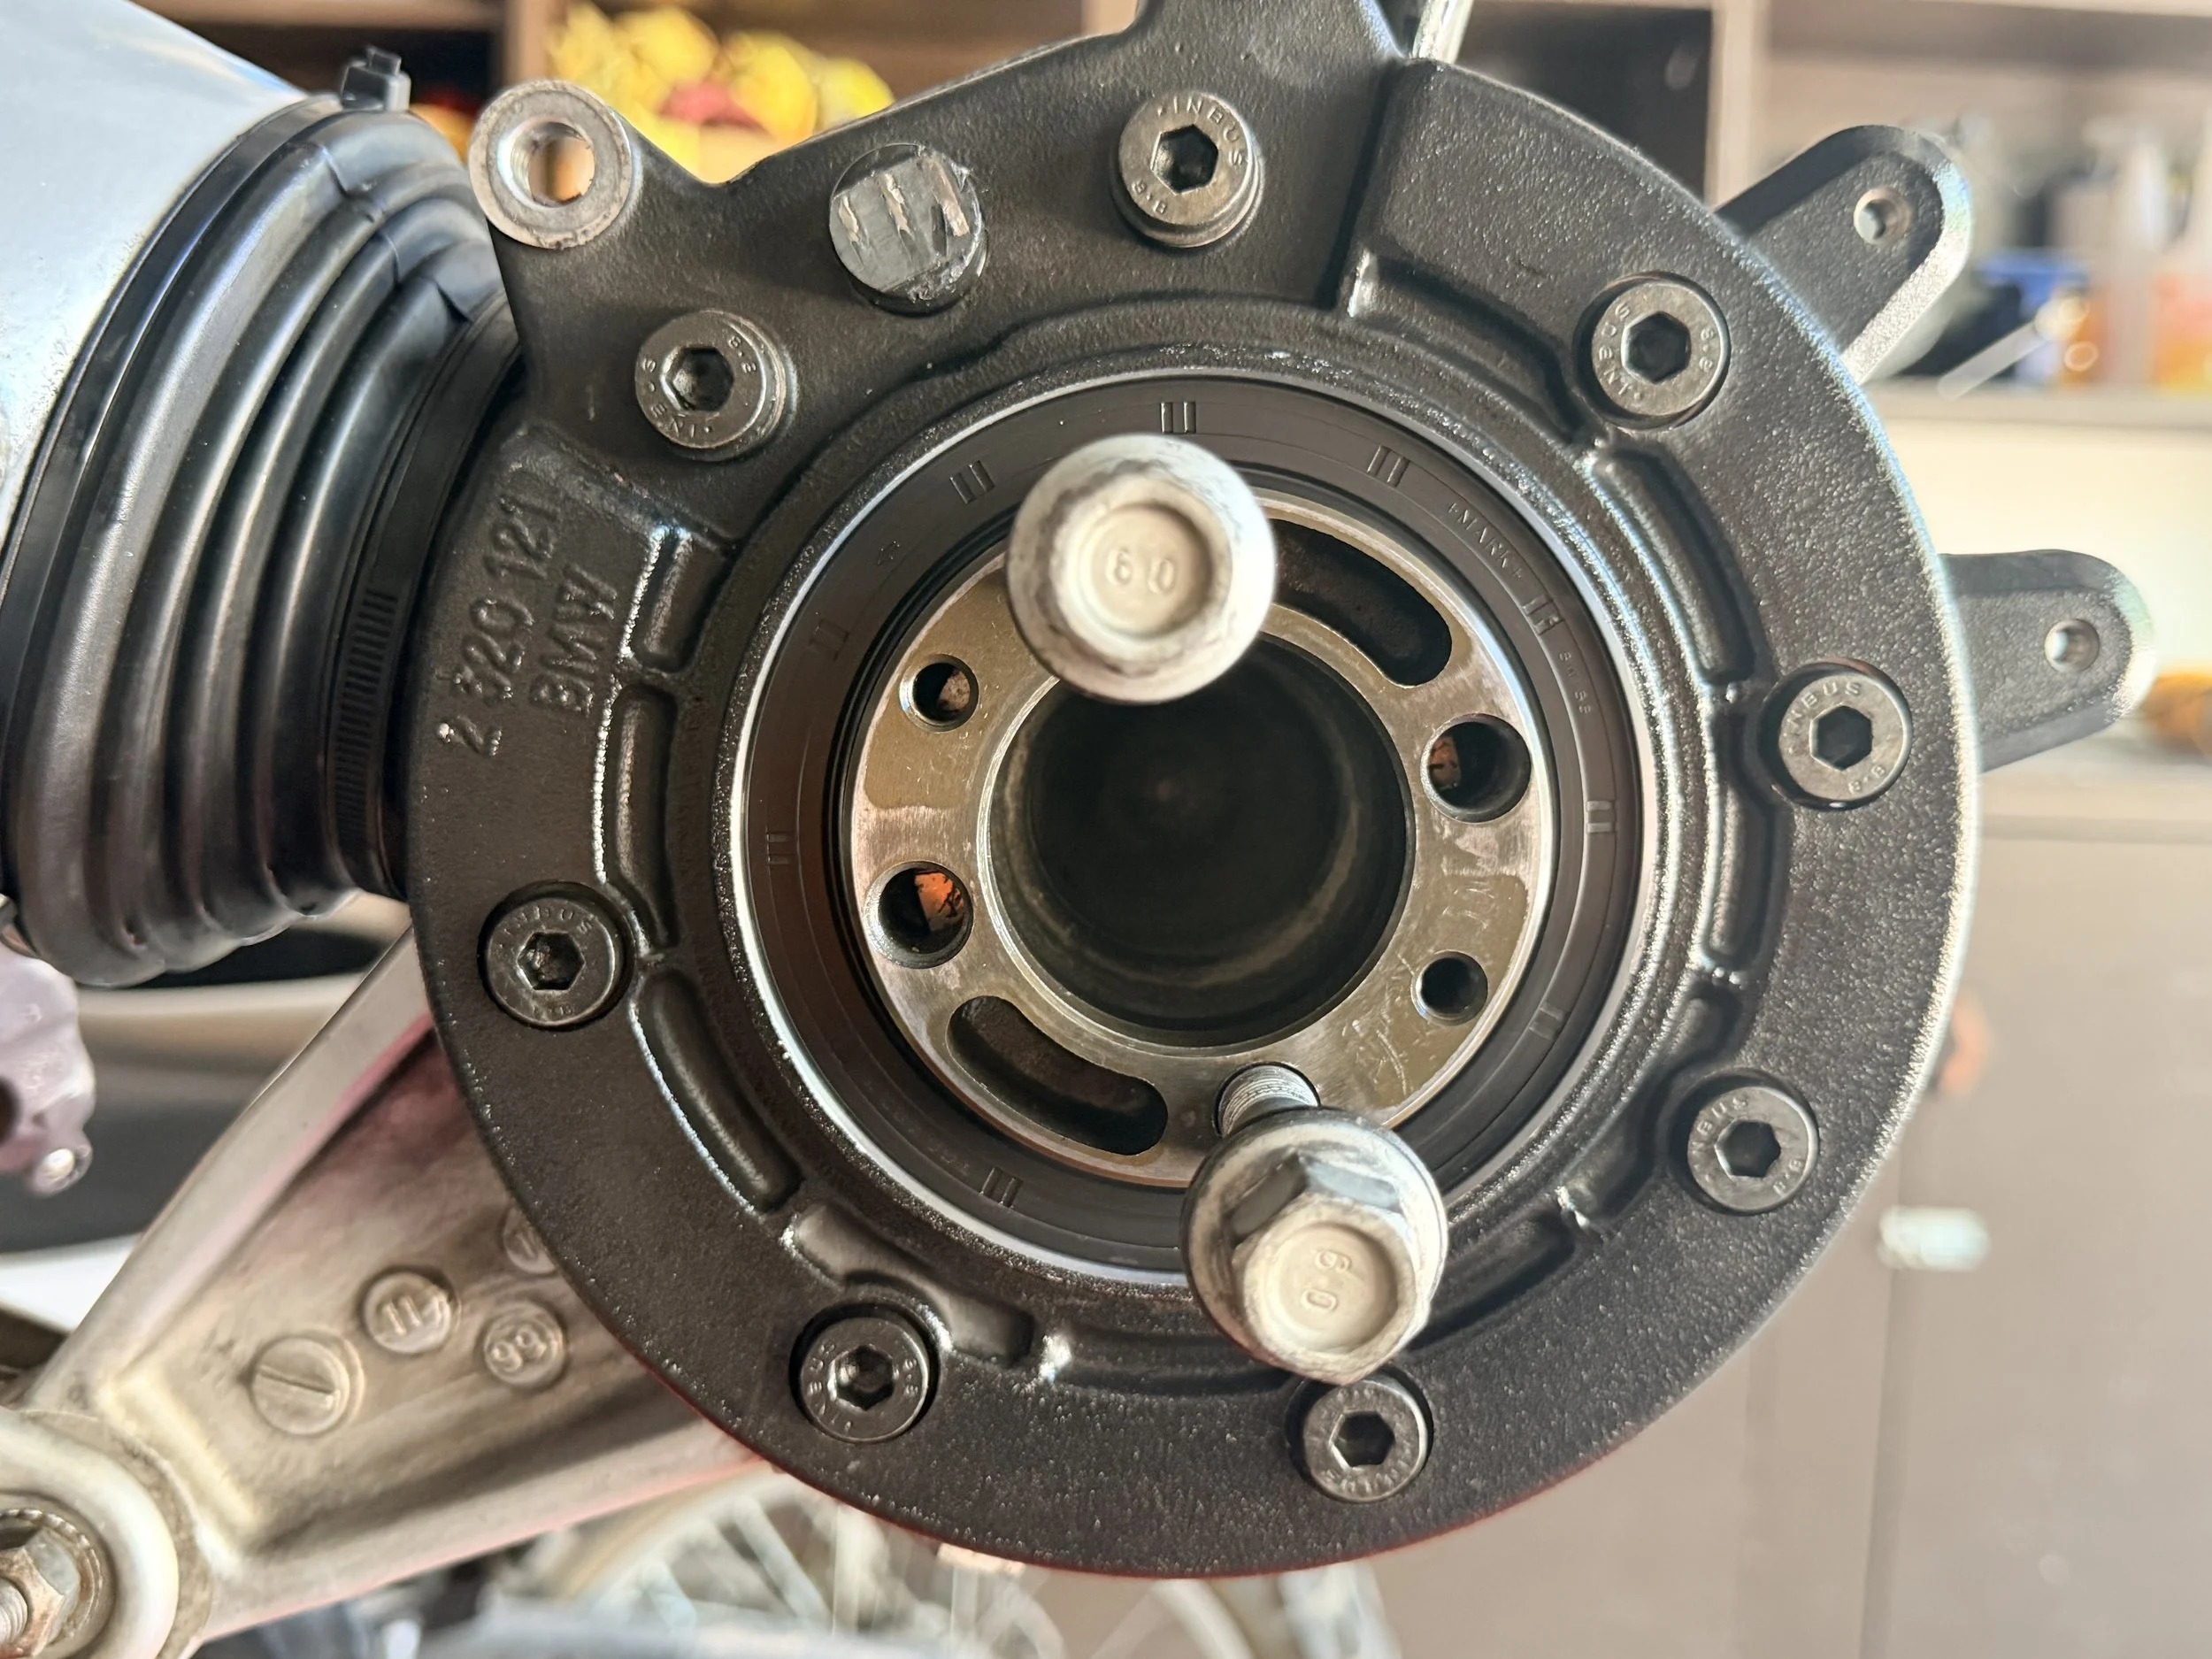
I had a leak in the seal. This leak wasn't present when I first purchased & manifested during the initial test ride. With the seal replaced, gear oil no longer flowed & I was happy.
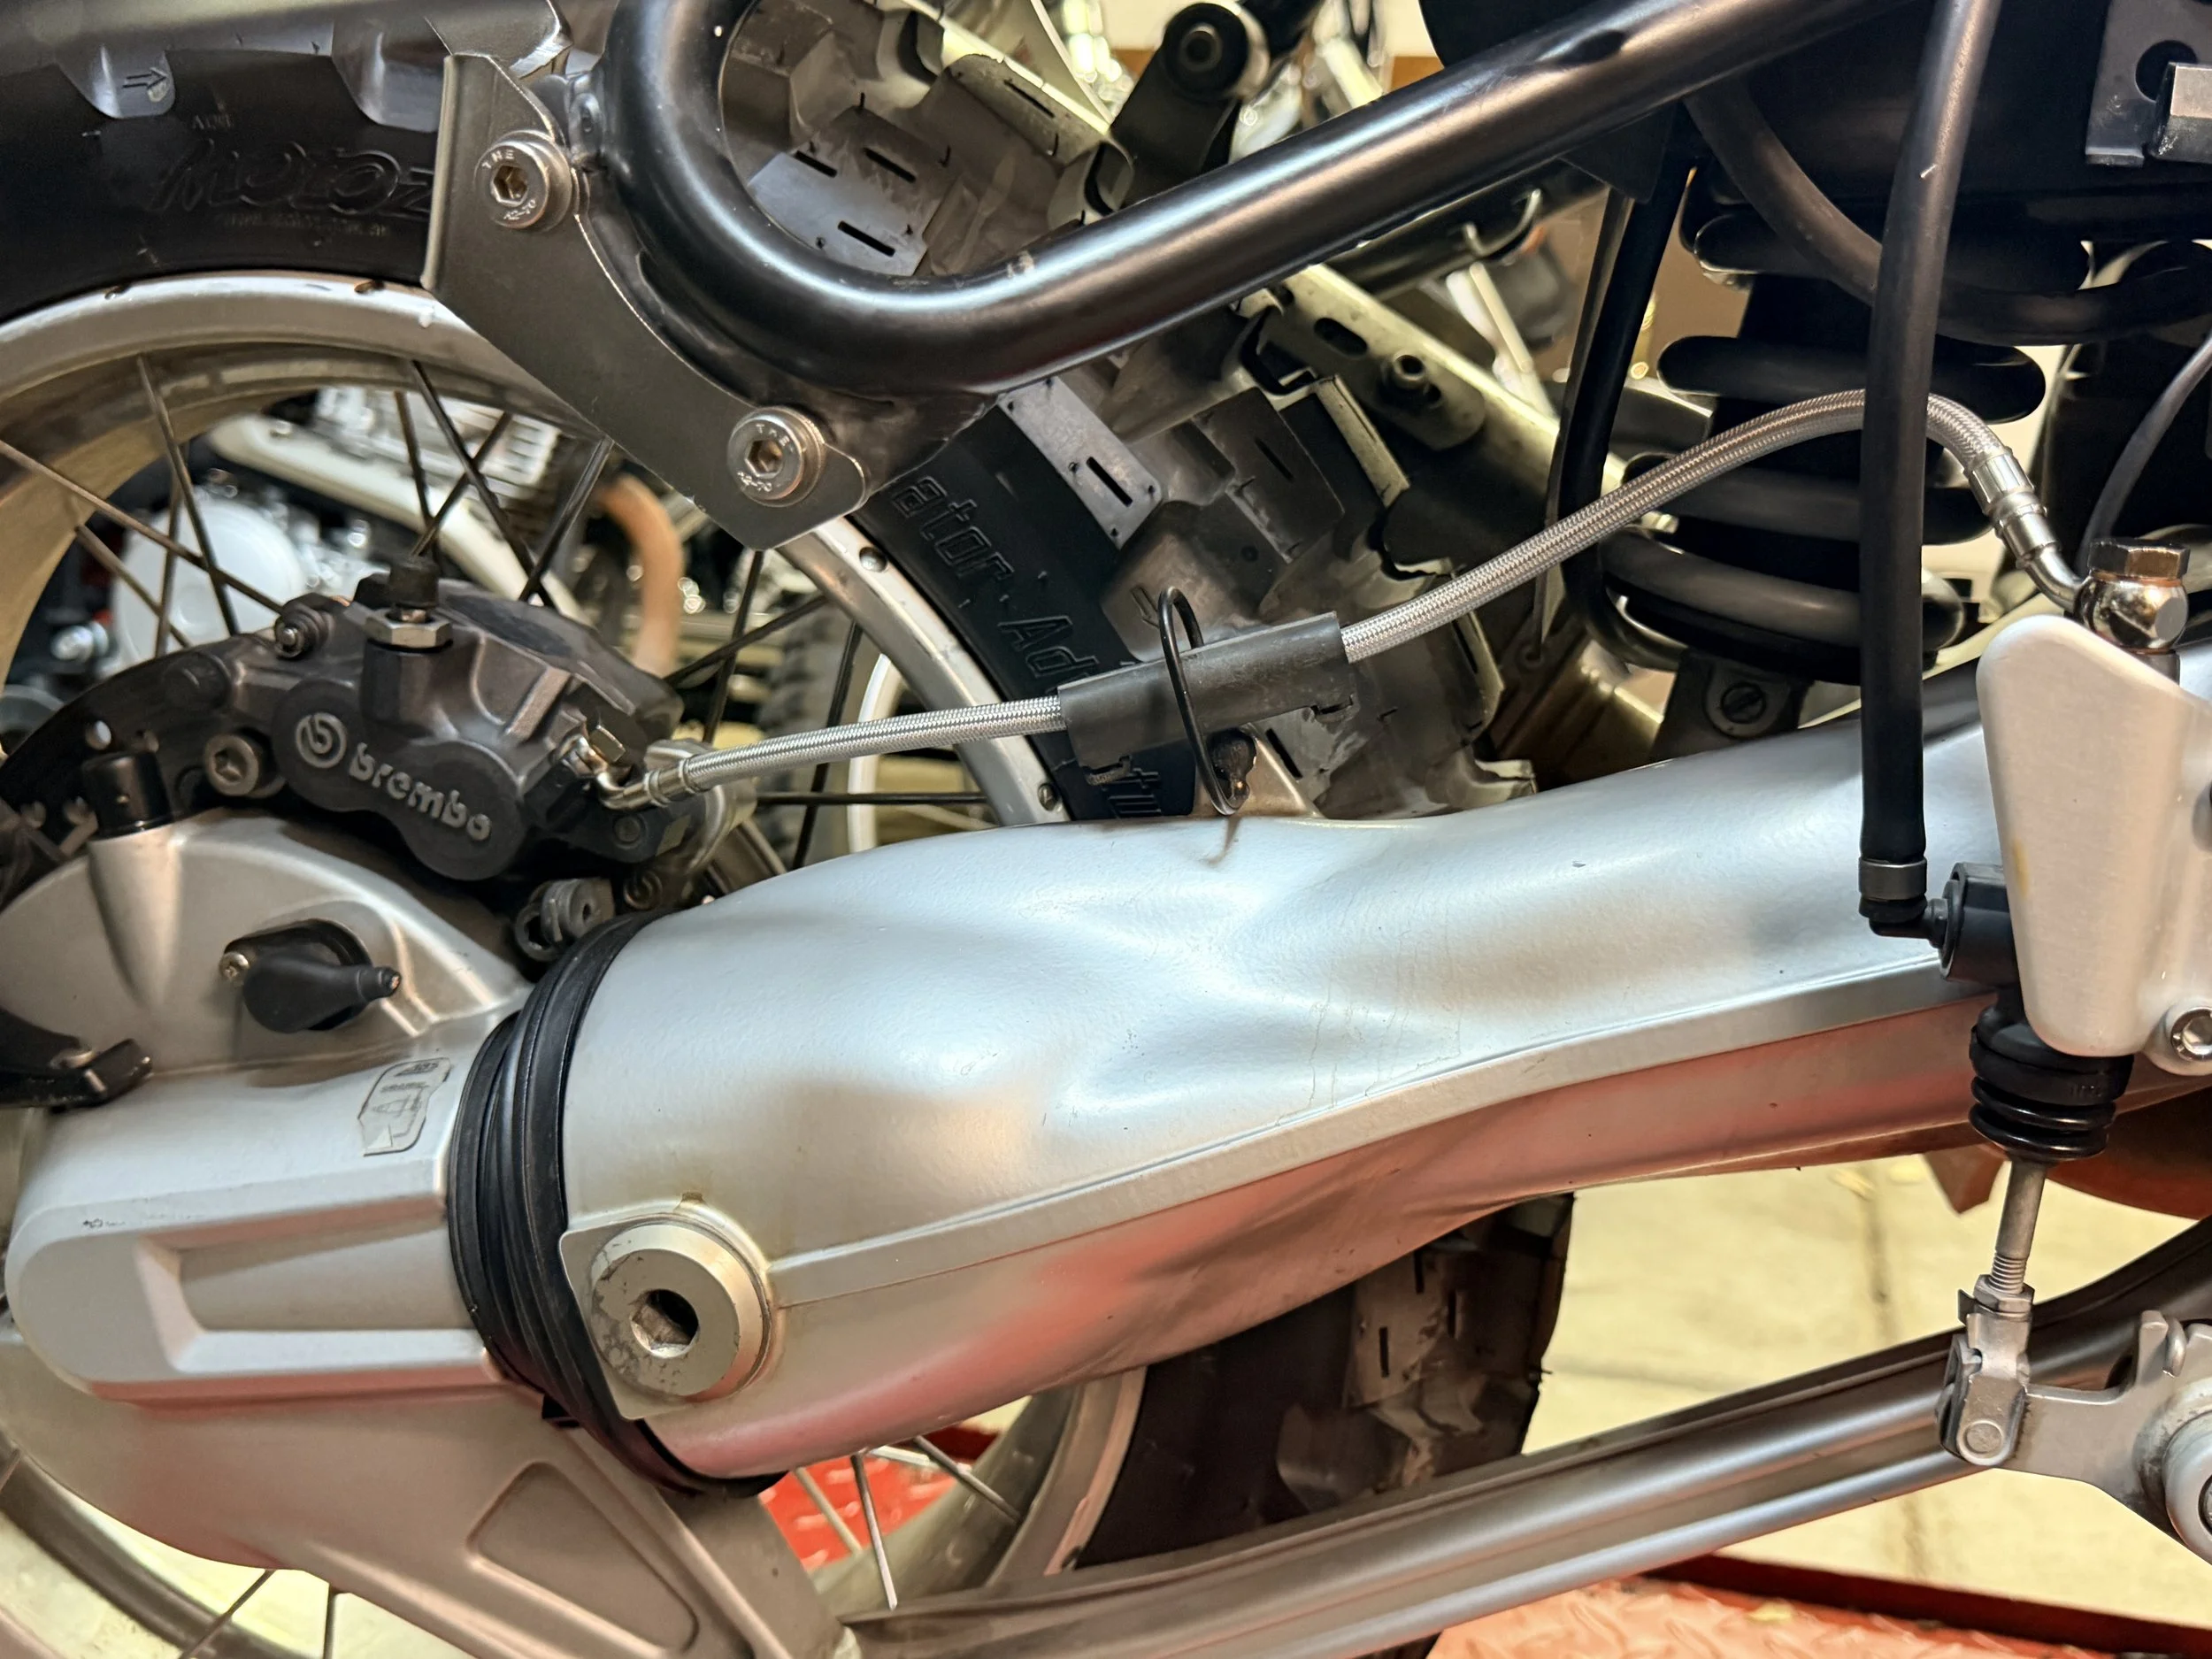
Final drive re-assembled. I had a really interesting series of debates with people on properly indexing the final drive to the output shaft. Specifically, alignment or phasing of the U-joints.
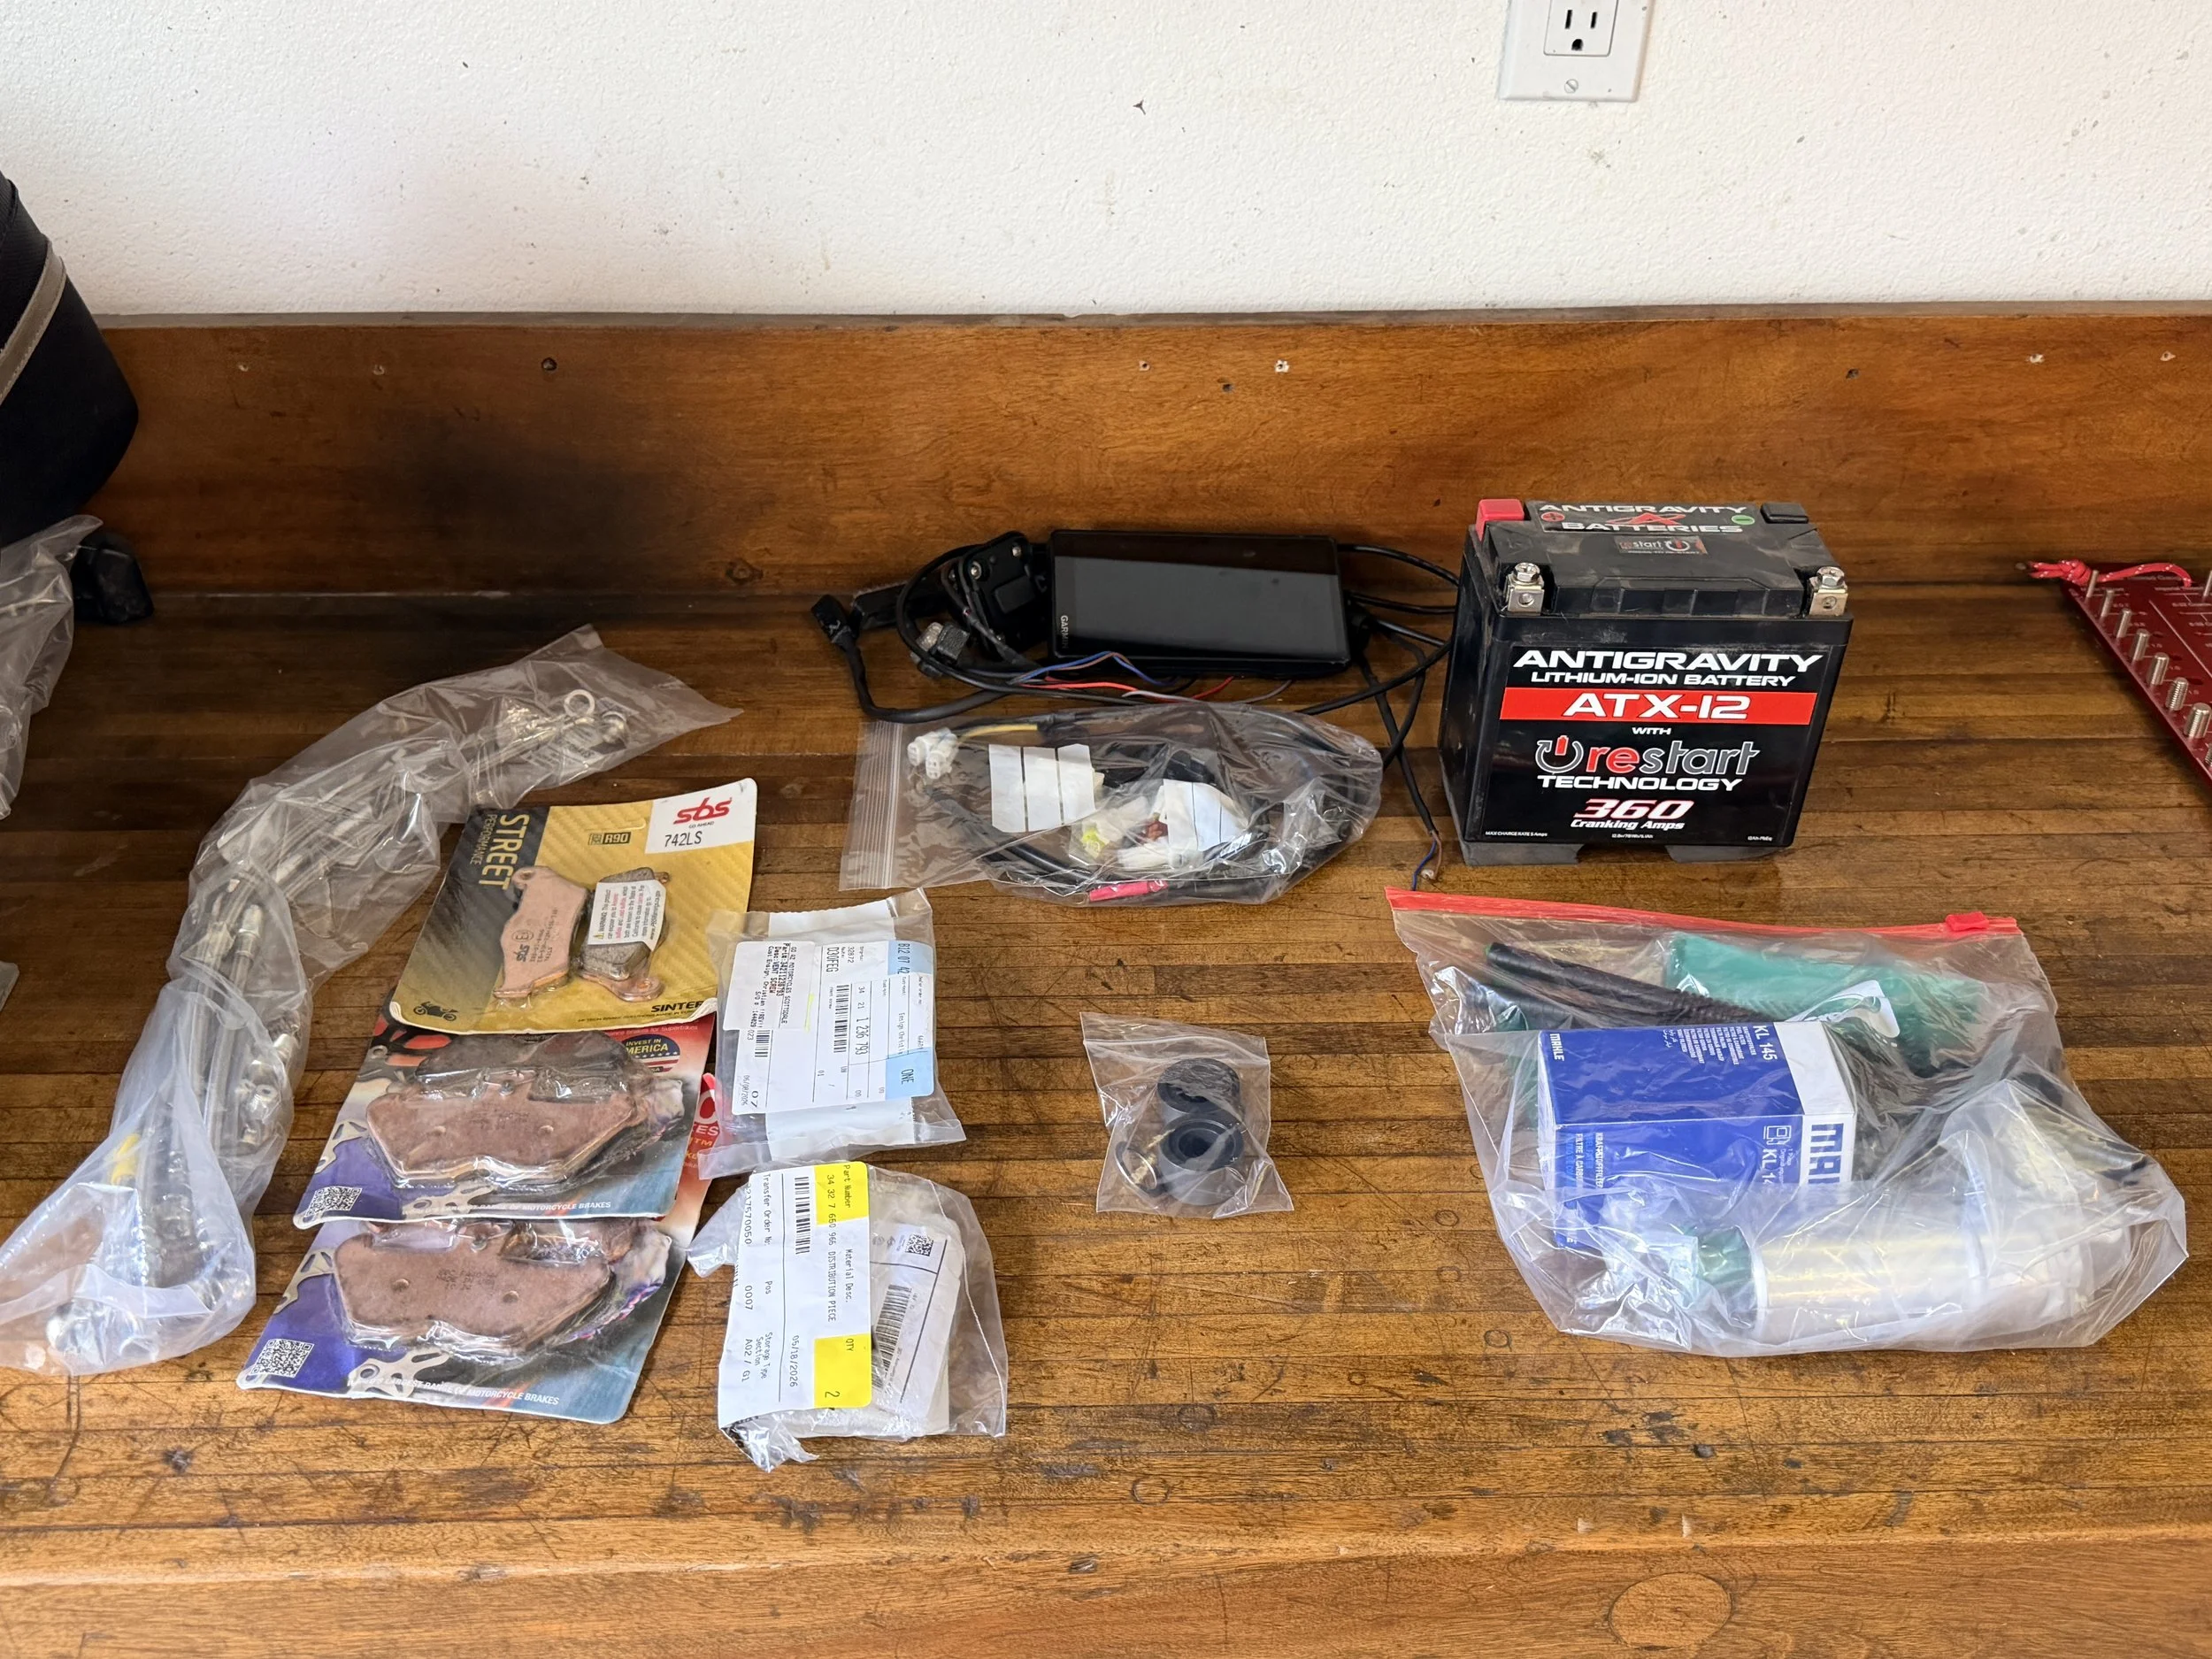
Parts keep coming in, including SS brake lines, new pads, new fuel assembly, lithium battery, eastern beaver wiring system, and some other parts.
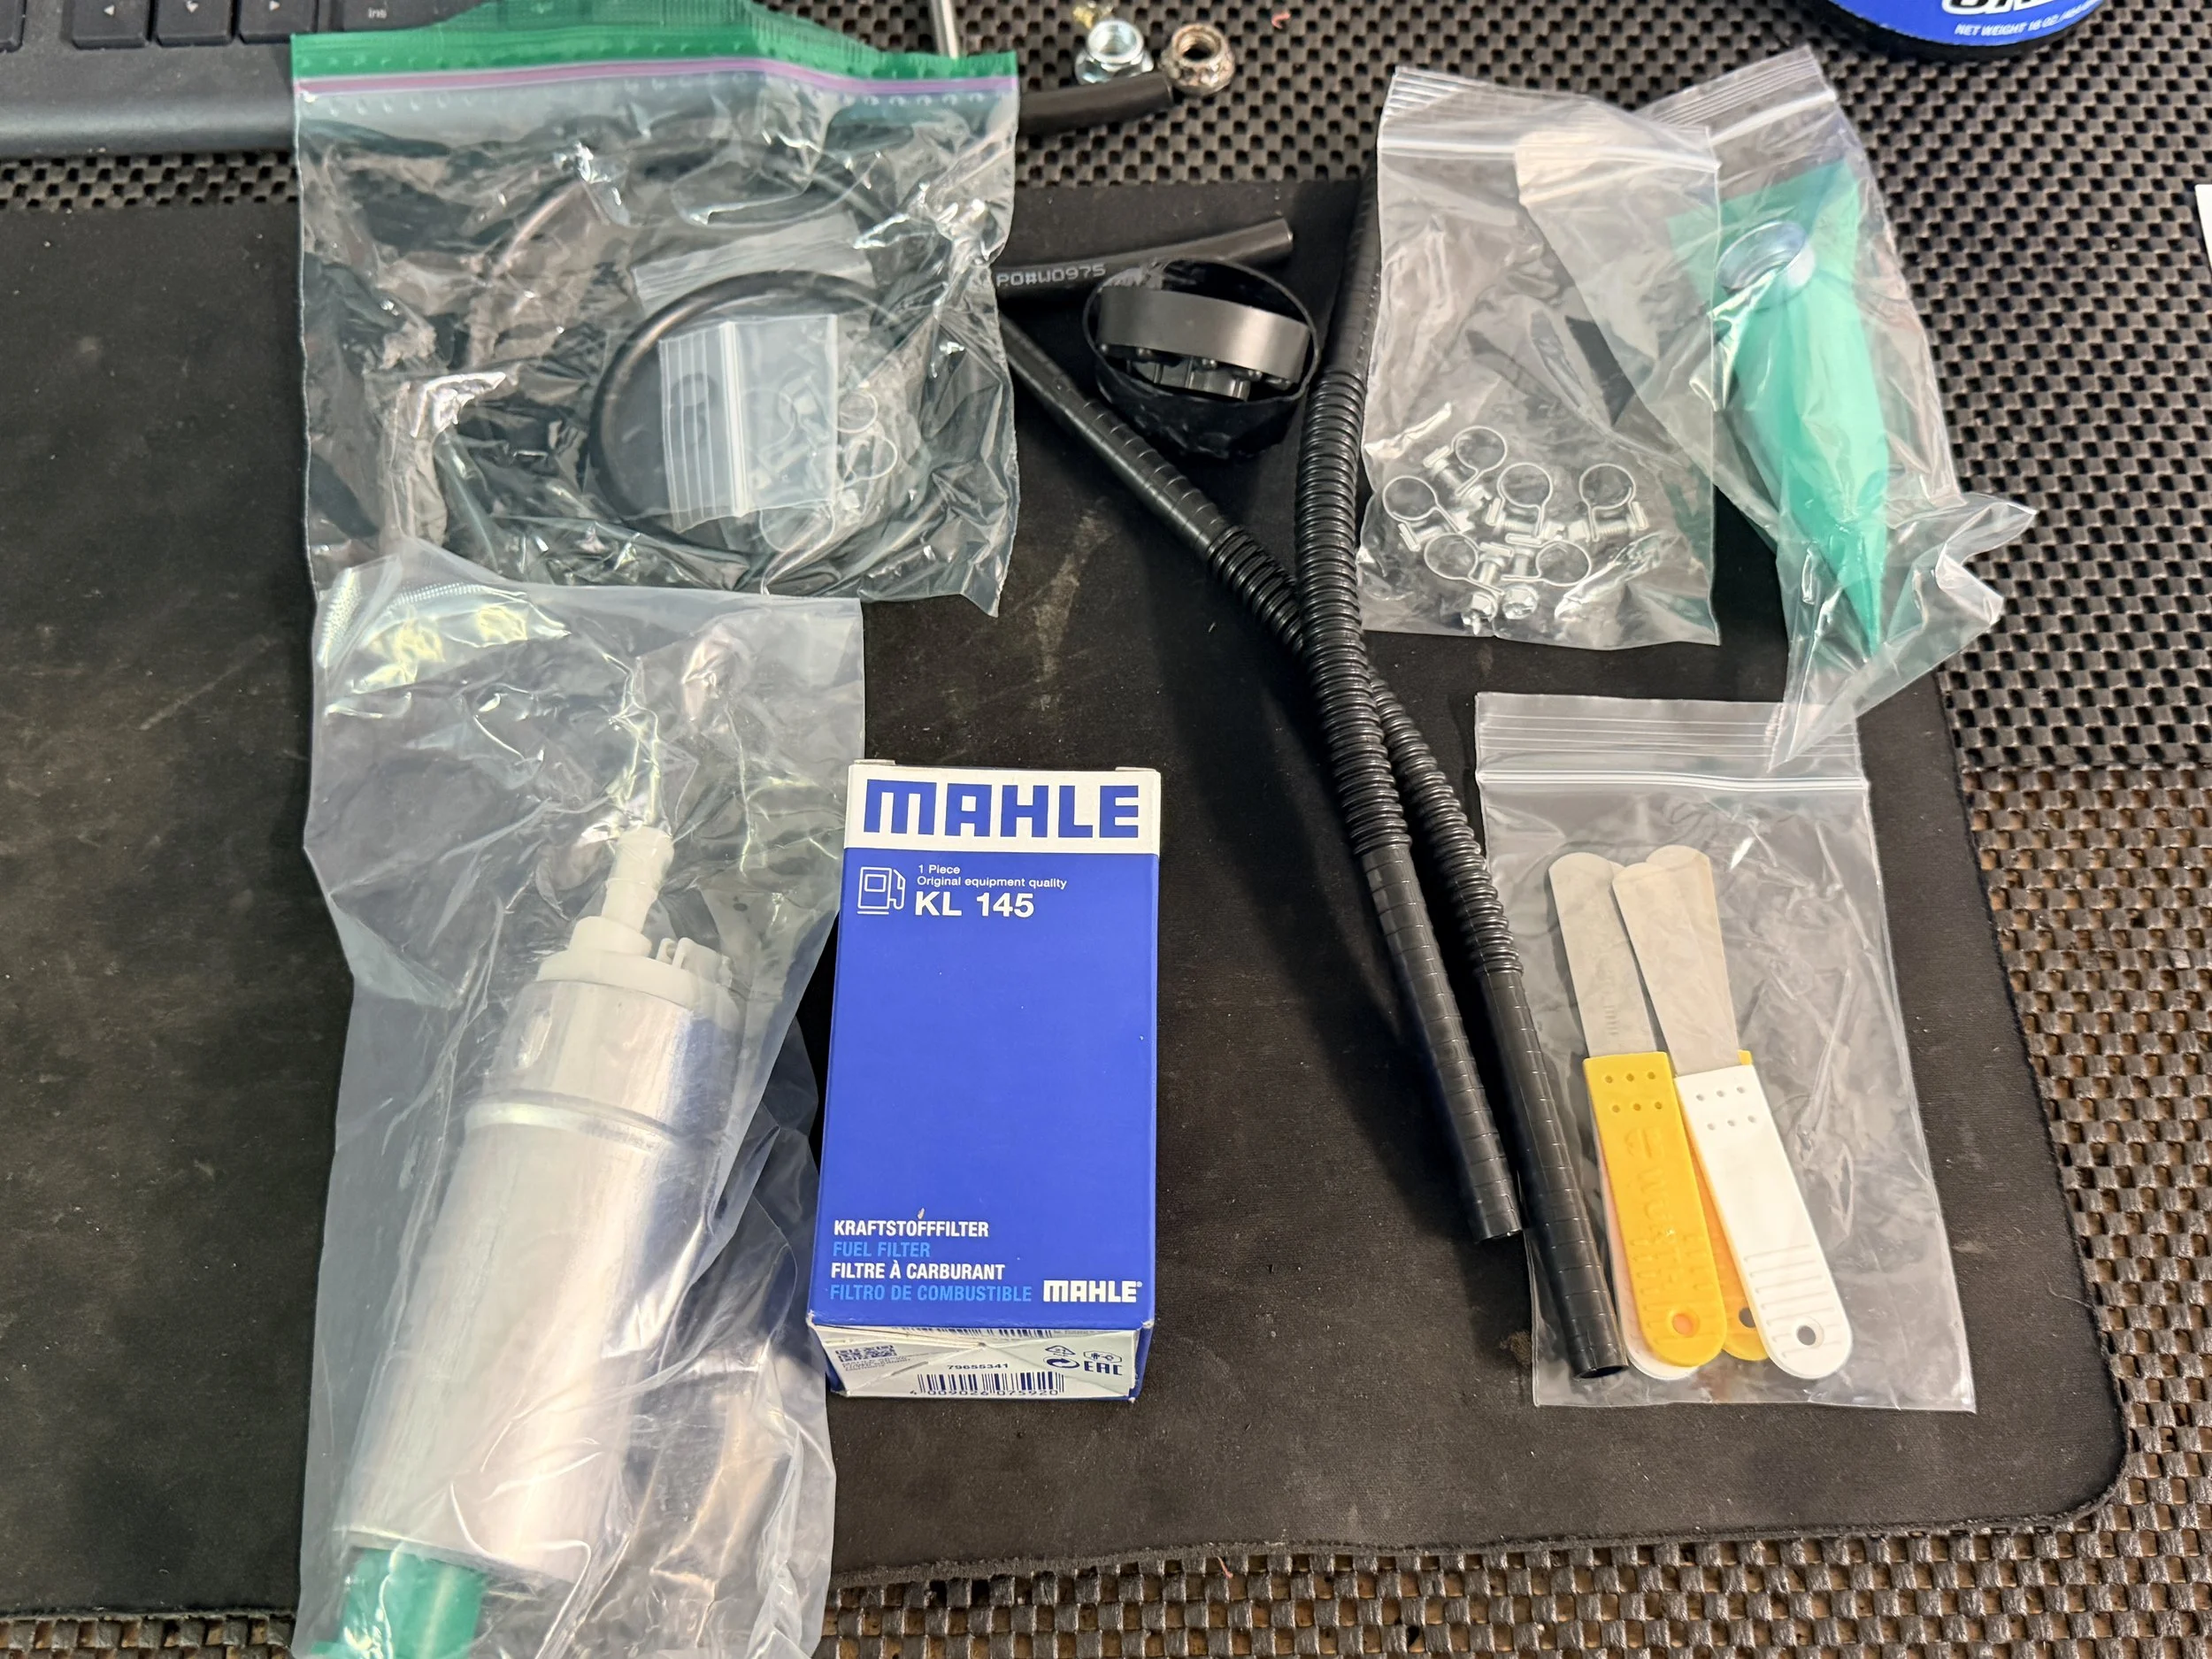
Time to begin the fuel assembly rebuild. I was super concerned with the fuel smell that was coming from a bad fuel filter or something inside of the fuel tank.
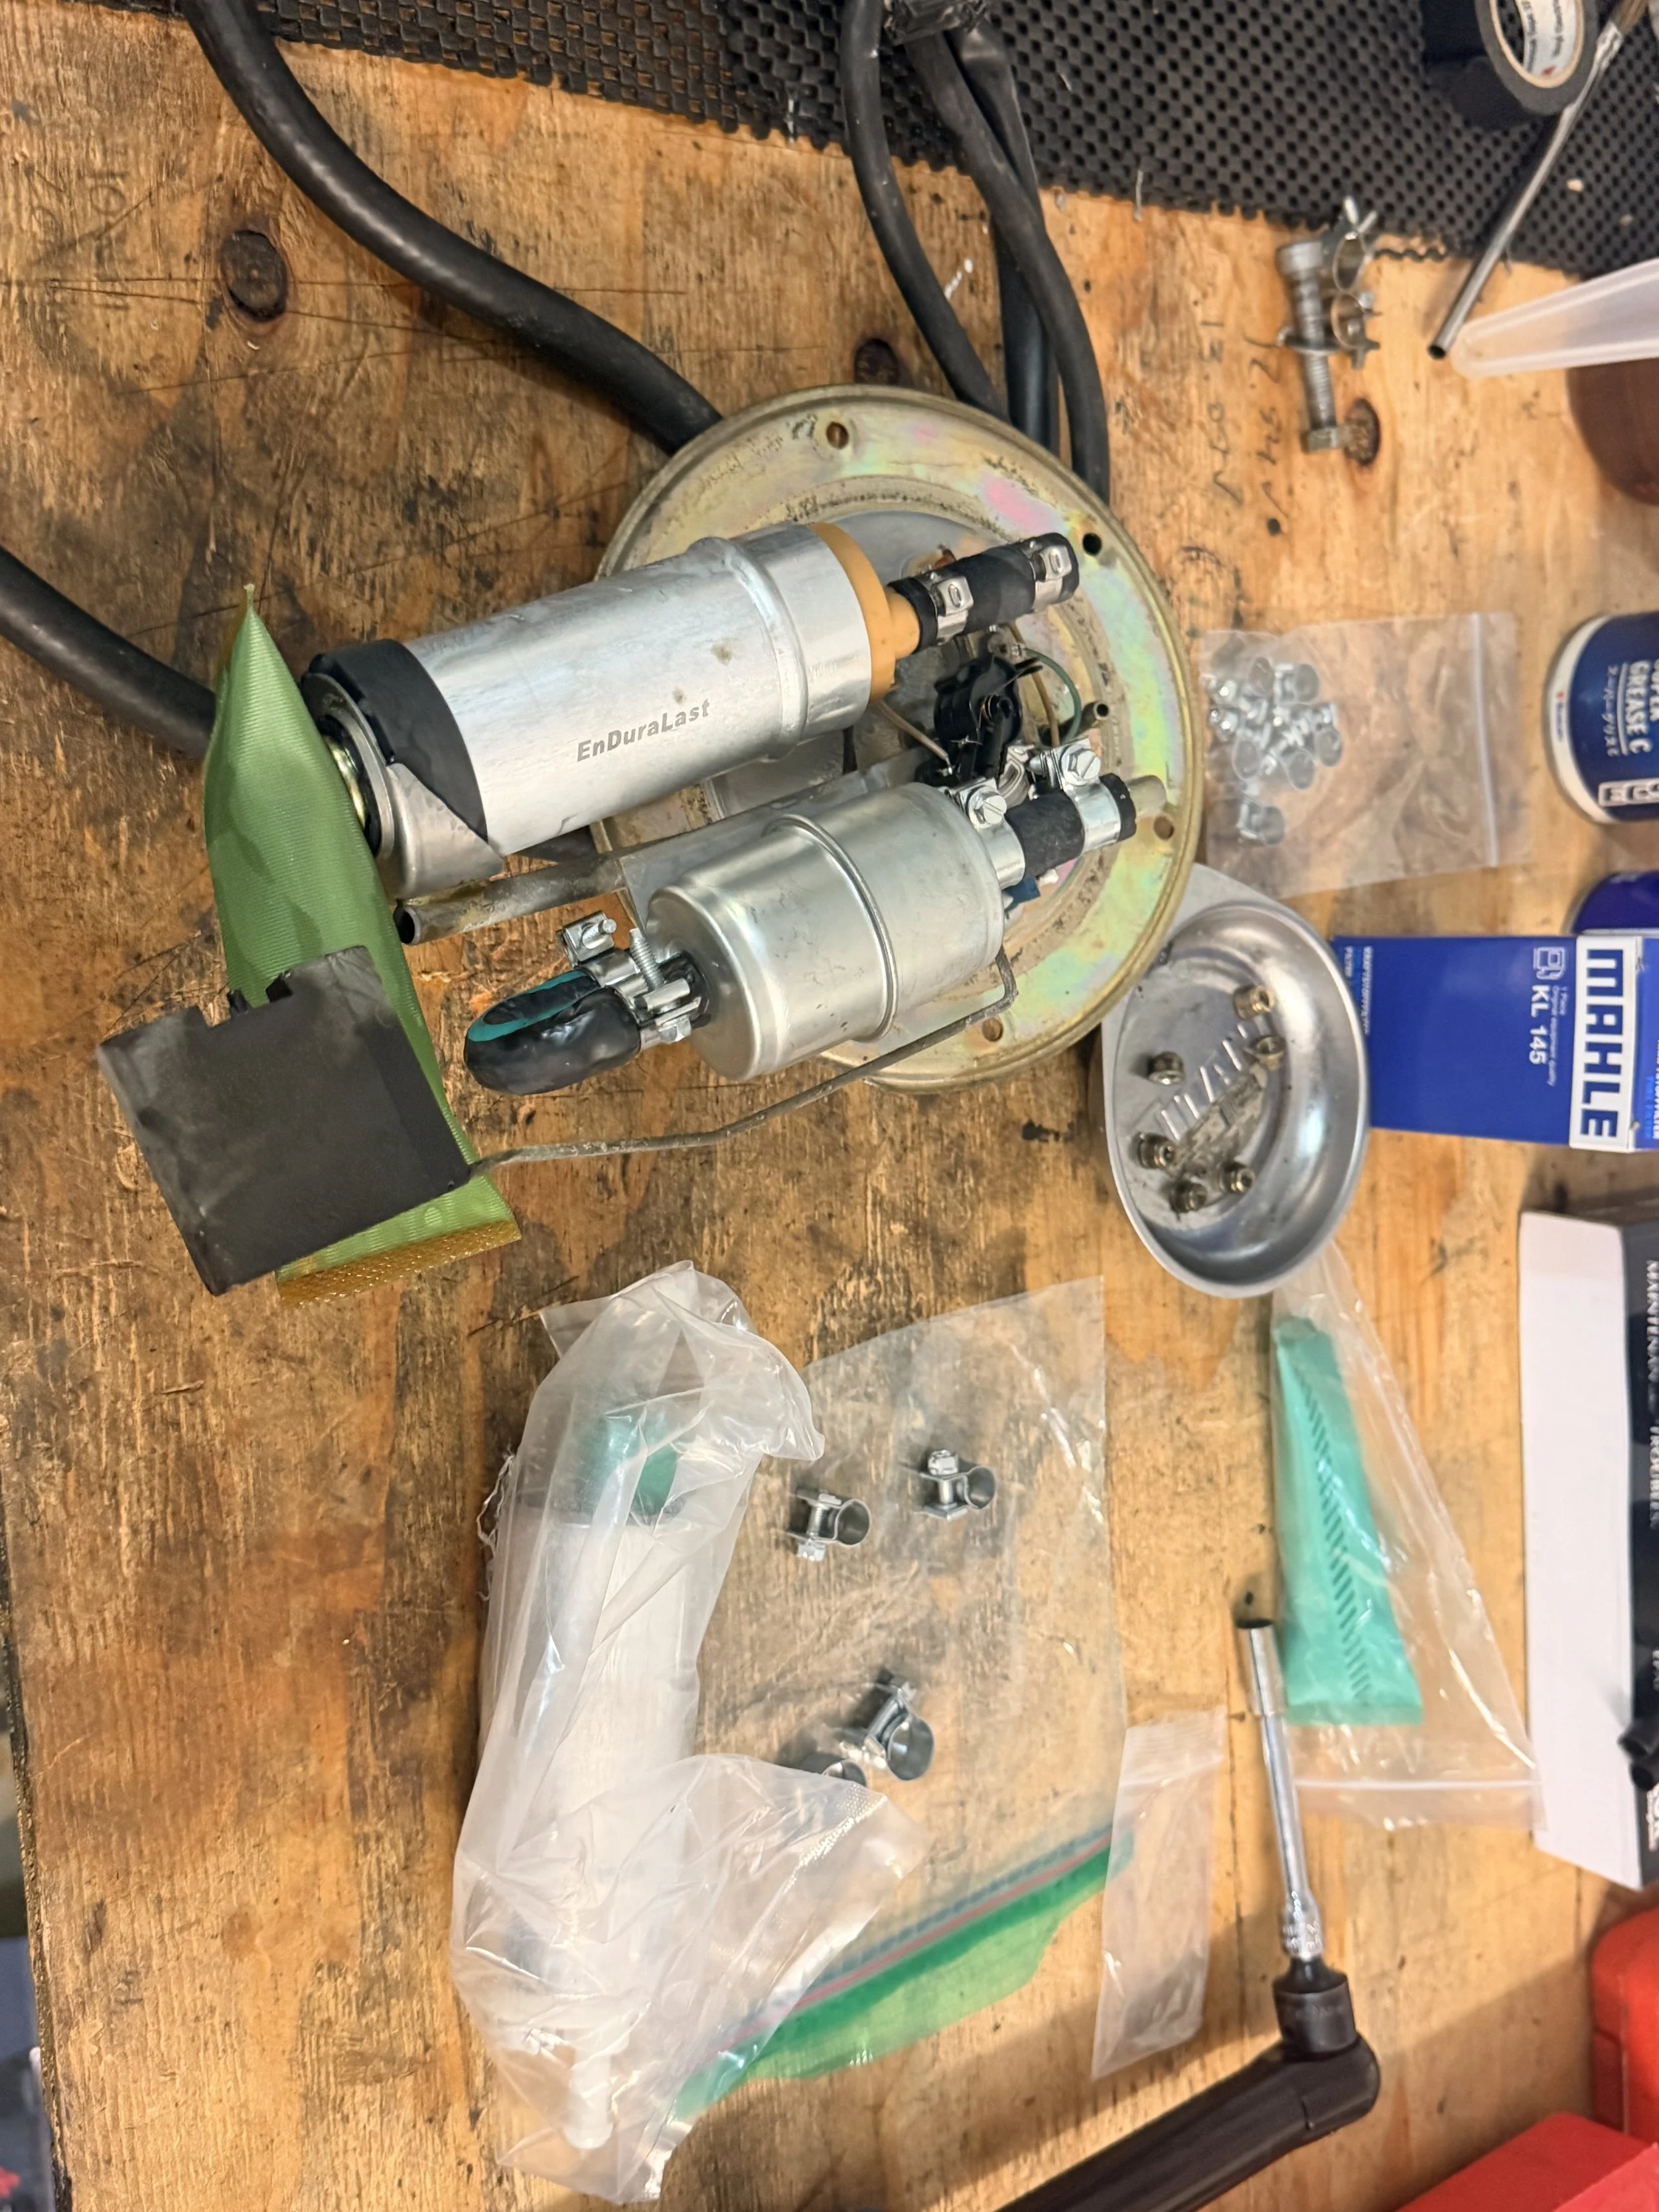
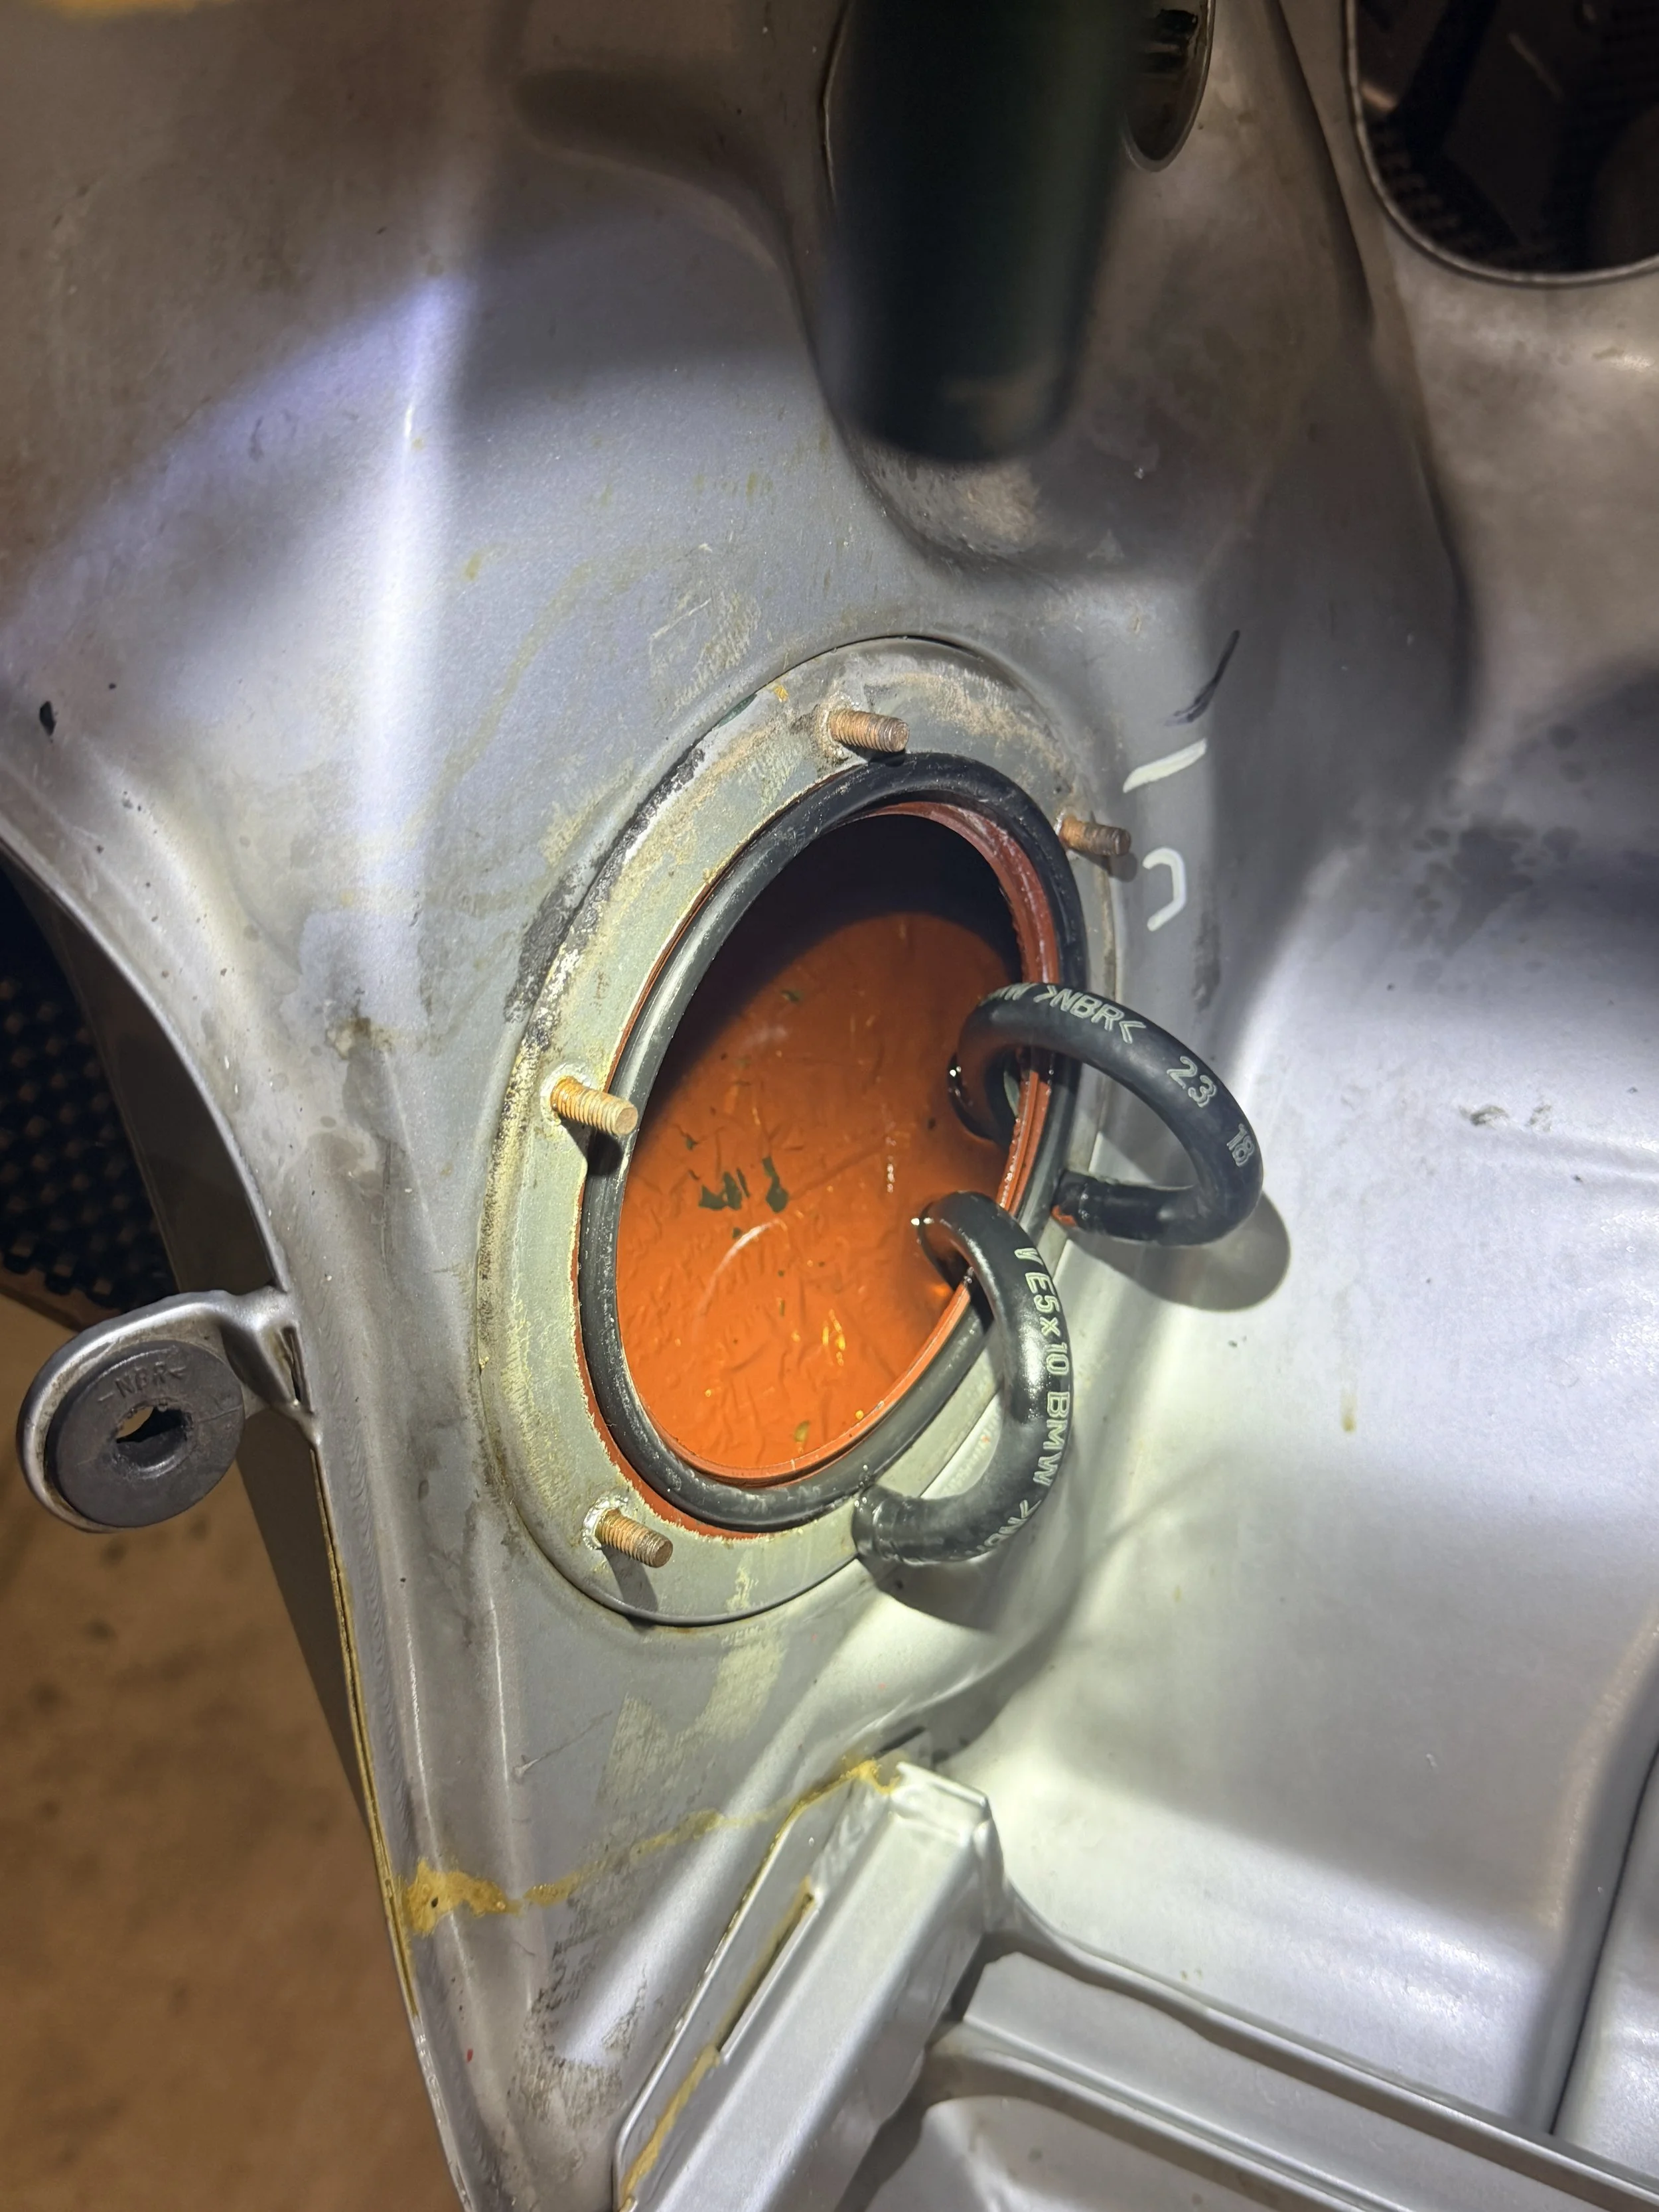
The fuel tank needed resealed - but overall, not a significant amount of debris inside of it. The old fuel filter was bad, the pickup screen looked weary, and I was happy to change it. I don't like the Everlast anyway - too noisey for me.
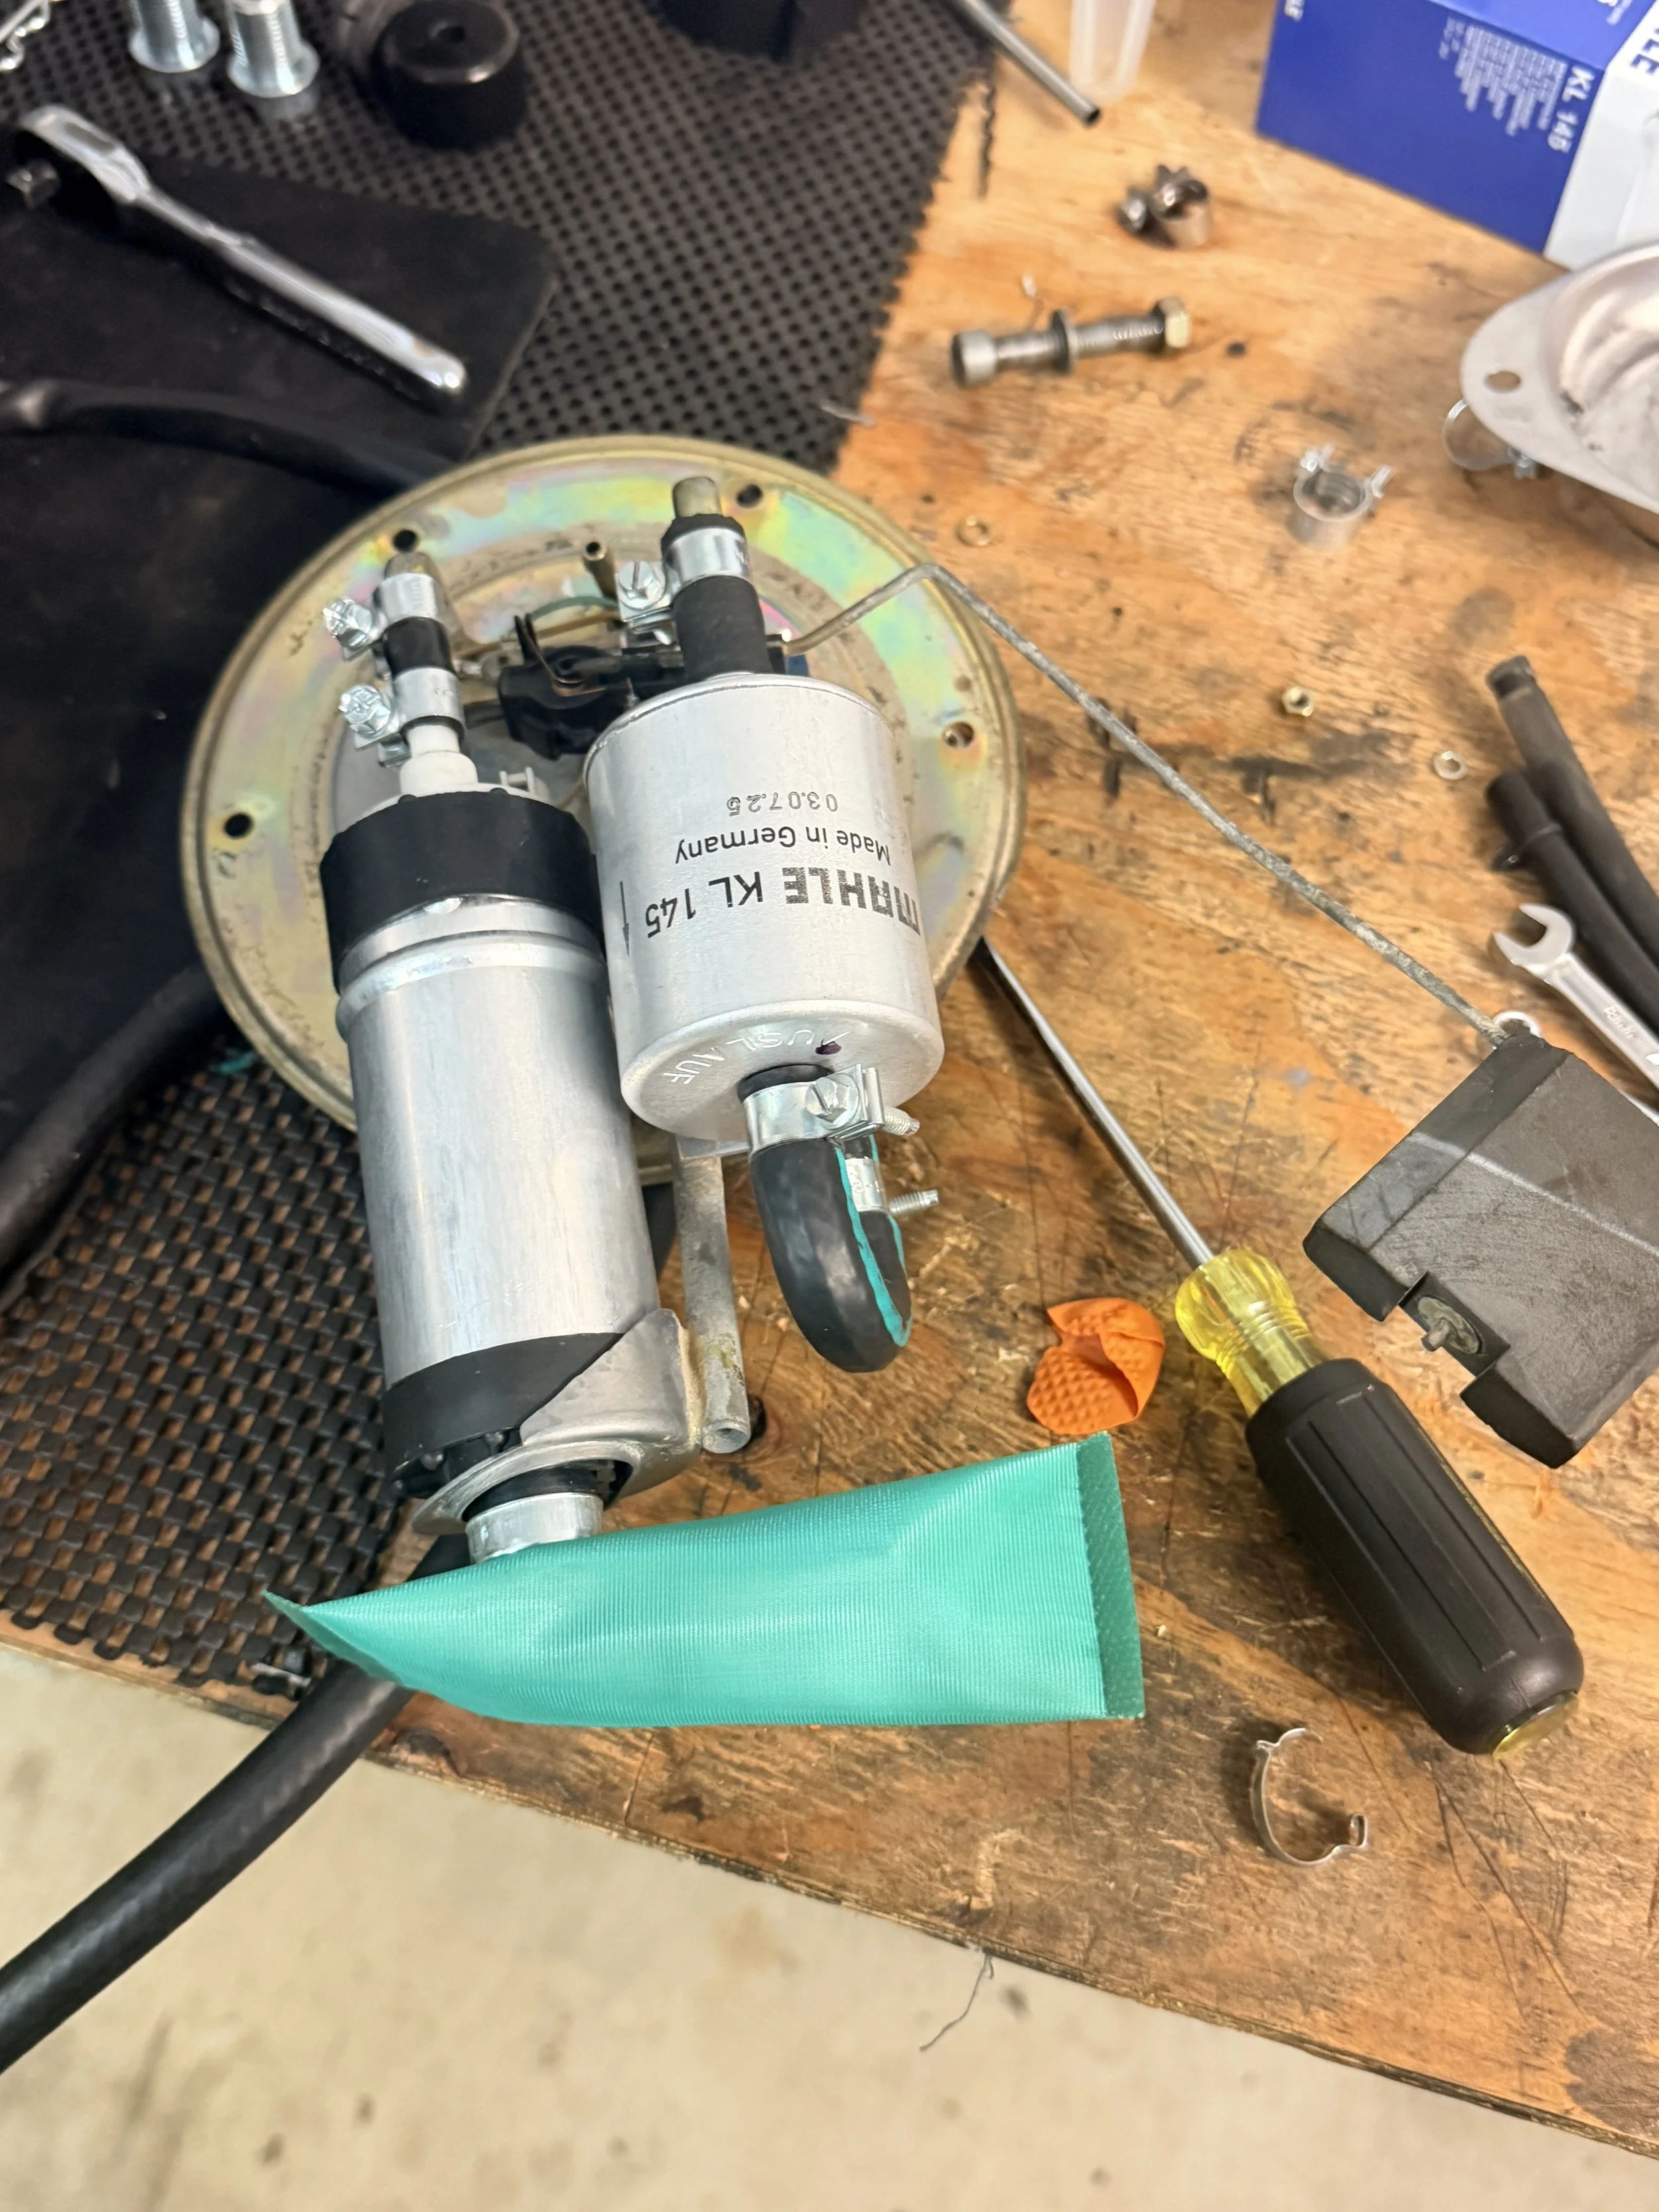
New one installed and ready to go. It had so much more pressure that after reassembly & startup, it blew the fuel line right off the connector. I've never had that happen before. It wasn't correctly seated, and had enough pressure to send it.
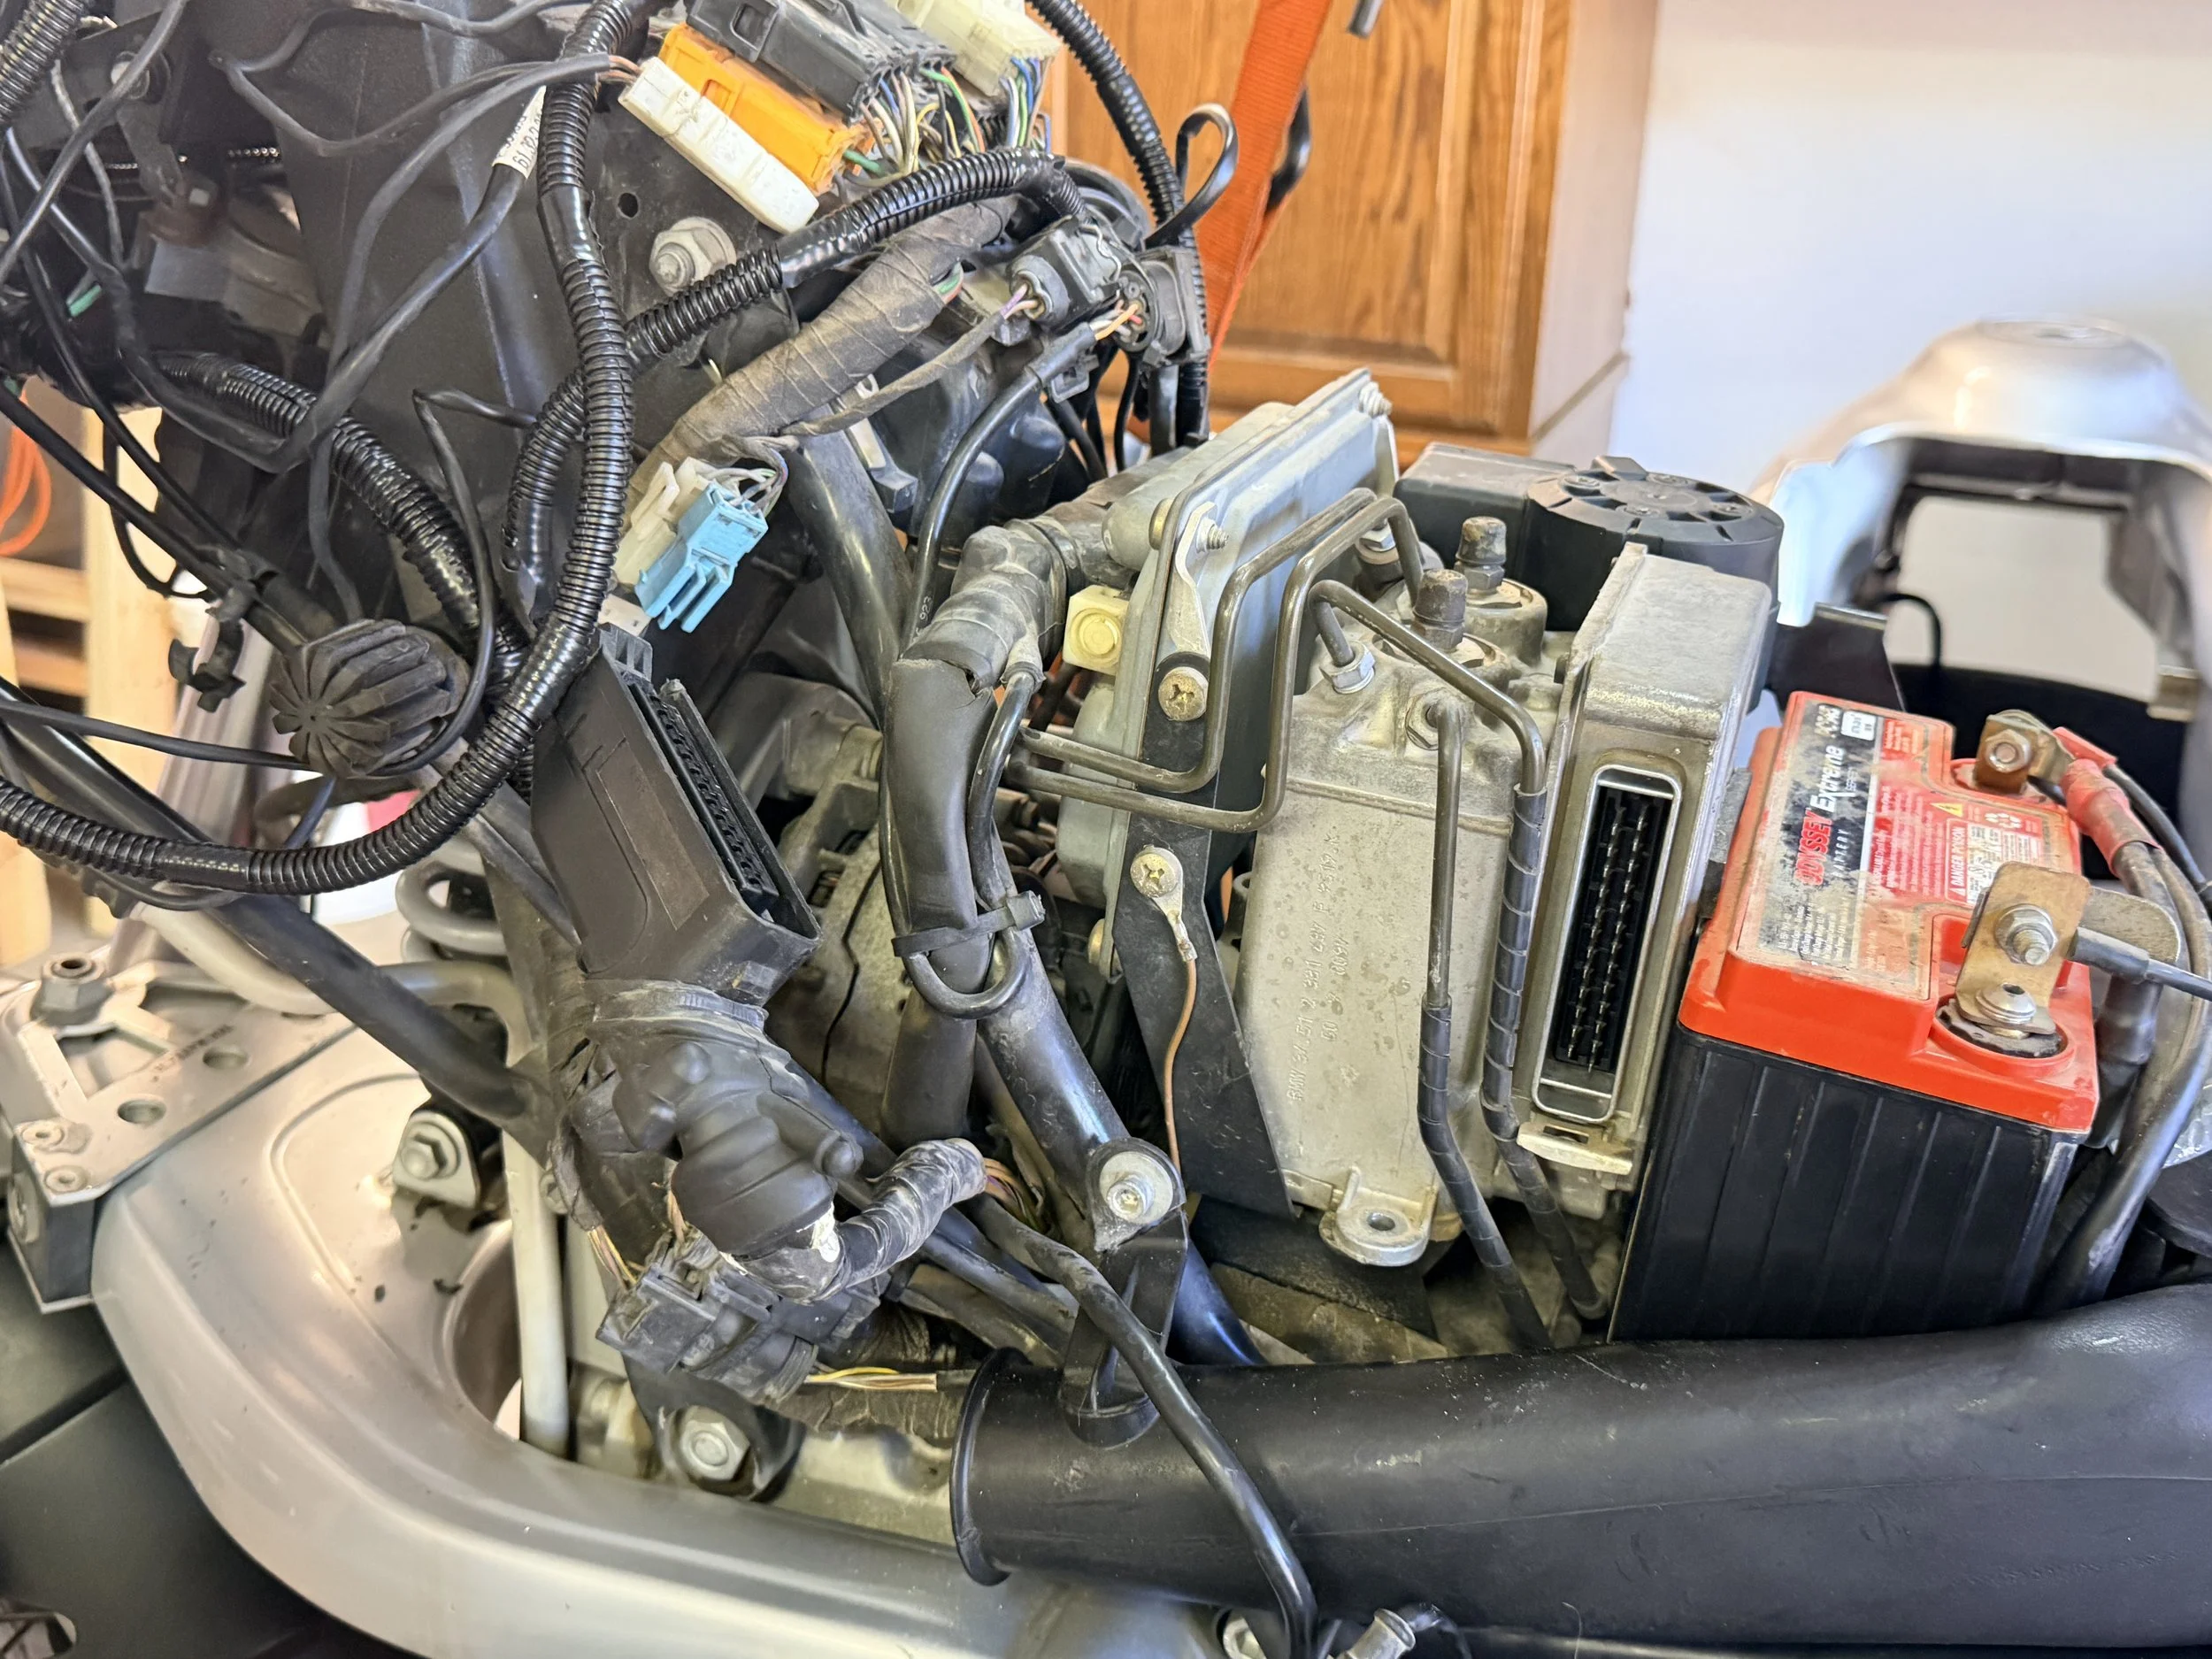
Off the ABS unit that was not functioning. Dead weight that needed to go. I removed the computer plug to test & ensure that it didn't affect the brakes electrical circuit. On this model, it doesn't - off we go.
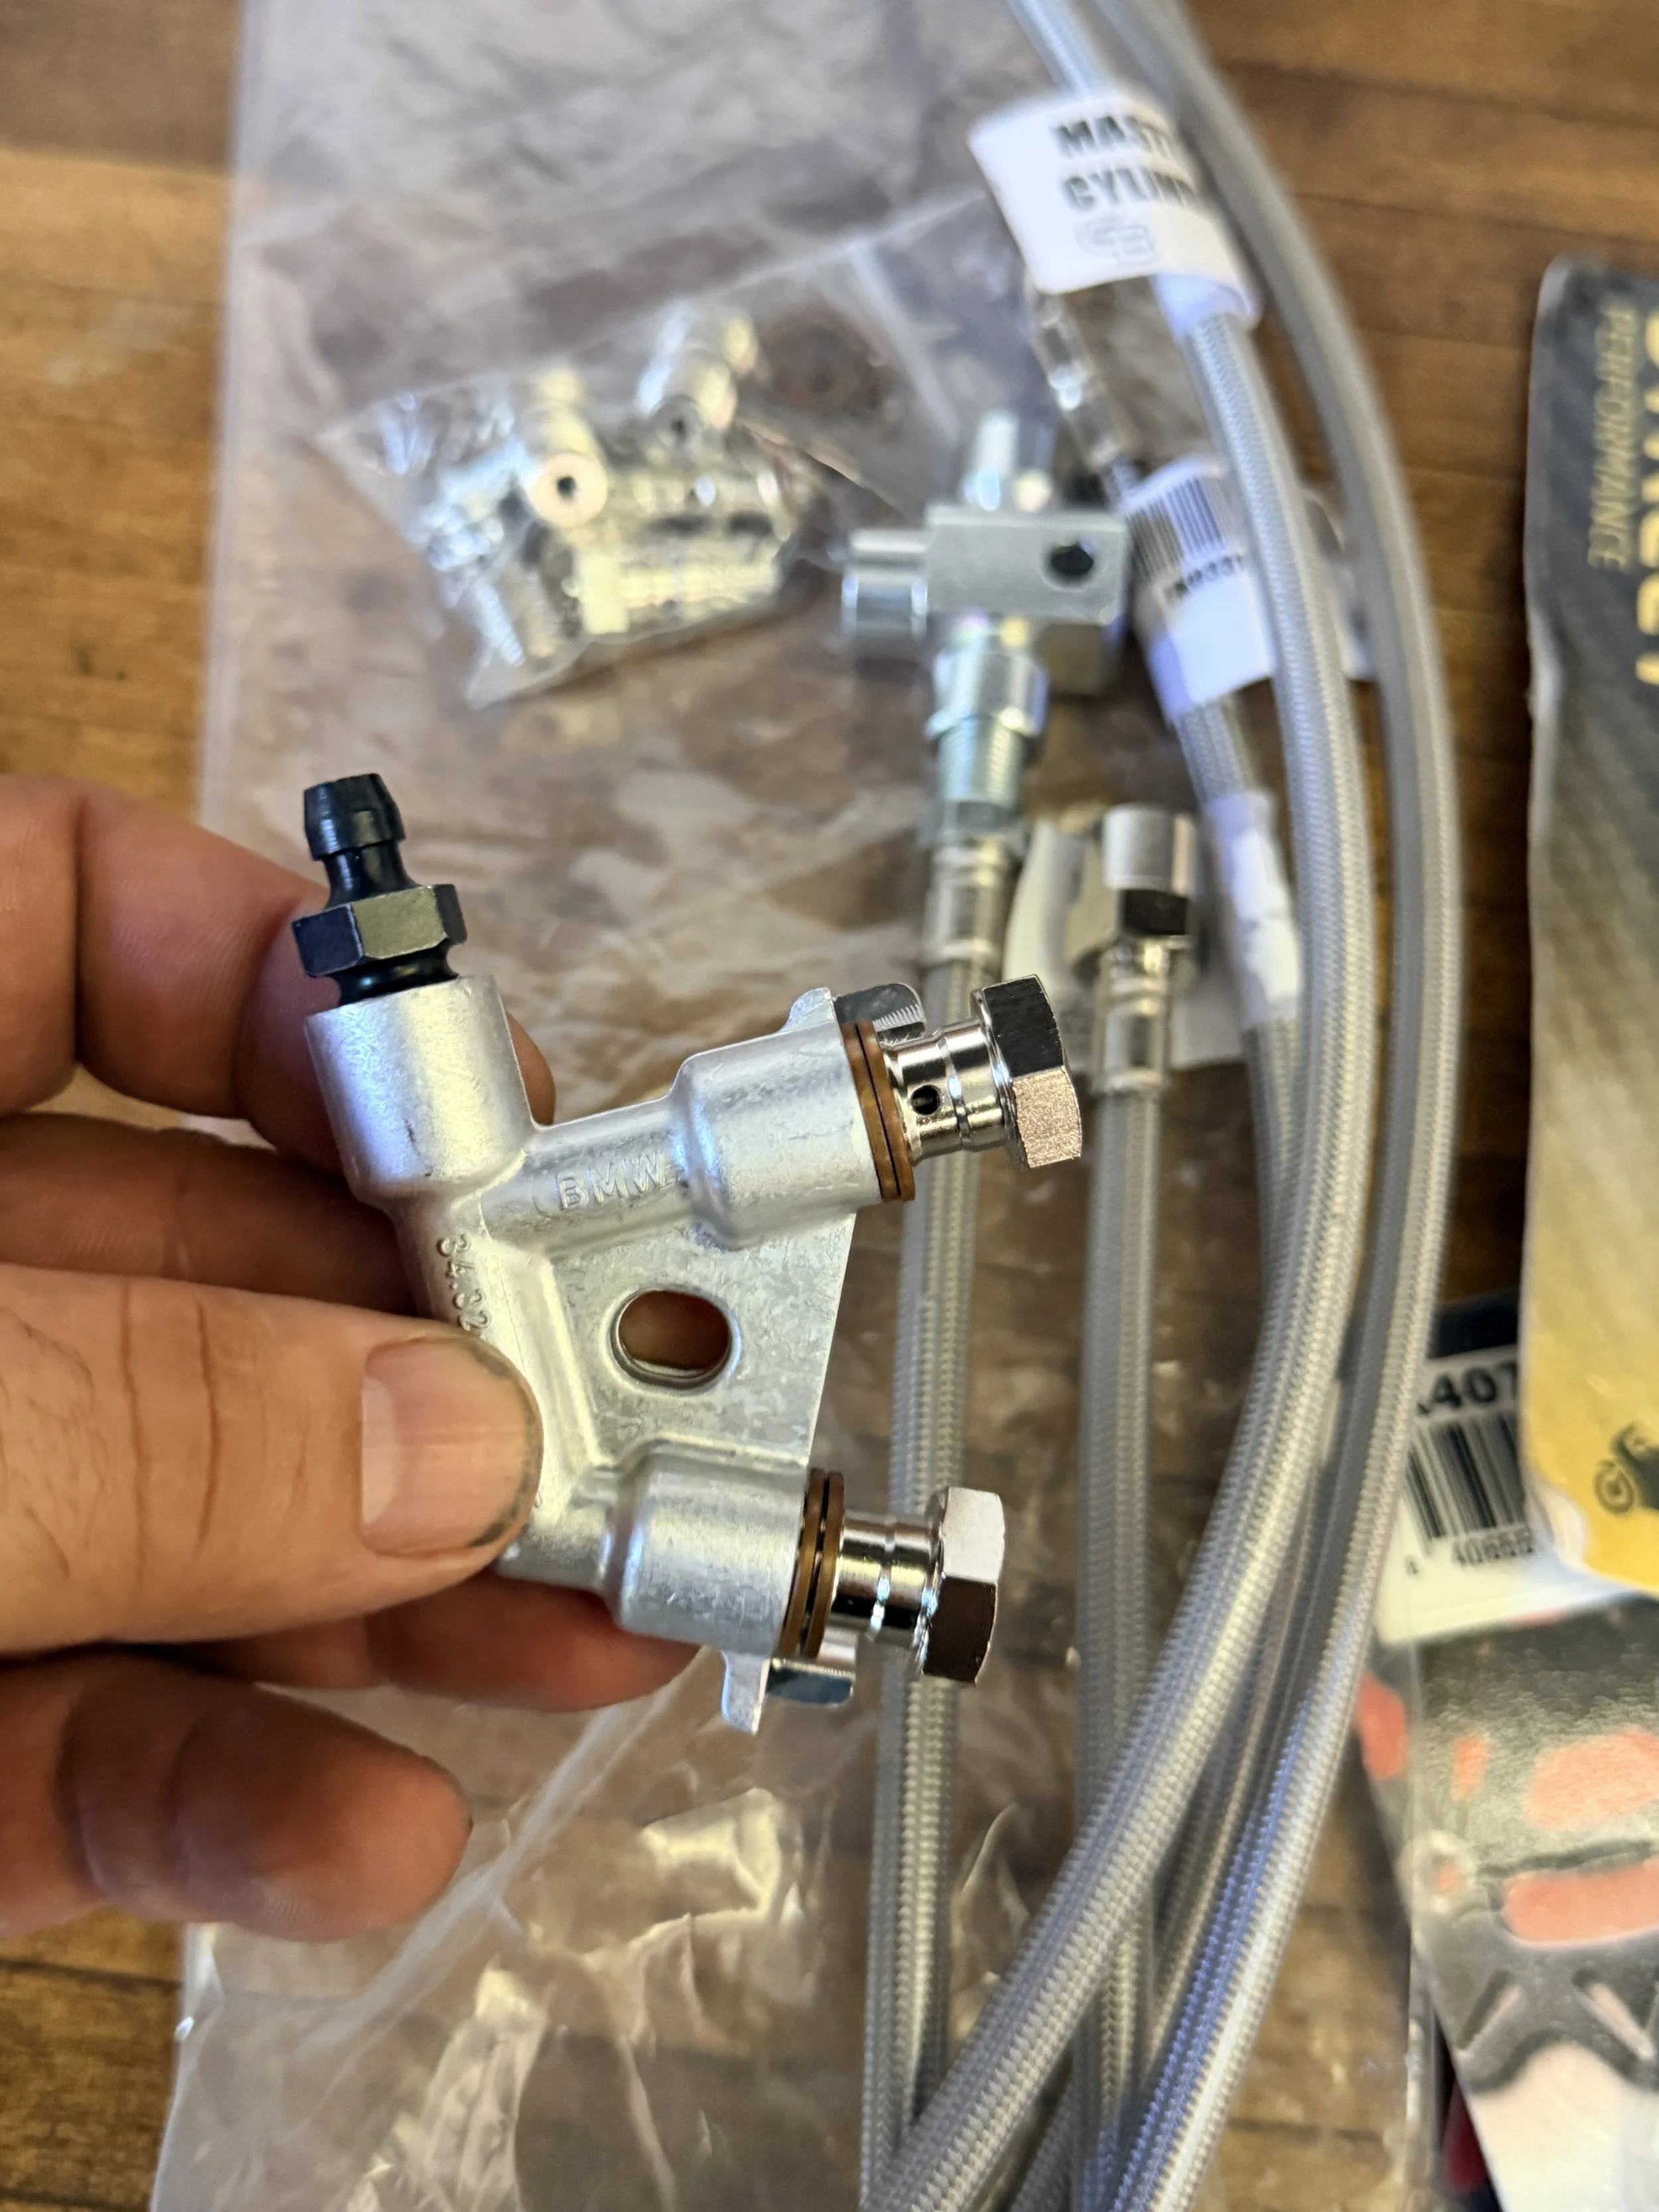
SS brake lines + function installed for ABS delete.
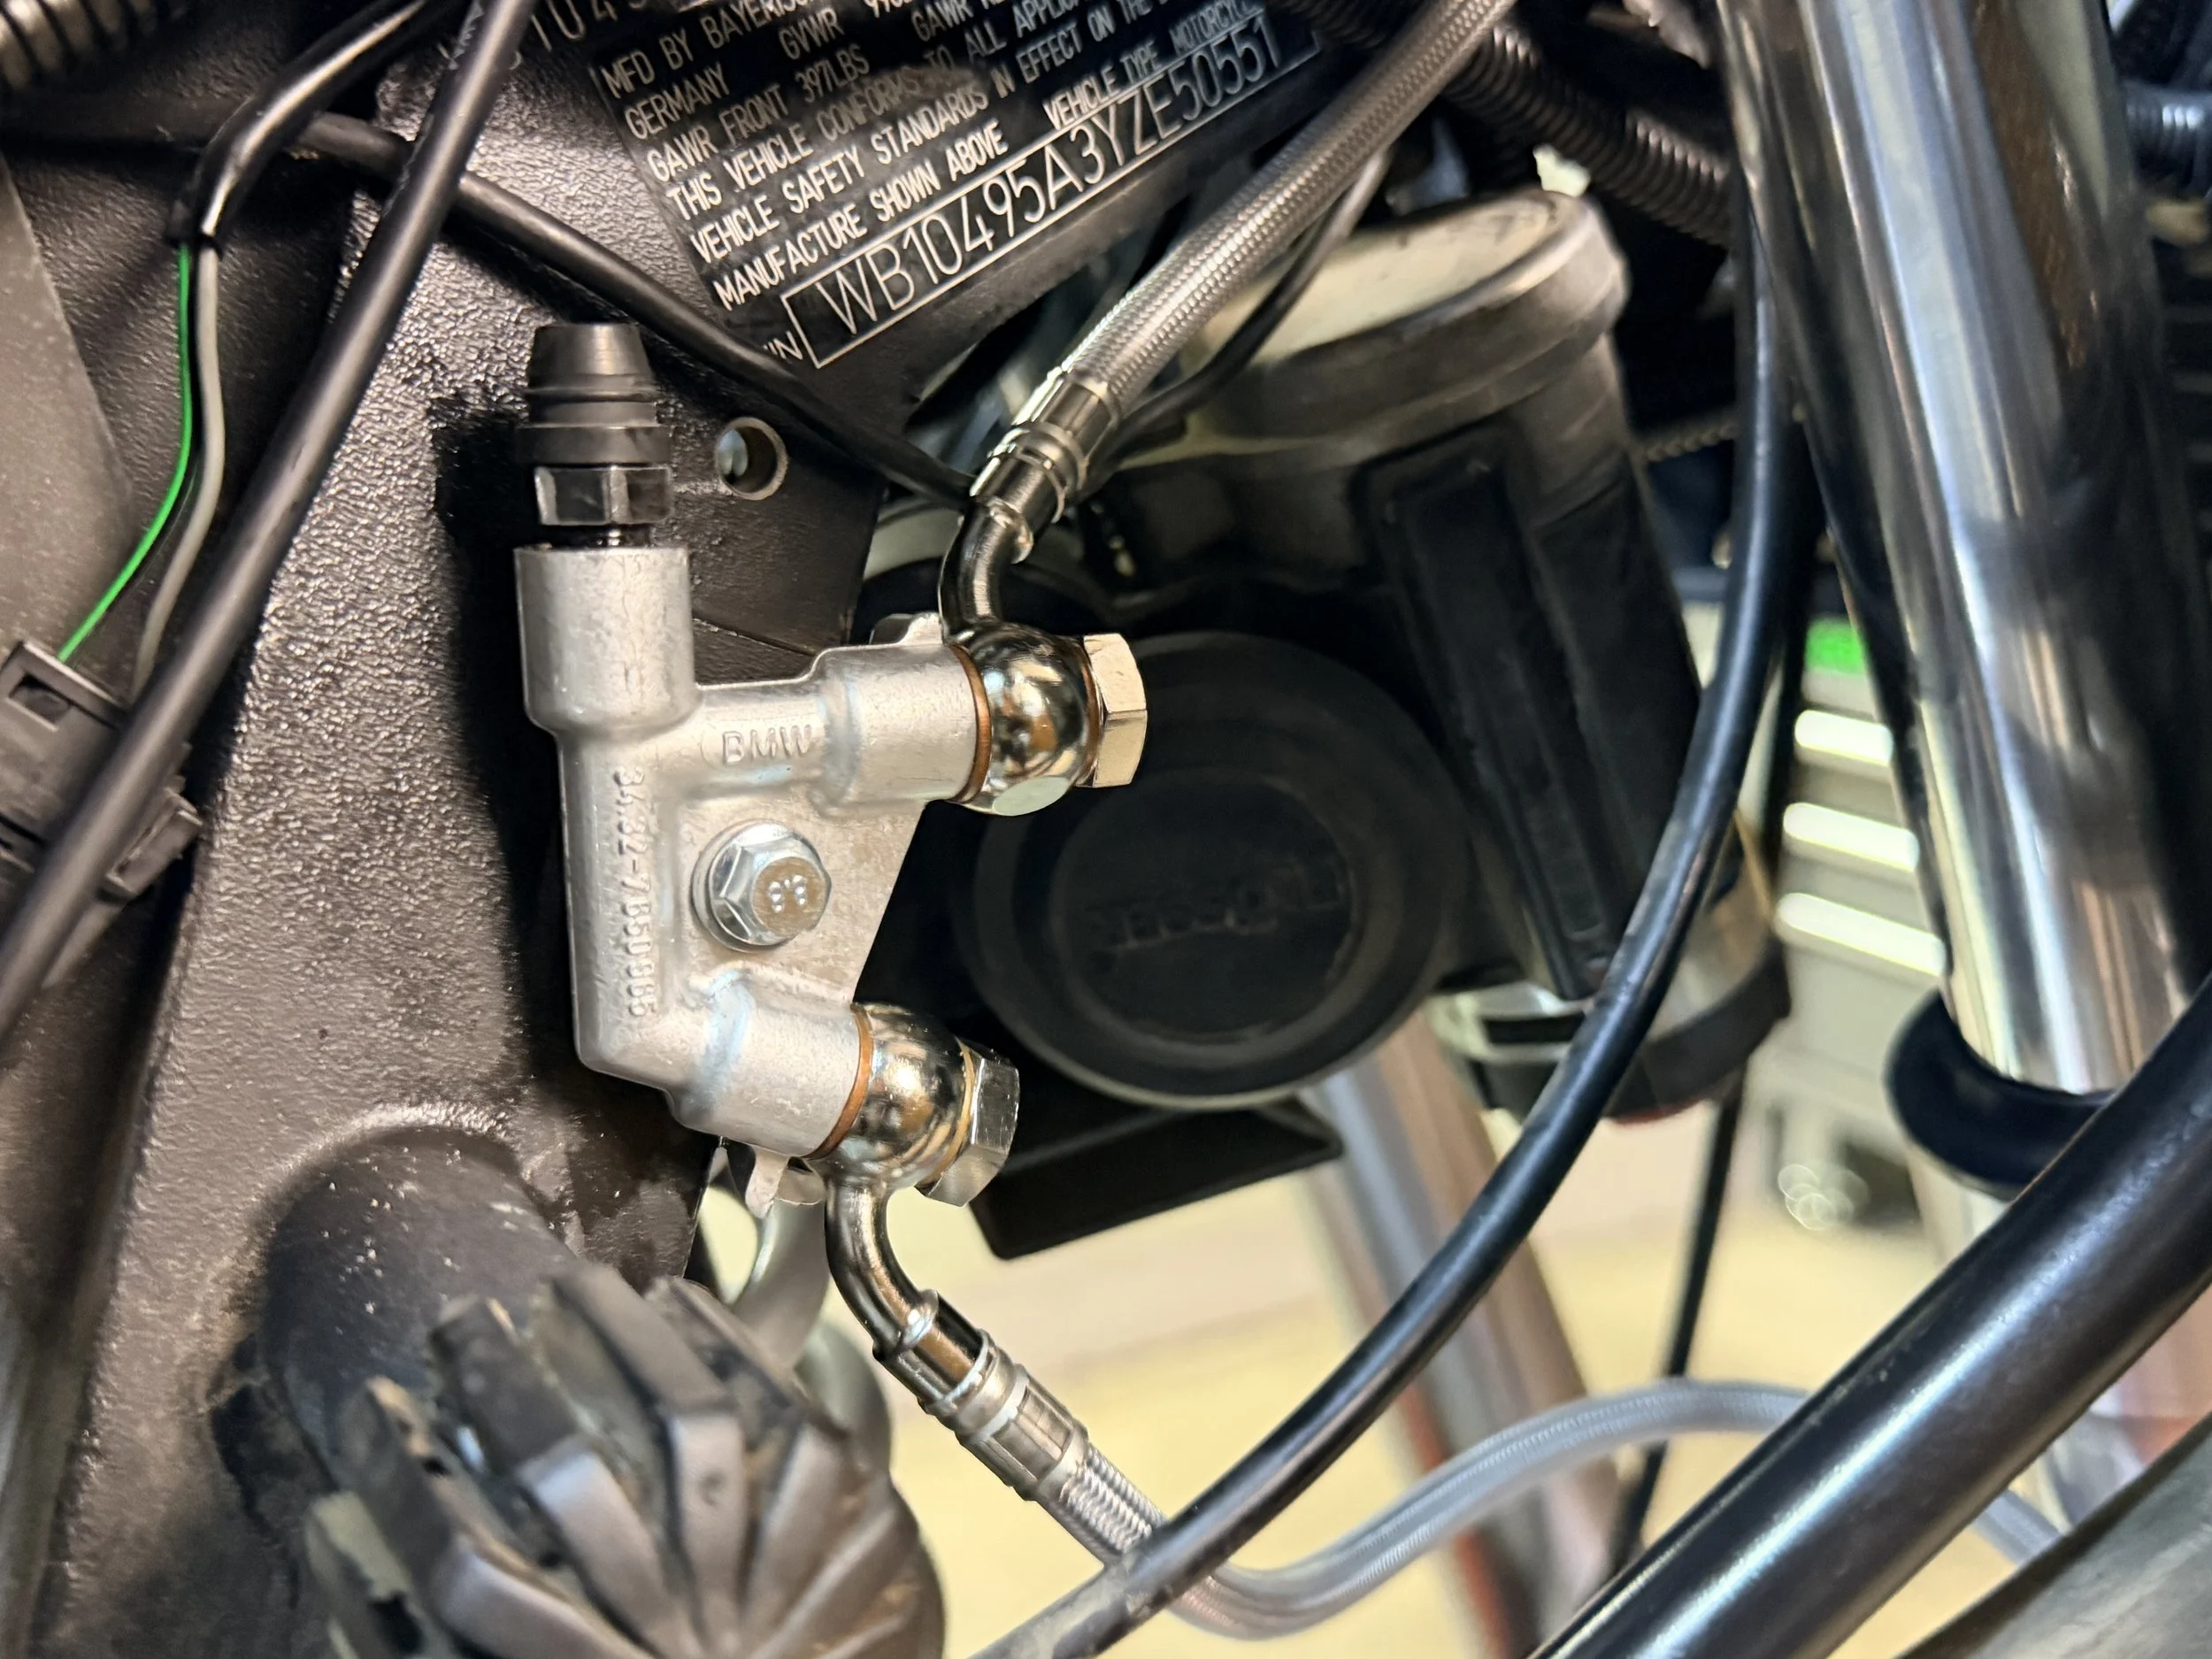
The bleeding process on this was pretty frustrating, especially doing it by hand without a vacuum pump. It took me a solid 45-min to get it correct in the front.
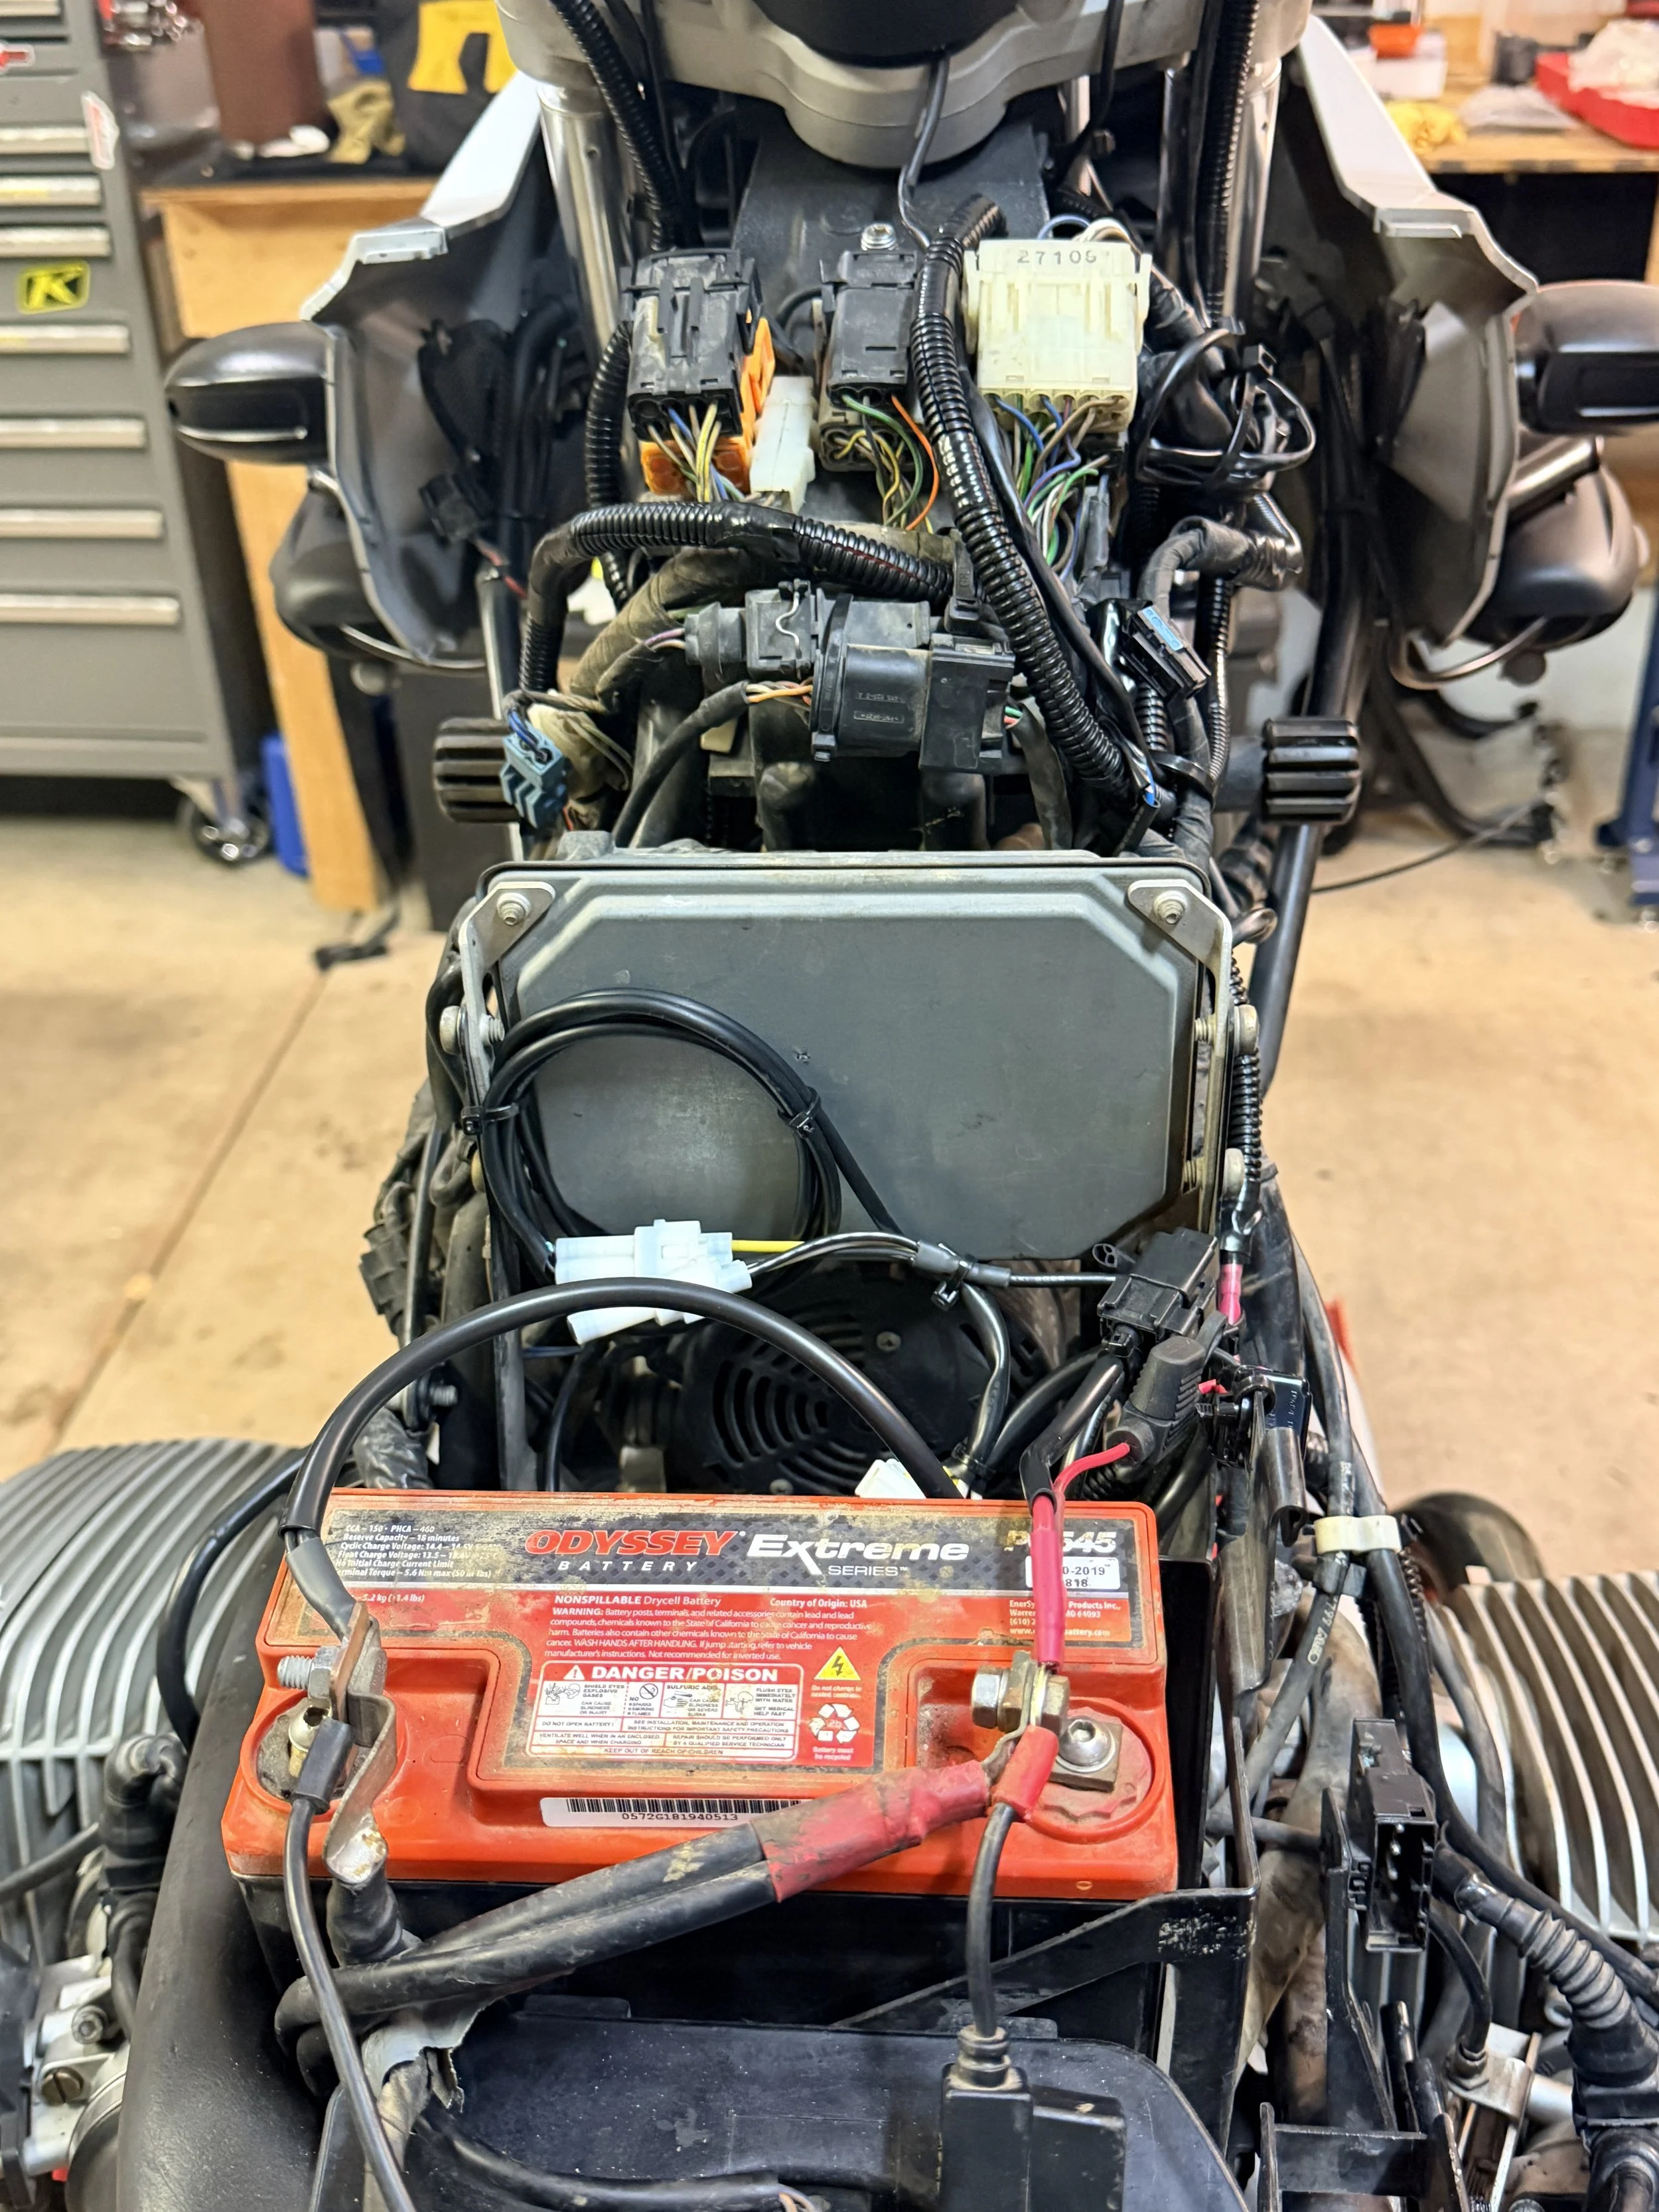
With the ABS unit gone, it gave me the perfect place to install the eastern beaver circuit system to put my GPS on a separate system instead of tapping into the existing bike circuit system. I like them for that alone. ~12 pounds was saved with ABS delete.
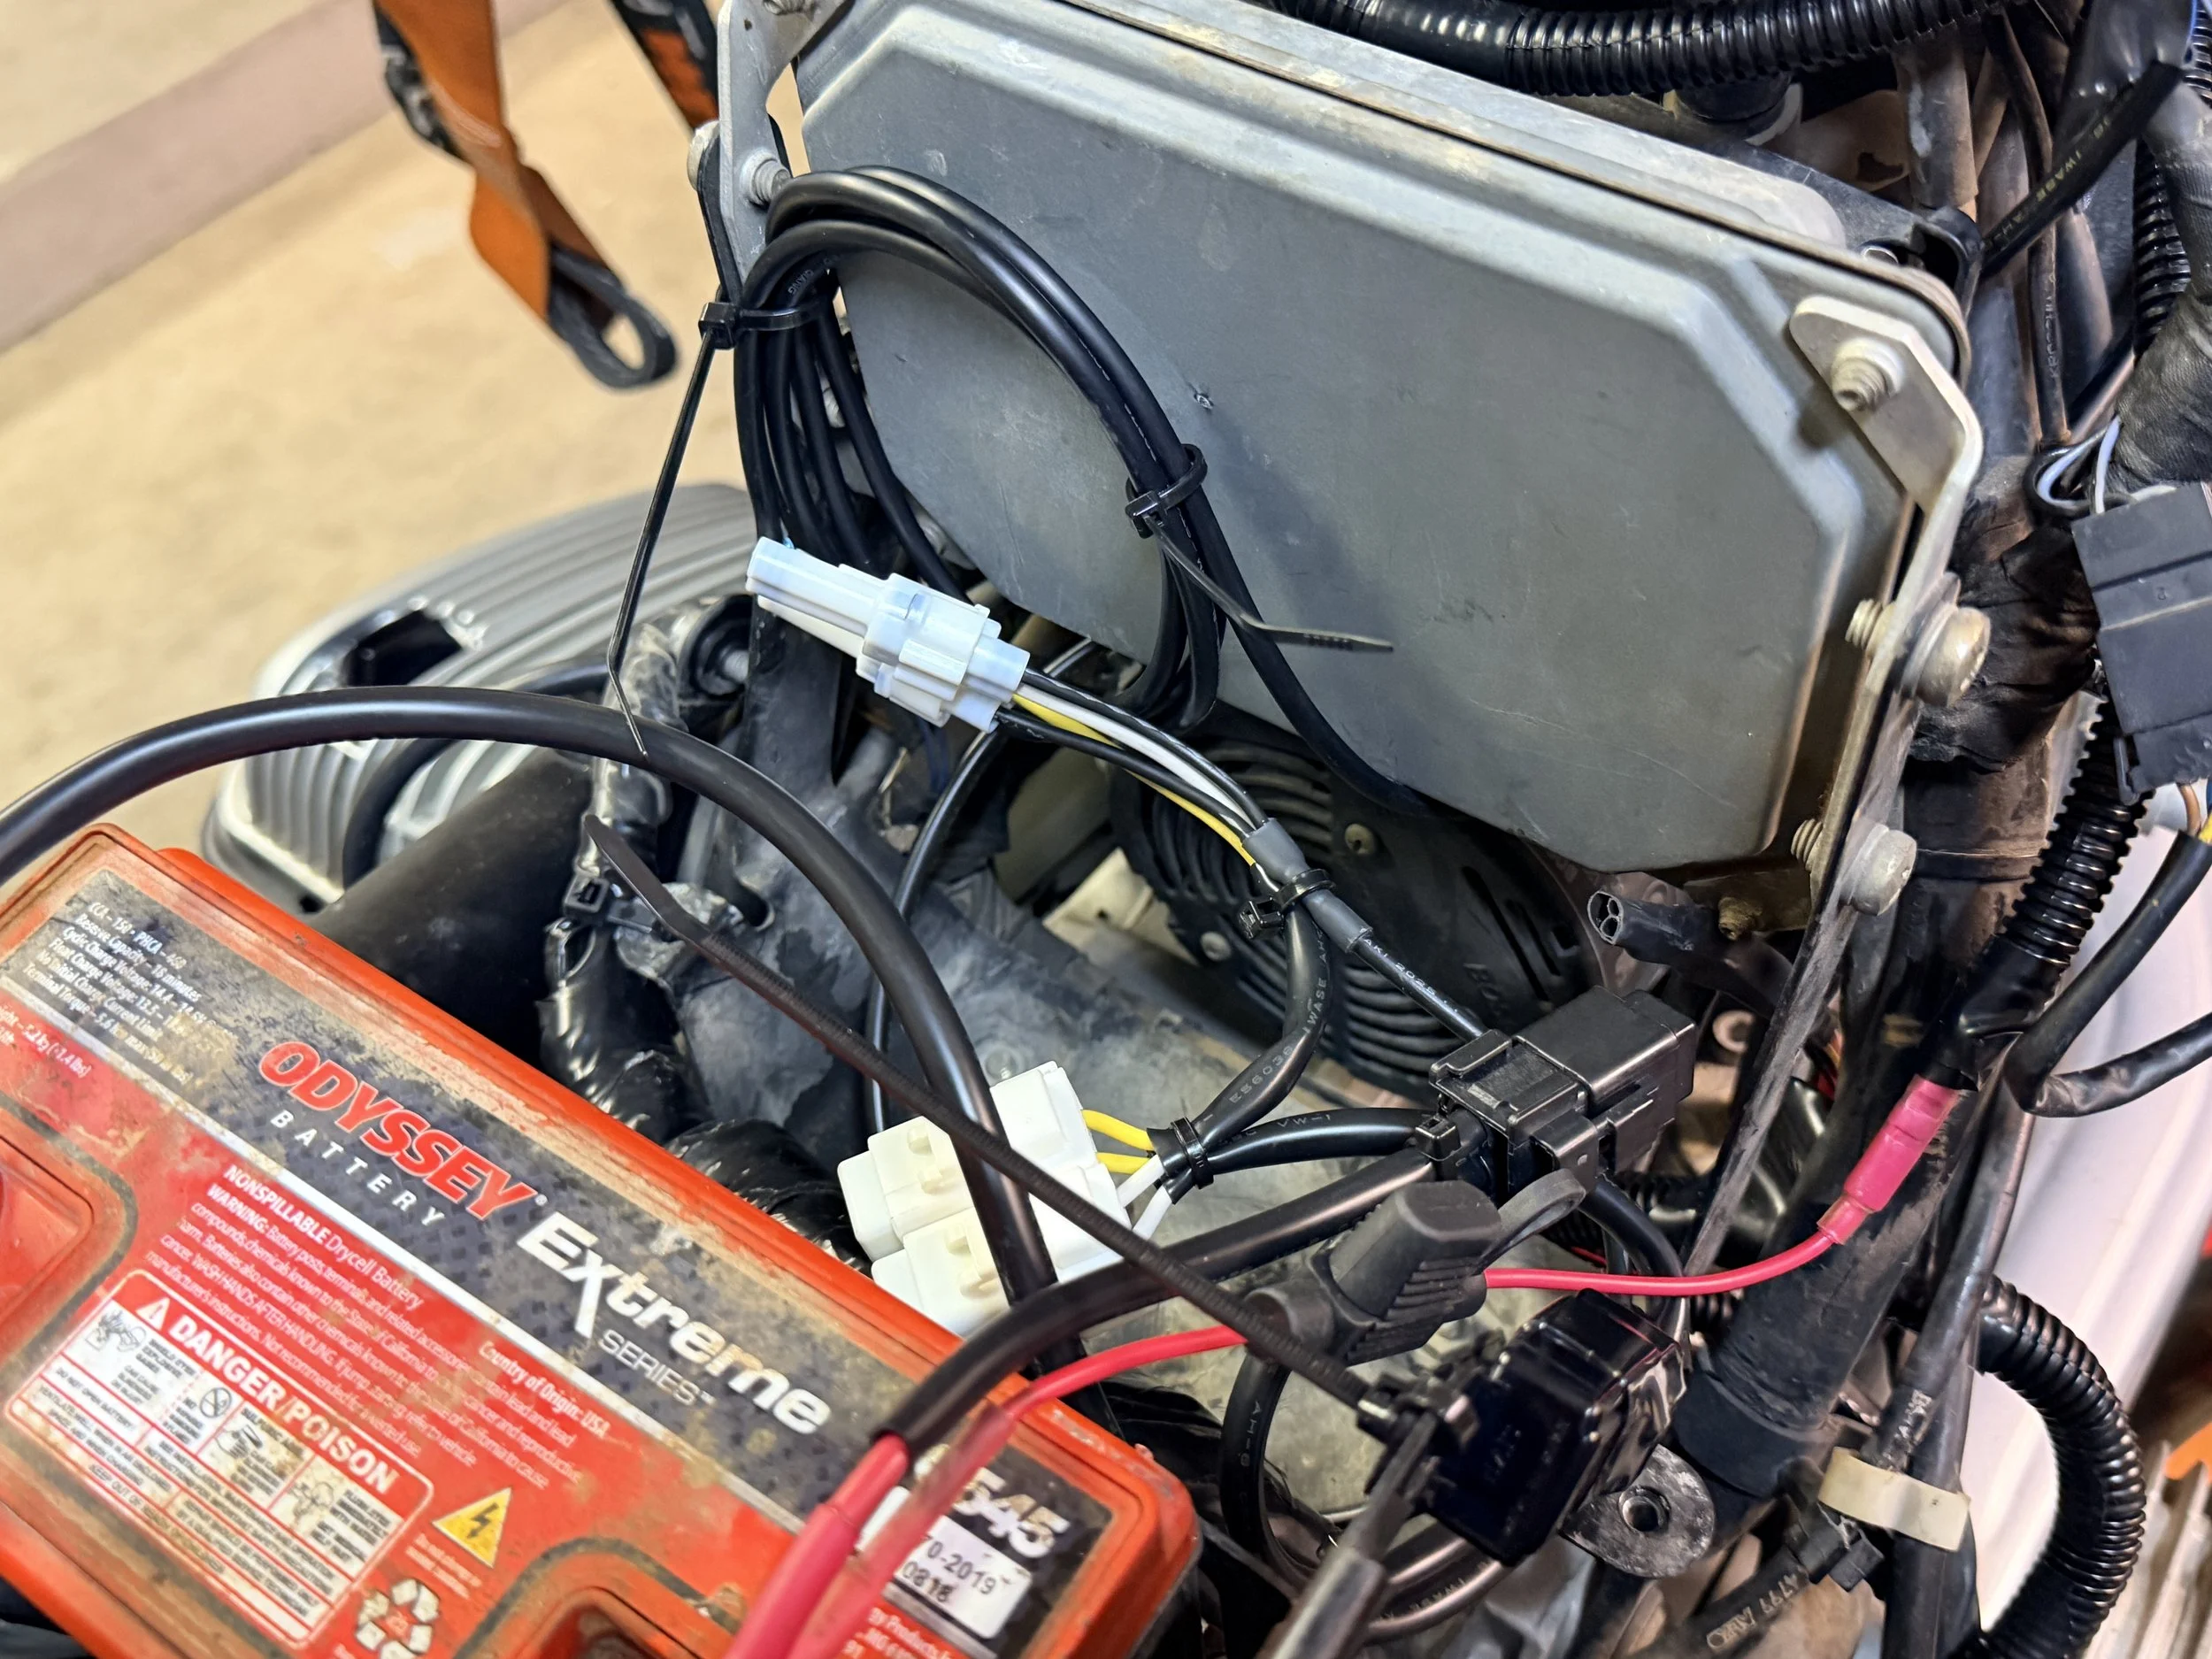
Another look at the system. One of two circuits are used. The other will remain open until something more signicicant is needed.
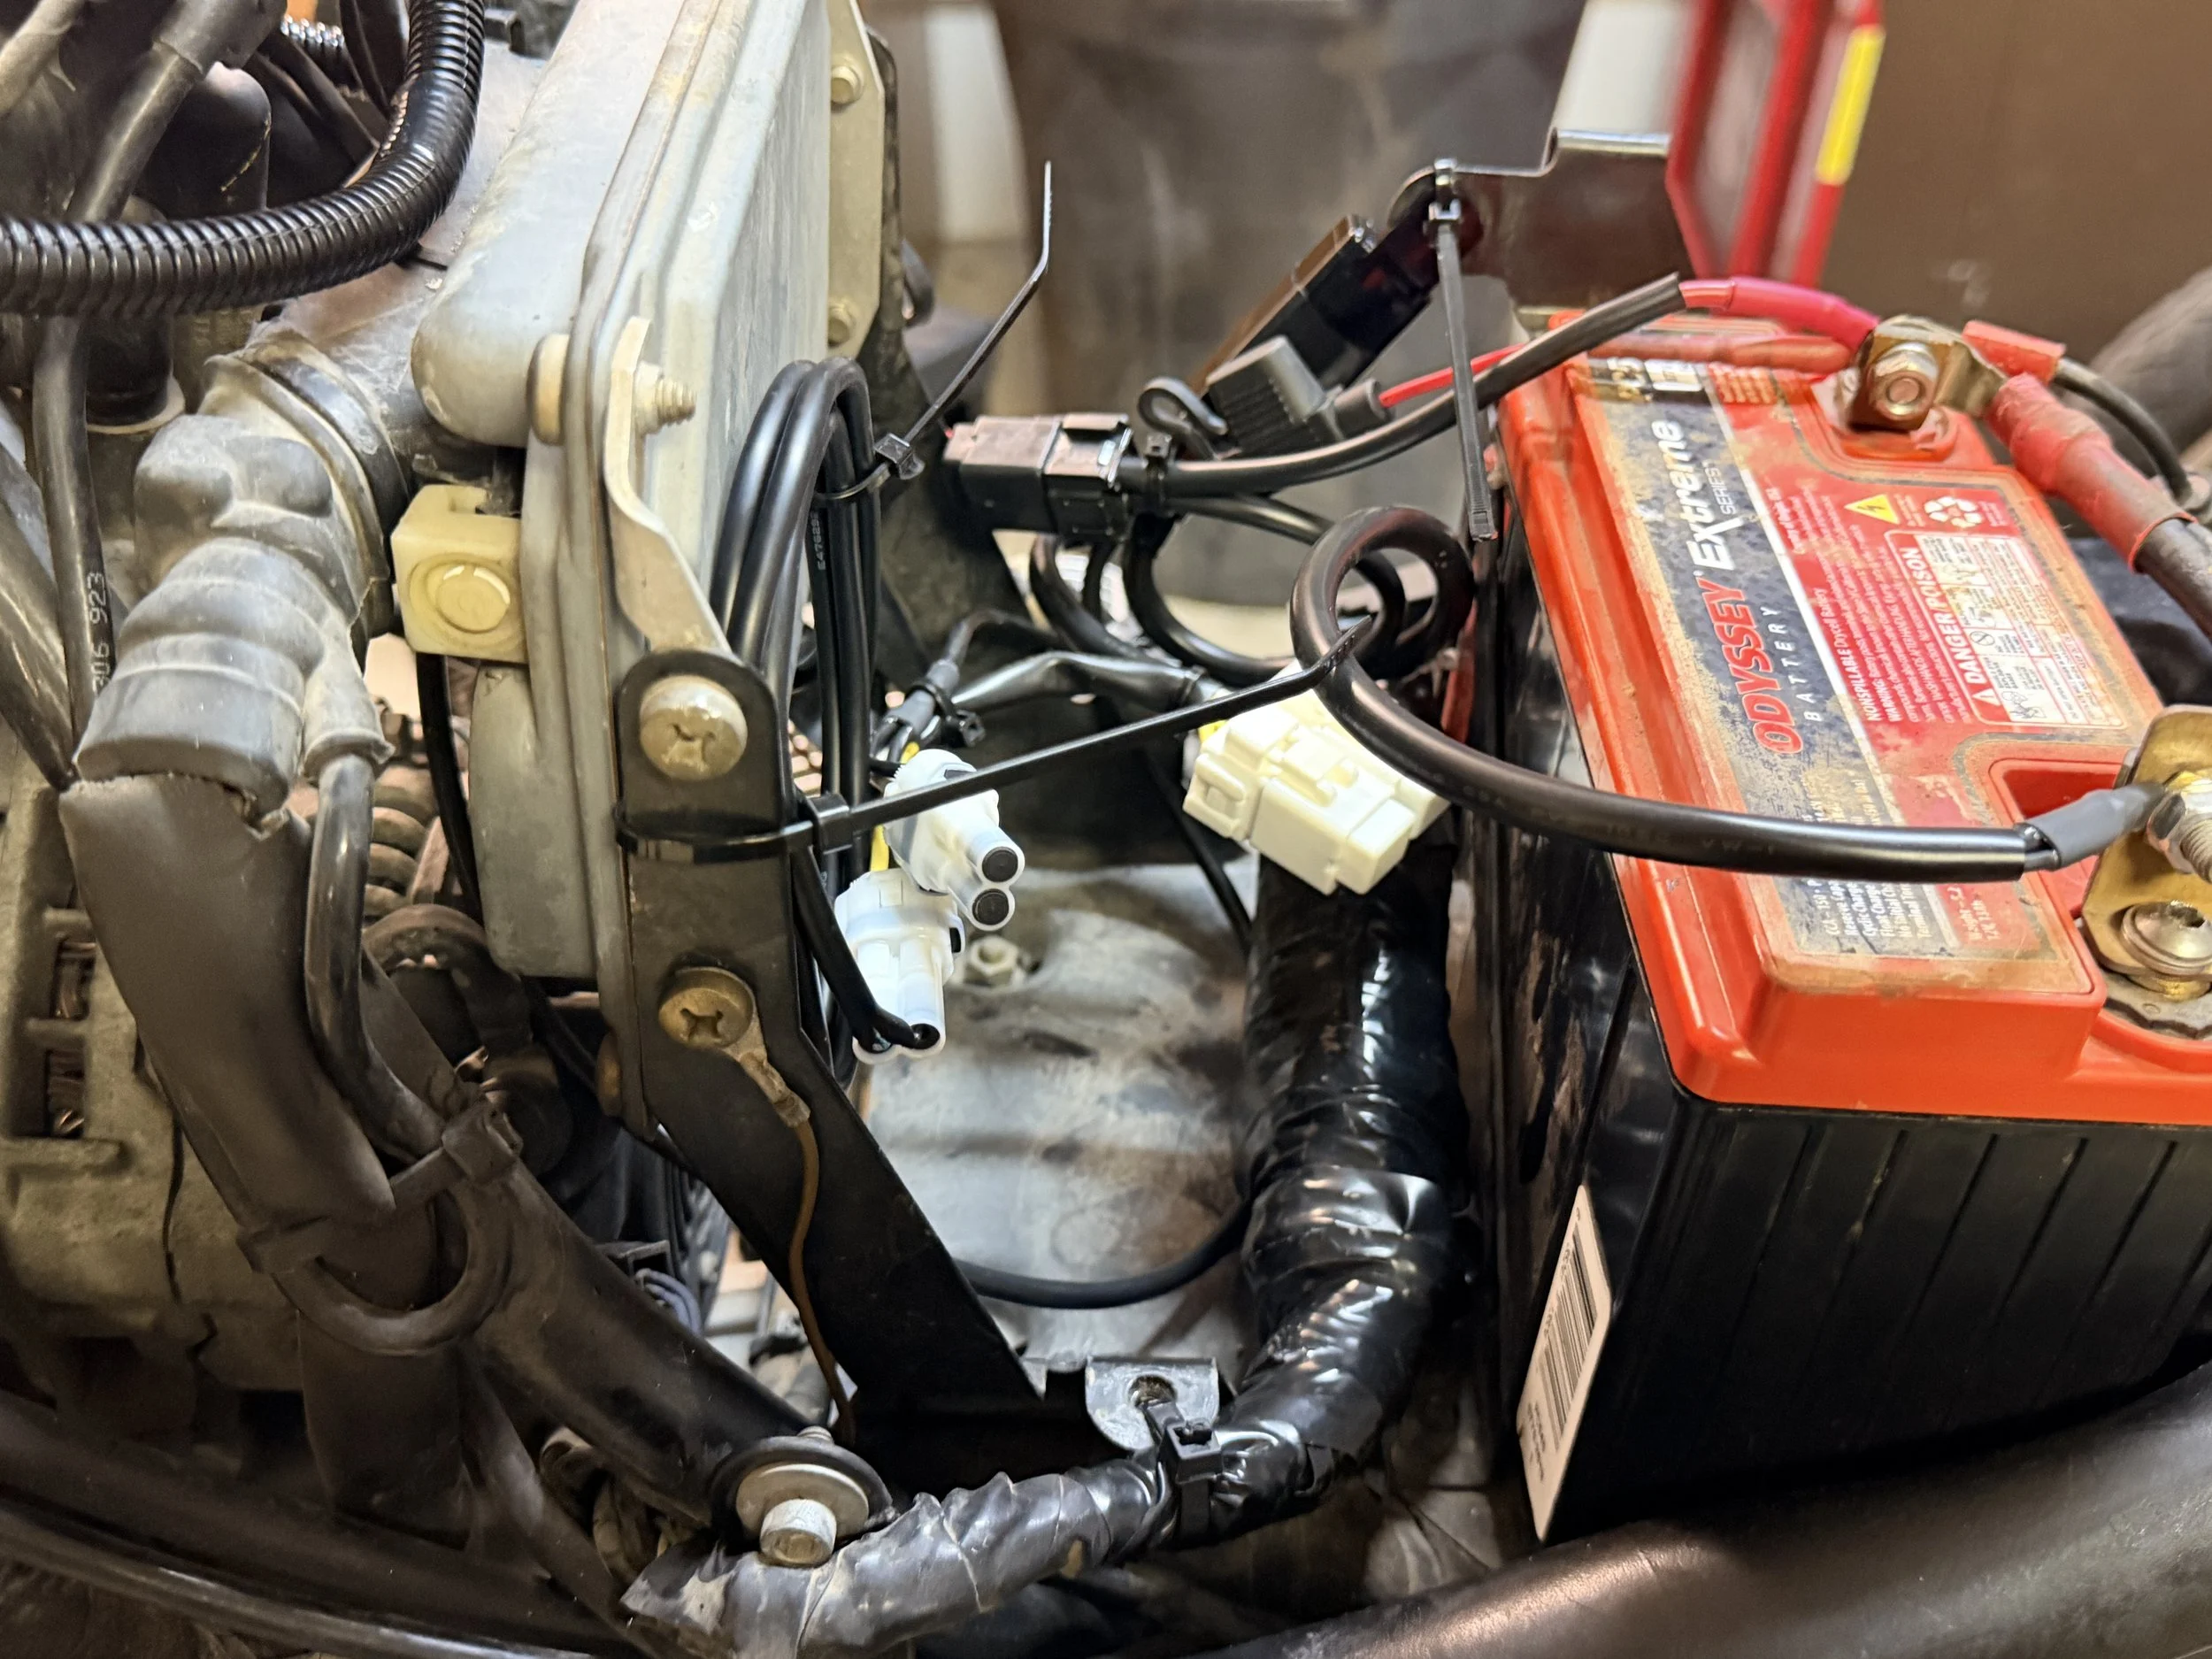
A feinal look at the ABS delete after waterproofing ABS controller cable.
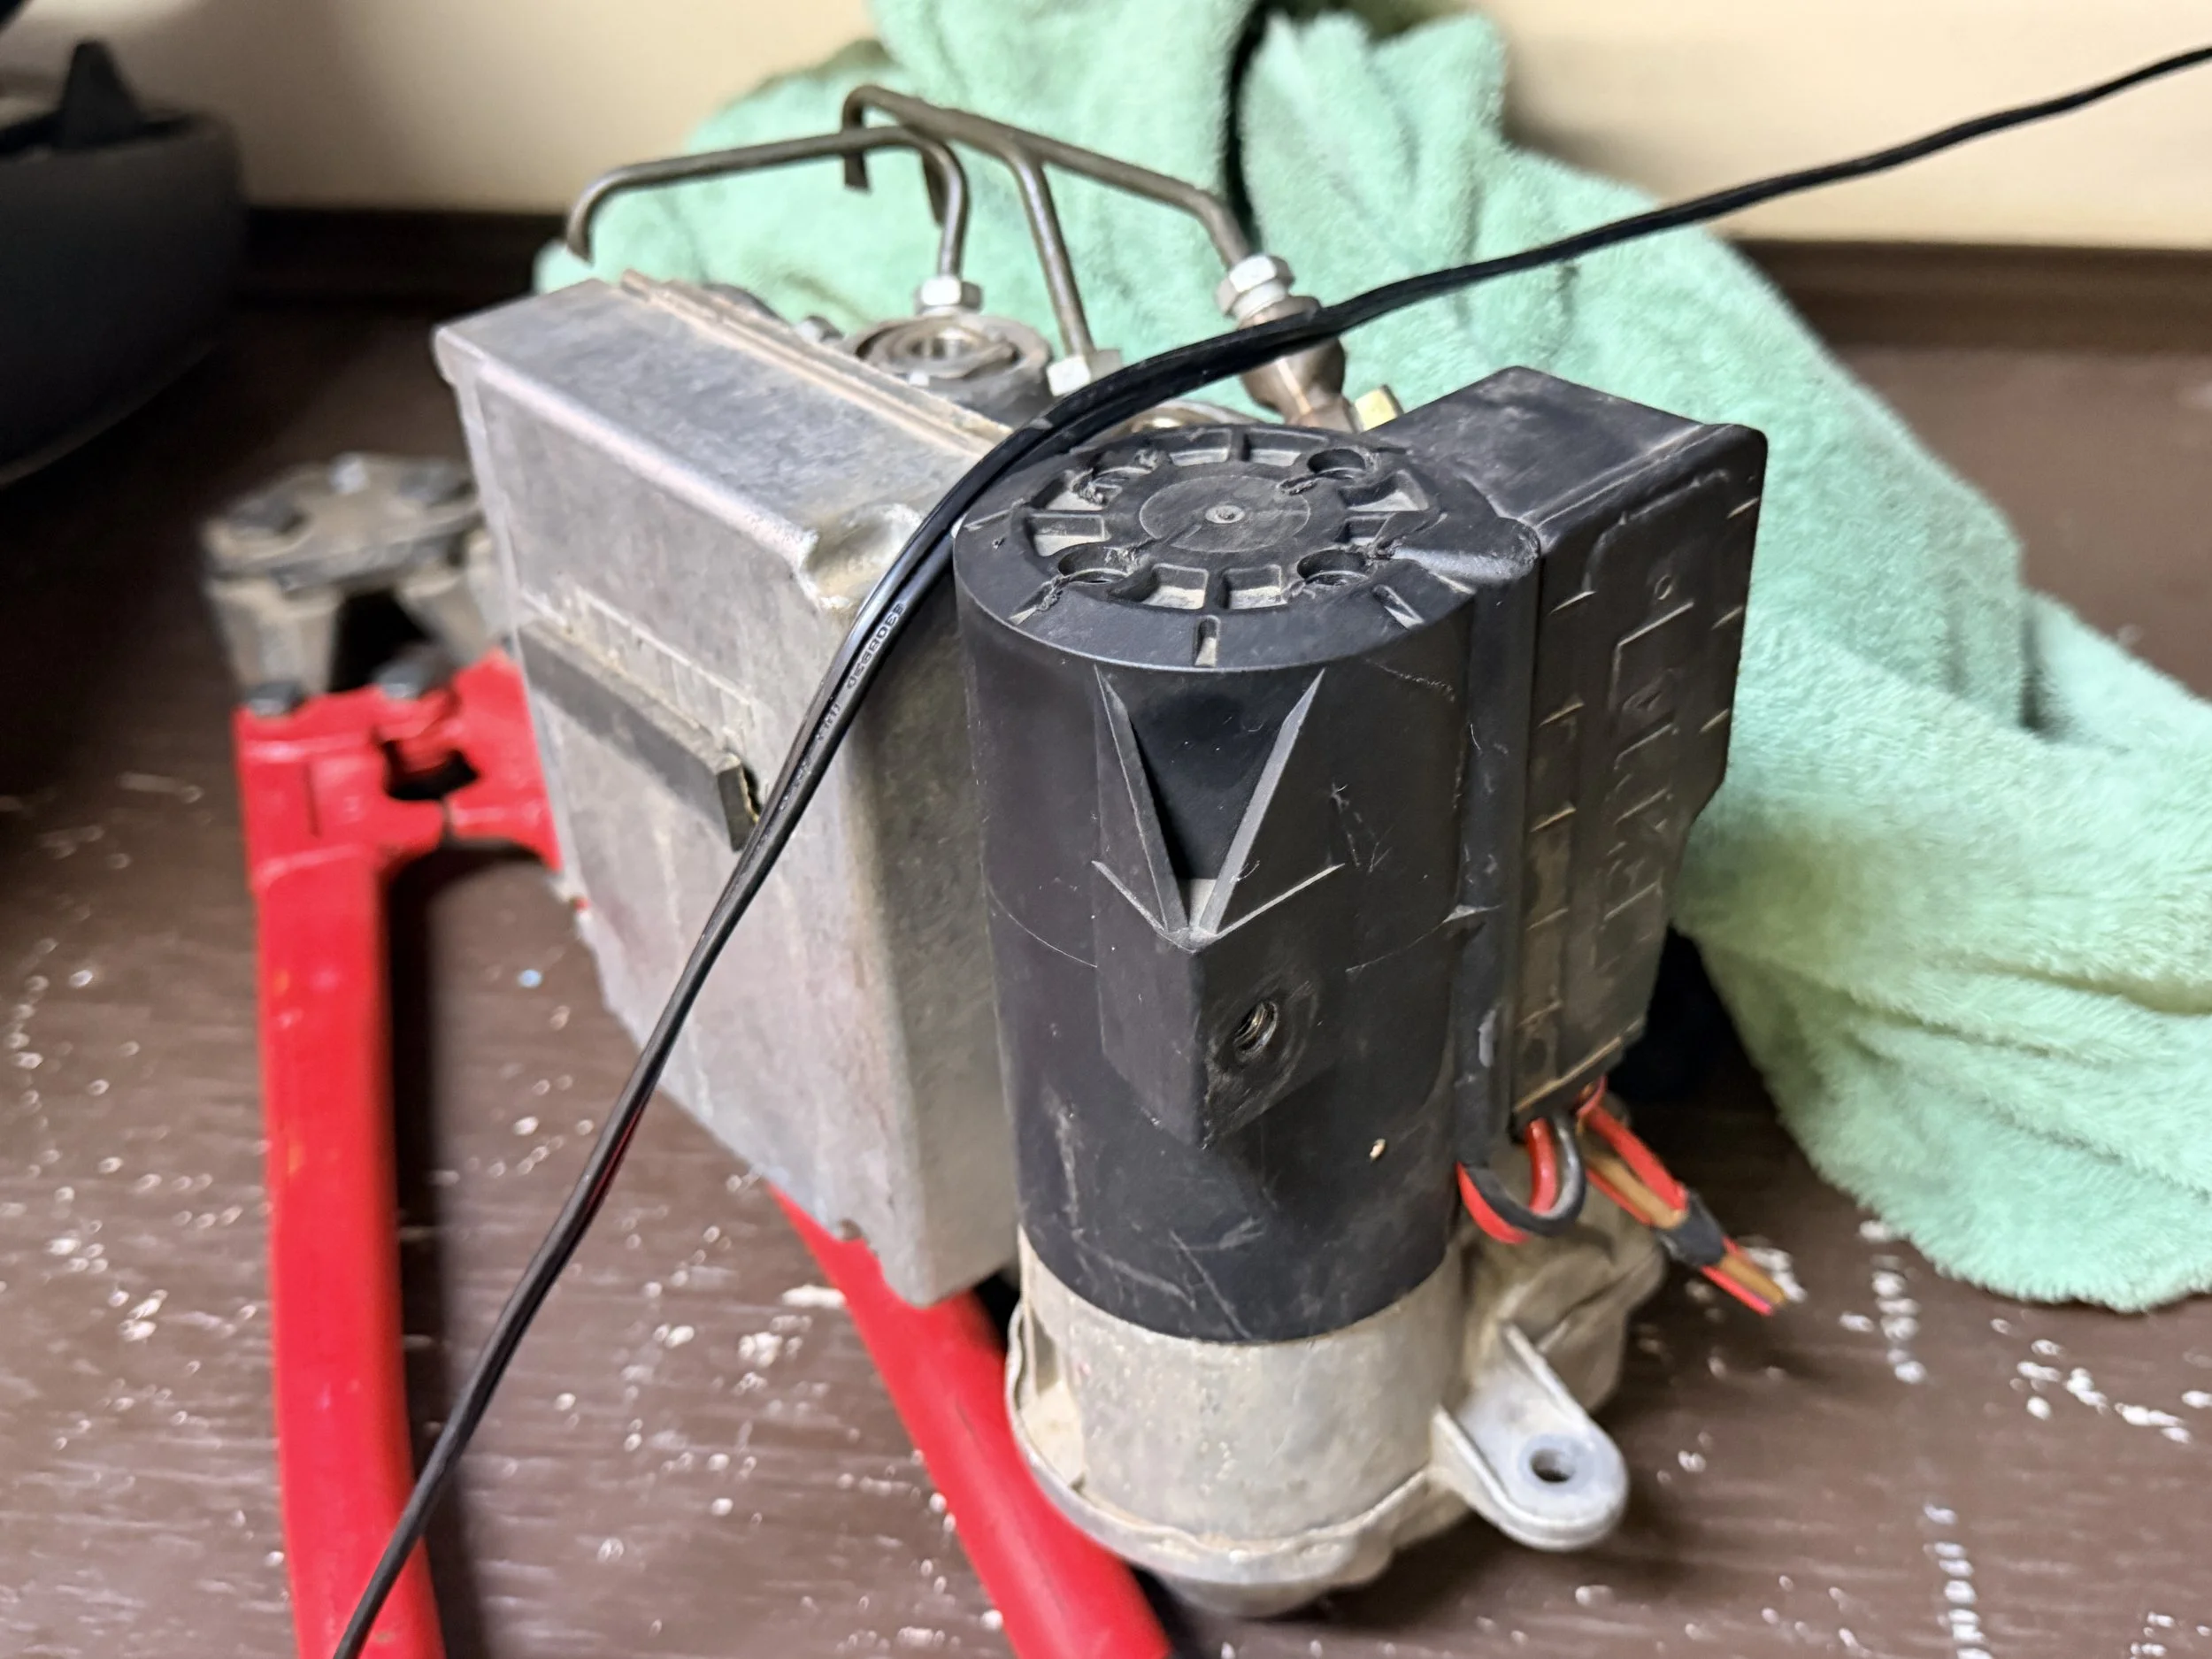
Dead weight removed.
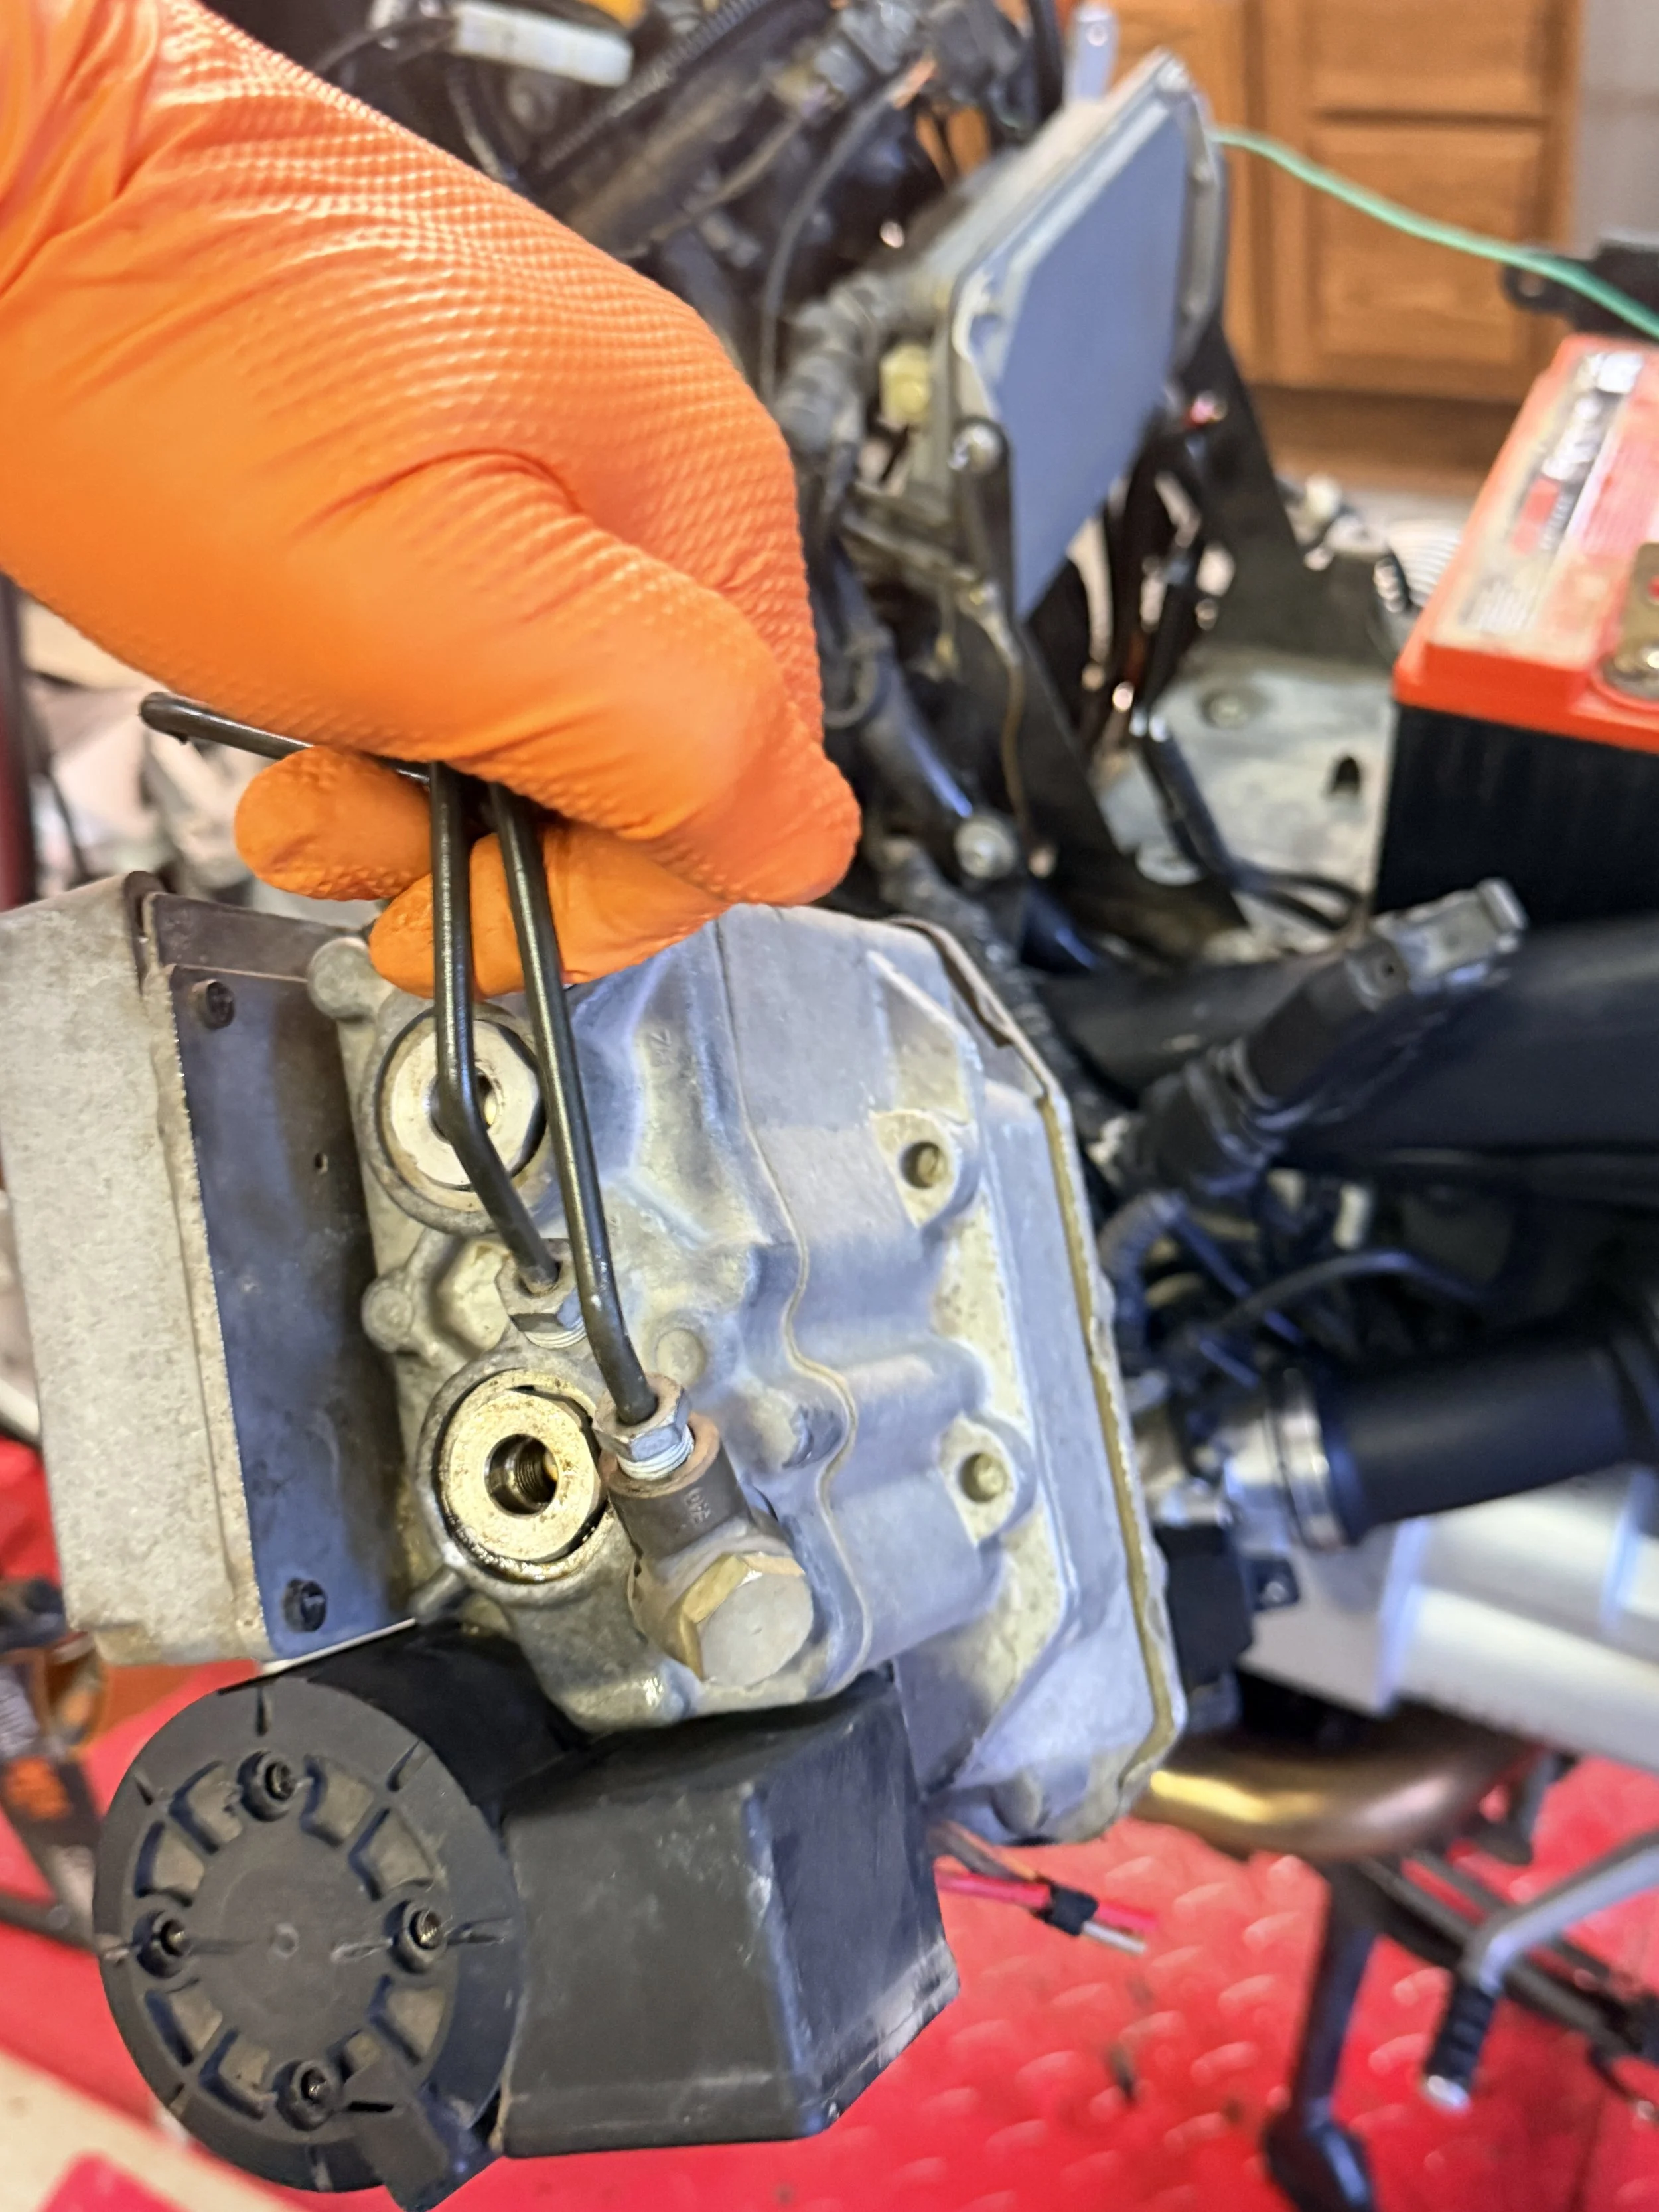
The unit alone is 11 pounds + all the accessories that come off it.
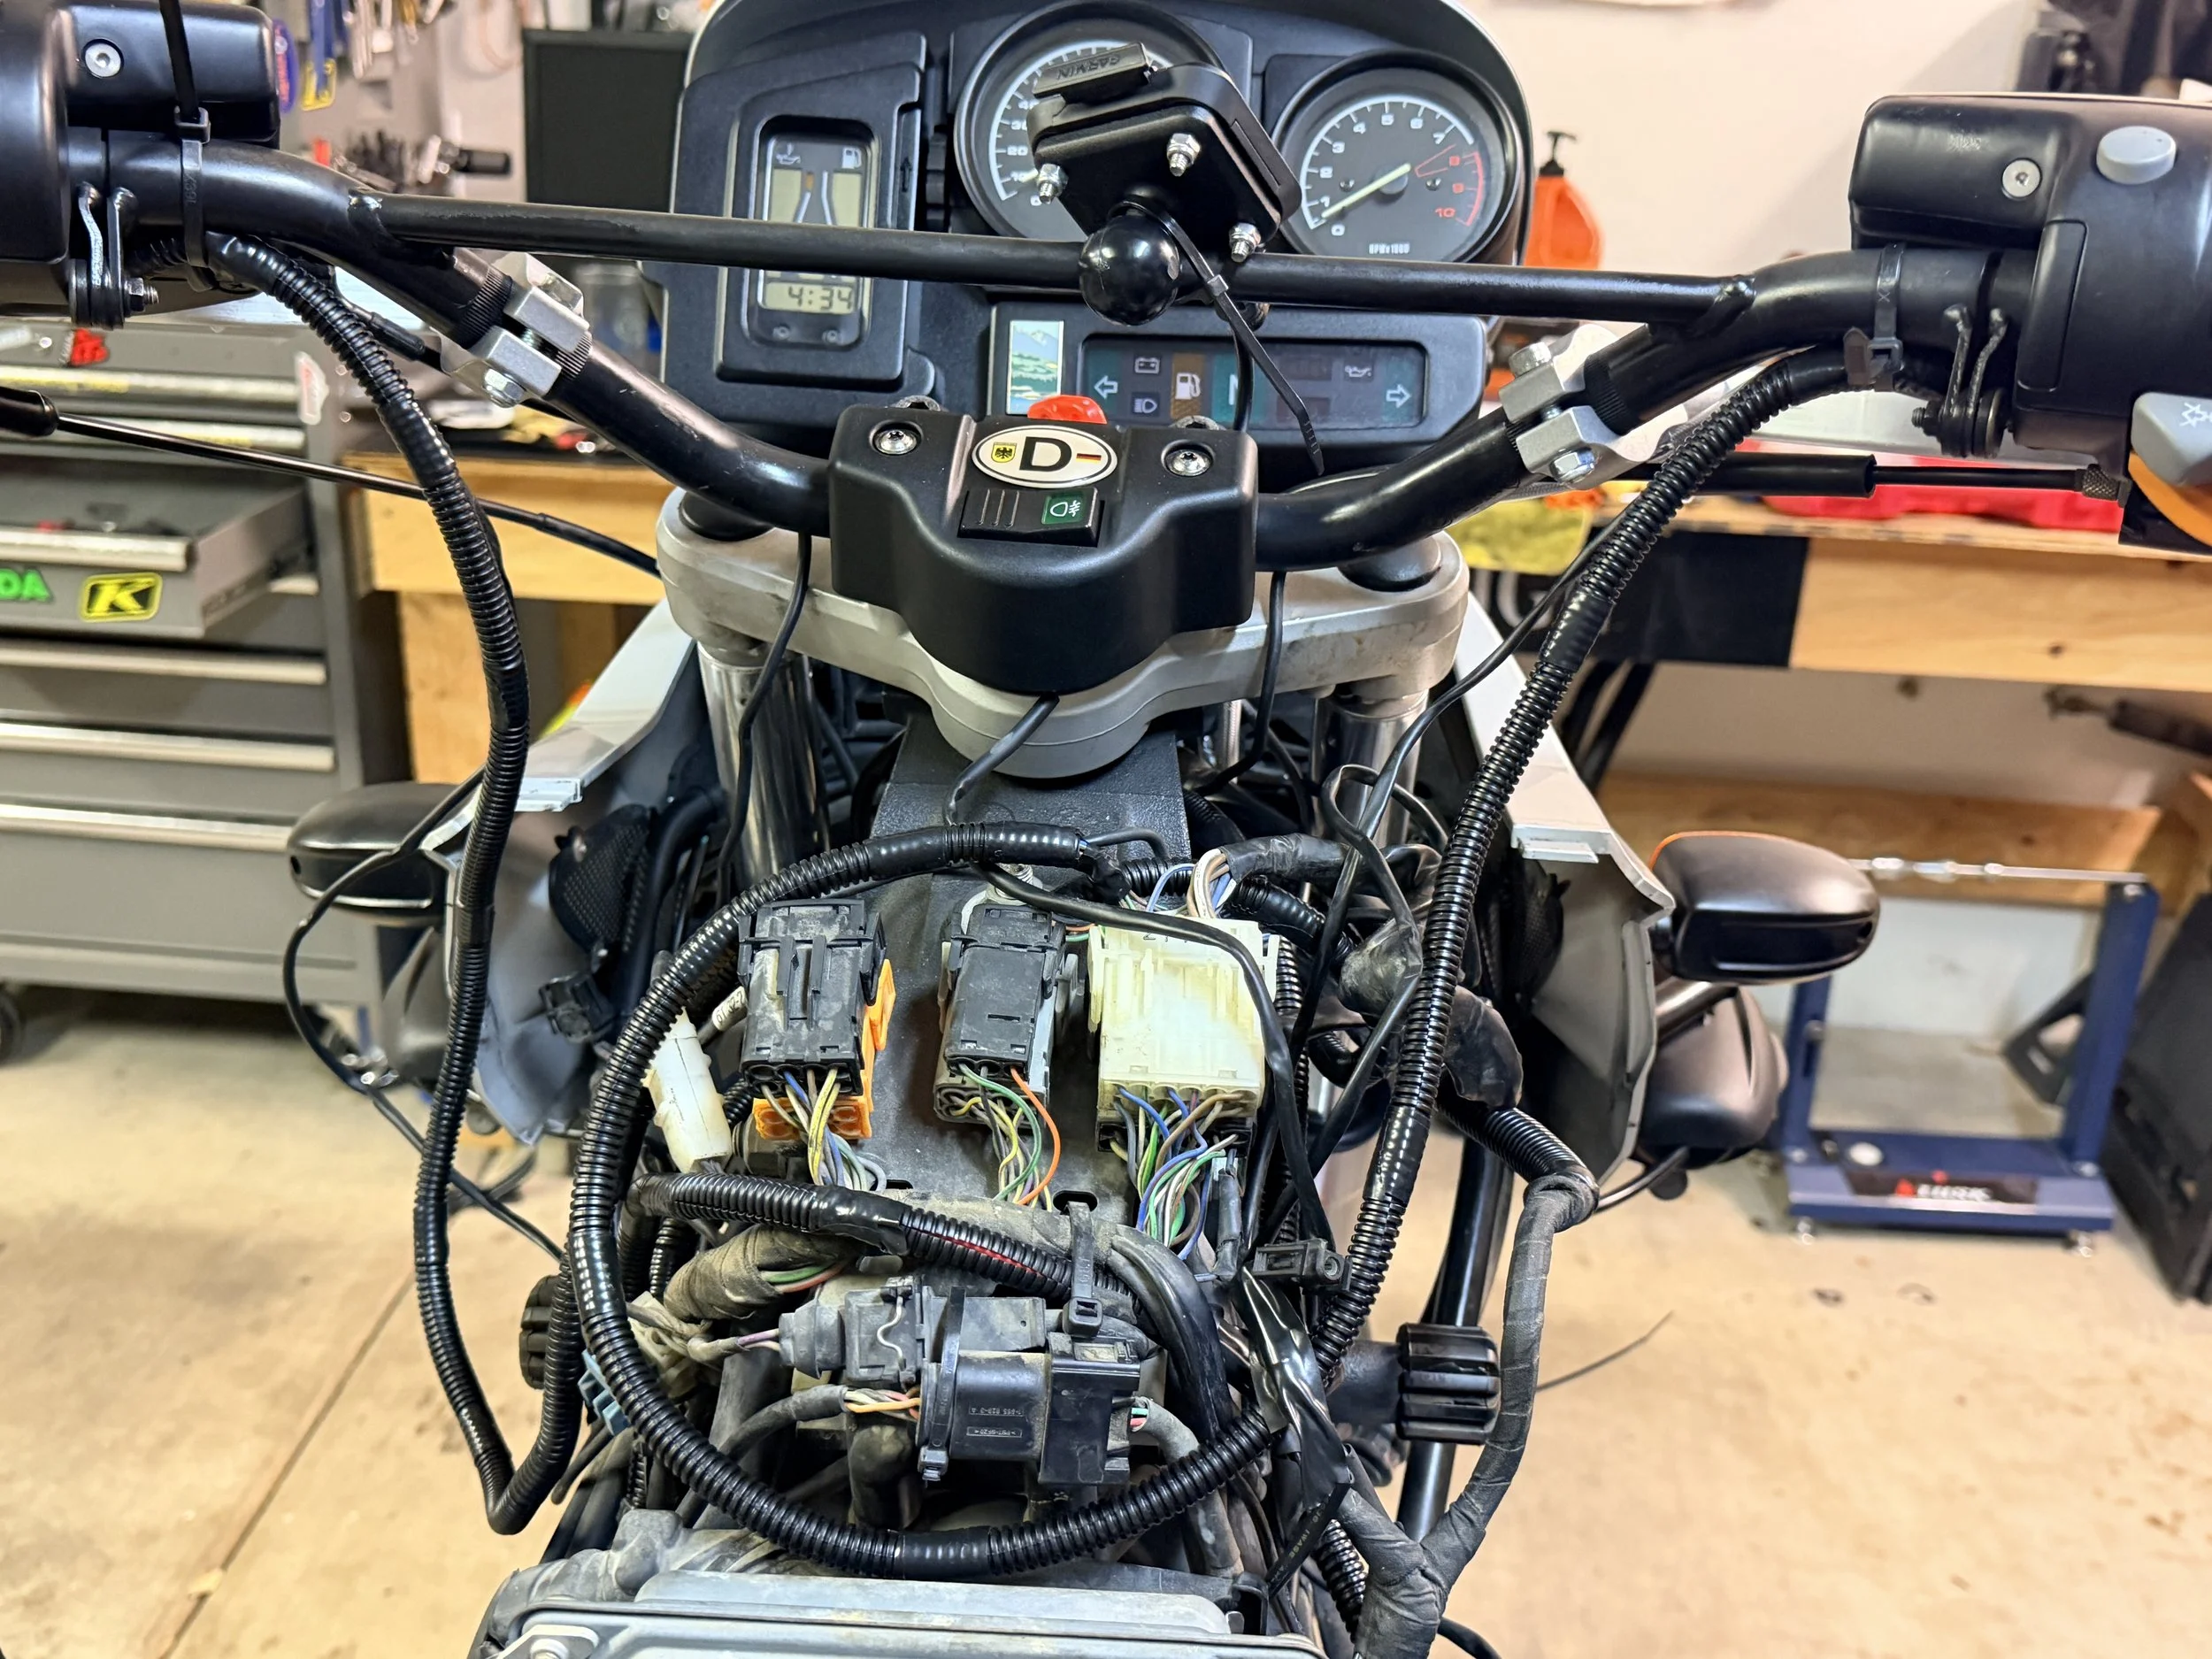
The electrical wiring was exposed everywhere. All of the original protection had fallen off, and bare wire was all over the bike. I worked hard to protect all the wiring and make it look as clean as possible.
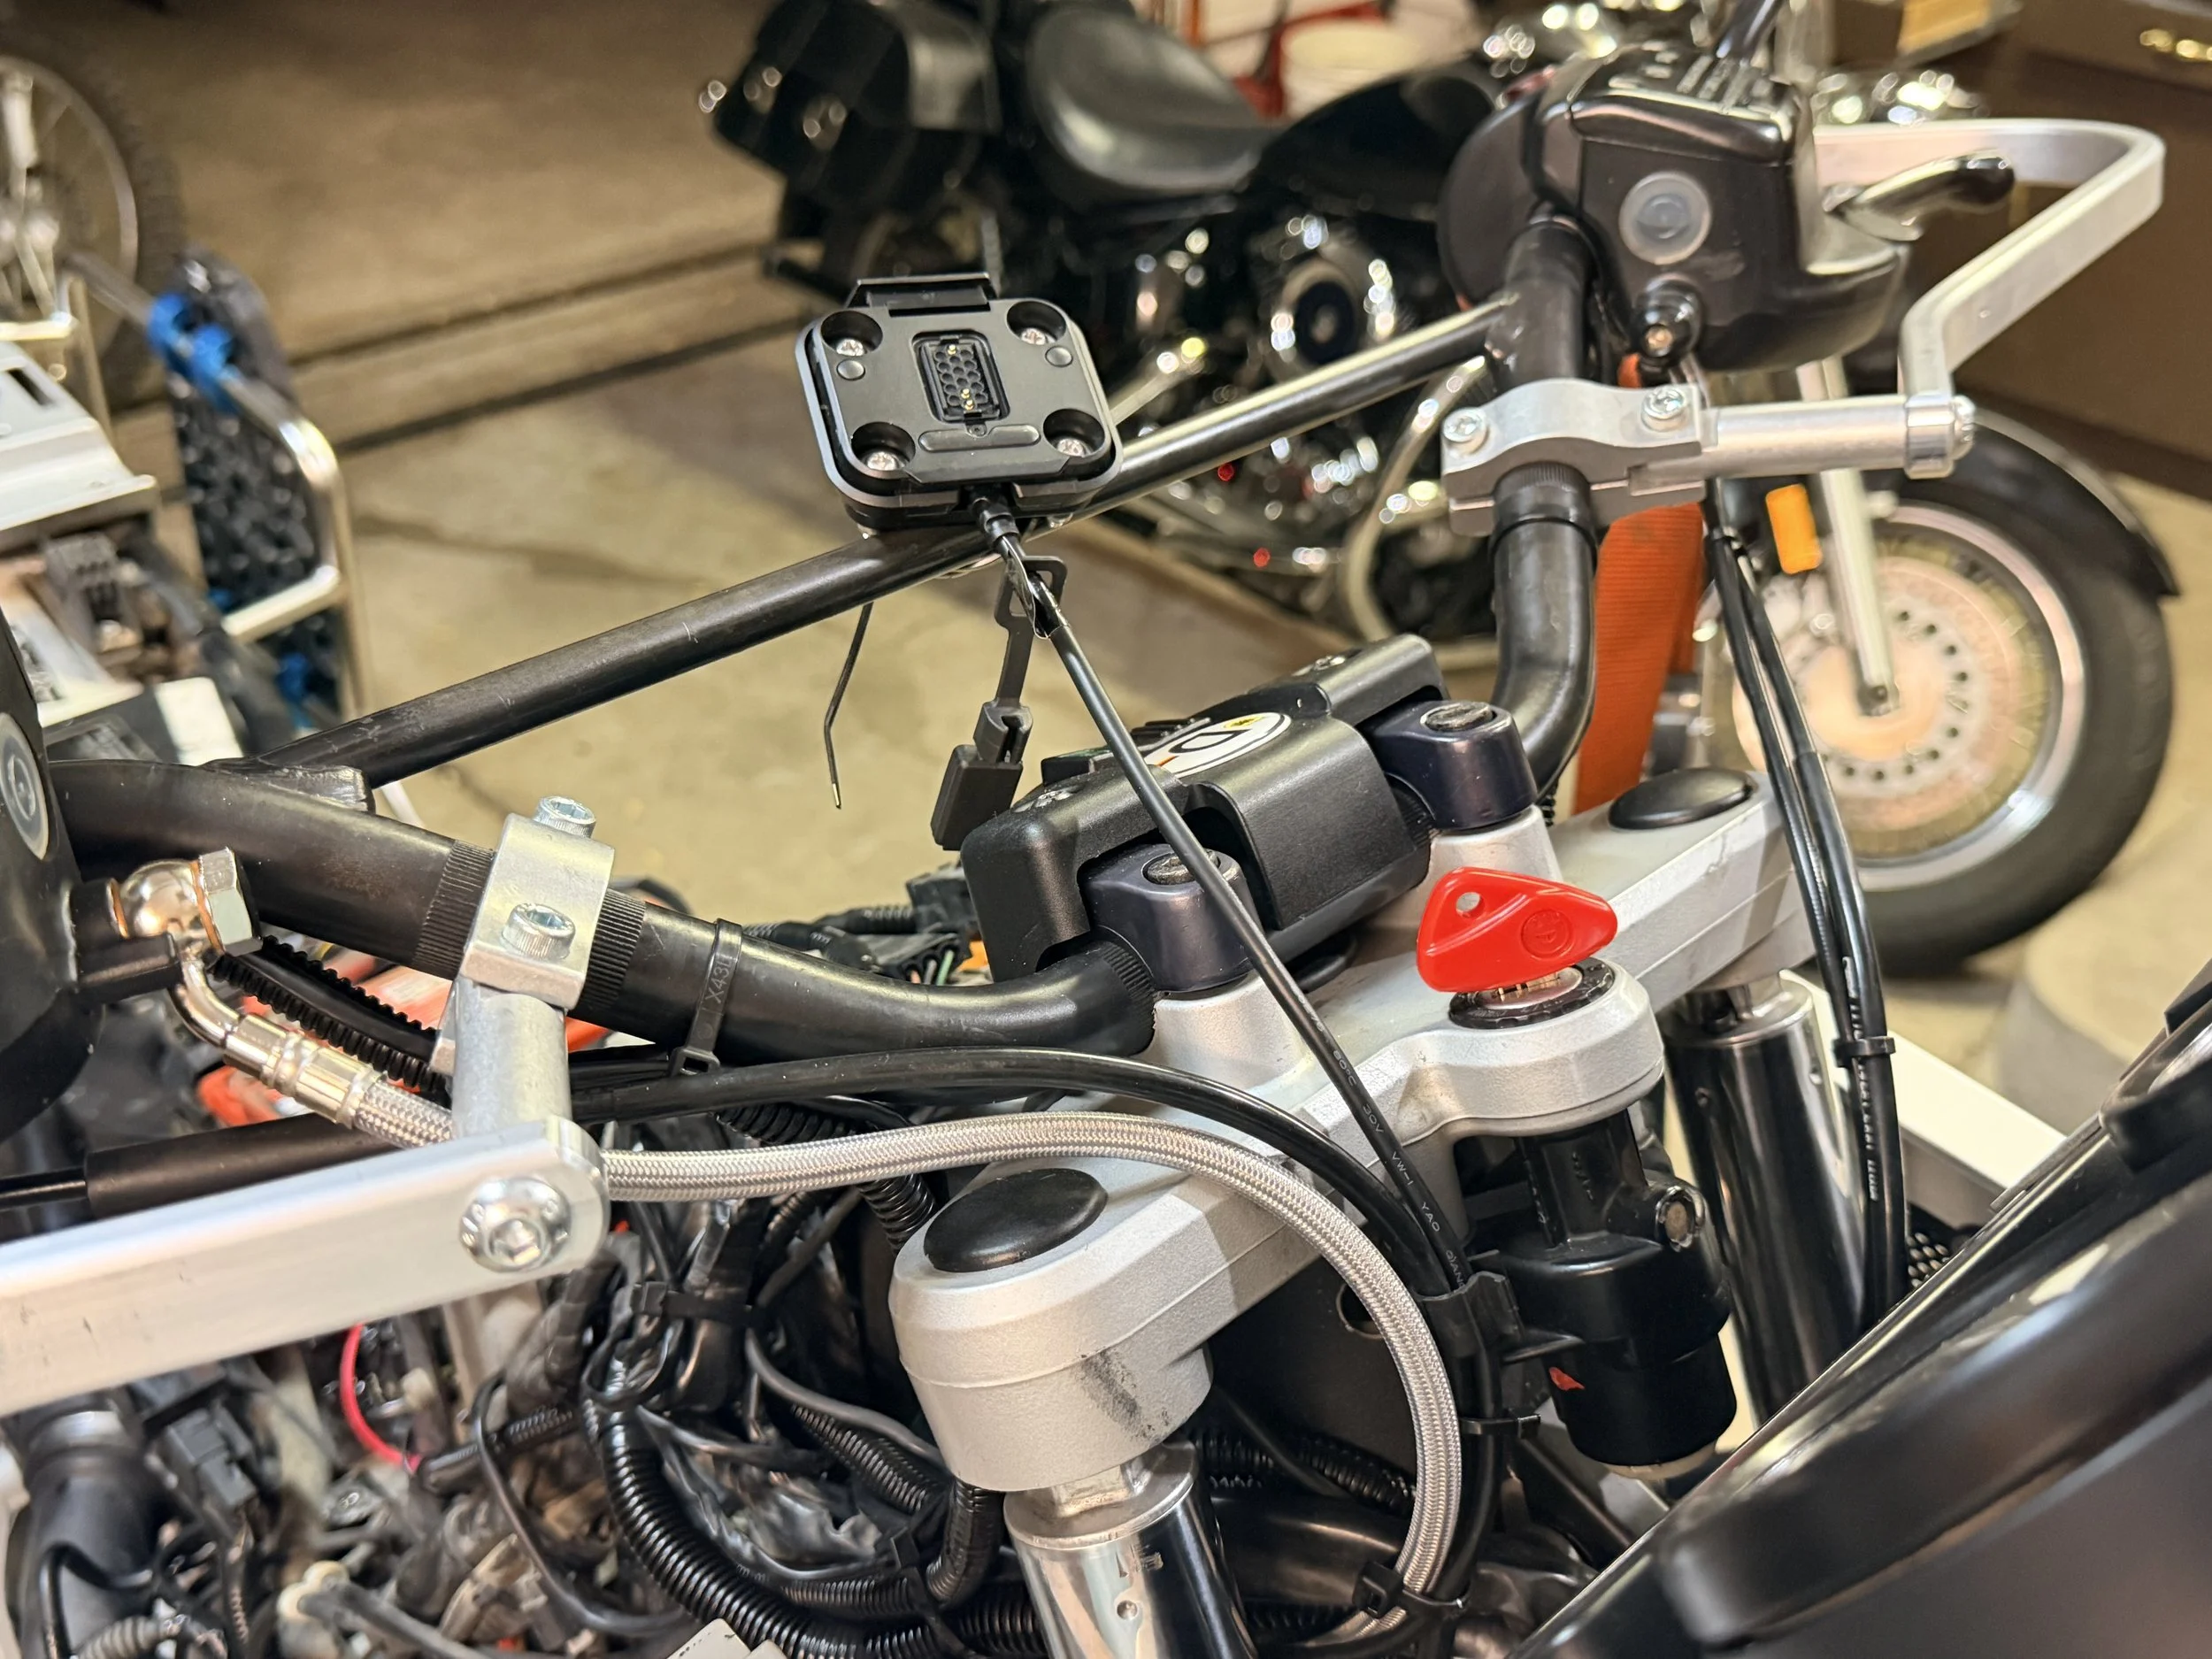
I installed barkbuster handguards. I recognize that the brushguards do brushguard things - I don't need brushguards - just expensive clutch & brake lever protectors. Not having the brushguard gives much better wind up the sleeve for the hot arizona summer.
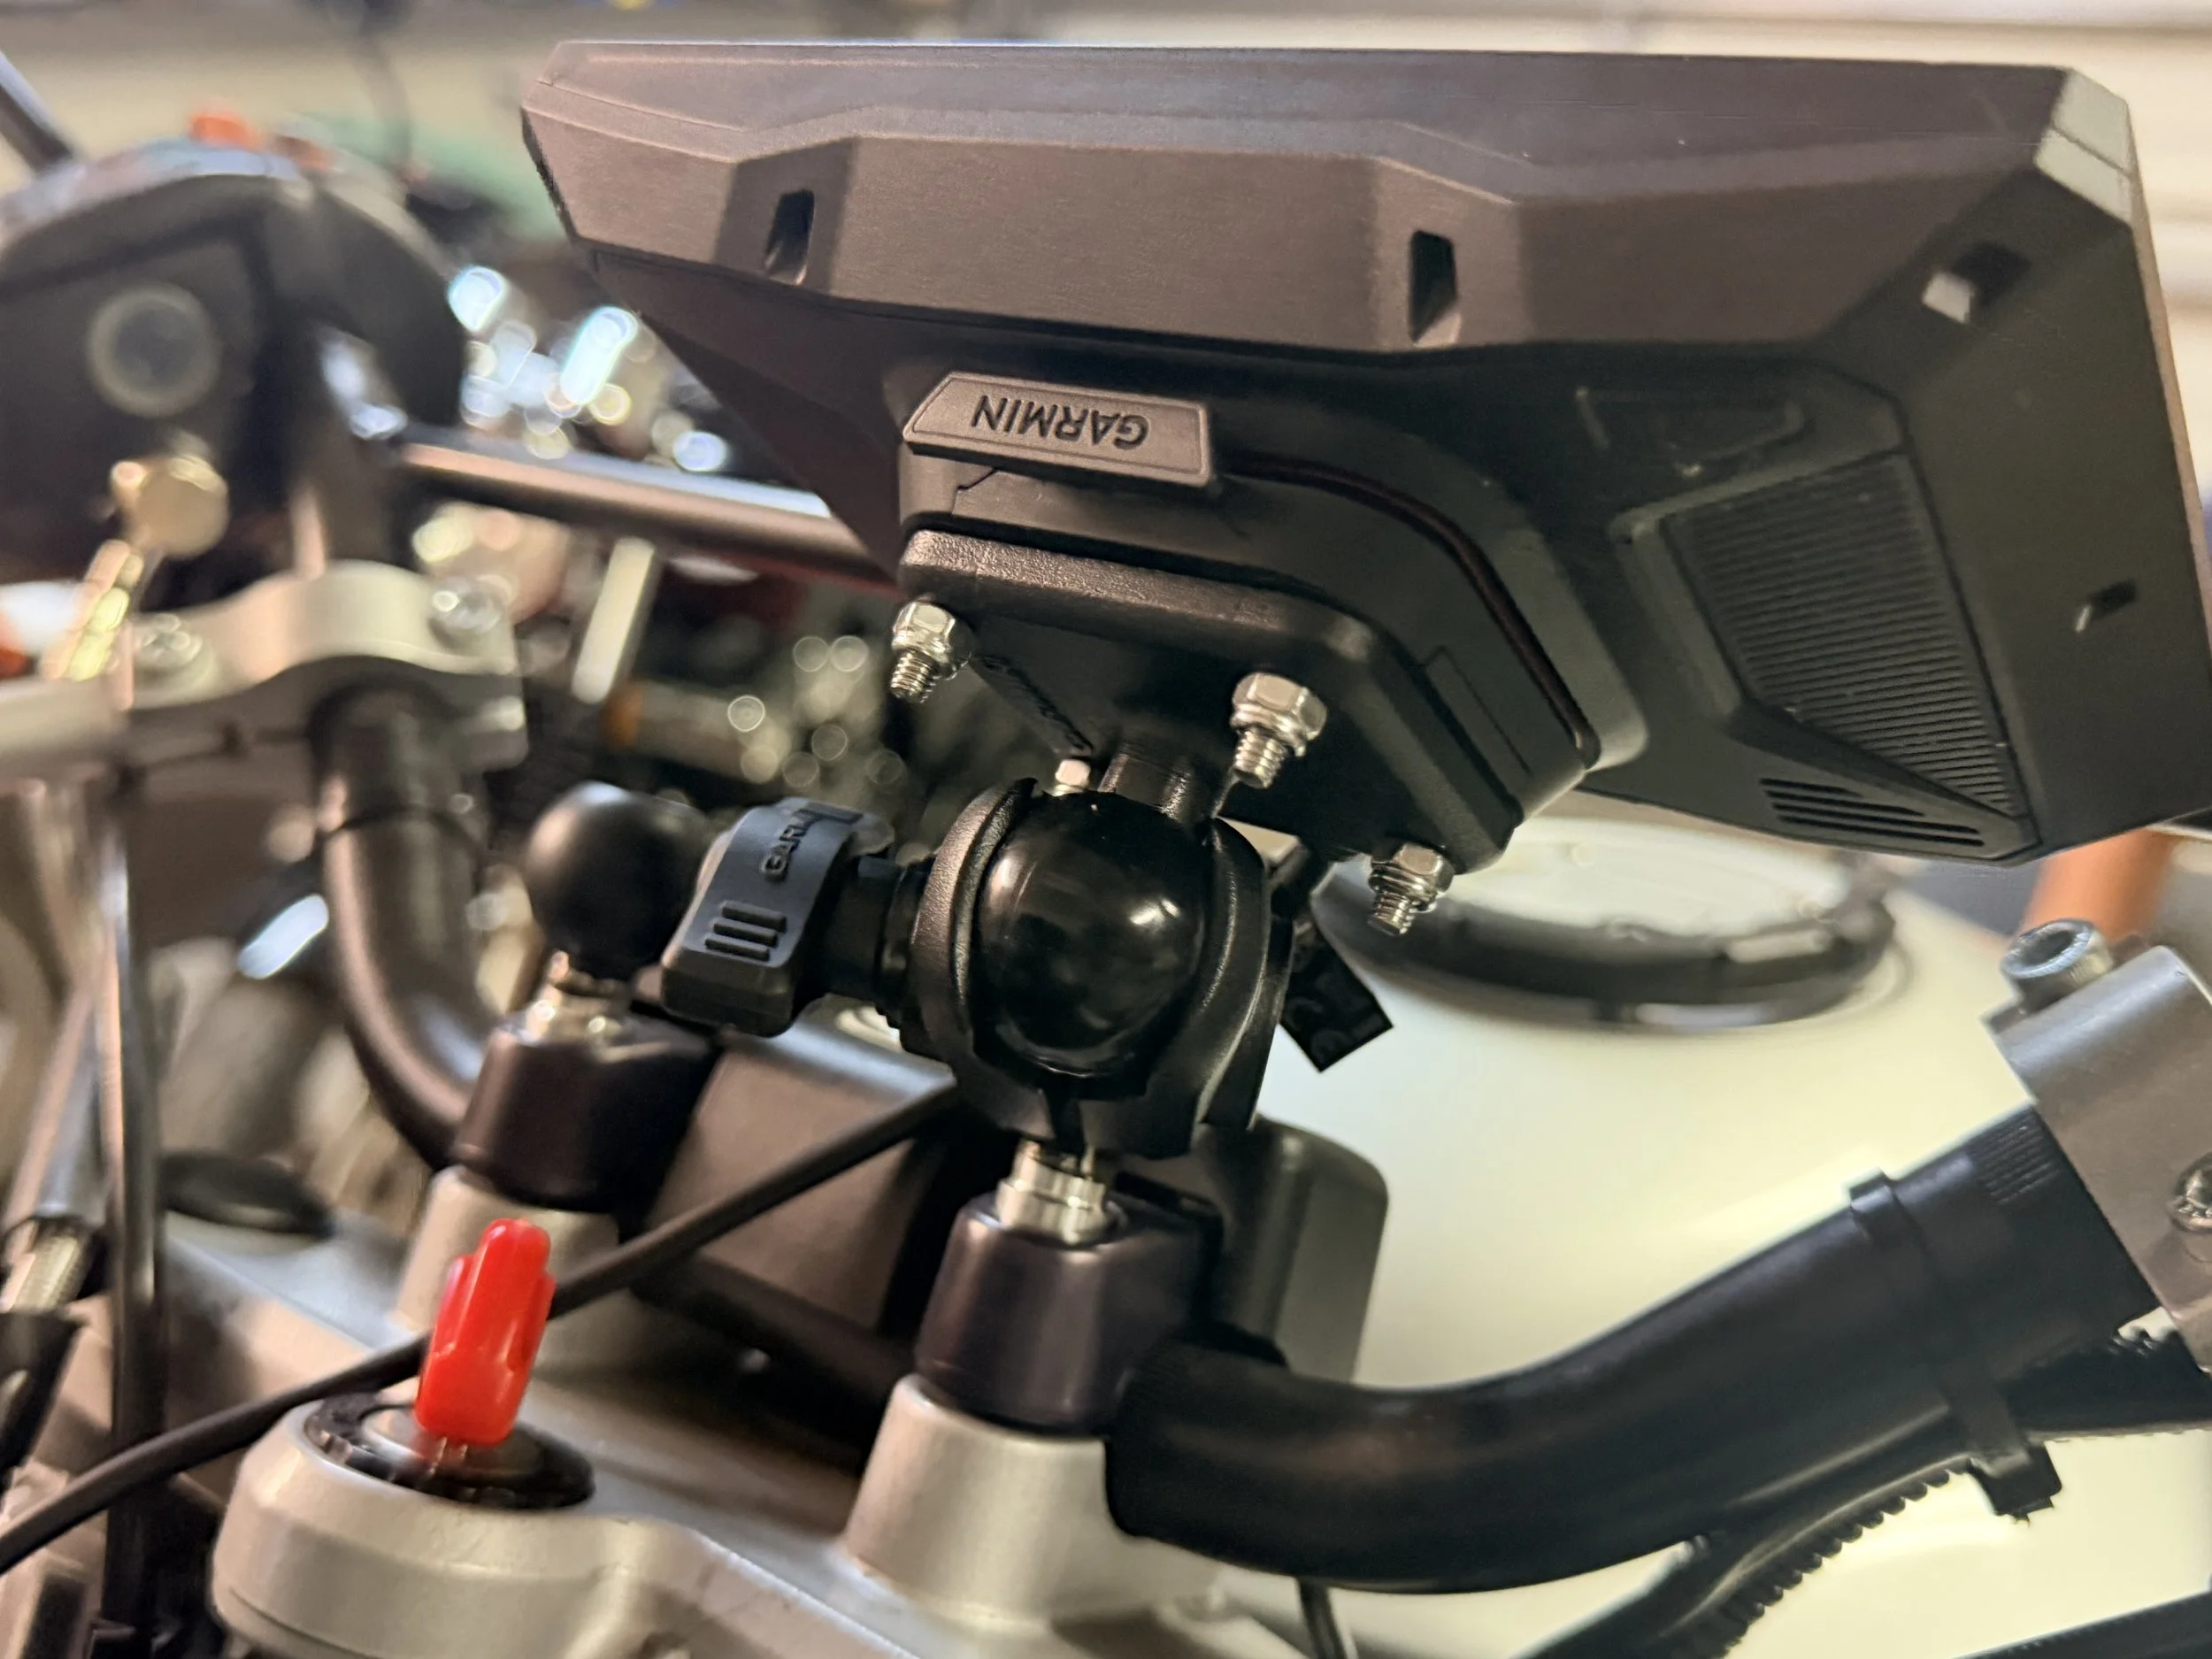
Installed 1" ball mounts, getting all the electronics off the handlebars for a much cleaner look.
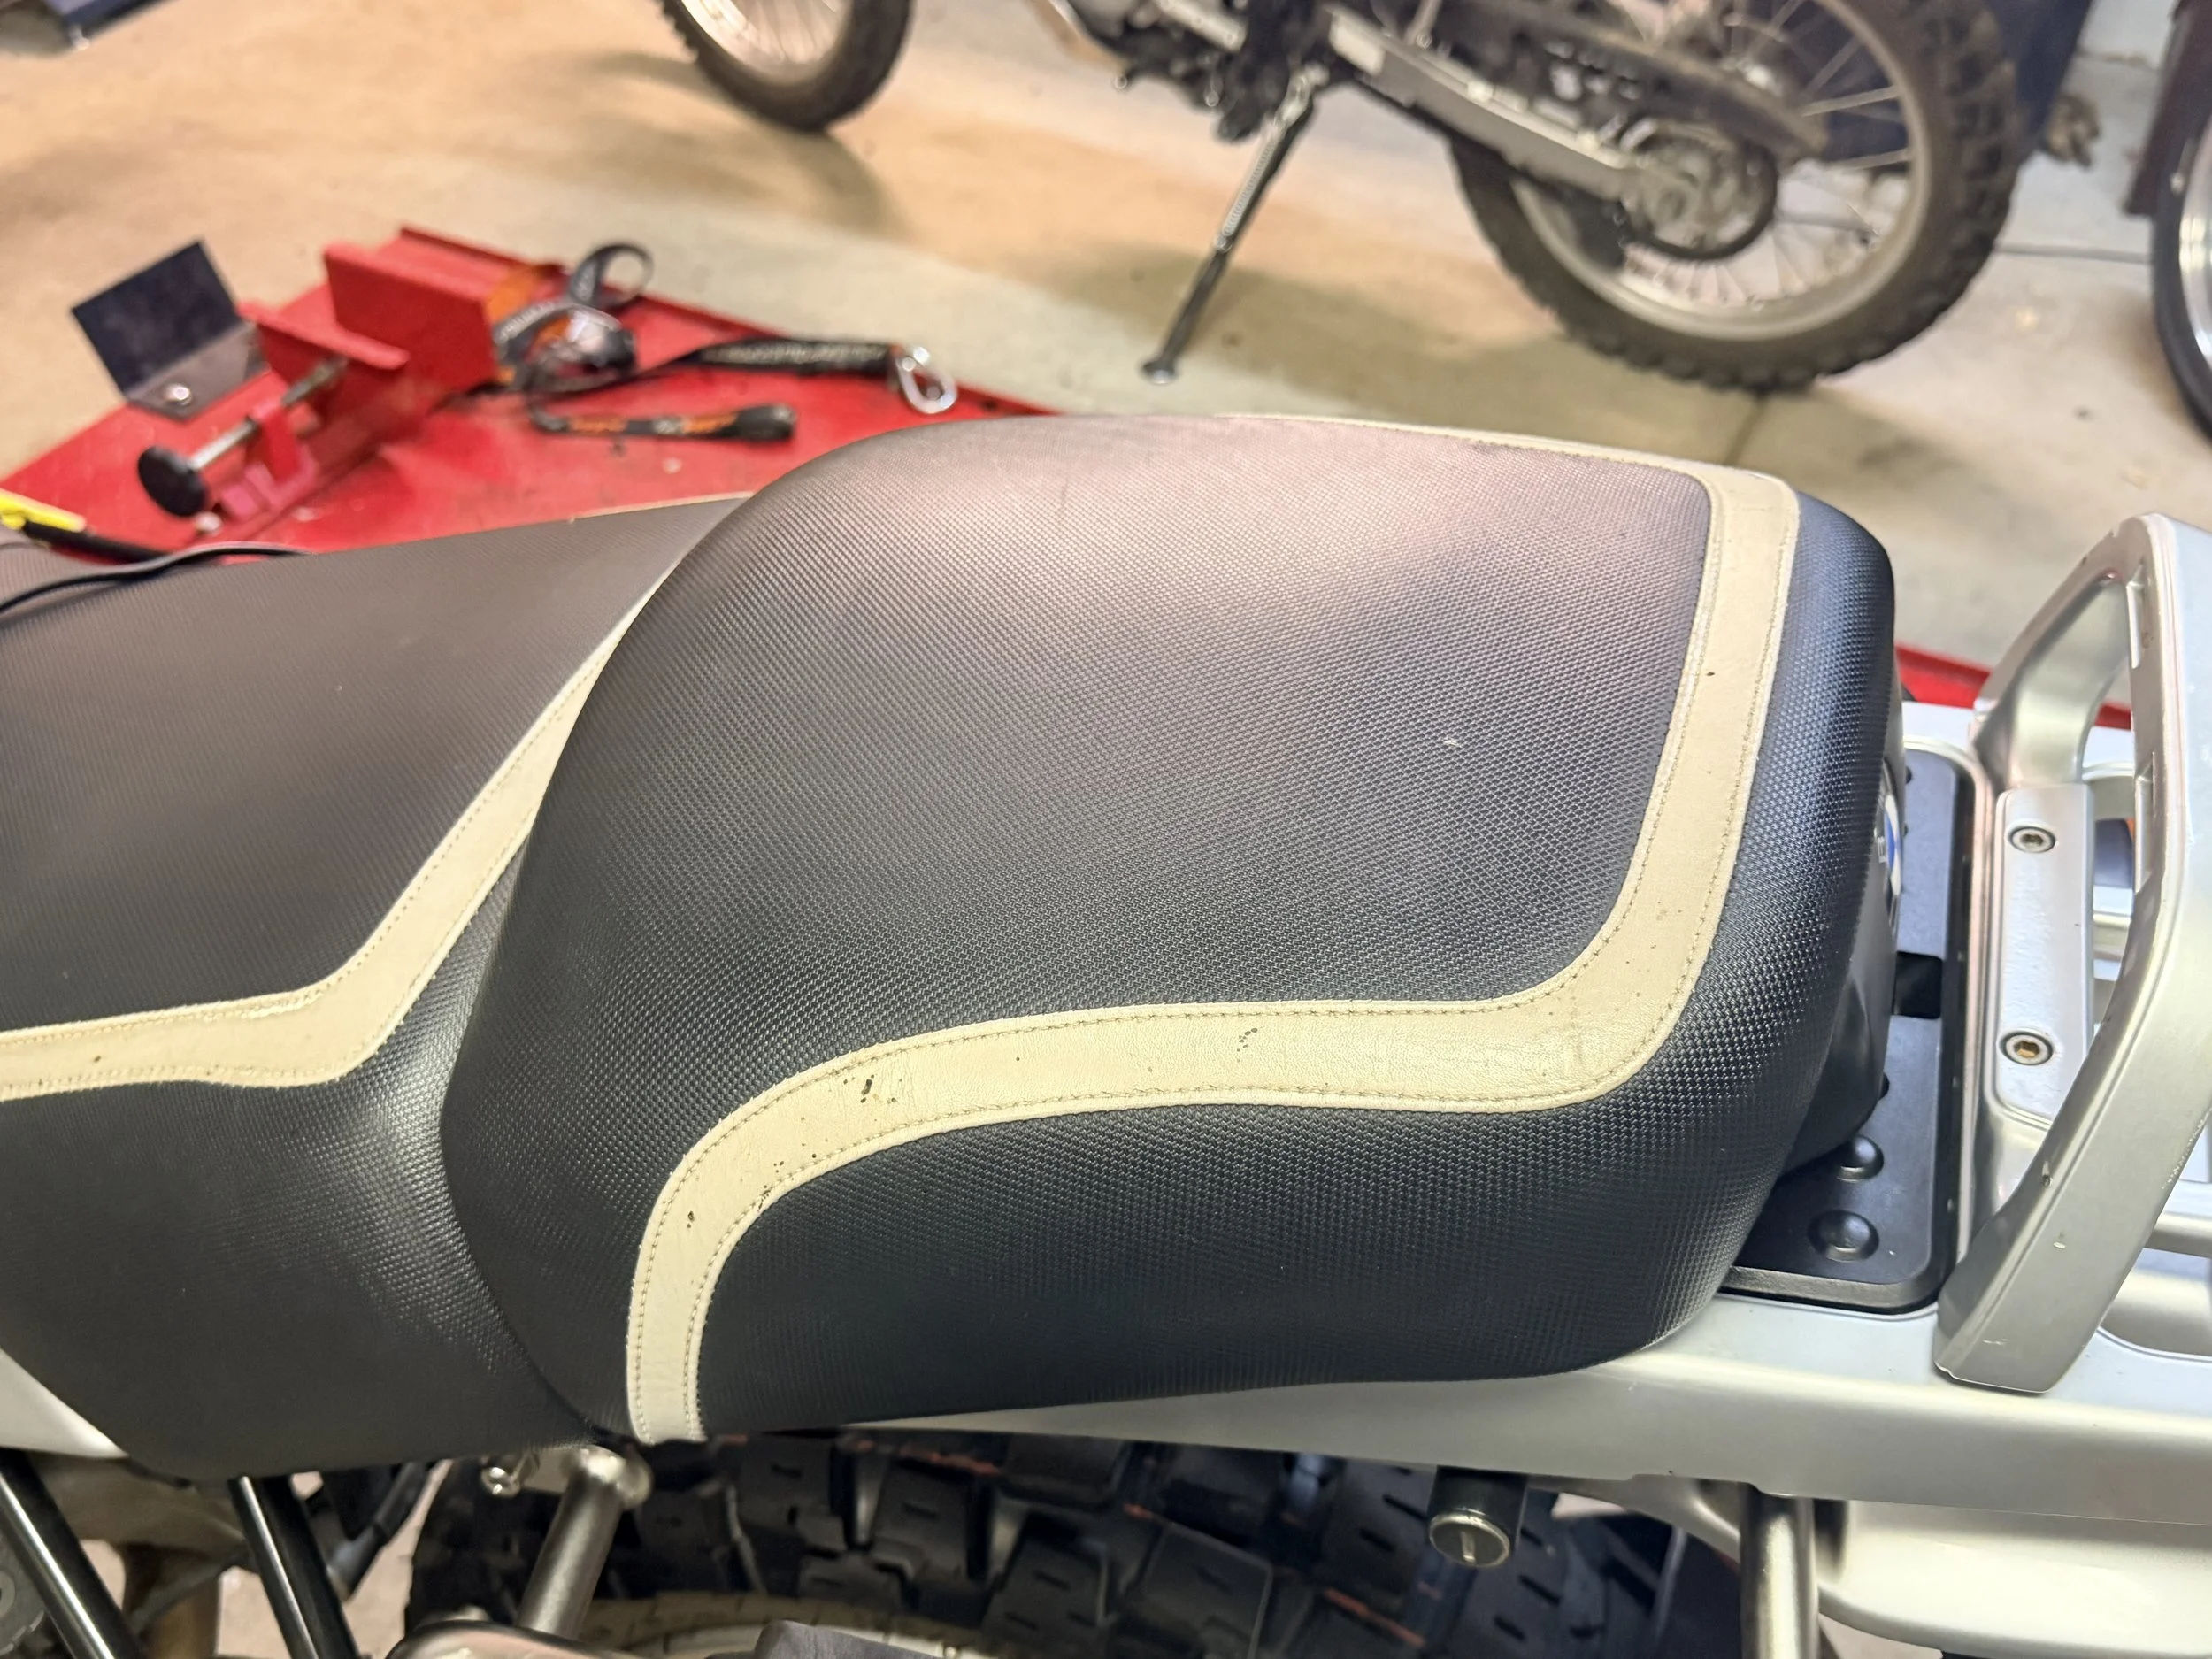
I wanted to transform the look of the bike. An absolutely terrible customer experience with Unit Garage. One month later, seat covers, fork boots, and stickers arrived.
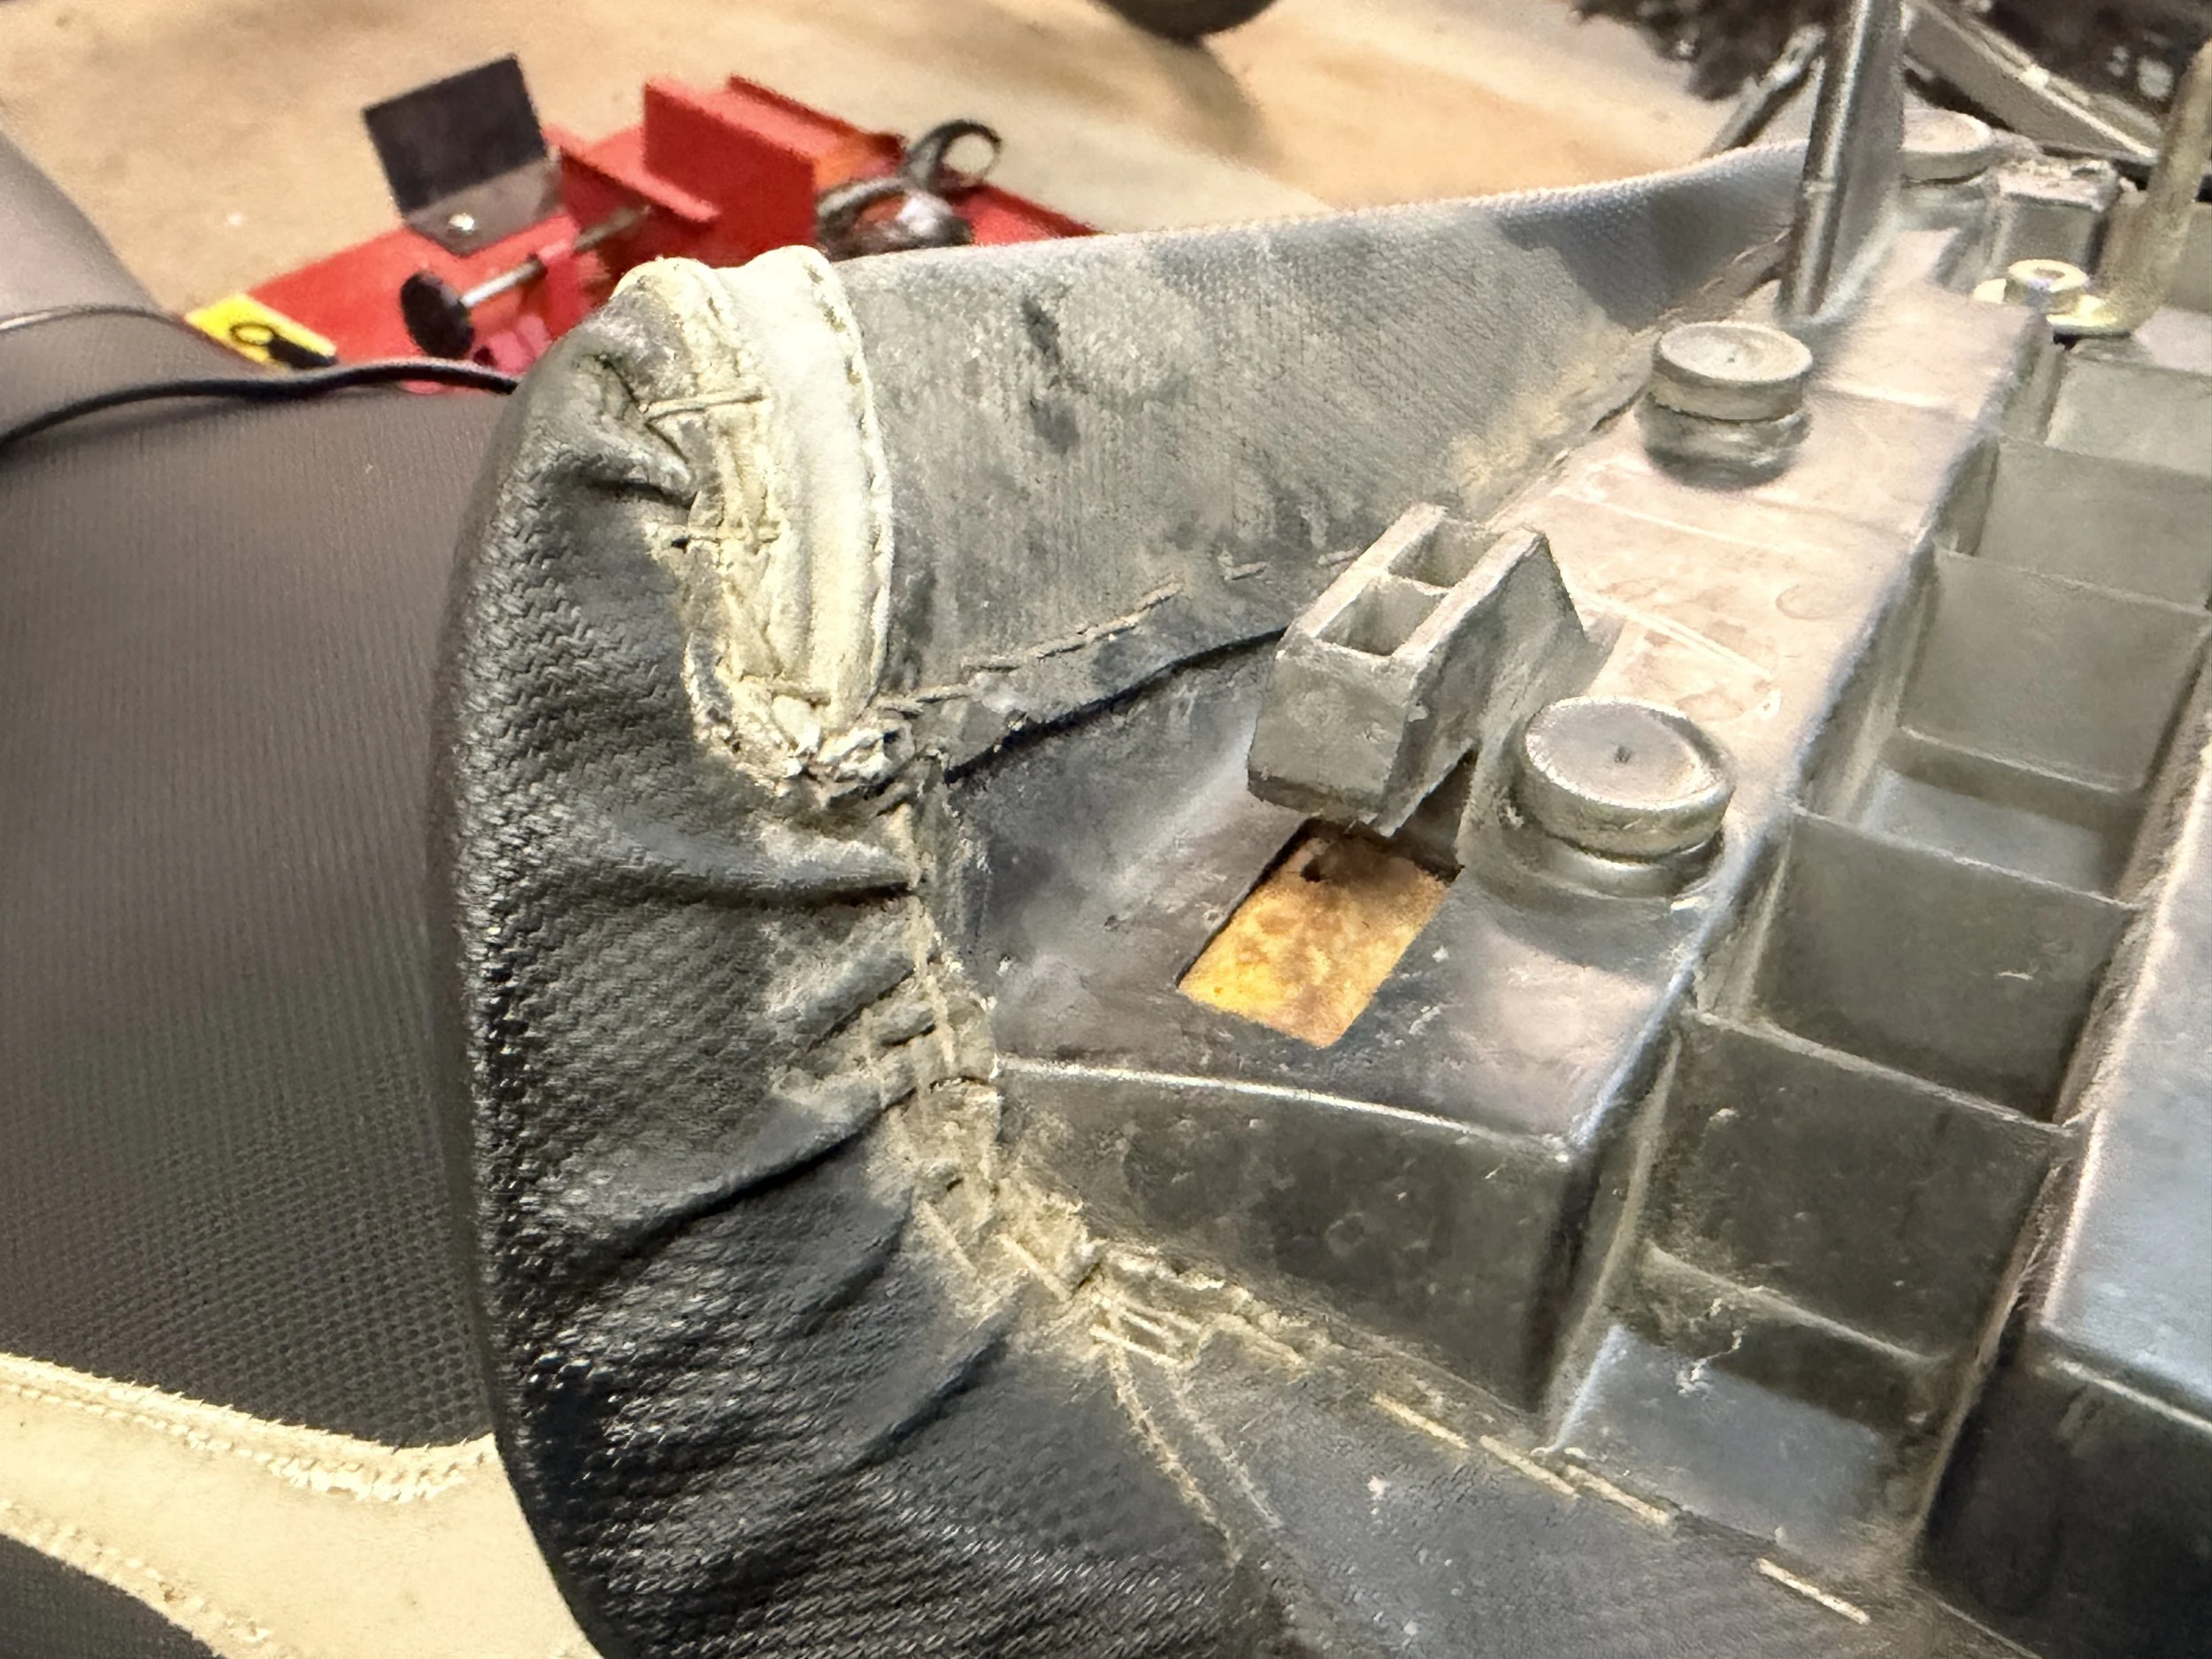
Removing the old seat covers.
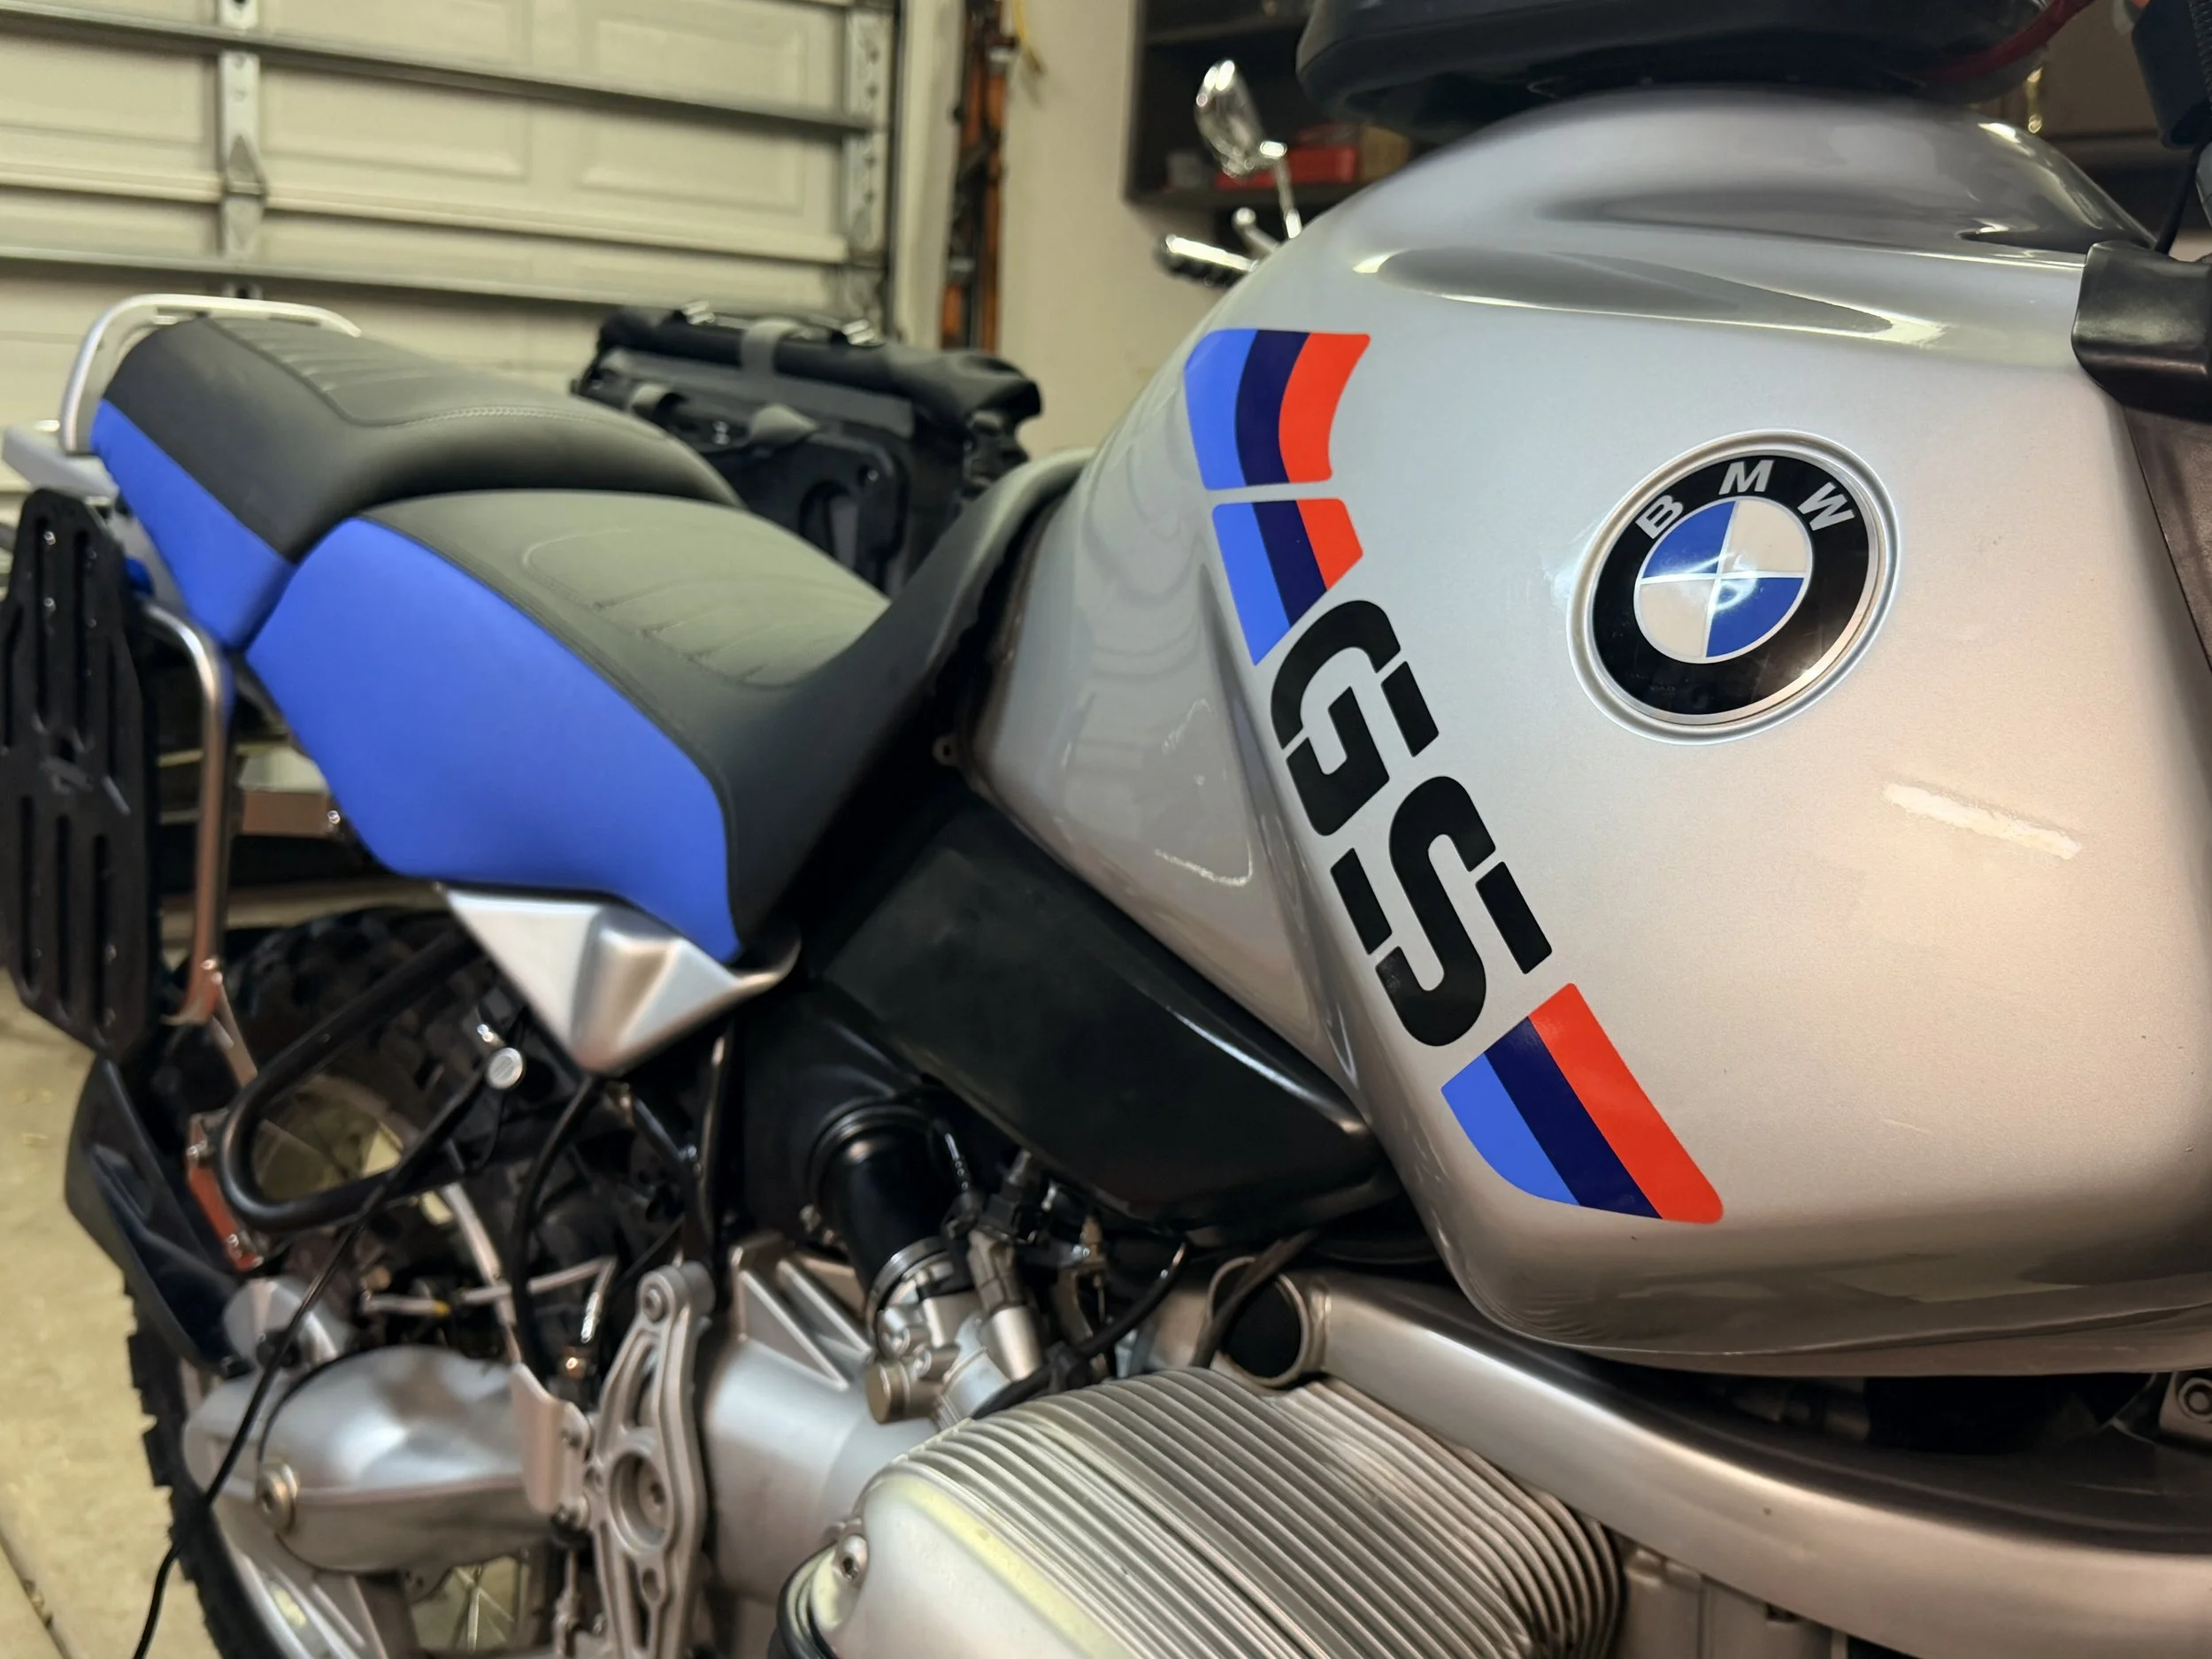
New seat covers installed. I'm not an upholstery expert. The blue lines should match the seats. It would be a mystery to me how that is accomplished, and frankly, I don't care about the symmetry enough to pay someone to do it. But it looks clean & transformed the bike!
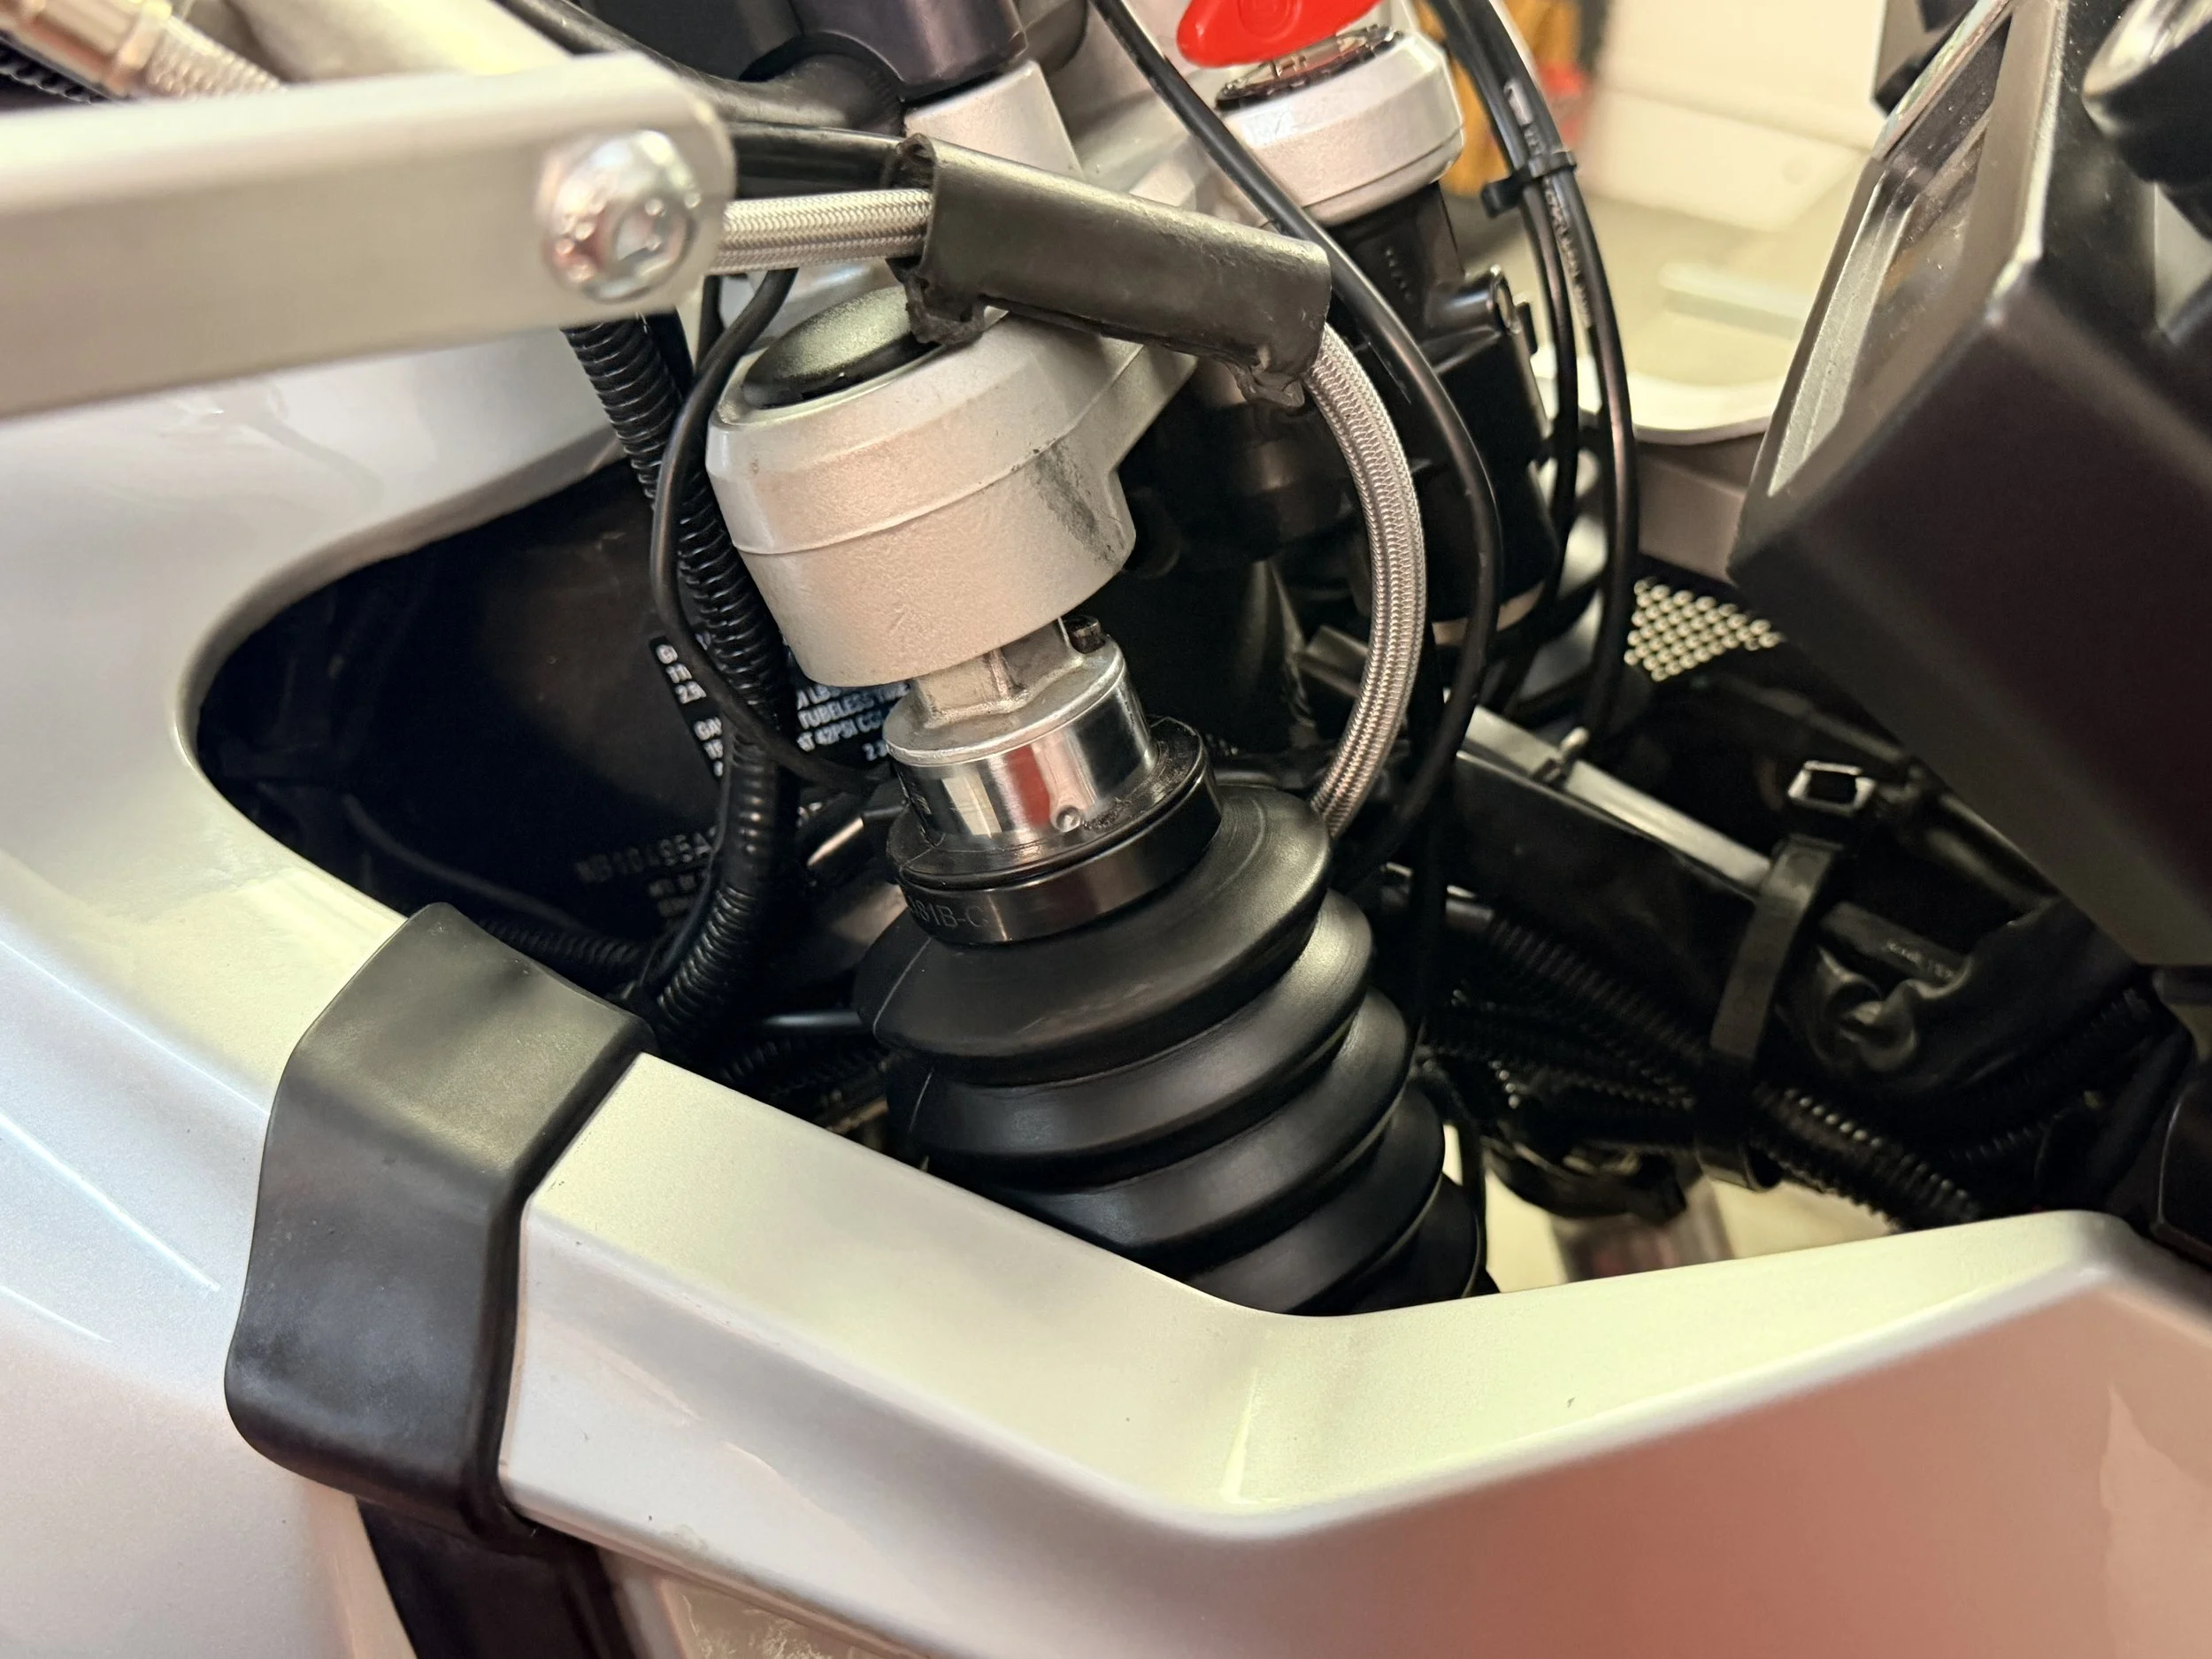
For boots went on - the dust covers kept riding up (as they often do with the aftermarket seal & wiper kits. So I put fork boots on there to protect the seals long-term.
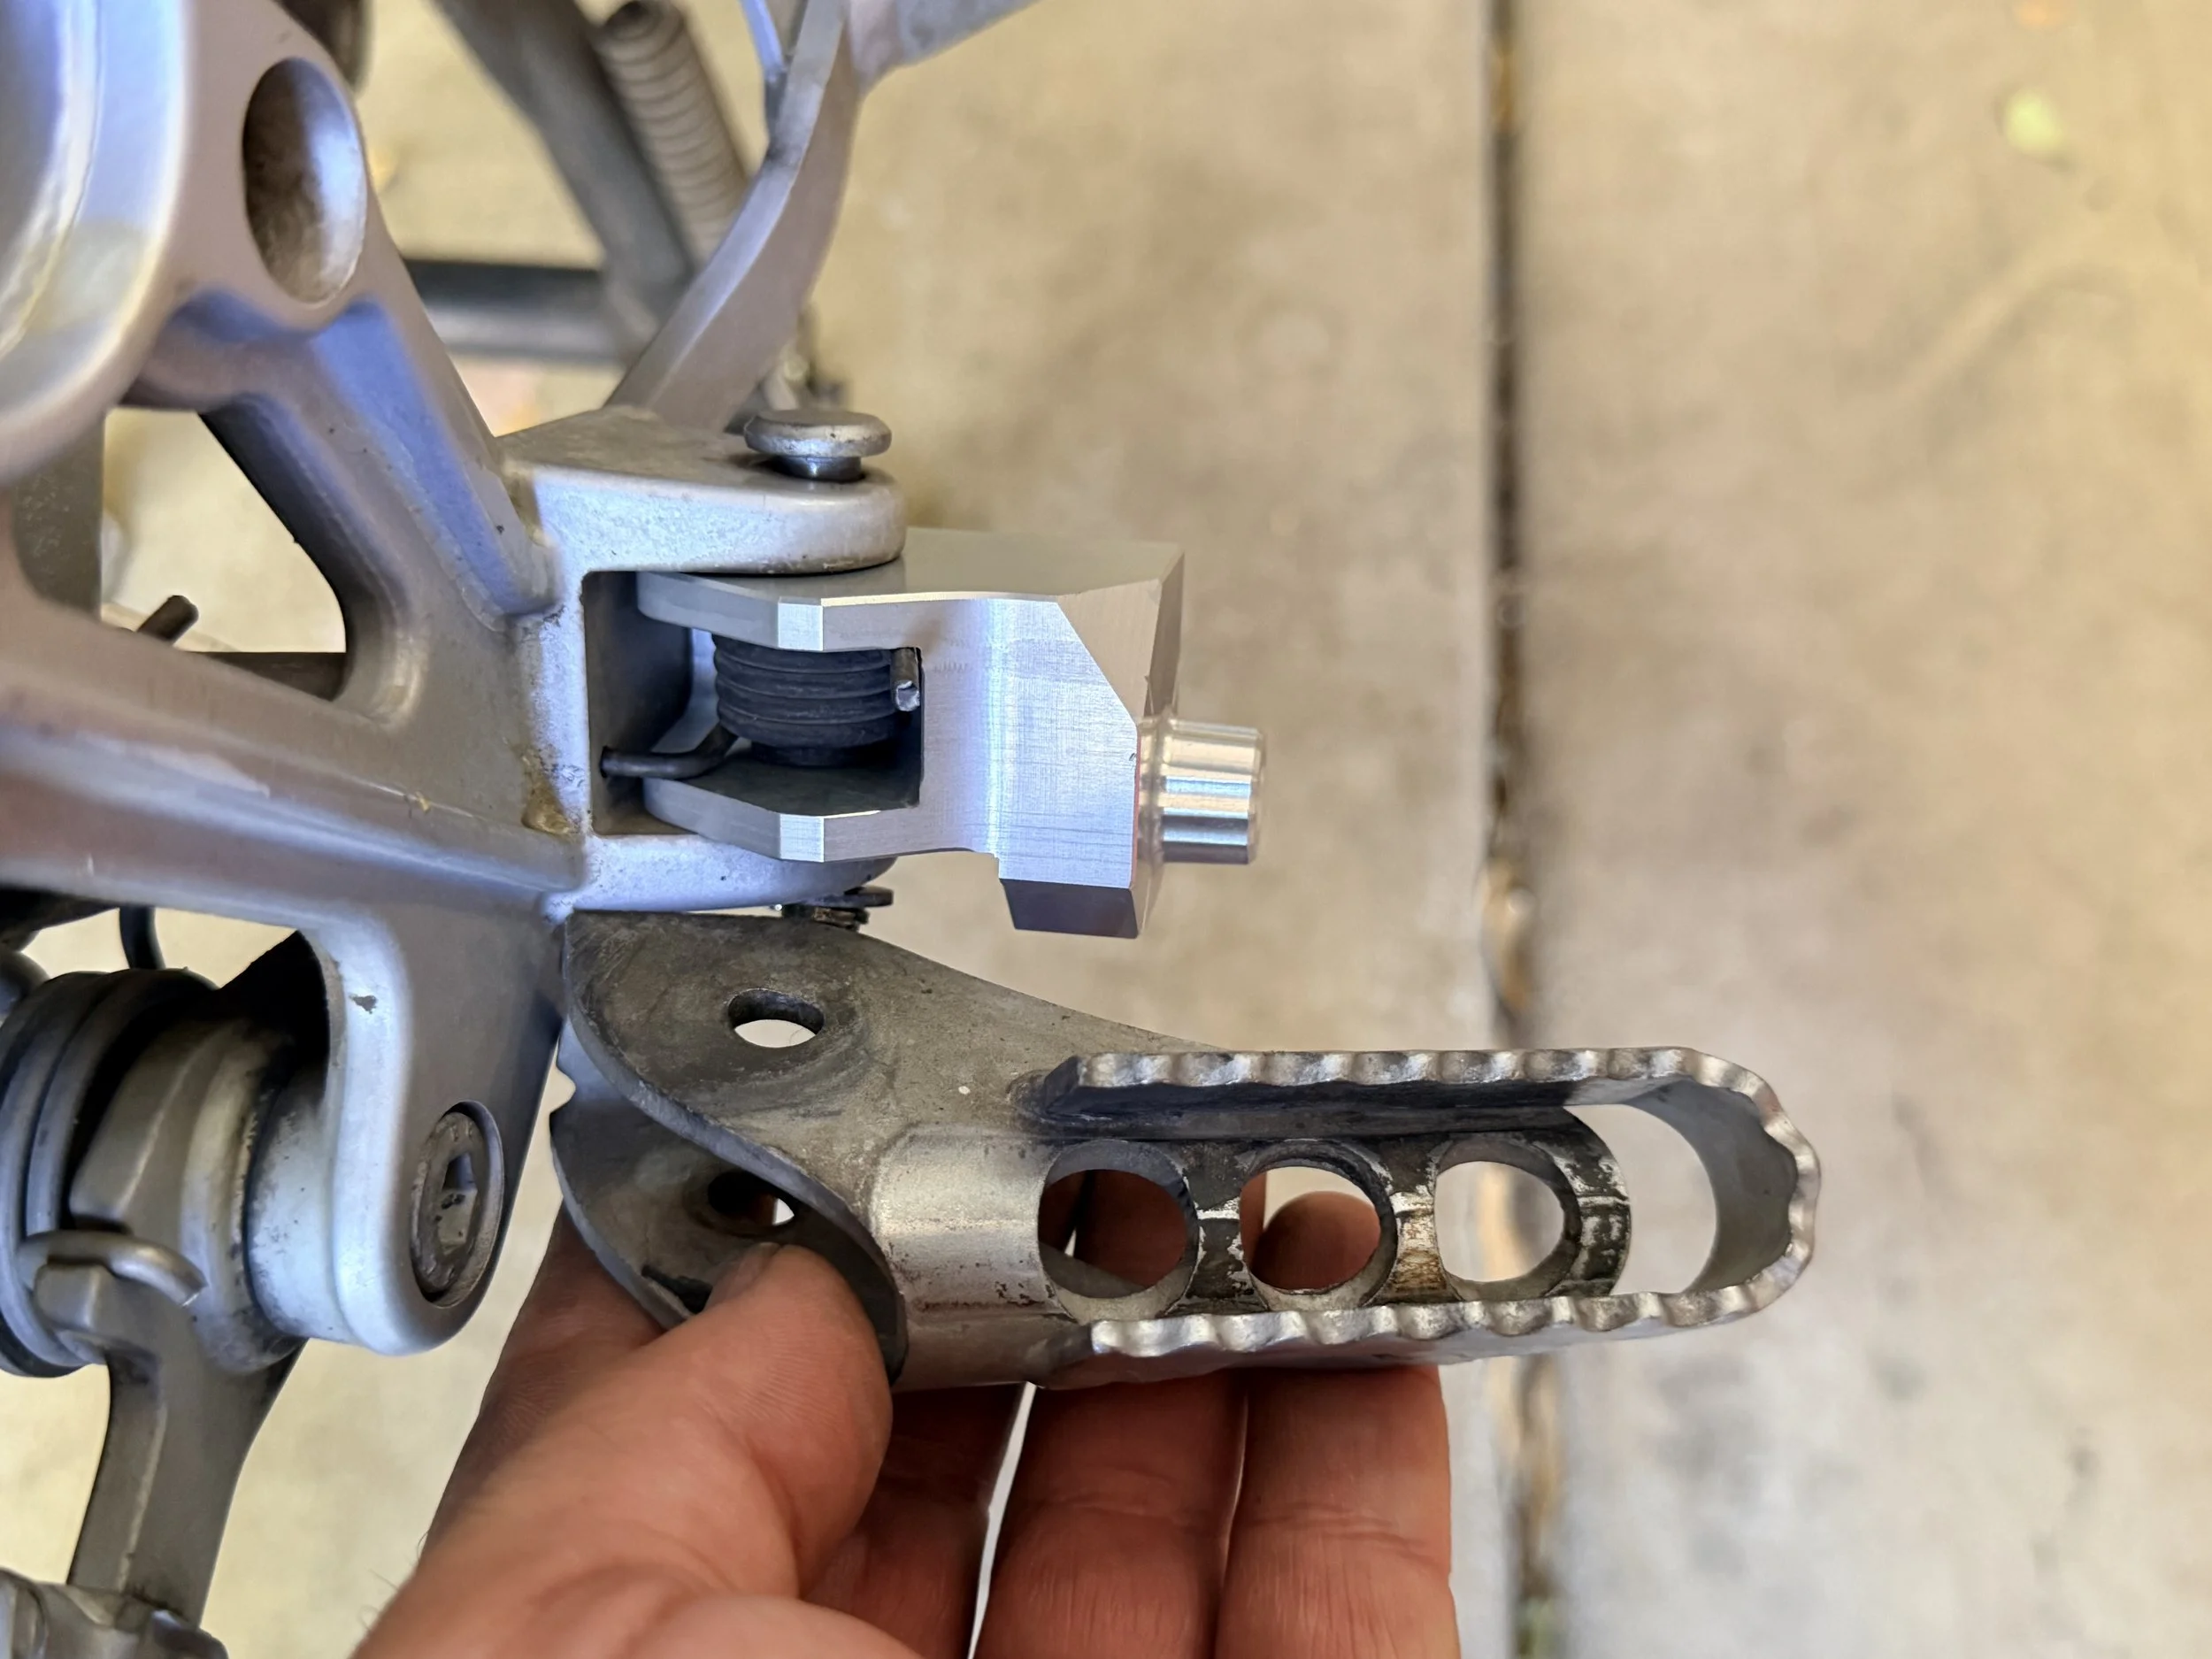
Swapping out stock pegs for SW-Motech pegs.
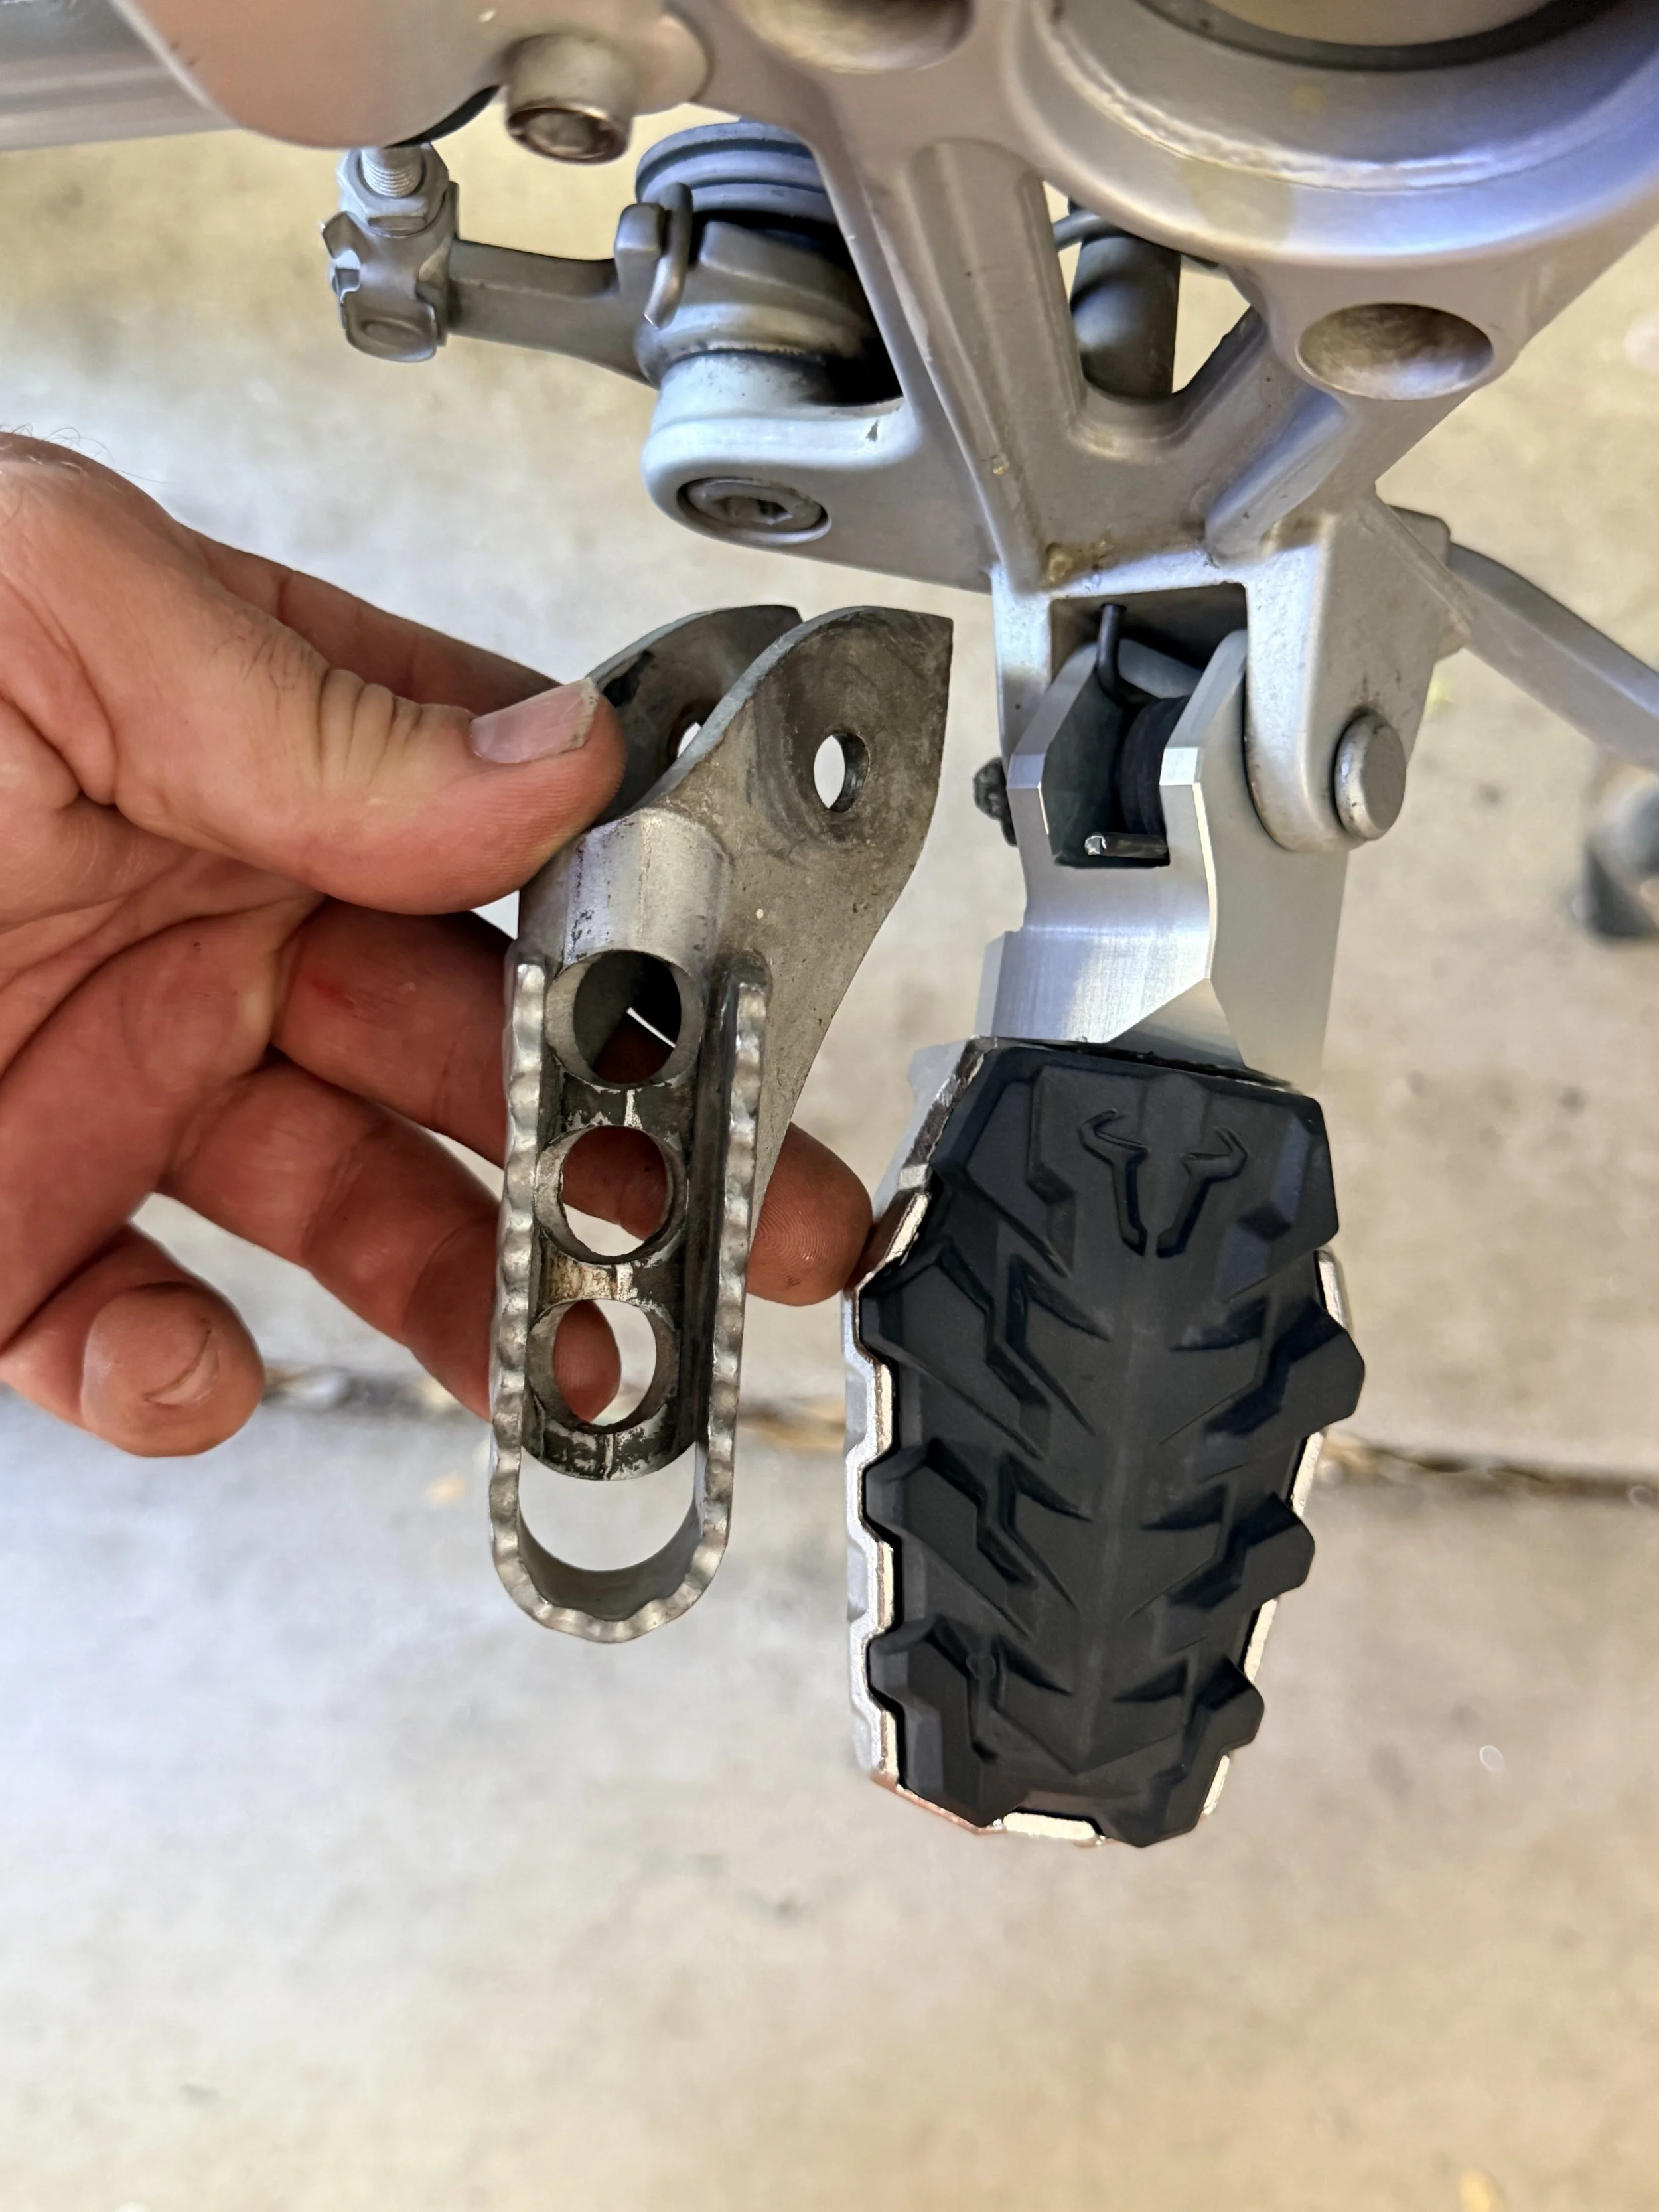
The size comparison is interesting. The foot rest naturally a little farther outside. Overall, it's an upgrade, but the foot position is slightly outside where I like it.
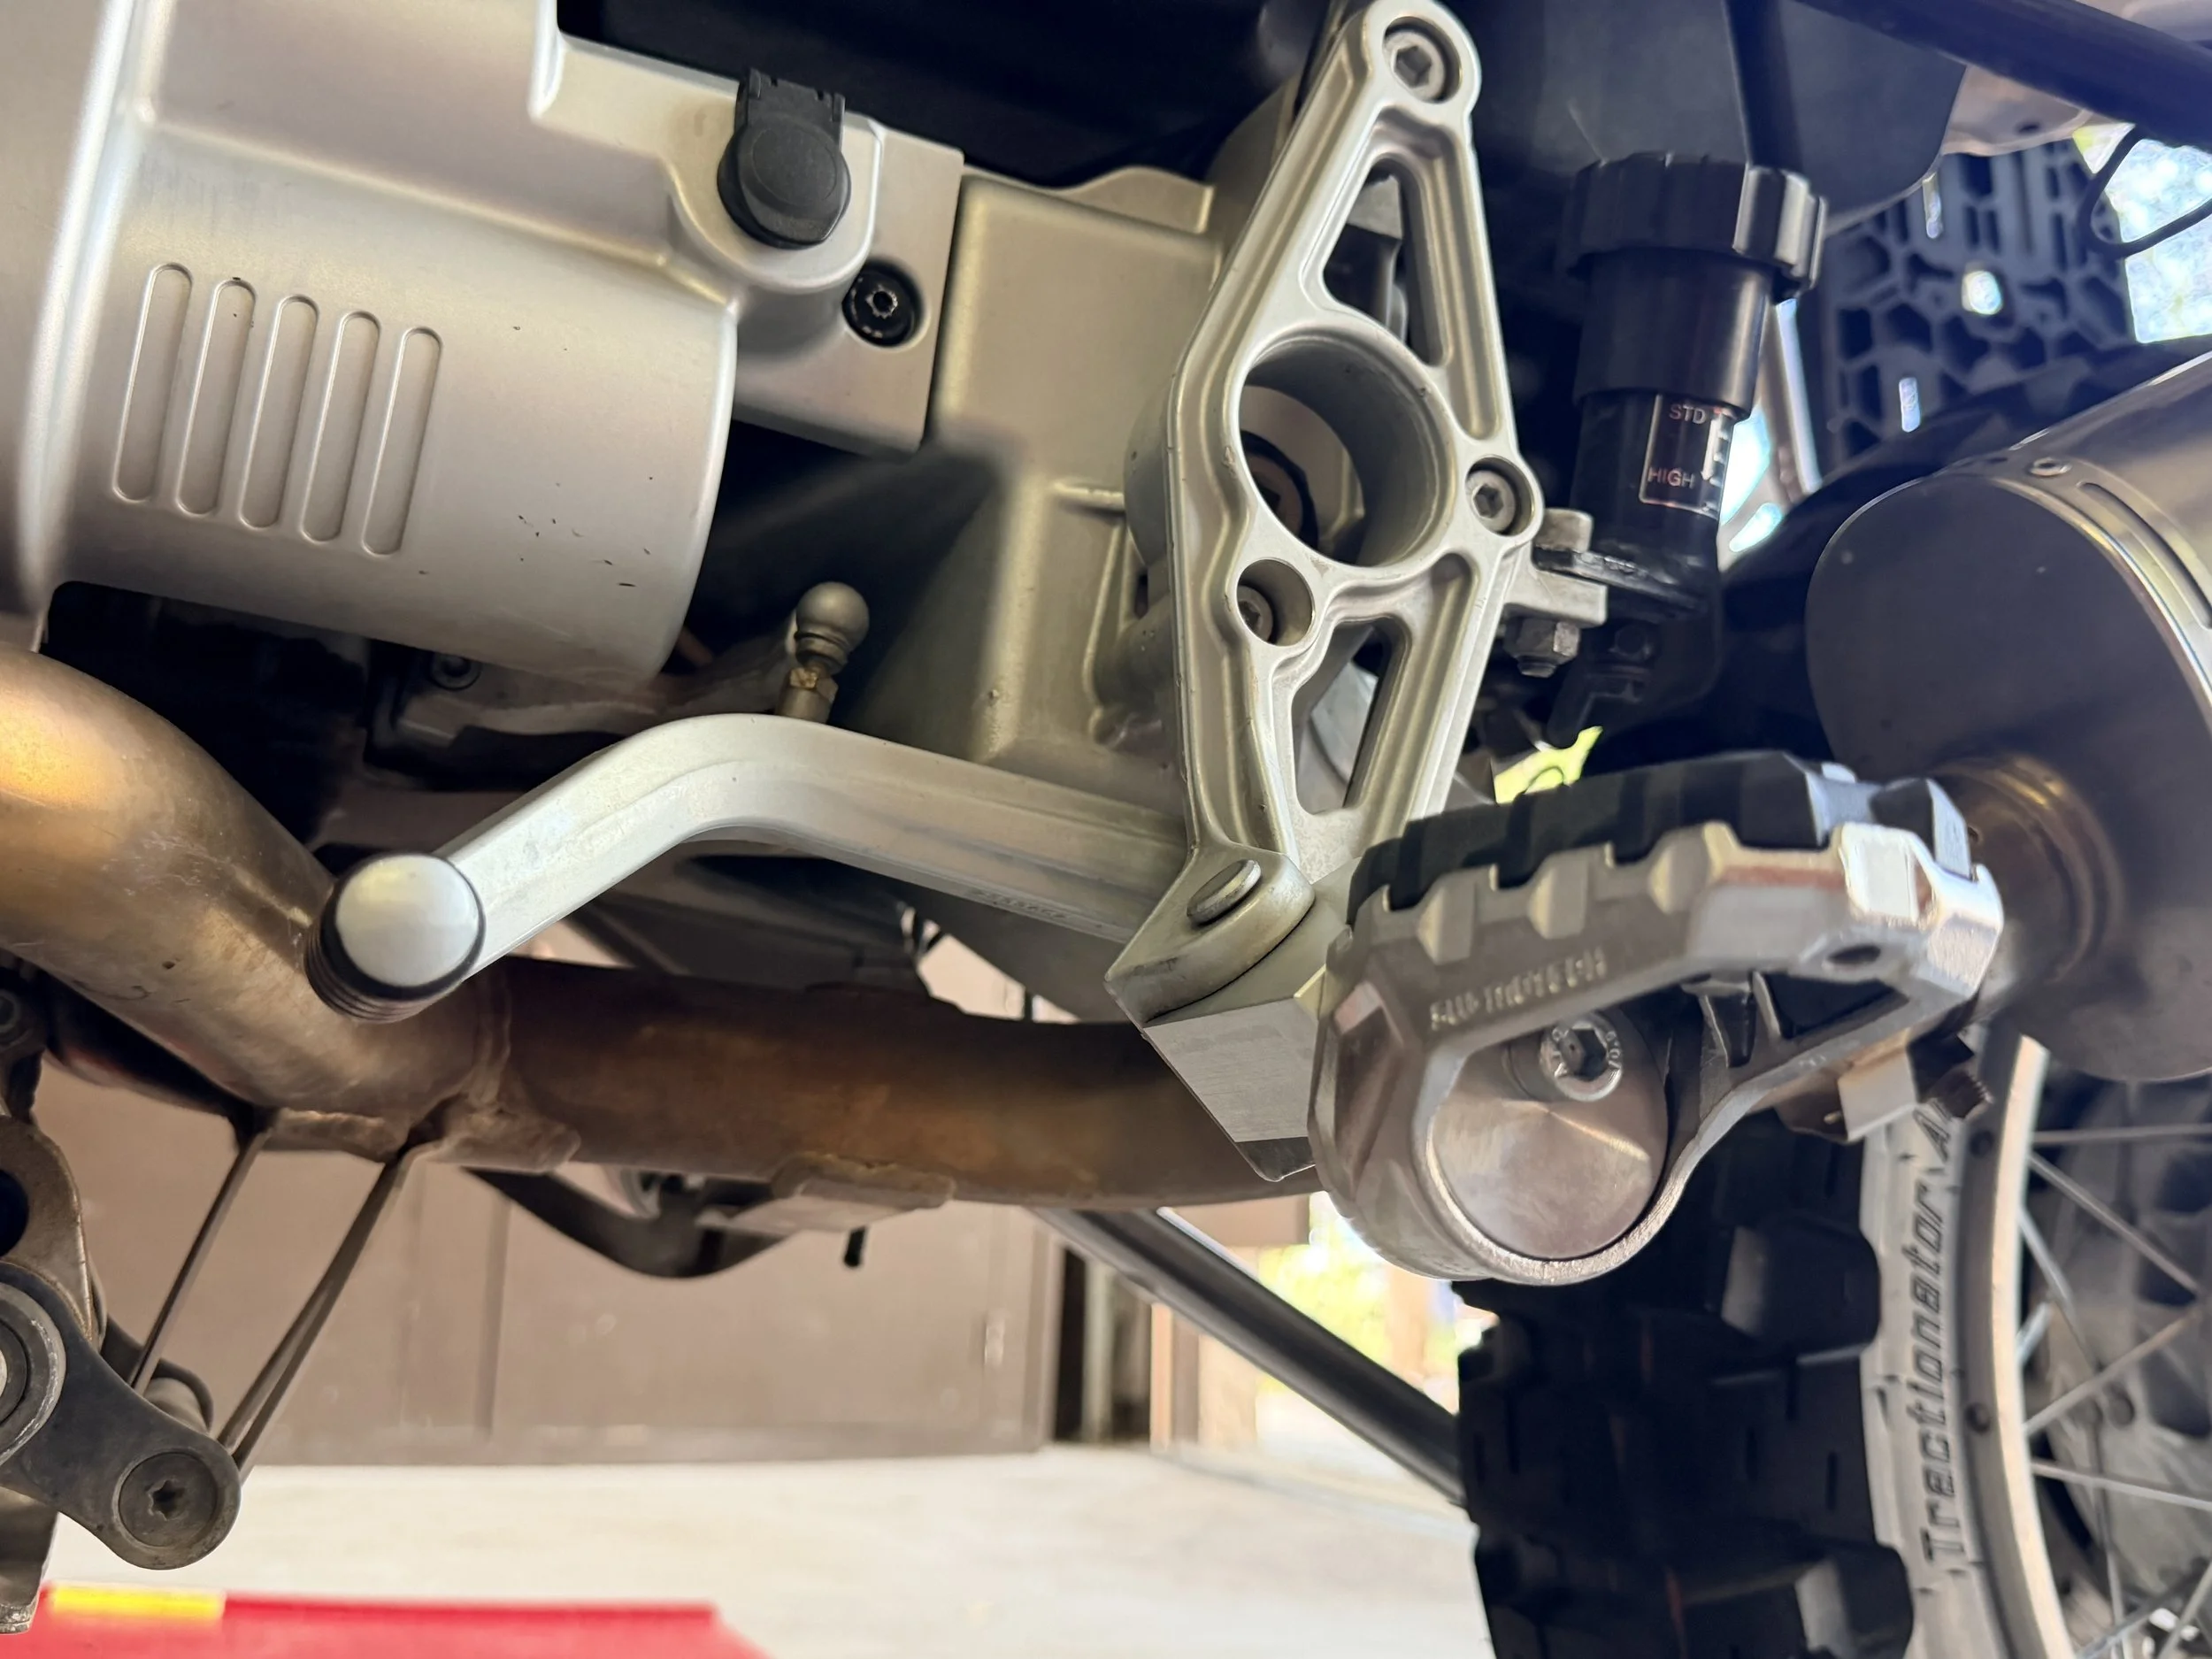
You can see the adjustability of the pegs. They are currently in the lowest 12 o'clock position.
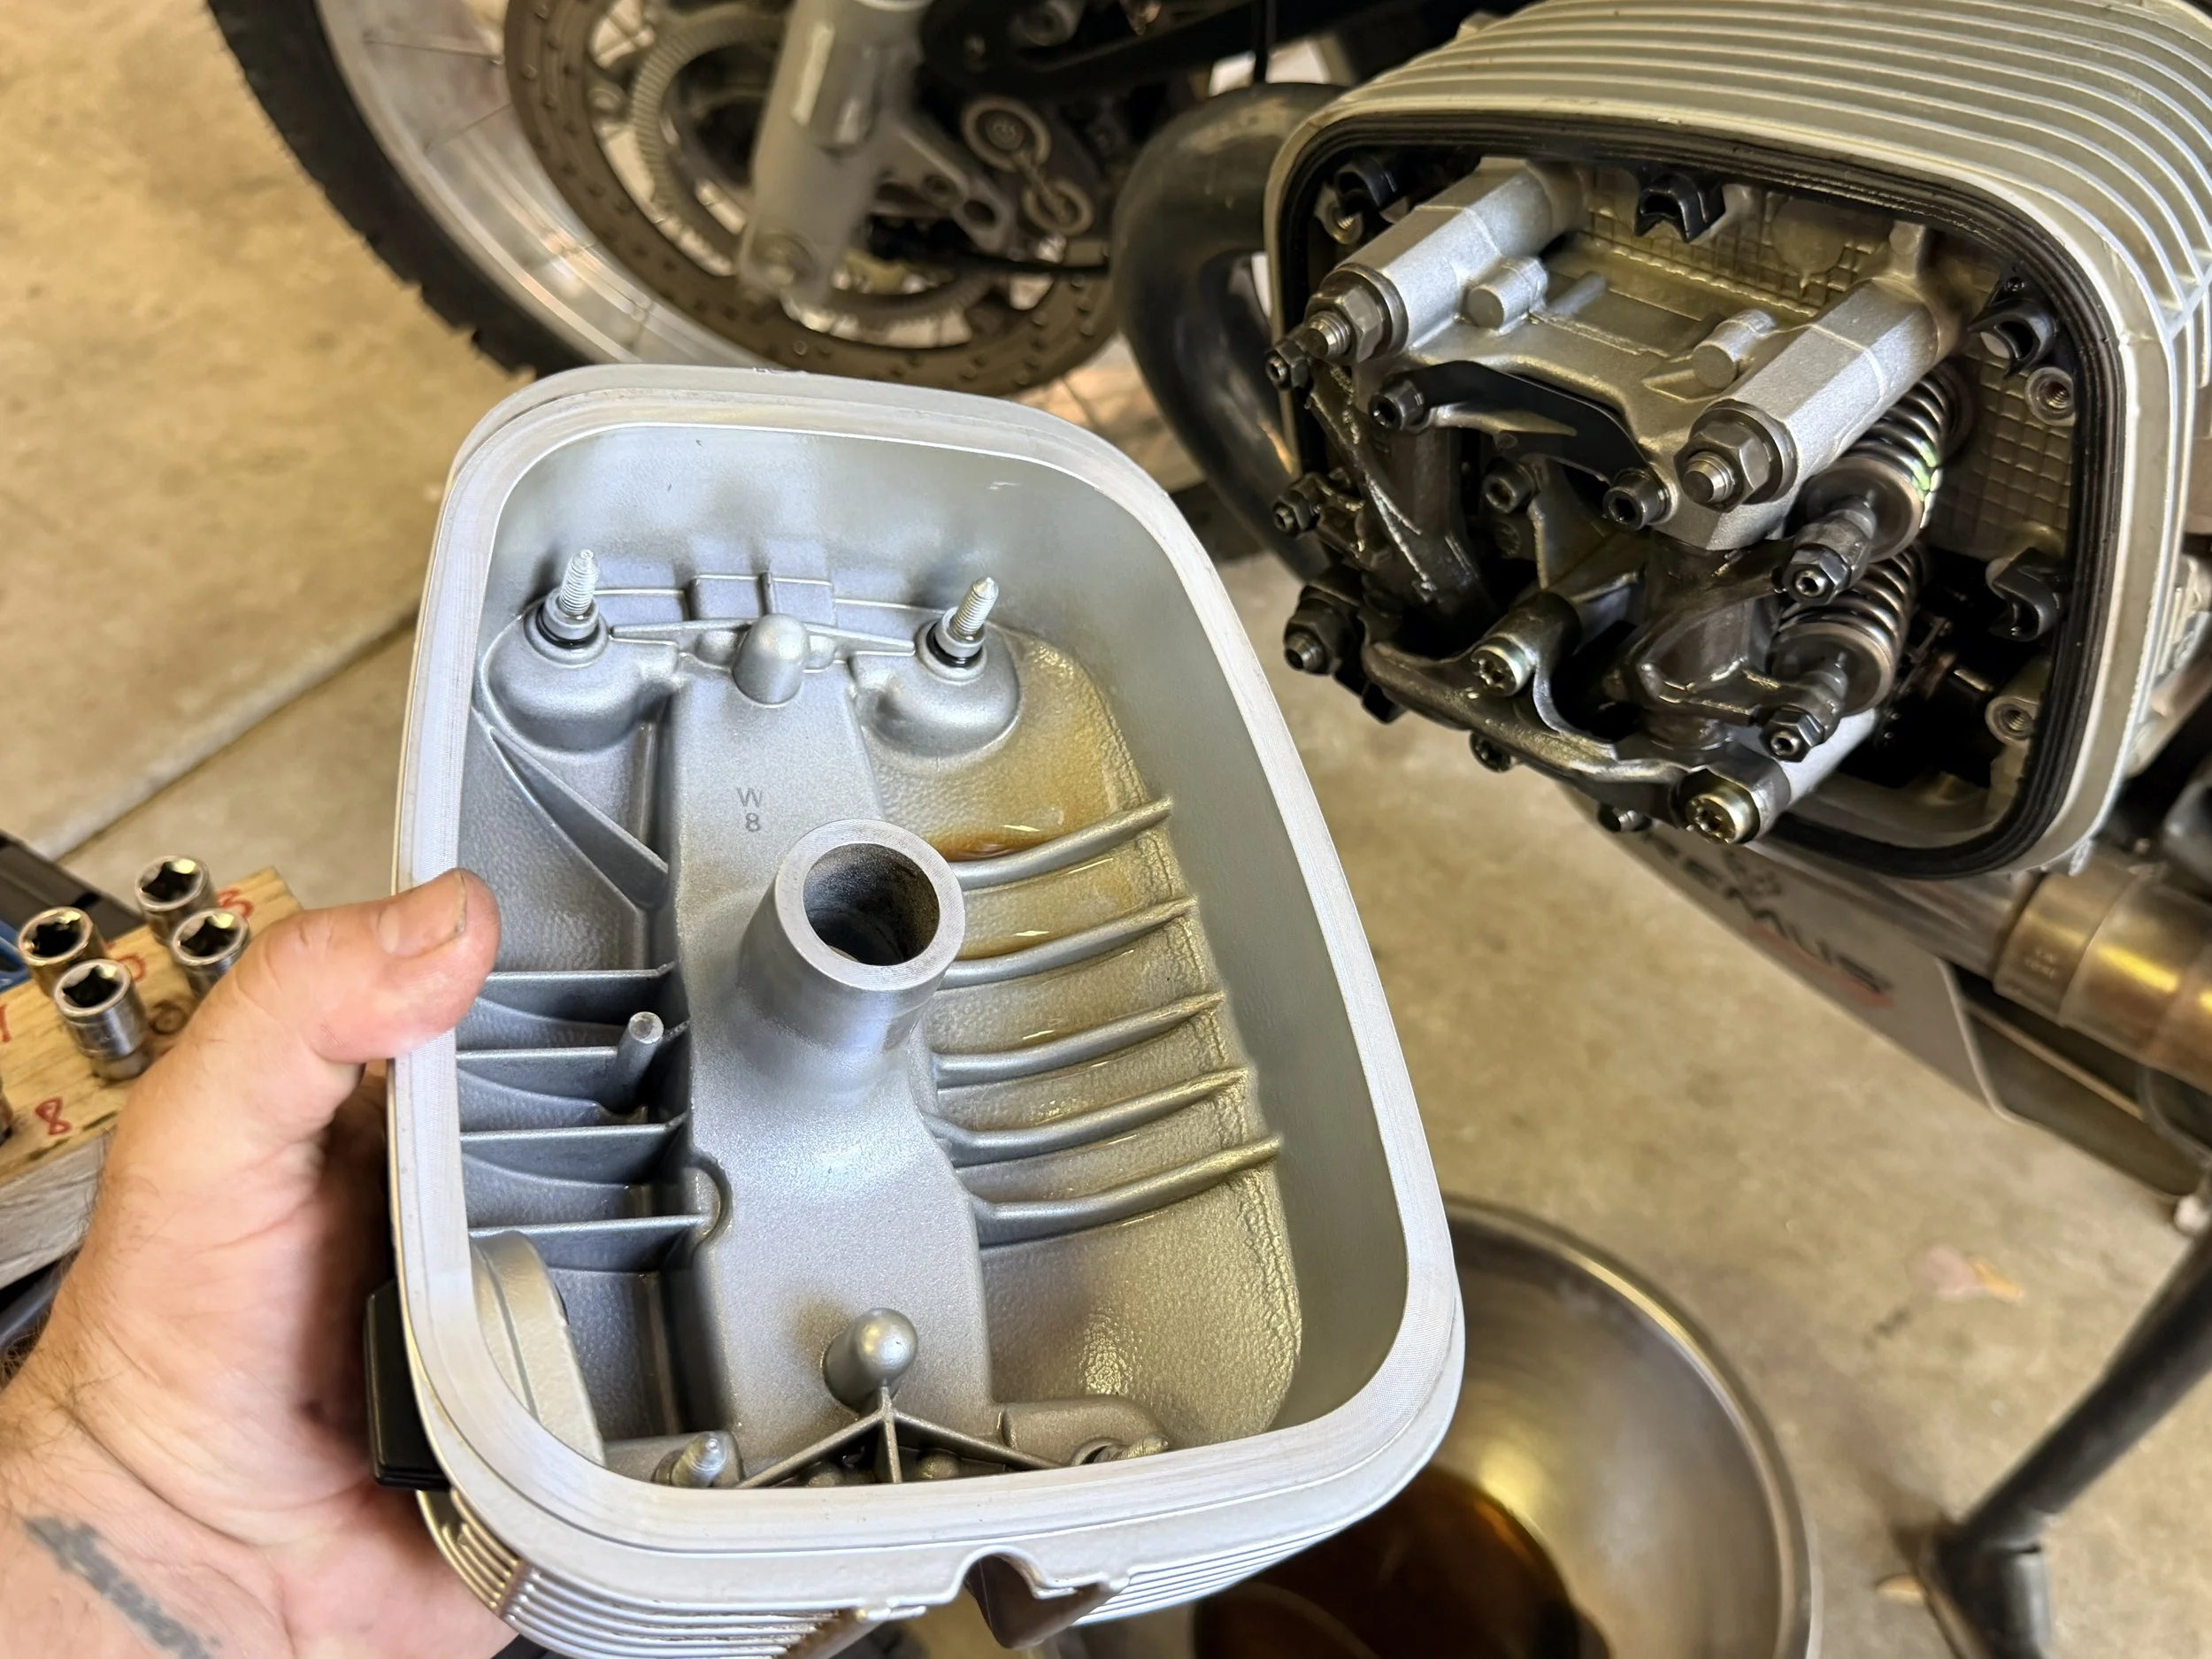
Taking the head off for TDC for cam chain tensioner install.
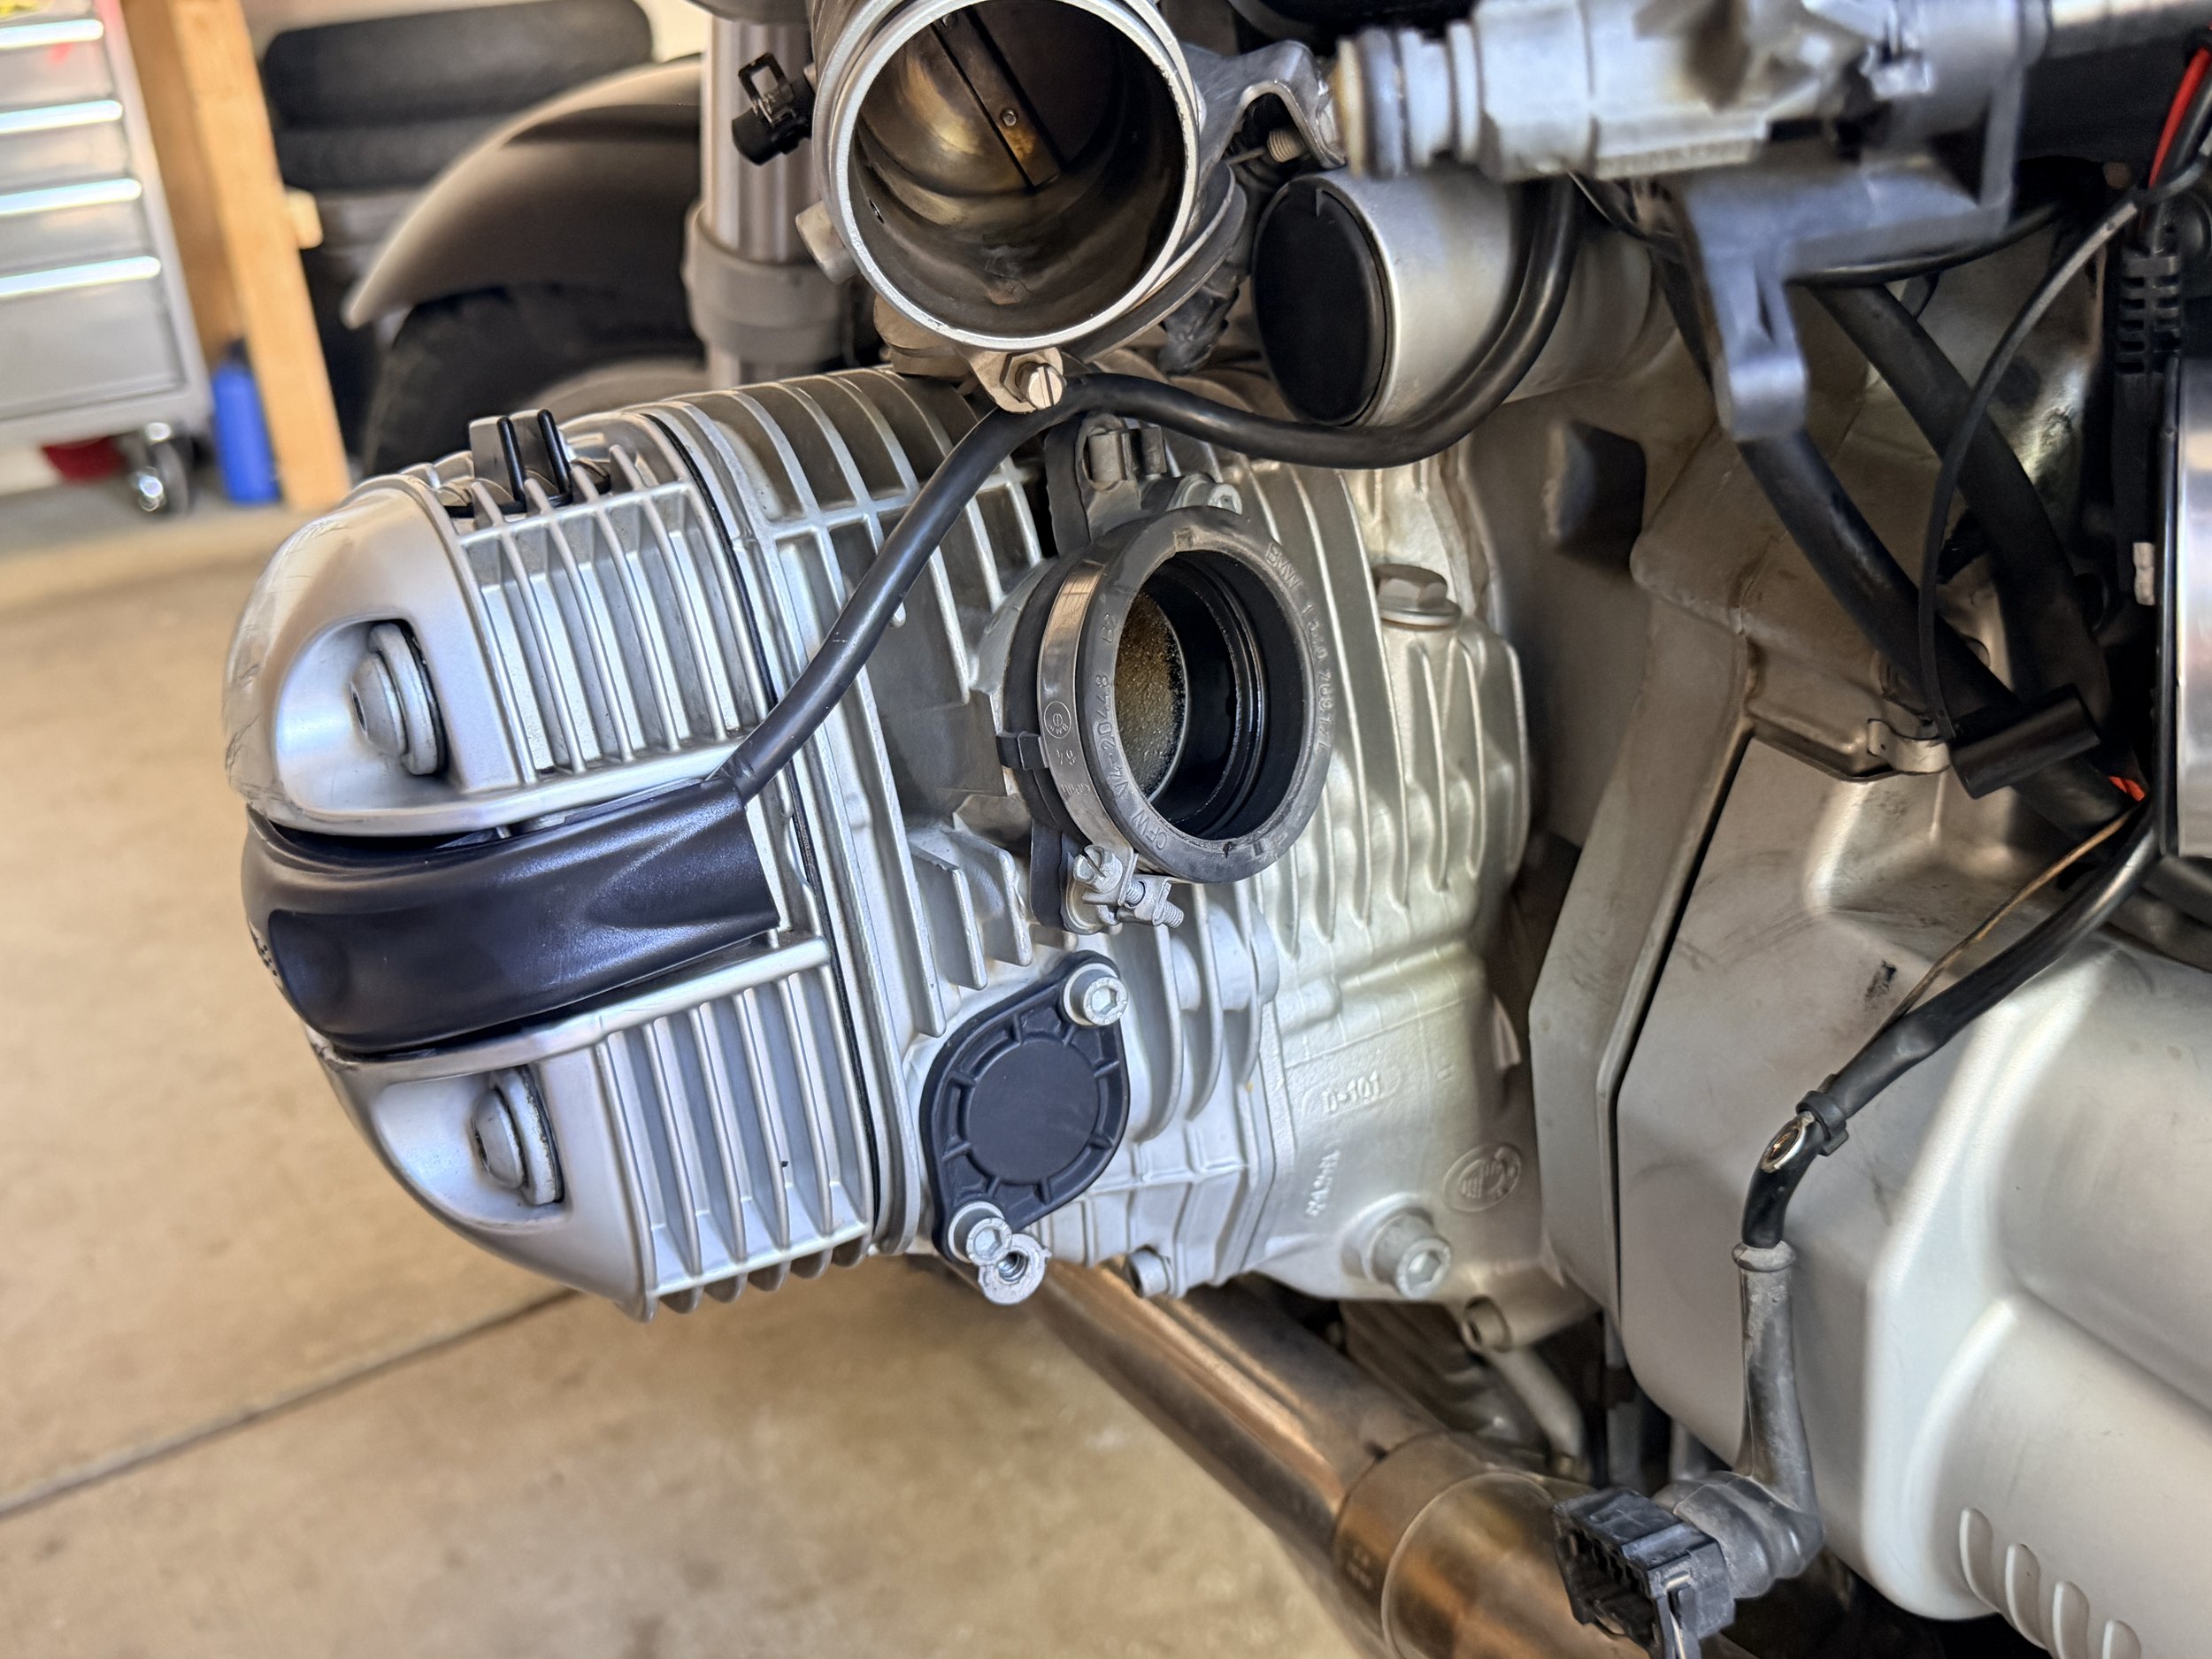
Removing the left throttle body to access the cam chain tensioner.
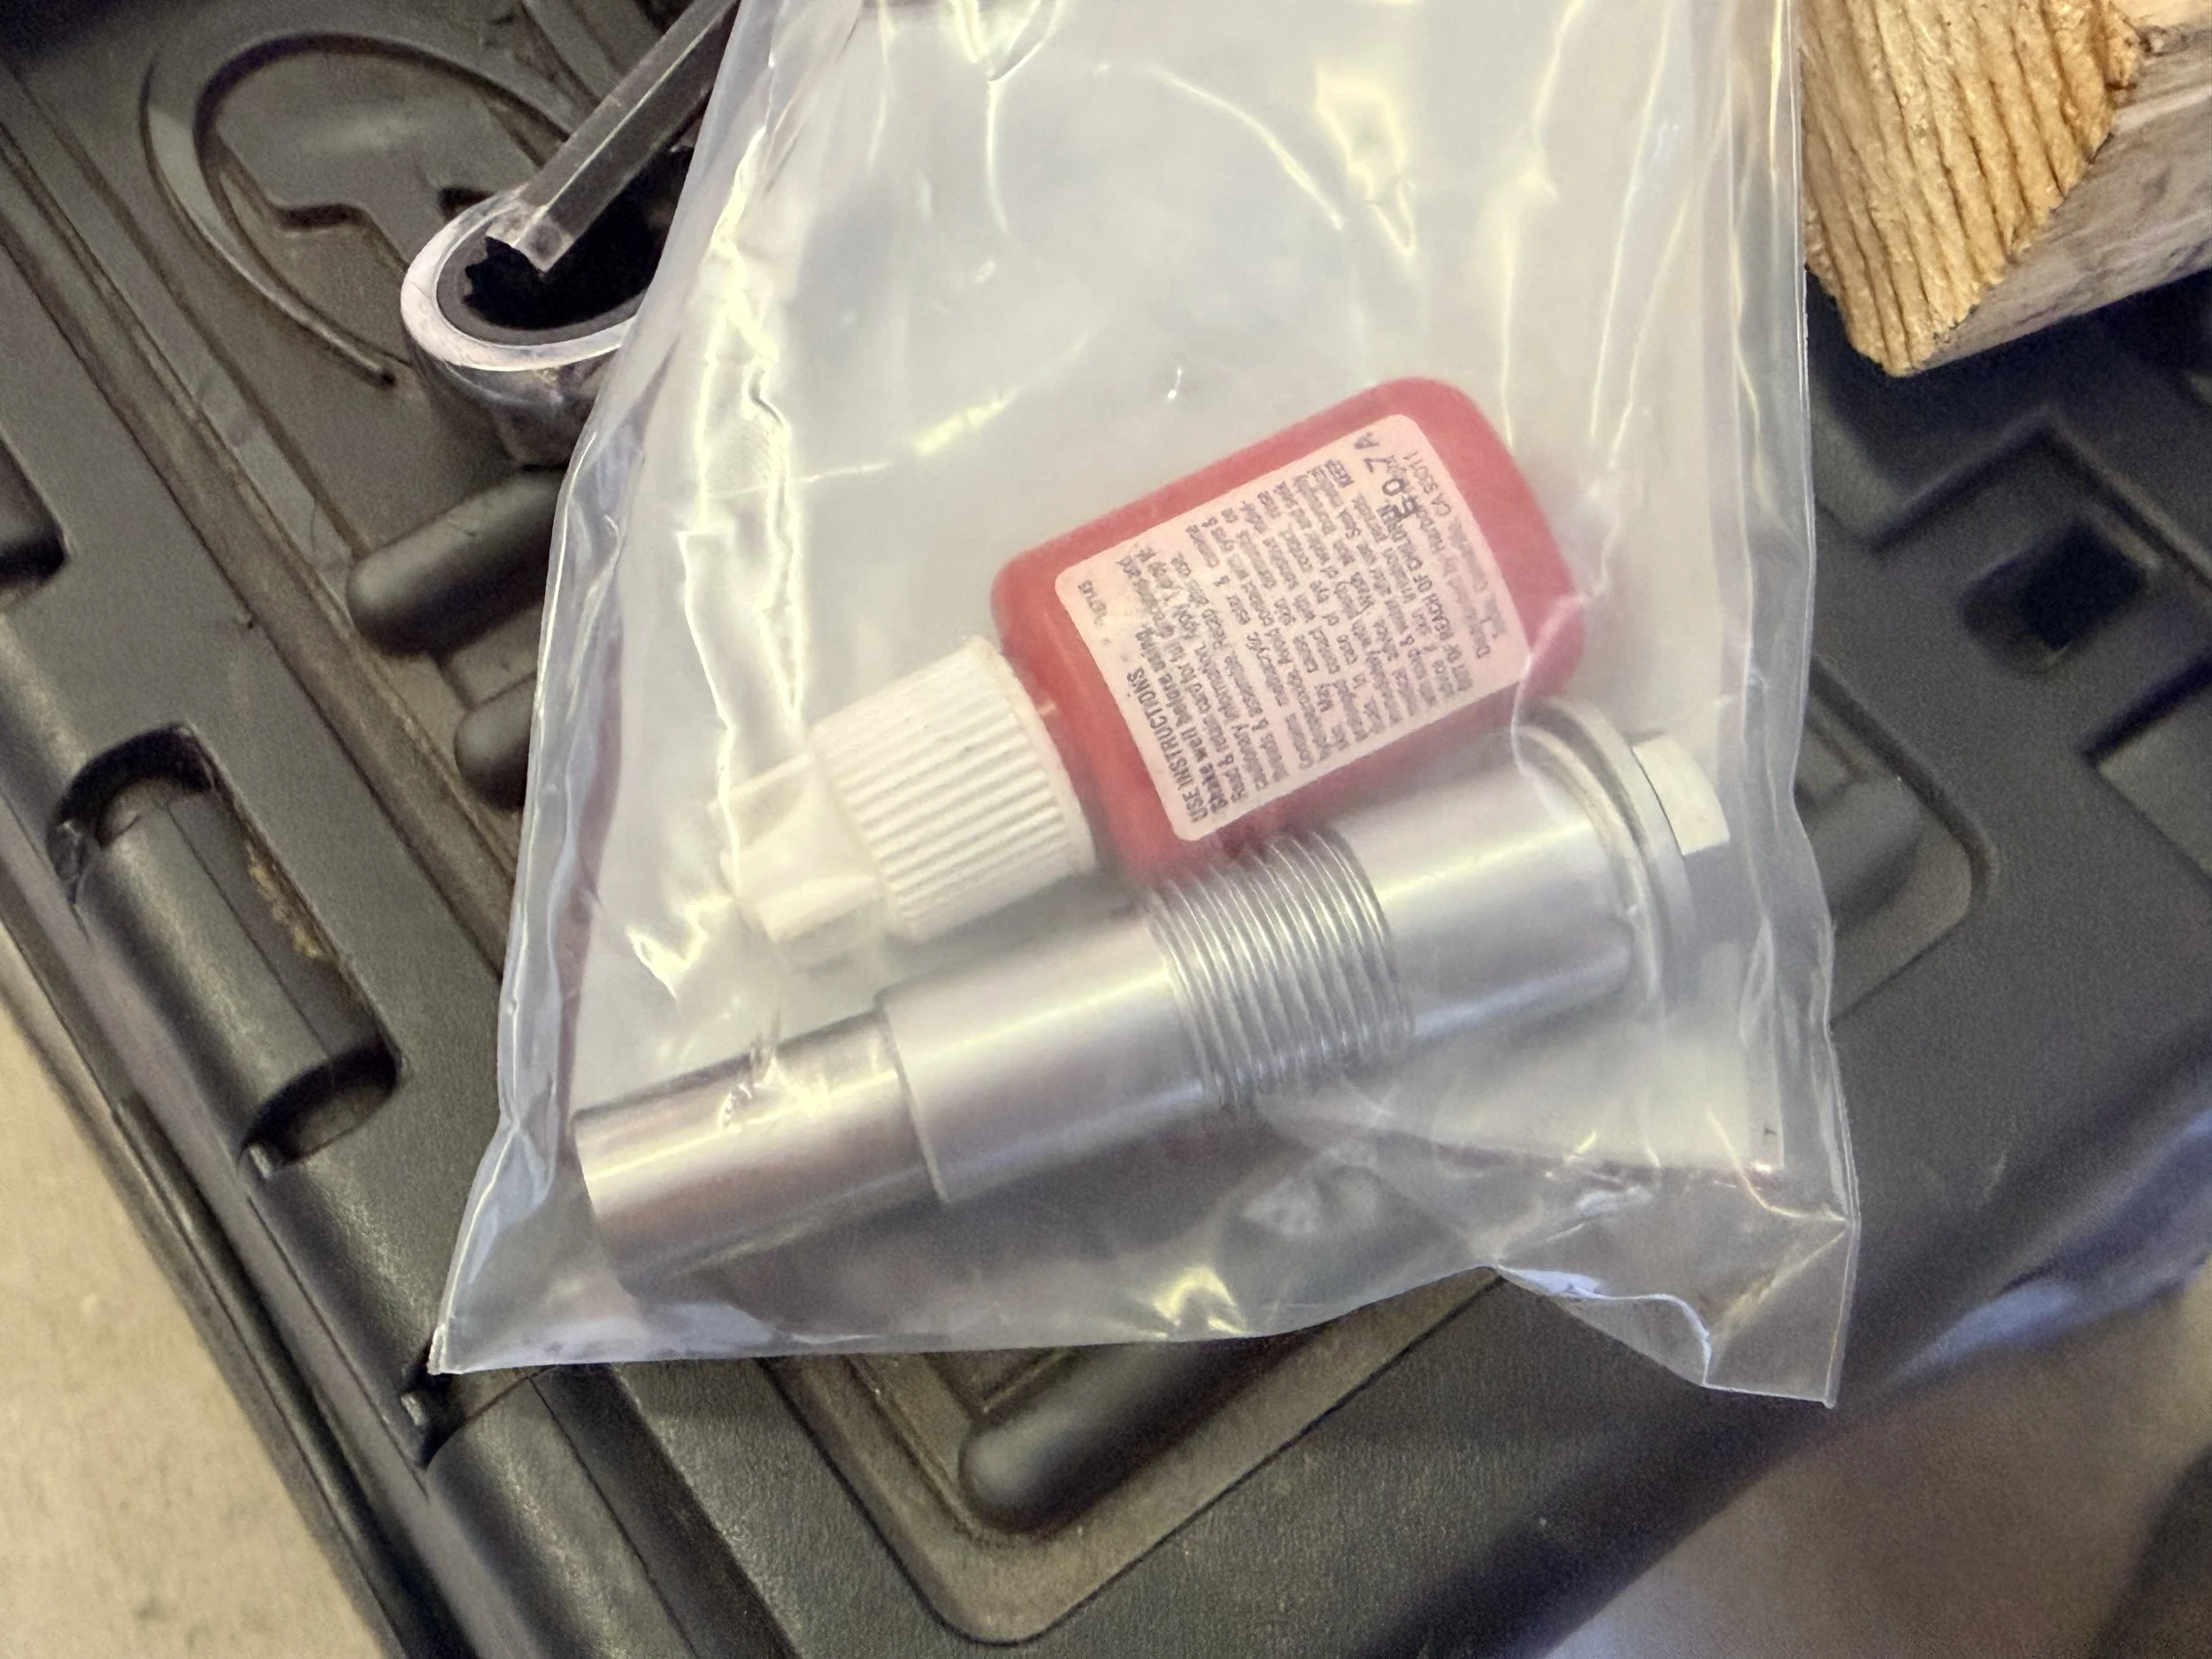
Installing the BMW Guys tensioner. The old one was also aftermarket, but it was highly worn and needed replaced.
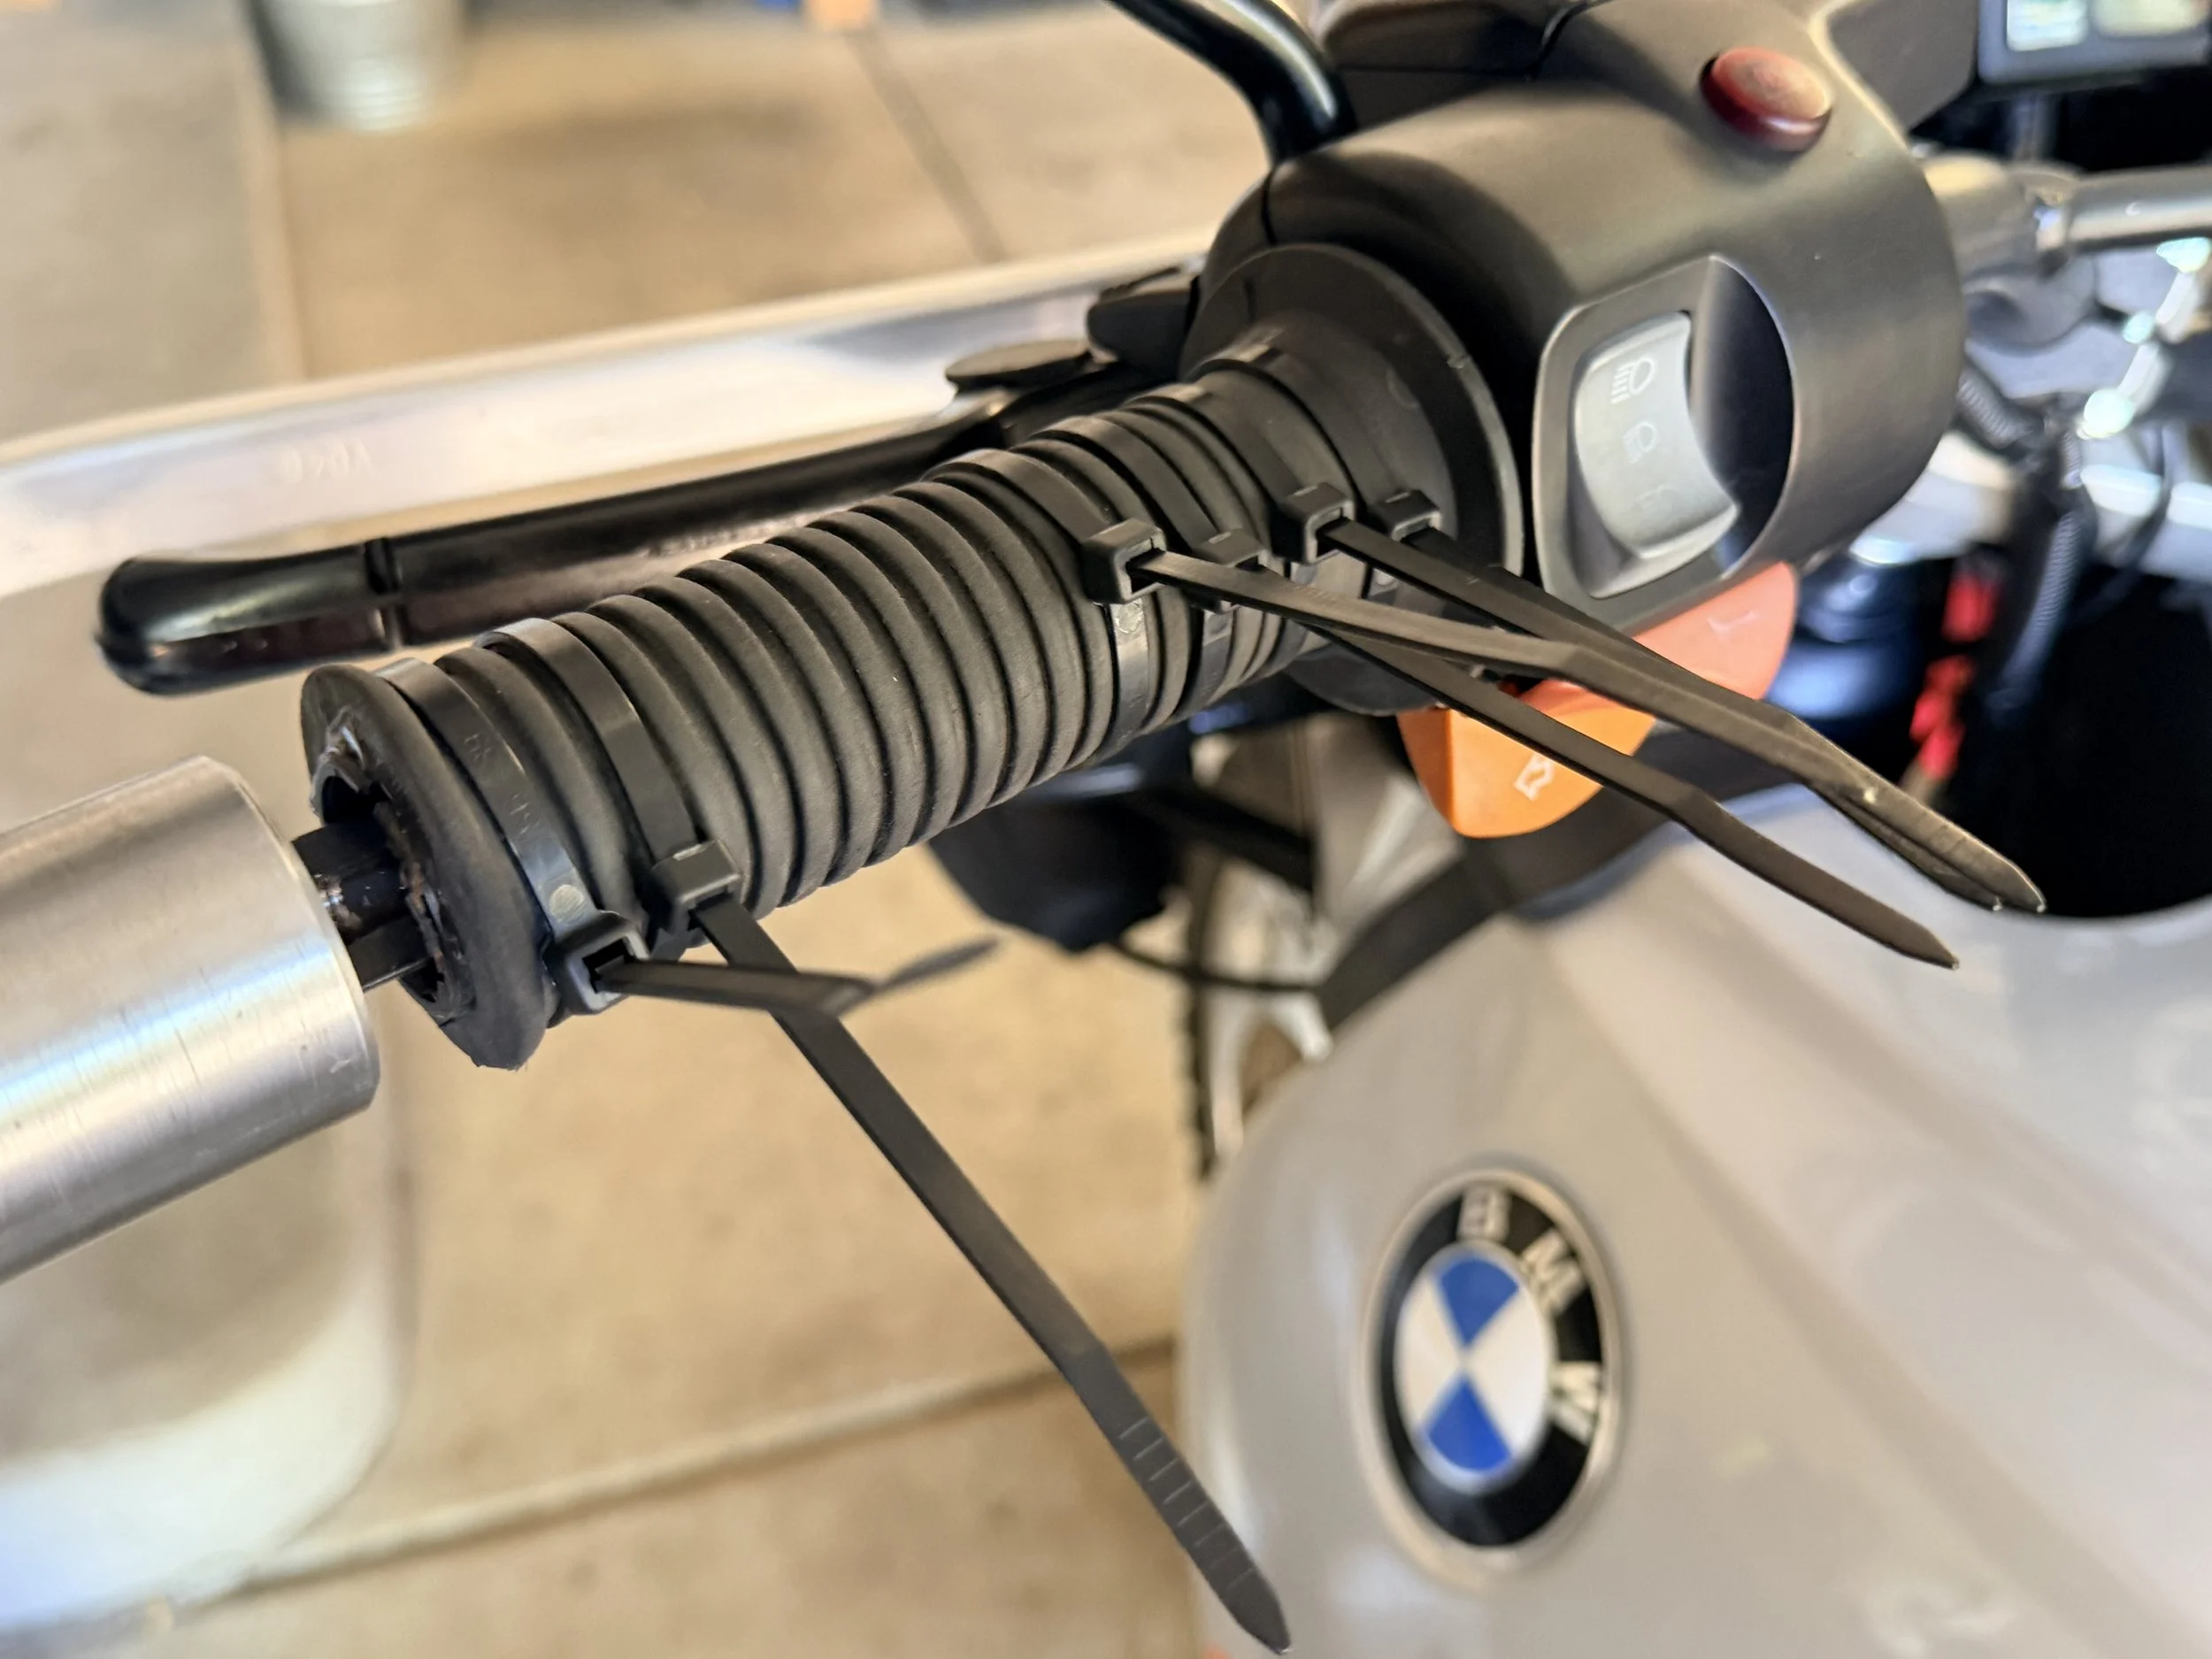
Glueing the grip back on.