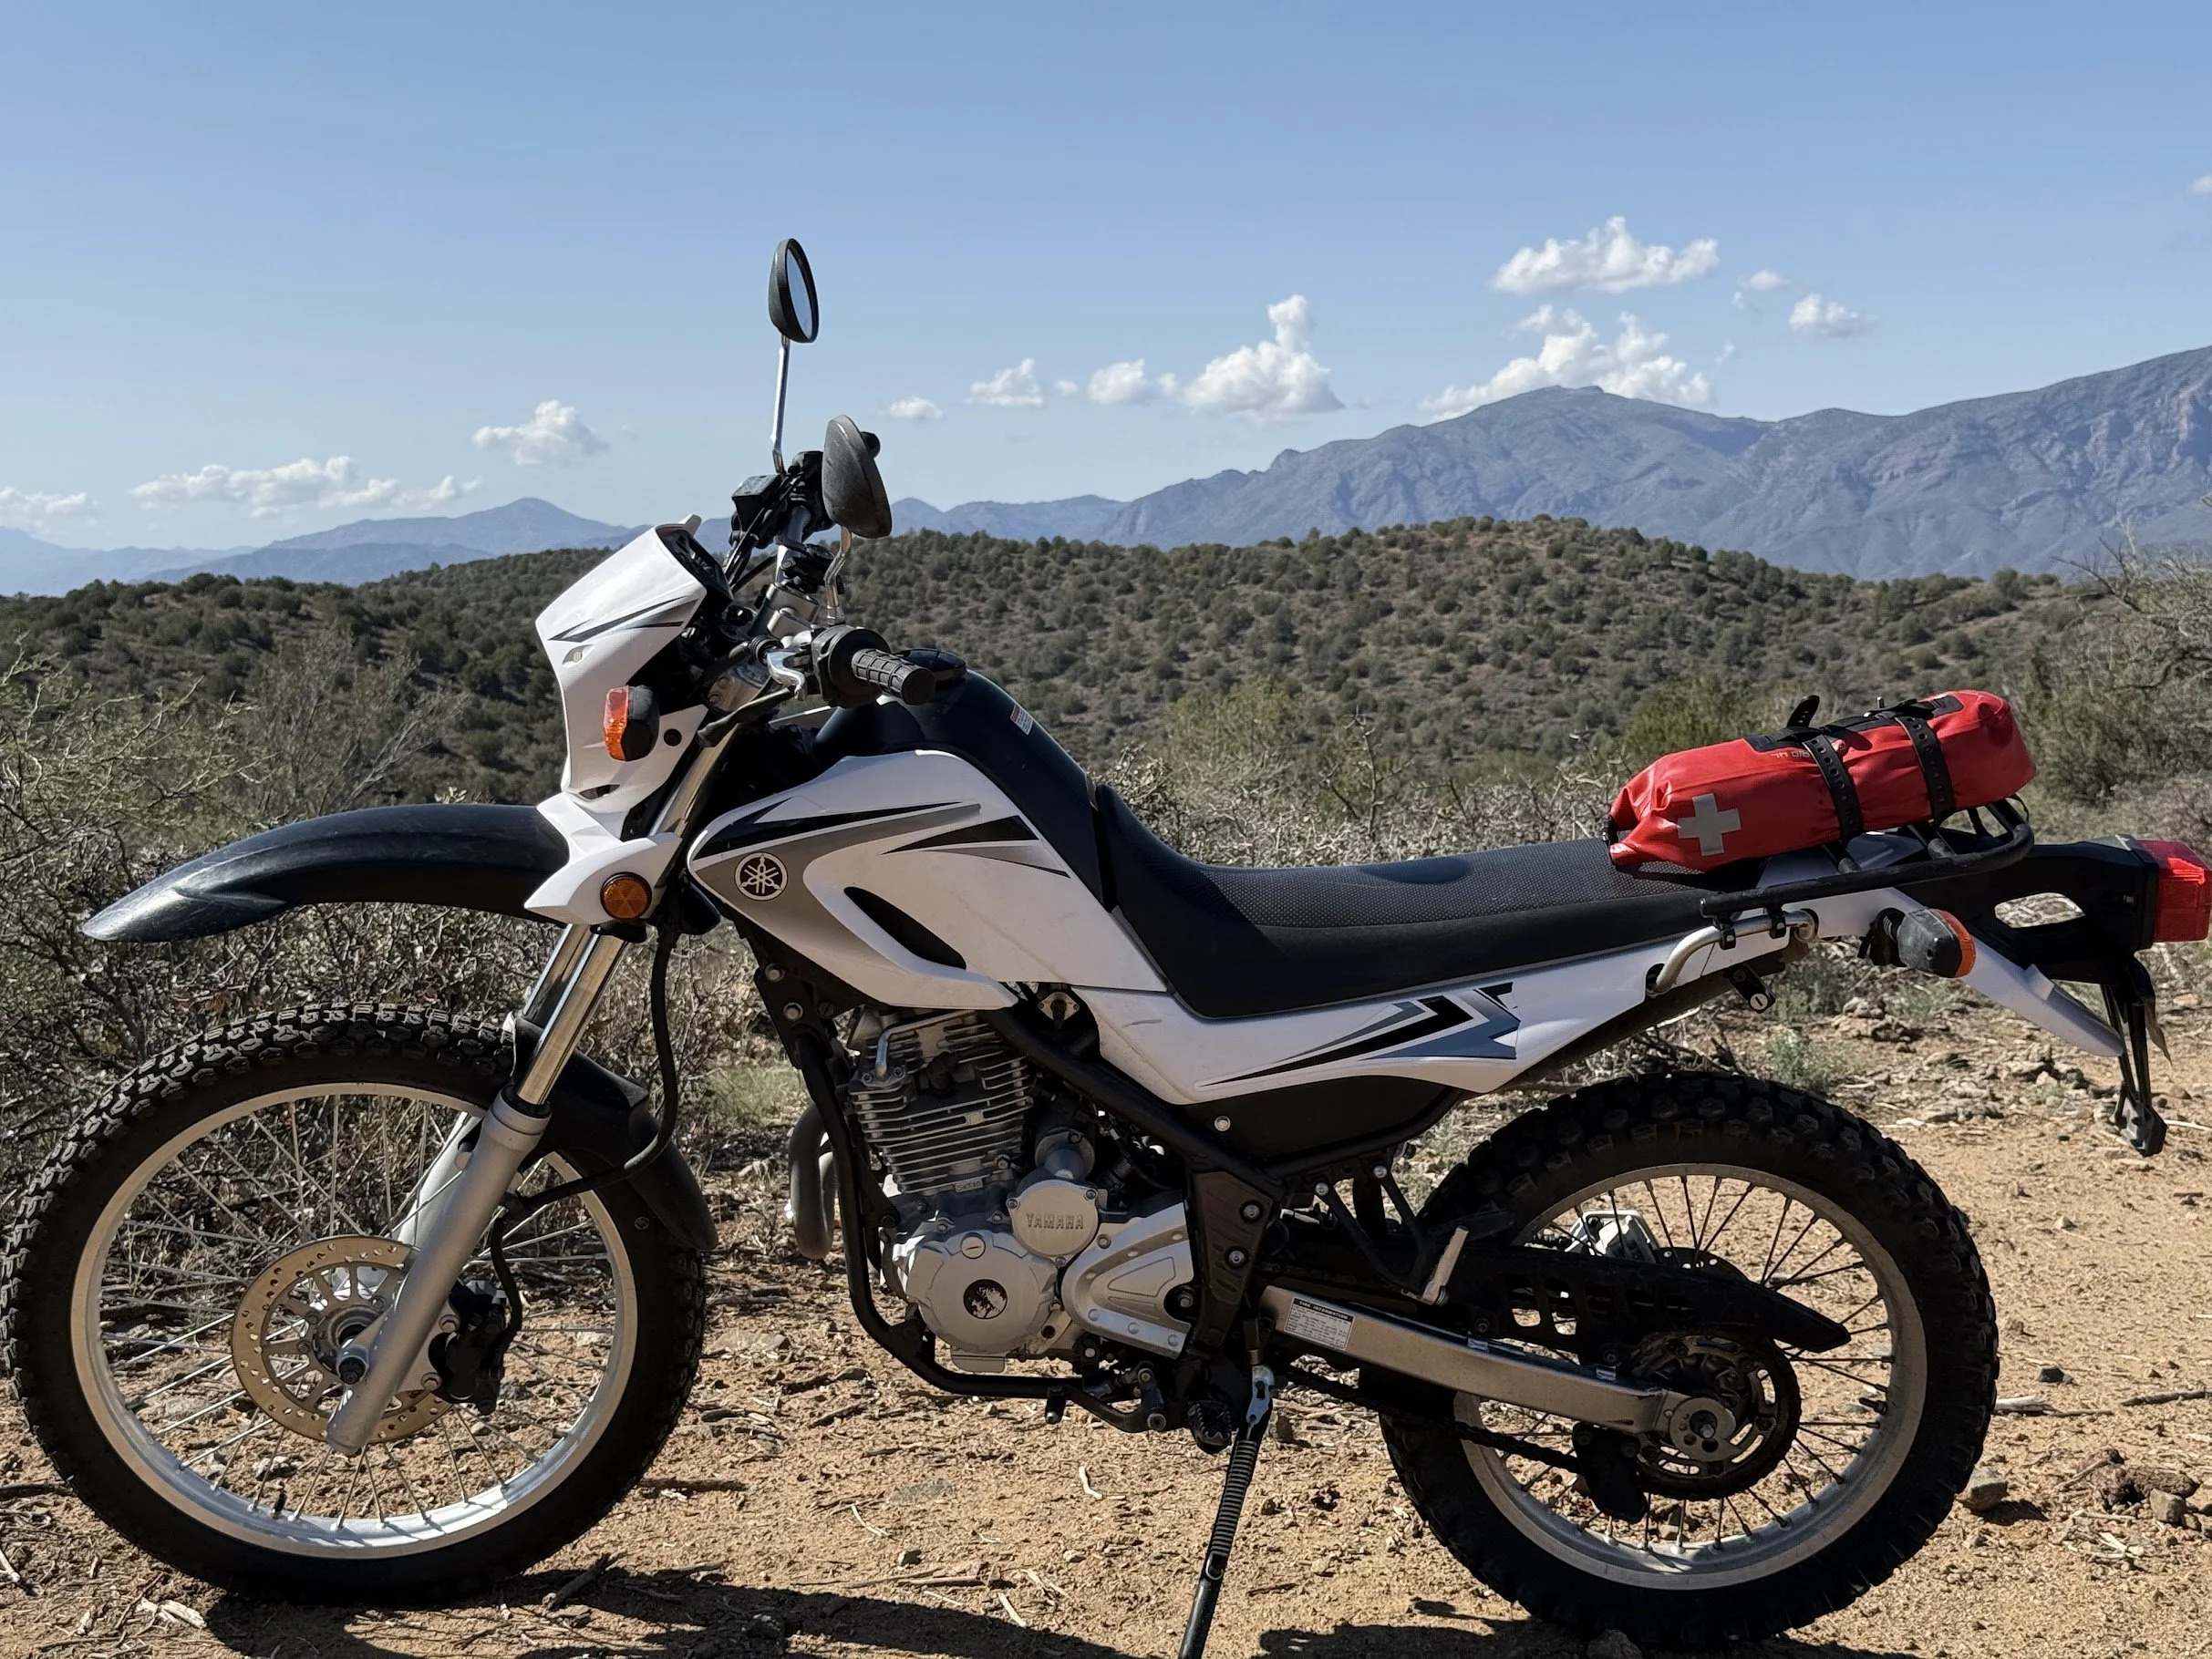
2008 Yamaha XT 250
When we first acquired this machine, it was far from road-worthy. We knew it would require a significant investment of both time and capital, but we set a strict $1,000 restoration budget. Thanks to some strategic parts-trading with friends and countless hours of labor, we hit that target exactly. The result is a highly capable, 'planted' machine with solid bones and plenty of miles ahead of it. It rides as smoothly as a brand-new XT250—and with the custom refinements, it might even be better than stock.
Note the compression of the front forks - that was the beginning of the known problems.
Took for a quick shakedown ride. Serious work required to make this road-worthy. Unsafe to ride.

Started building a checklist and doing an initial assessment of issues. After doing a check, the following as the initial list of must happen: 1) New rubber, 2) new wheel bearings rear, 3) new countersprocket, rear sprocket, and chain, 4) new spark plug, 5) deep clean and reseal airbox box + new air filter, 6) valves, 7) refurbish exhaust, 8) new front brake line, pads, and fluid 9) rear brake pads + fluid, 10) rebuild front suspension, 11) rebuild rear suspension, 12) deep clean motorcycle, 13) new levers + protectors, 14) add simple navigation device, and 15) rebuild carb.

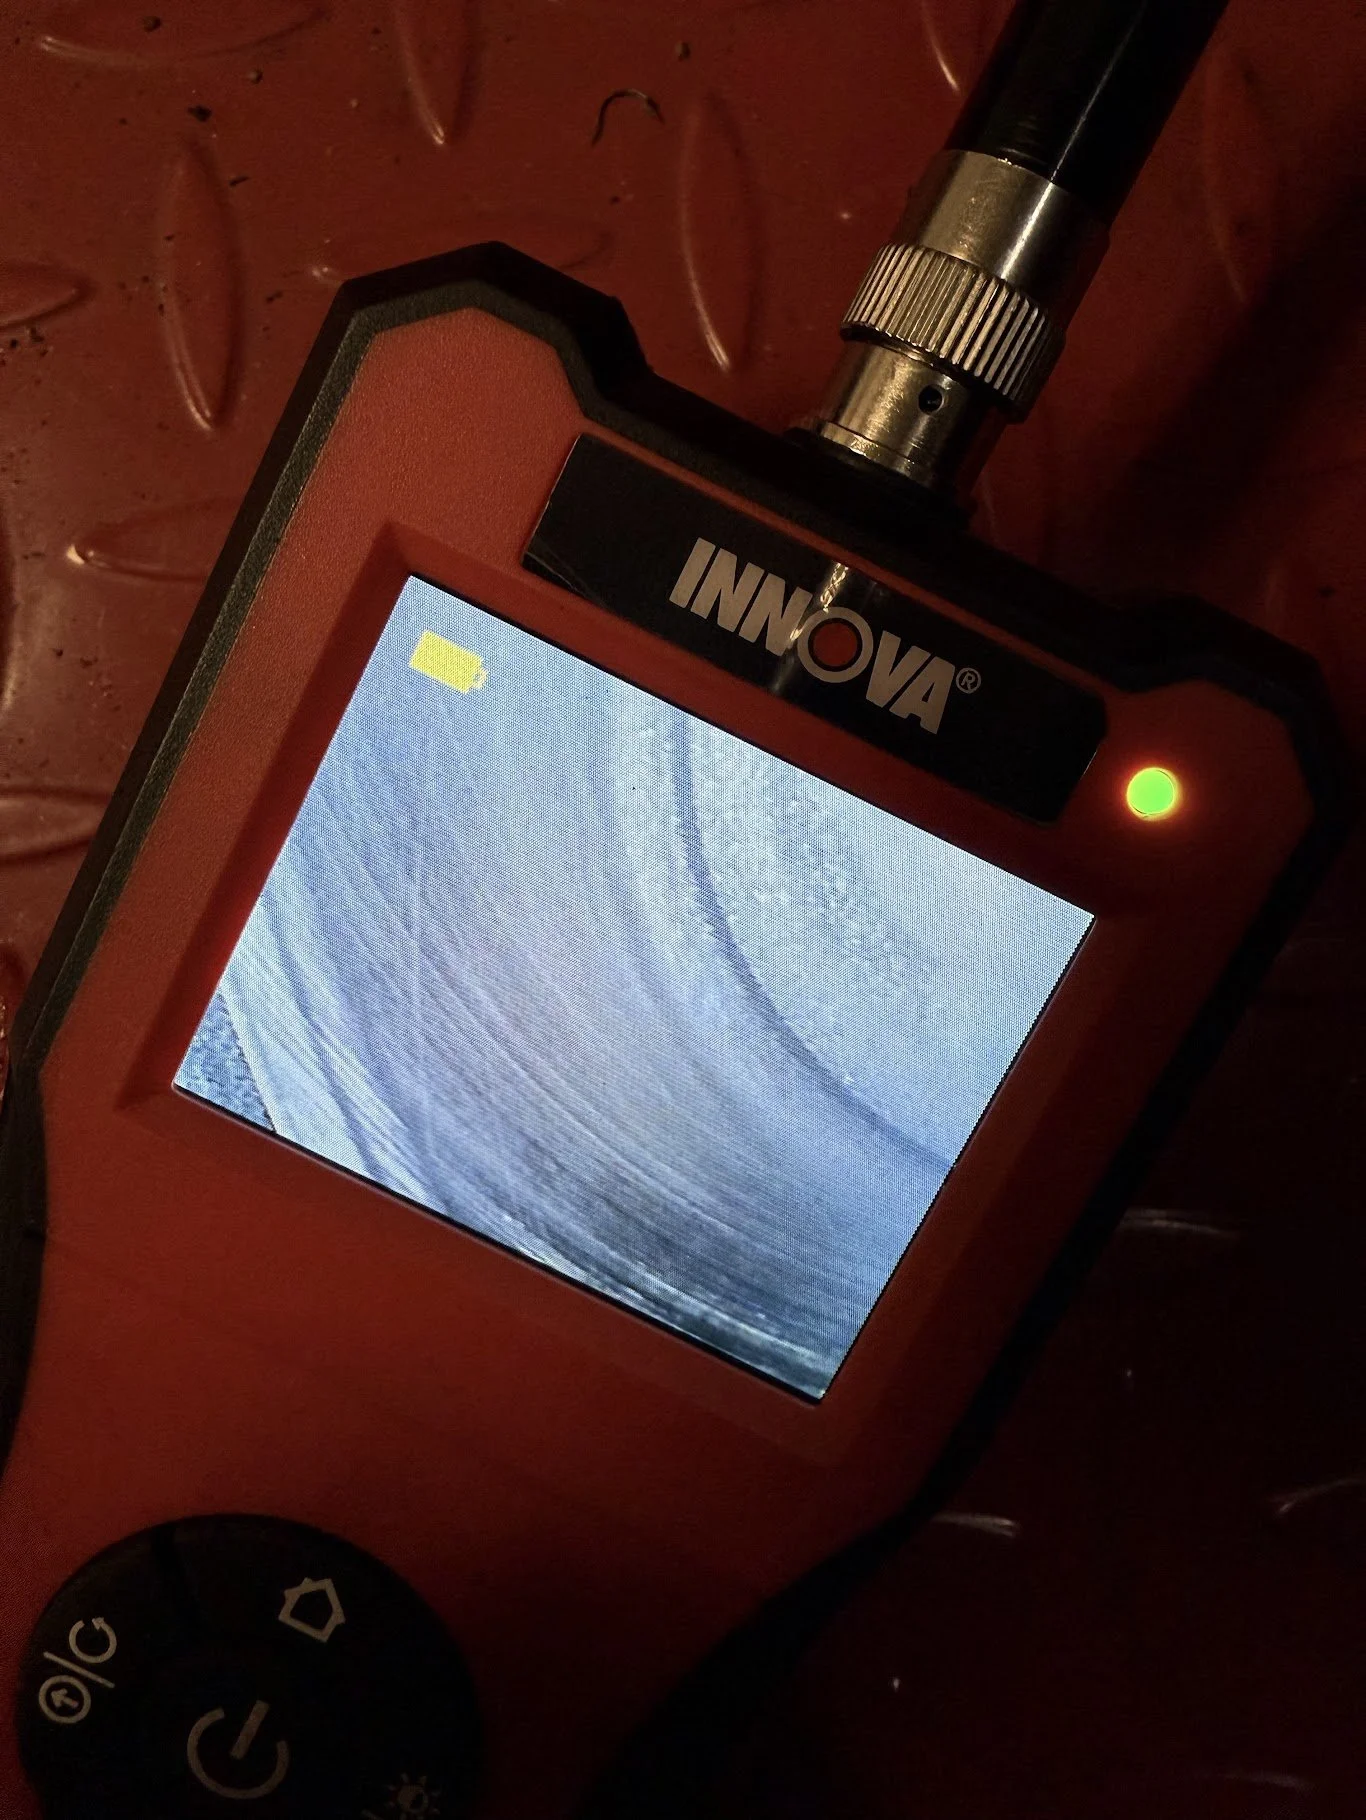
Spark plug looked rich - some altitude will make that slightly worse - we likely need to re-jet it.
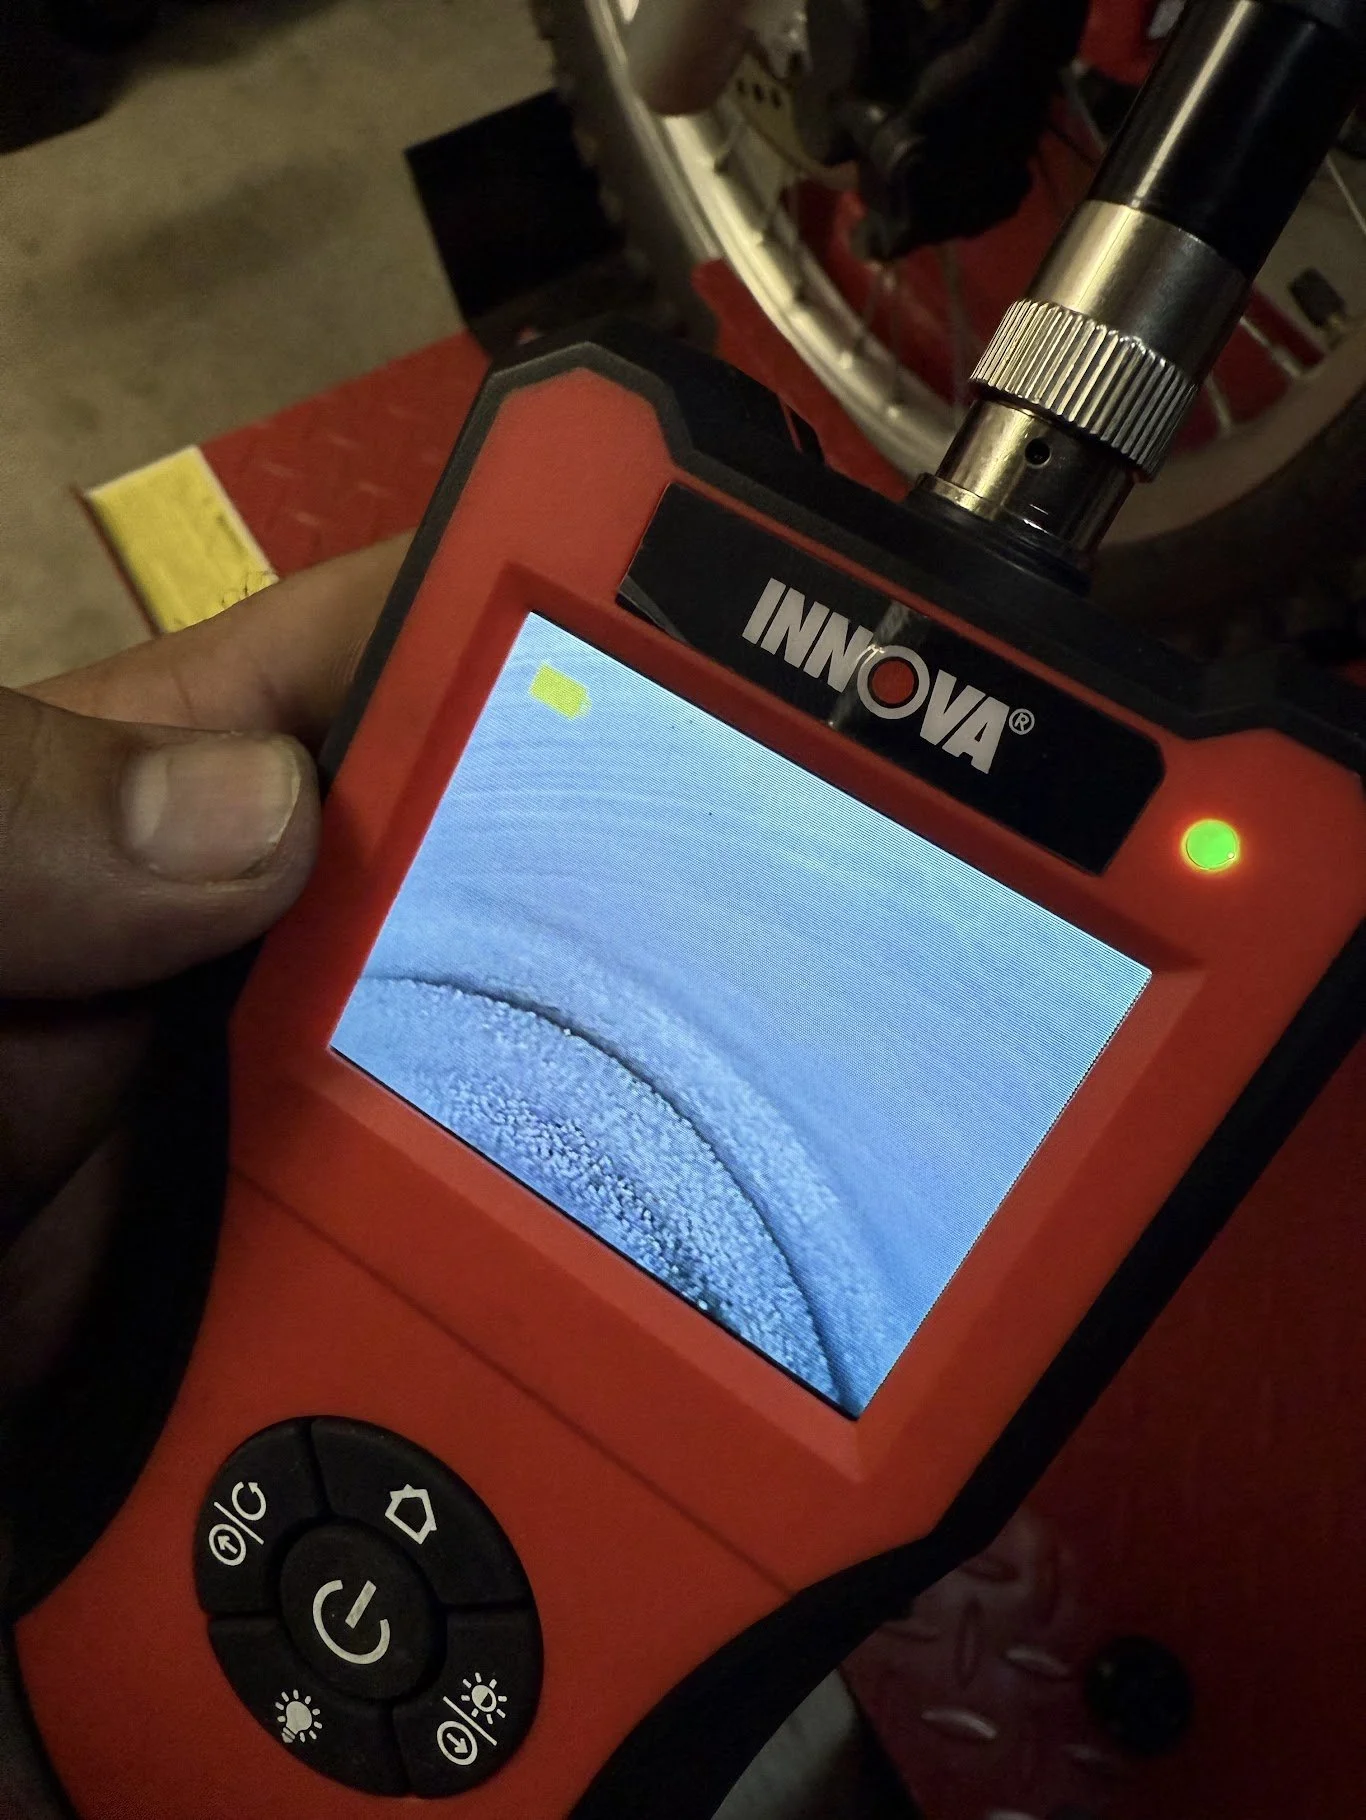
Cylinder walls look good with minimal carbon build up on piston. Really clean cylinder!
Cross hatching still looks great. This top end looks fantastic!
Dirt, grim - lots of it. The bike needs deeply cleaned.
I forgot to take any photos of myself doing the following:
1) deep cleaning the airbox interior, adding airbox sealers, and installing new air filter.
2) pulling and cleaning the carb. I kept the jetting the same. It’s going to run rich at altitude, but I don’t want it running lean down out of altitude. I can deal with replacing spark plugs and lower fuel economy.
3) doing the valves. The exhaust valve was criminally tight and hadn’t been done in years.

Parts, on trade, came in from Cogent Dynamics for stiffer front springs and rear springs. Excited to get this started!
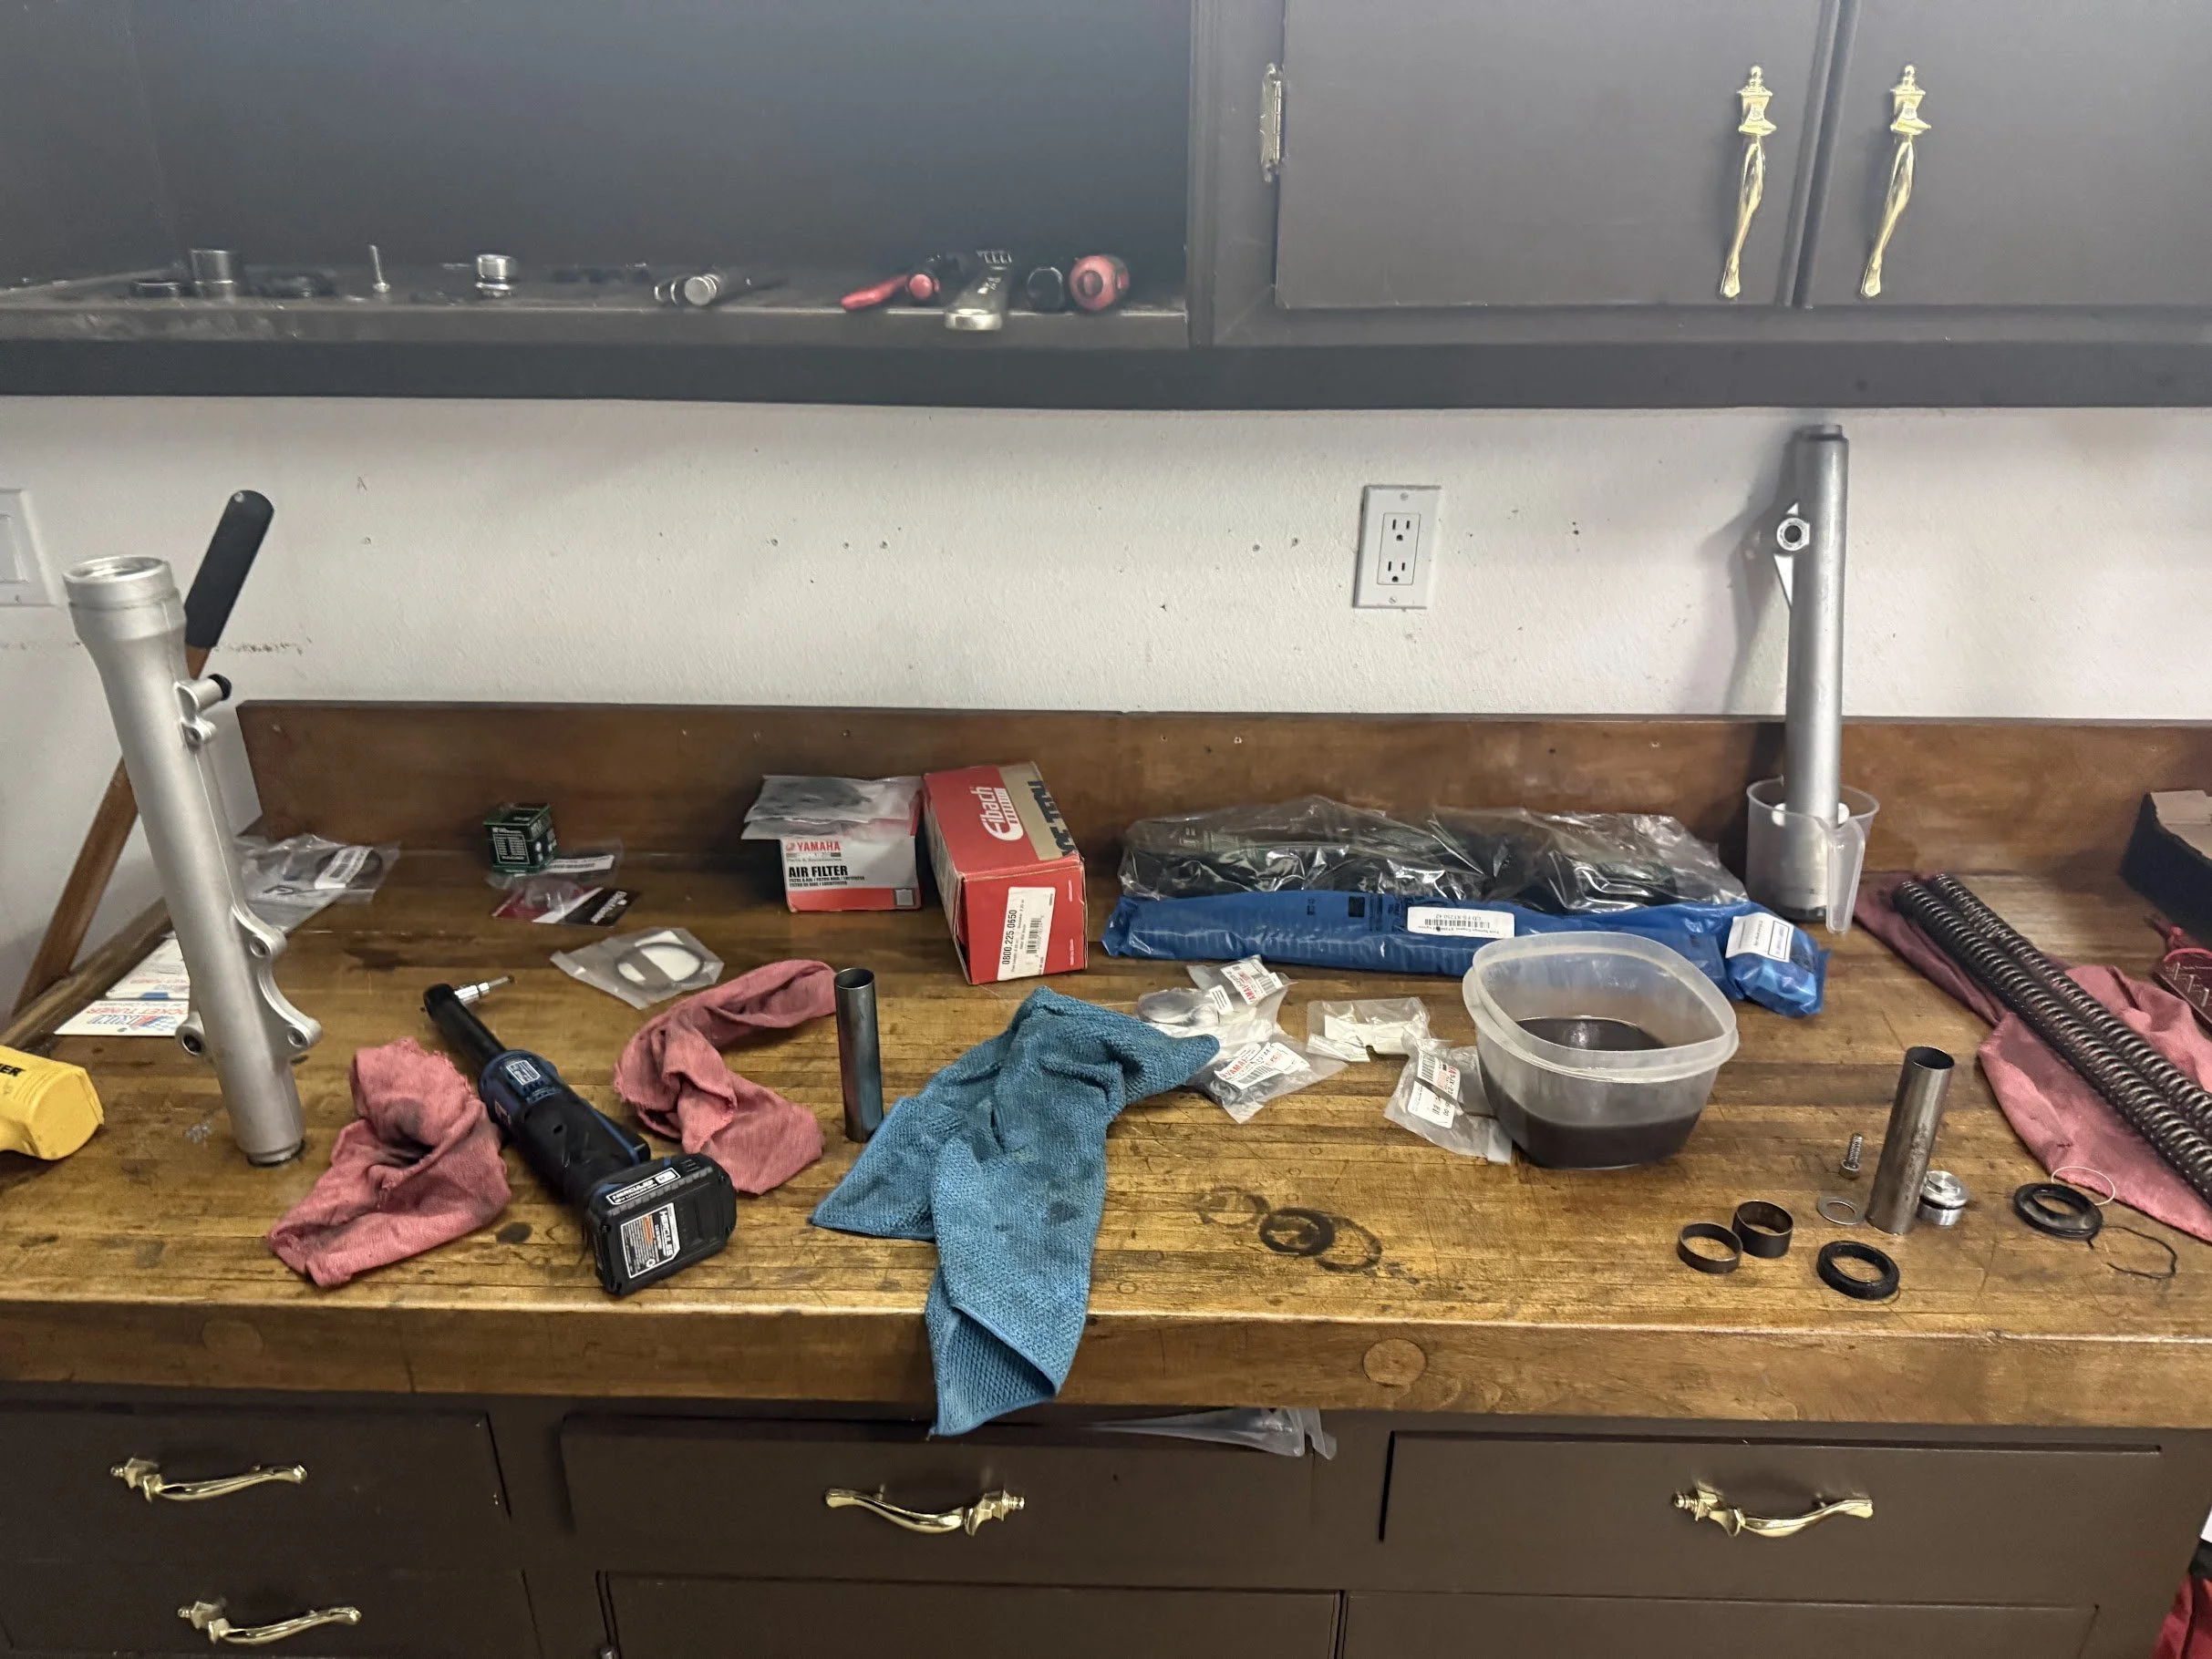
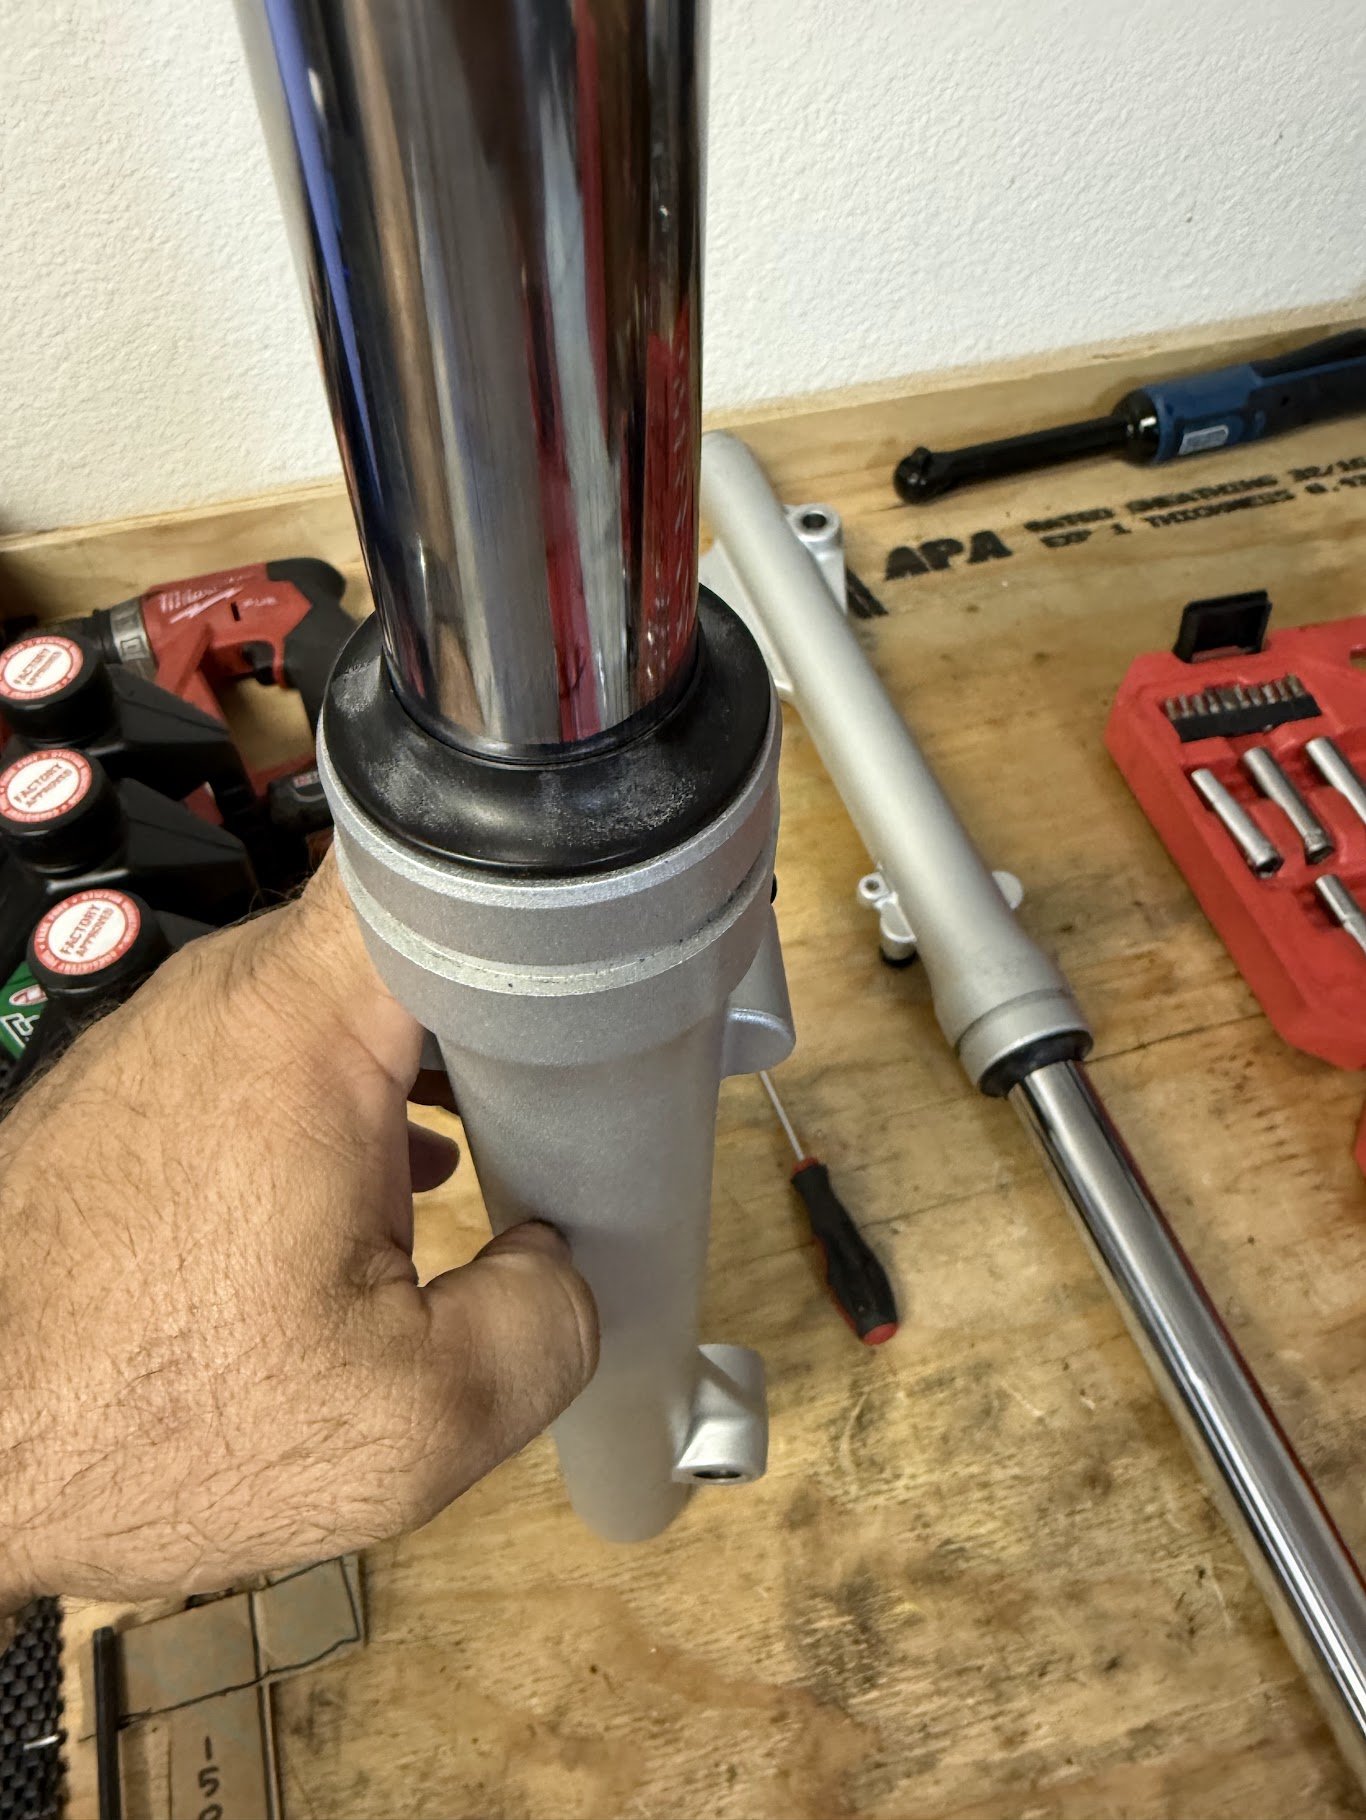
Tearing down the front forks became a problem when one of the bolts on the fork bottom was cross-threaded & wouldn't come out. Took a lot of creativity to get it out.

Tapping threads to ensure that we prevent future cross-threading. Everything turned out well.
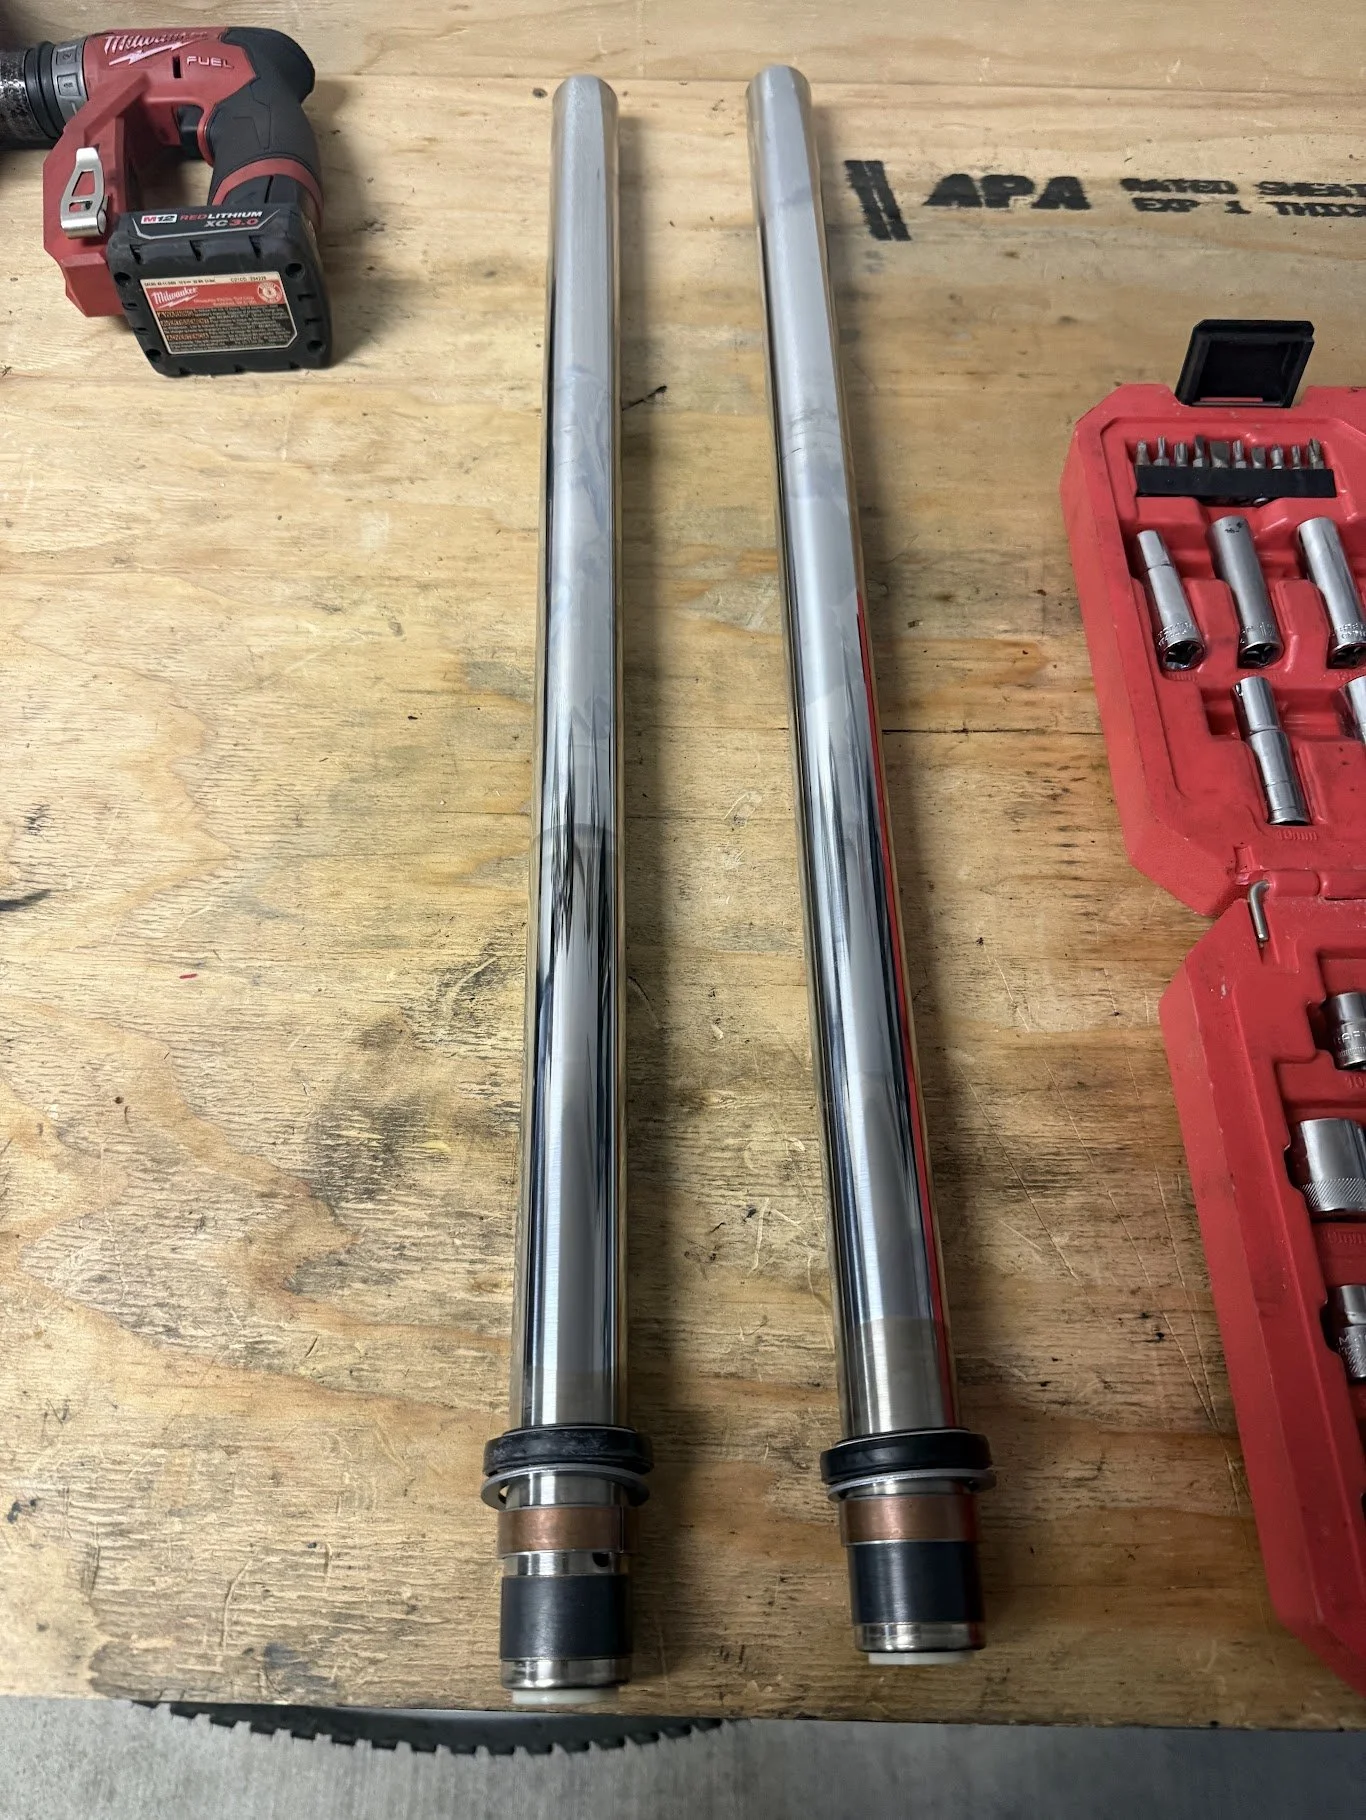
New bushings, seals, and covers on & ready to go!

All the old stuff removed, including the spacers making way for smaller spacers with taller, stiffer springs.
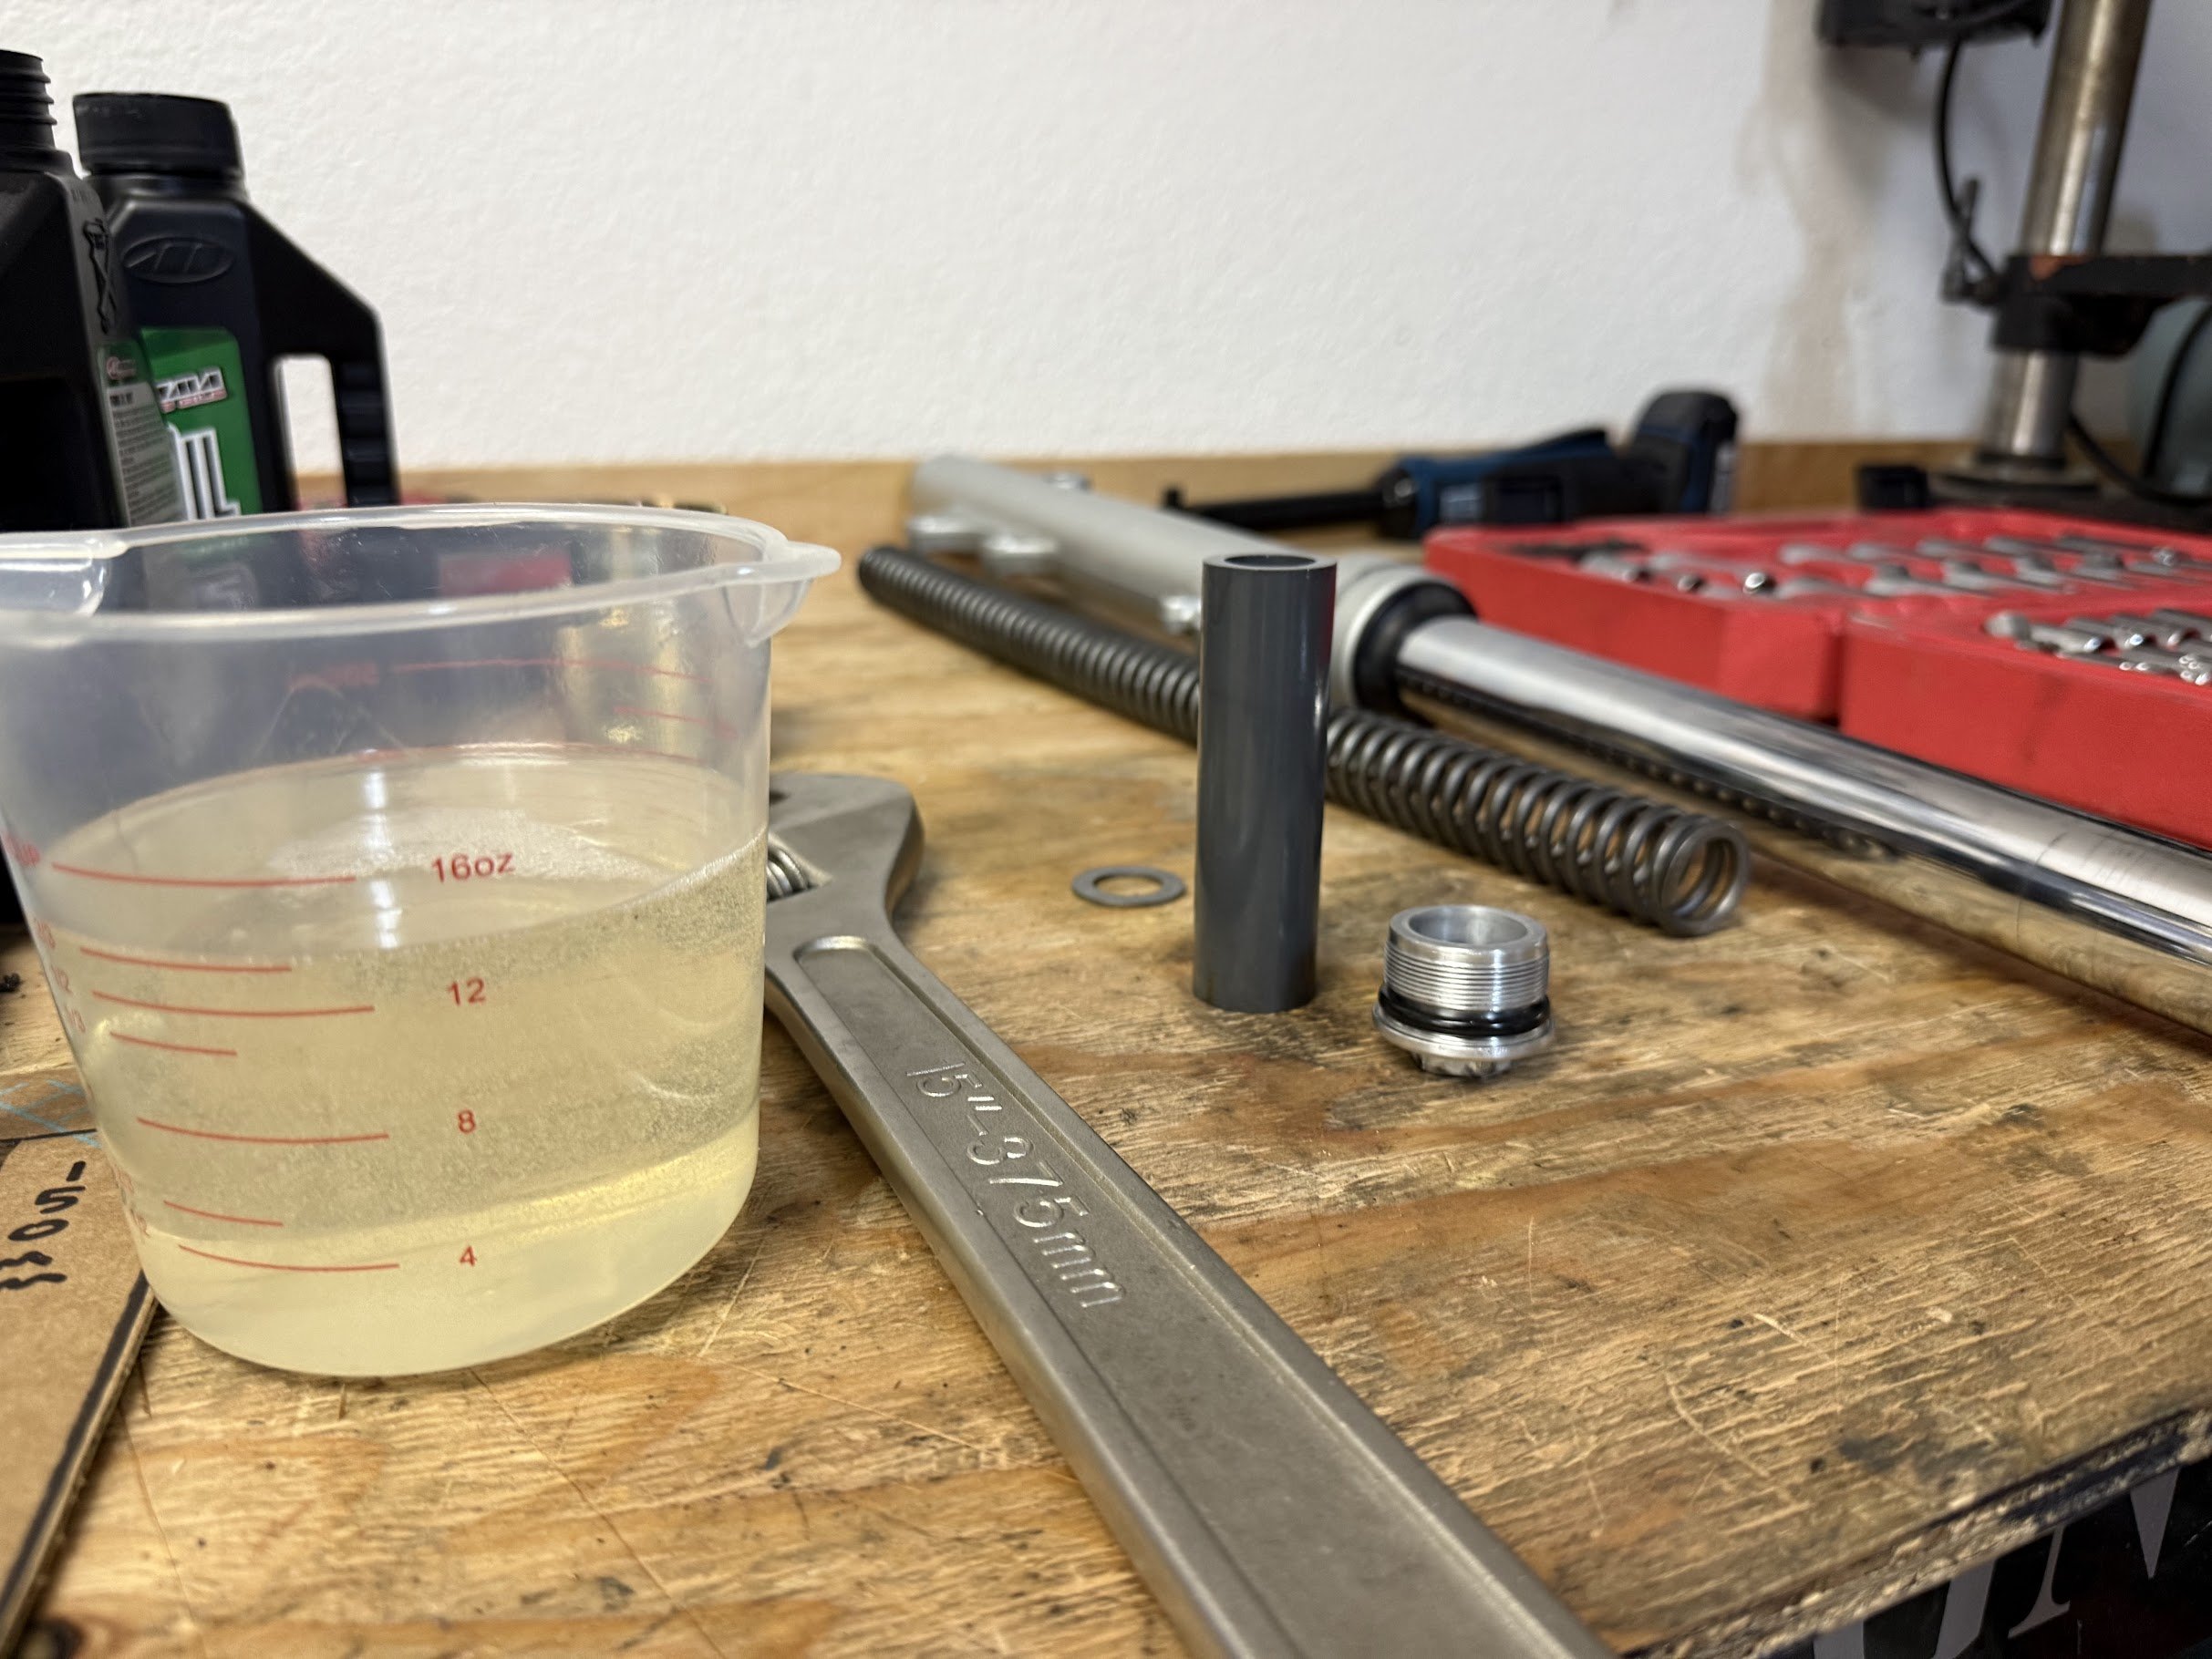
Utilizing the service manual for adding 15W fork oil.
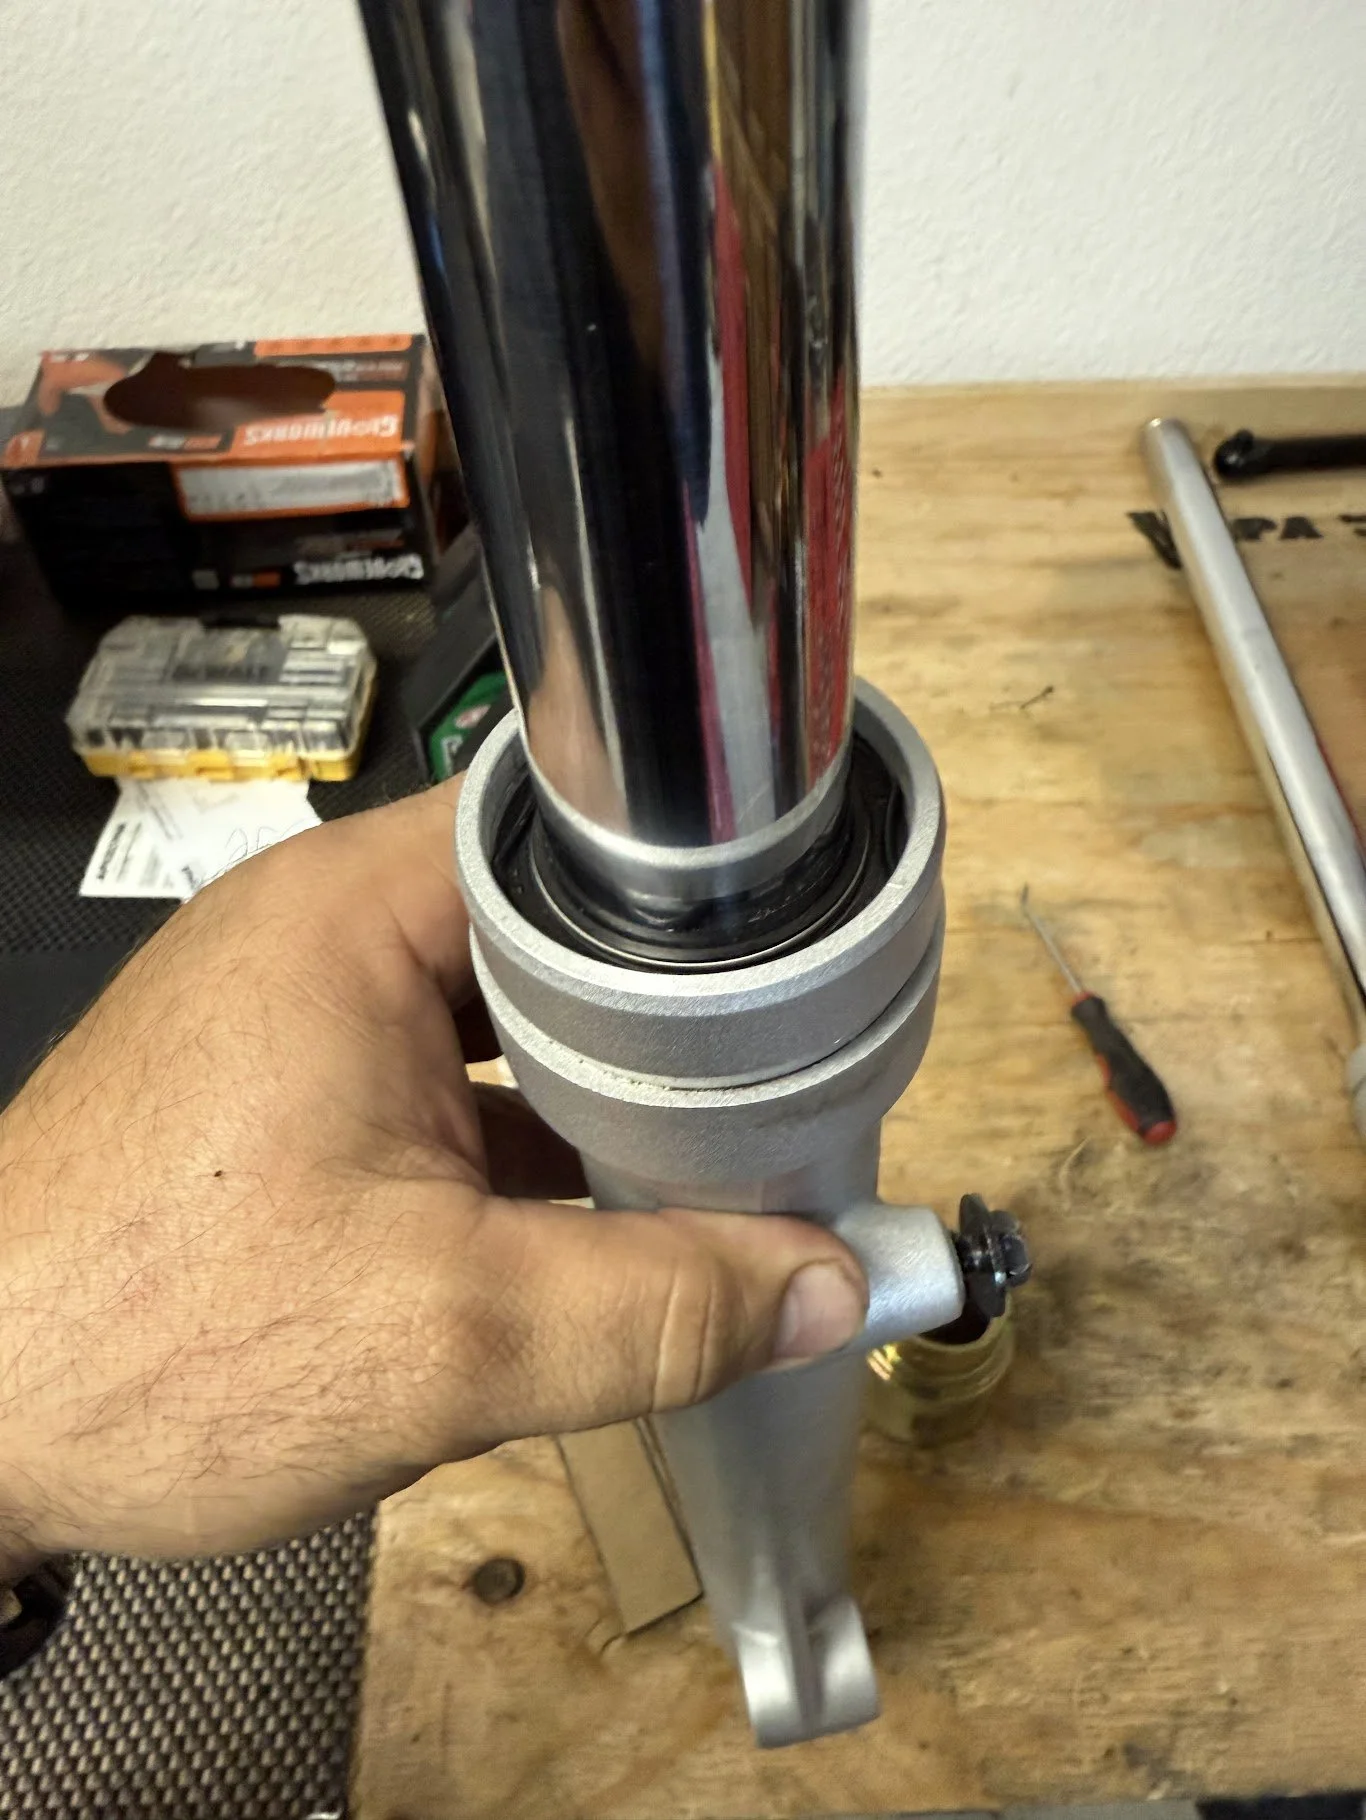
Finally got the seal driver in the mail and made quick work driving seals & putting in retaining clip.
Covers are on. Easy day!

Got the front forks back on, torqued to spec, and the wheel re-installed. I decided to go with SealSavers - those will go on at a later date.

The rear shock is saggy and at rider weight somewhere between not great and dangerous.

Doing some research to make sure I do it properly. Some of the threads were banged up, so used a thread cleaning tool to remove the burs and make it slide more easily.

Utilizing the Cogent Dynamics rear shock spring, I cleaned up the shock, inspected it, and put on the new spring. Using the manual I sprung it to a tighter stiffness which I like.

It went back in with minimal fuss, but the orientation of the bolts has to be right to put the links back on. And you have to torque as you put them on because it prevents access. The order of operation matters here.

Josh helped me cut cost and put on some new rubber! We had to fight the rear tire on (notoriously bad in the forums), but we managed to get it on. Front went on without a fuss. We were careful to align the lightest mark on tire with heaviest part of wheel - the wheels feel great and balanced.

New rubber. My favorite offroad tire combo! For the front: Motoz Tractionator Desert H/T. For the rear: Motoz Tractionator Adventure

After cleaning both the wheels with scotch bright pads, achieved an almost new look!

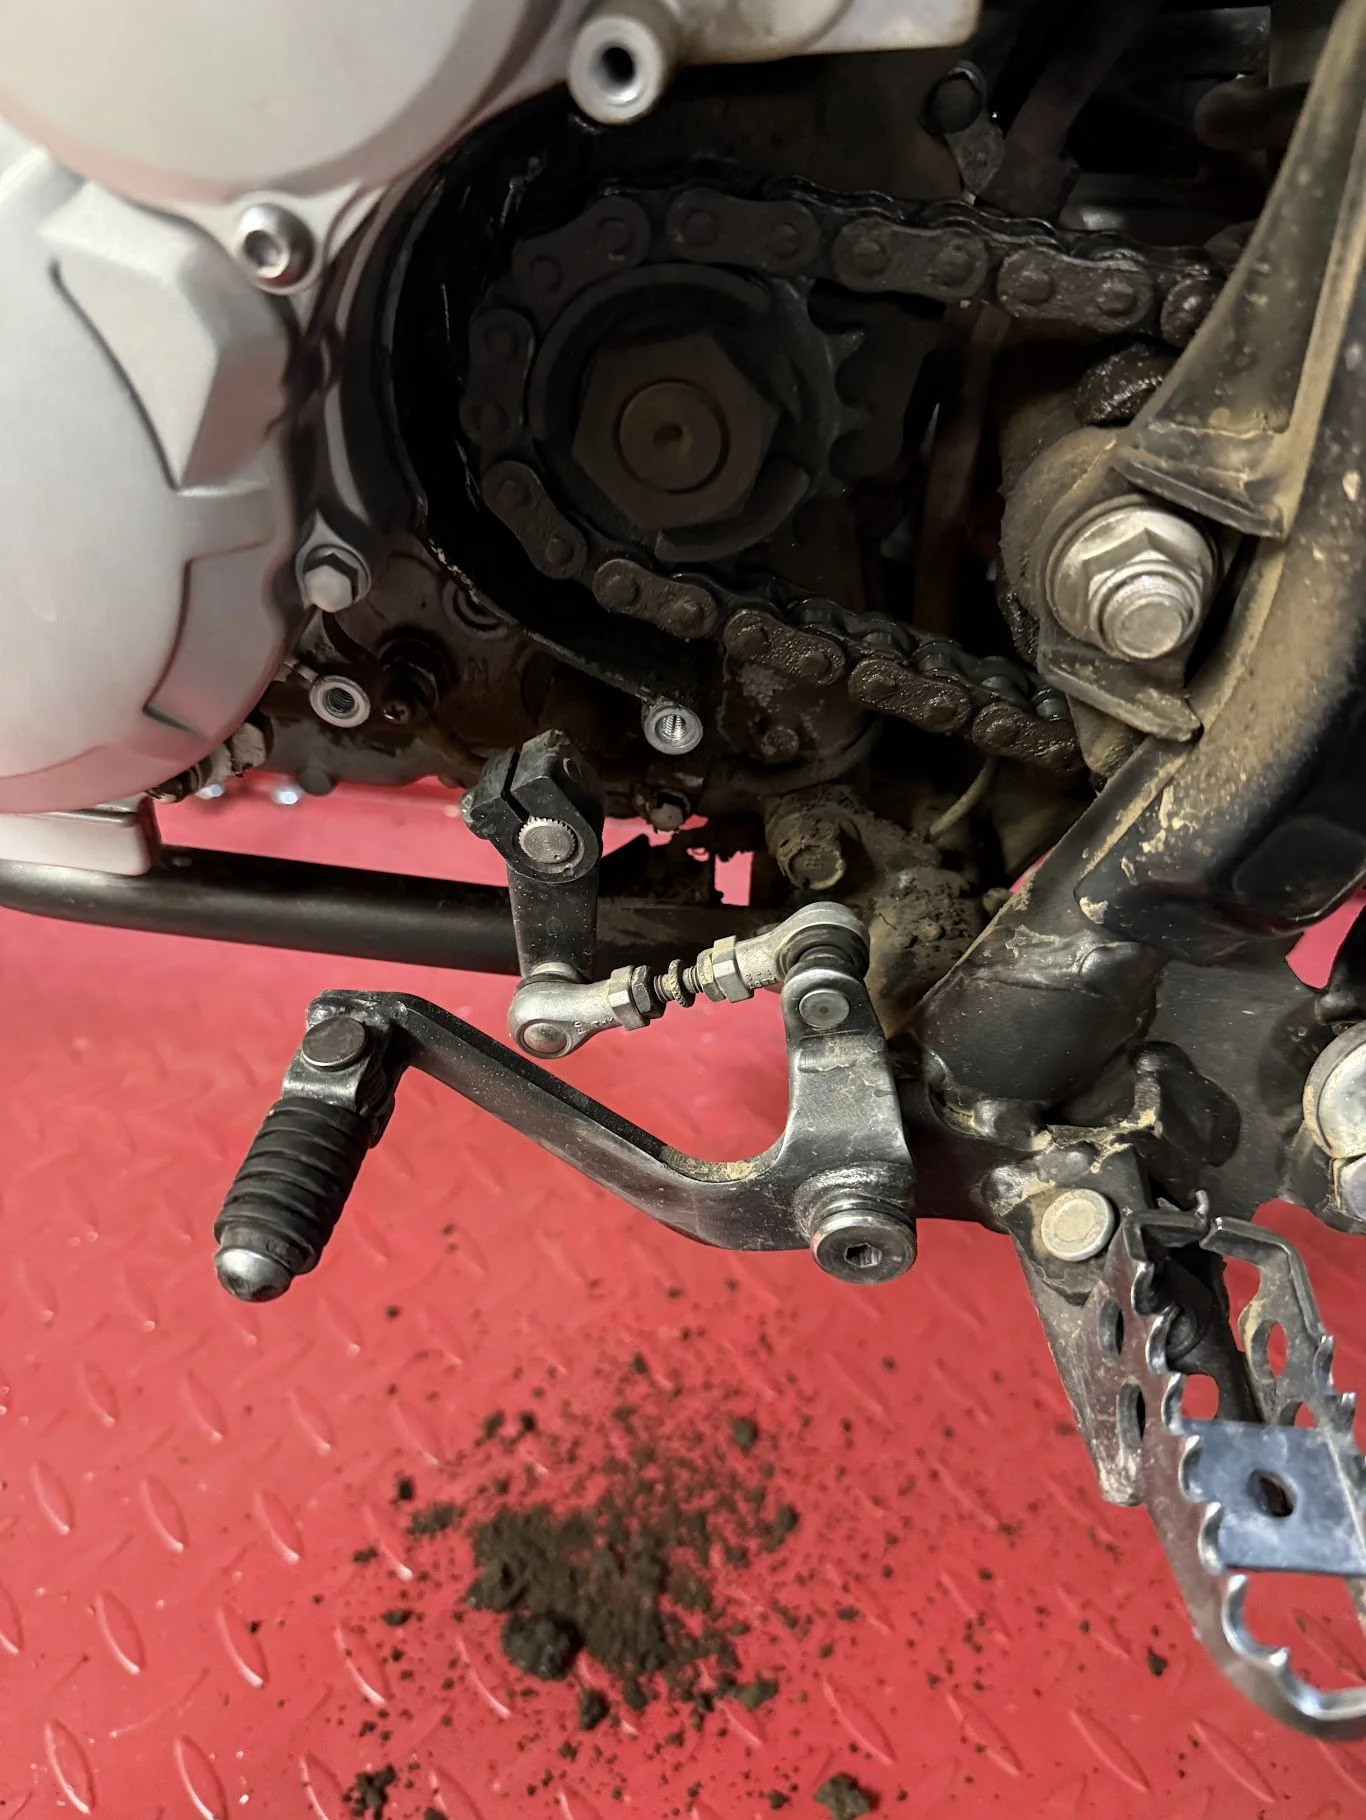
Pulled the hardware for the rear 48T sprocket. They took some elbow grease but cleaned up nicely.
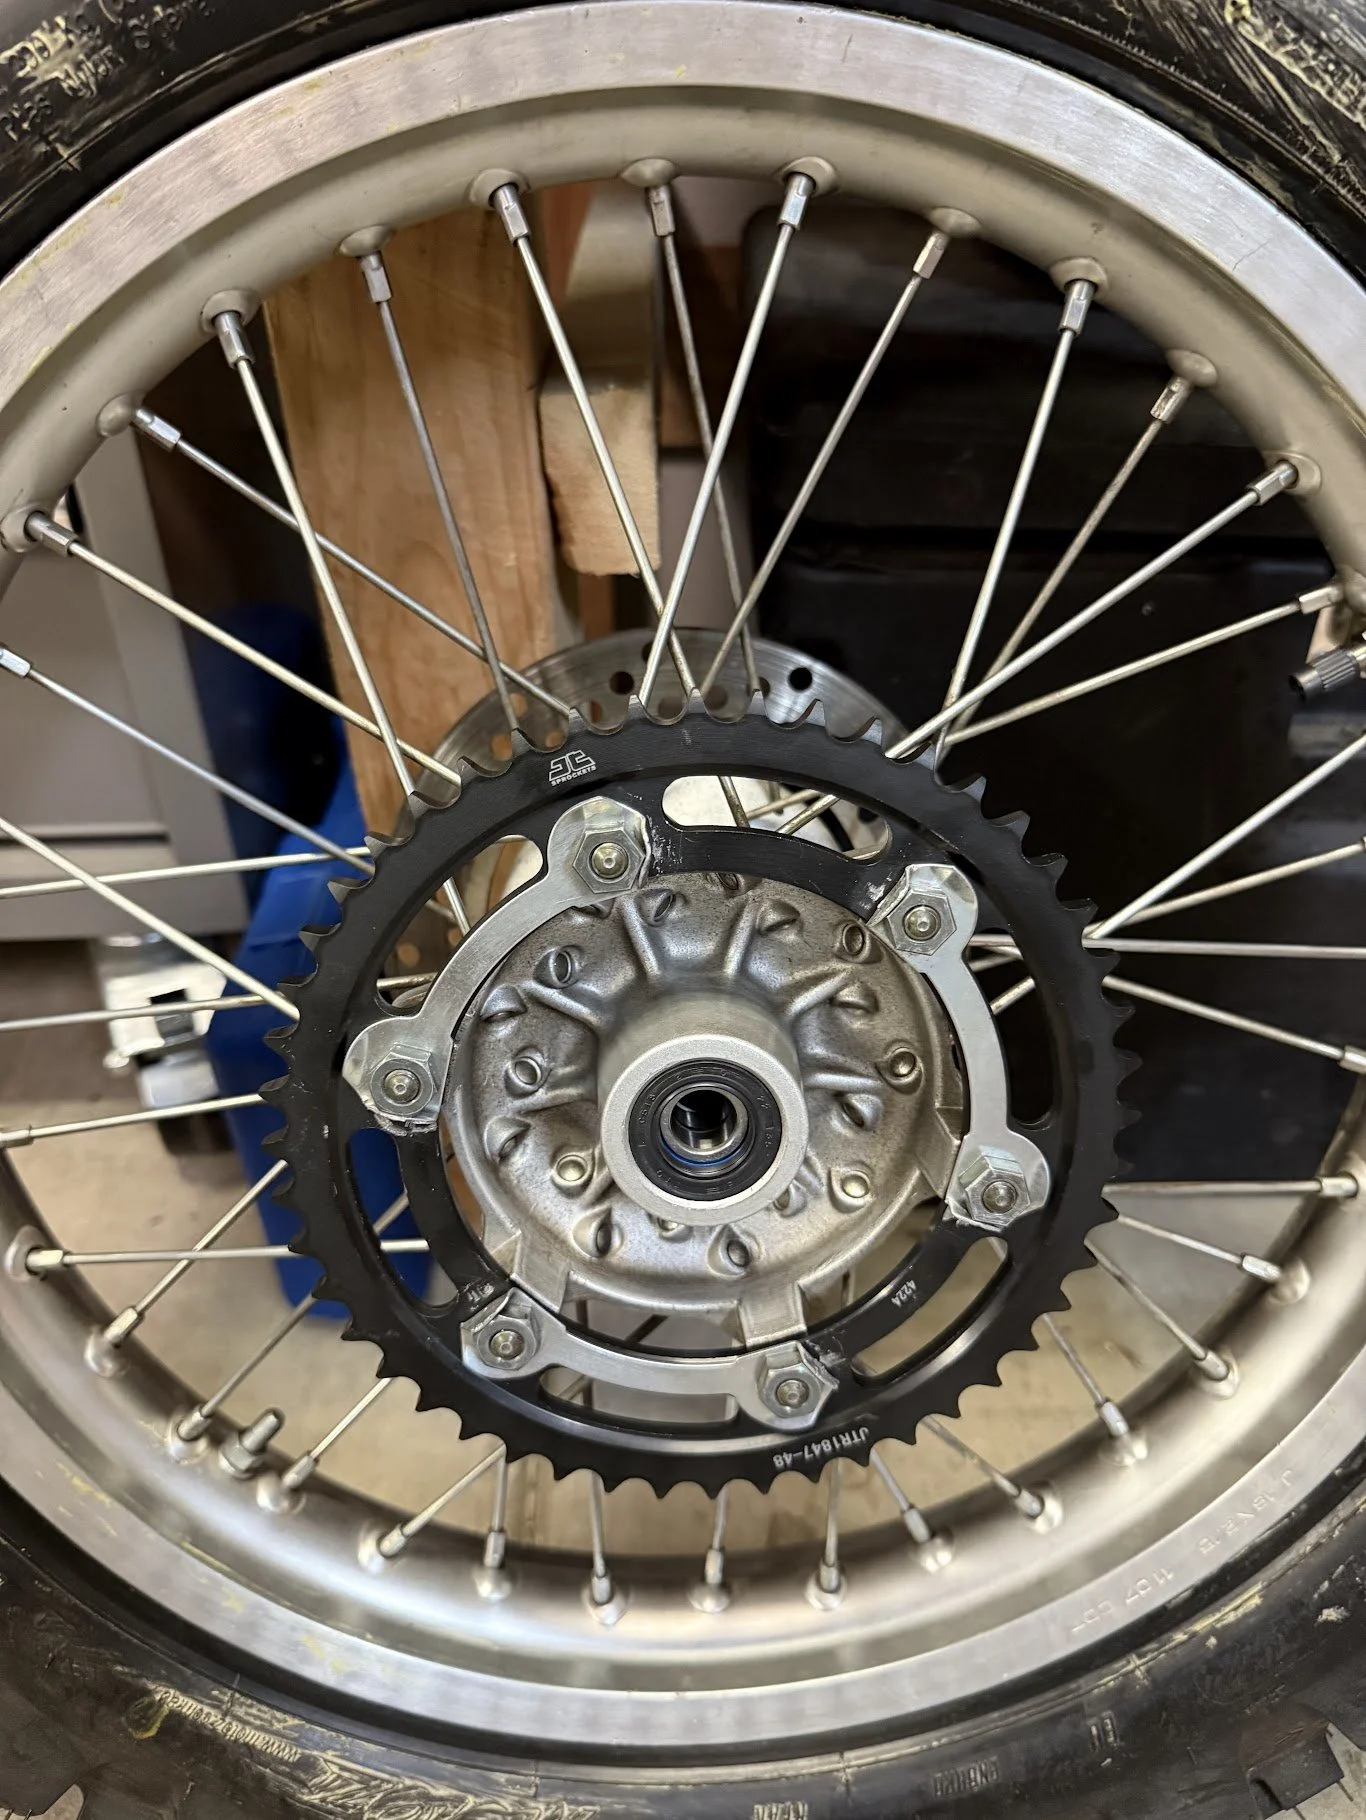
New 48T rear sprocket went on. Happy to have that replaced.

Then came the three wheel bearings in the back wheel. Took some effort, but the bearing puller made quick work of it.

Easy out with the right tool! Pulled all three and replaced them with new bearings & seals.
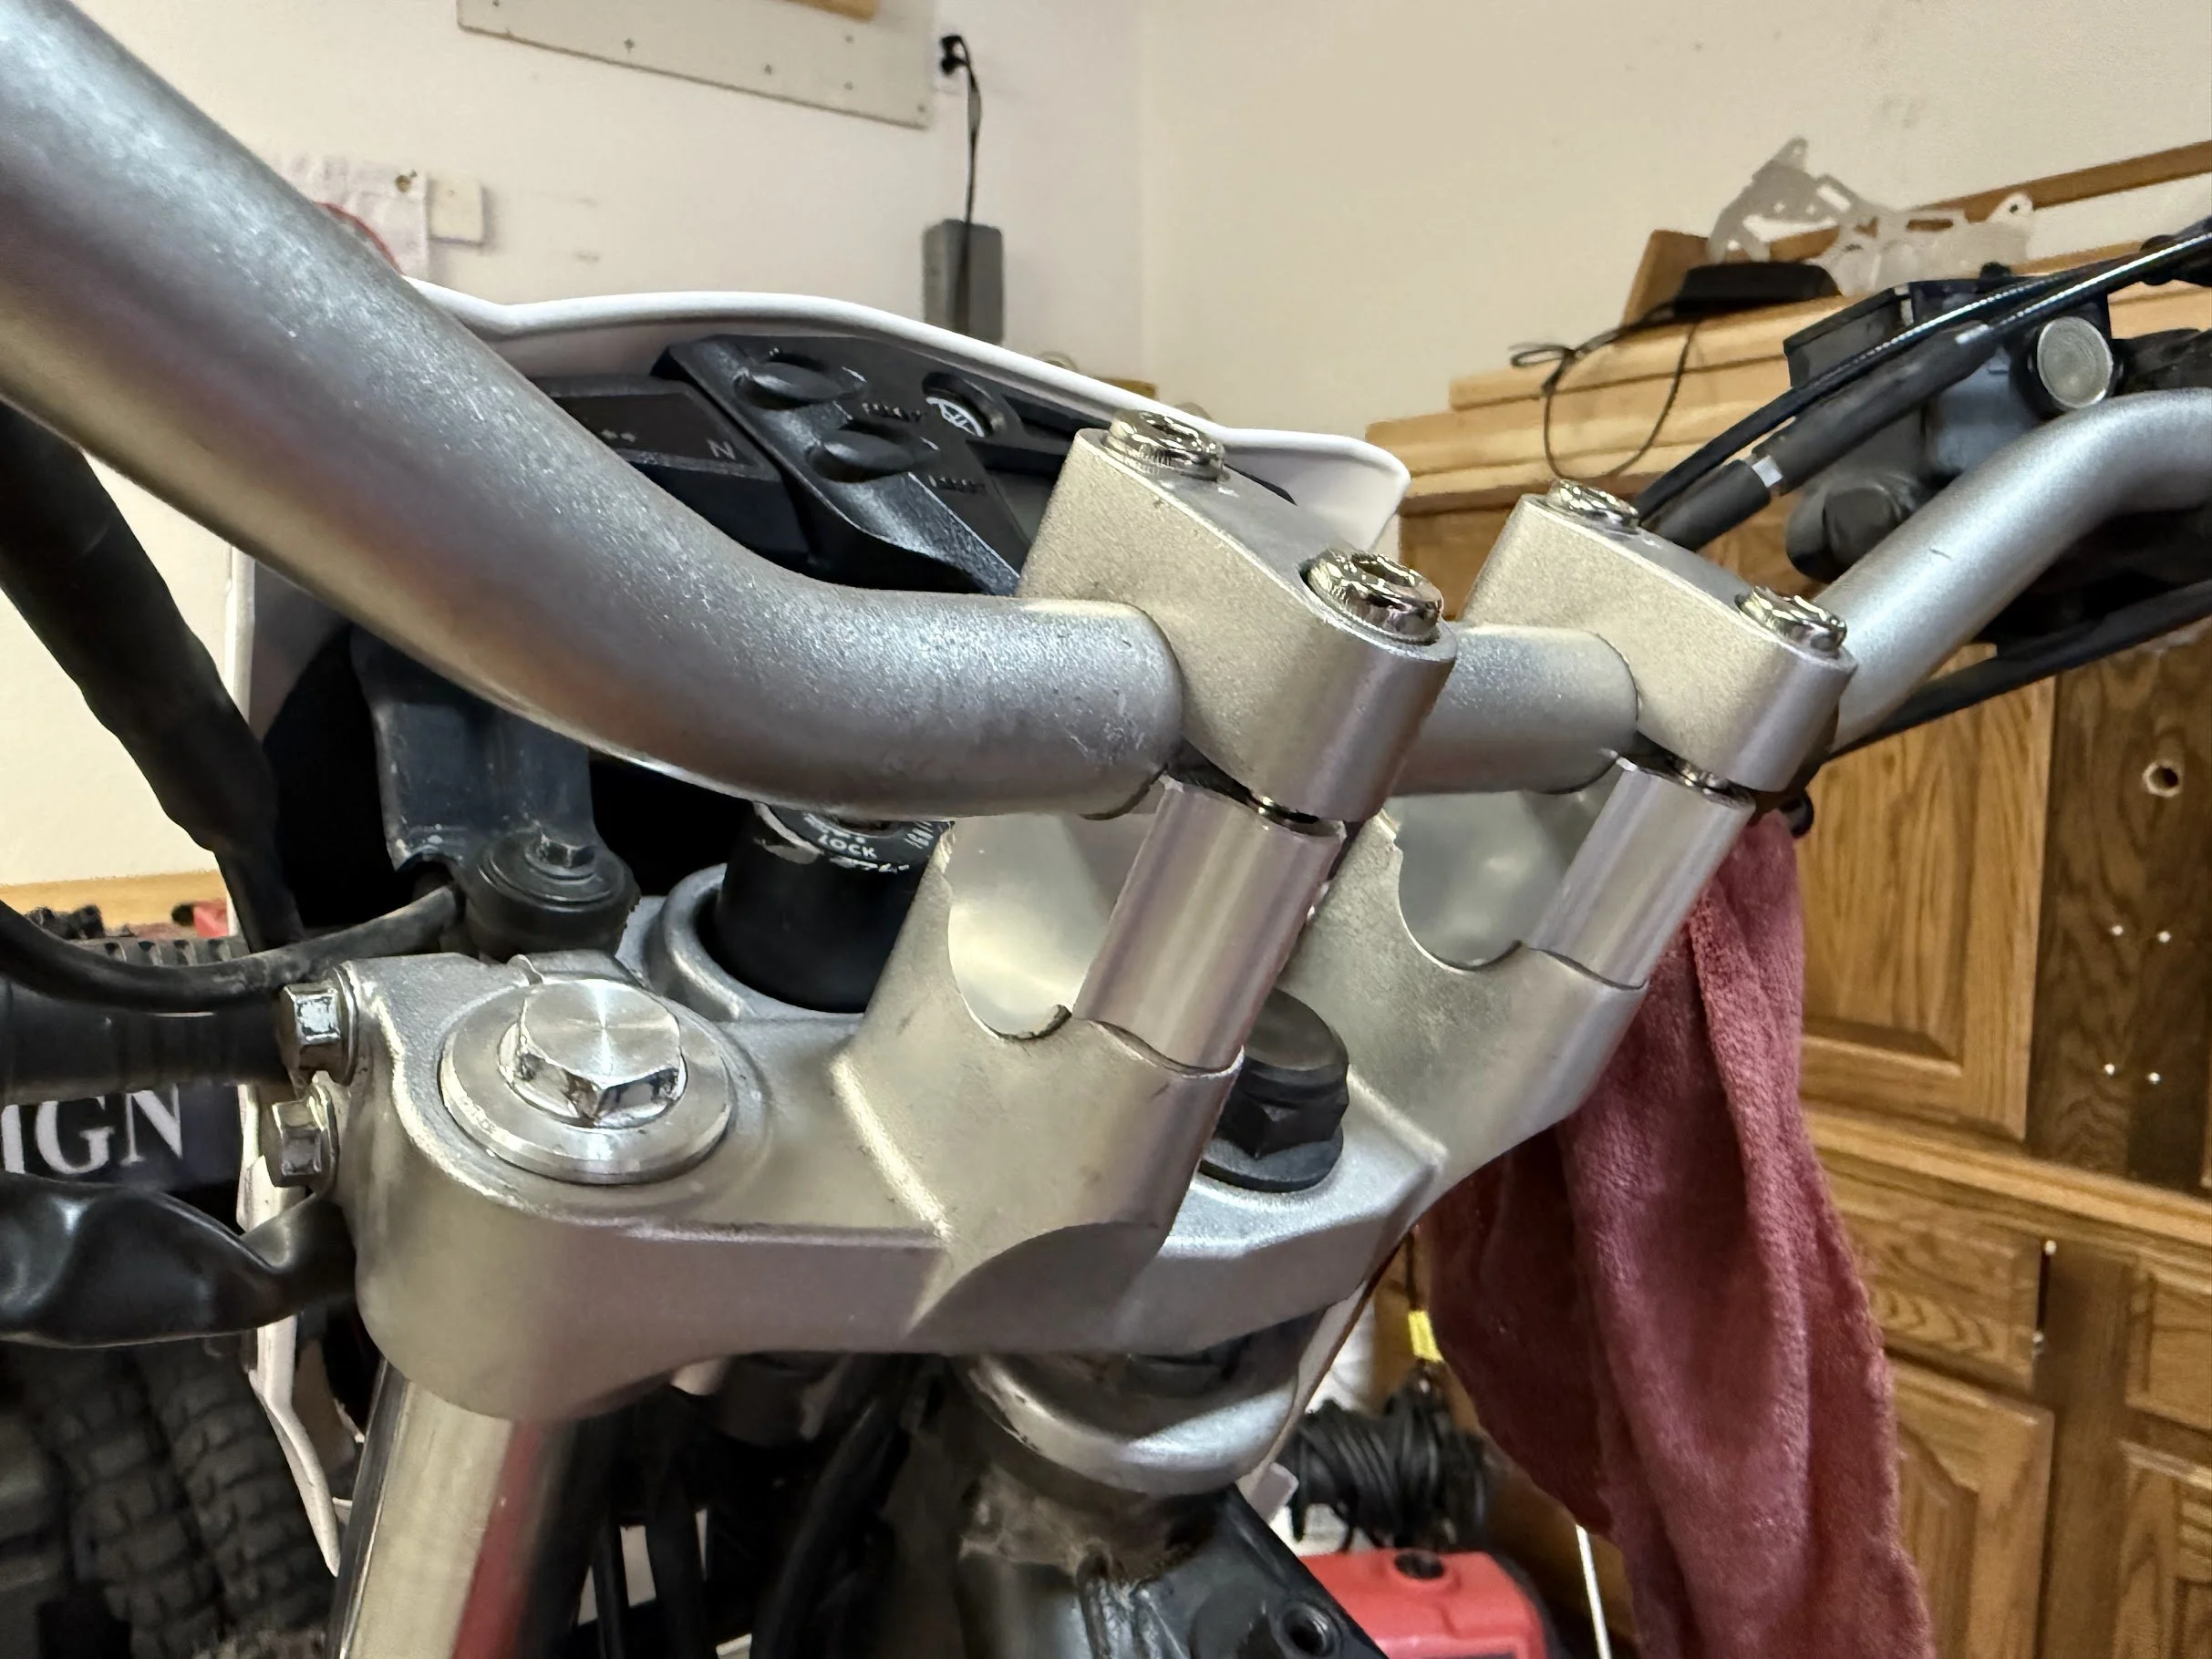
Added 30mm bar risers.
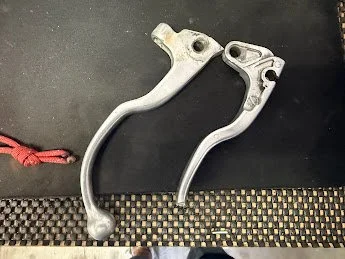
The old clutch/brake lever needed replaced.
Replaced both and they look good!

Added Moose Racing protectors. I feel better about having them on the bike.

Added a skid/bash plate. Went with the slight more expensive one on recommendation from Jack. The hardware was wrong, so I made my own thing work.

Engine oil time! Pre-soaking the filter. Using Mobile 1 4T 10Wx40

After draining the oil, I put in a 19mm head magnetic drain bolt, replaced the o-rings on the oil filter cover, and got everything ready.
Pays to read the service manual! Right where we want it after cycling the engine.

After all the hard work - I could stand it looking like this, so we got to work cleaning it with a cheek-poker 2000.
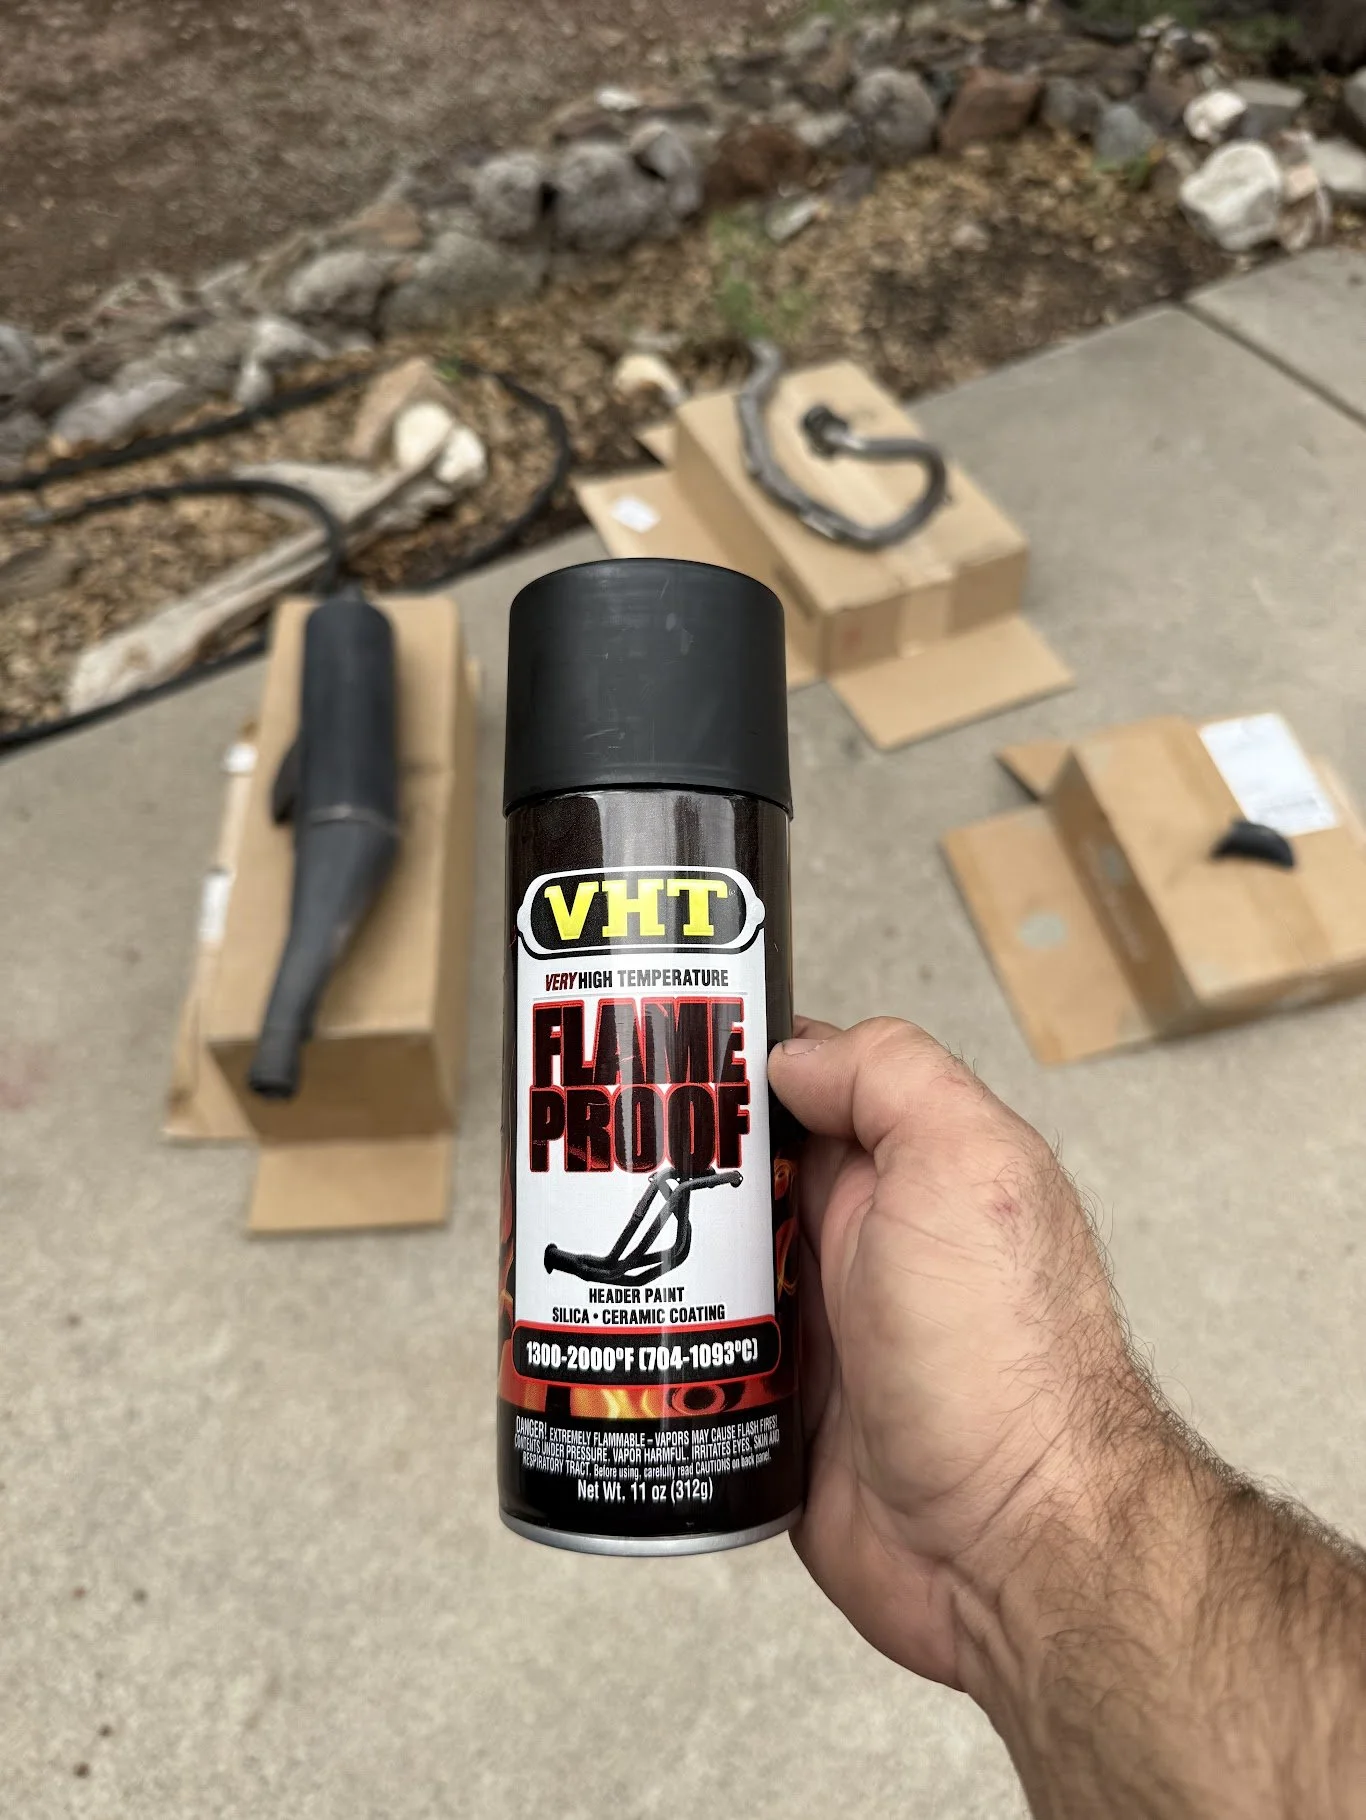
After removing dirt and the old paint, cleaned with parts cleaner then mineral spirits. Time to paint.
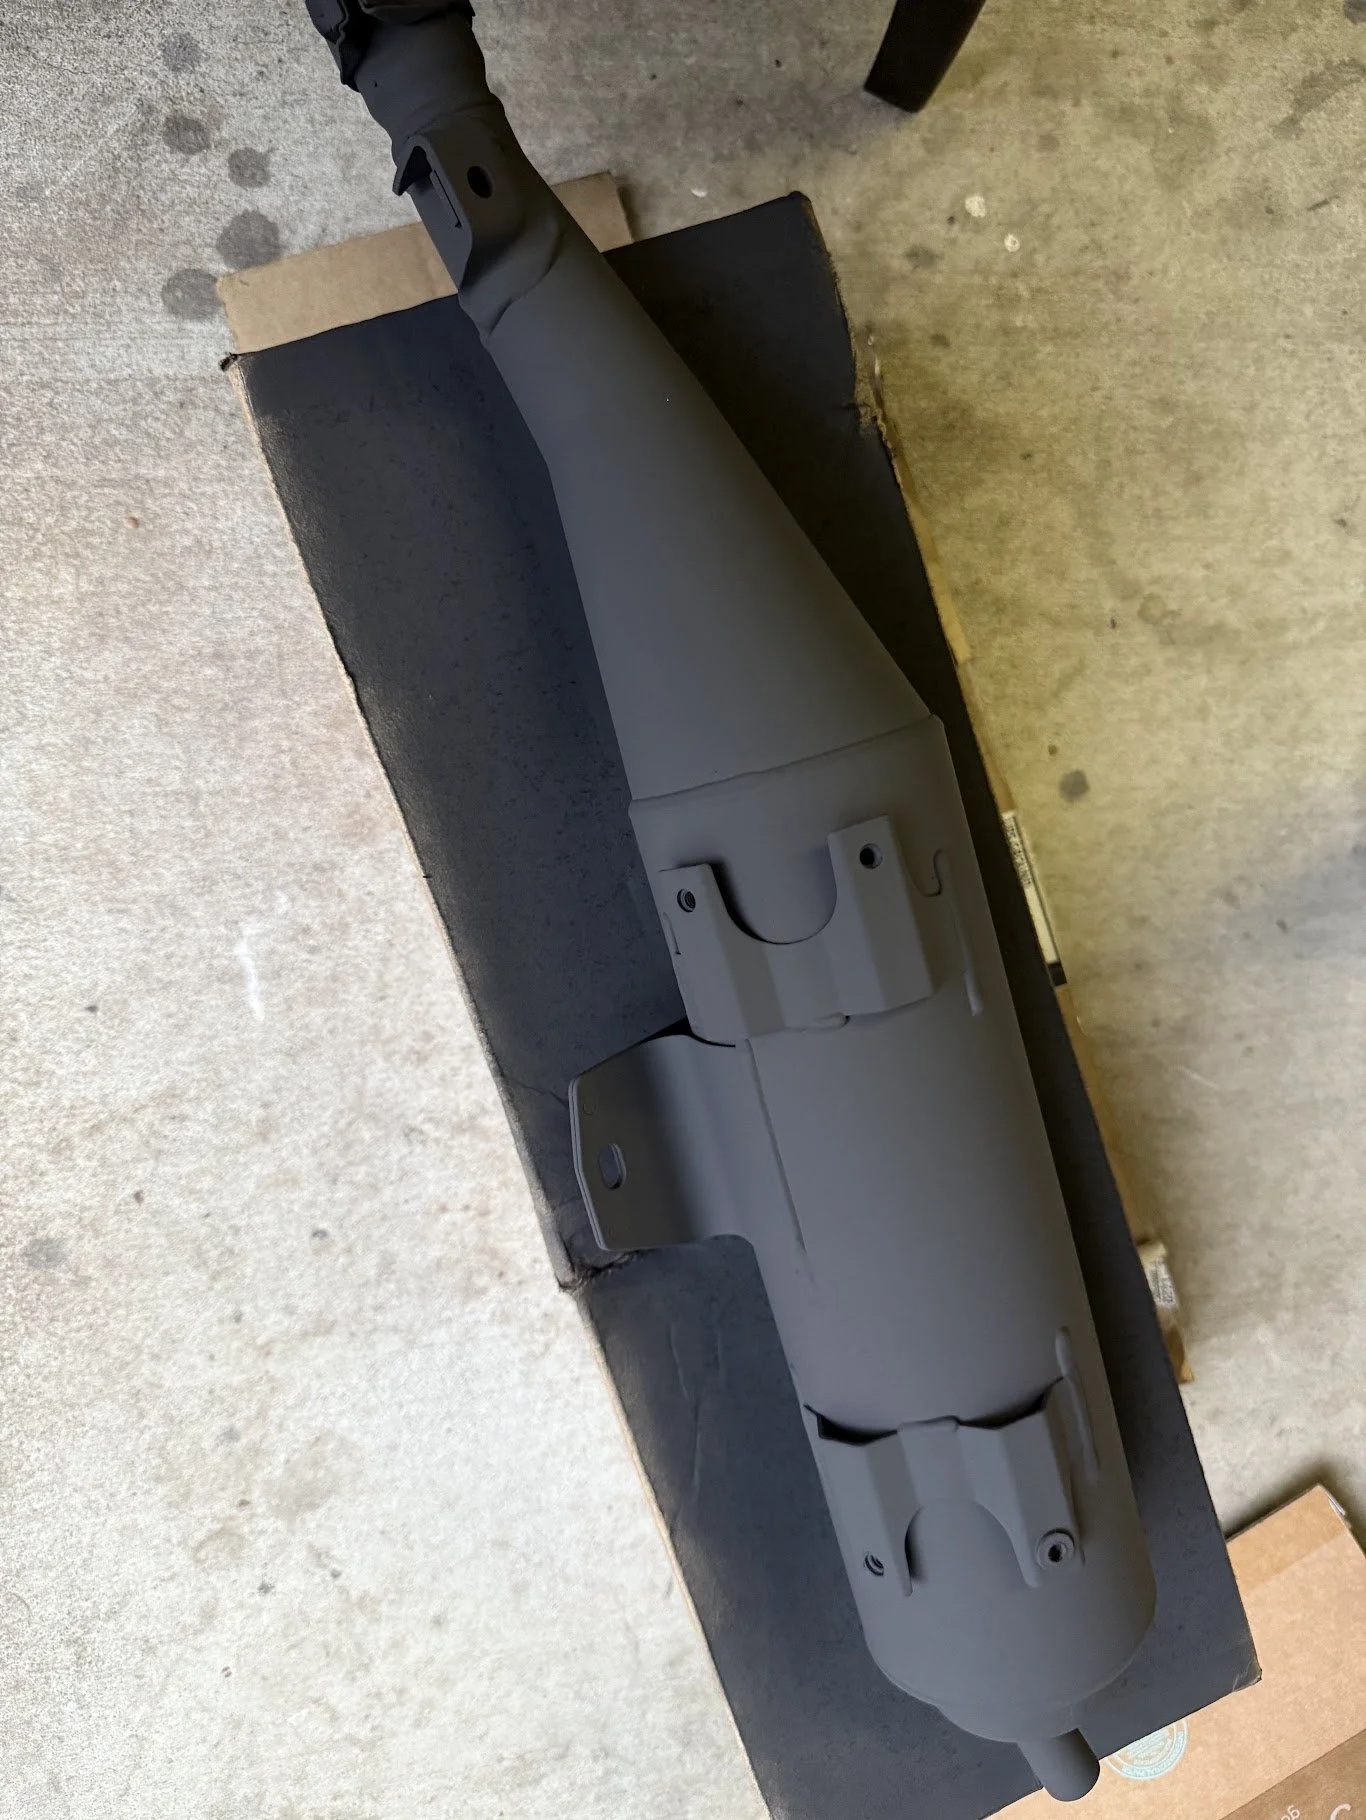
This VHT high-temp paint looks factory (although slightly more matte). I like the look.

After installing everything, it really freshens up the bike!
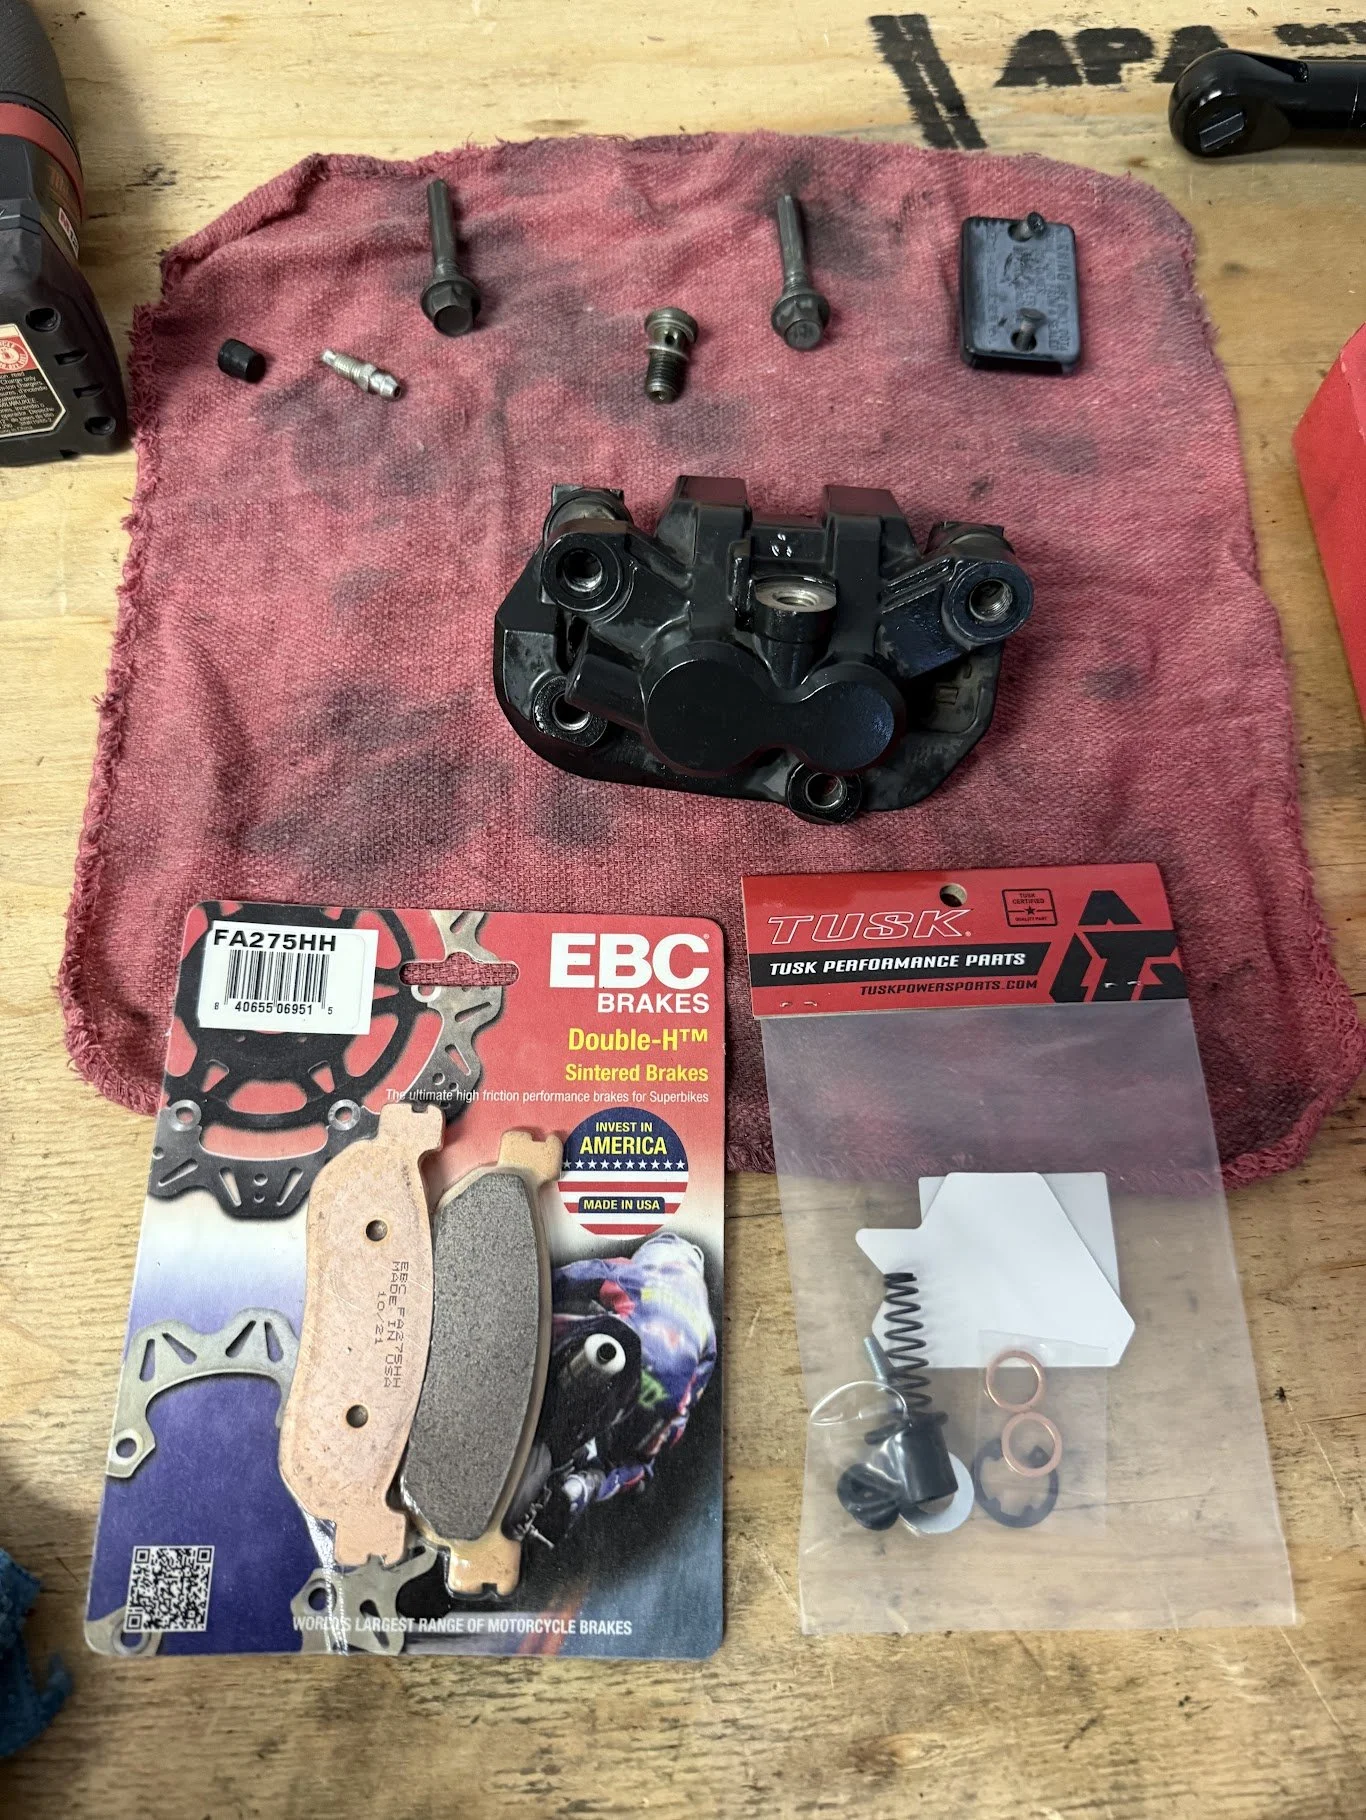
We got started with the brakes. For the front - a complete rebuild! Pulled the brake caliper, rebuilt it, added new brake pads.
Inspecting the front brake line, it had to go. So we pulled it off and purchased a SS brake line, cheaper than OEM.

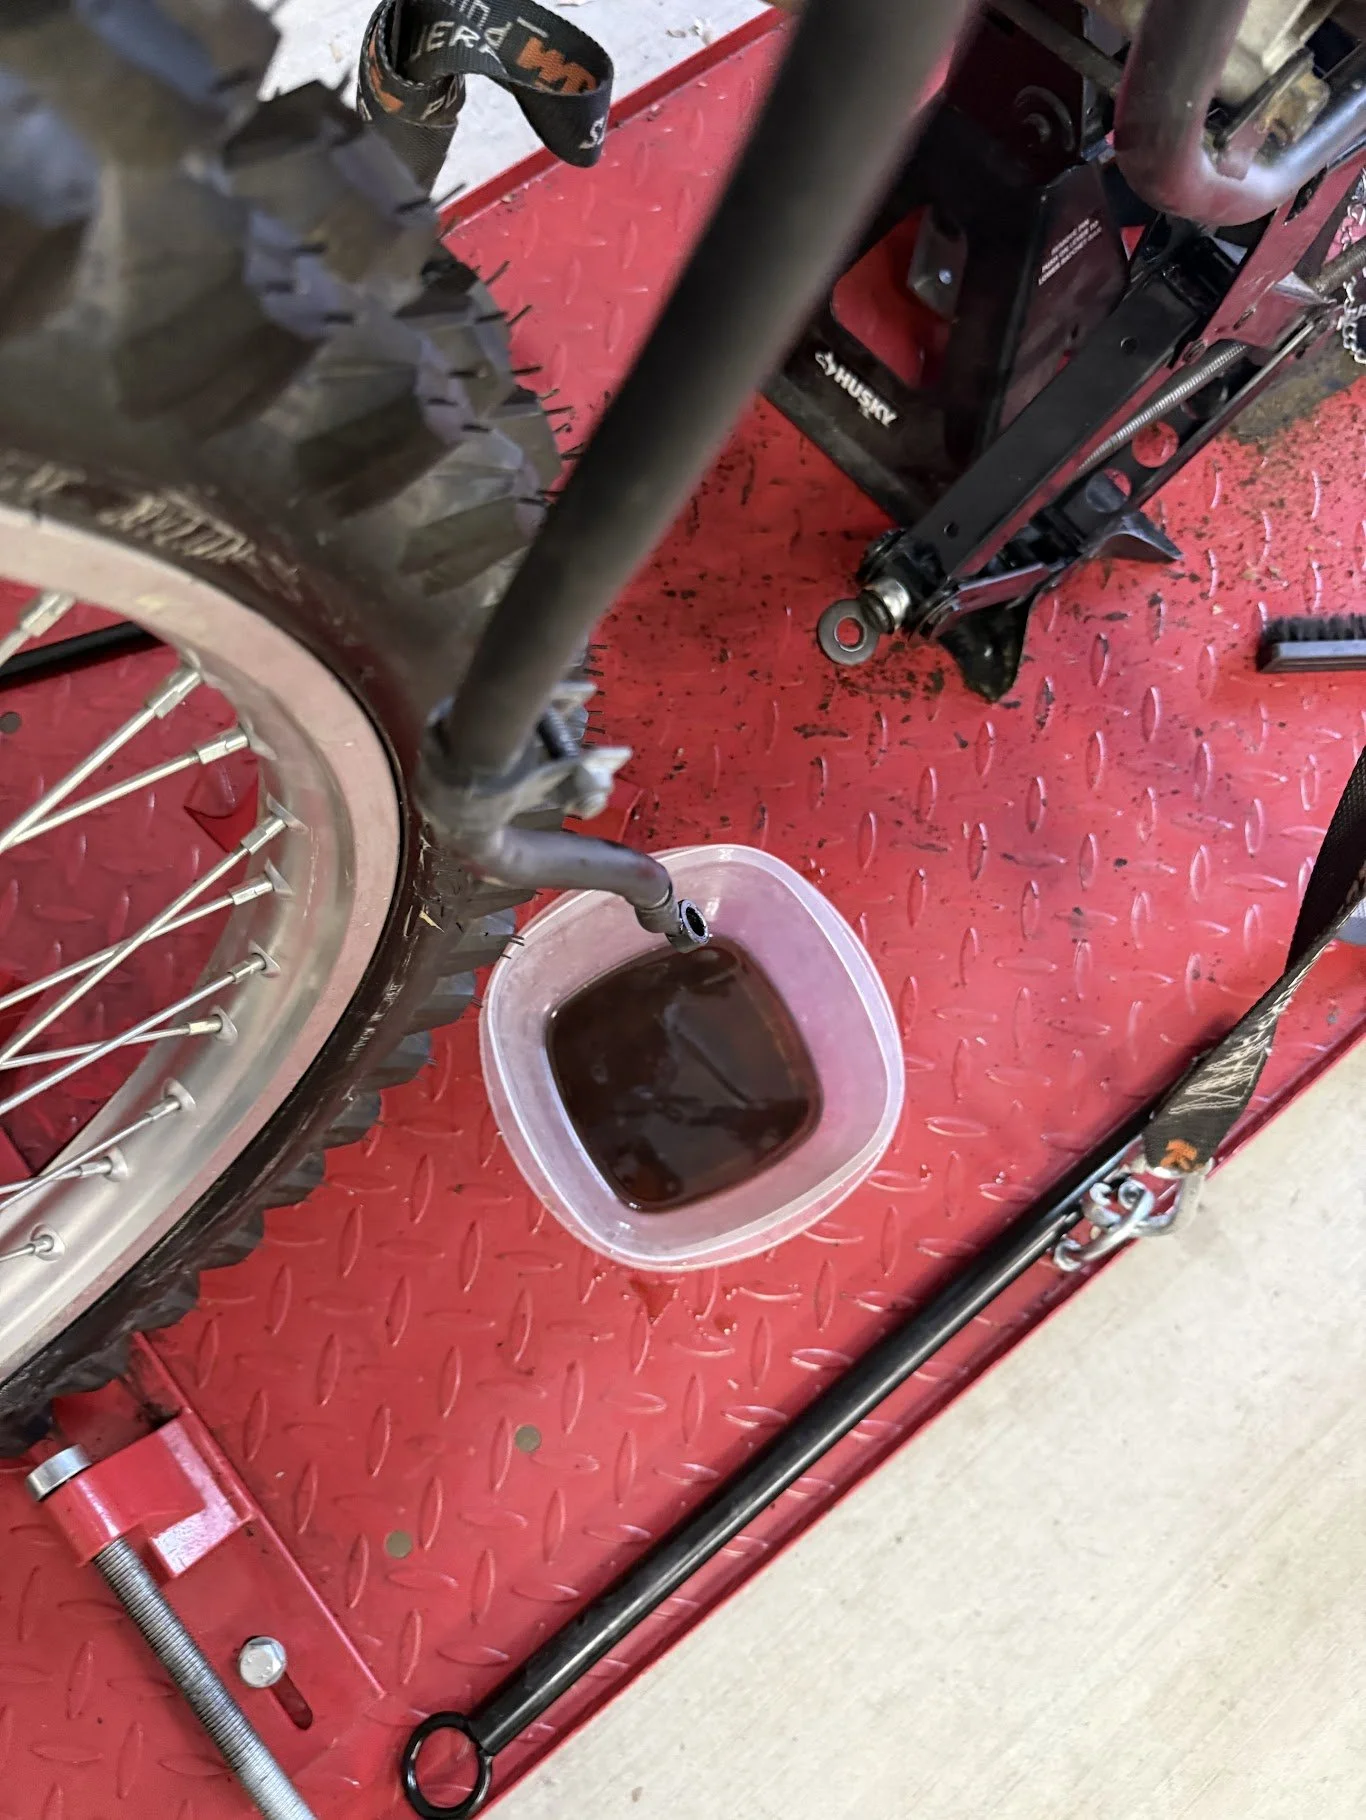
Getting all the crud out of the master cylinder - doing the fluid flush is so easy. It's a mystery to me why people don't do it regularly.

Re-installed the rebuilt brake caliper and SS brake line. The line is really long, and I don't like the look of it. It doesn't route cleanly like the OEM one does. Long-term I will find some grommets that work and put them in there for a cleaner look.

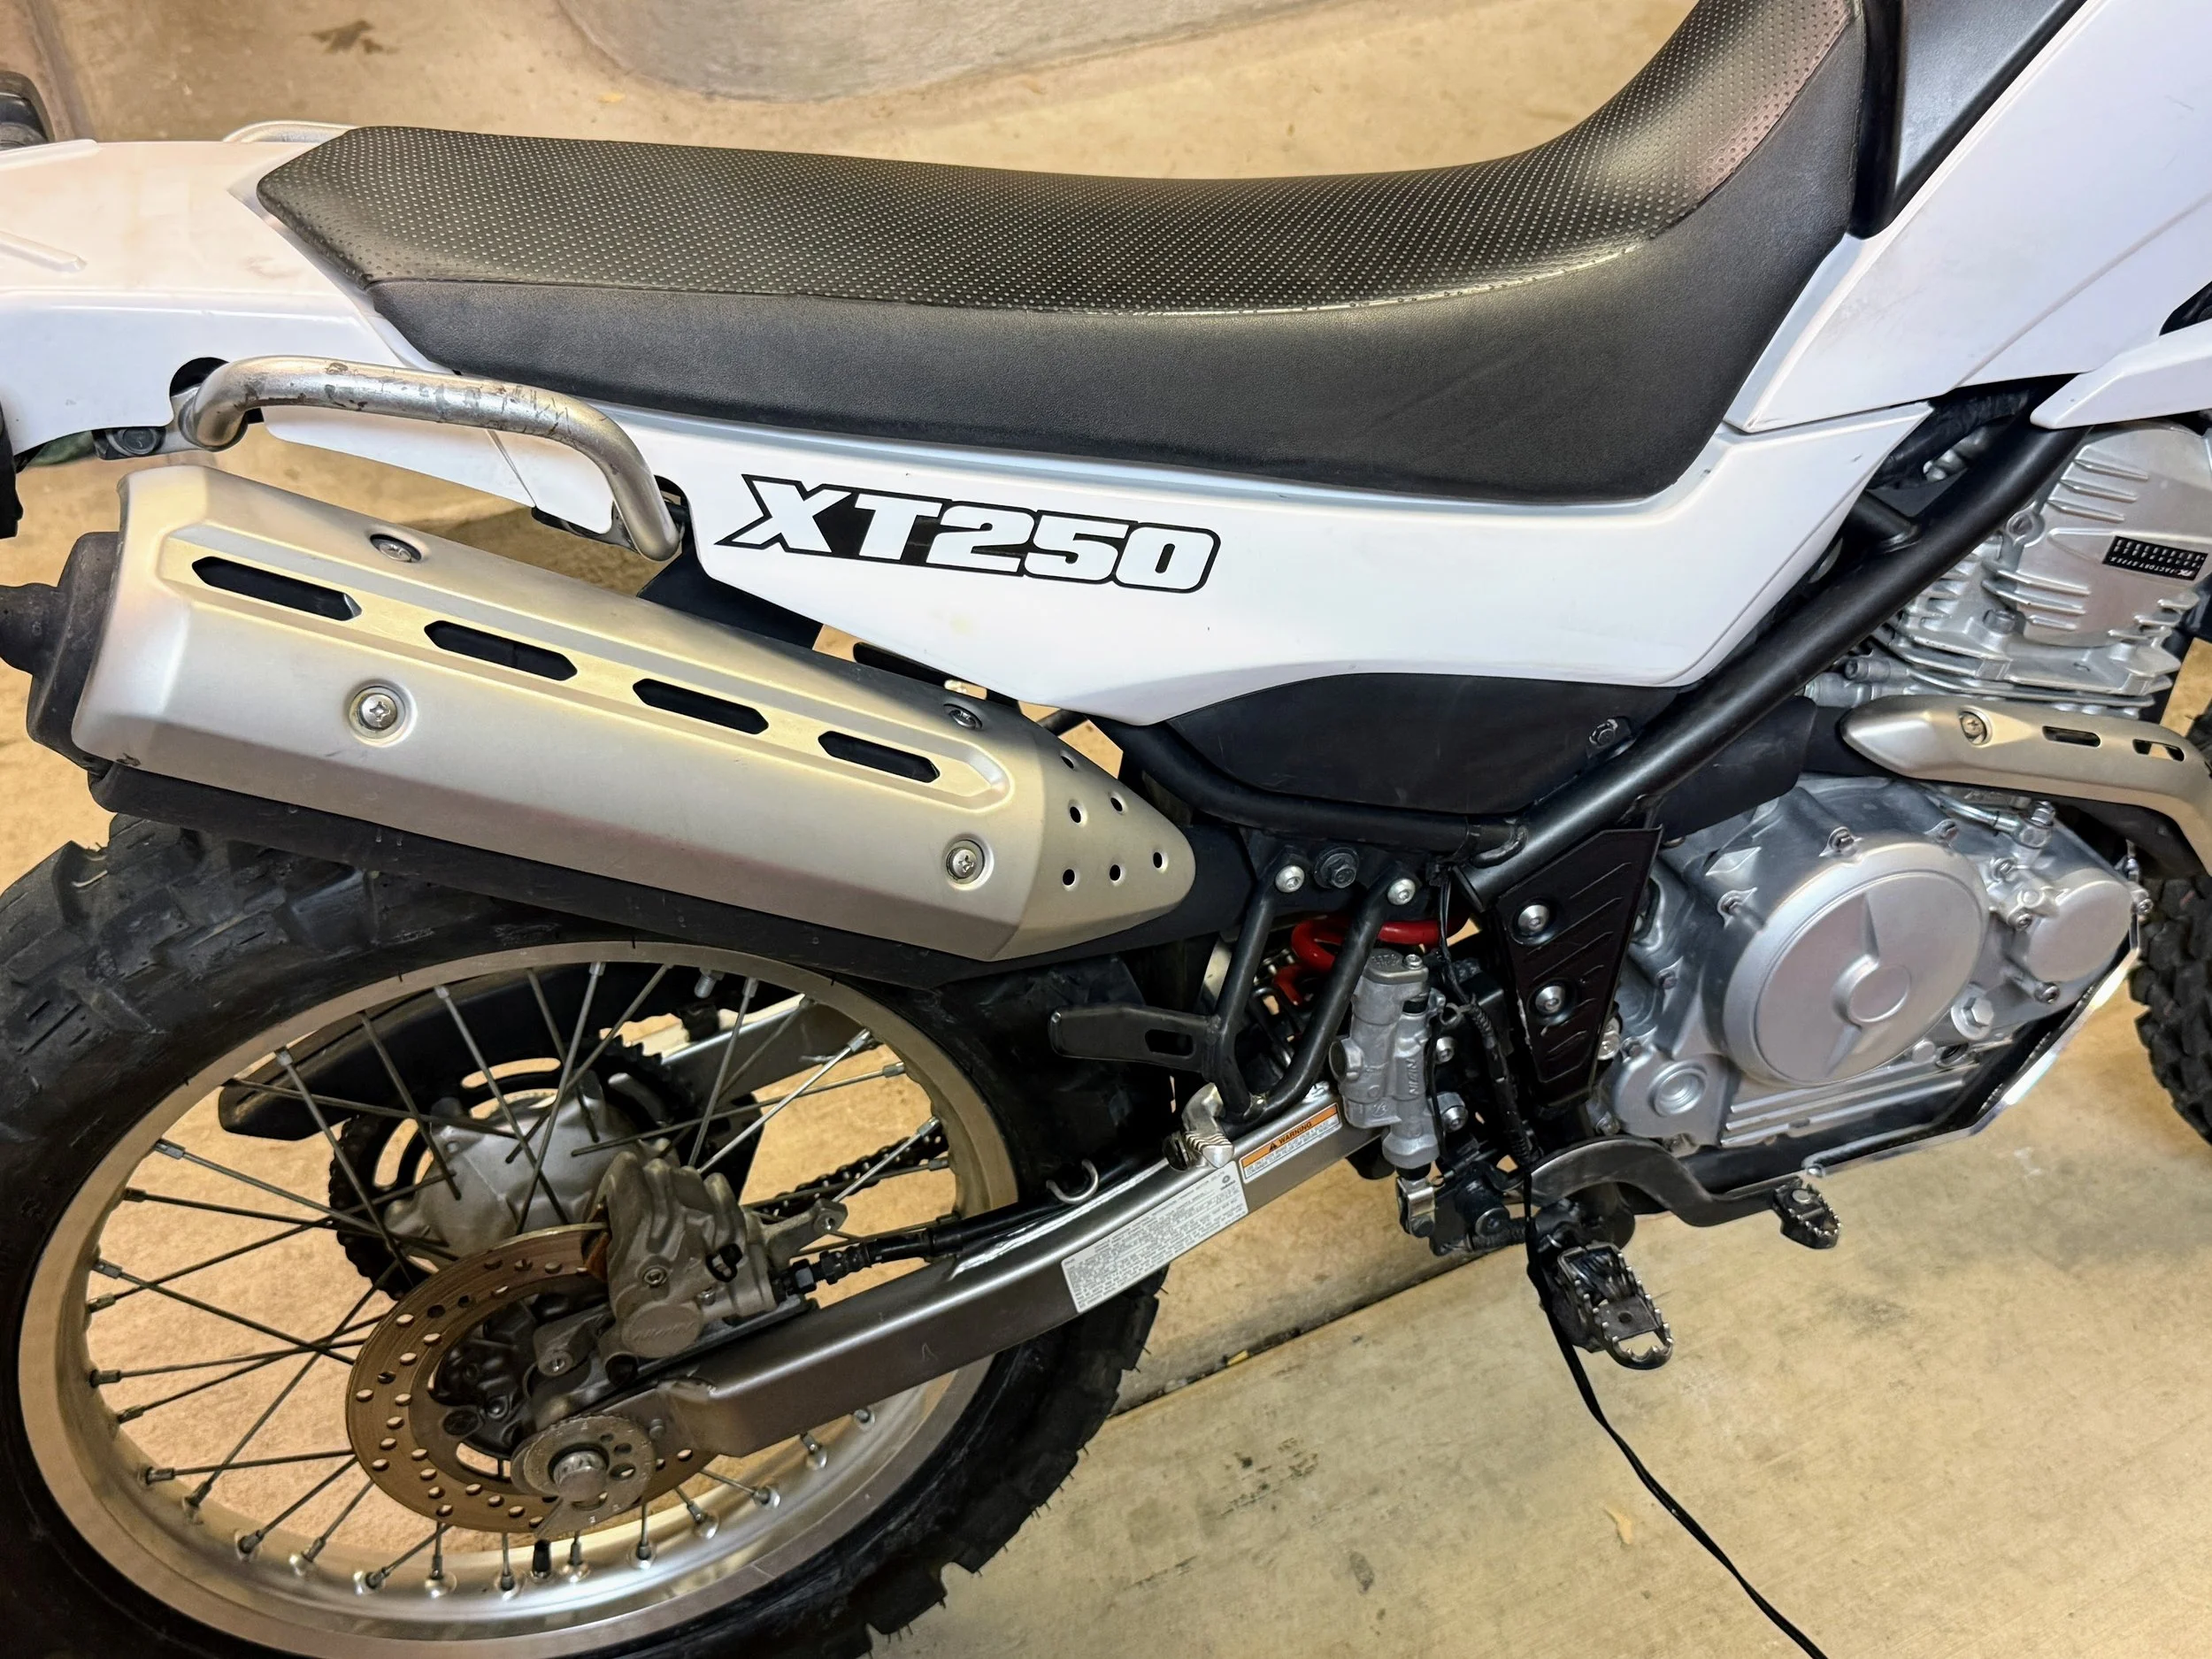
Rear brake line was in better shape, so I kept it. Replaced the brake pads and flushed the fluid. It was dark brown.

Everything looks great in the back, and I have good stopping power.
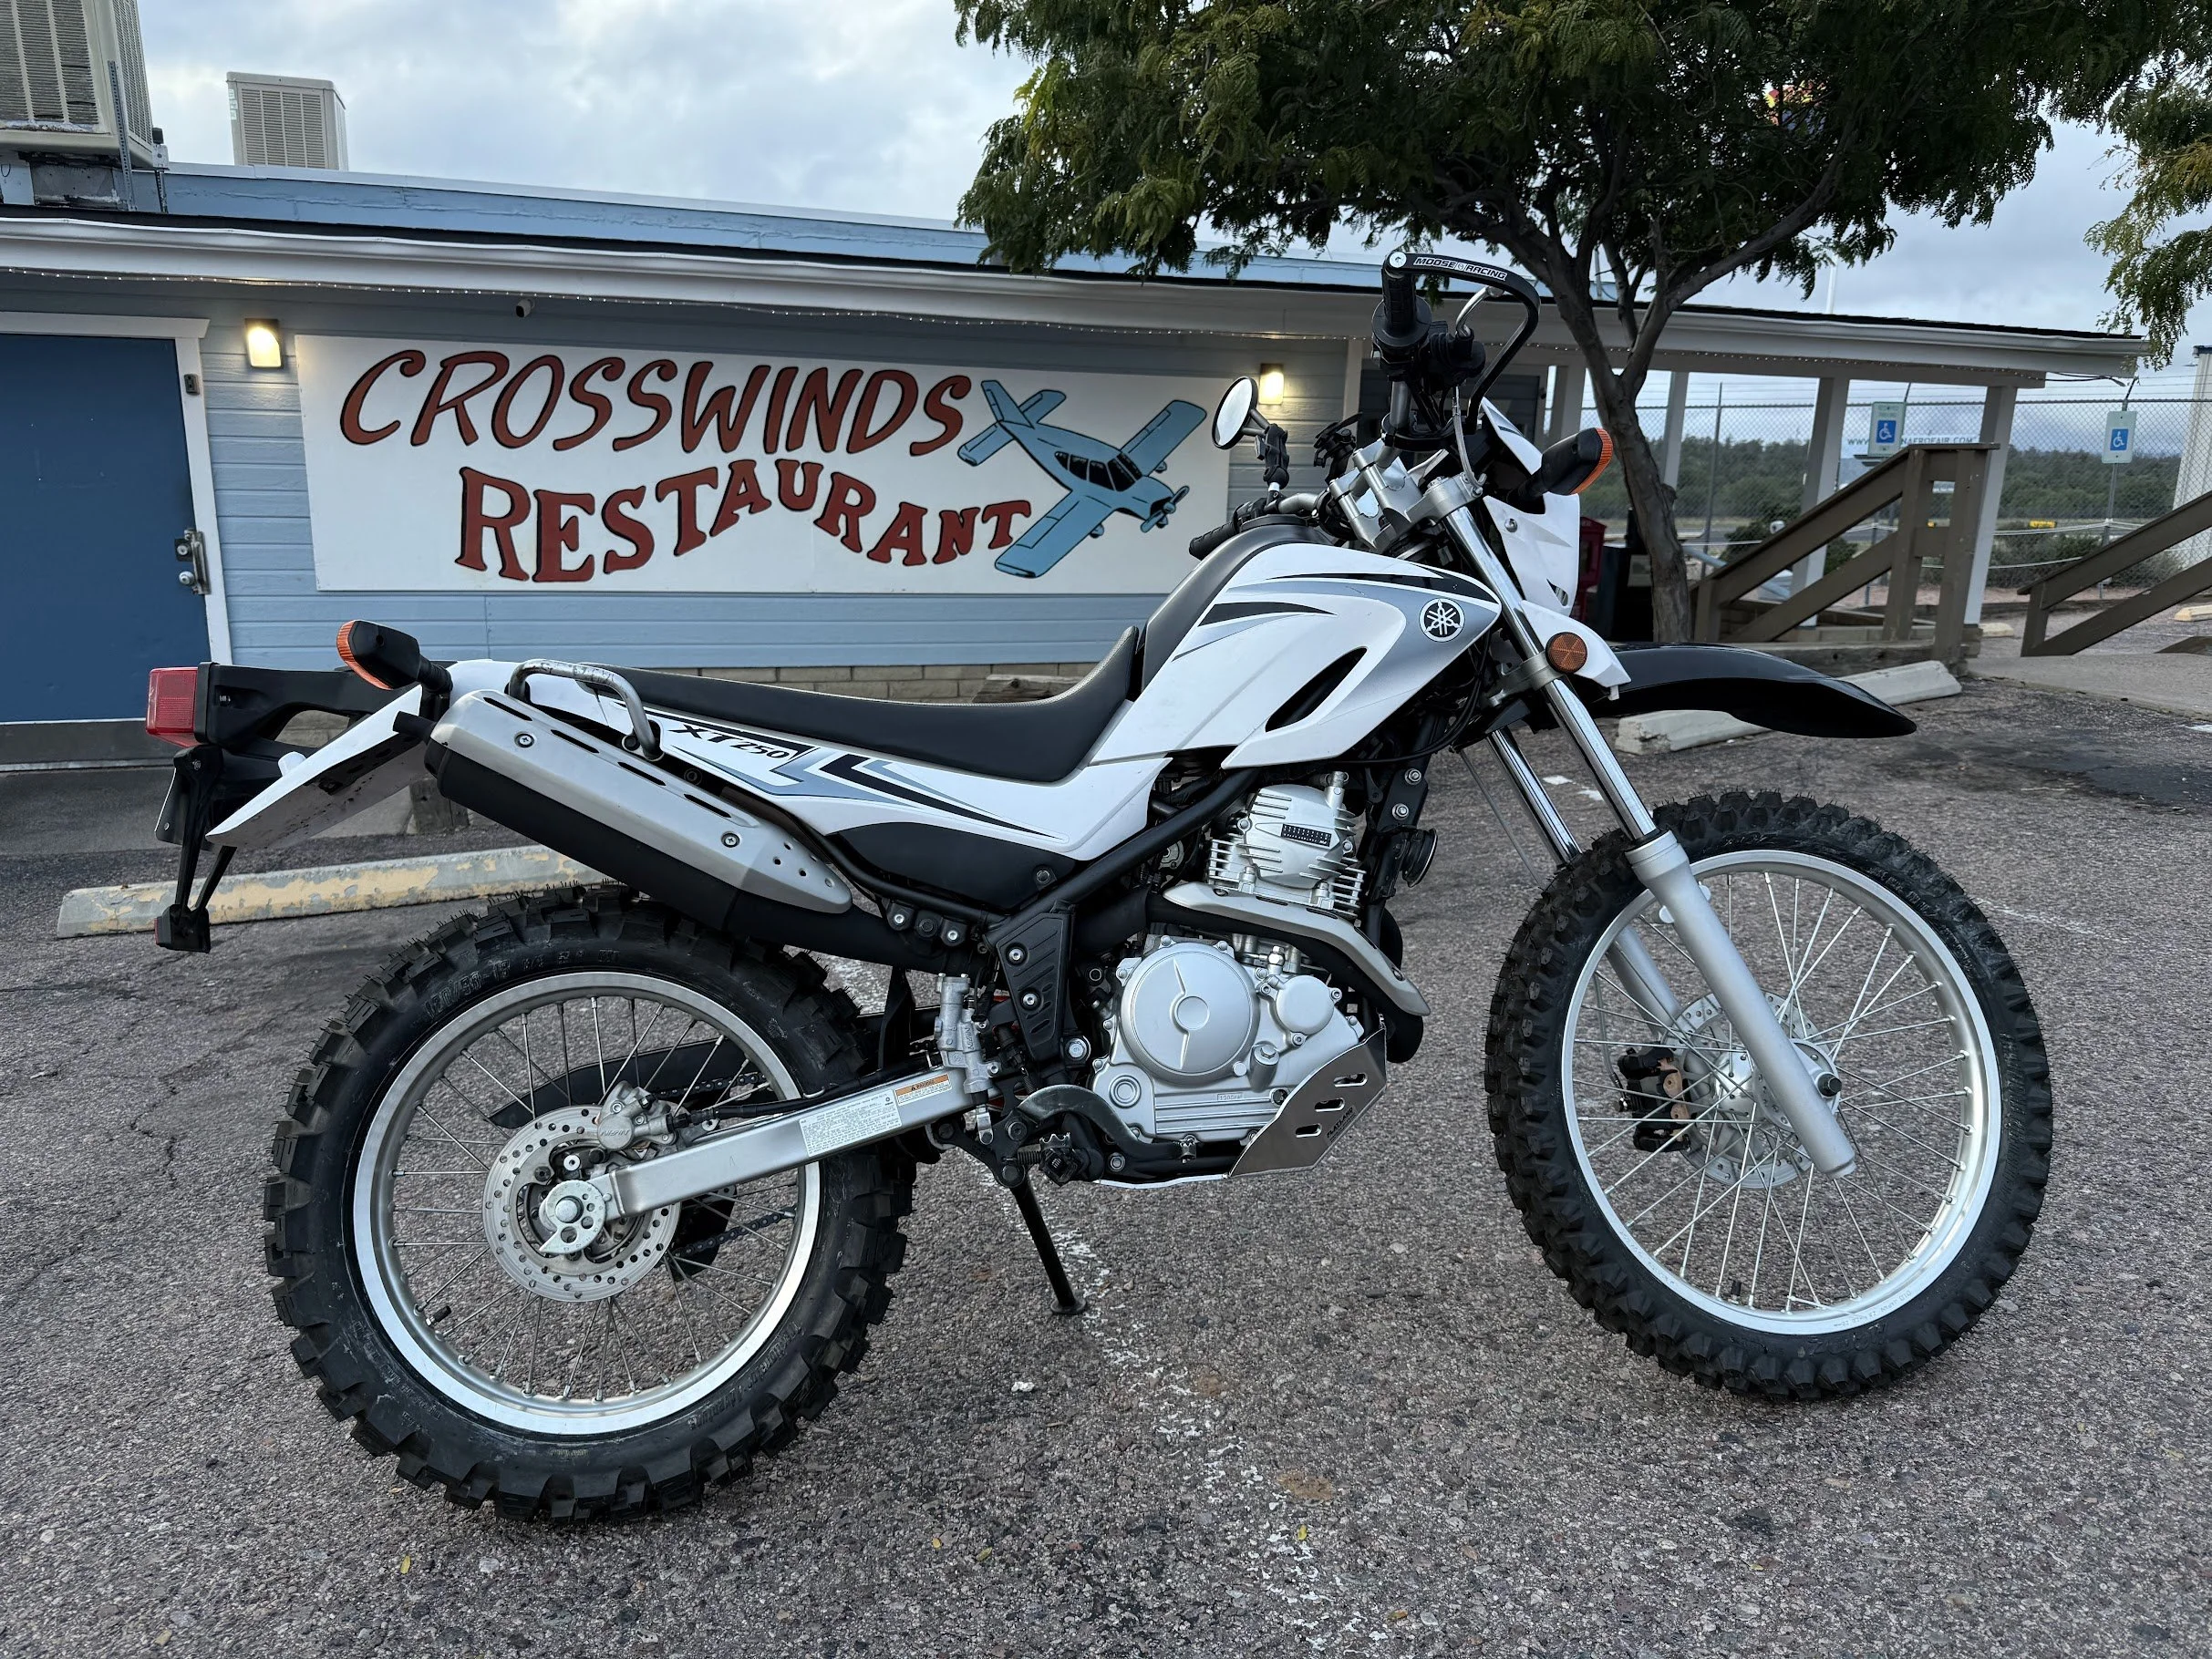
After getting all the plastics back on, I took it for a ride. It is starting, firing, and sounds much better. The bike looks clean!
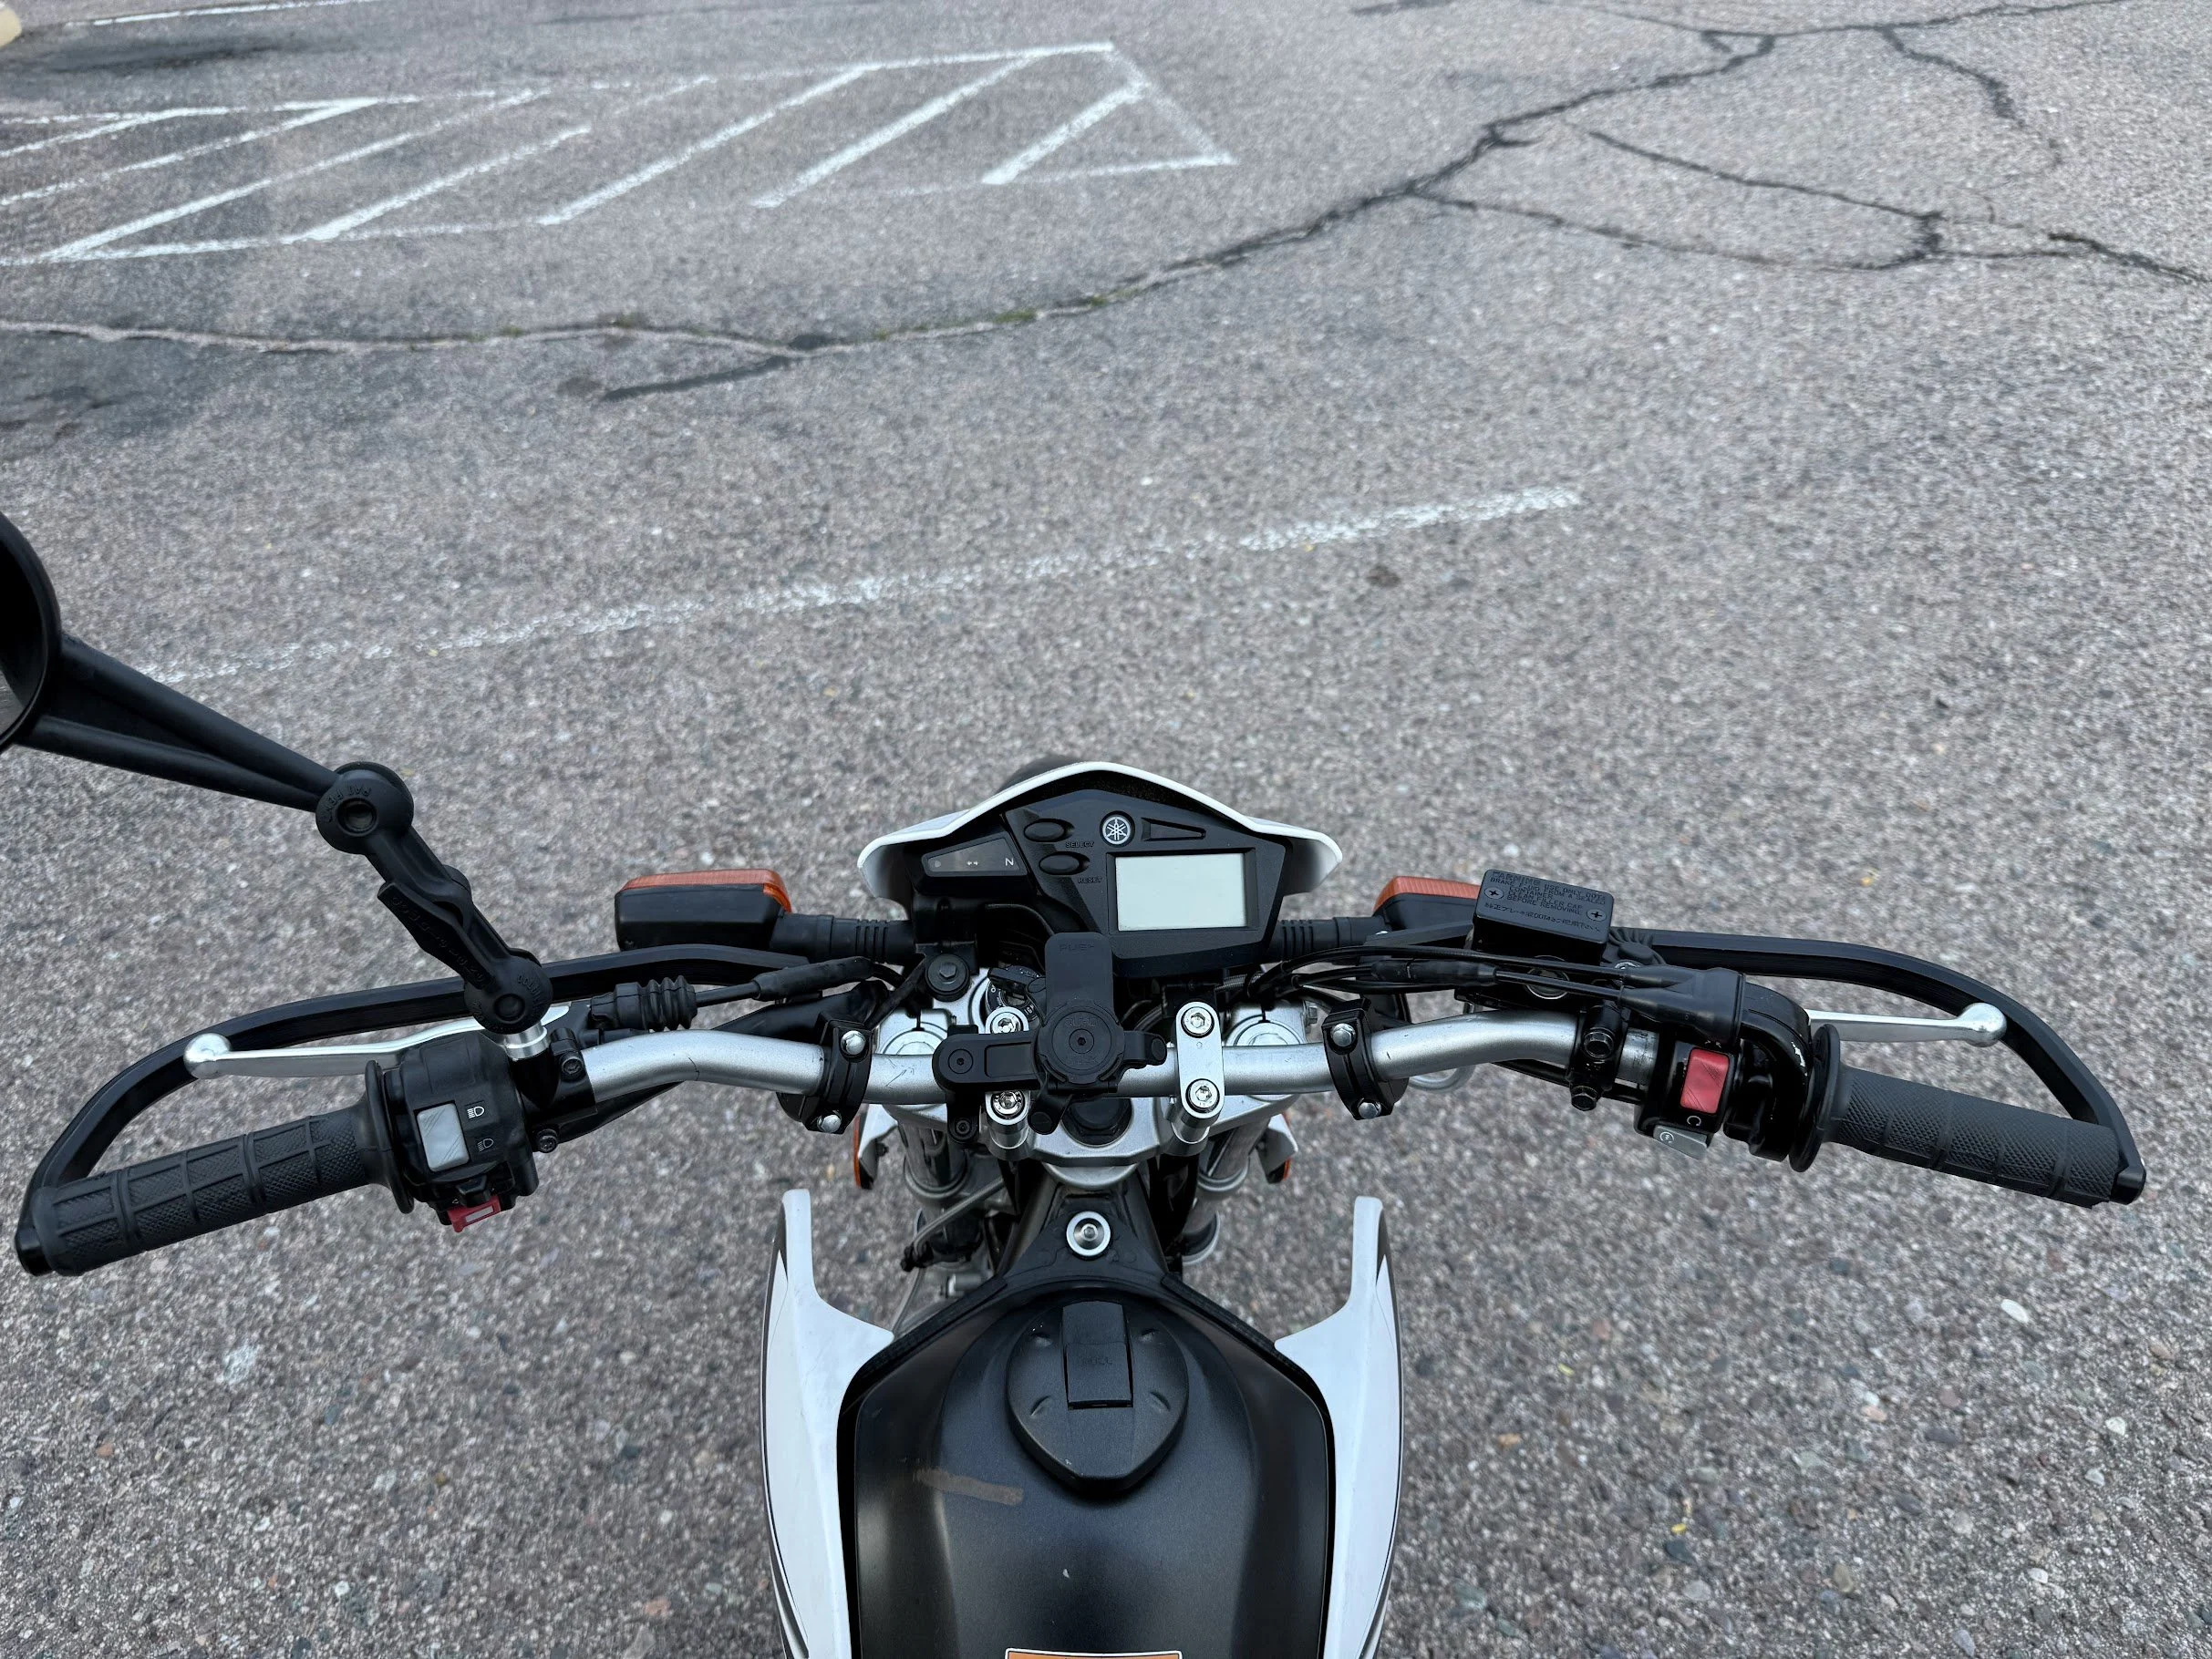
I really like the cockpit on this bike! But it definitely needs a second mirror and small adjustments.

Ride went well, but I need fork boots, another mirror, and I don't like what remains of the decals.

Those tires look mean! Really loving the look of the bike. But there is work to be done still.
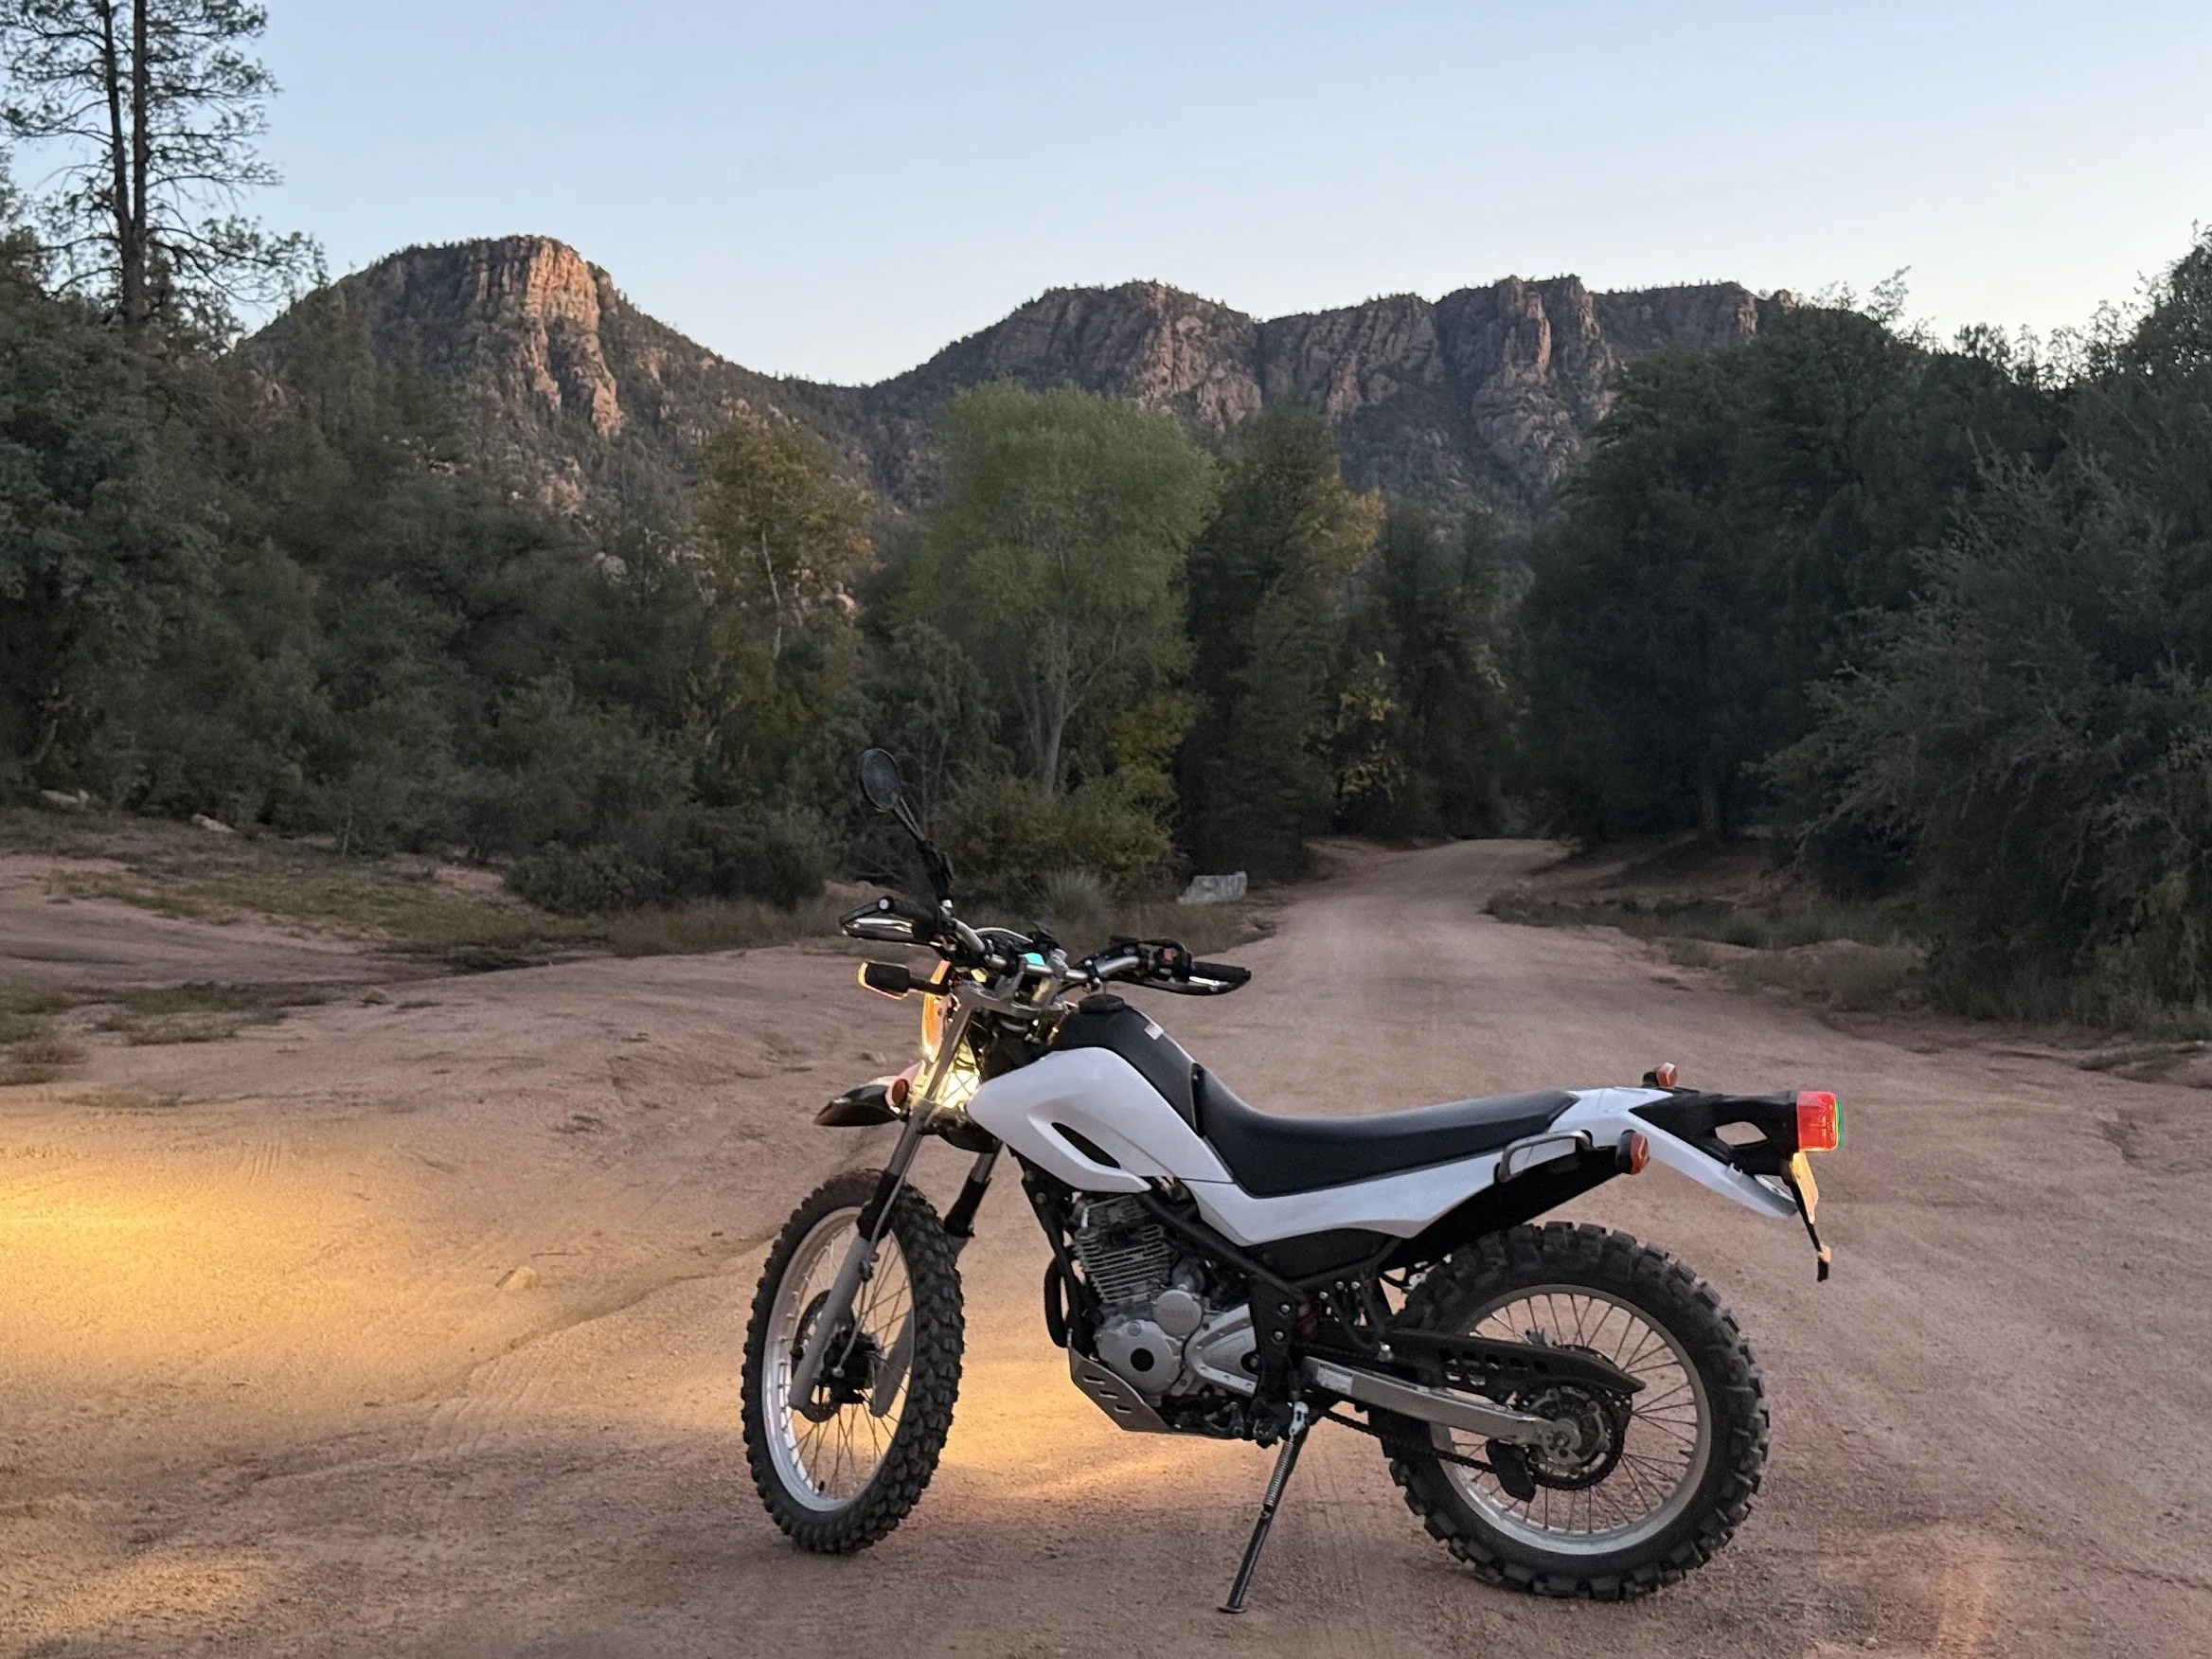
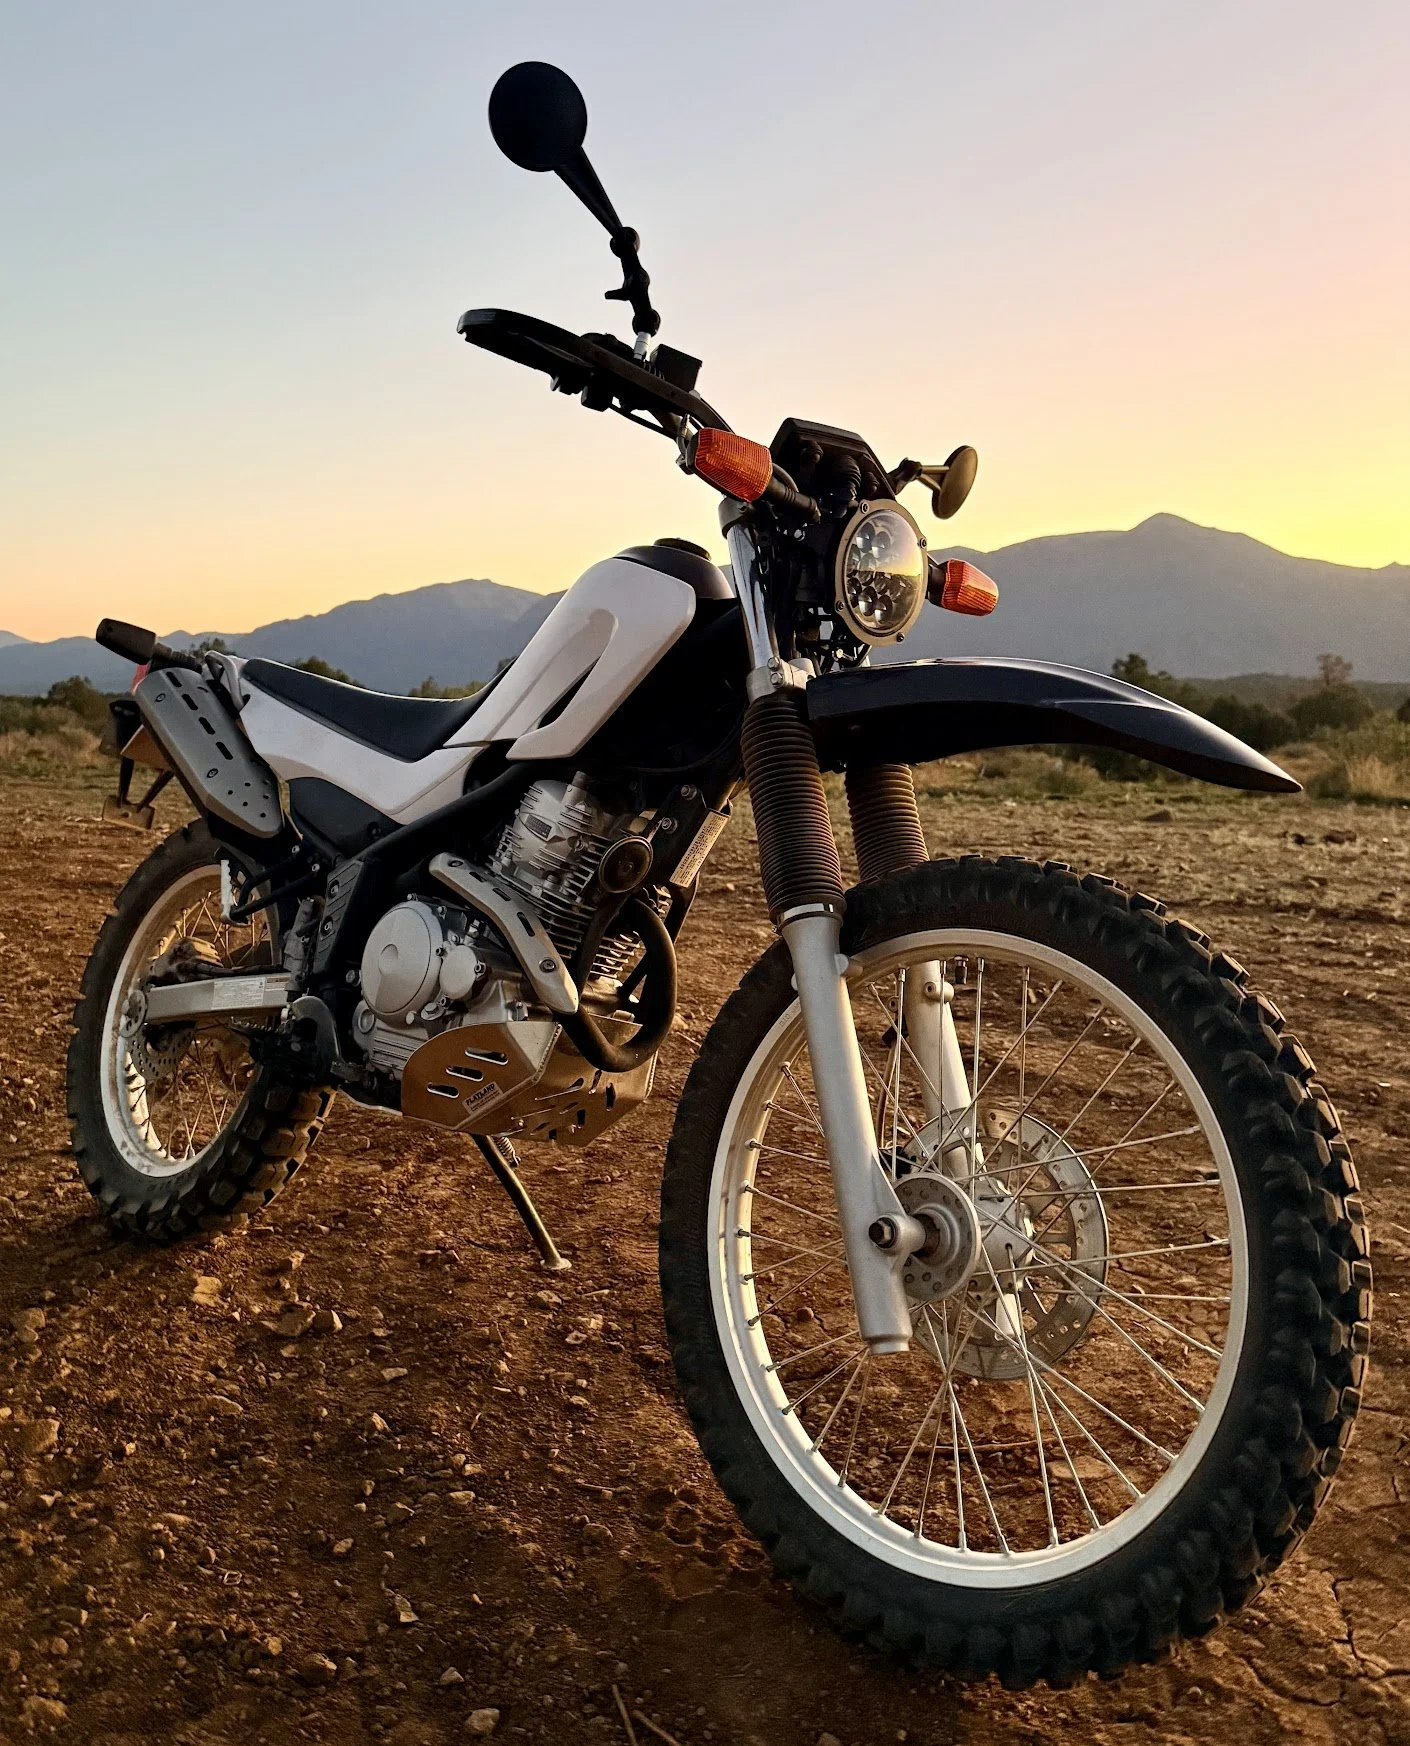
Before I finished the remainder of the stuff, I took on a hard test ride. Before I did that, I removed what was left of the factory decals and when black & white - I really love the look!

The suspension held up great, and I was very pleased with both the 14T gearing and the suspensions performance on the technical stuff.

First the fork boots - took off the shocks, repurposed them for the BMW R1250GSA, took the wheel off, and removed the forks.
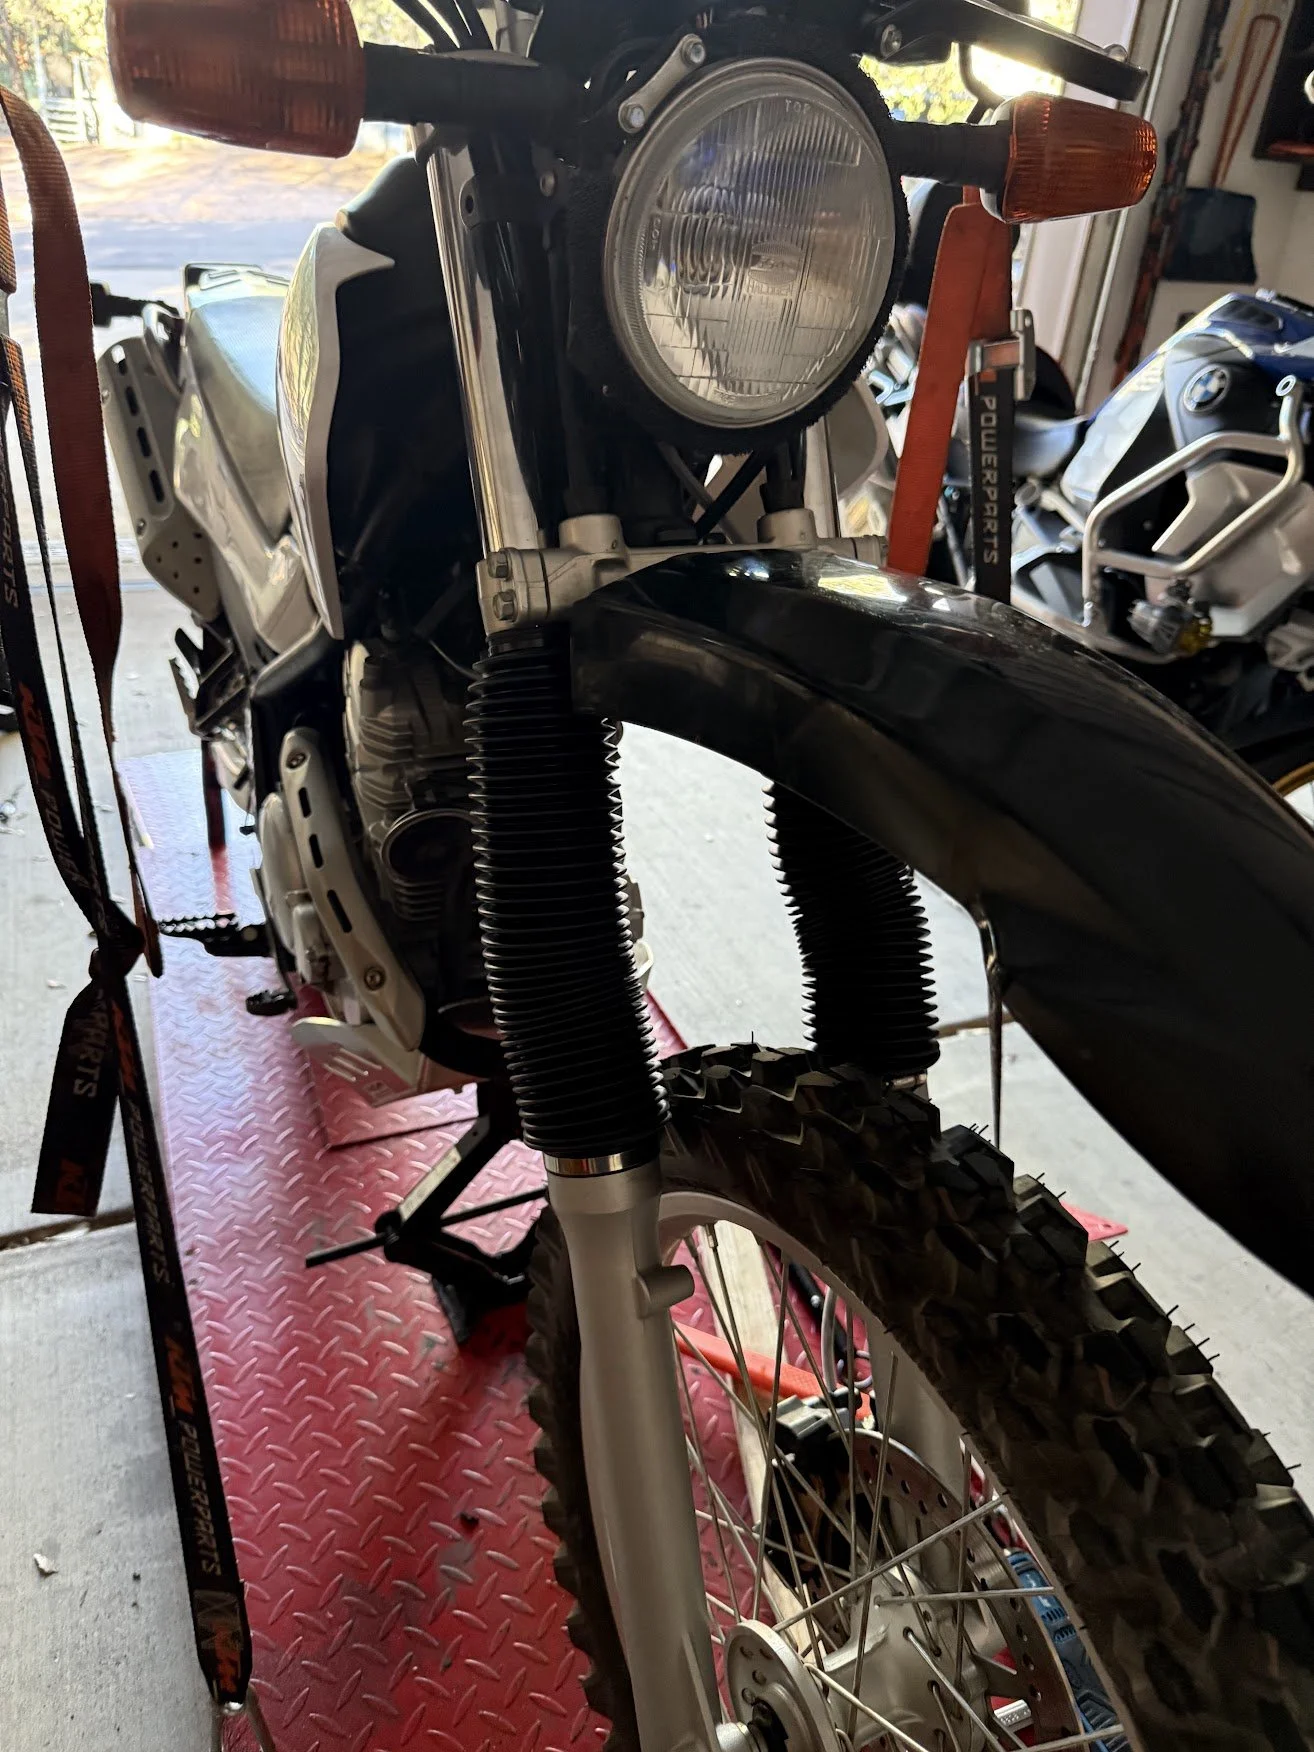
These are aftermarket boots on Amazon. They aren't even remotely as clean as the OEM ones, but the OEM fork boots are insanely expensive online ($65 per boot) - no thanks!

Off with it's head...light. Time to save some wattage (~50 watts), get more visible light, and a much cleaner look for the machine!

Comparing the OEM light with the new LED light - a way better look. This is a JNS light (linked)

Comparing the backs - the new is a drop in design not requiring the original bracket. Not the red connector - because of the watts savings, you are given a new switched power source - a really nice add from JNS!

The headlight assembled. I used from blue thread locker on the bolts to give some security. They are so bright, it's easy to adjust them during the day in the garage.
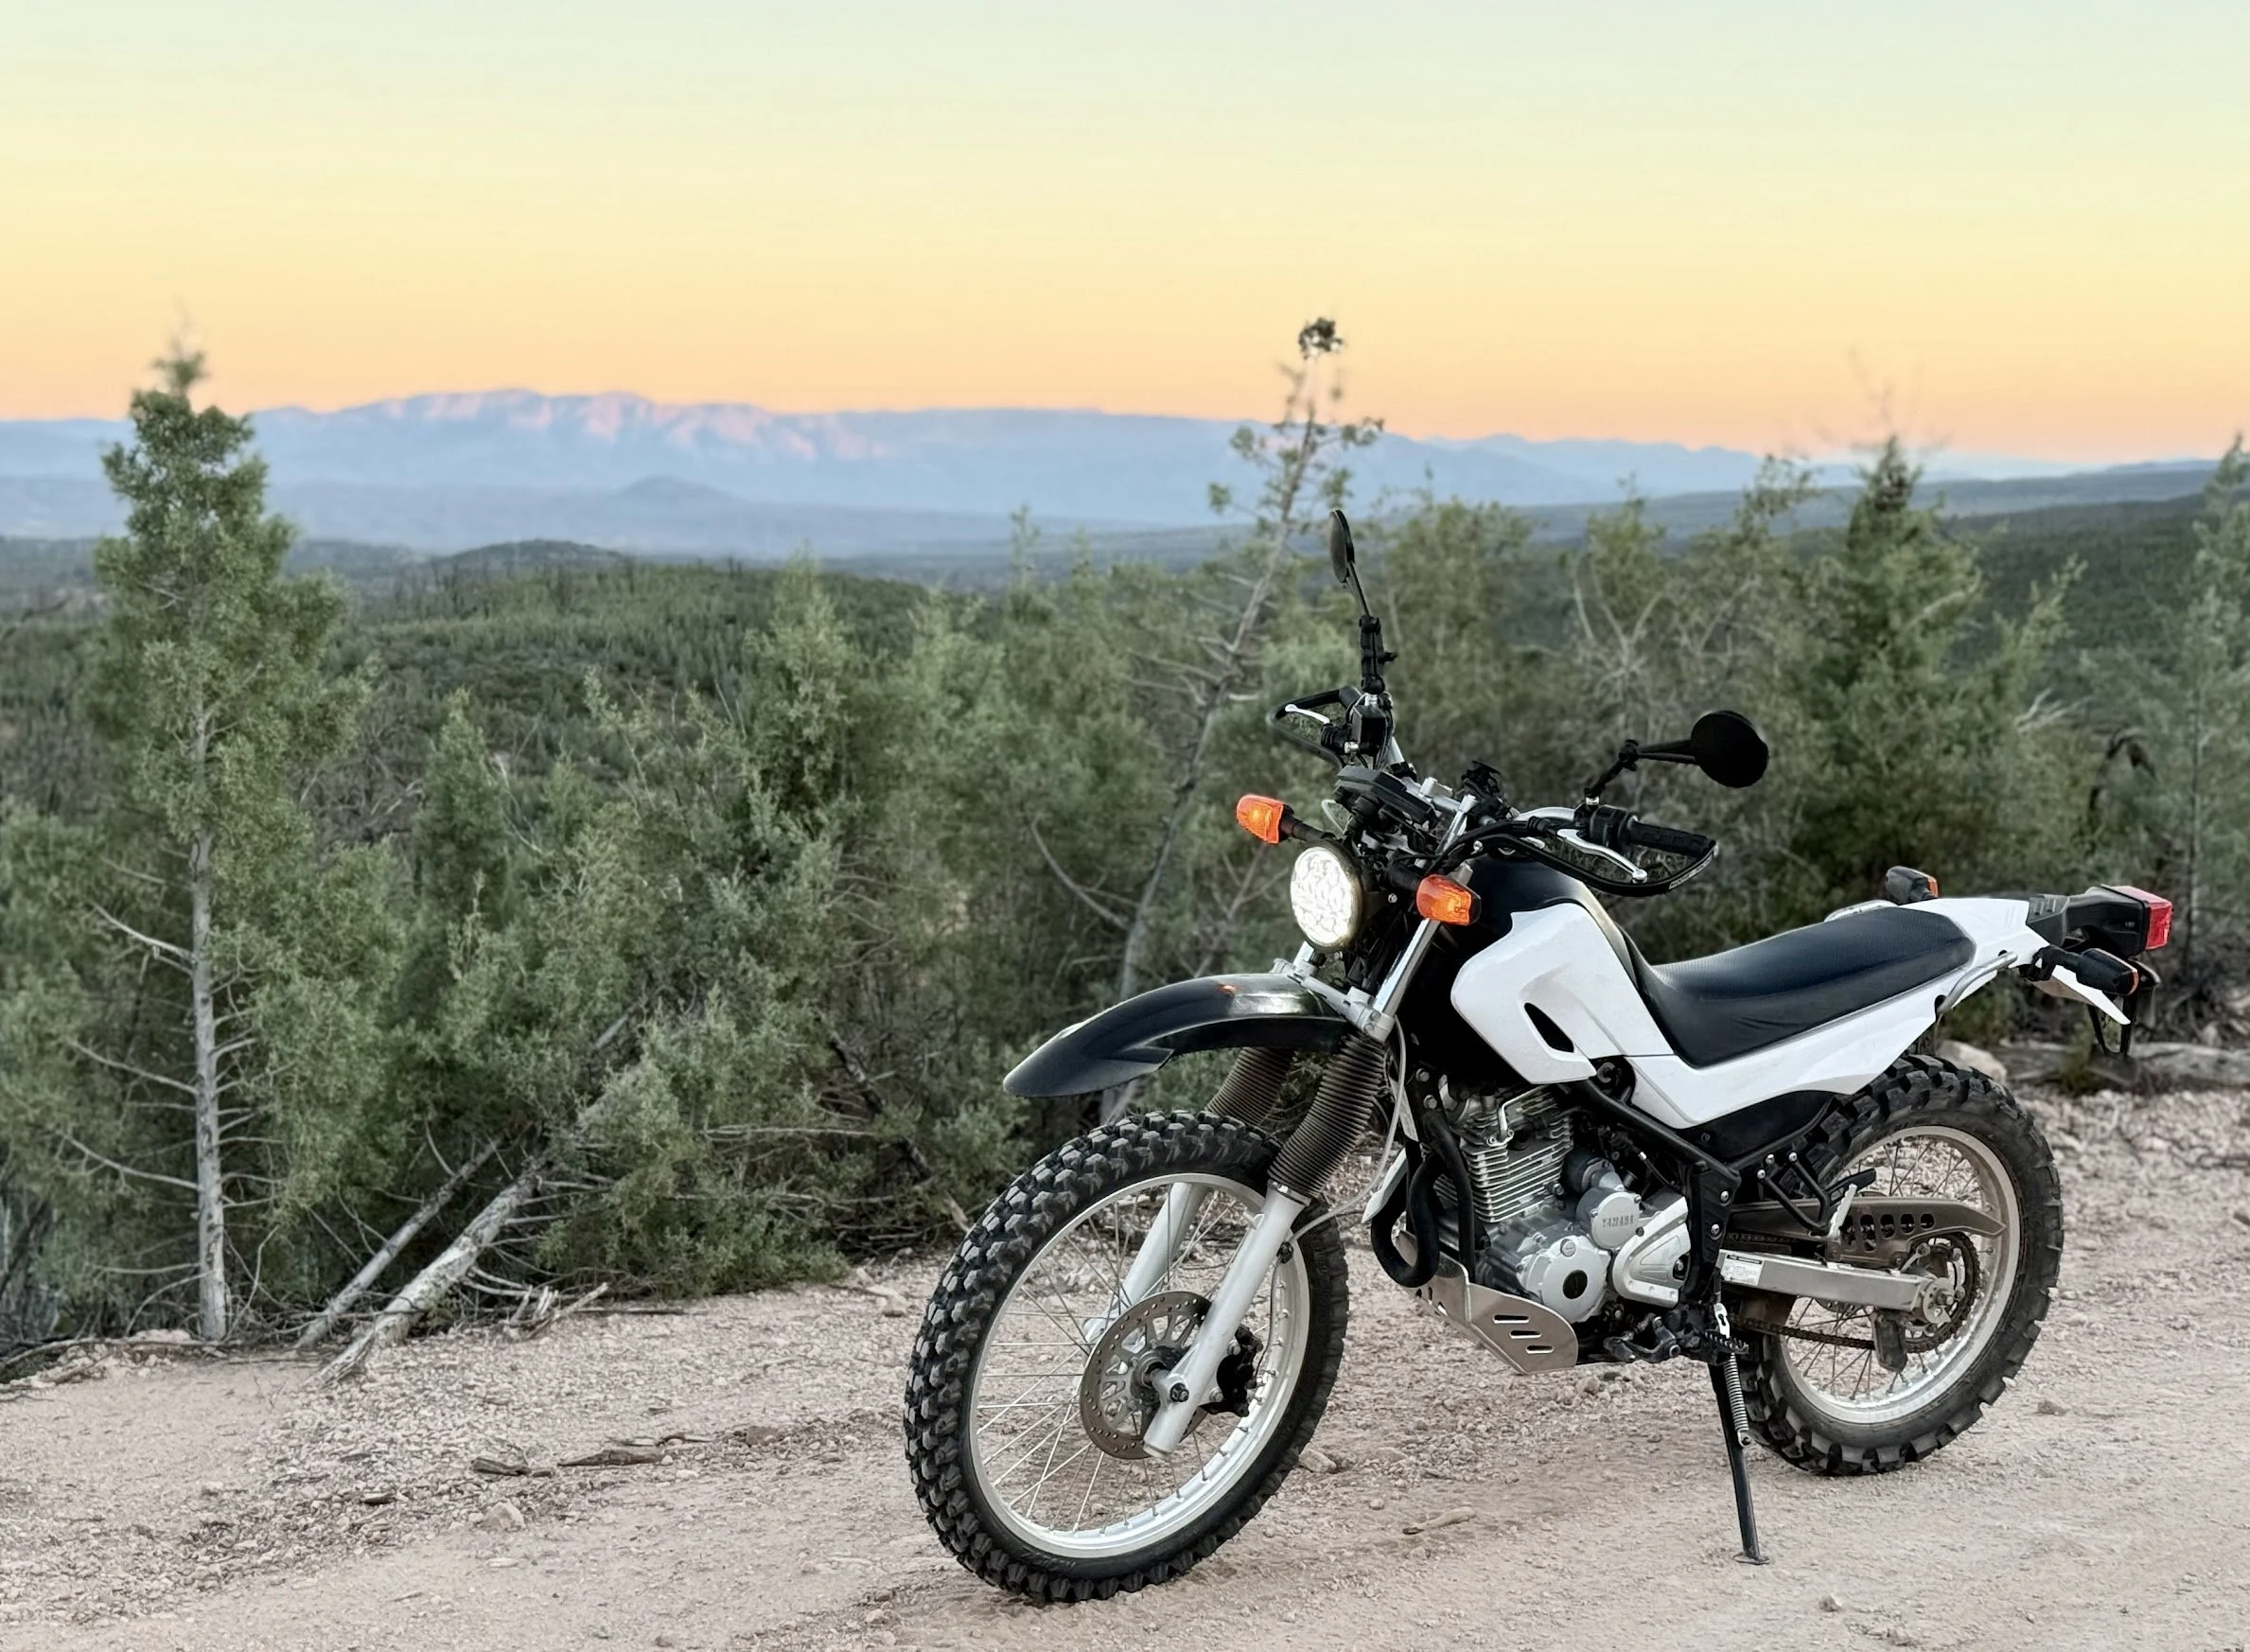
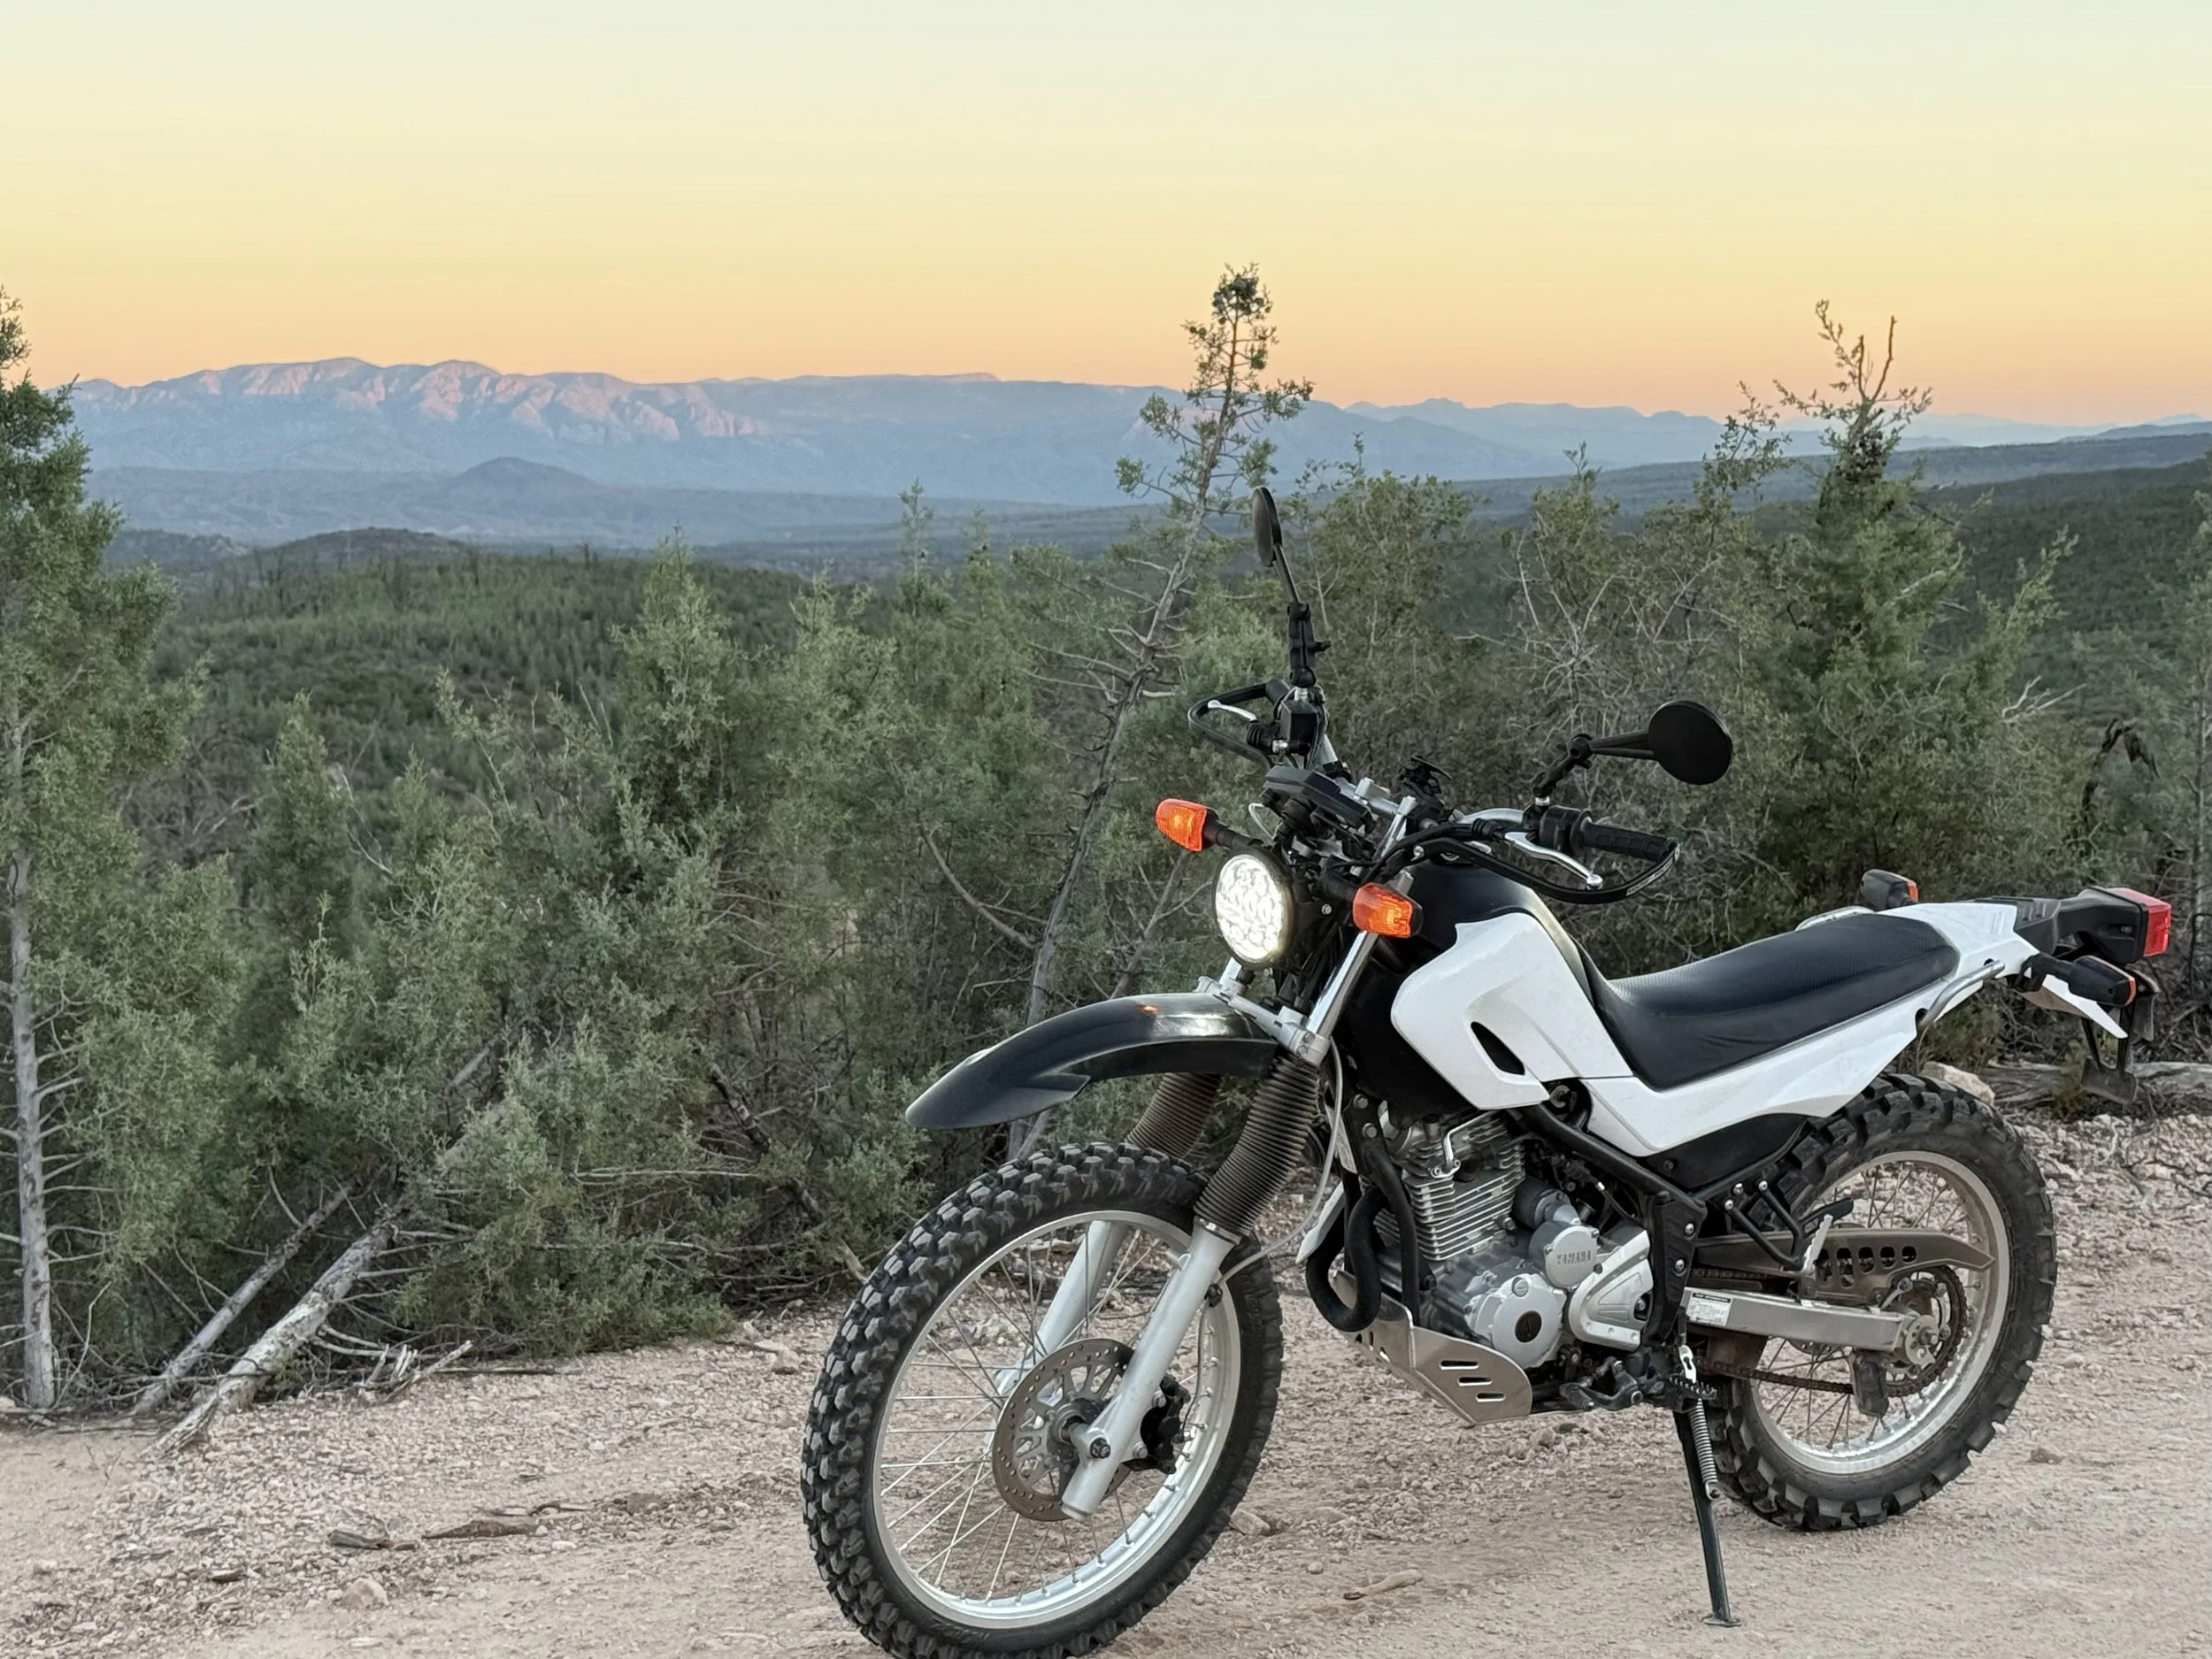
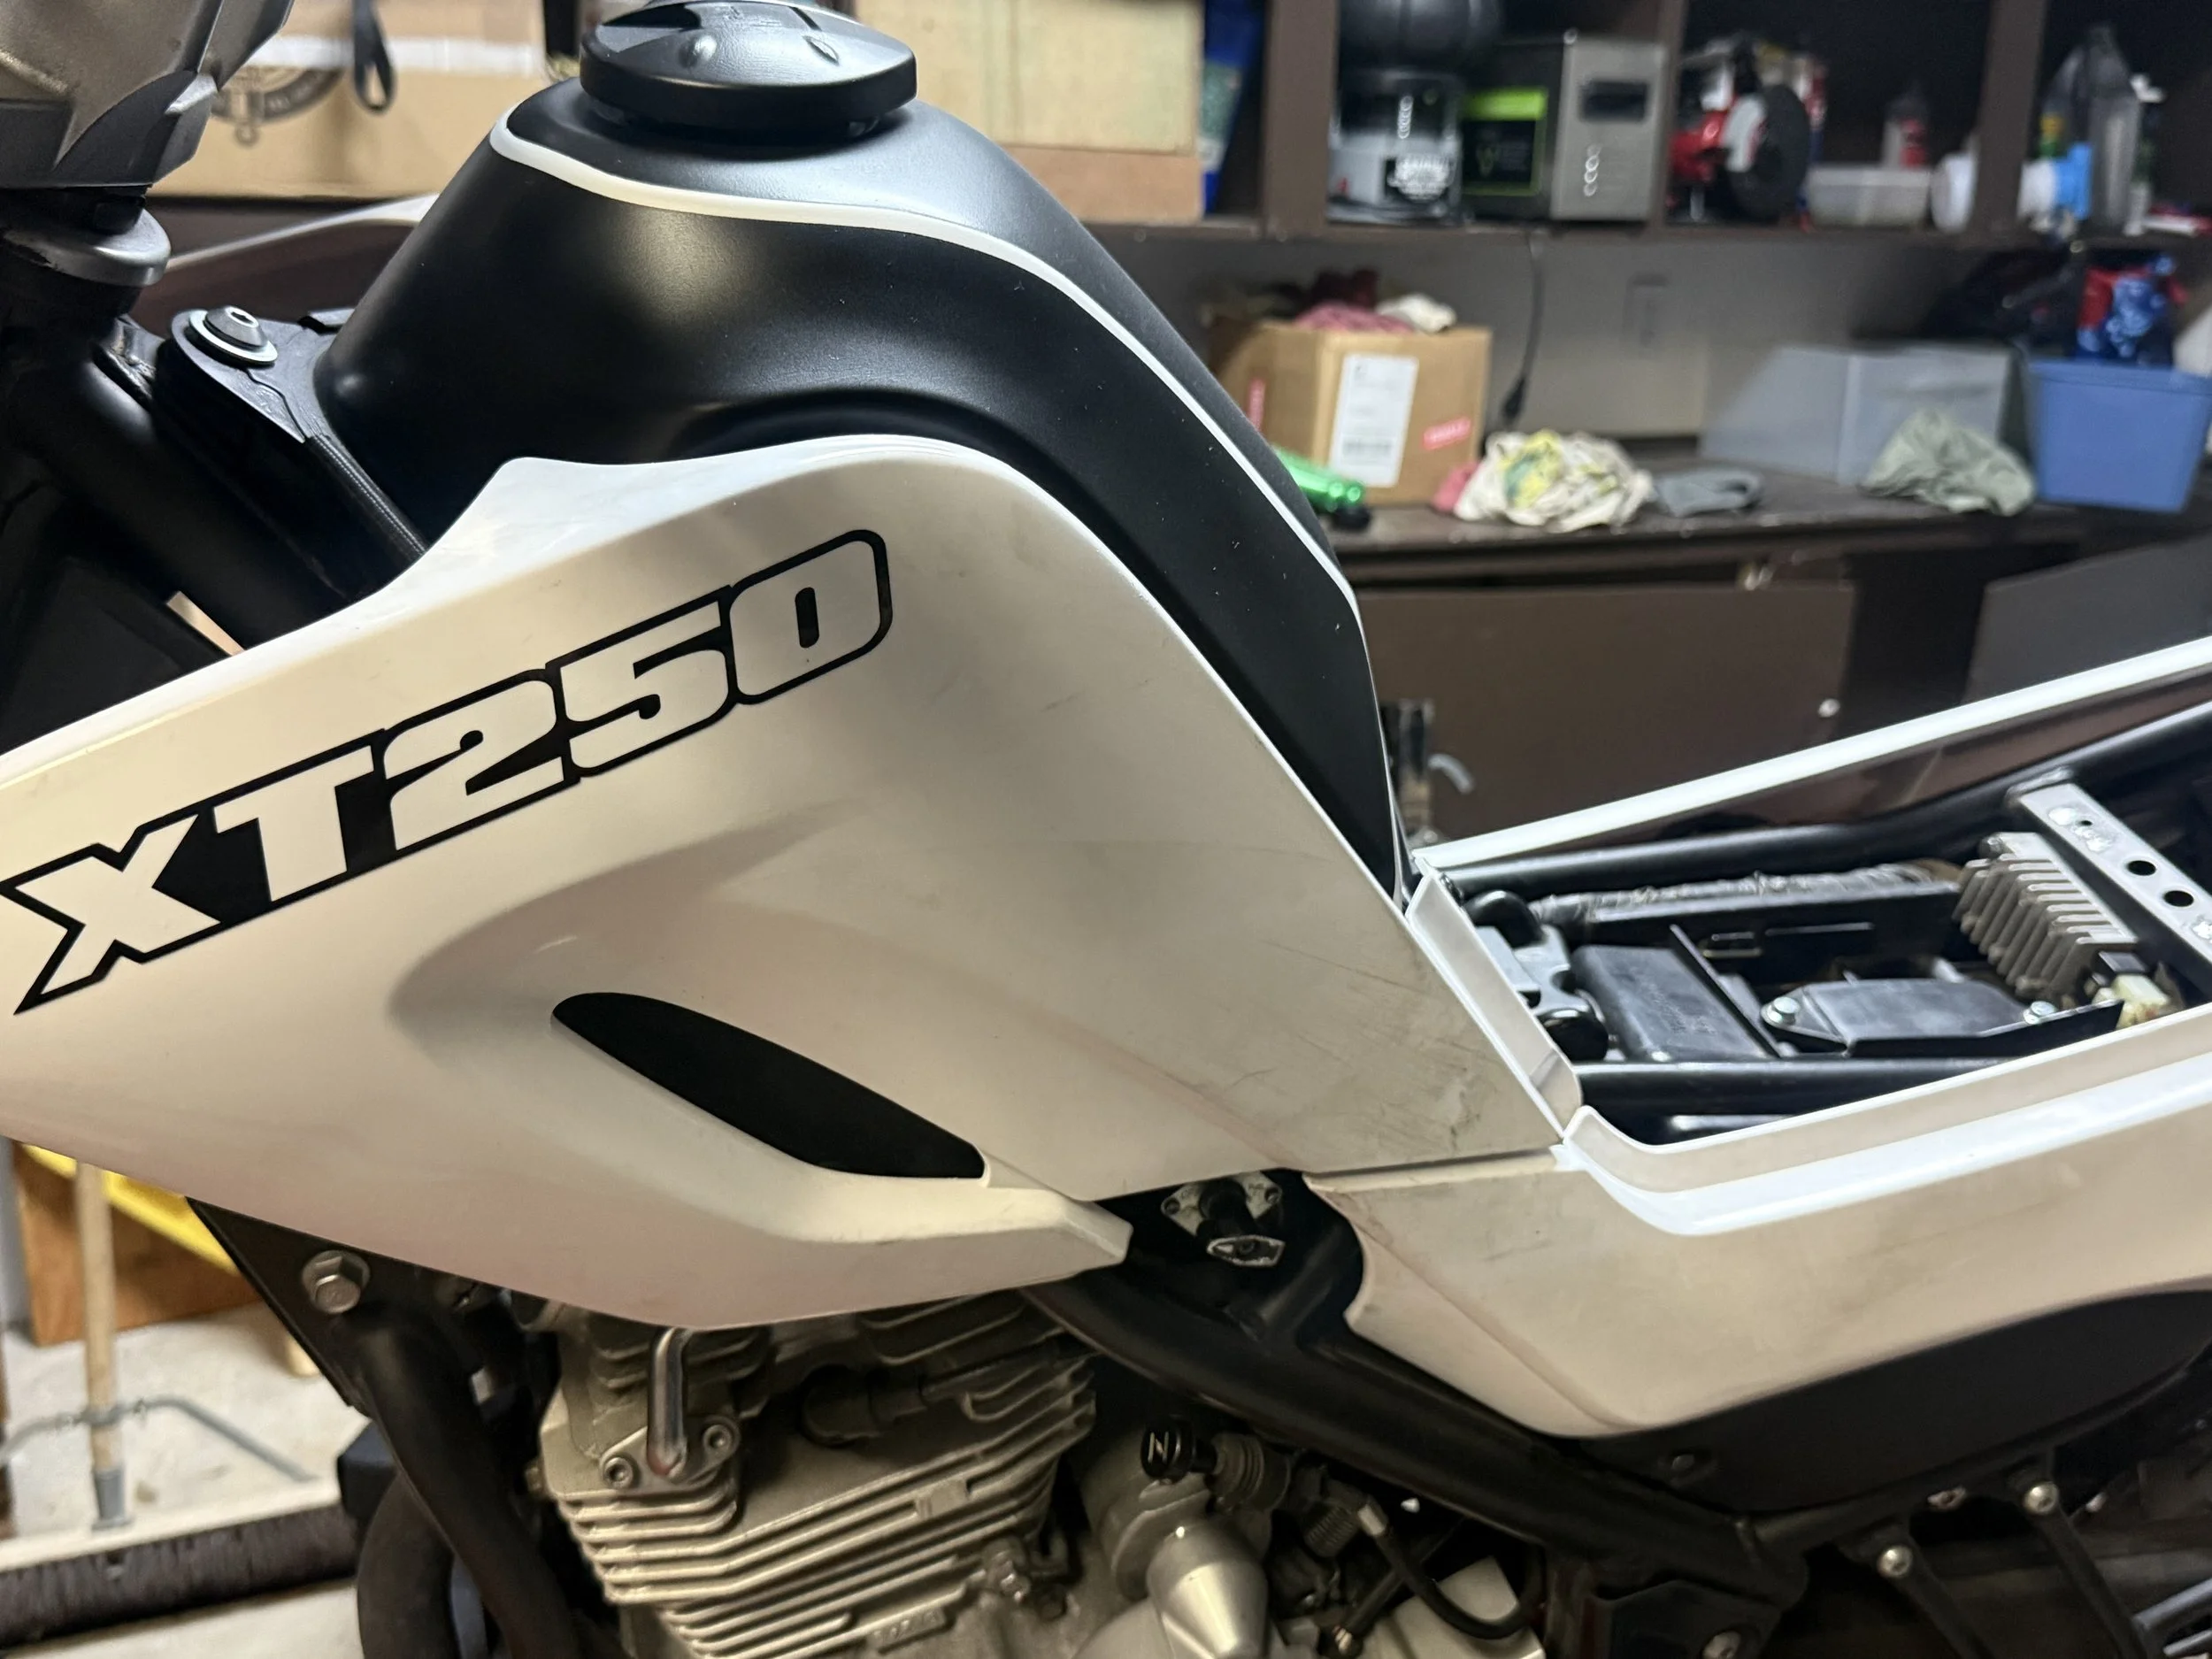
We started by adding some decals purchased on Ebay. It was a nice addition to the bike and cleaned up the lines.
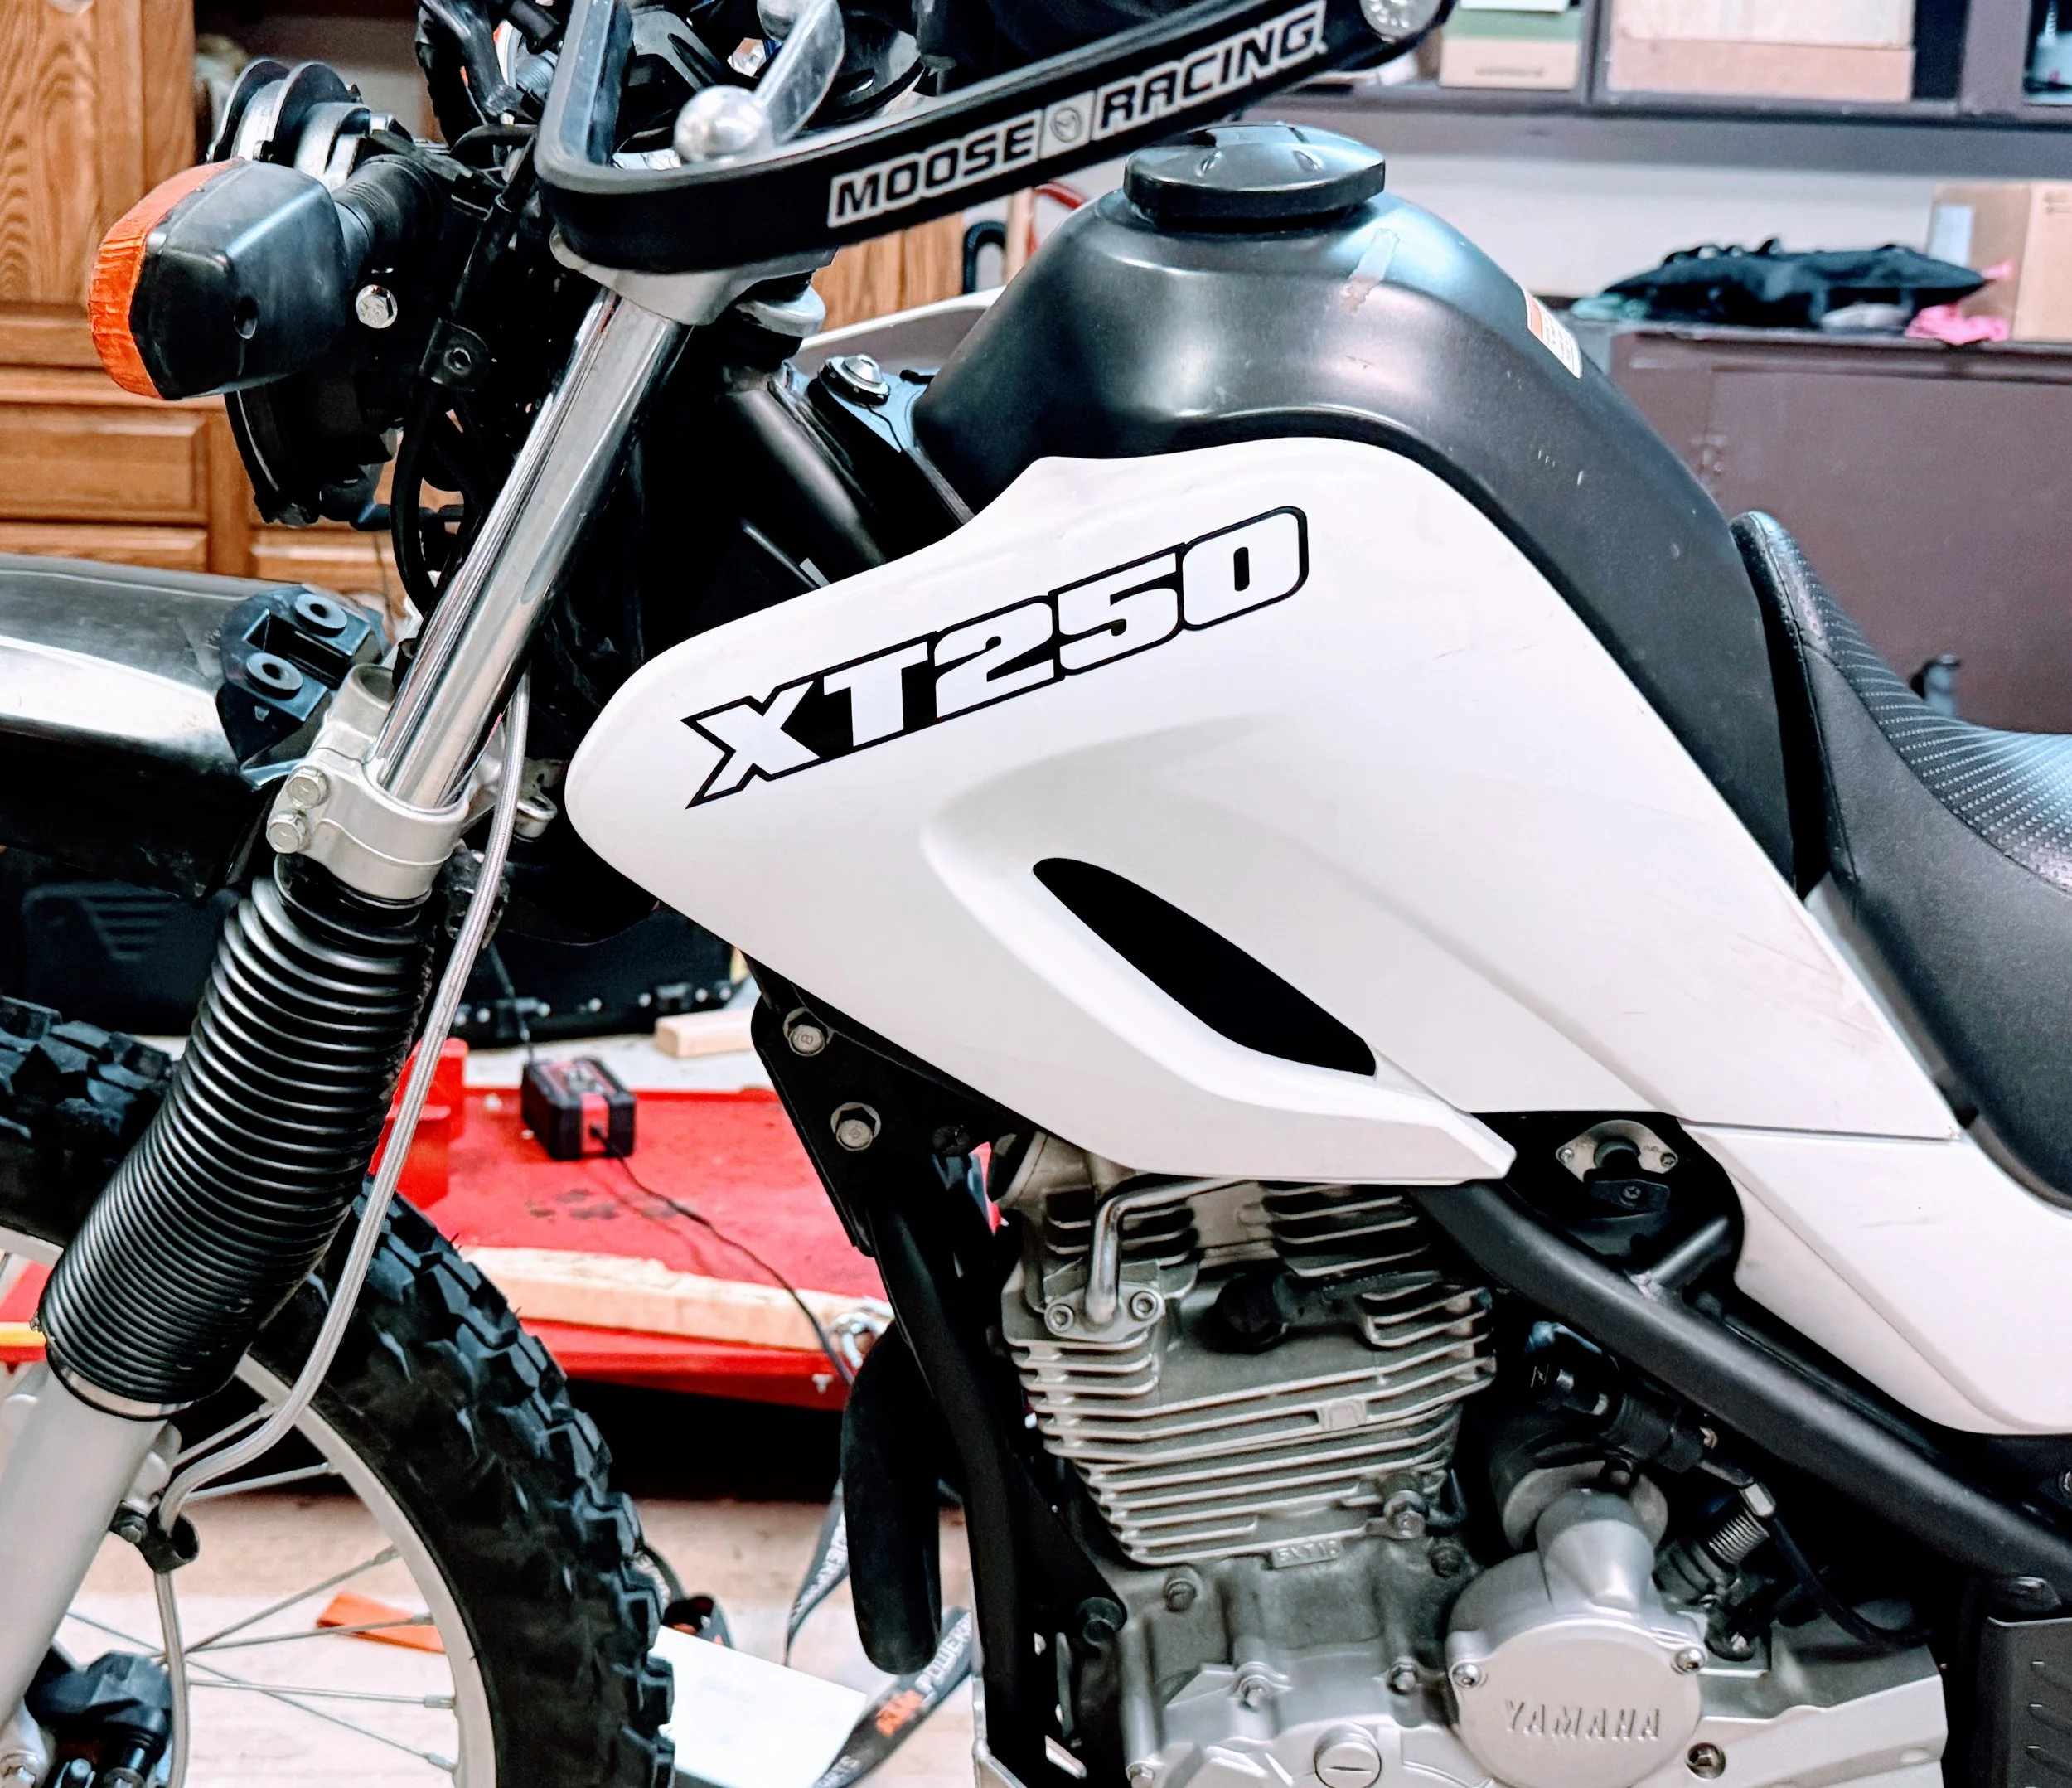
It really helped bring the entire bike together.
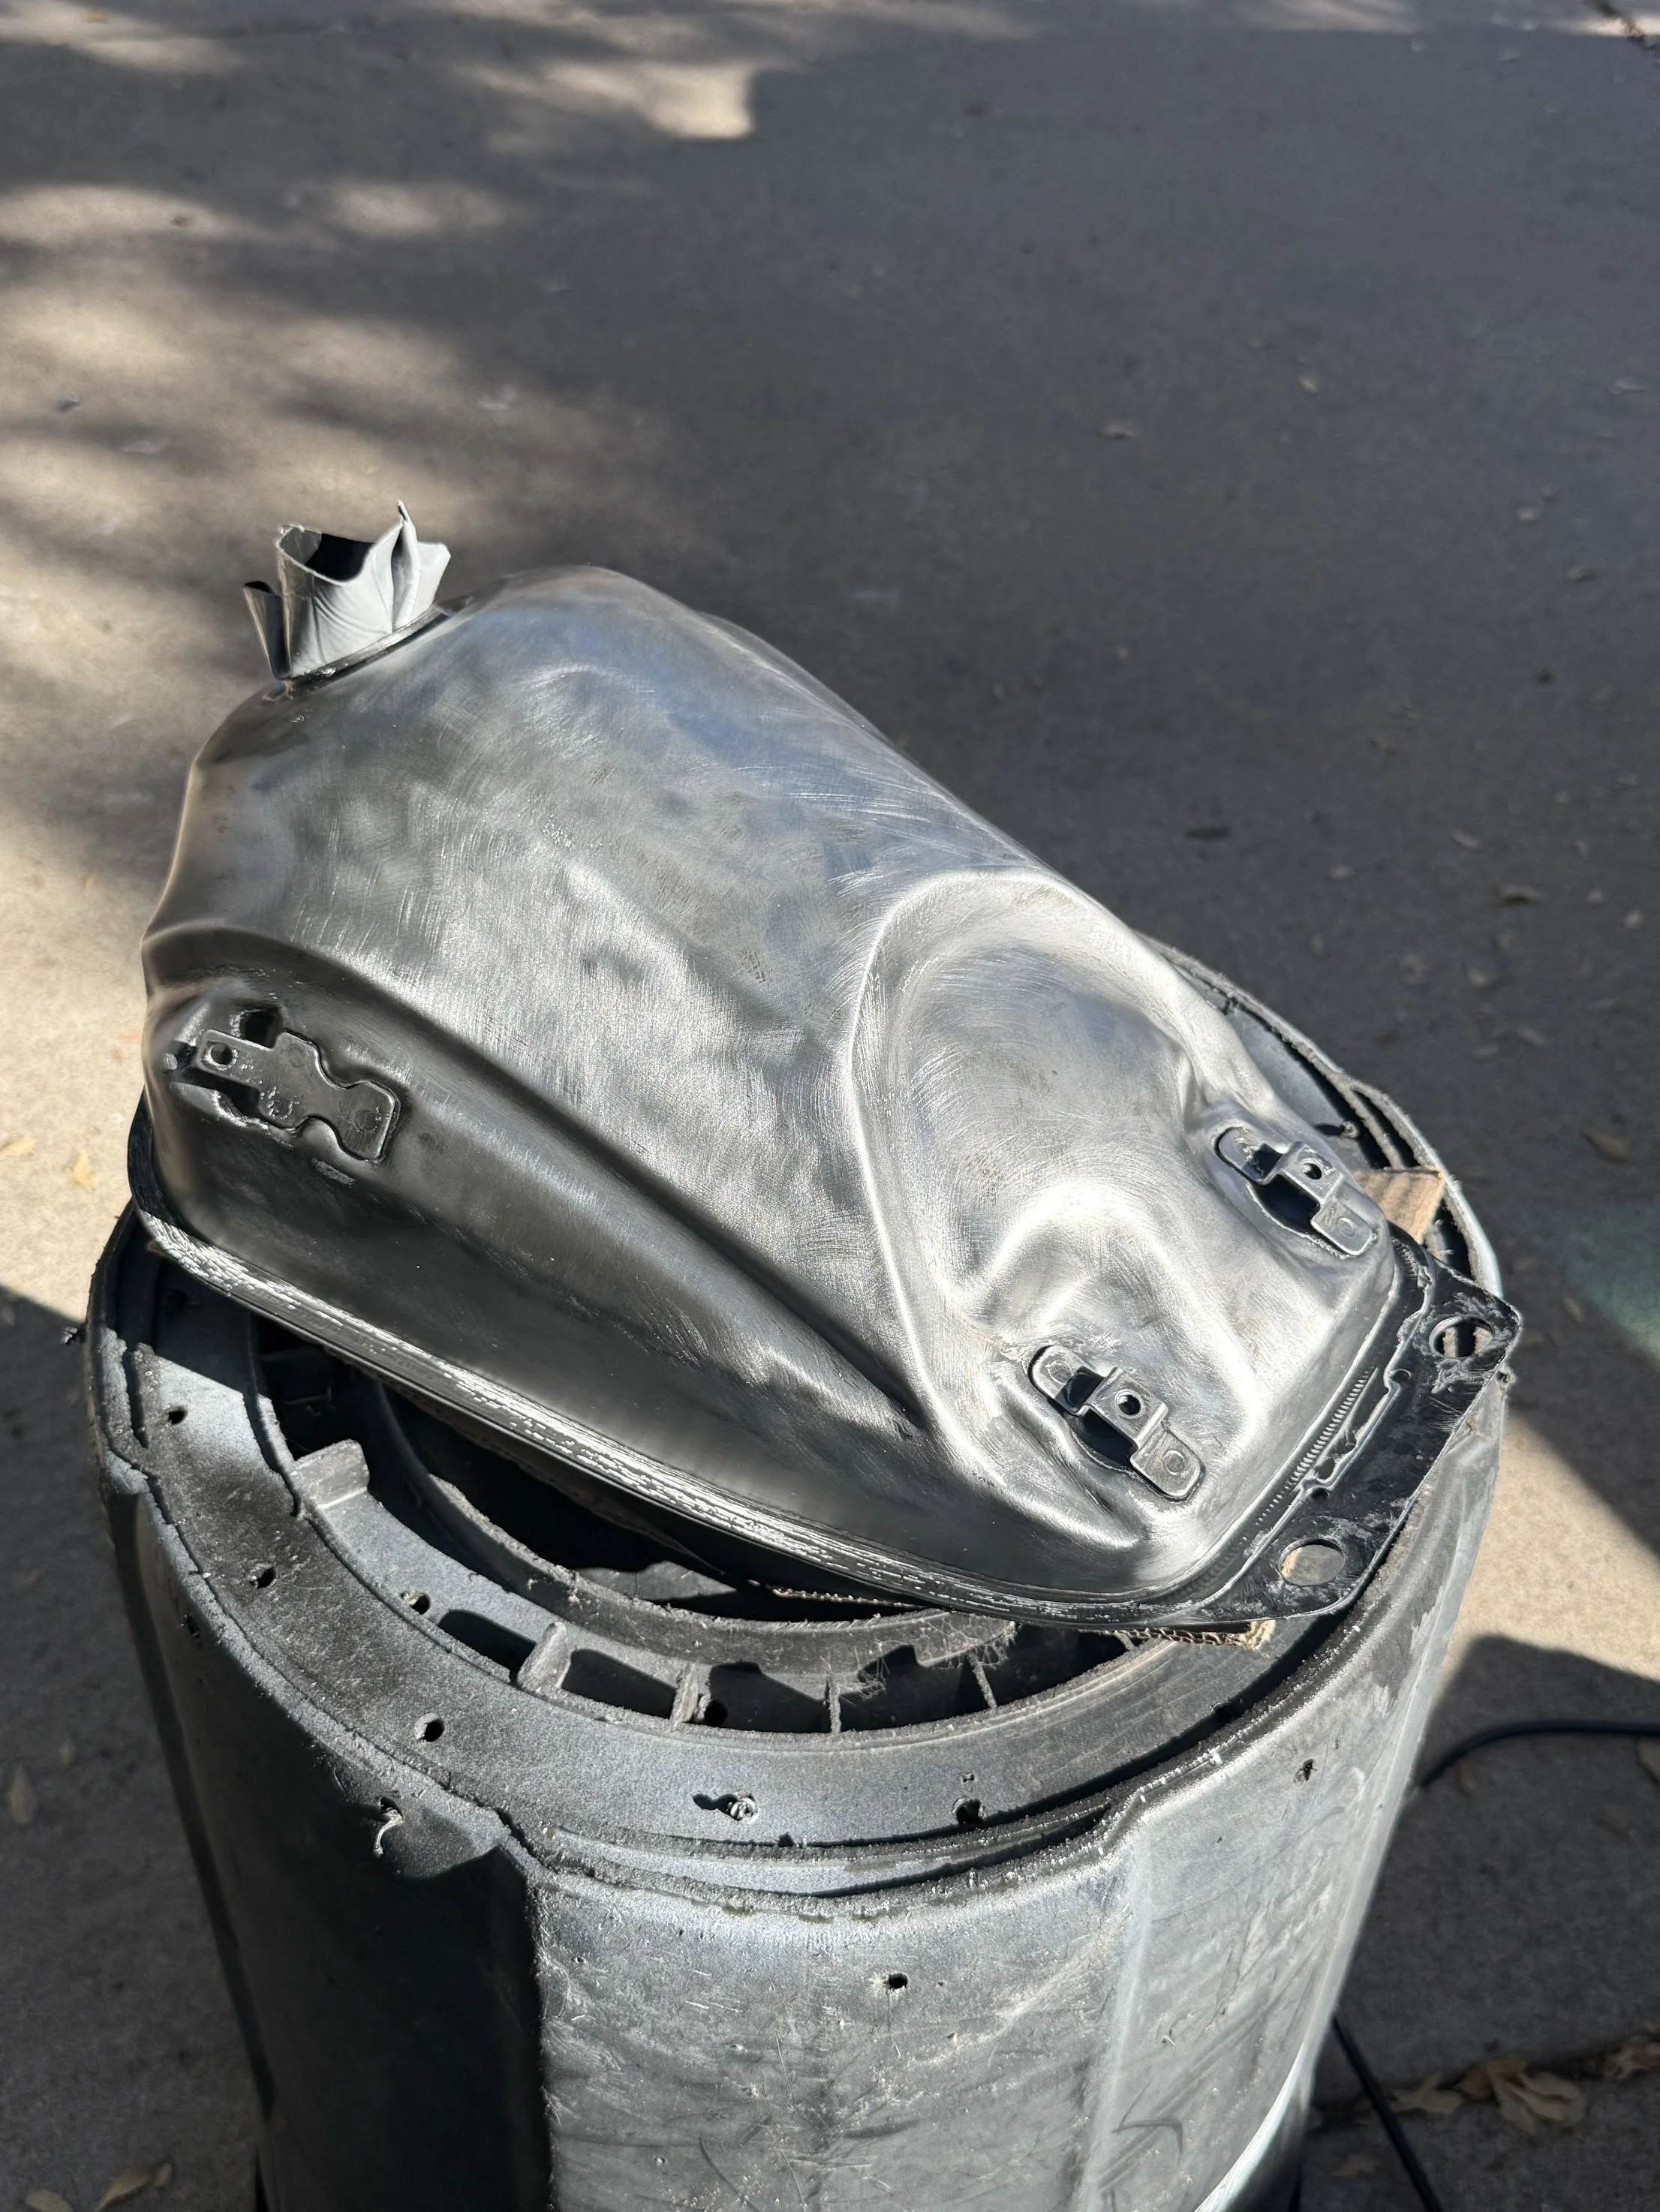
We were not pleased with V1 of our tank pant, so we redid it in December 2025.
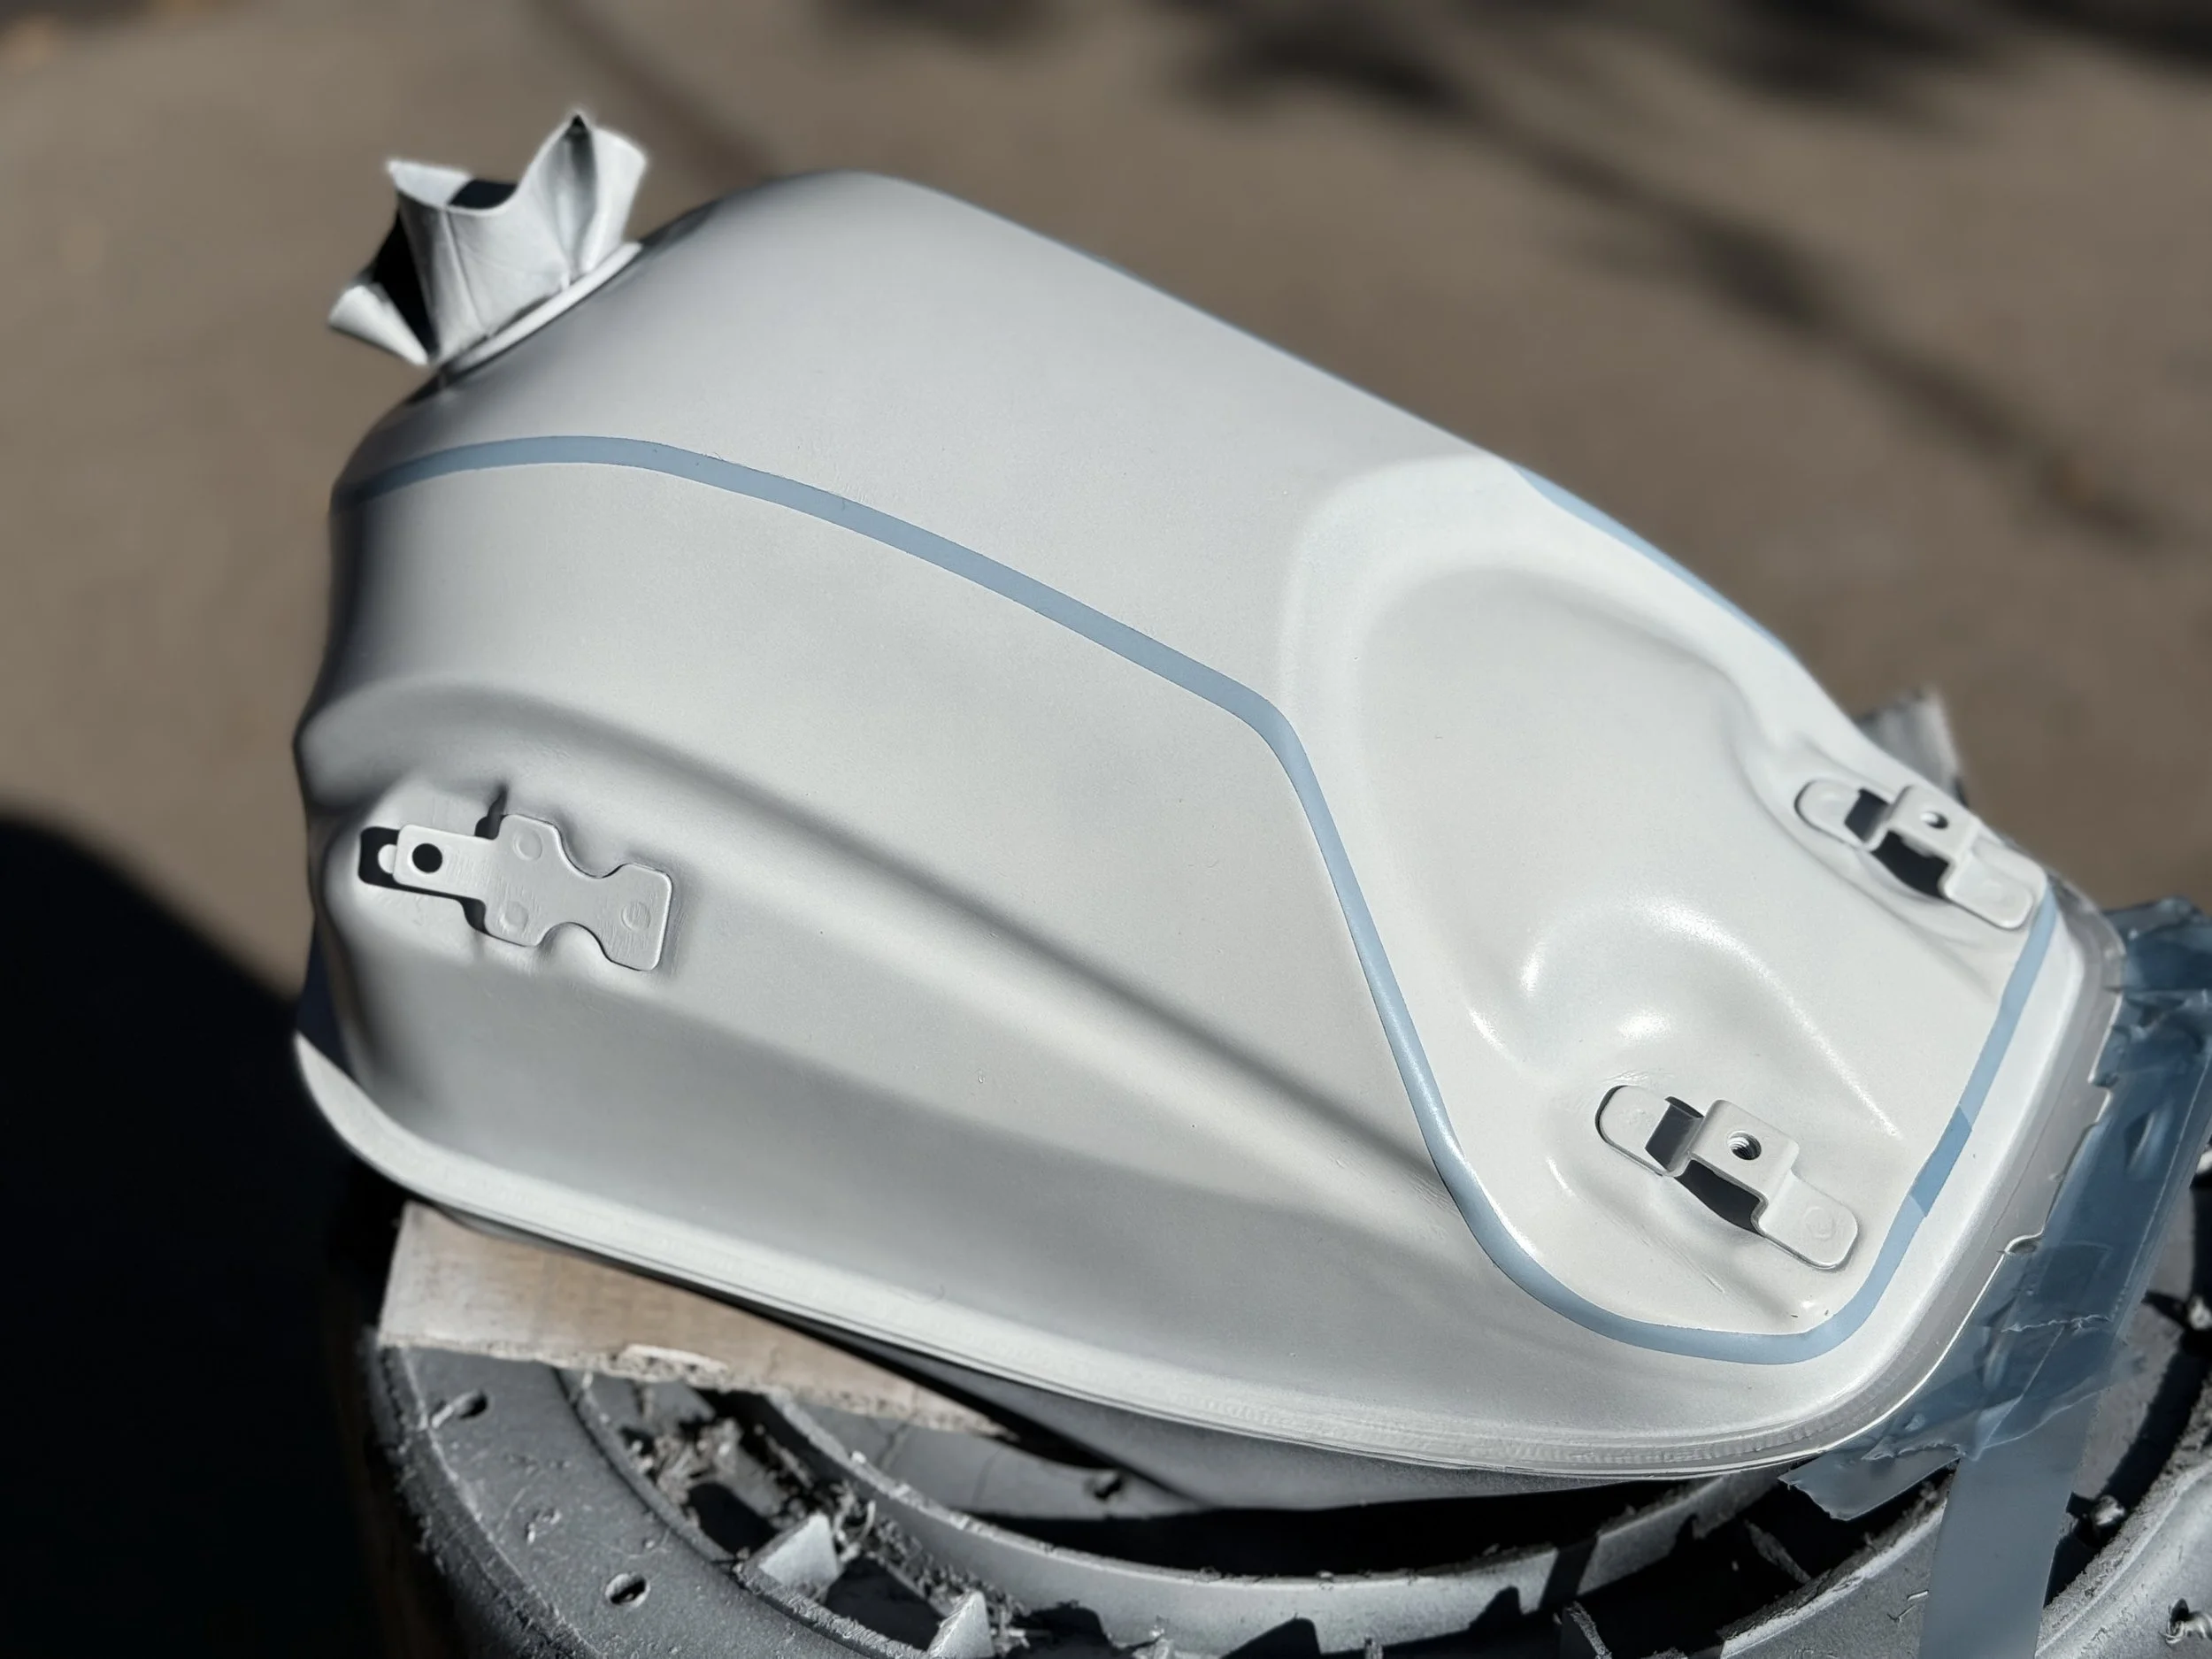
Base coat is on, and the lines are in. Taking the lines all the way down the side of the tank was a massive improvement to the overall look.
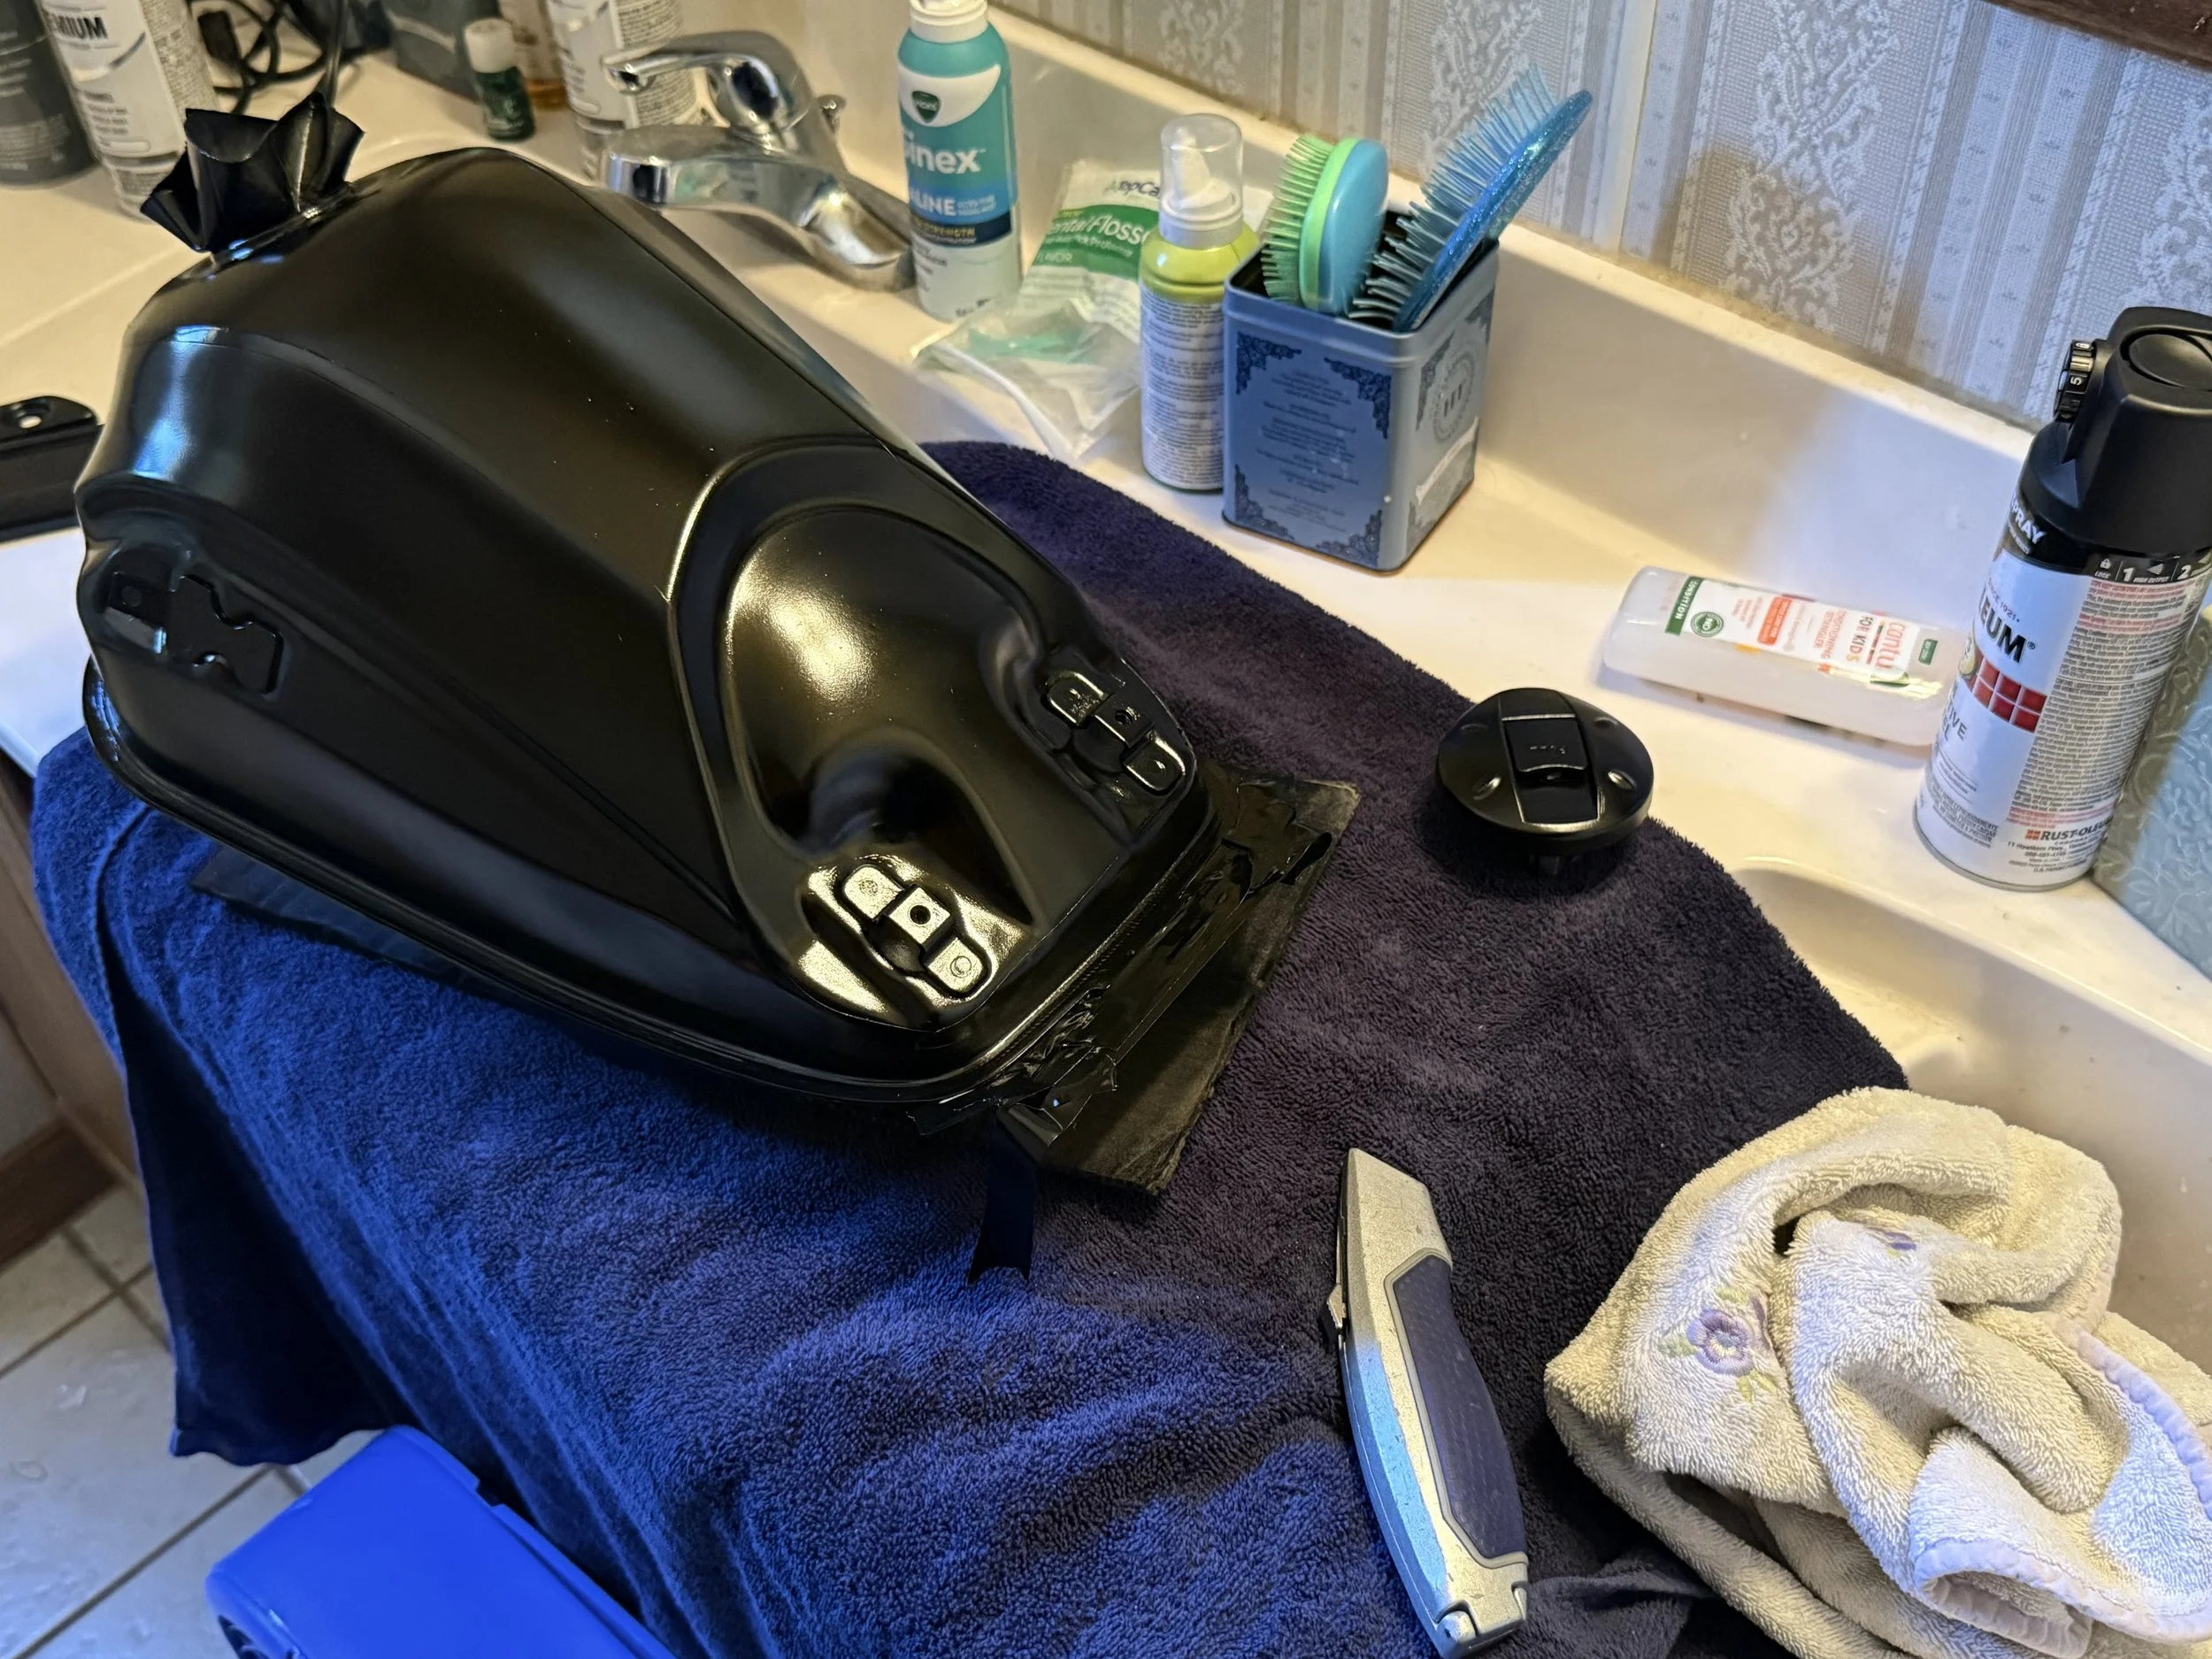
Black coat is on, and the paint is doing well despite not having a paint booth and taking over the bathroom for 96 hours.
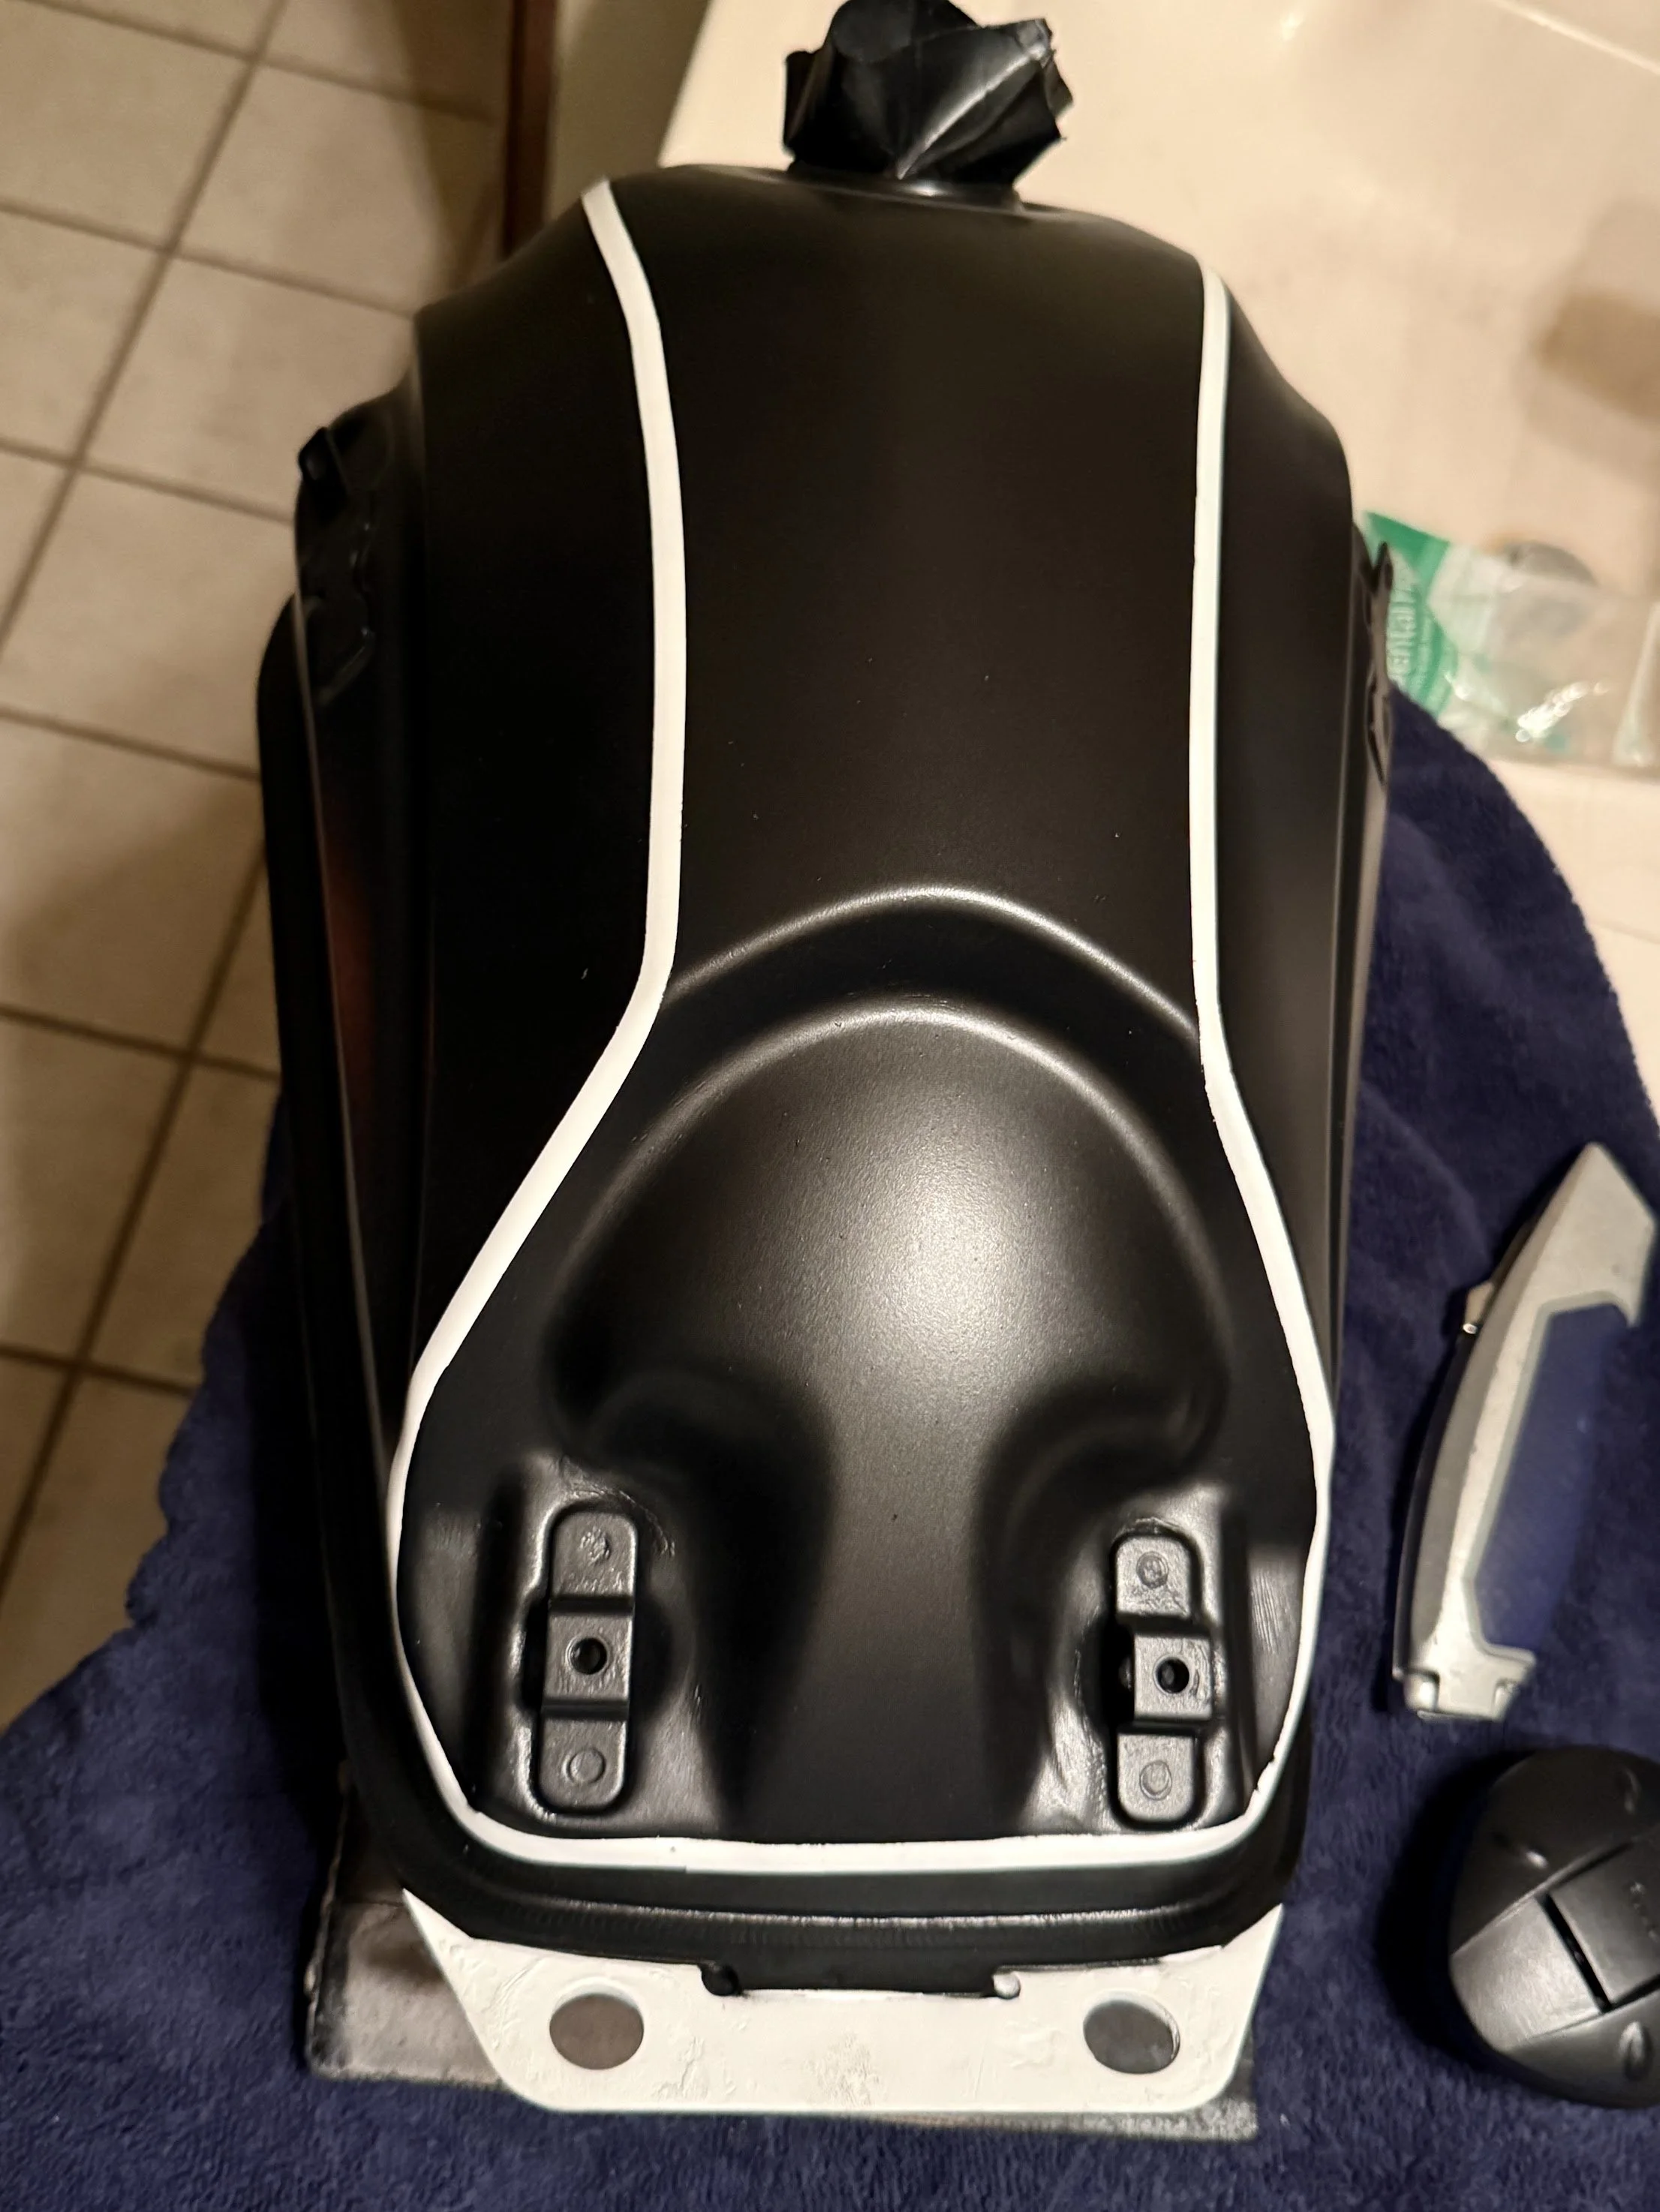
It's starting to look really clean! I love the lines and design. Sharp.
Fitting to the bike, we are starting to get excited.
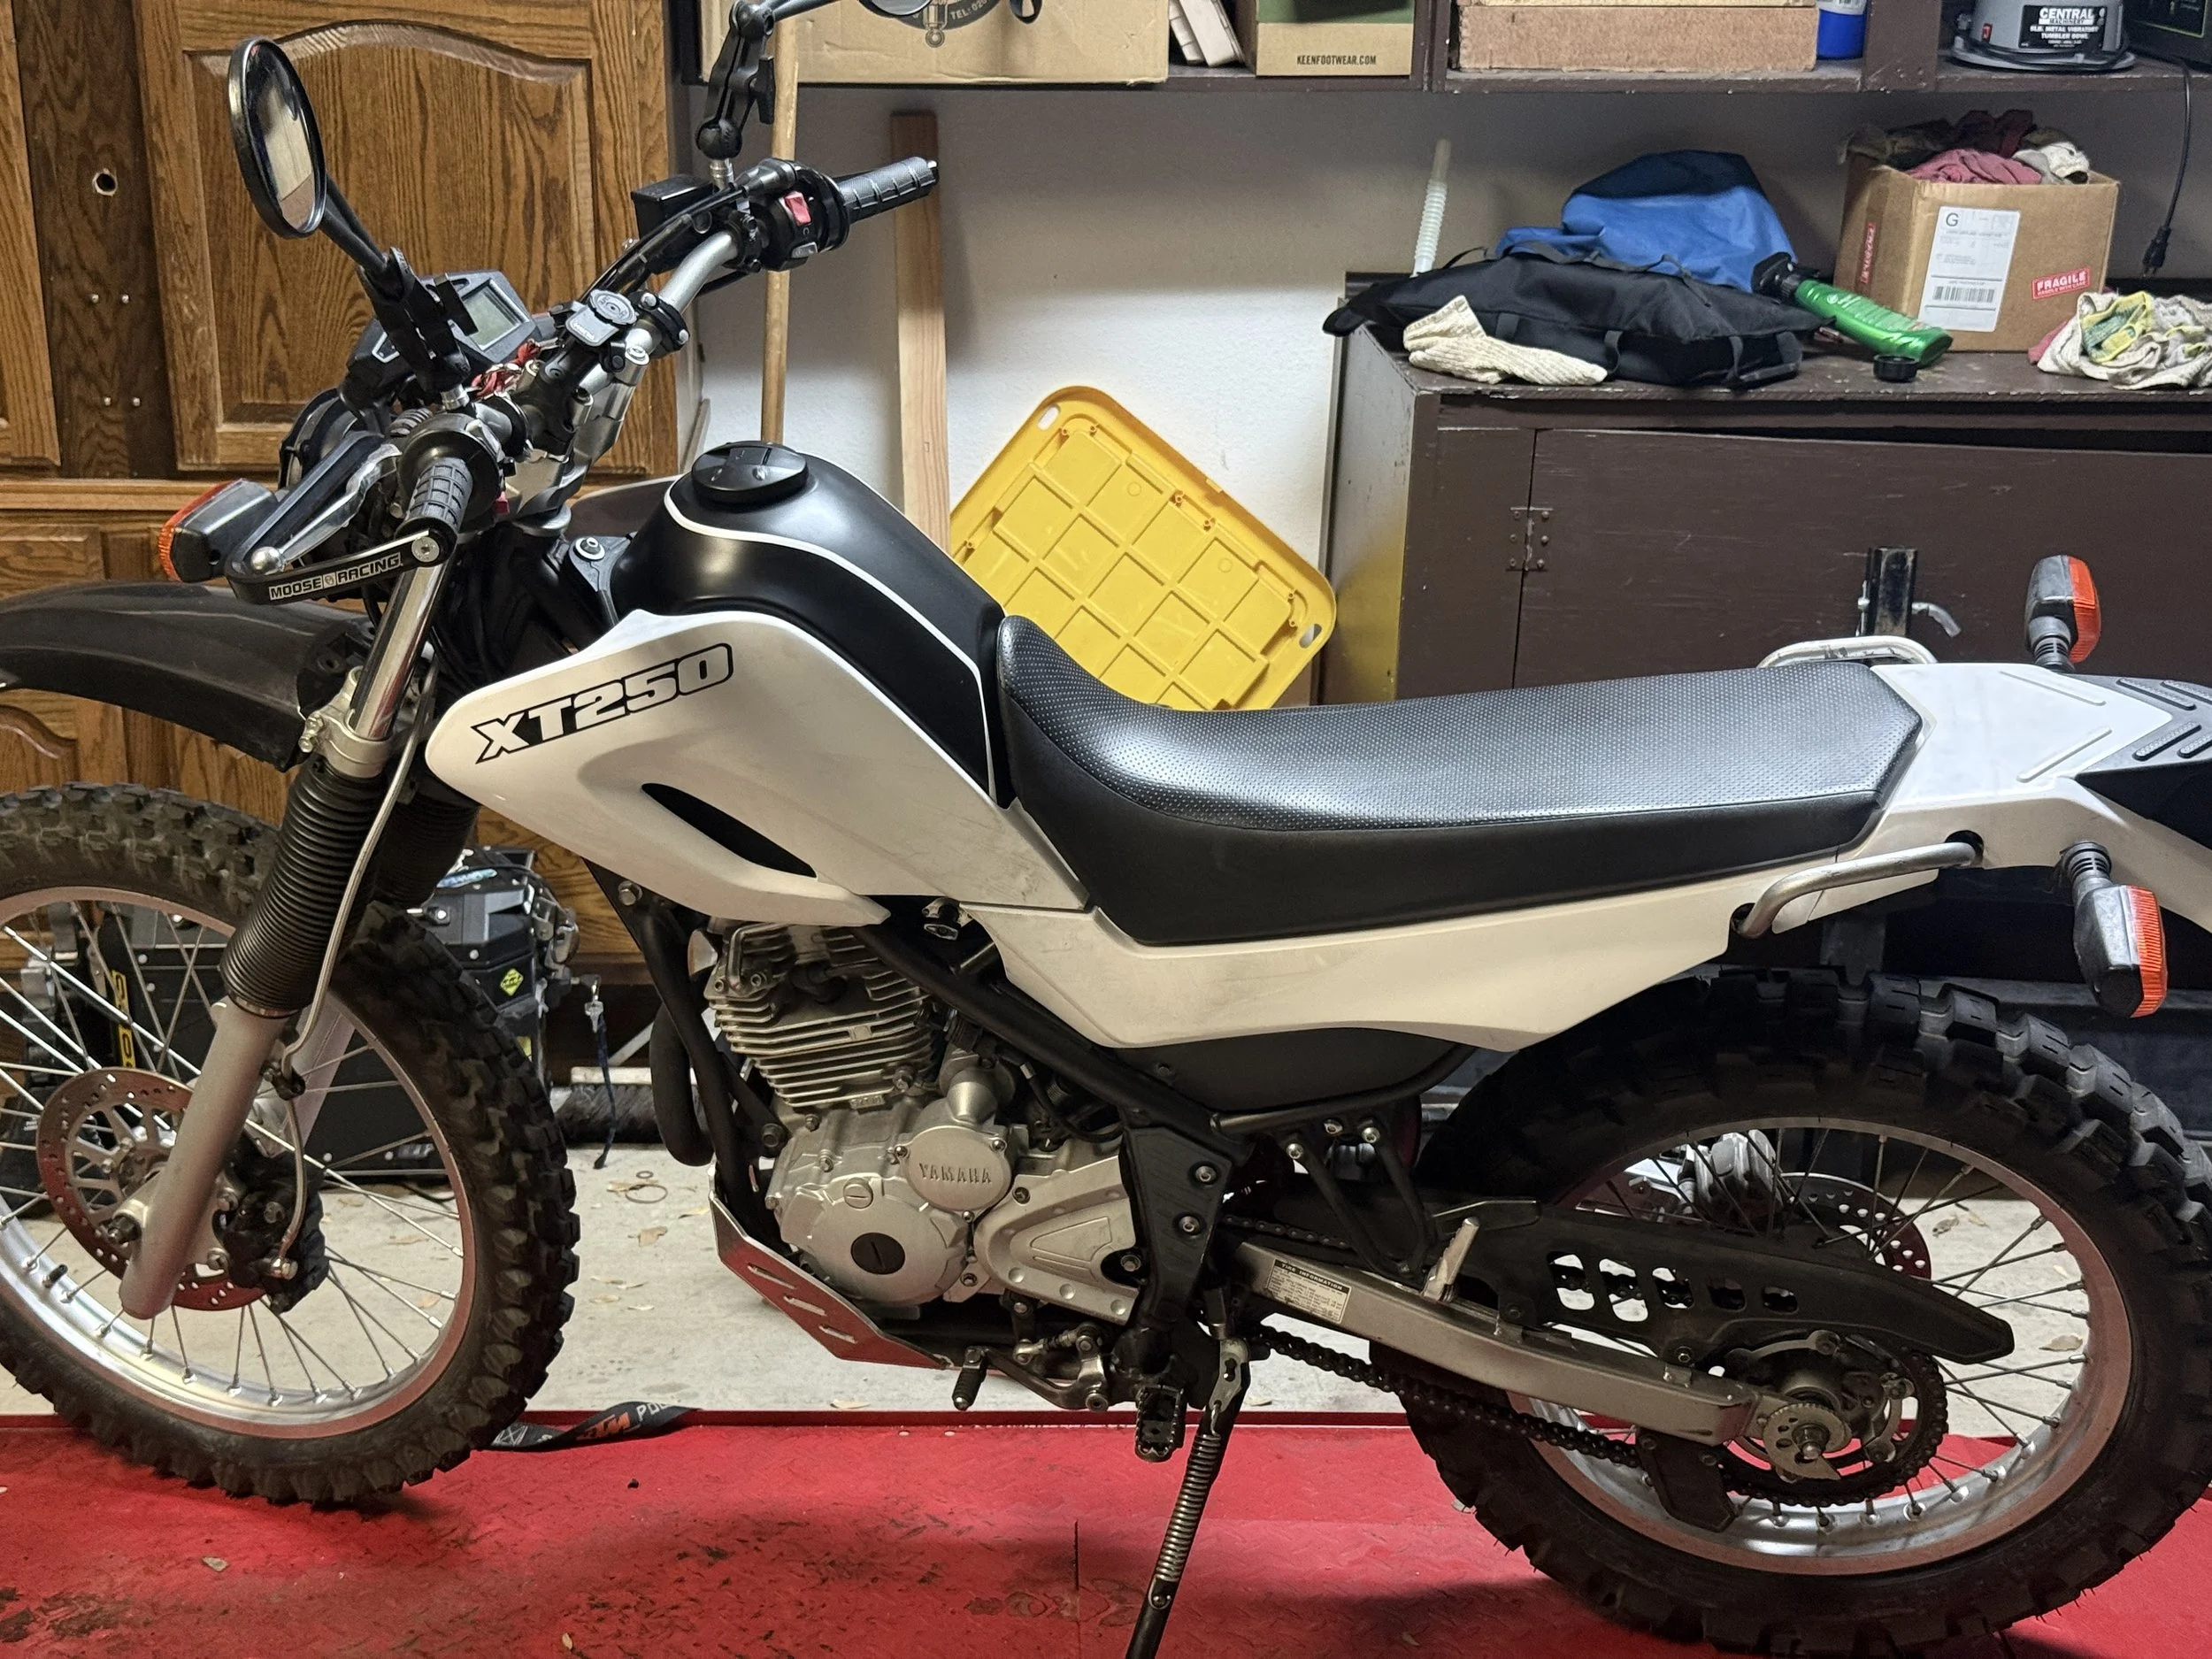
Looks absolutely beautiful, and really thankful we redid it!